a secret stash compartment!! or a compartment for an auto inflate balloon to make sure the boat never sinks in a hurricane again
Repairing Hunter 40 damage from Hurricane Matthew
- Thread starter B757Captain
- Start date
If it is keel stepped that would be a beautiful mast surround.
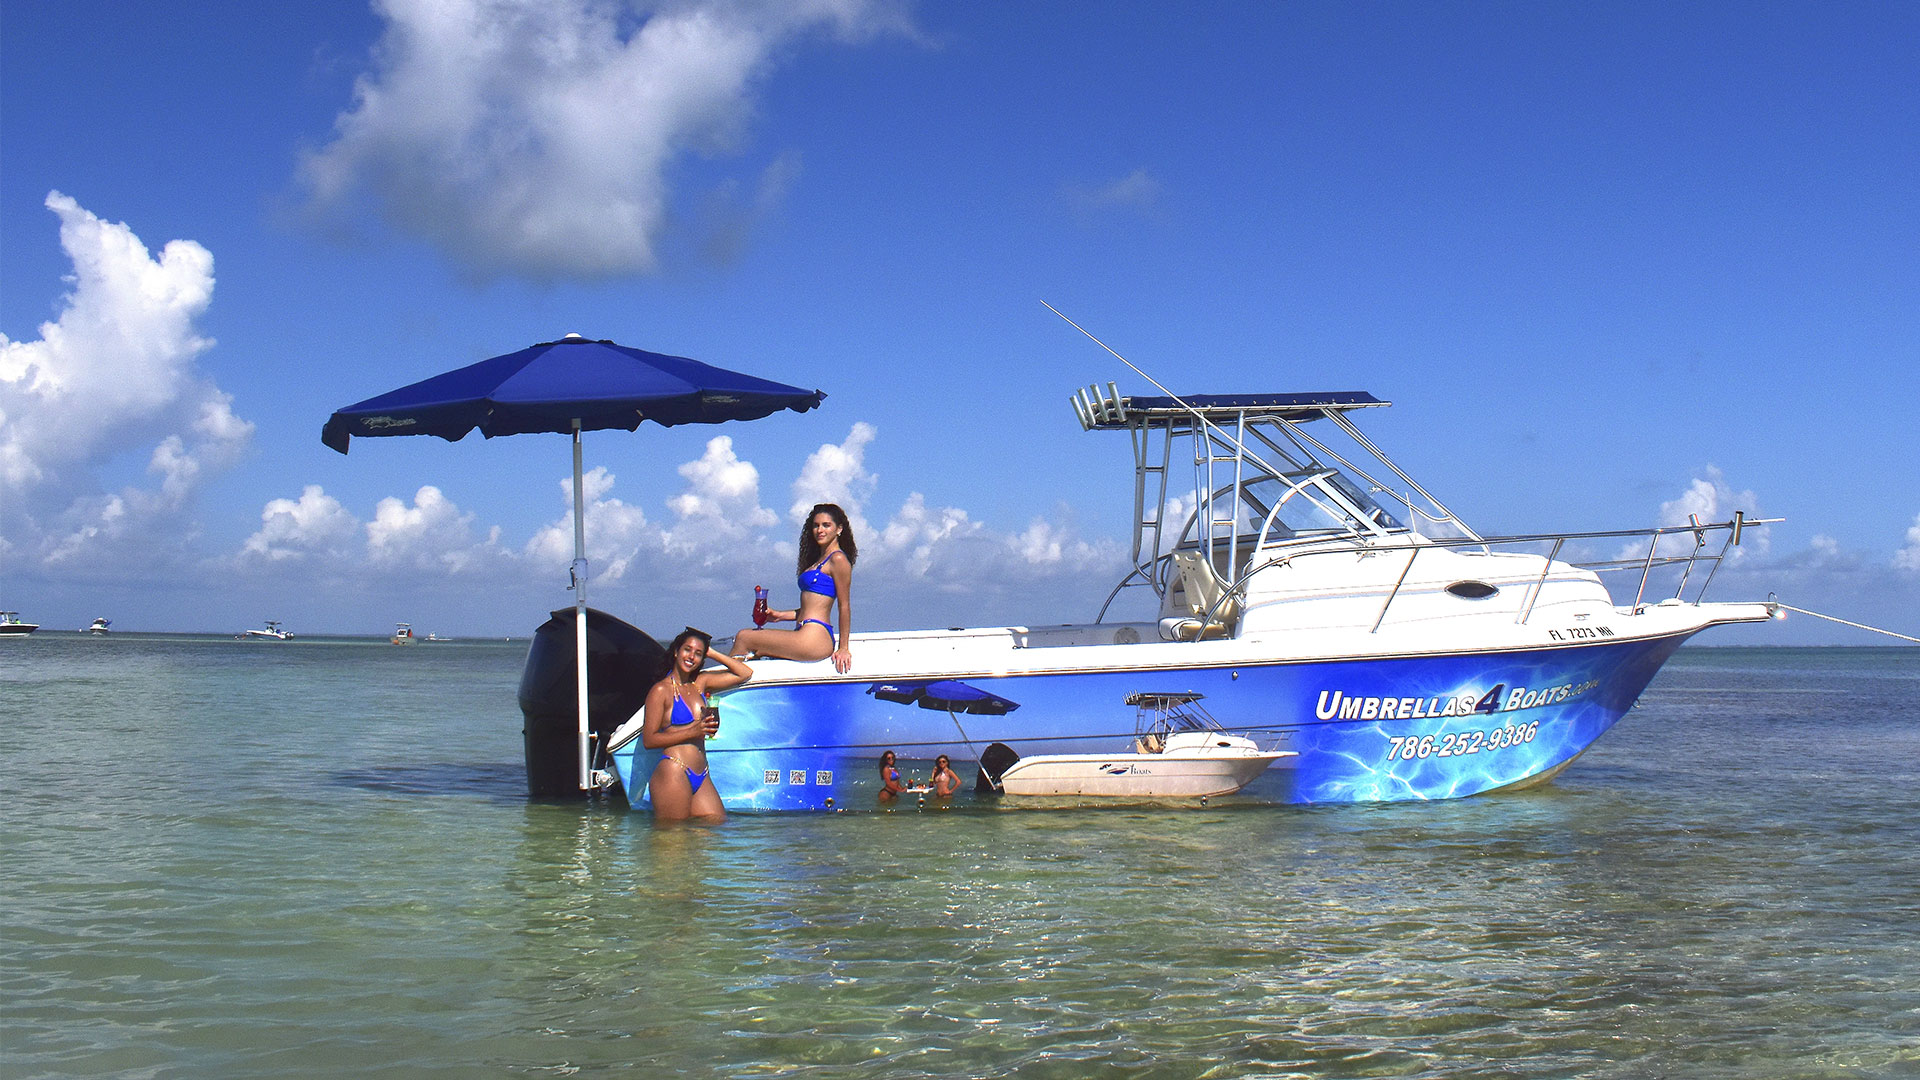
Still wondering, but just buy an umbrella with a hooked handle. Hang it anywhere on the boat…a line, a rail, a closet. I truly suspect that the mystery box somehow works out with the 2nd image in post #1181?
Umbrellas can double as drogues or even fresh water distillers. They are good fold away biminis,
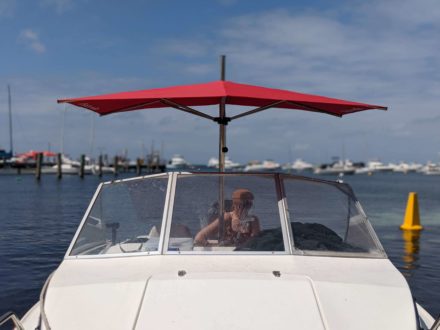
even emergency lifeboats.

There are all kinds of things an umbrella could be good for on a boat.
-Will
even emergency lifeboats.
There are all kinds of things an umbrella could be good for on a boat.
-Will
Good guess, but nopeTrash bin?

Ding ding, we have a winner!A cover for compression post or wiring/plumbing.
-Will
Umbrella stand
I looked for a ROFL emoji but it seems there isn't one, so - ROFL!! I busted up. A++ for original thinking!
I like your thinking but, as you'll see in the next post, a bit too obvious a location. I have a secret stash location already and well hidden! As to the airbag idea -a secret stash compartment!! or a compartment for an auto inflate balloon to make sure the boat never sinks in a hurricane again
For the air to inflate the airbag?Scuba tank storage unit.
Great. Now I'm gonna have to build one just to satisfy you guys!Umbrella stand - I knew it.
Repurposing the umbrella stand:
Since DArcy found me out too soon, I took Will's advice and put it here:

Two reasons for making the cover for the compression post: One, the factory table mount bolted to the compression post (you can see the hole still in it). I do not like this, for multiple reasons, so a better way to secure the table was needed. The umbrella stand is exactly the same height as the table - almost as if it was designed that way. Two, I did some deep thinking on how (and where) I wanted to run the cabling and switches for the mast and exterior lights. The light switch panel will mount to it and the cabling will be hidden inside:

Six screws and easy access. Here's the switch panel mounted and top cover on:

I'm still a ways away from wiring the lights up so I'll refrain from explanations and thoughts/ideas on that for now.
Next up, I have to do one thing before making and mounting the table.
Cheers,
Mark
Since DArcy found me out too soon, I took Will's advice and put it here:
Two reasons for making the cover for the compression post: One, the factory table mount bolted to the compression post (you can see the hole still in it). I do not like this, for multiple reasons, so a better way to secure the table was needed. The umbrella stand is exactly the same height as the table - almost as if it was designed that way
. Two, I did some deep thinking on how (and where) I wanted to run the cabling and switches for the mast and exterior lights. The light switch panel will mount to it and the cabling will be hidden inside:
Six screws and easy access. Here's the switch panel mounted and top cover on:
I'm still a ways away from wiring the lights up so I'll refrain from explanations and thoughts/ideas on that for now.
Next up, I have to do one thing before making and mounting the table.
Cheers,
Mark
I won, I won...
Don't worry about the shipping for the prize, I'll just open a beer that's already here.
-Will
Don't worry about the shipping for the prize, I'll just open a beer that's already here.
-Will
Thanks for the prize. I love porters, and this one was particularly delicious.
-Will
My fireproof underwear is on, ready for the firestorm:
Ok, so last post I said I had to do one thing before building the table - well, here it is:

That, gents, is (or will be soon) the flooring I chose. Here's my story: I thought long and hard about doing a teak & holly floor but I kept thinking there would just be too much wood. No feng-shui. I looked at other marine-type flooring like Lonseal etc., but they were mainly plastic sheets of - teak & holly! The options that weren't didn't do it for me. Plus that stuff is pretty pricey. More on that in a minute. I did price out teak & holly just to be thorough - current prices are running ~$350 a 4x8 sheet. My best estimate was that I would need 6 or more sheets to do the boat and I was not too jazzed at spending over $2000 for the floor. Lonseal and similar was equal or more expensive.
So, plan B (which did not come out of thin air, I have been thinking on this for quite a while) is . . . insert drumroll . . . Vinyl flooring from Home Depot (or Lowe's in my case). Start flame session - now!
So what did I get? It's called Luxury Vinyl Tile, come in 1x2 tiles, interlocks, it's waterproof and non-skid (time will tell if it holds up to a salt-water environment) and pretty easy to install. Especially after I "modified" the interlocking part. Basically locking the tiles together is a fool's errand and I had a plan. Before I even started fitting tiles I ran each one through the table saw and cut off the locking part. The tiles still fit together tongue n groove style they just no longer lock together. I will secure each tile to the floor with screws. The only hard part was finding a floor style/pattern I liked. Strangely, 80% of the flooring at the box stores is - wood!
So $350 total out the door for the entire floor (6 boxes), a date with the saw to void the warranty, and it's time to install us a floor. First up, find the centerline and figure out where to start. I went with the hatch under the companionway and worked my way around from there (first pic). Judicious use of the hot glue gun and slats to make templates. It went pretty quickly:

The hardest part was planning the cutouts for the bilge cover and other hatches in the floor. I also planned a few strategic cuts where the pieces don't interlock, they just butt together. Door frame areas and a few other places.

Another plus to the vinyl is that it is supposed to be relatively stable in temperature and humidity extremes. Again time will tell, but I took a chance and made the edge gaps pretty close. In a few places maybe no gap.Hers's the main cabin done:

Why do the floor now? Well, there's a reason (other than it's a good indicator of progress, which is sorely needed on long projects like this). We've got some changes coming up that I will reveal soon - good things, don't worry. Plus a potentially really good thing in the planning stage but can't reveal that until the proper time.
Next up, floor for the v-berth, galley and aft cabin.
Cheers,
Mark
Ok, so last post I said I had to do one thing before building the table - well, here it is:
That, gents, is (or will be soon) the flooring I chose. Here's my story: I thought long and hard about doing a teak & holly floor but I kept thinking there would just be too much wood. No feng-shui. I looked at other marine-type flooring like Lonseal etc., but they were mainly plastic sheets of - teak & holly! The options that weren't didn't do it for me. Plus that stuff is pretty pricey. More on that in a minute. I did price out teak & holly just to be thorough - current prices are running ~$350 a 4x8 sheet. My best estimate was that I would need 6 or more sheets to do the boat and I was not too jazzed at spending over $2000 for the floor. Lonseal and similar was equal or more expensive.
So, plan B (which did not come out of thin air, I have been thinking on this for quite a while) is . . . insert drumroll . . . Vinyl flooring from Home Depot (or Lowe's in my case). Start flame session - now!
So what did I get? It's called Luxury Vinyl Tile, come in 1x2 tiles, interlocks, it's waterproof and non-skid (time will tell if it holds up to a salt-water environment) and pretty easy to install. Especially after I "modified" the interlocking part. Basically locking the tiles together is a fool's errand and I had a plan. Before I even started fitting tiles I ran each one through the table saw and cut off the locking part. The tiles still fit together tongue n groove style they just no longer lock together. I will secure each tile to the floor with screws. The only hard part was finding a floor style/pattern I liked. Strangely, 80% of the flooring at the box stores is - wood
!So $350 total out the door for the entire floor (6 boxes), a date with the saw to void the warranty, and it's time to install us a floor
. First up, find the centerline and figure out where to start. I went with the hatch under the companionway and worked my way around from there (first pic). Judicious use of the hot glue gun and slats to make templates. It went pretty quickly:
The hardest part was planning the cutouts for the bilge cover and other hatches in the floor. I also planned a few strategic cuts where the pieces don't interlock, they just butt together. Door frame areas and a few other places.
Another plus to the vinyl is that it is supposed to be relatively stable in temperature and humidity extremes. Again time will tell, but I took a chance and made the edge gaps pretty close. In a few places maybe no gap
.Hers's the main cabin done:
Why do the floor now? Well, there's a reason (other than it's a good indicator of progress, which is sorely needed on long projects like this). We've got some changes coming up that I will reveal soon - good things, don't worry
. Plus a potentially really good thing in the planning stage but can't reveal that until the proper time.Next up, floor for the v-berth, galley and aft cabin.
Cheers,
Mark
It looks fantastic, Capt'n.
Just a question to better understand the savings on your floor. The $350 was for tile and ~6 sheets of underlayment at about $40/sheet? I assume the teak and Holly didn't need underlayment. If that's true, what do you estimate the difference in your labor would have been, had you gone with marine plywood flooring?
The tile looks wonderfully distinctive, by the way. I like it.
-Will
In a household, LVP does not need underlayment, as the bottom layer is some type of material like cork. Don't know what Mark did on that score though. One of the reasons we used LVP in our house was it is completely utterly impervious to water. To me, it is perfect for a boat. Wish I'd have thought of it when I did replaced my soles. The time savings would have been enormous....The $350 was for tile and ~6 sheets of underlayment at about $40/sheet?...
-Will

The Luxury Vinyl sells for around $3 to $4 a square foot, I didn't use any underlayment so I didn't price that. From watching and talking to the guys around here that have used it in there homes they didn't use underlayment either. The tiles have a molded-in thin cushion on the bottom so maybe that's why. The LVF is made pretty much entirely of PVC plastic so that's the waterproof part.It looks fantastic, Capt'n.
Just a question to better understand the savings on your floor. The $350 was for tile and ~6 sheets of underlayment at about $40/sheet? I assume the teak and Holly didn't need underlayment. If that's true, what do you estimate the difference in your labor would have been, had you gone with marine plywood flooring?
The tile looks wonderfully distinctive, by the way. I like it.
-Will
I decided against vinyl sheets (like Lonseal) for several reasons, one, only variations of teak & holly, and two, there would be a much larger amount of wasted material in the end. That was a big factor against the traditional teak & holly as well, since it comes in 4x8 sheets. Sounds simple enough until you remember that each end and corner much match the plank/stripe of all the others and it's not unusual to waste 2/3rds of a sheet sometimes. That hurts at $350 a sheet!
I lucked out and hit the exact amount on my first go because I could pattern out the tiles beforehand - I cut a 1'x2' pattern out of construction paper and marked out the tile locations, working around the floor and against the edges, counting as I went. That accounted for waste by doing it that way. I figured I would need 49 tiles (98 sq. ft) and I could reuse some of the leftover pieces in other places. 8 tiles per box, 6 boxes, and I have 2 full tiles left over, plus some cut pieces.
So total cost for the entire floor was $350, or the equivalent of one full sheet of teak & holly. The only added cost has been jigsaw blades - the tiles eat them for breakfast!
If you are not finished, or ever do this in a home, I recommend Bosch T128BHM3 blades... The only added cost has been jigsaw blades - the tiles eat them for breakfast!
for LVP. Thin kerf, seem to last a lot longer than other blades I tried.
I'll have to look for those next time I'm out n about, but too late for the floor - it's all done. I think I said so before, but my pace has ramped up greatly since the weather has improved here and I'm about two or three weeks behind in updates. Partly my fault but sometimes I have to force myself to sit down and do updates. Temporary condition for sureIf you are not finished, or ever do this in a home, I recommend Bosch T128BHM3 blades
for LVP. Thin kerf, seem to last a lot longer than other blades I tried.
.Finishing the floor:
Moving right along - and much, much faster than a teak & holly floor would go - after finishing the main cabin next was the v-berth:

I had one last corner to finish but had to wait on that for a scrap piece with the right corner available, so moving on to the aft cabin:


I then had enough leftover bits to finish the v-berth. the galley area got finished next then I tackled these areas:


These little decorative "wings"(?) serve no purpose other than, well, decoration I guess, but the liner is molded for something to fit there. I thought about filling the depressions in the liner when I redid the aft cabin but decided to keep them. Styling, you know.
Next up was to finish out the hatches. I didn't like the idea of running the floor edges flush with the hatches so I added these:

The hatches got the same edging and will get clearcoated when I get the gaps to my liking:


Next up, making a table and other bits.
Cheers,
Mark
Moving right along - and much, much faster than a teak & holly floor would go - after finishing the main cabin next was the v-berth:
I had one last corner to finish but had to wait on that for a scrap piece with the right corner available, so moving on to the aft cabin:
I then had enough leftover bits to finish the v-berth. the galley area got finished next then I tackled these areas:
These little decorative "wings"(?) serve no purpose other than, well, decoration I guess, but the liner is molded for something to fit there. I thought about filling the depressions in the liner when I redid the aft cabin but decided to keep them. Styling, you know
.Next up was to finish out the hatches. I didn't like the idea of running the floor edges flush with the hatches so I added these:
The hatches got the same edging and will get clearcoated when I get the gaps to my liking:
Next up, making a table and other bits.
Cheers,
Mark