A side adventure and a lesson:
Hi guys - I spent a good chunk of the last few days helping out a friend with a small problem. Just three ceiling/overhead lights out. No biggy, right? Well, we're on day four and just now buttoning things up! (No worries, he's paying me in Captain Morgan so totally fair trade! )
)
He'd got a 2002 (or 01, or 03?) Tartan 36-ish, really nice boat, well taken care of and clean as a whistle. I have to say, based on what I've seen (and seen behind when I started taking things apart) well constructed and well thought out. For the most part. Now comes the rant!
During the diagnosis on the inop lights, obvious things like bad bulbs were ruled out straightaway and I proceeded to the wiring to check for bad connections, etc., and I checked the switches and fixtures as well. The light fixtures all tested good but eventually it was discovered that the + wire on all three was dead. Now comes the hard part. A thorough examination of the accessible wiring starting at the DC panel led - nowhere, and a query to Tartan to get a wiring diagram led - nowhere!
Next up, manually tracing the wiring. This led initially into the lazerettes (which I discovered I do NOT fit into - unfortunately after I slithered into them) where once again the search led nowhere. It is extremely difficult to map out a wiring layout without having - the map of the wiring layout! Much headscratching at this point.
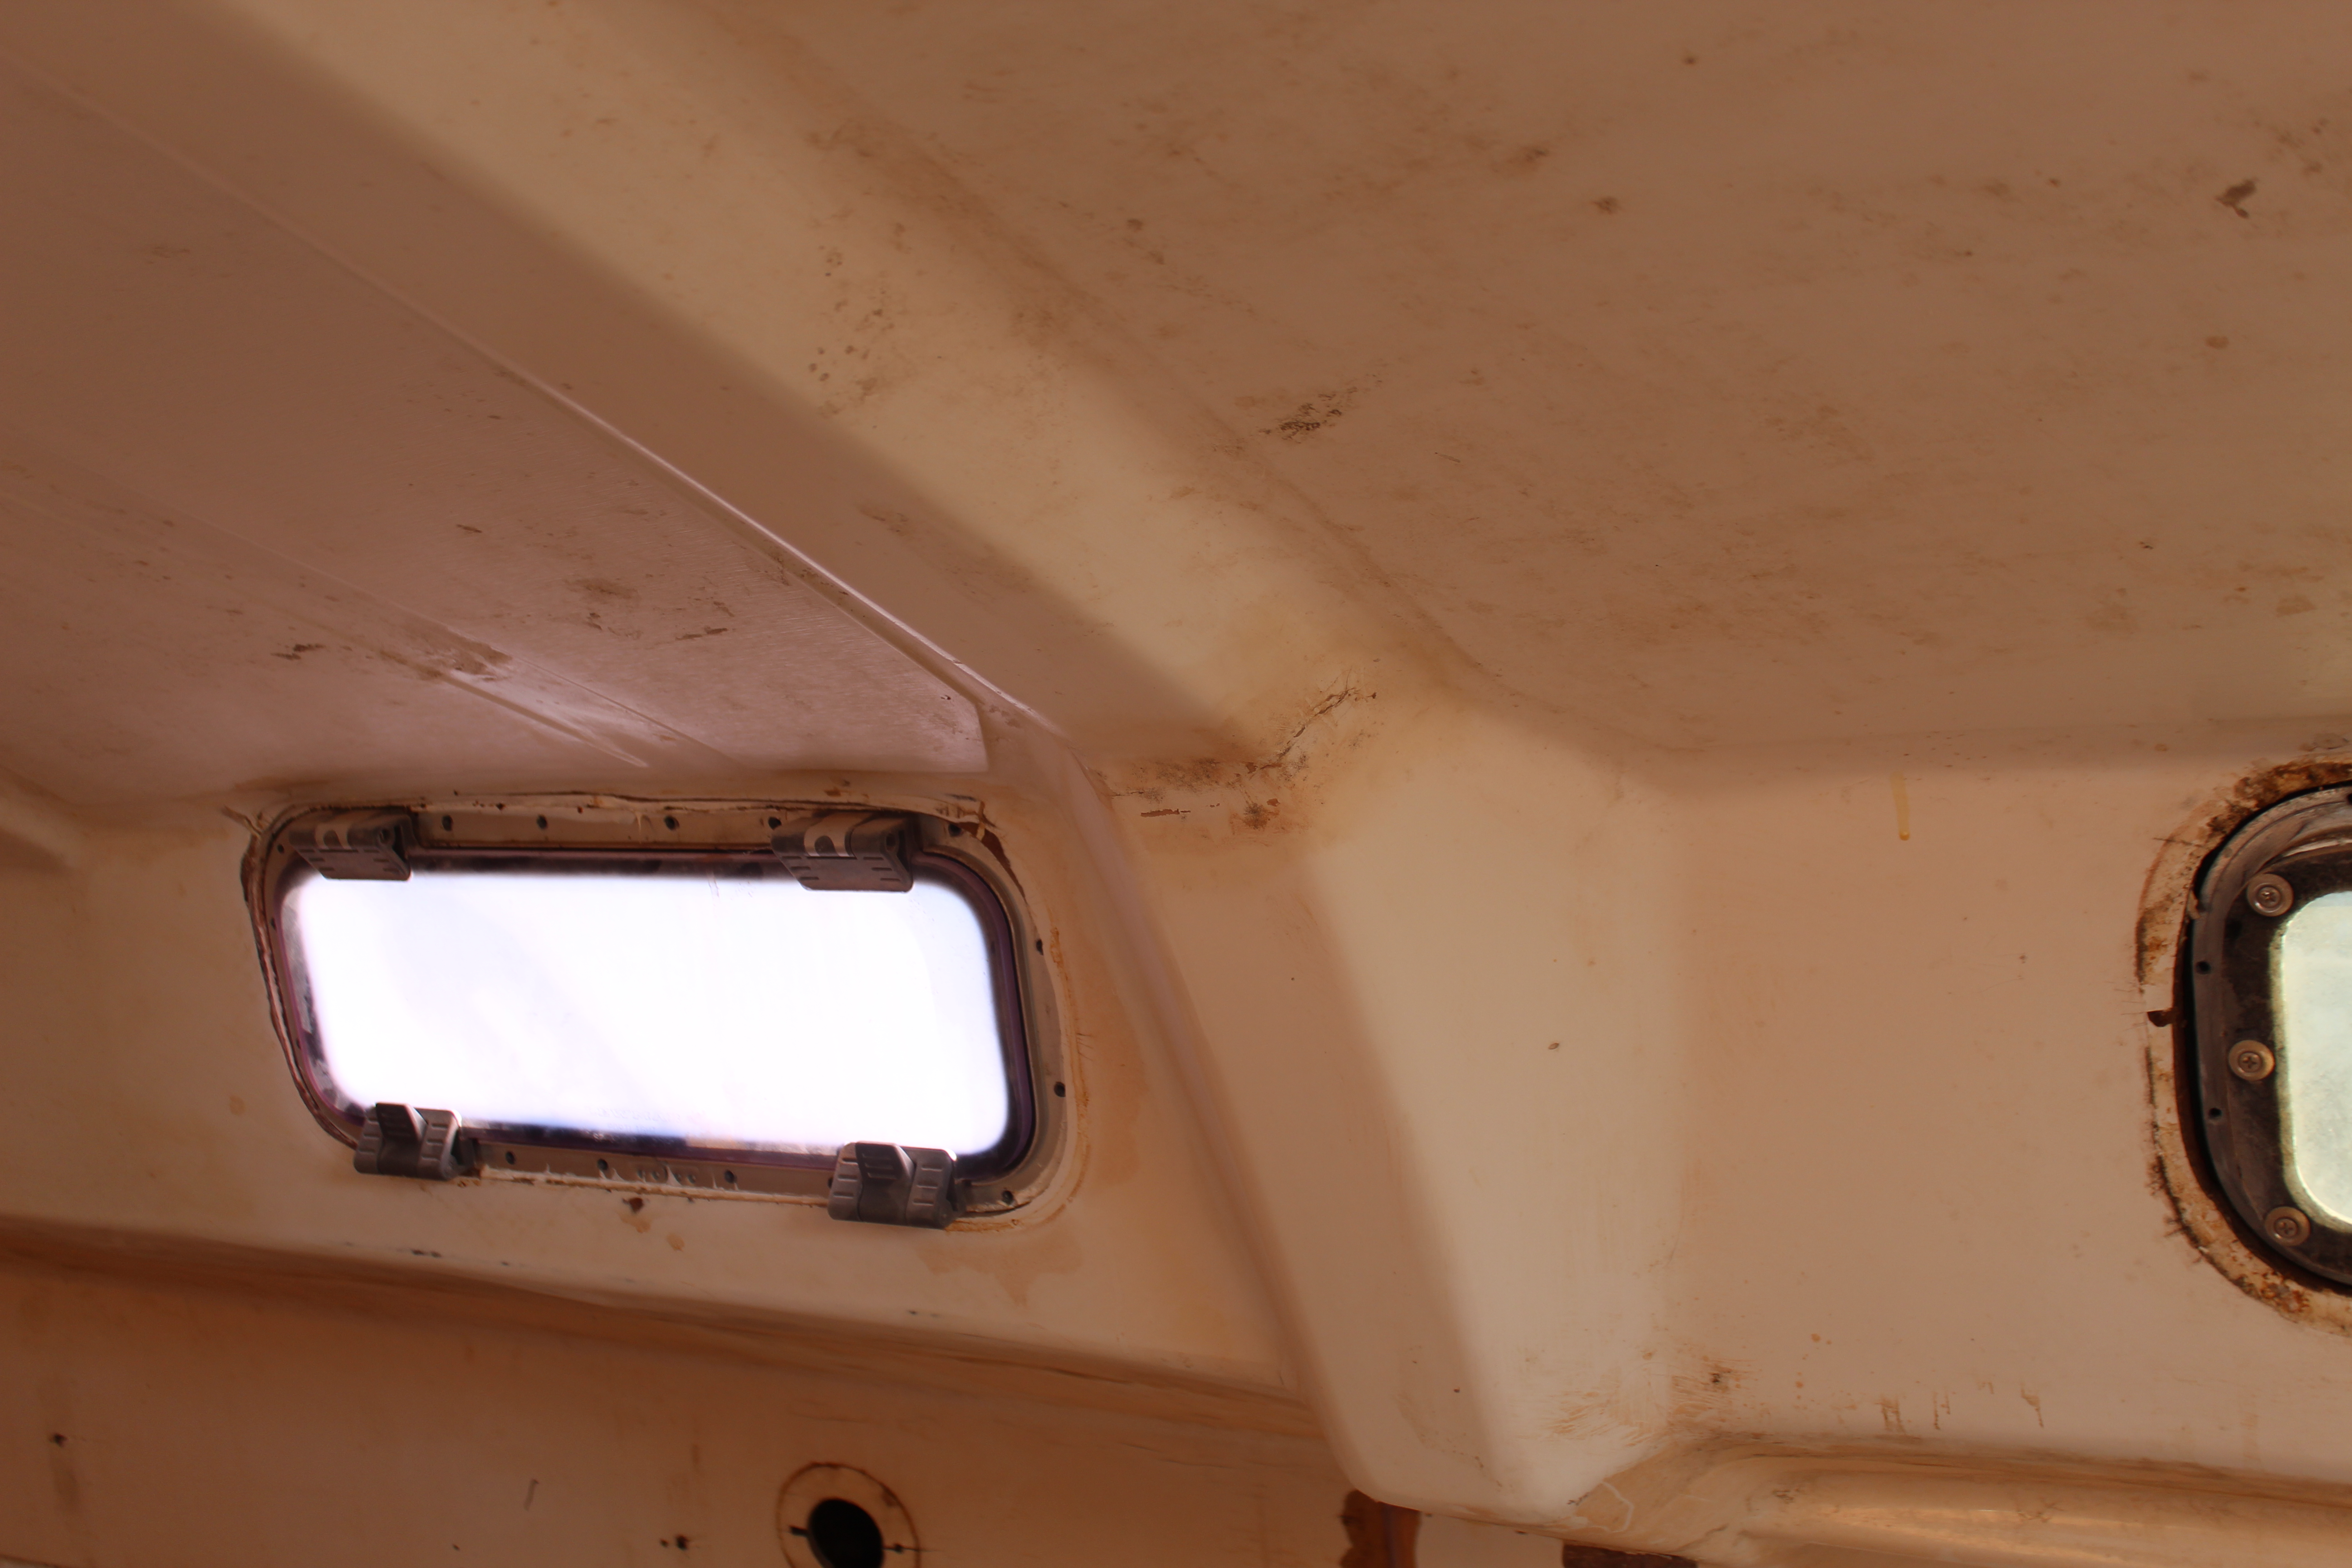
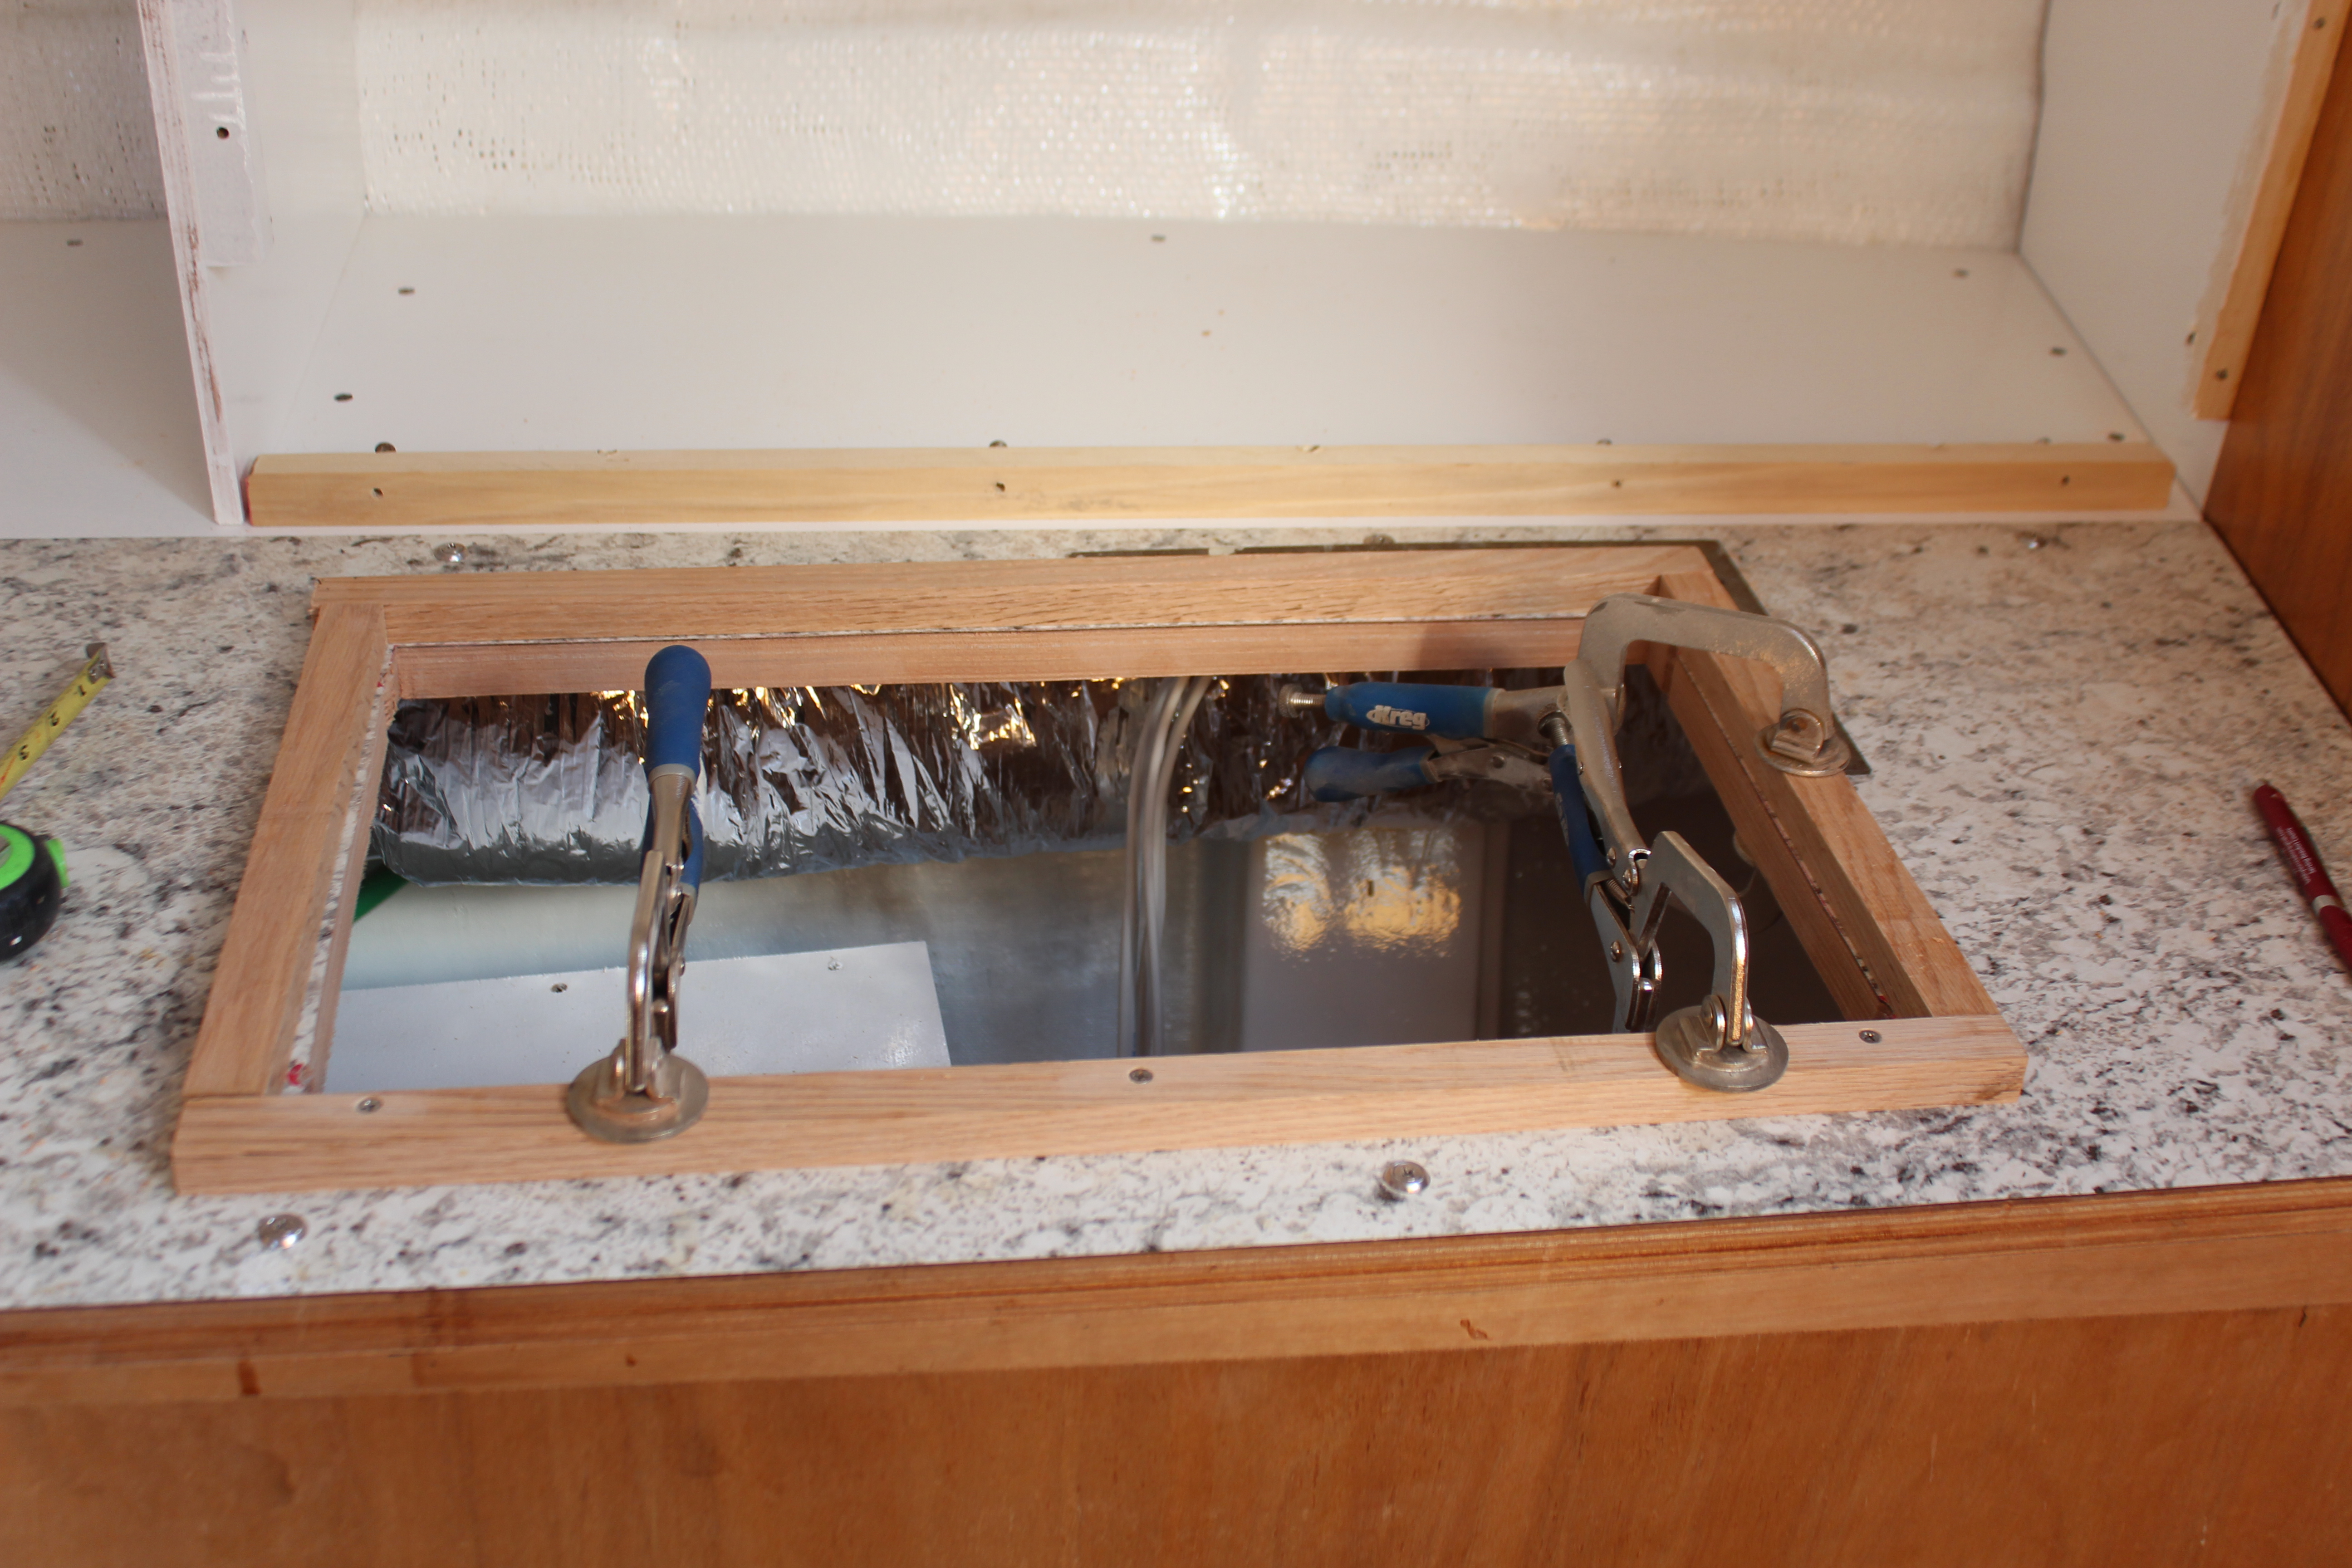
I then decided that the tiny hole Tartan drilled into the headliner for the wiring for each light was too small since I was now on Plan C - which involved the endoscope so I could visually see where the wires were going - so out came the Dremel to enlarge said holes. Afterward, eureka! On one light I found a broken connector! A quick repair and light #1 fixed. Progress.
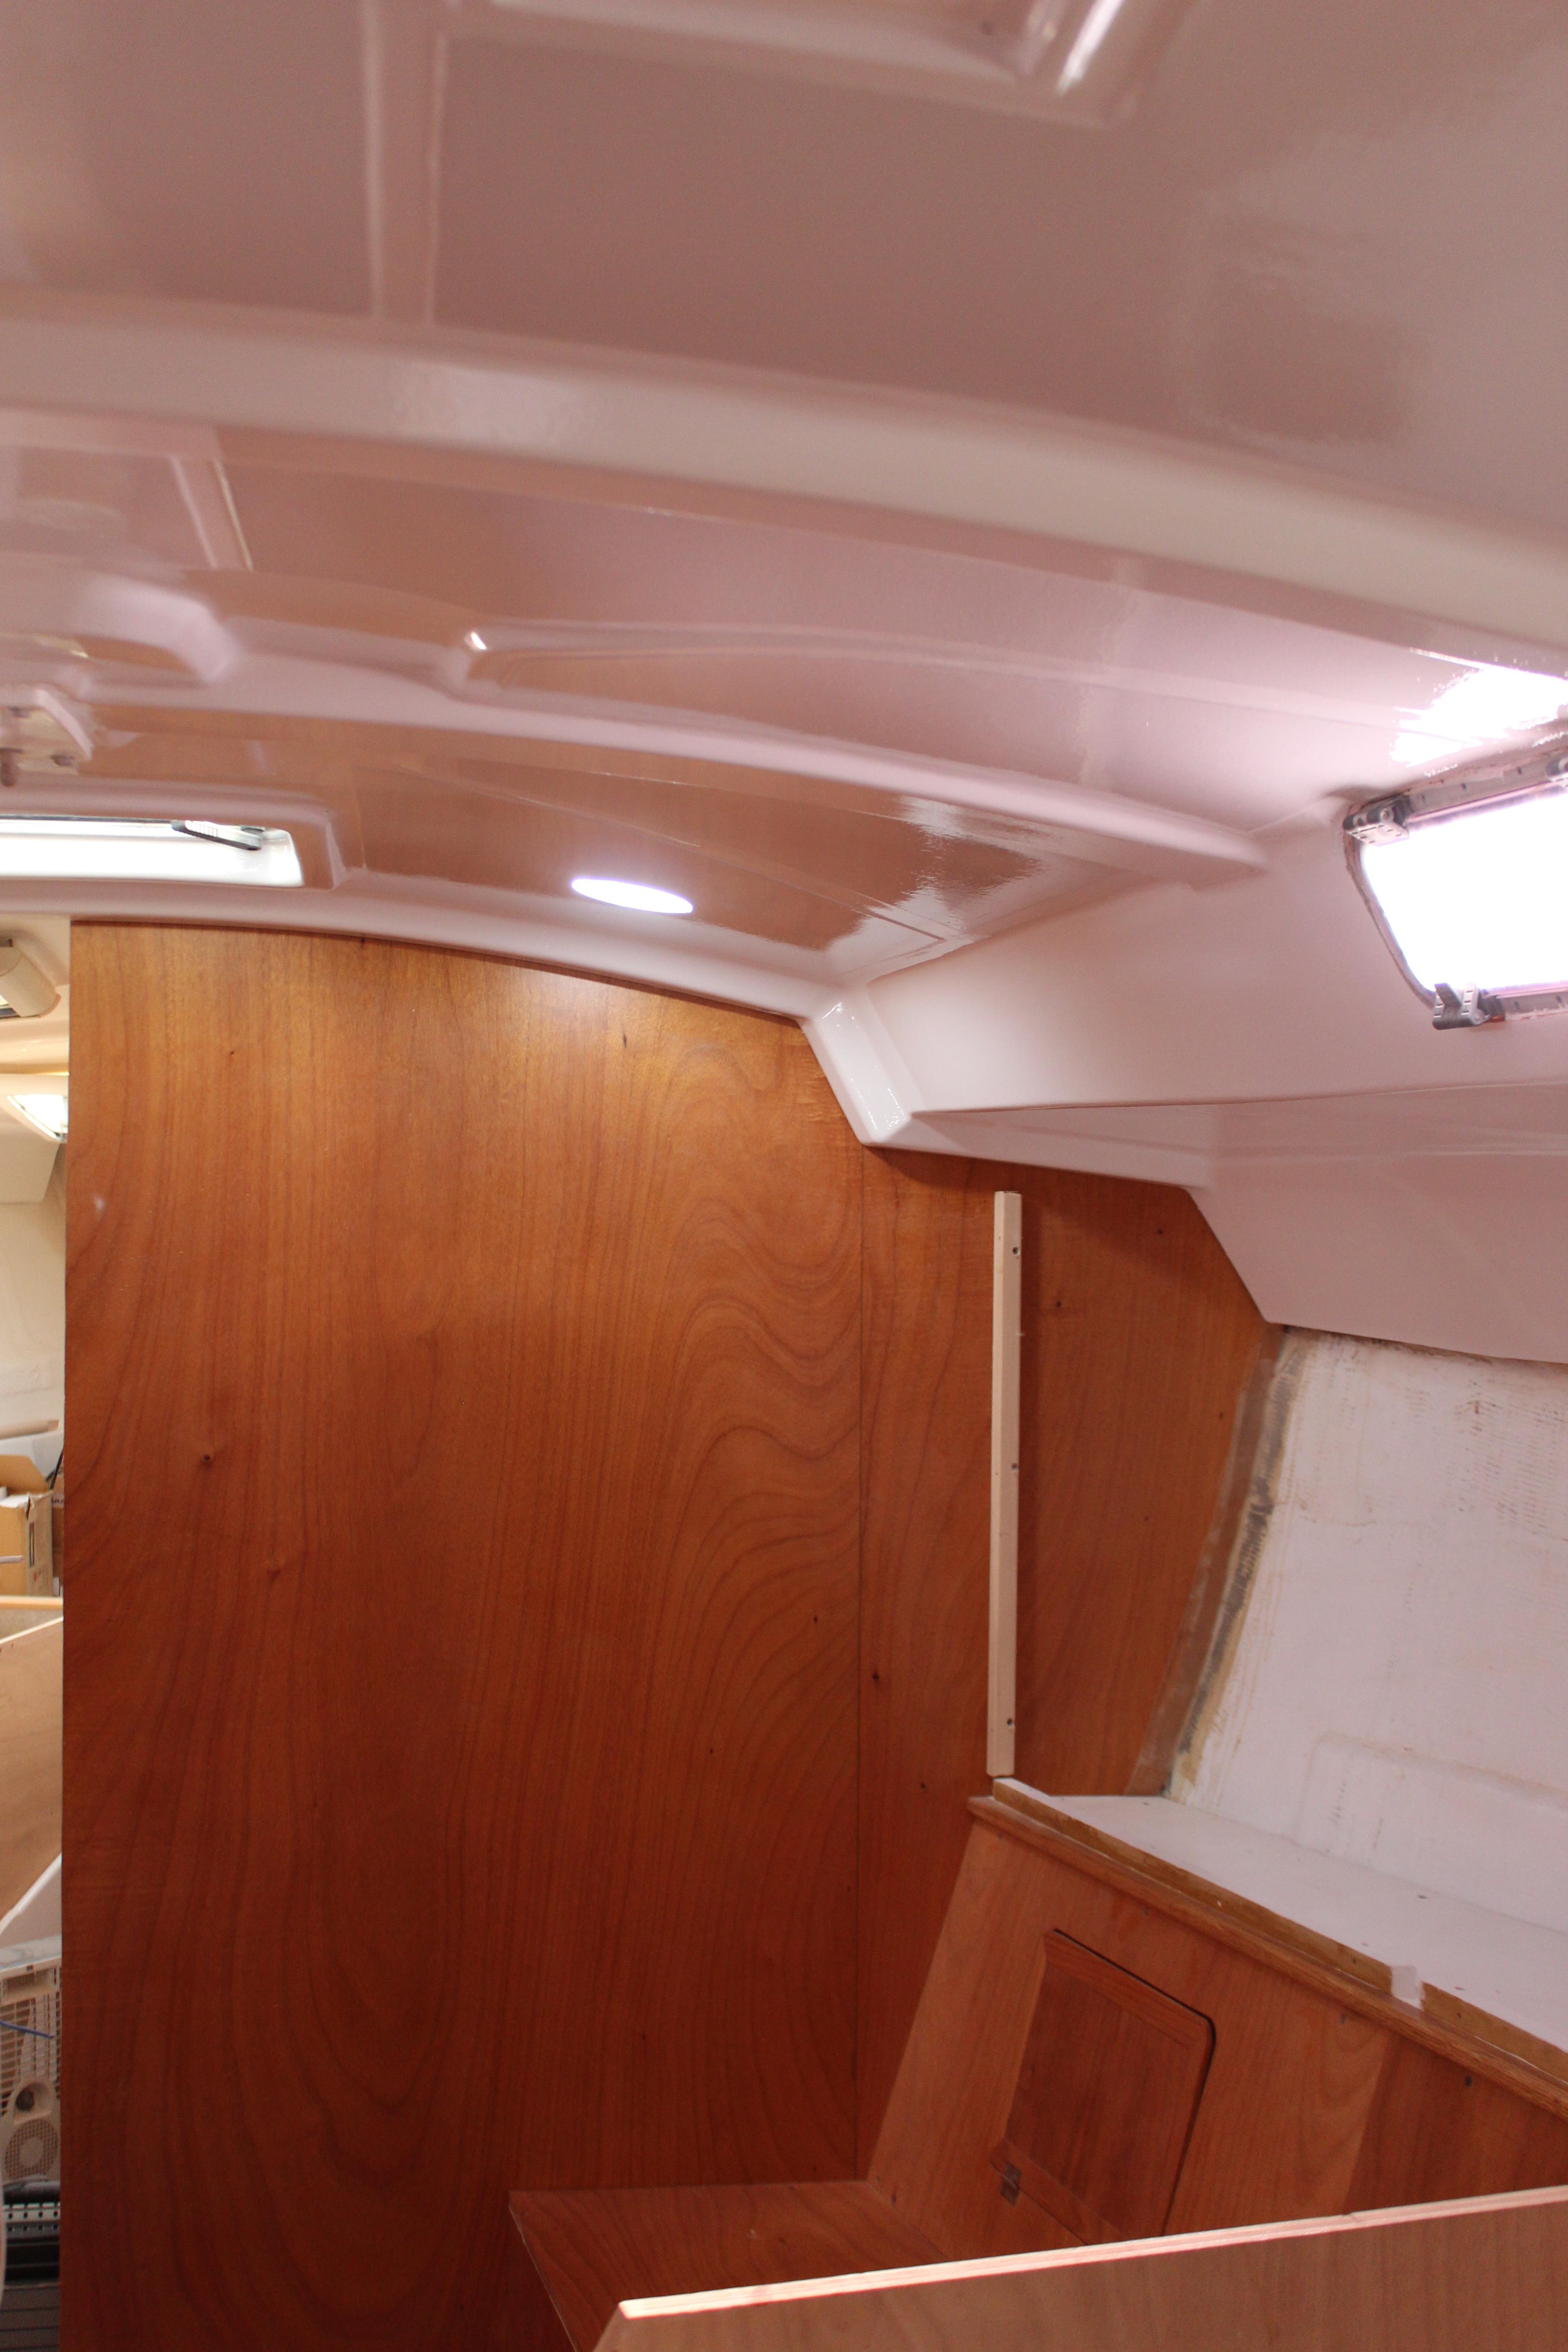
Remaining two lights, no such luck. And here's where my rant comes in, and it's not a true rant, more of a rage against a necessity inherent to boats. To have overhead lights one must run wiring along, into, through or somewhere in the vicinity of the overhead. And since modern boats usually have molded headliners, that means the wiring is trapped between the liner and the deck. And thus, inaccessible..  . And that became the problem. Compounded by (how I finally discovered) the manufacturer decided to run the wiring.
Leaving out how I finally discovered this, the overhead wiring split off after the breaker and busbar into a single + and - feed for each side, port and starboard. Sandwiched of course between the headliner and deck. At every overhead light, the feed wire was cut and a Y was made with a branch wire and a butt connector. So here we have multiple failure points compounded by the fact that none of the connections had heat shrink or was weather-proofed in any way. And of course, the camera confirmed for me that each of these Y-connections was too far from the access hole to get to and the wiring itself was too short to pull through the access hole. More.
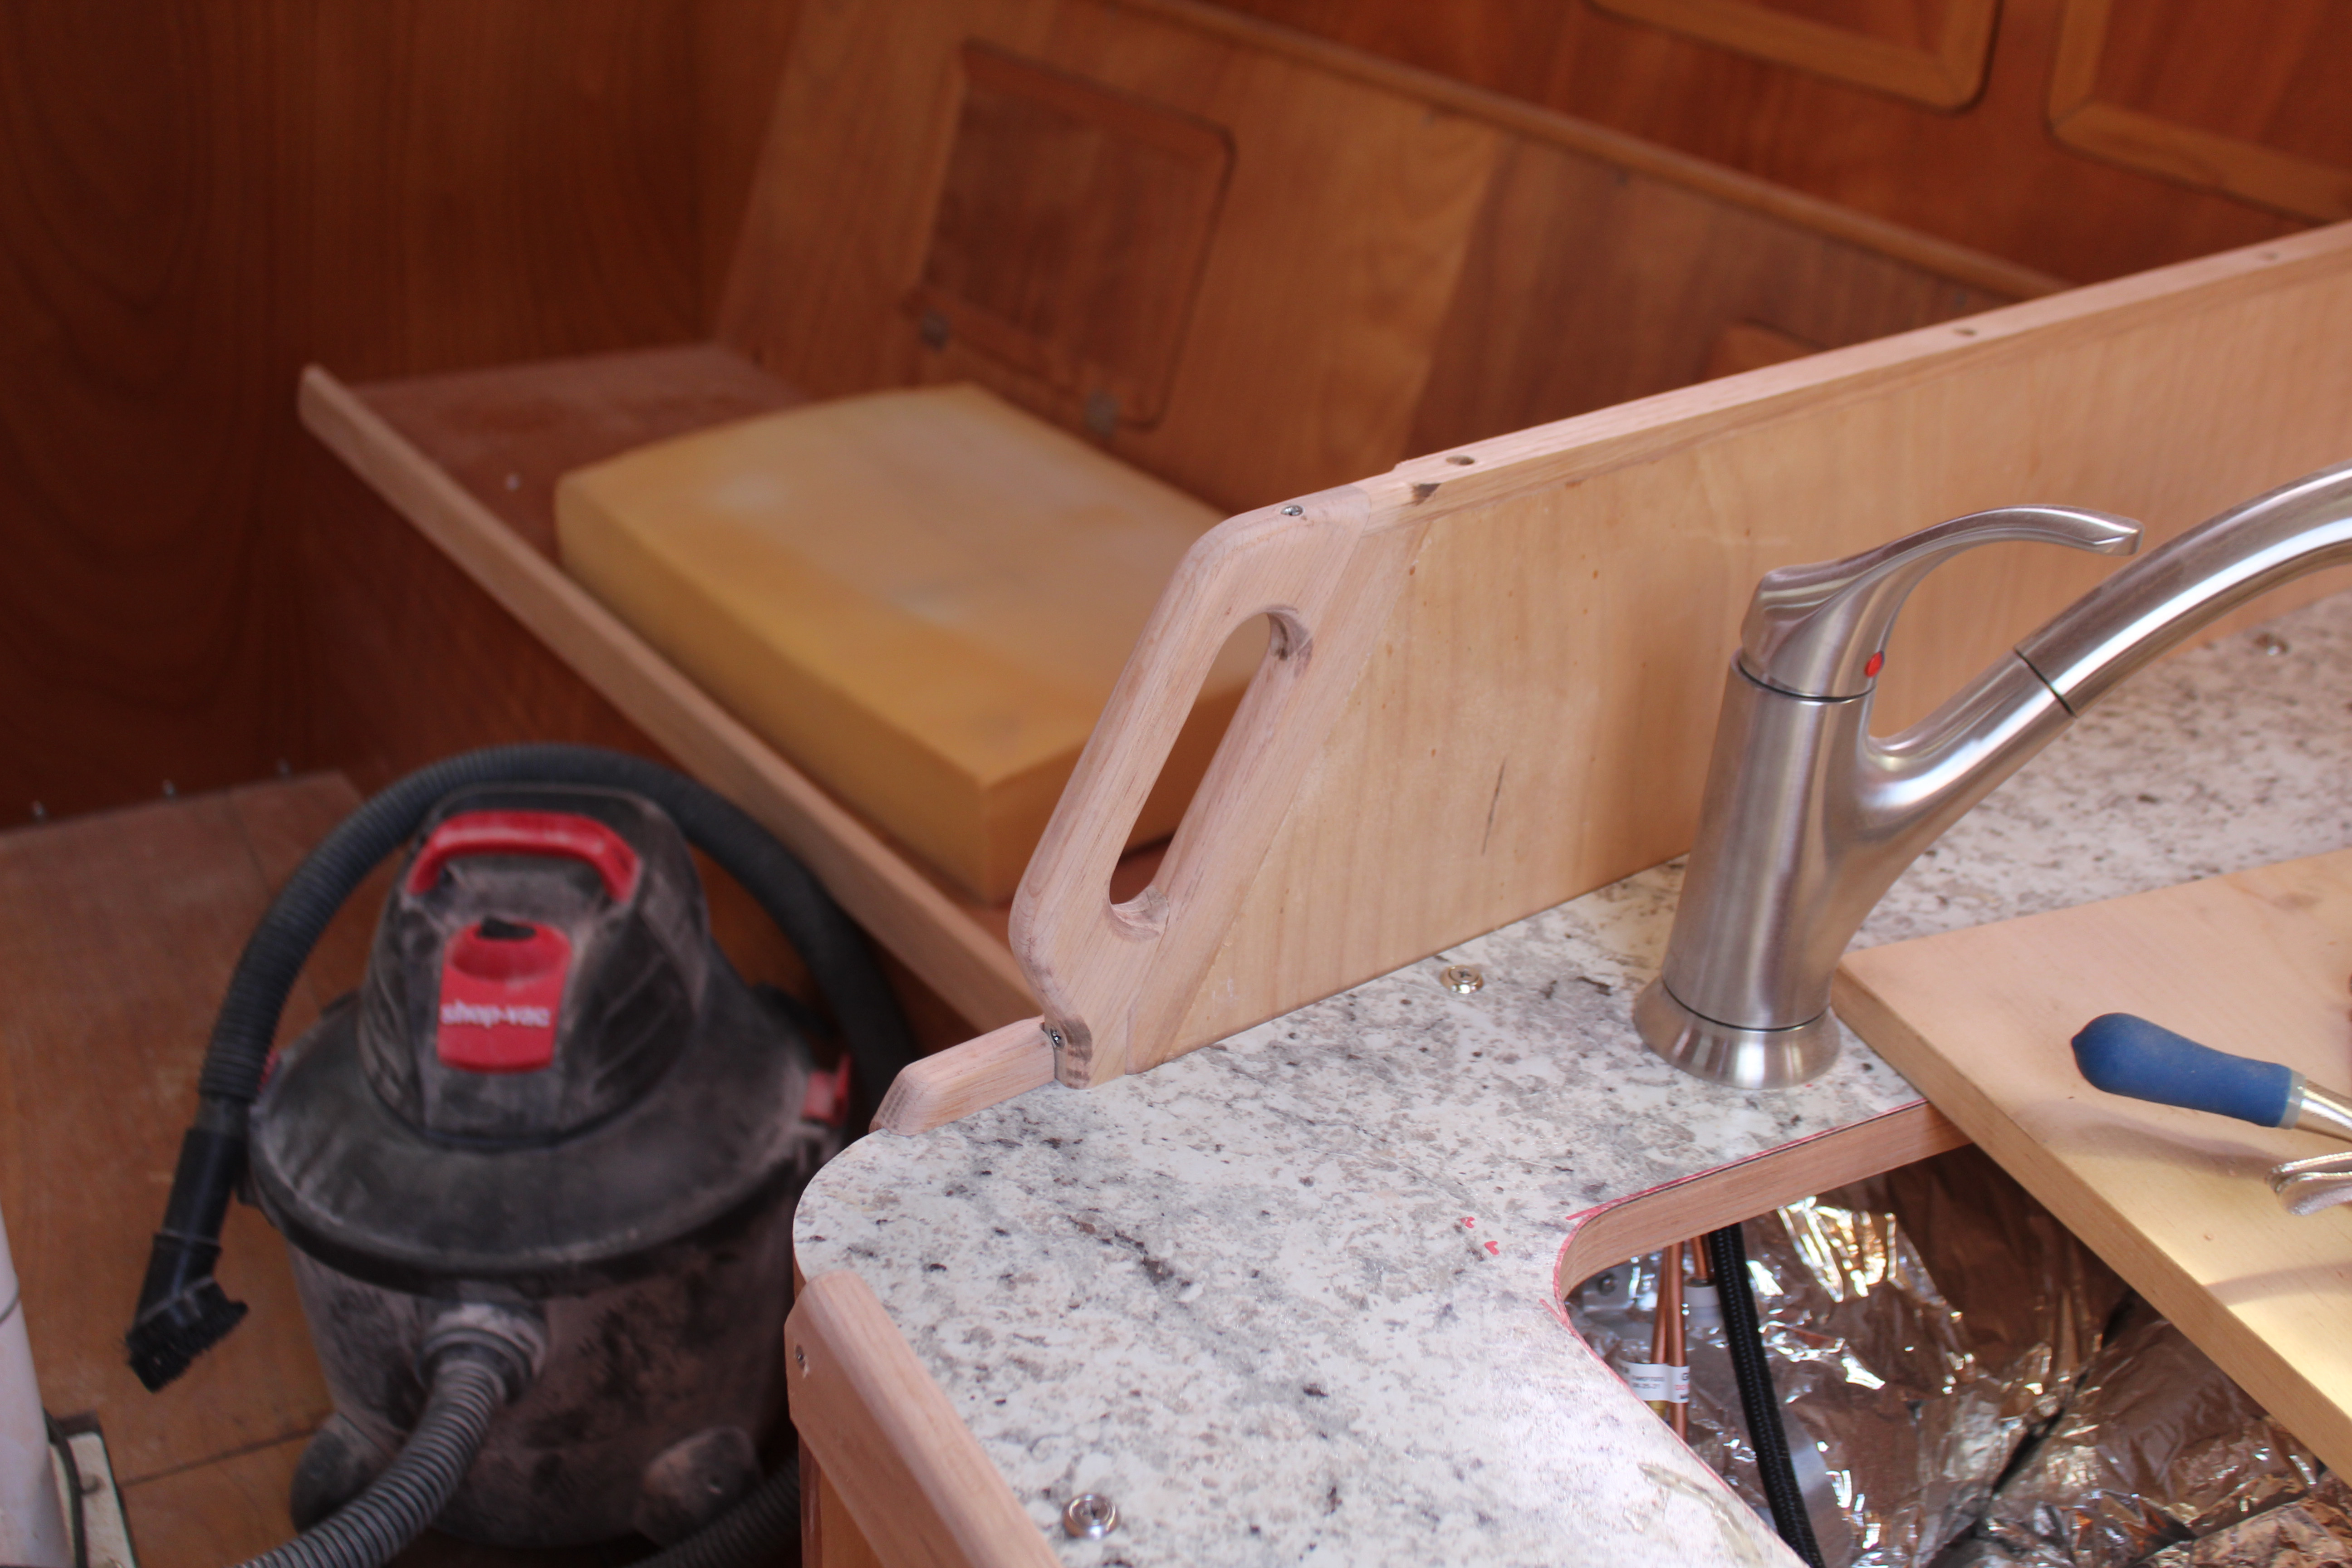
Final solution (agreed to by the owner who watched all of this unfold) was to fish a new wire between the two remaining inop lights and run a new + from a good cabin light source around, behind and through various bits of cabinetry to one of the fixtures, leaving a few inches of exposed wire between the light and the cabinet. Luckily you have to know it's there to even see it. Connect everything up and - lights! Now to finish putting everything back together.
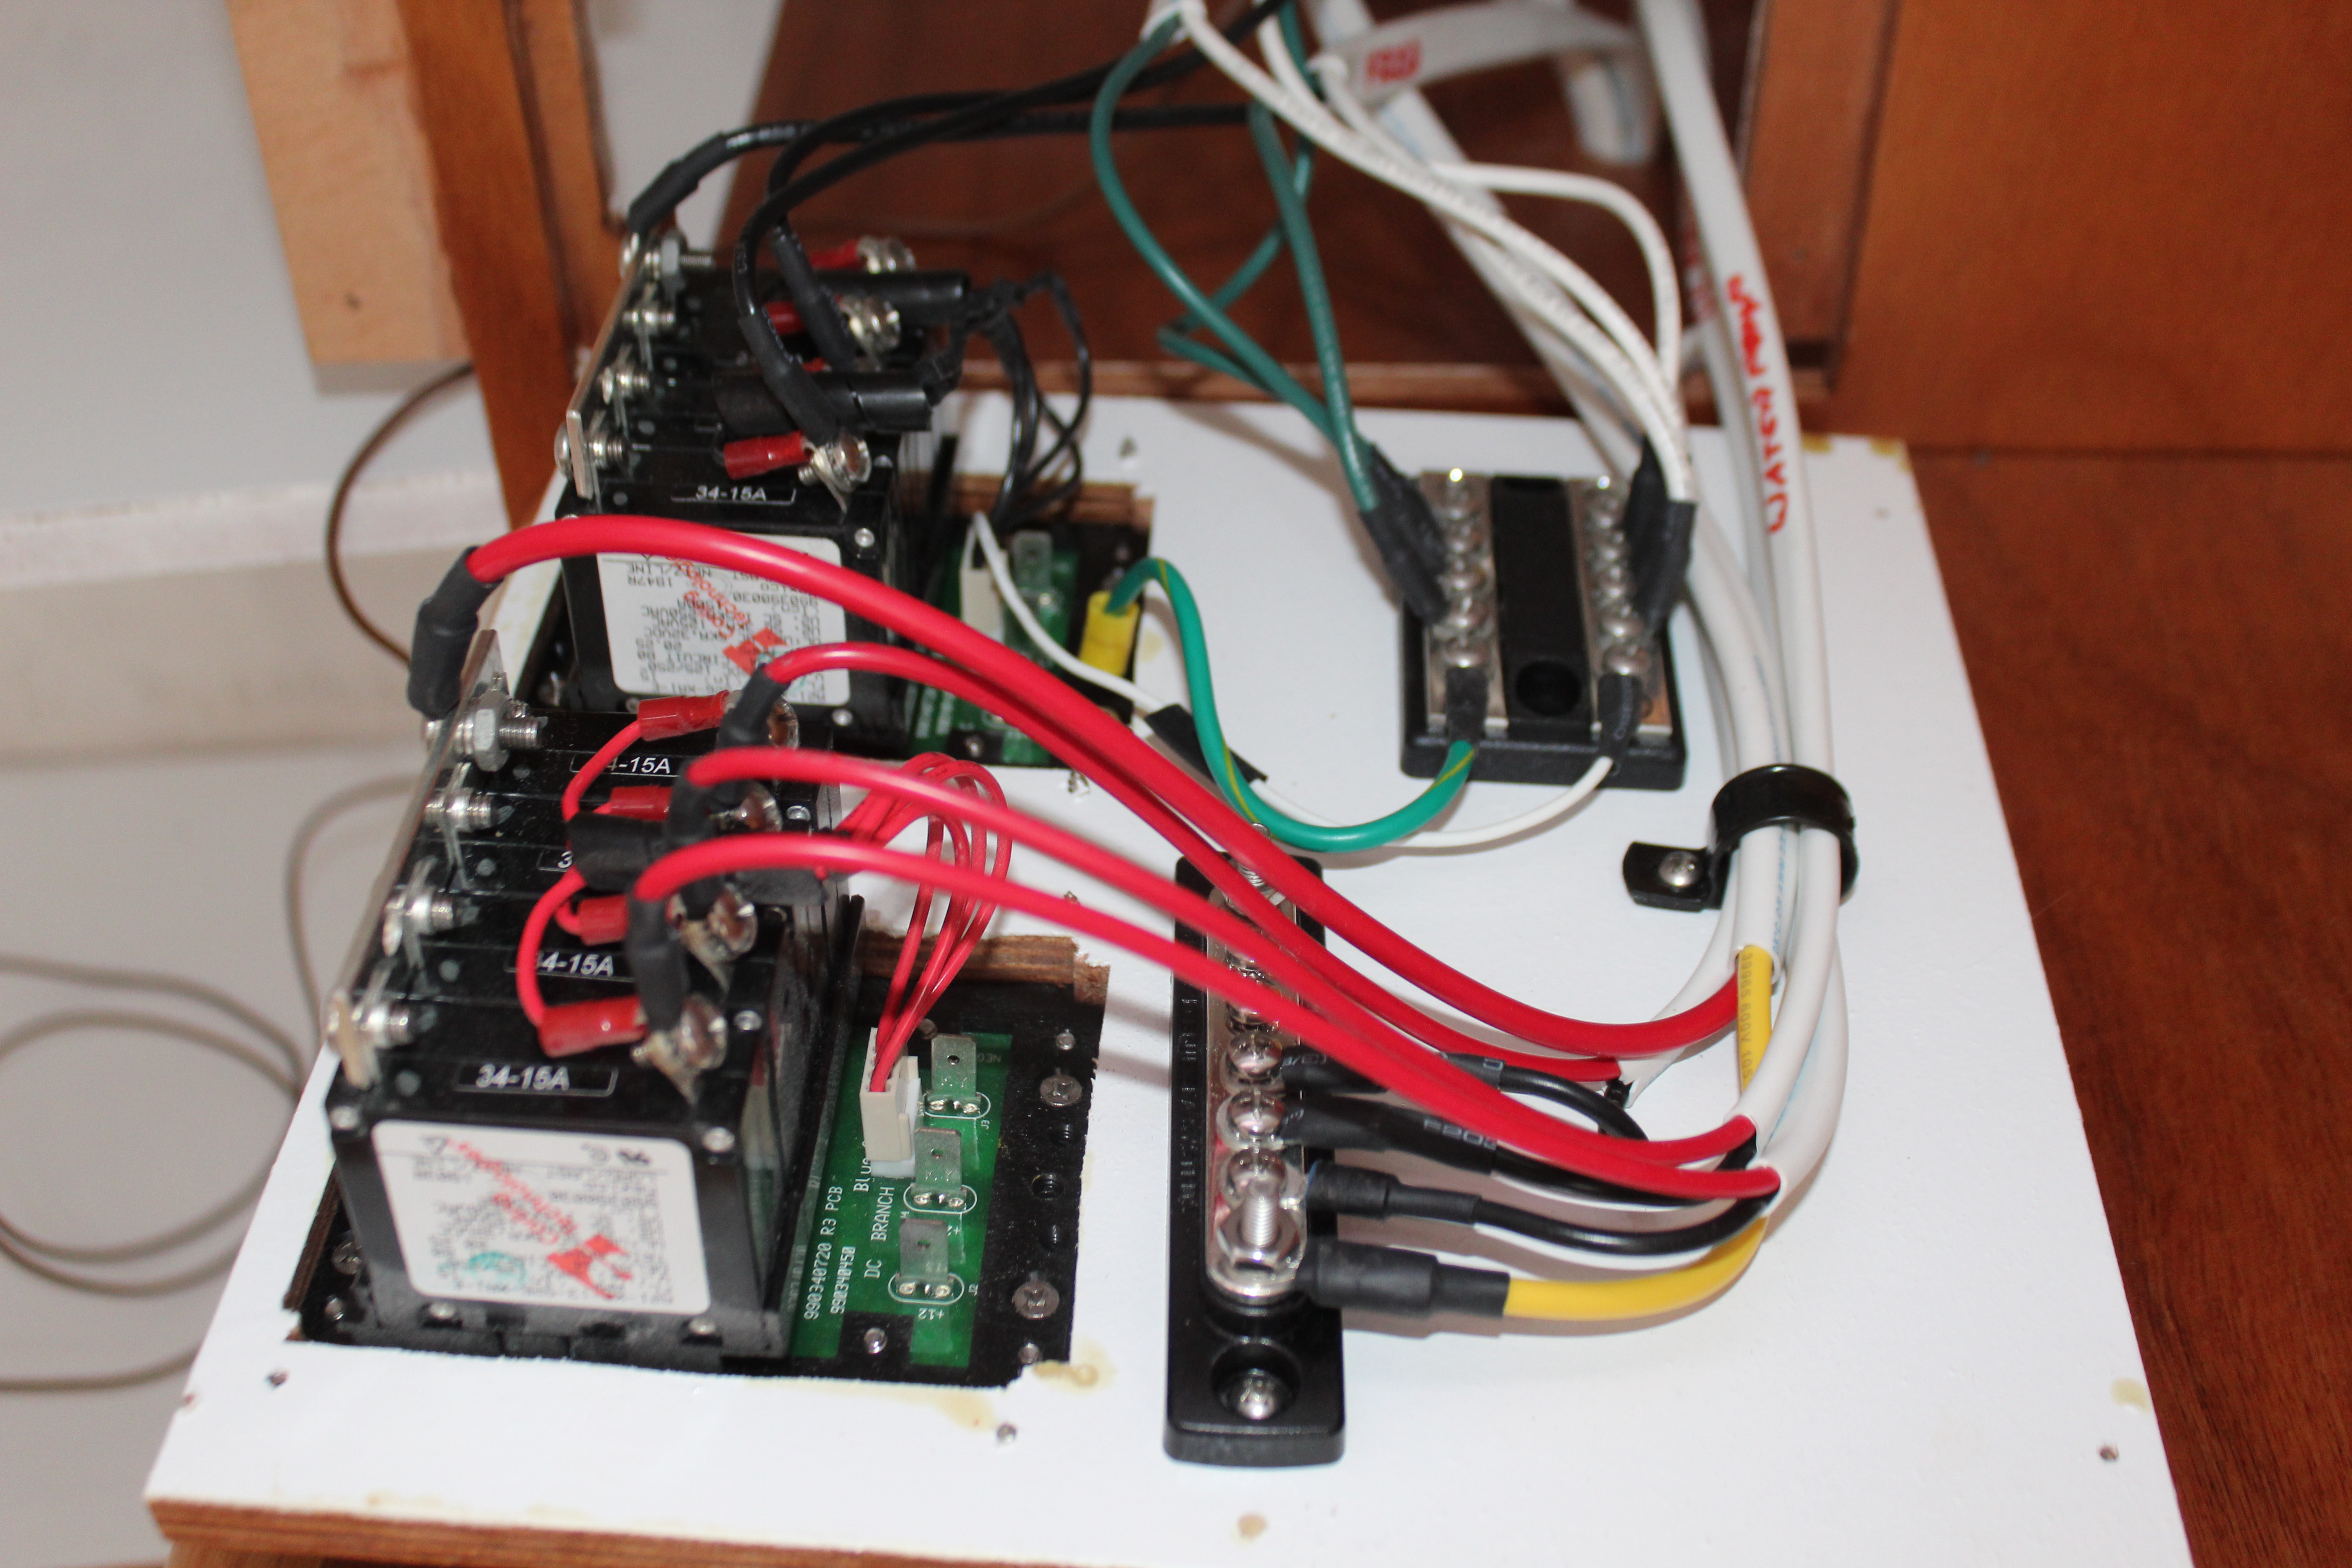
Now for the reason for this little sideways tale. A while back when I laid out my plan for the electrical system for my boat a few of you guys expressed doubts about why I wanted to do a distributed electrical panel system. In my mind, my idea was valid (for a few reasons but mostly) because it reduced the "bundling" effect the wiring has at the panel/breaker terminus. Which caused a major headache on the Tartan. The sheer volume of wiring behind the panel was mind-boggling!
My main panel will only have feed wires to each branch and each branch will have wires only to each switch or switch panel which will then branch to each end use.
Is this more complex to set up? Yes. Does it reduce the wiring amounts, lengths, etc? No. (Well, yes, sort of, but sort of no too). Does it change the laws of electricity, physics and nutrition? Nope. But - and here's the but that in my mind makes me the hero - does it make repairing failures and faults easier? I say yes, yes, yes!
Another major departure from modern boat philosophy that I'm doing that will compound future ease of repairs is that, while I am hiding the wiring, I'm not burying it (and a massive amount of the wiring on the Tartan is buried)! I will have easy access to every inch of wire on the boat (even if I have to remove a panel or two to get to it) and my wire bundles will be much, much smaller, therefore easier to manage.
Ok, rant off, and back to regularly scheduled mayhem and chaos! And rant aside, I really was impressed with the Tartan.
Cheers,
Mark
Hi guys - I spent a good chunk of the last few days helping out a friend with a small problem. Just three ceiling/overhead lights out. No biggy, right? Well, we're on day four and just now buttoning things up! (No worries, he's paying me in Captain Morgan so totally fair trade!
)He'd got a 2002 (or 01, or 03?) Tartan 36-ish, really nice boat, well taken care of and clean as a whistle. I have to say, based on what I've seen (and seen behind when I started taking things apart) well constructed and well thought out. For the most part. Now comes the rant!
During the diagnosis on the inop lights, obvious things like bad bulbs were ruled out straightaway and I proceeded to the wiring to check for bad connections, etc., and I checked the switches and fixtures as well. The light fixtures all tested good but eventually it was discovered that the + wire on all three was dead. Now comes the hard part. A thorough examination of the accessible wiring starting at the DC panel led - nowhere, and a query to Tartan to get a wiring diagram led - nowhere!
Next up, manually tracing the wiring. This led initially into the lazerettes (which I discovered I do NOT fit into - unfortunately after I slithered into them
) where once again the search led nowhere. It is extremely difficult to map out a wiring layout without having - the map of the wiring layout! Much headscratching at this point.I then decided that the tiny hole Tartan drilled into the headliner for the wiring for each light was too small since I was now on Plan C - which involved the endoscope so I could visually see where the wires were going - so out came the Dremel to enlarge said holes. Afterward, eureka! On one light I found a broken connector! A quick repair and light #1 fixed. Progress
.Remaining two lights, no such luck. And here's where my rant comes in, and it's not a true rant, more of a rage against a necessity inherent to boats. To have overhead lights one must run wiring along, into, through or somewhere in the vicinity of the overhead. And since modern boats usually have molded headliners, that means the wiring is trapped between the liner and the deck. And thus, inaccessible.
. . And that became the problem. Compounded by (how I finally discovered) the manufacturer decided to run the wiring.Leaving out how I finally discovered this, the overhead wiring split off after the breaker and busbar into a single + and - feed for each side, port and starboard. Sandwiched of course between the headliner and deck. At every overhead light, the feed wire was cut and a Y was made with a branch wire and a butt connector. So here we have multiple failure points compounded by the fact that none of the connections had heat shrink or was weather-proofed in any way. And of course, the camera confirmed for me that each of these Y-connections was too far from the access hole to get to and the wiring itself was too short to pull through the access hole. More
.Final solution (agreed to by the owner who watched all of this unfold) was to fish a new wire between the two remaining inop lights and run a new + from a good cabin light source around, behind and through various bits of cabinetry to one of the fixtures, leaving a few inches of exposed wire between the light and the cabinet. Luckily you have to know it's there to even see it. Connect everything up and - lights! Now to finish putting everything back together
.Now for the reason for this little sideways tale. A while back when I laid out my plan for the electrical system for my boat a few of you guys expressed doubts about why I wanted to do a distributed electrical panel system. In my mind, my idea was valid (for a few reasons but mostly) because it reduced the "bundling" effect the wiring has at the panel/breaker terminus. Which caused a major headache on the Tartan. The sheer volume of wiring behind the panel was mind-boggling!
My main panel will only have feed wires to each branch and each branch will have wires only to each switch or switch panel which will then branch to each end use.
Is this more complex to set up? Yes. Does it reduce the wiring amounts, lengths, etc? No. (Well, yes, sort of, but sort of no too
). Does it change the laws of electricity, physics and nutrition? Nope. But - and here's the but that in my mind makes me the hero - does it make repairing failures and faults easier? I say yes, yes, yes!Another major departure from modern boat philosophy that I'm doing that will compound future ease of repairs is that, while I am hiding the wiring, I'm not burying it (and a massive amount of the wiring on the Tartan is buried)! I will have easy access to every inch of wire on the boat (even if I have to remove a panel or two to get to it) and my wire bundles will be much, much smaller, therefore easier to manage.
Ok, rant off, and back to regularly scheduled mayhem and chaos! And rant aside, I really was impressed with the Tartan.
Cheers,
Mark