Repairing Hunter 40 damage from Hurricane Matthew

May 8, 2013
629
Hunter 40 Dataw Island, SC
Concluding water tank tomfoolery:

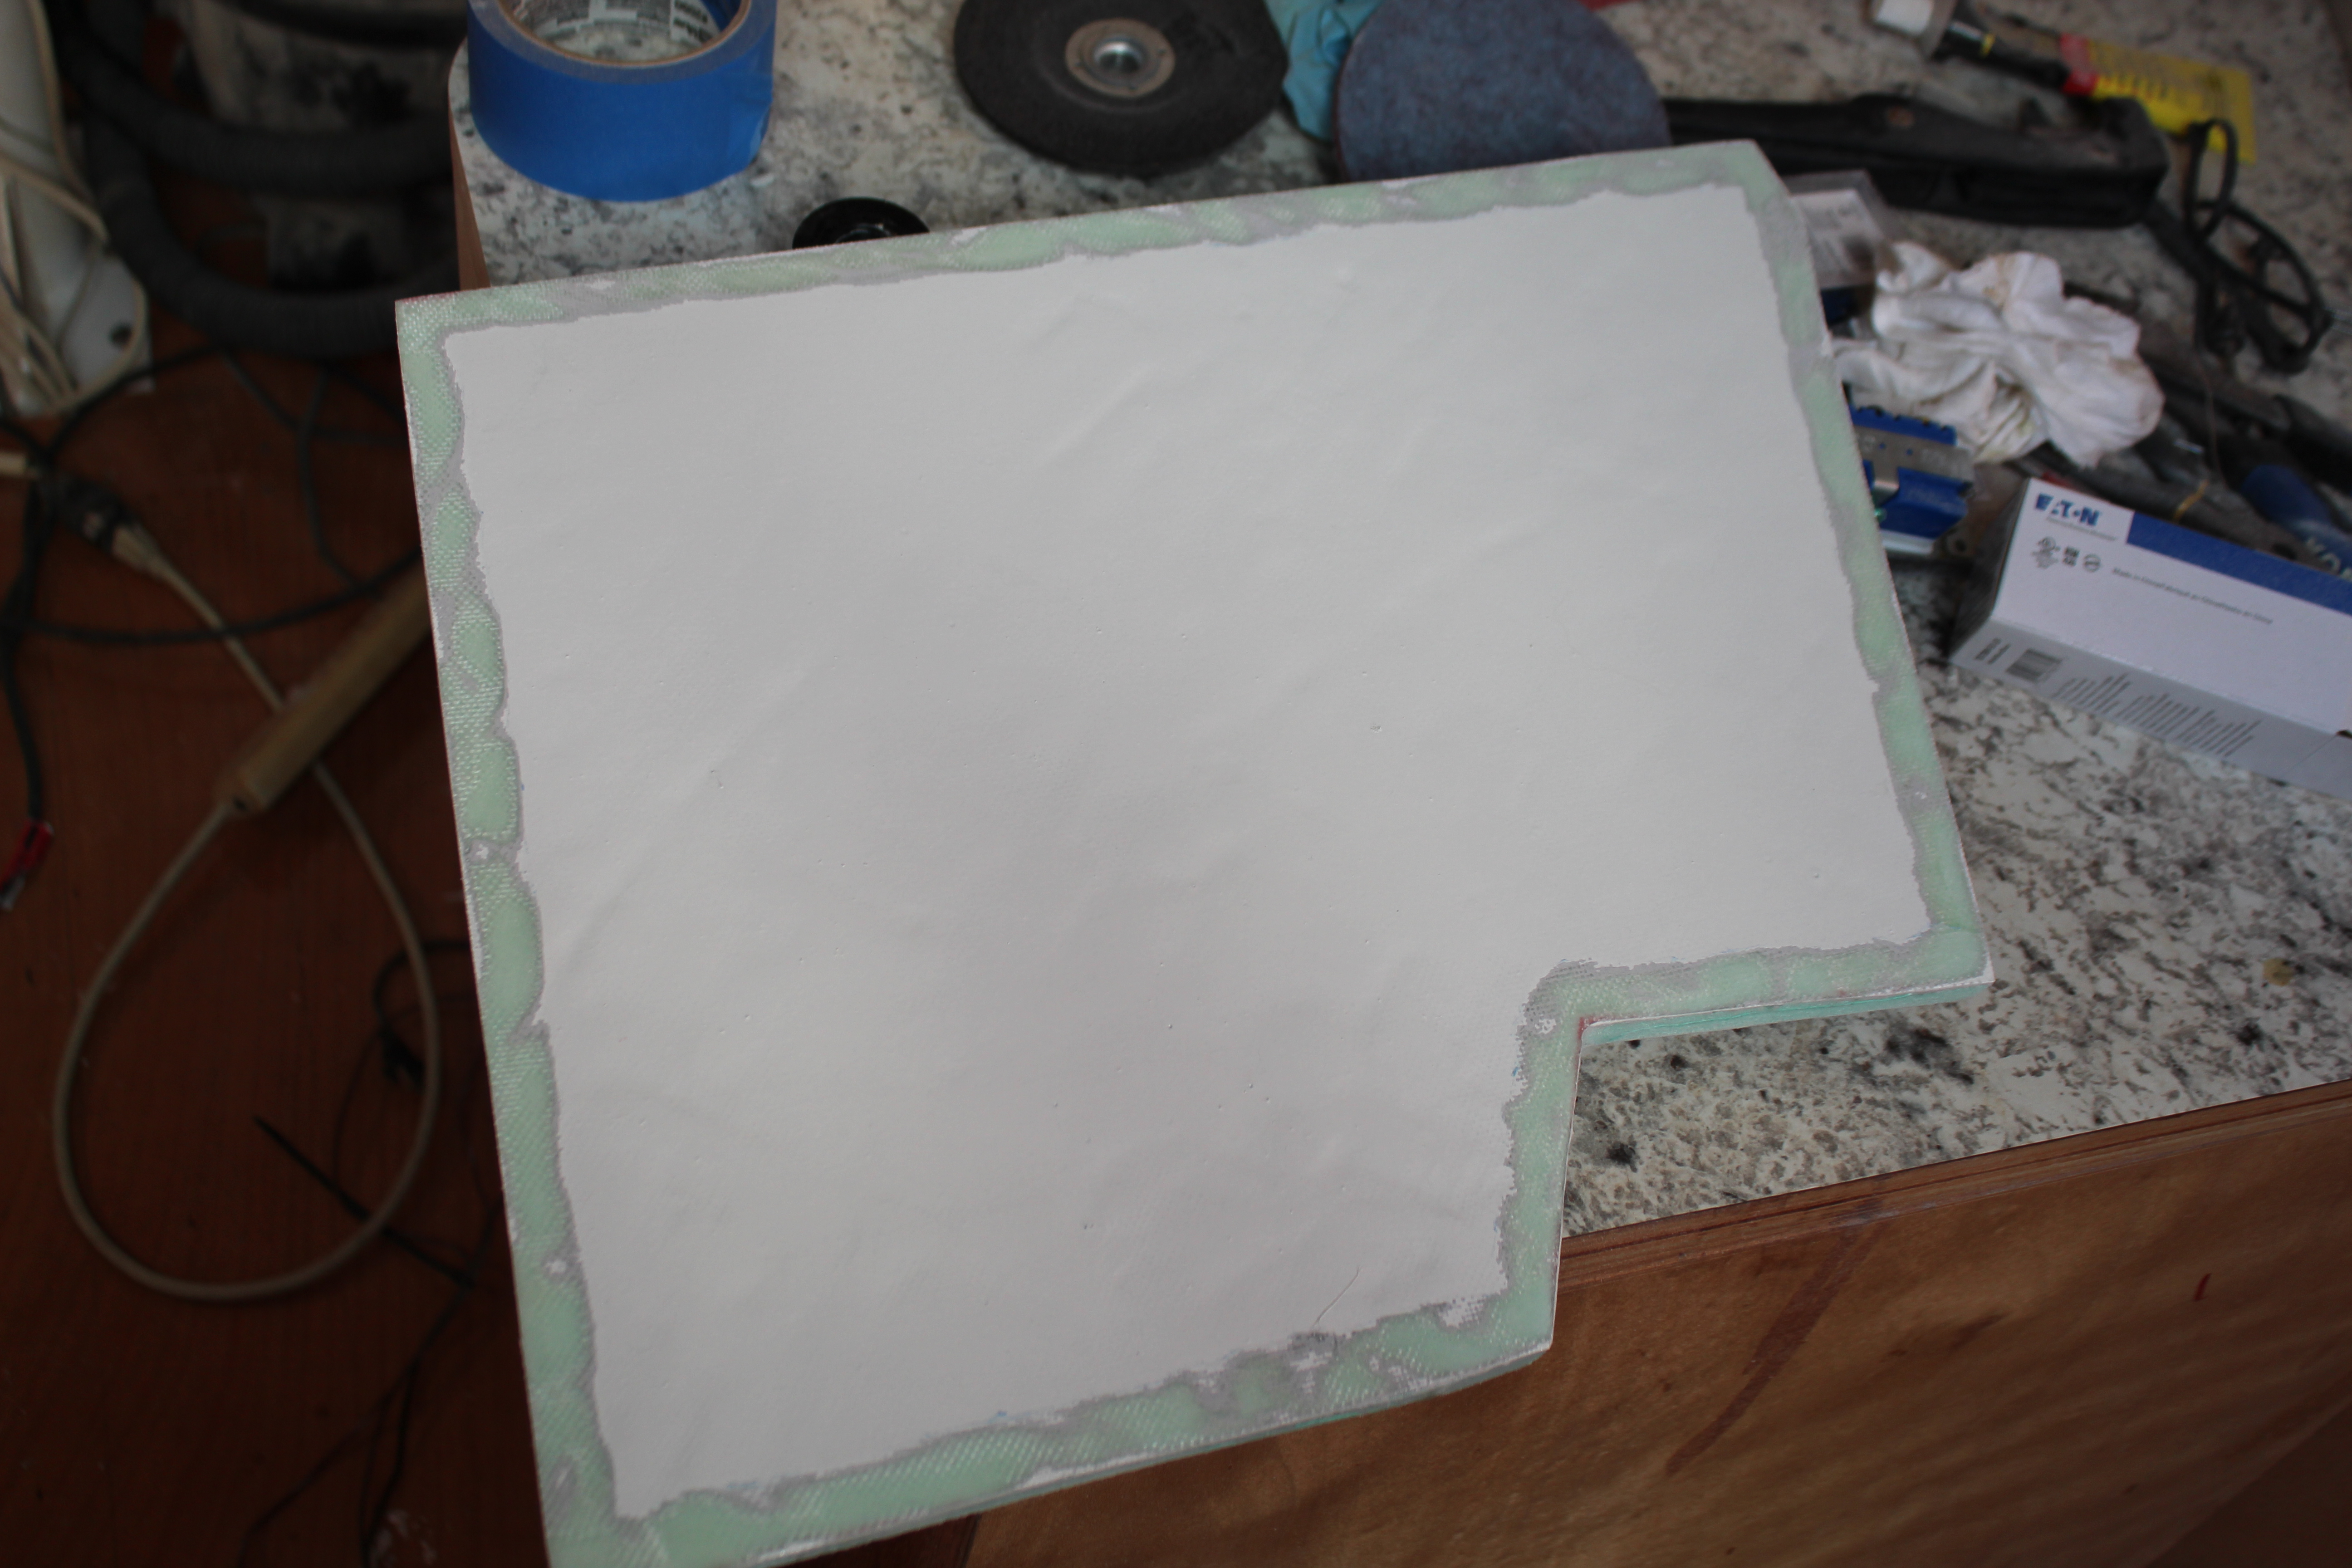
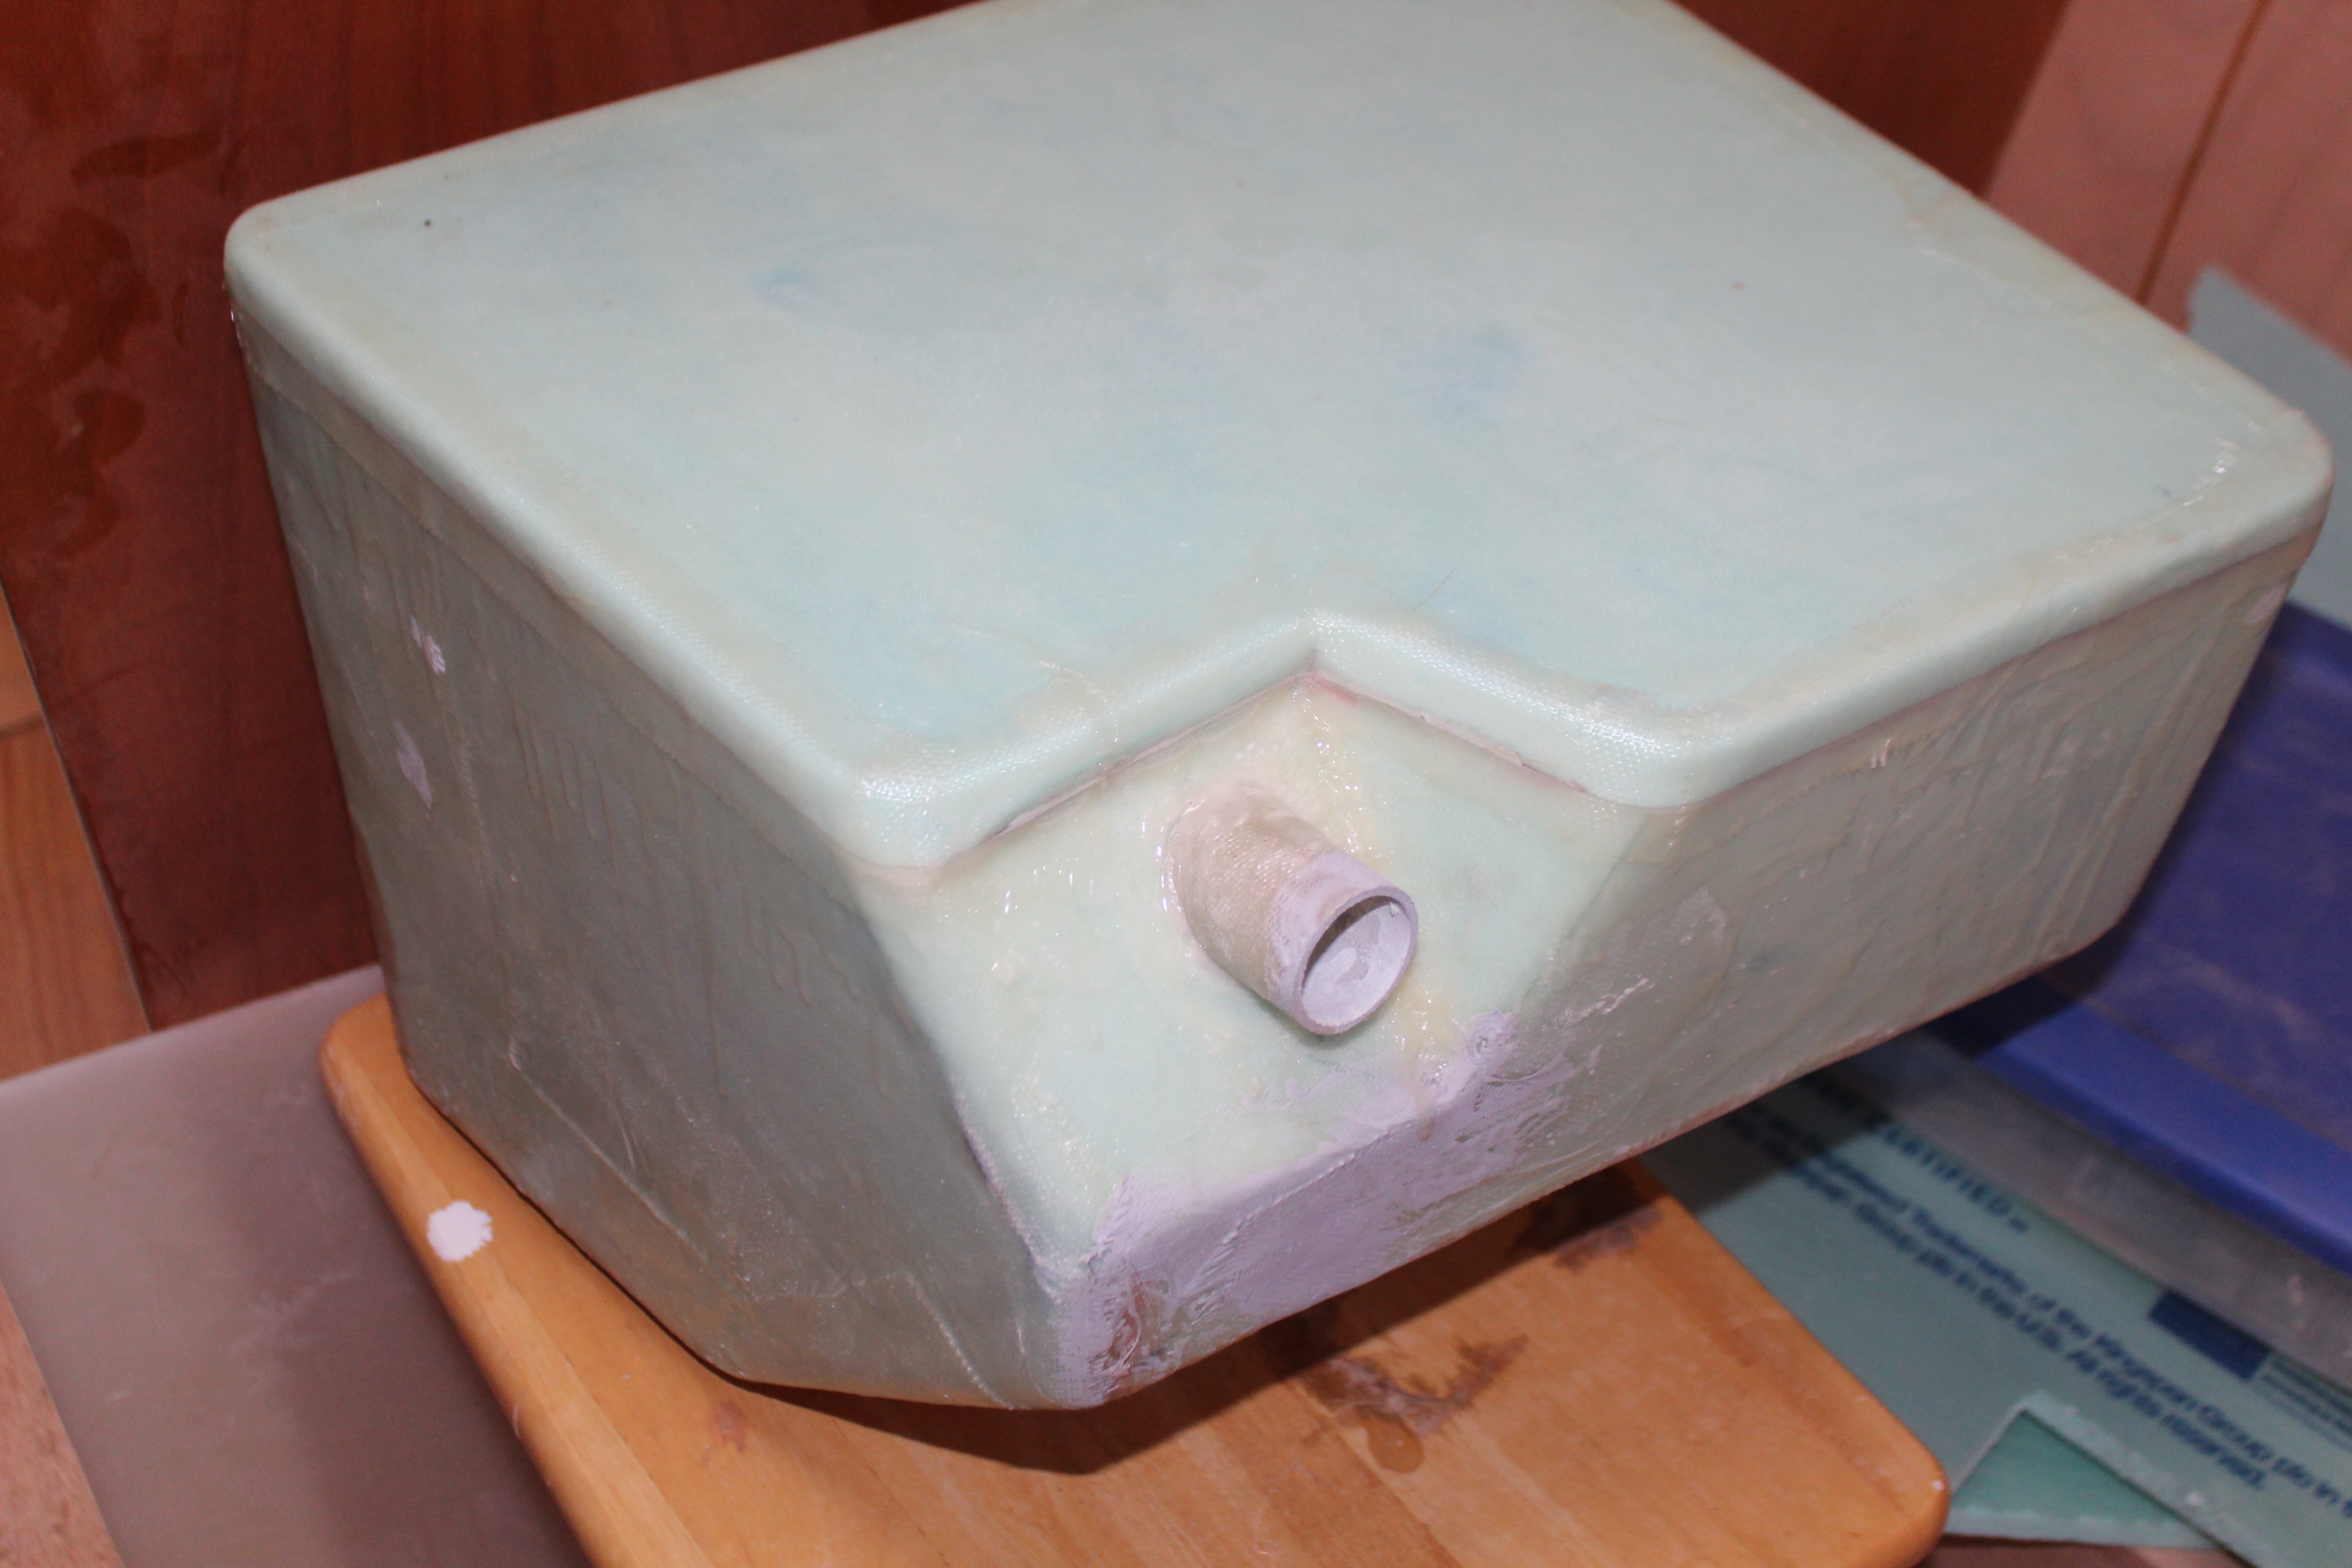
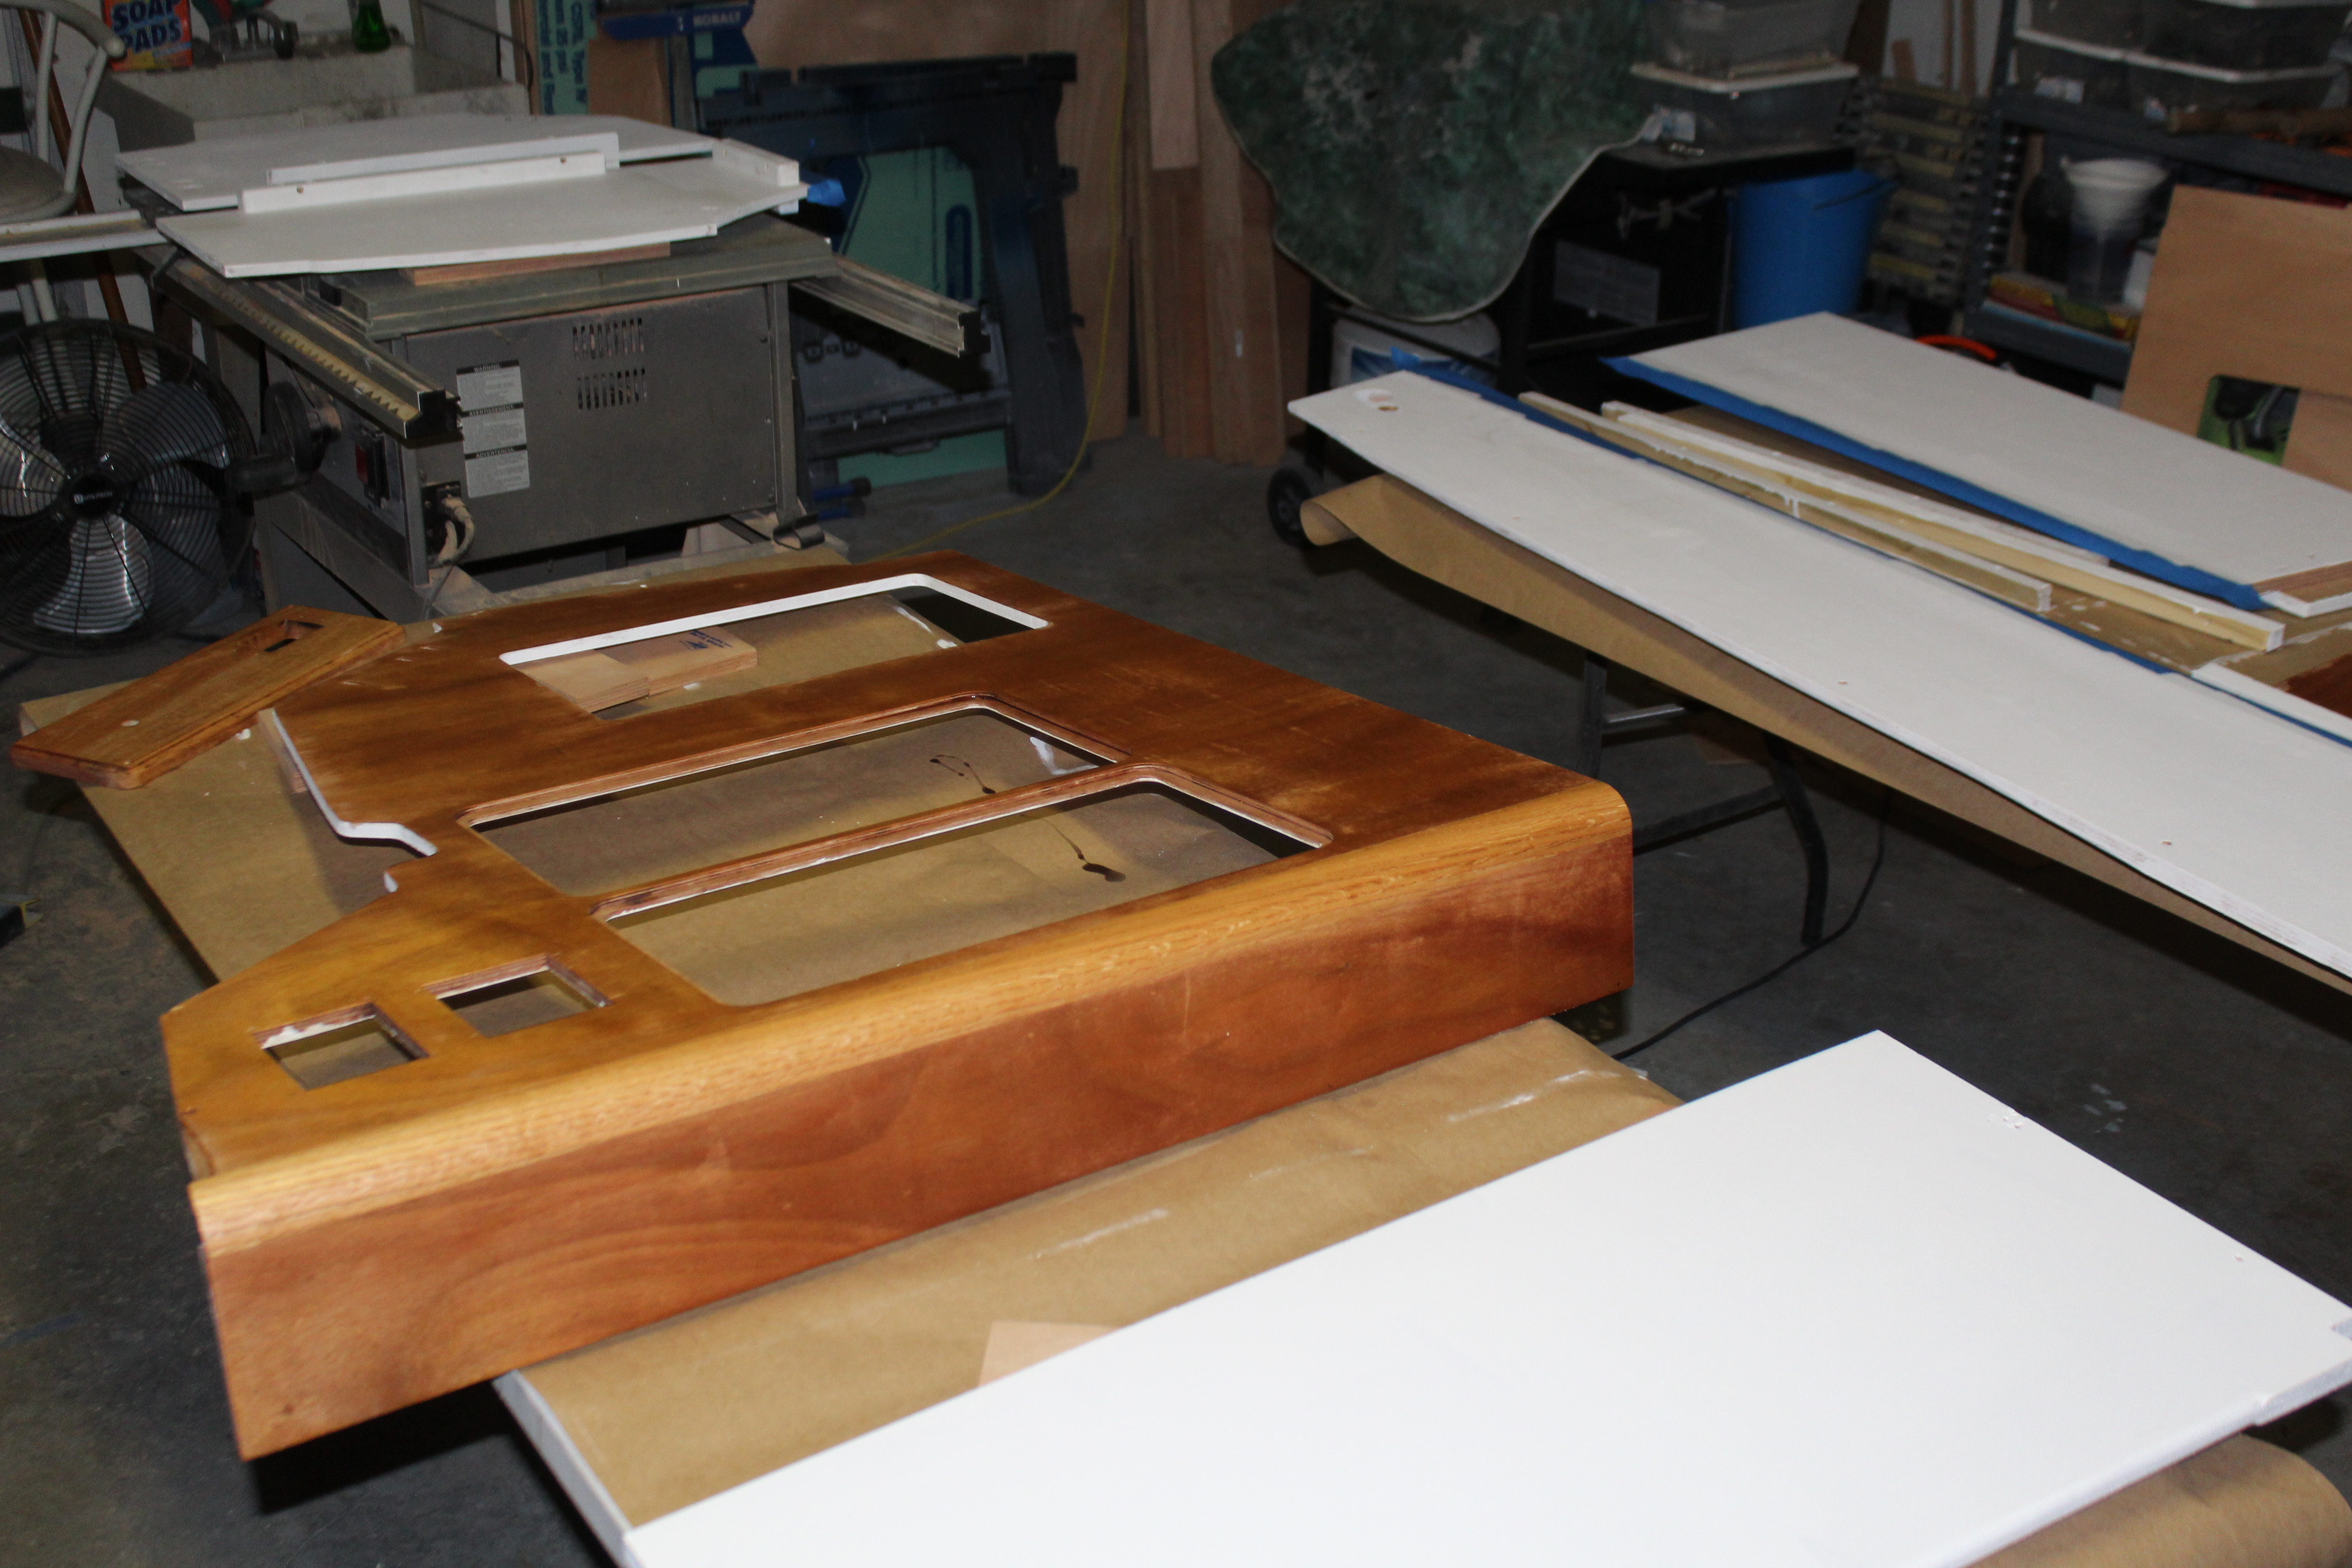
After letting the paint dry and cure for a few days, the tops got a generous bead of sealer and I glued and screwed the tops down:


Tip o' the day: Check the date on your tube of LifeSeal BEFORE loading everything up and going to the boat. Assume that an unopened tube with a 2017 date has hardened in the tube :yikes:. Makes life easier to just assume that ;).

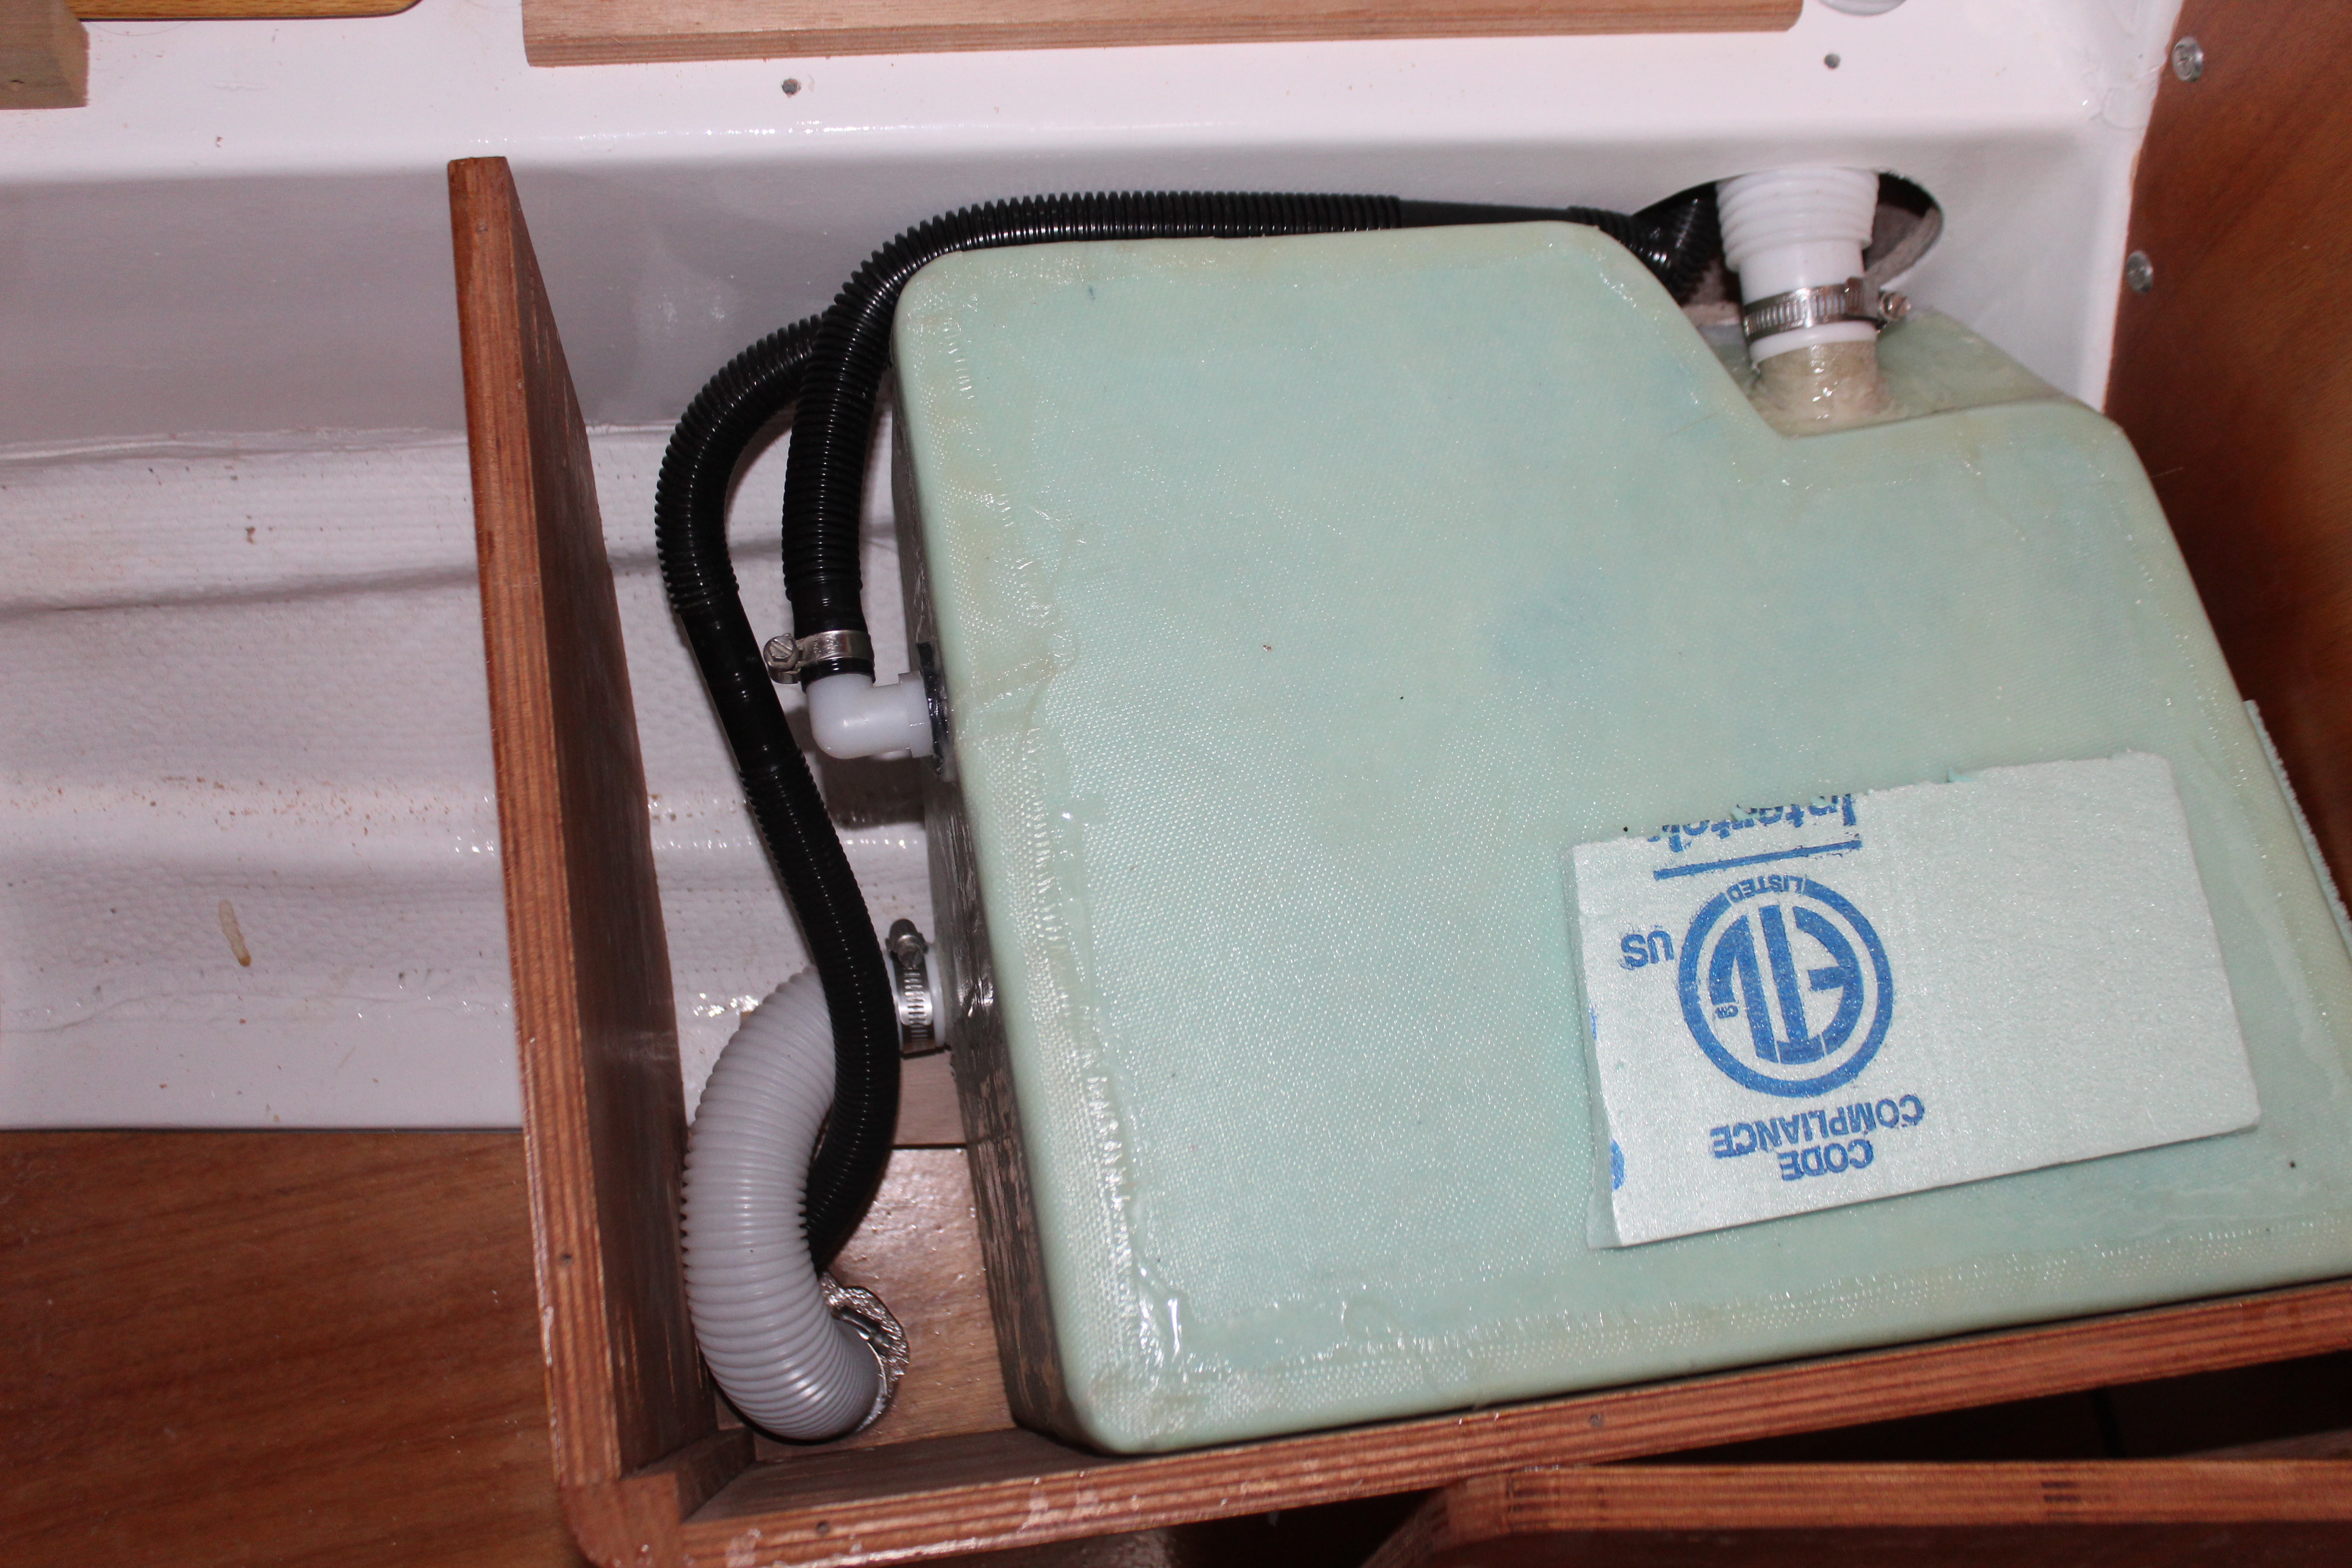
Next up was to reinstall the floorboards (hopefully for the last time!) and reinstall the cabinetry for a final fitment check/adjustment before blowing it all back apart for clearcoat. But first - one last item:

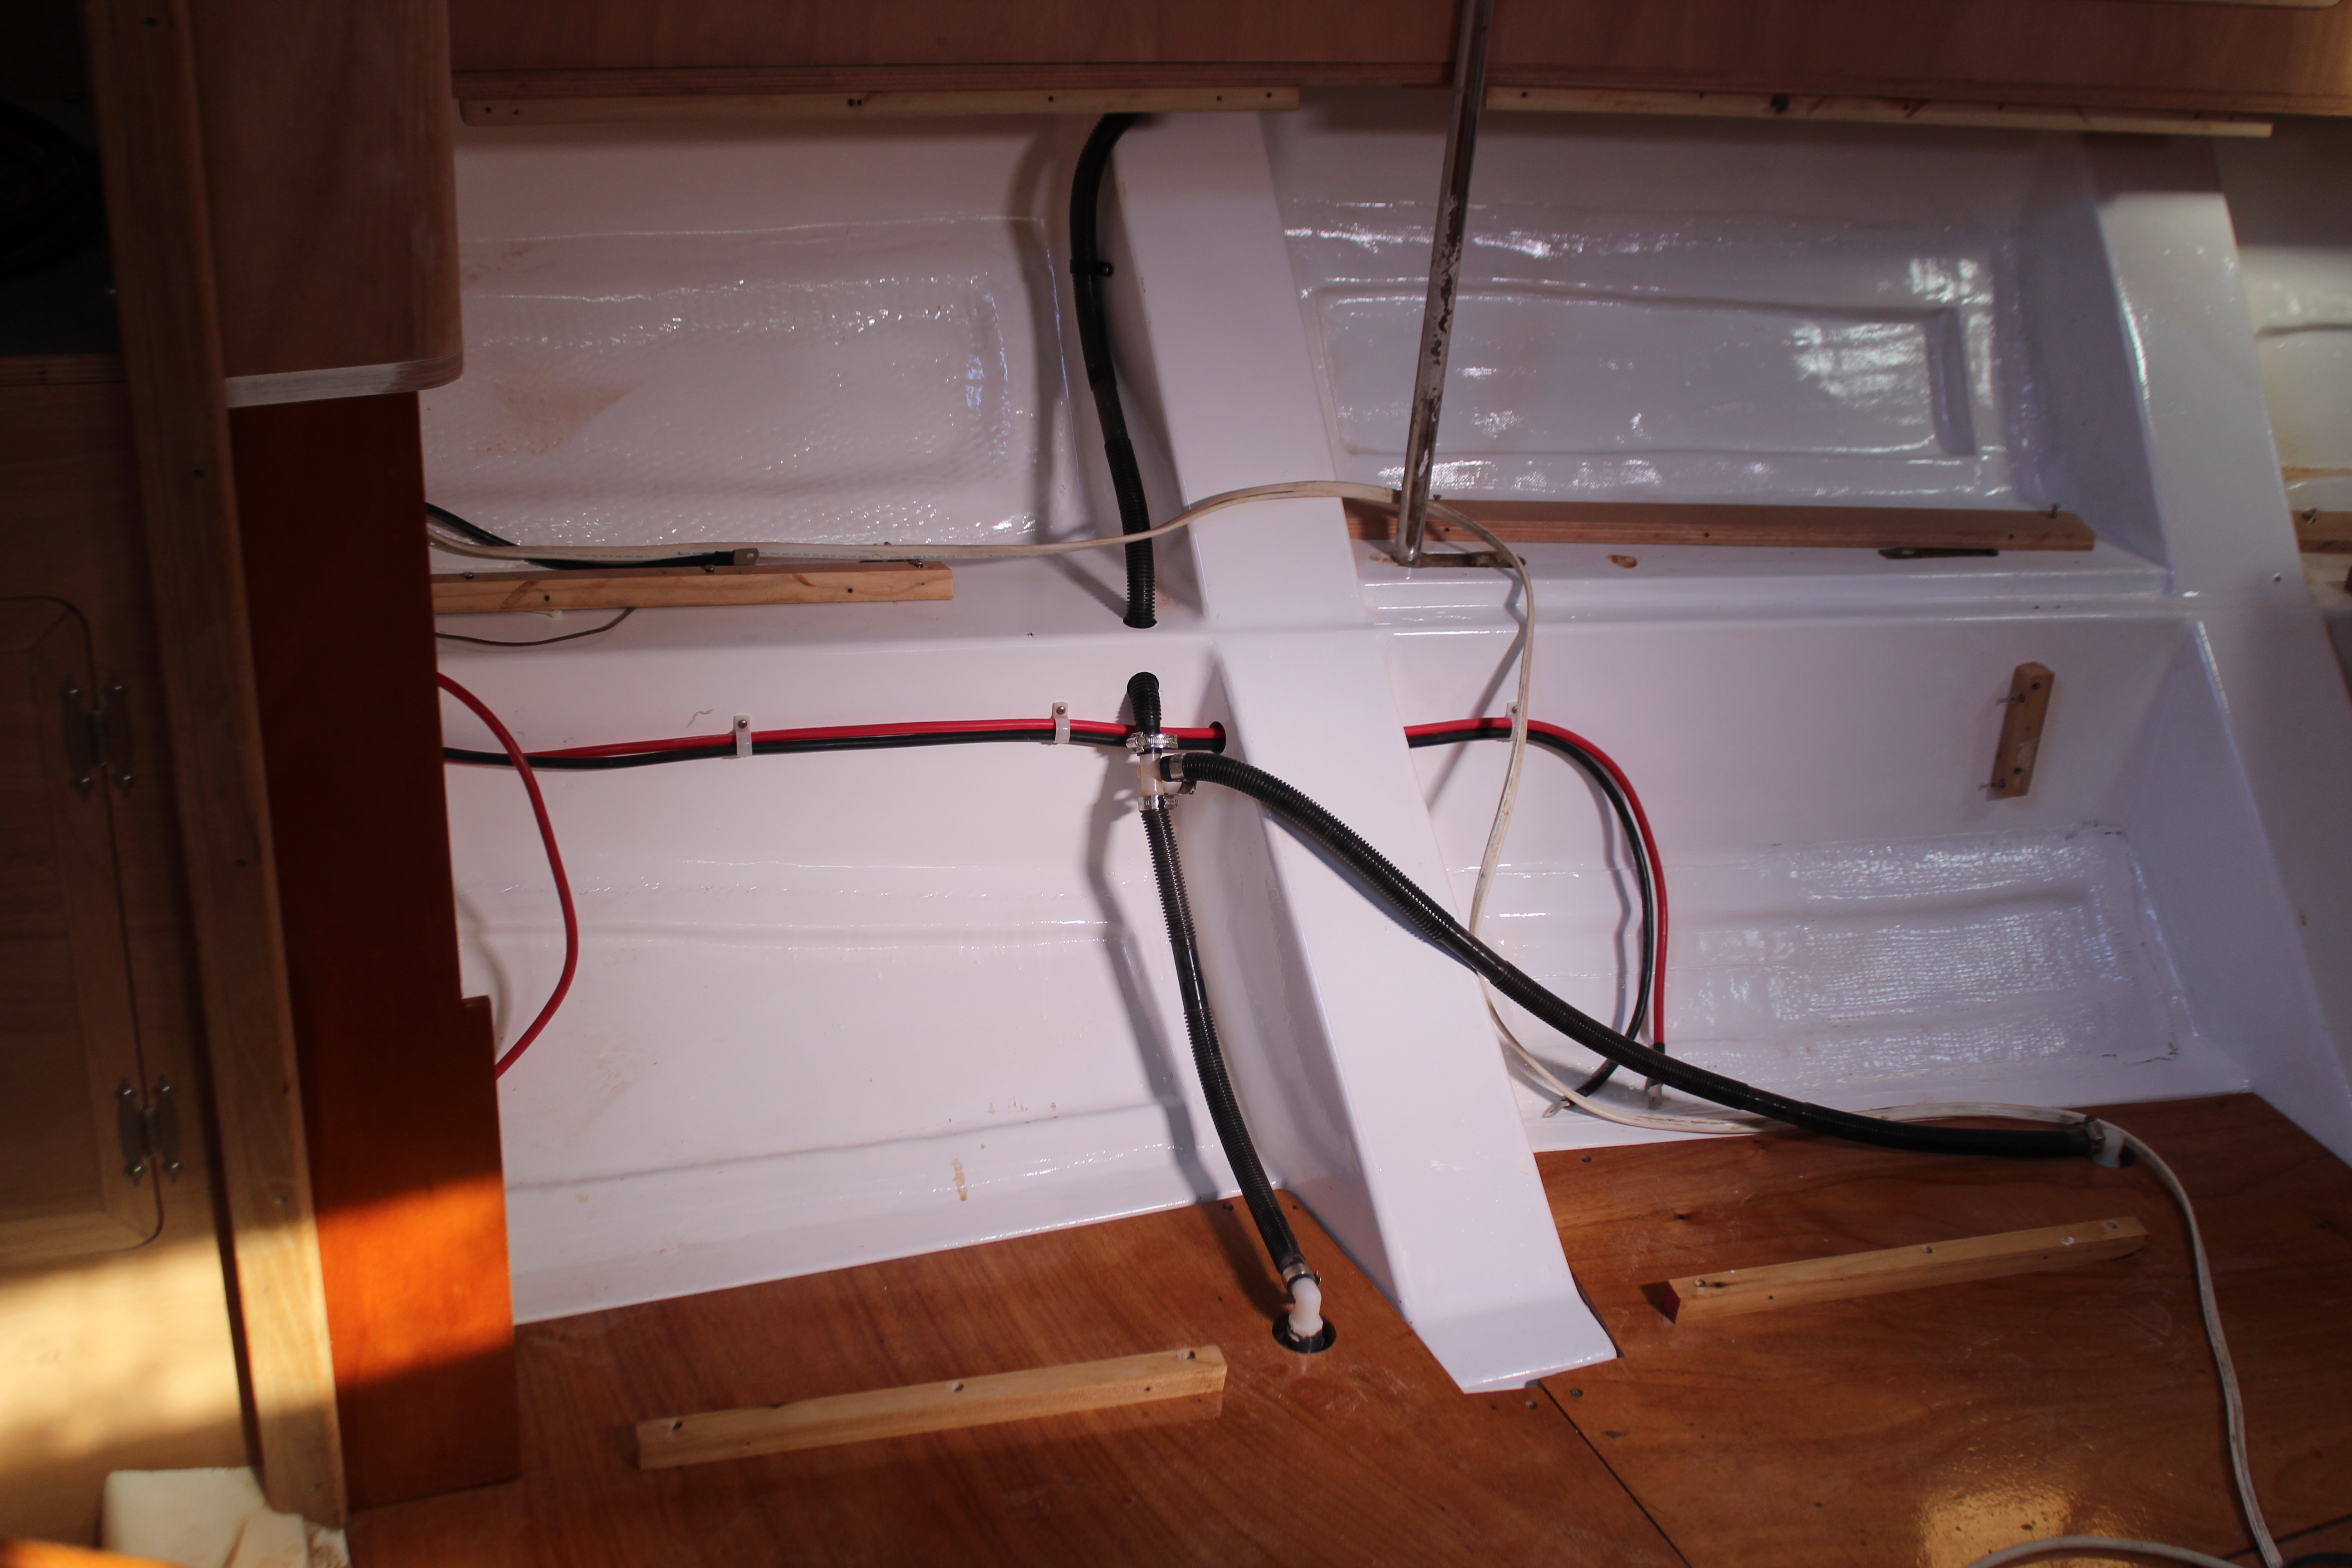
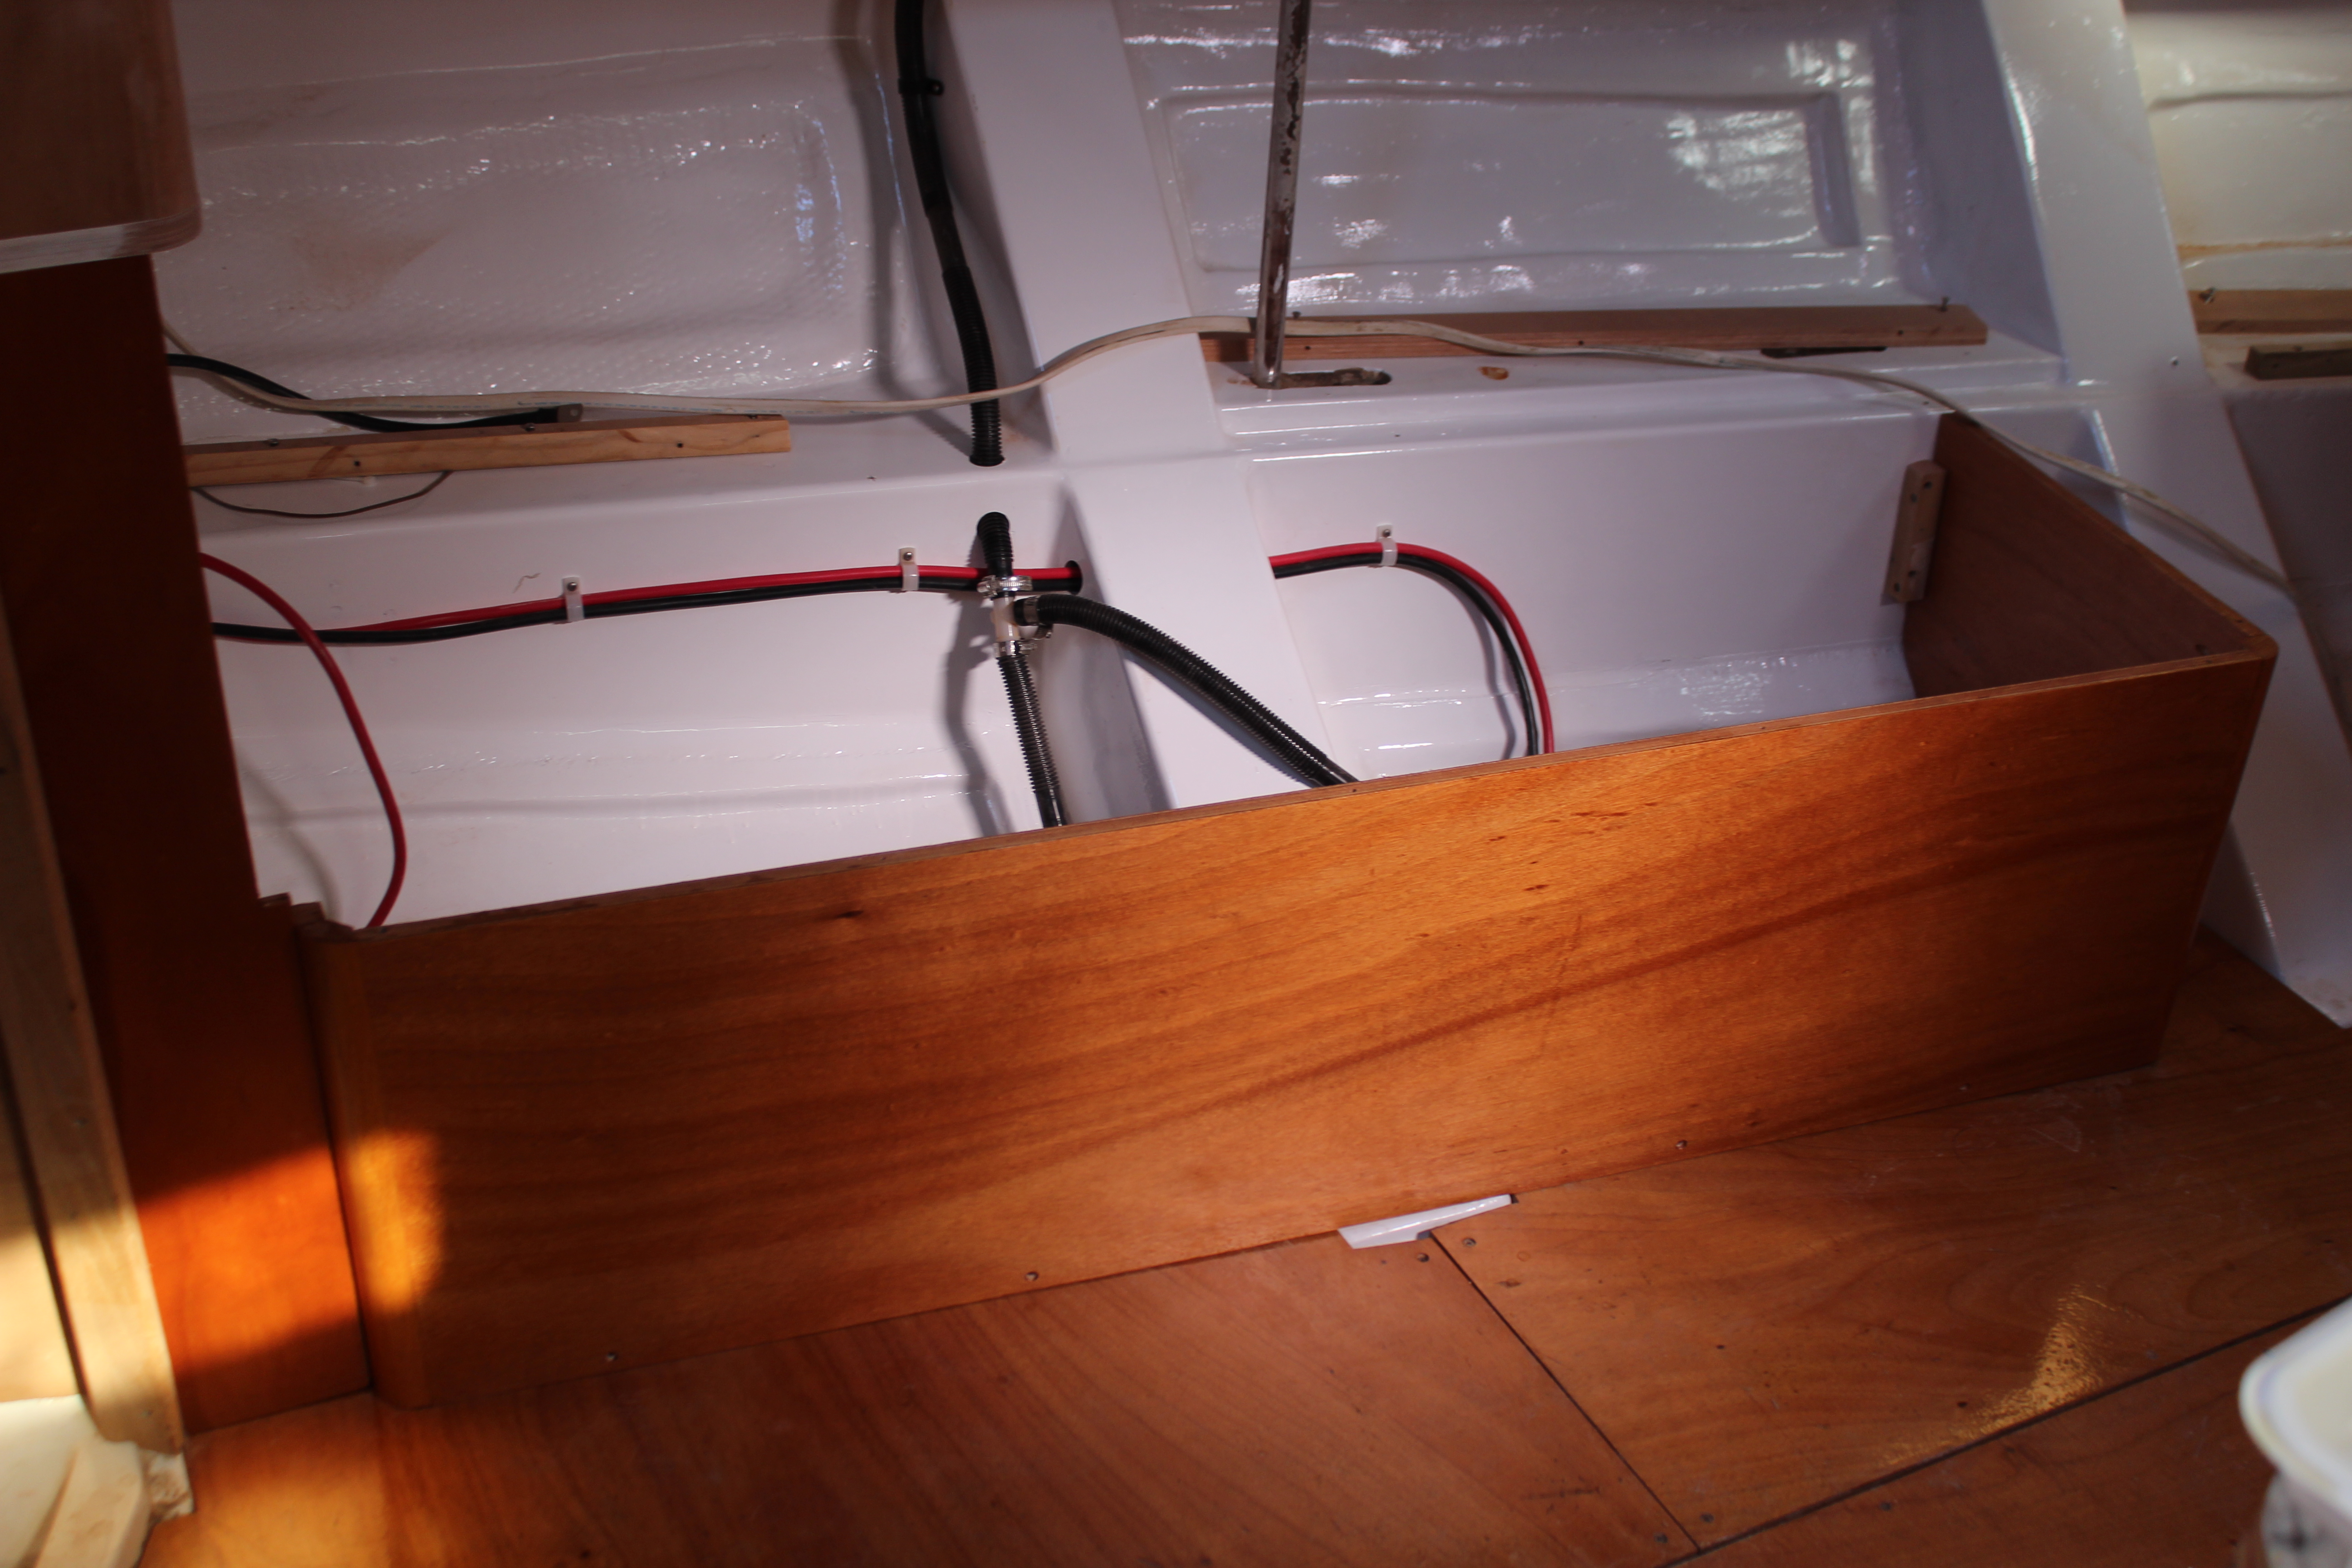
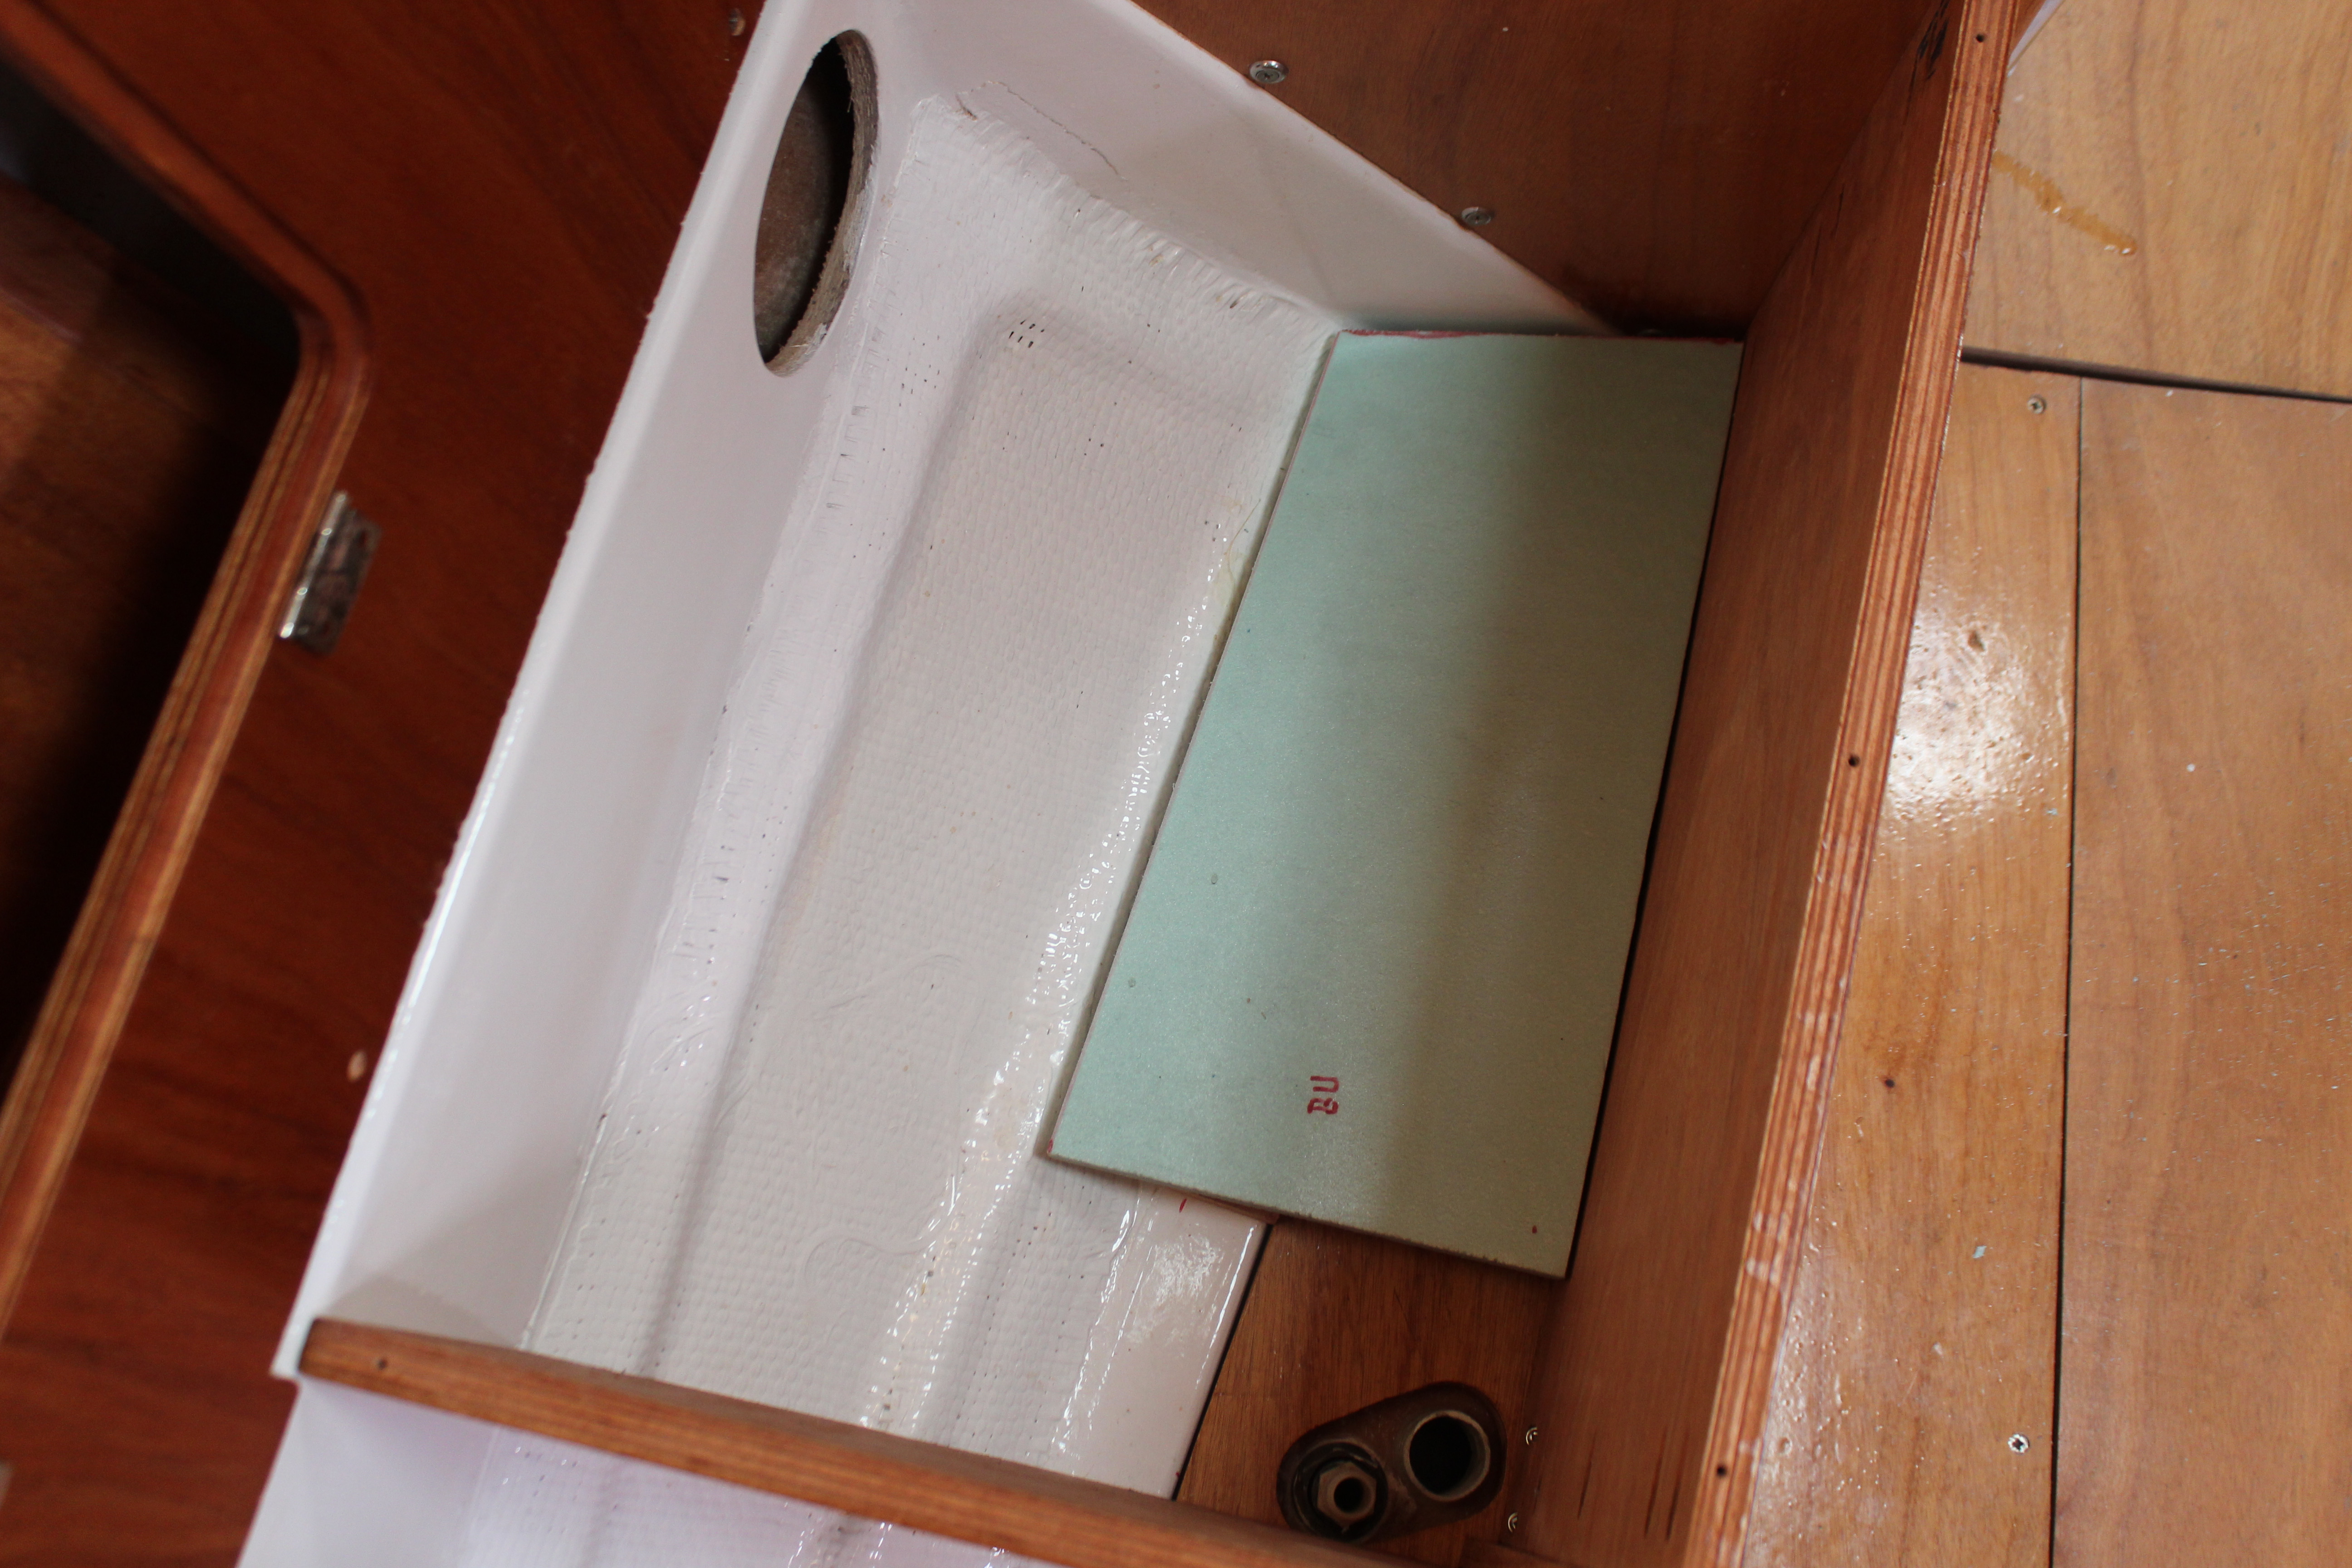
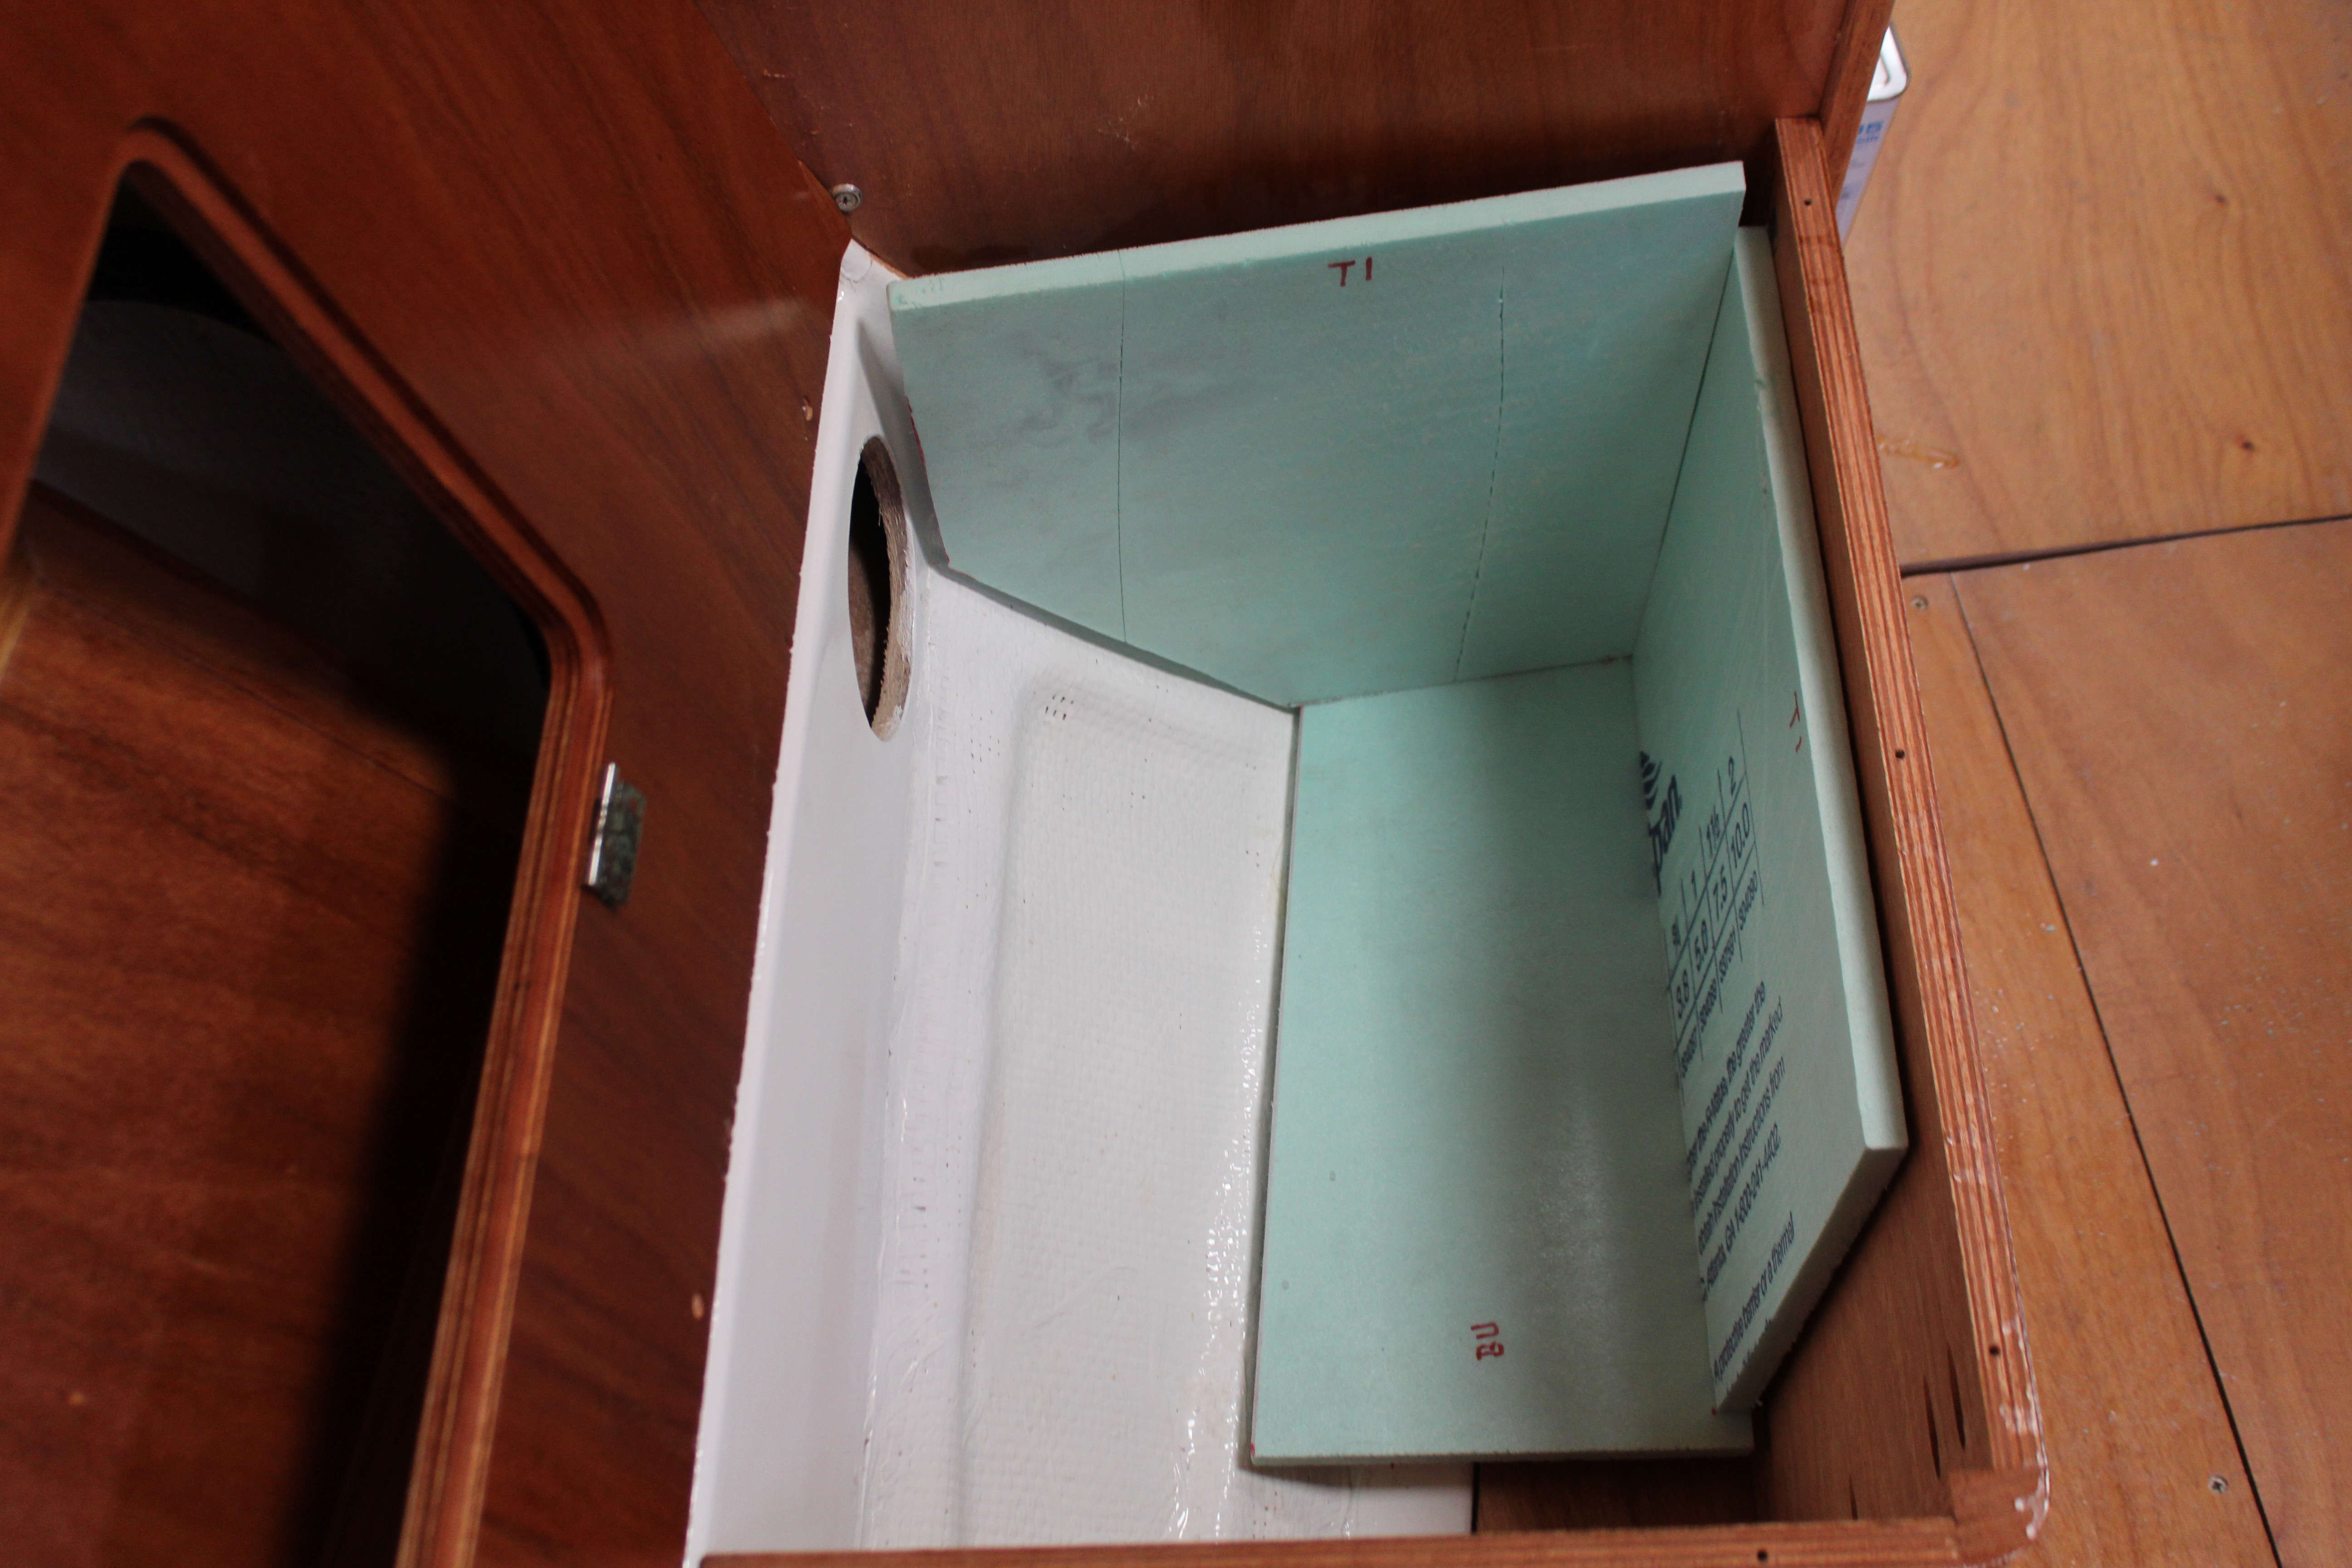
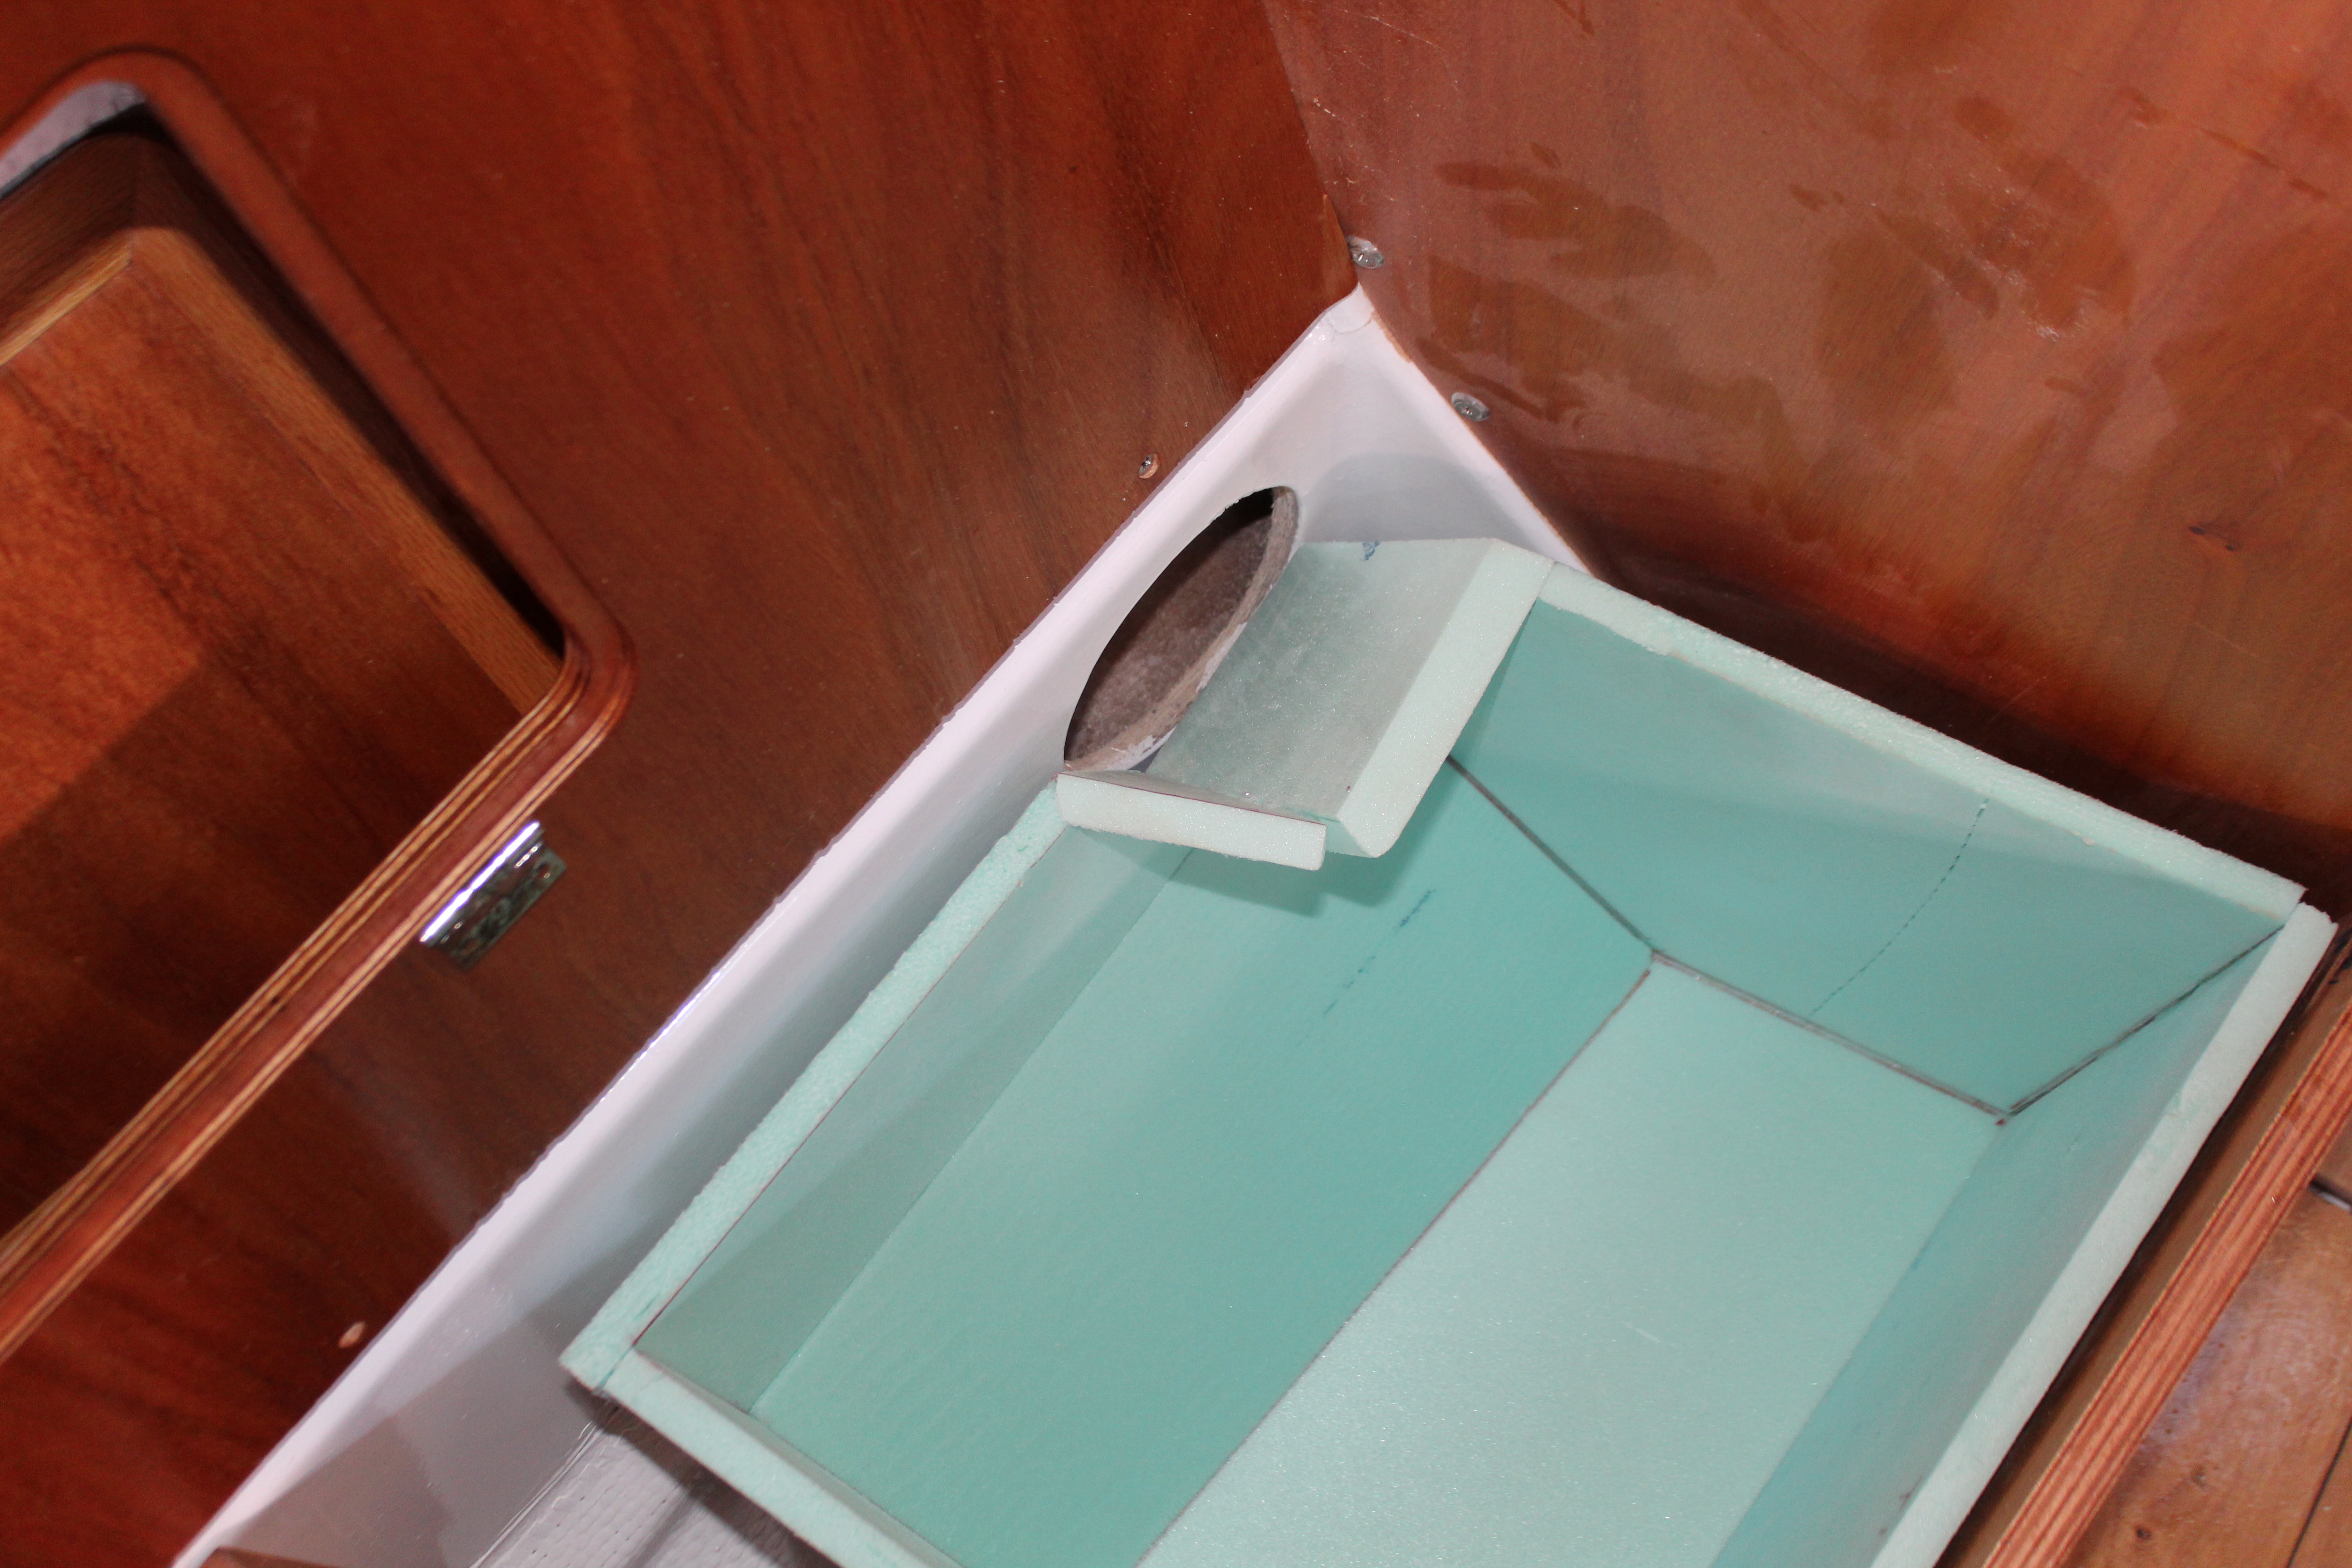
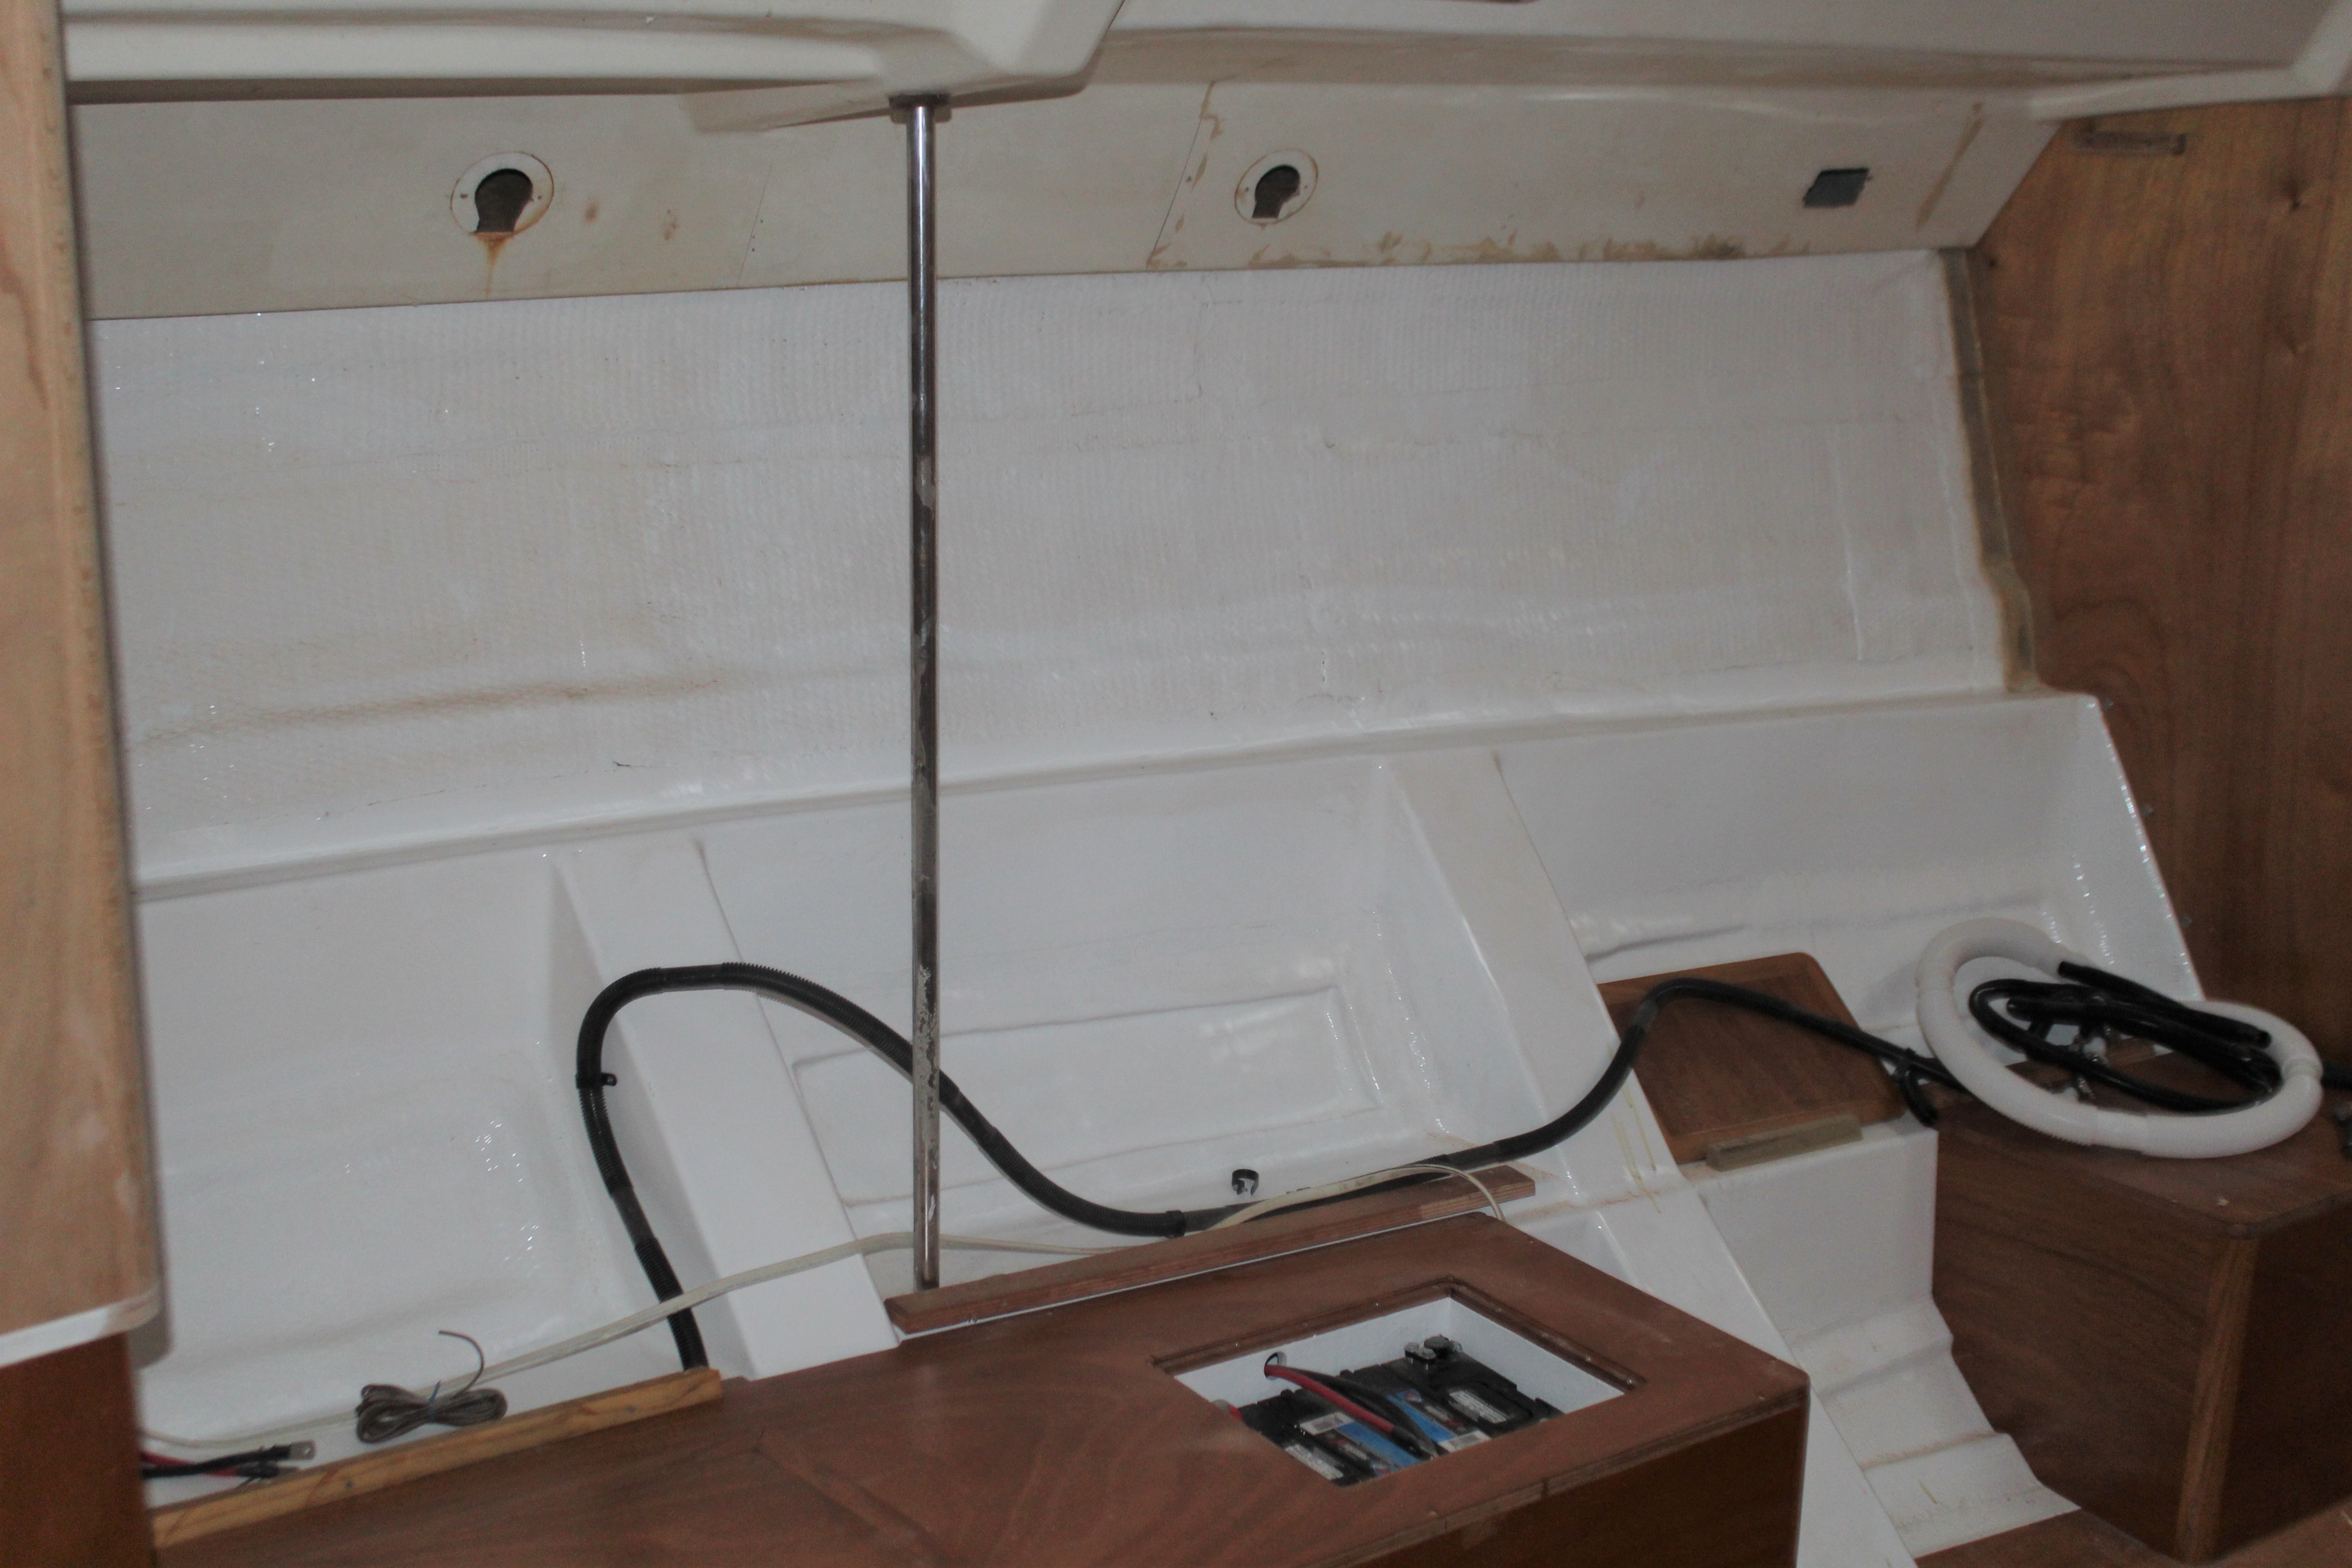
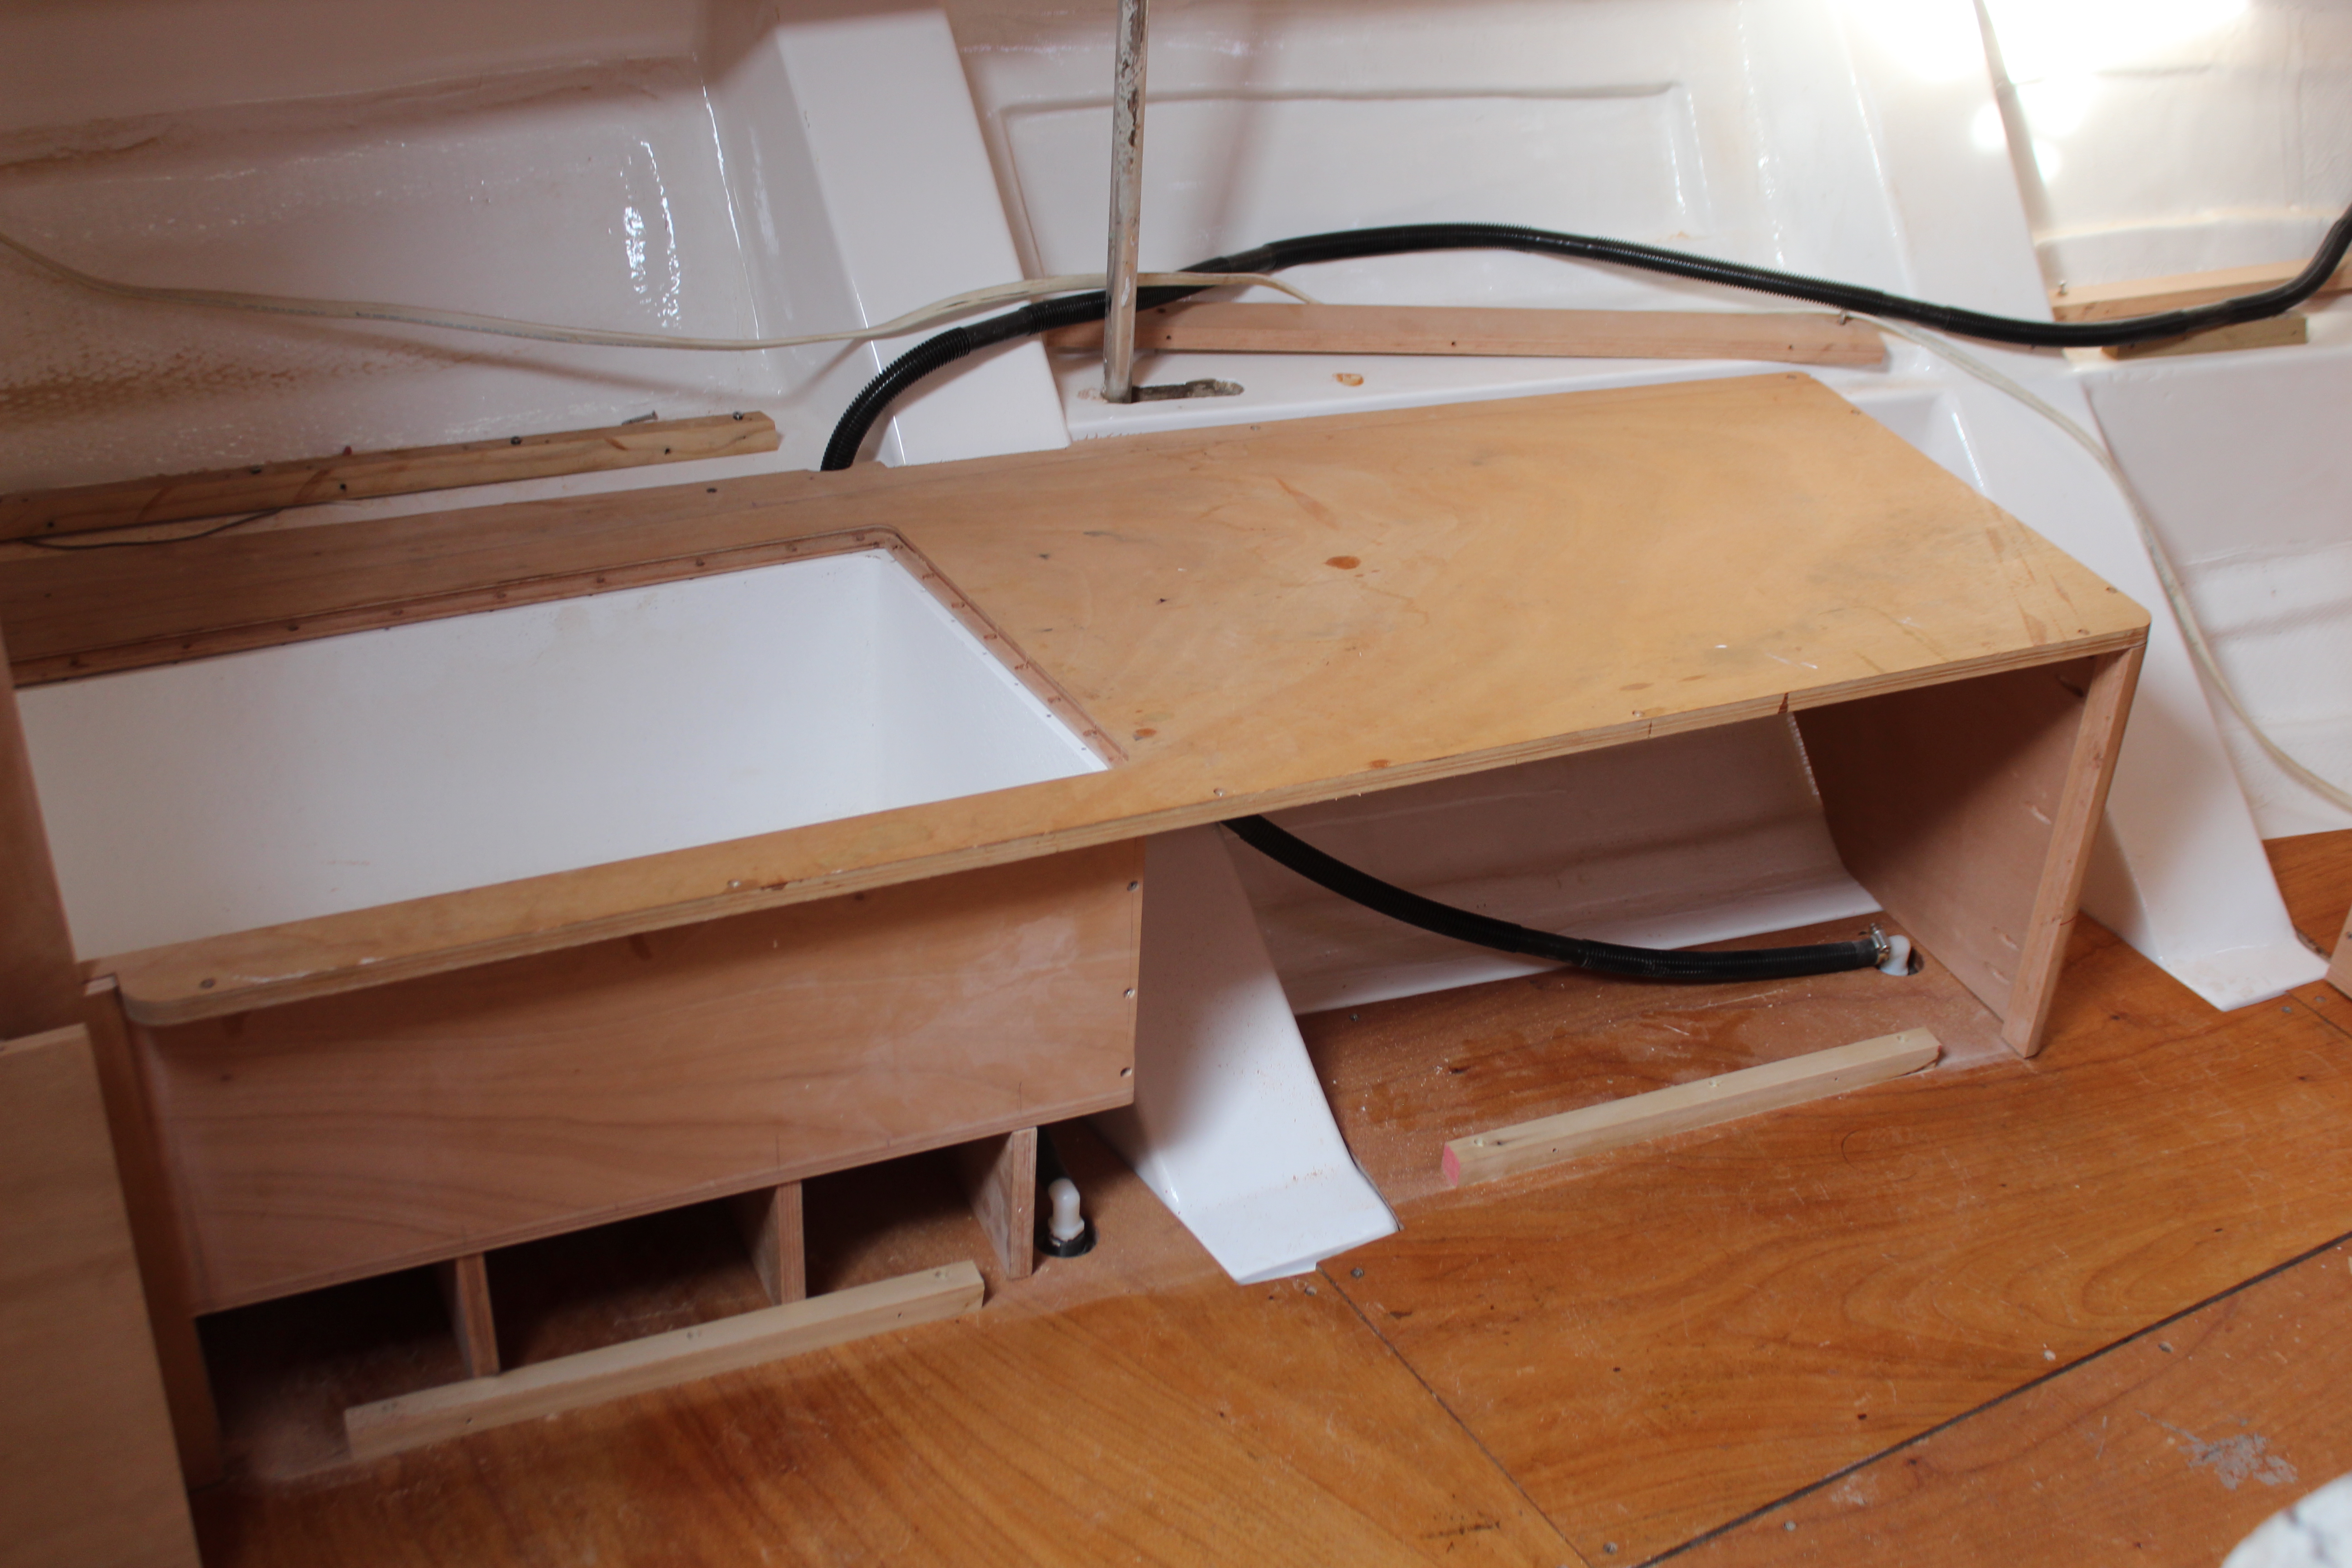
I had been putting off deciding on starting batteries. I have been back and forth on this: one option is the starting battery should be the same type as the house batteries, in case a house battery fails. I've always wondered about this, because if a house battery fails and you replace it with the starting battery, how are you going to start the engine with a failed battery? If I were using golf cart batteries for the house bank, maybe, but since I'm going with Fireflys I just don't see it. I went with option two: I have two perfectly good batteries on hand - bought for the express purpose of powering the bilge pump while I was on the hard. The pragmatic Scotsman in me says why buy an additional $500+ battery when these will work just fine. With that decision made, time to build the battery box for the starting batteries. First up is to mock up the location:


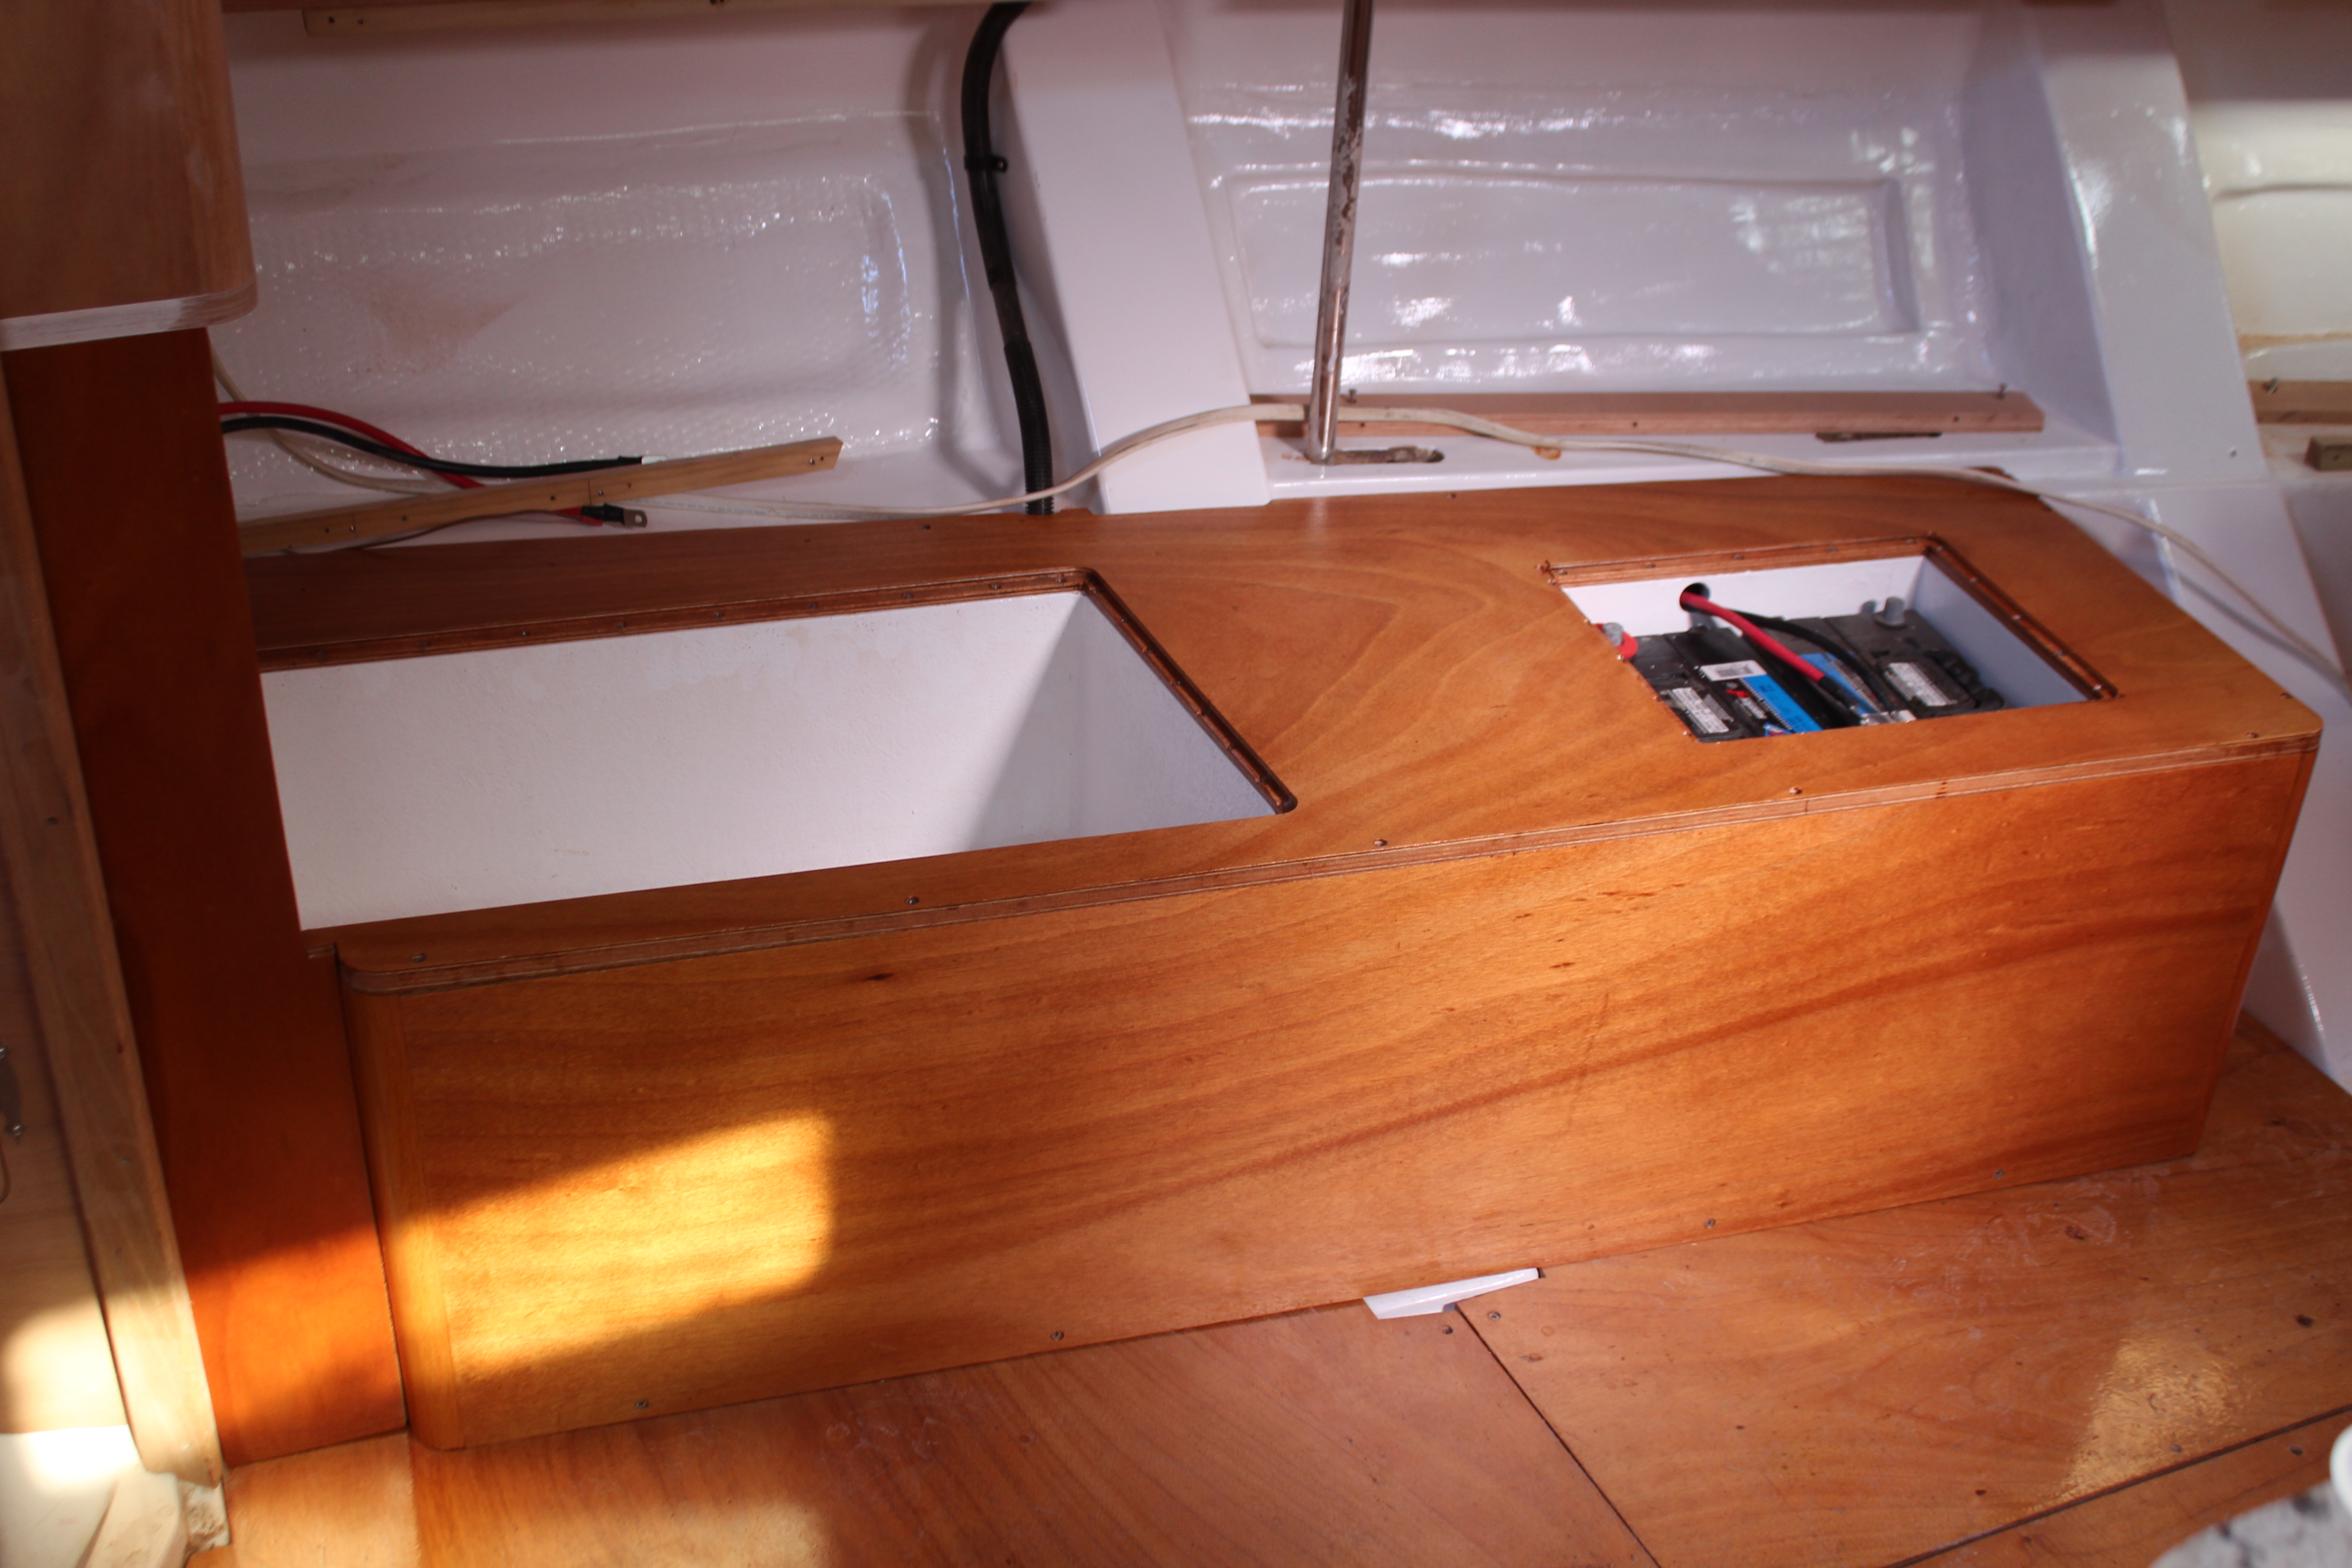
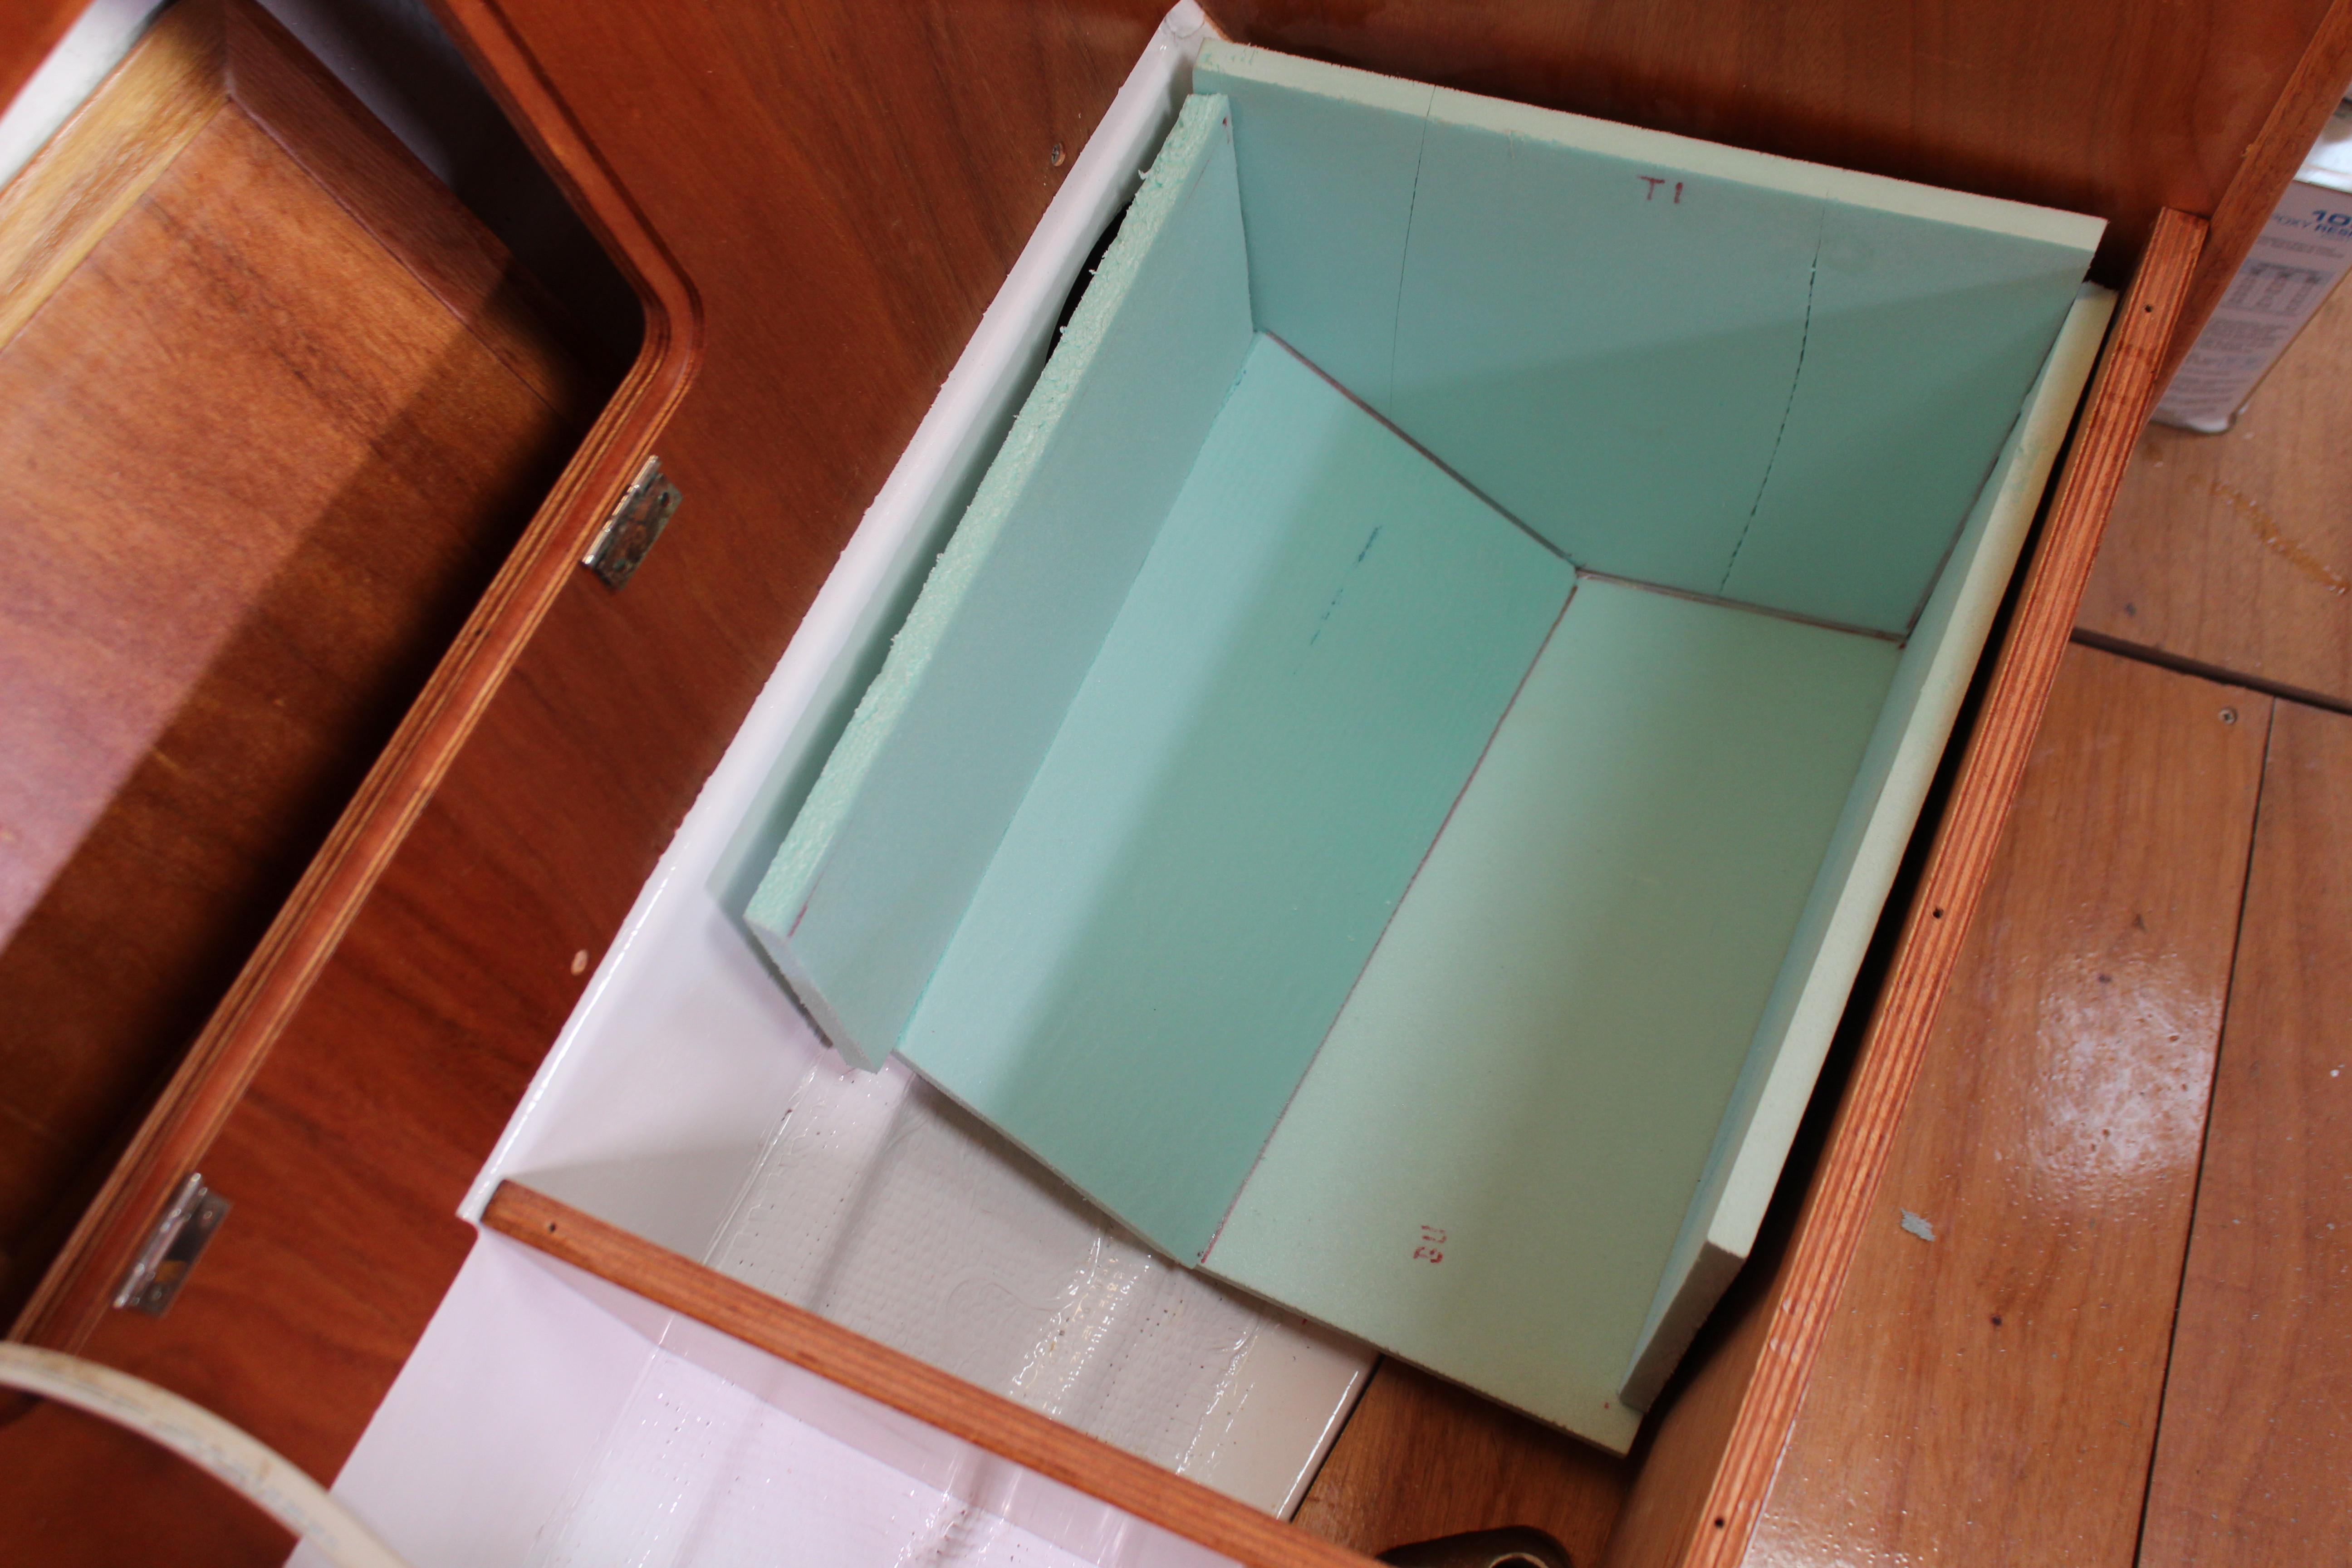
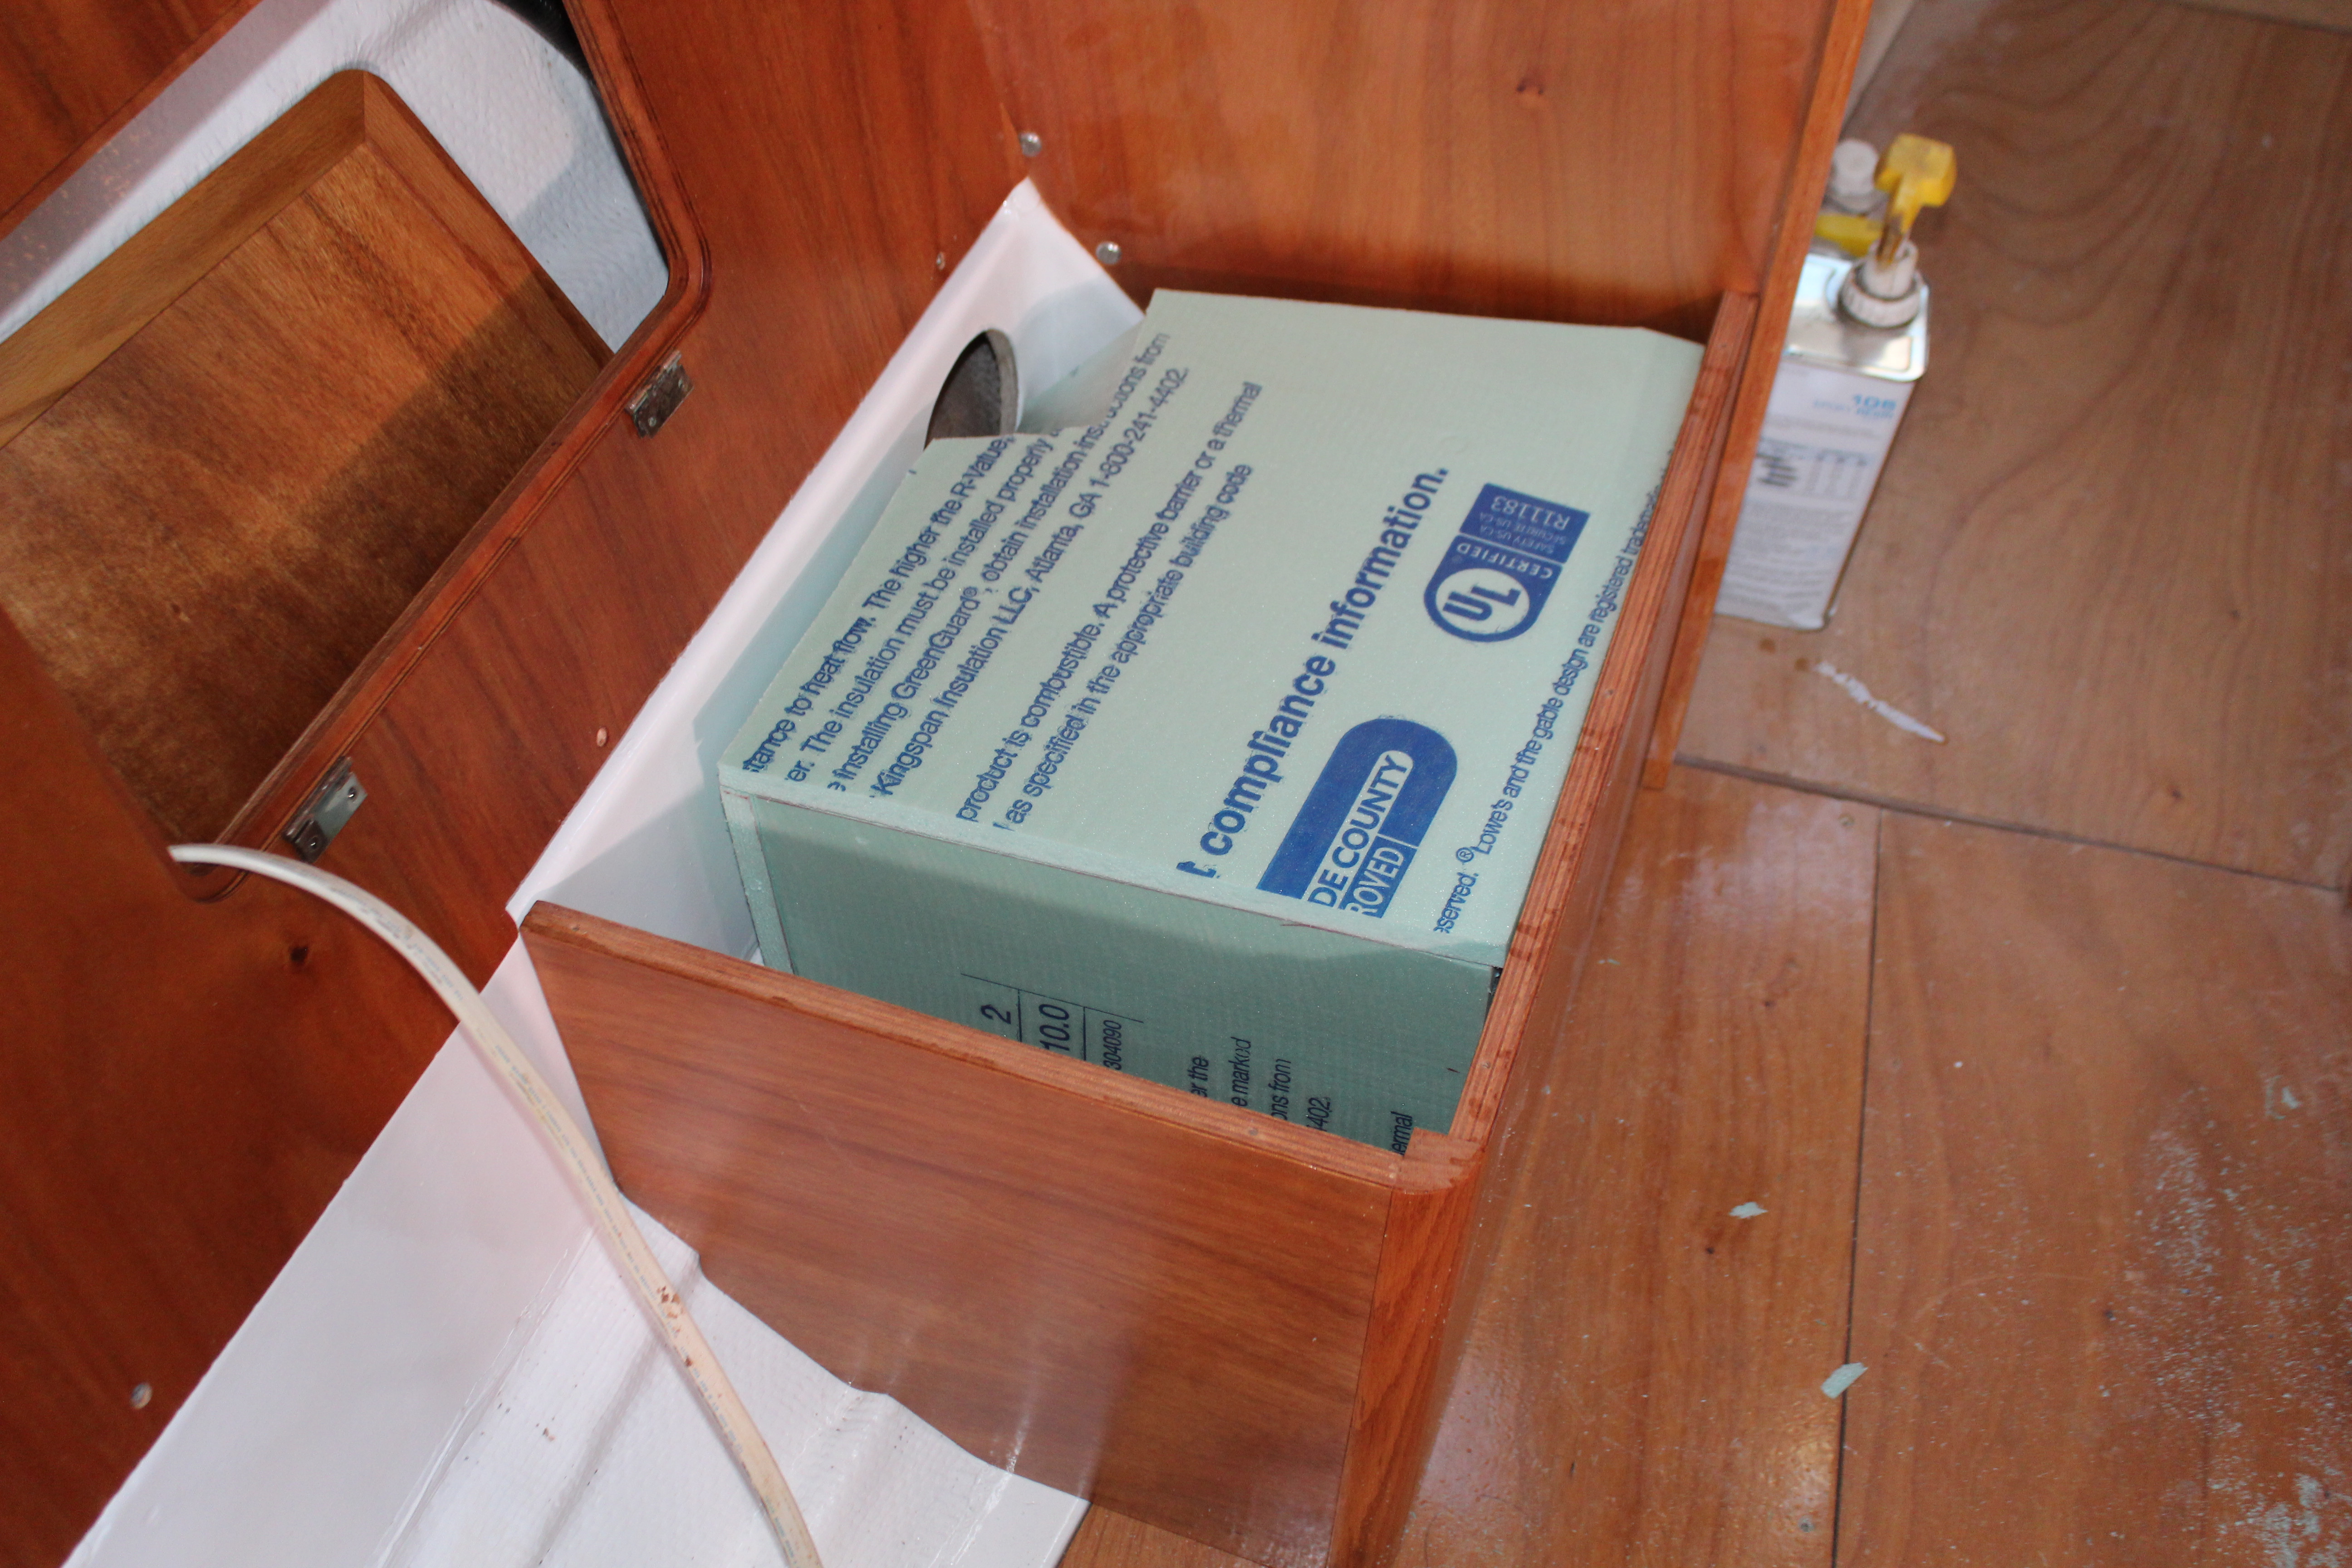
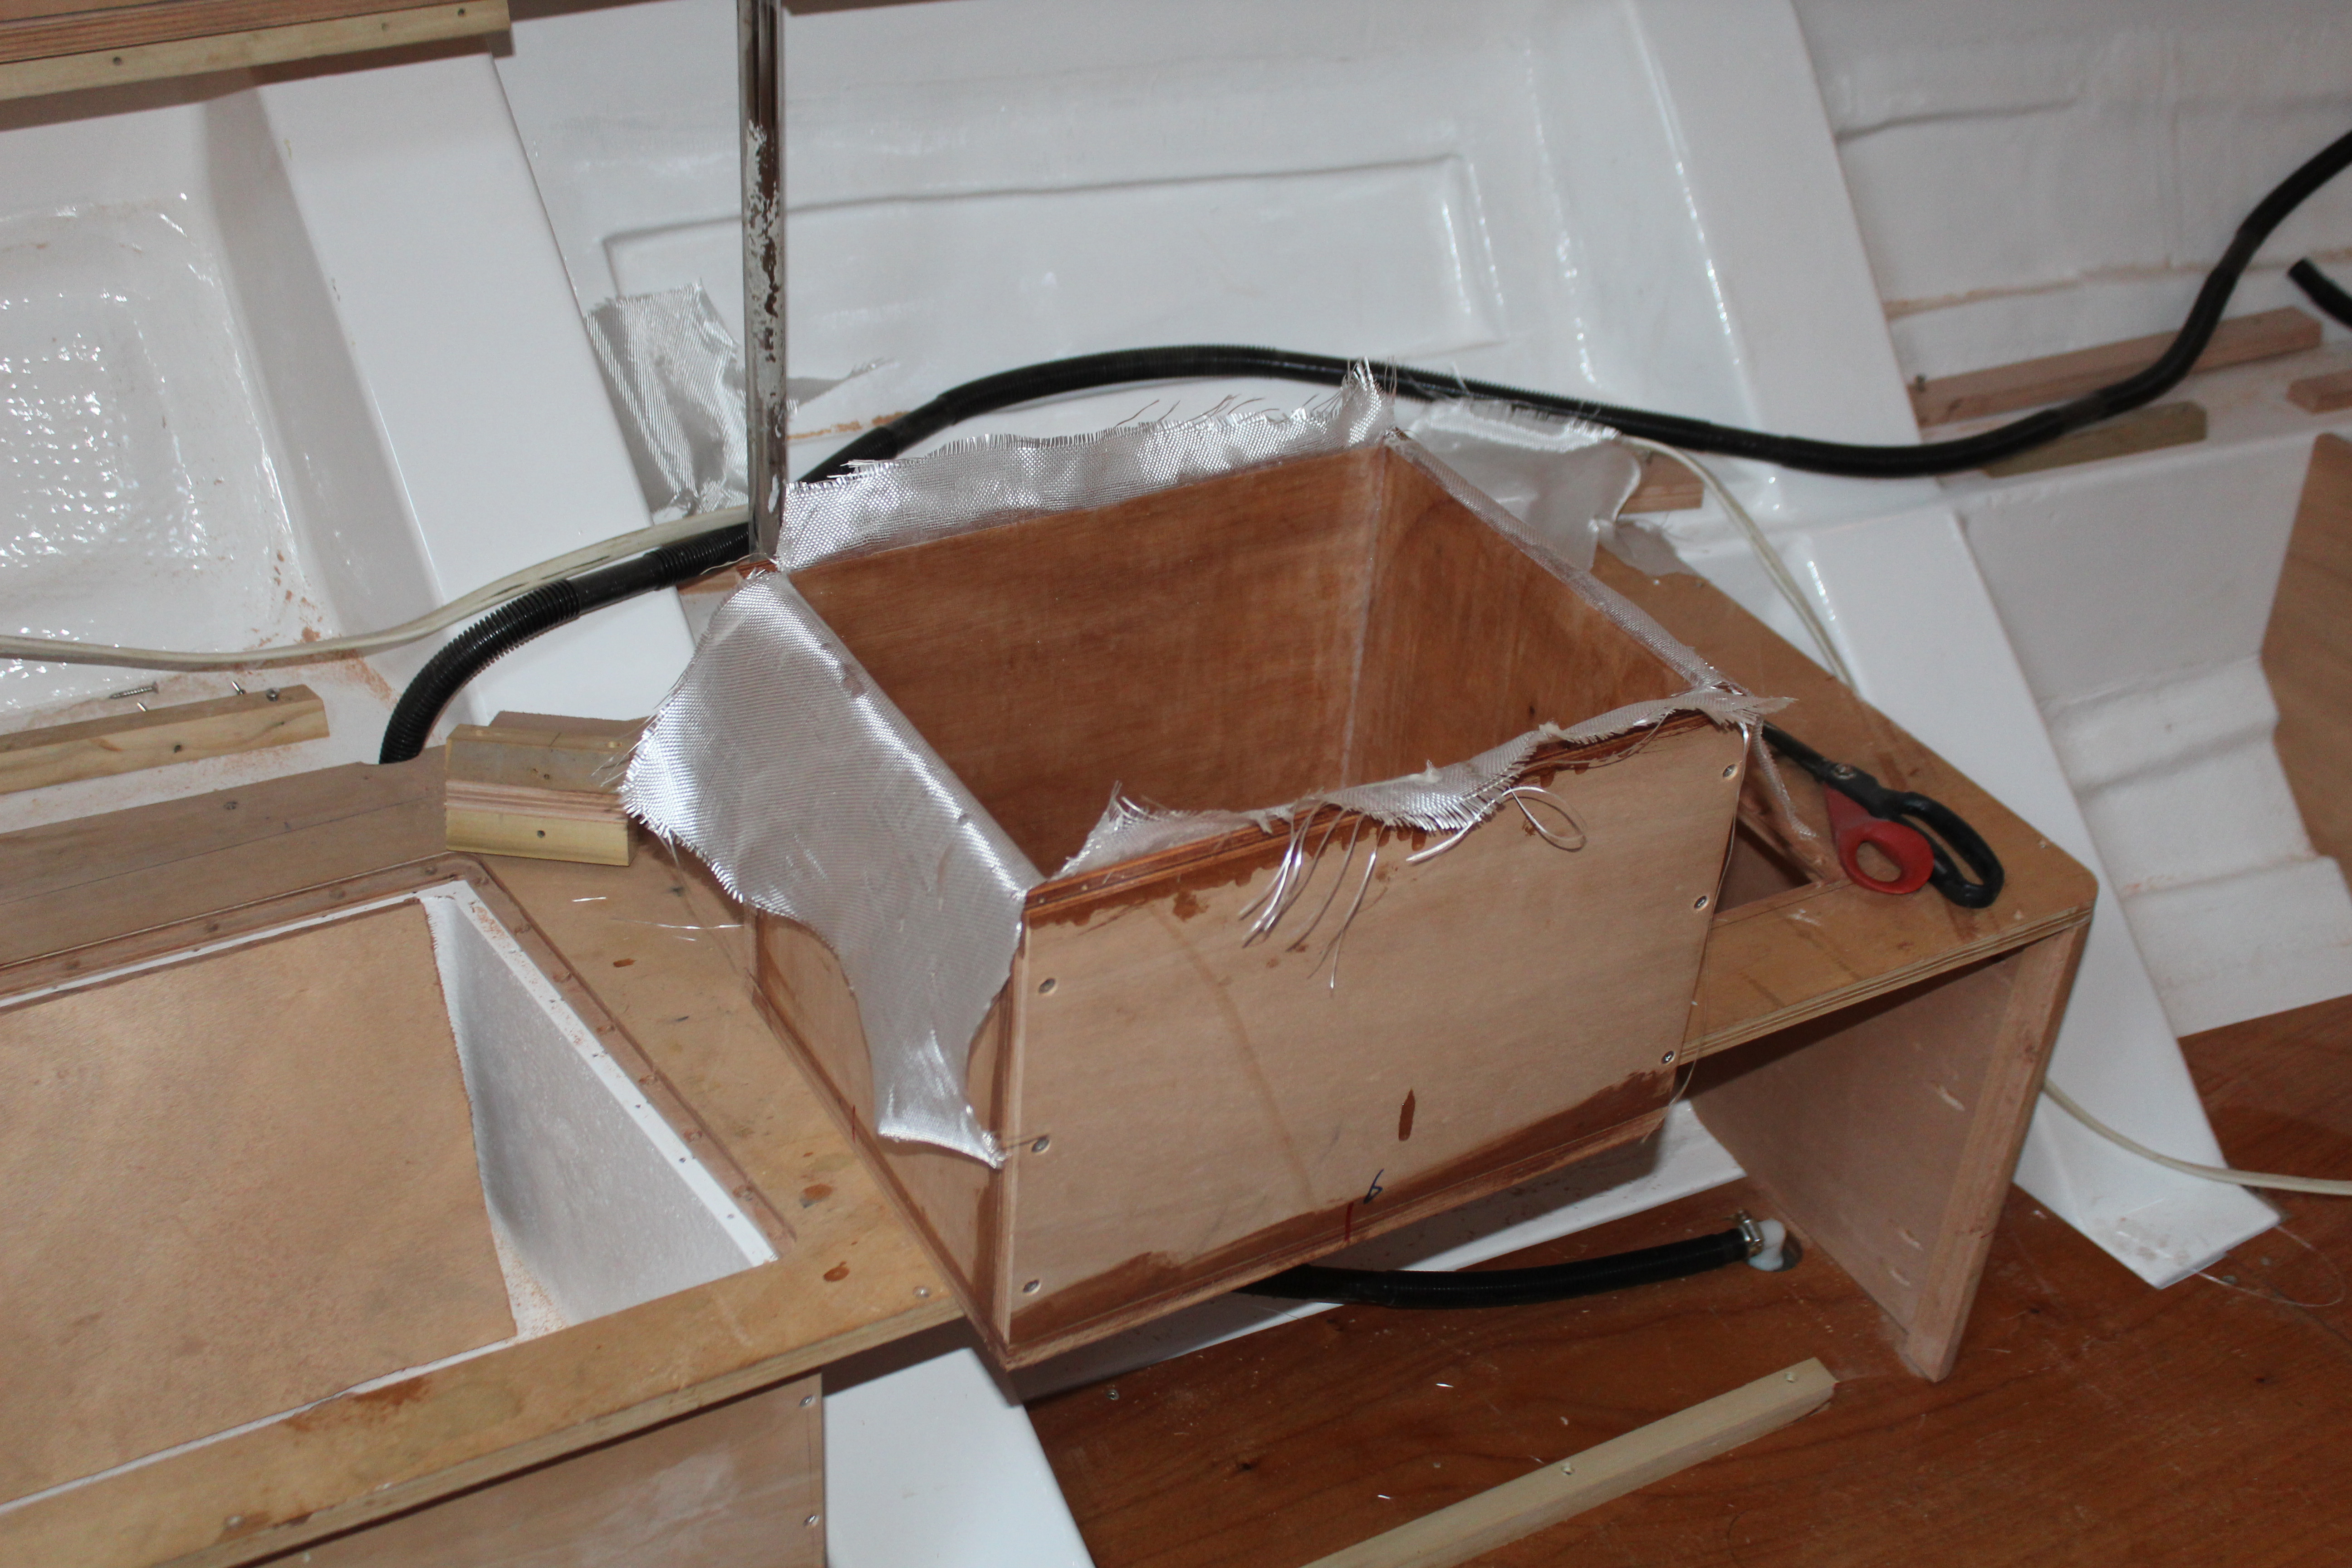
Then build and mount the box:


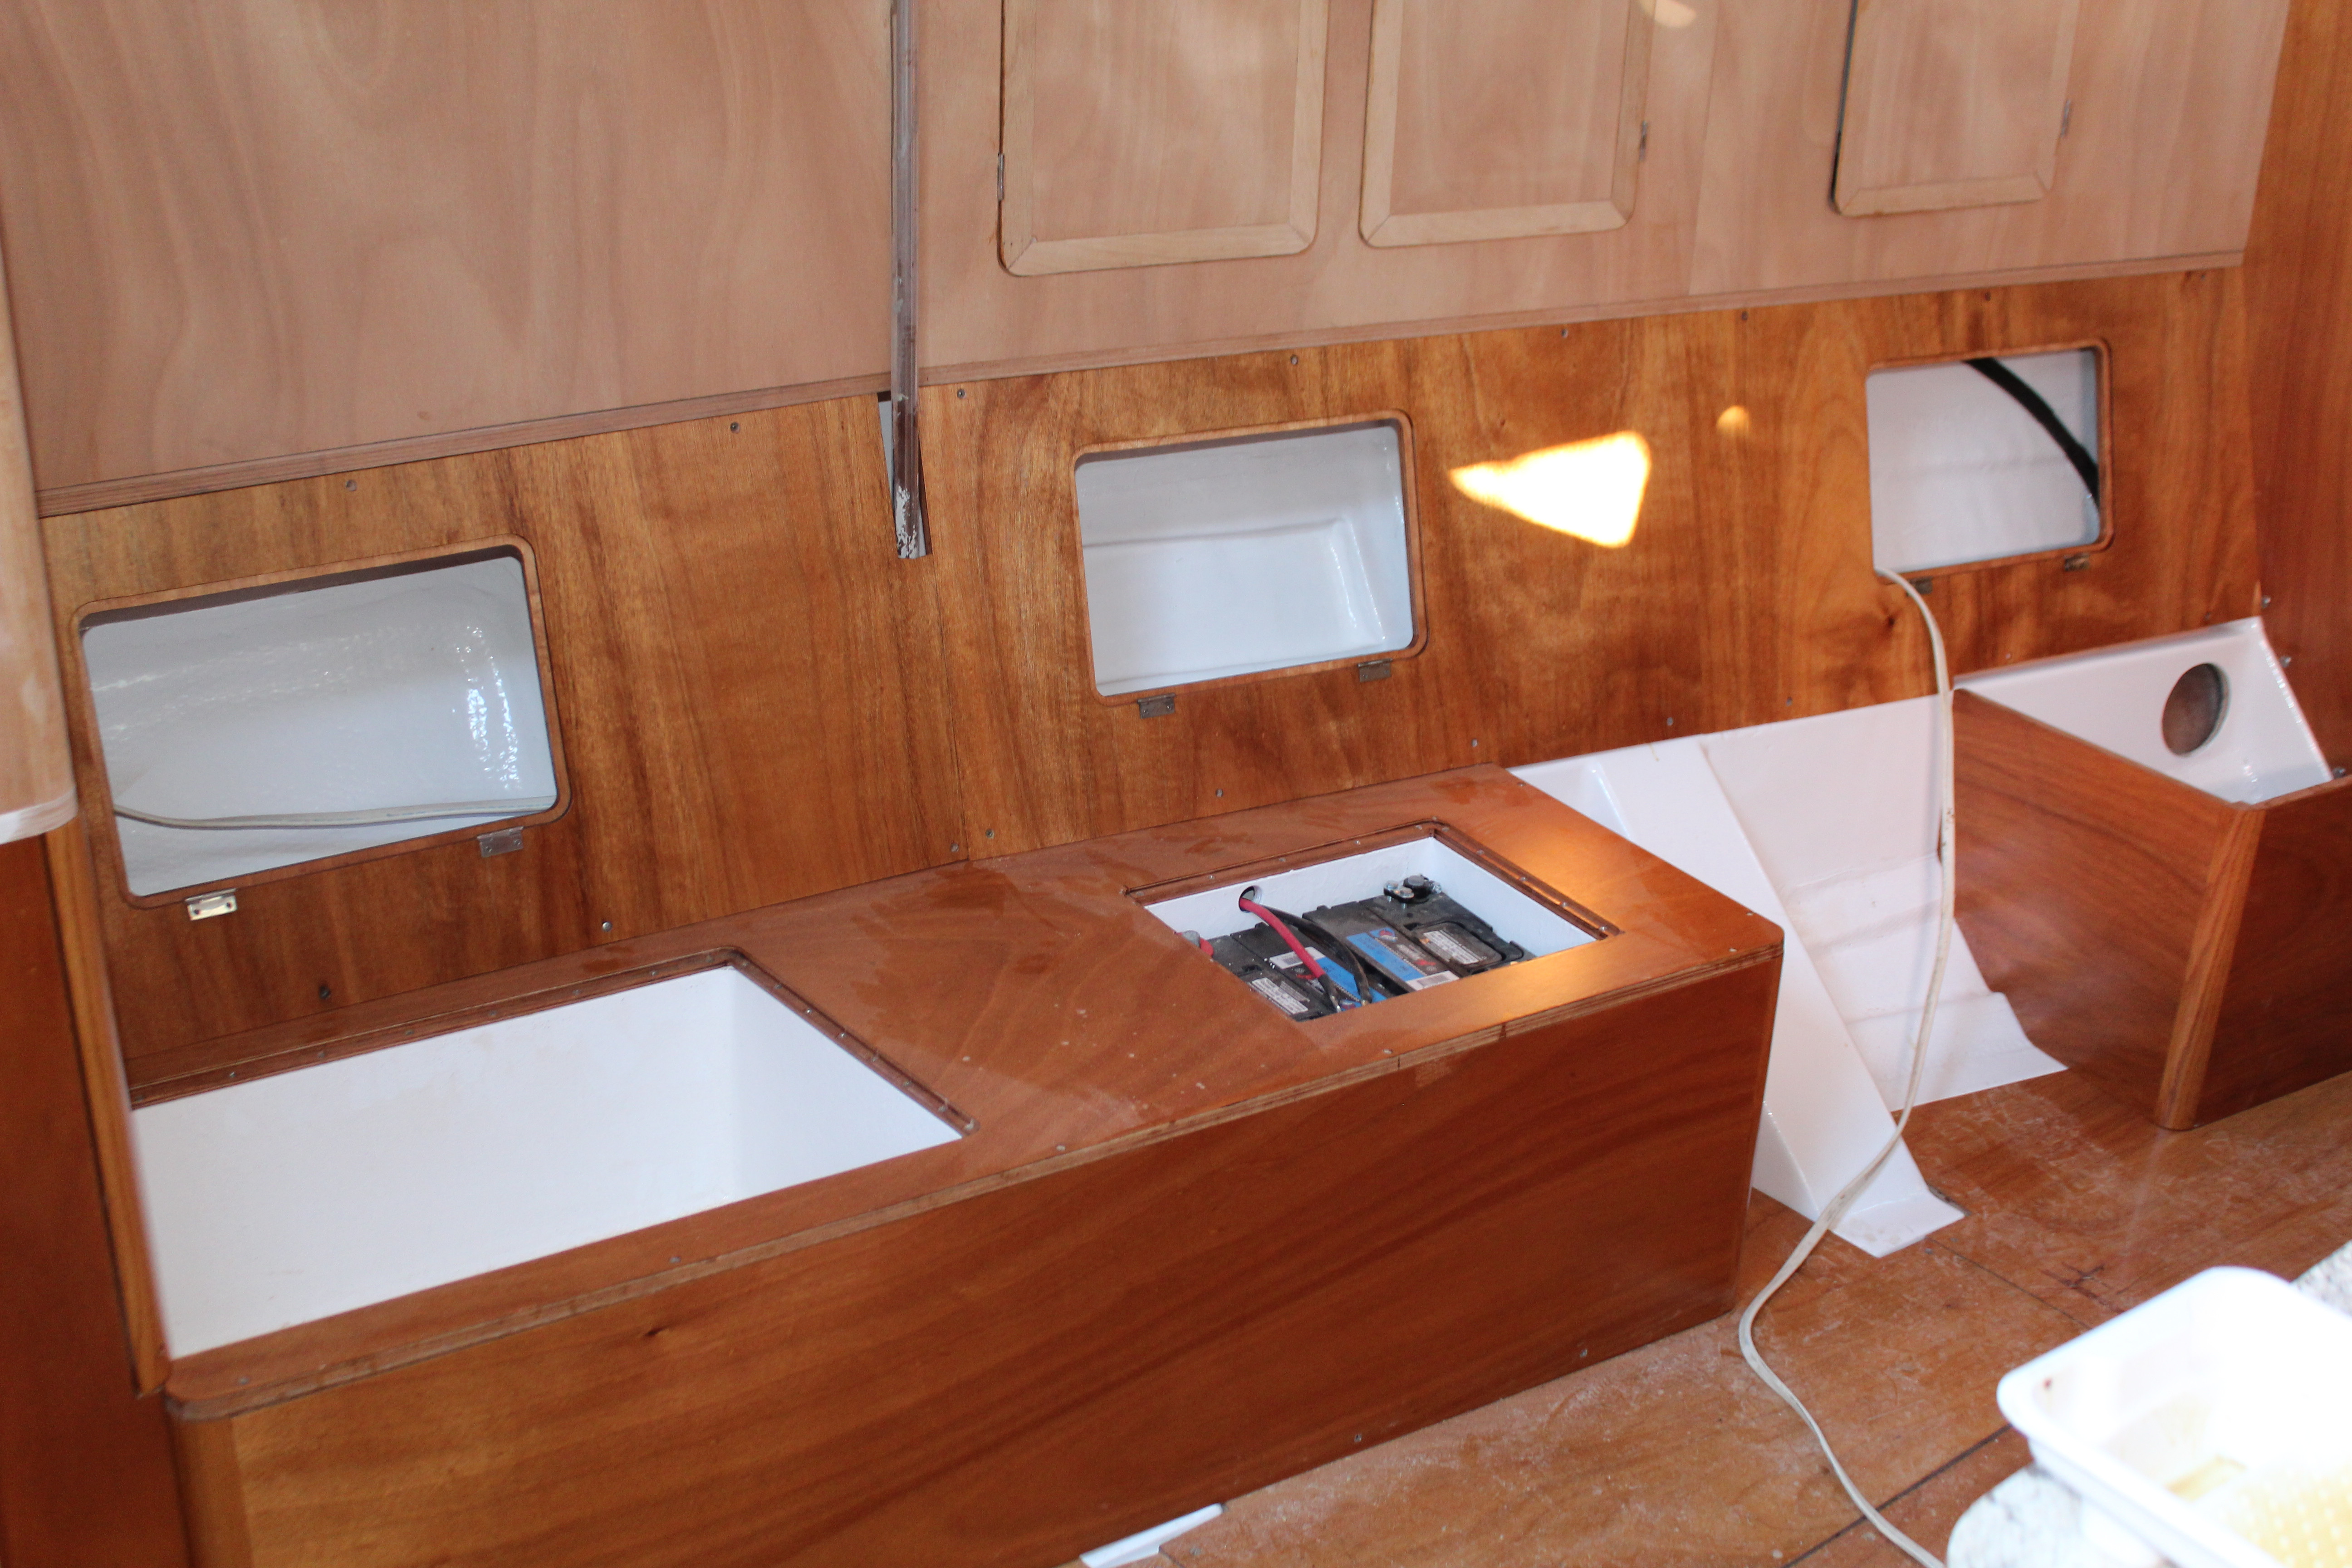
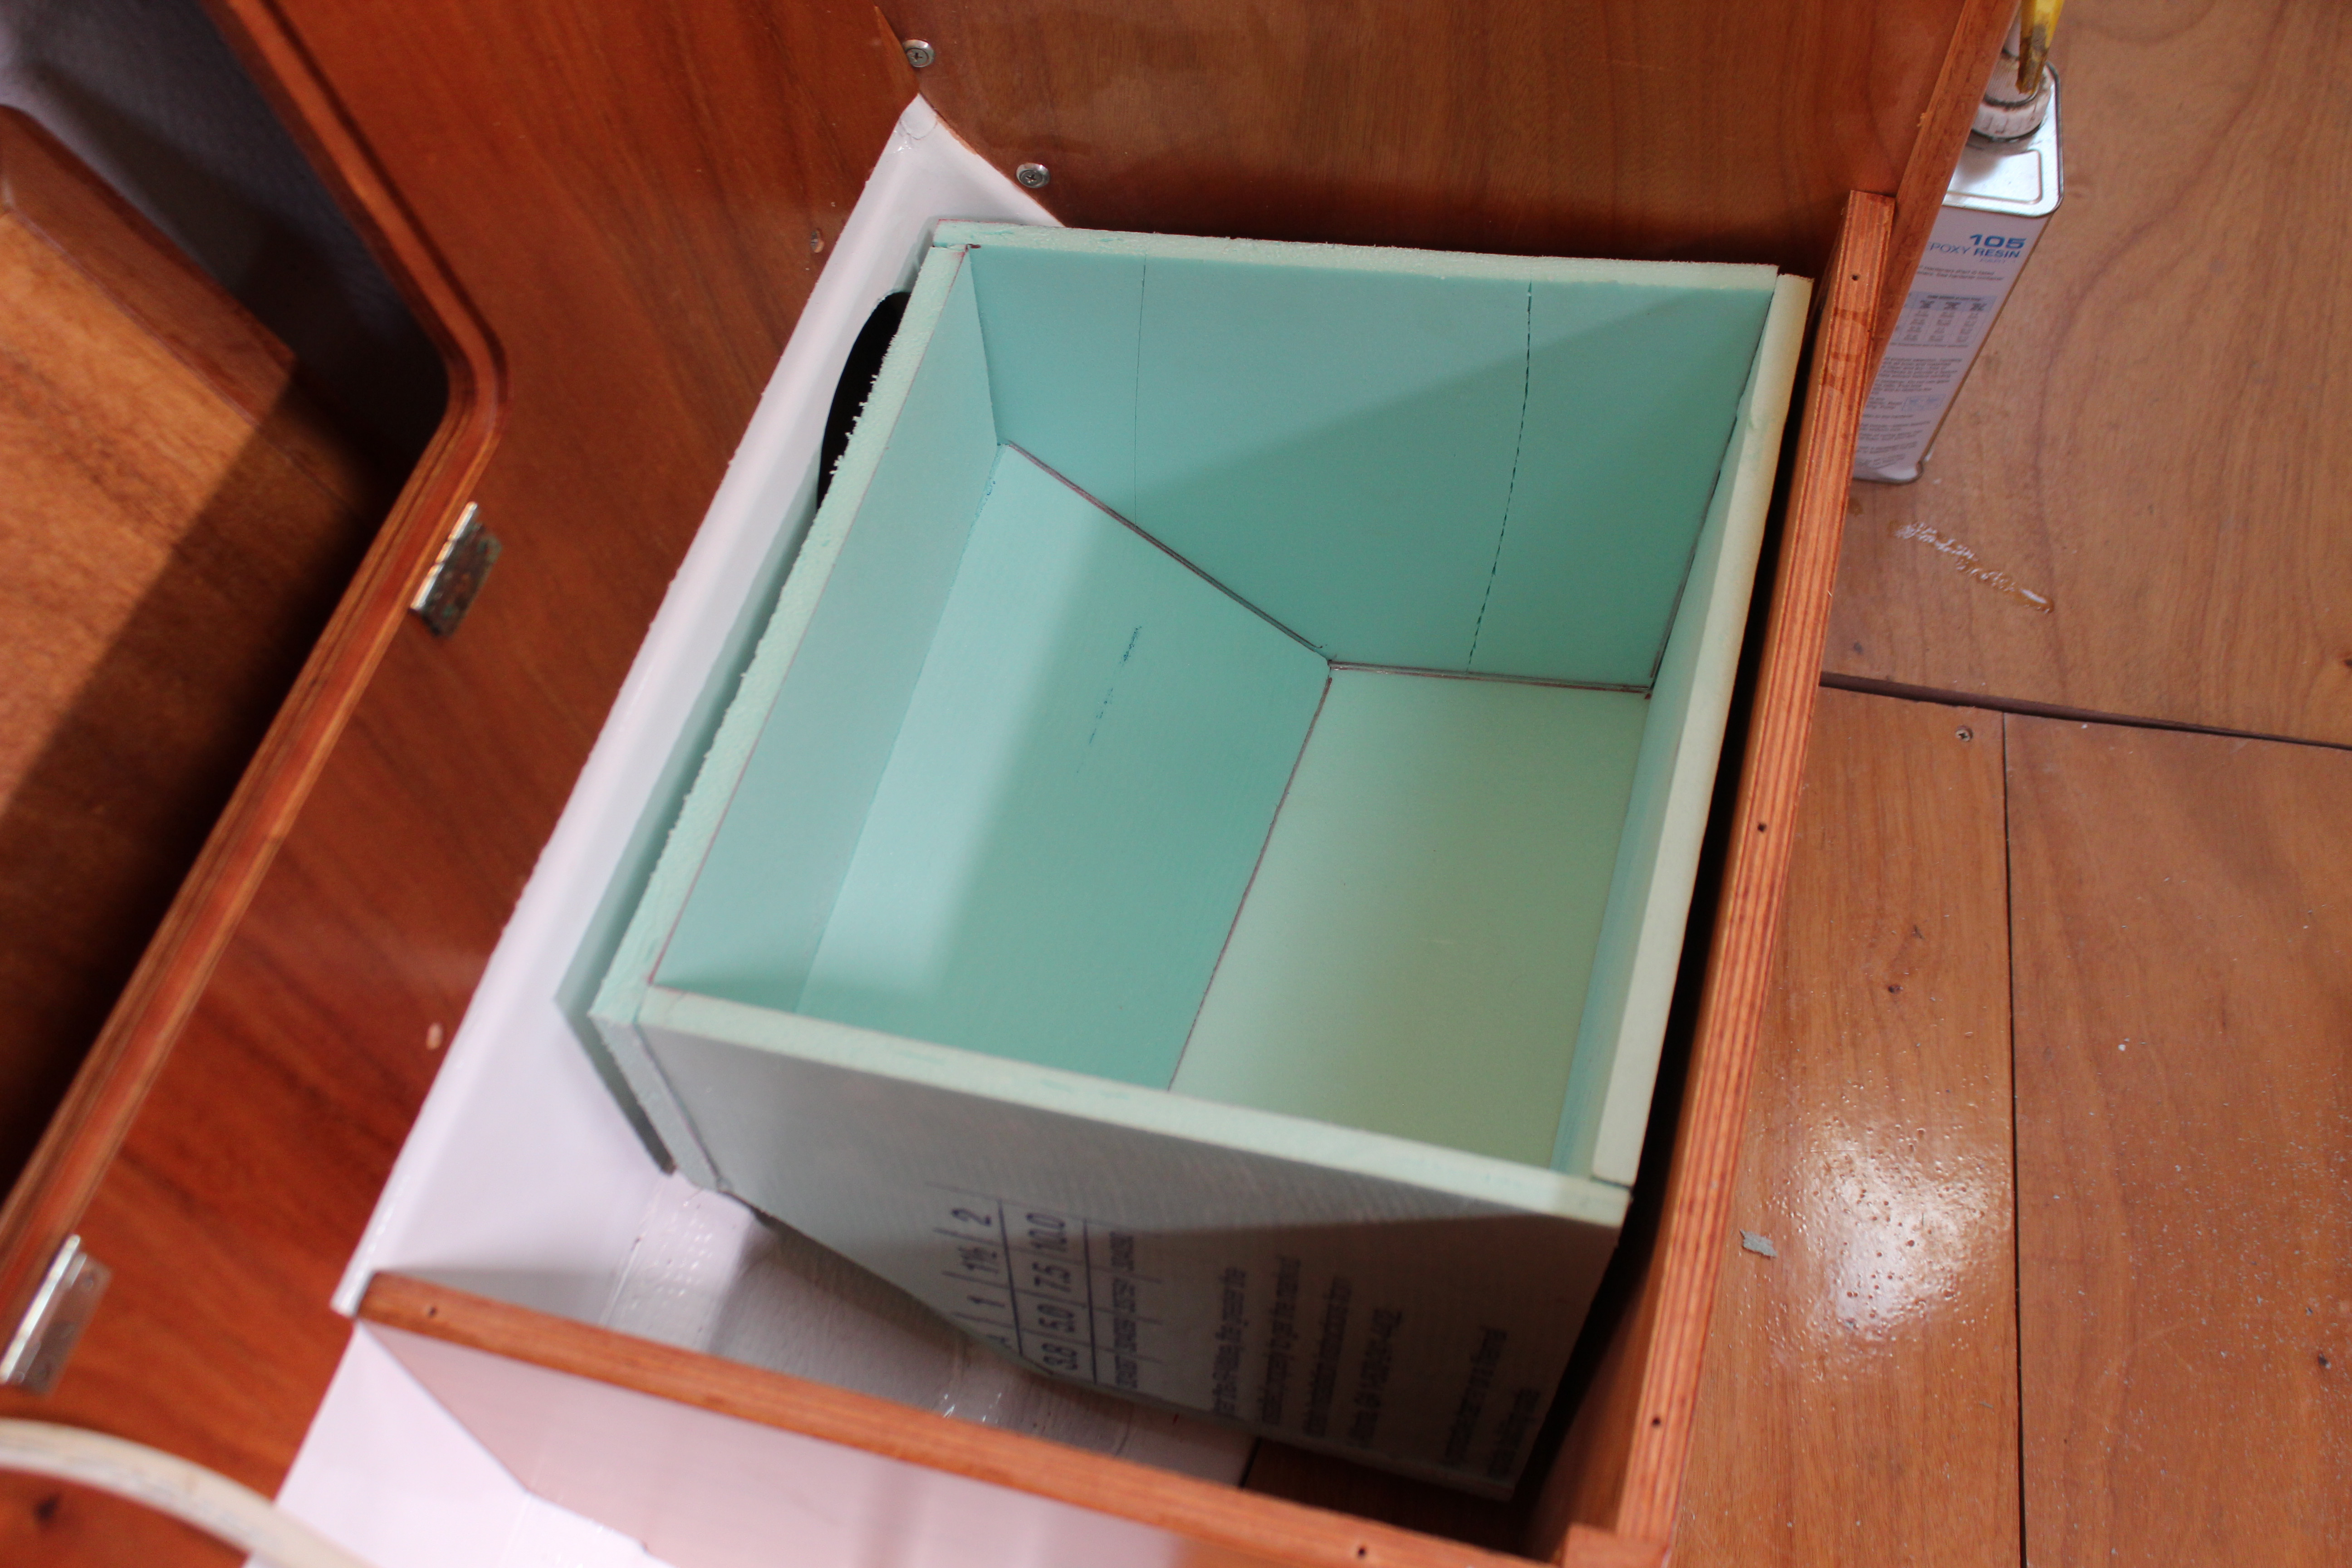
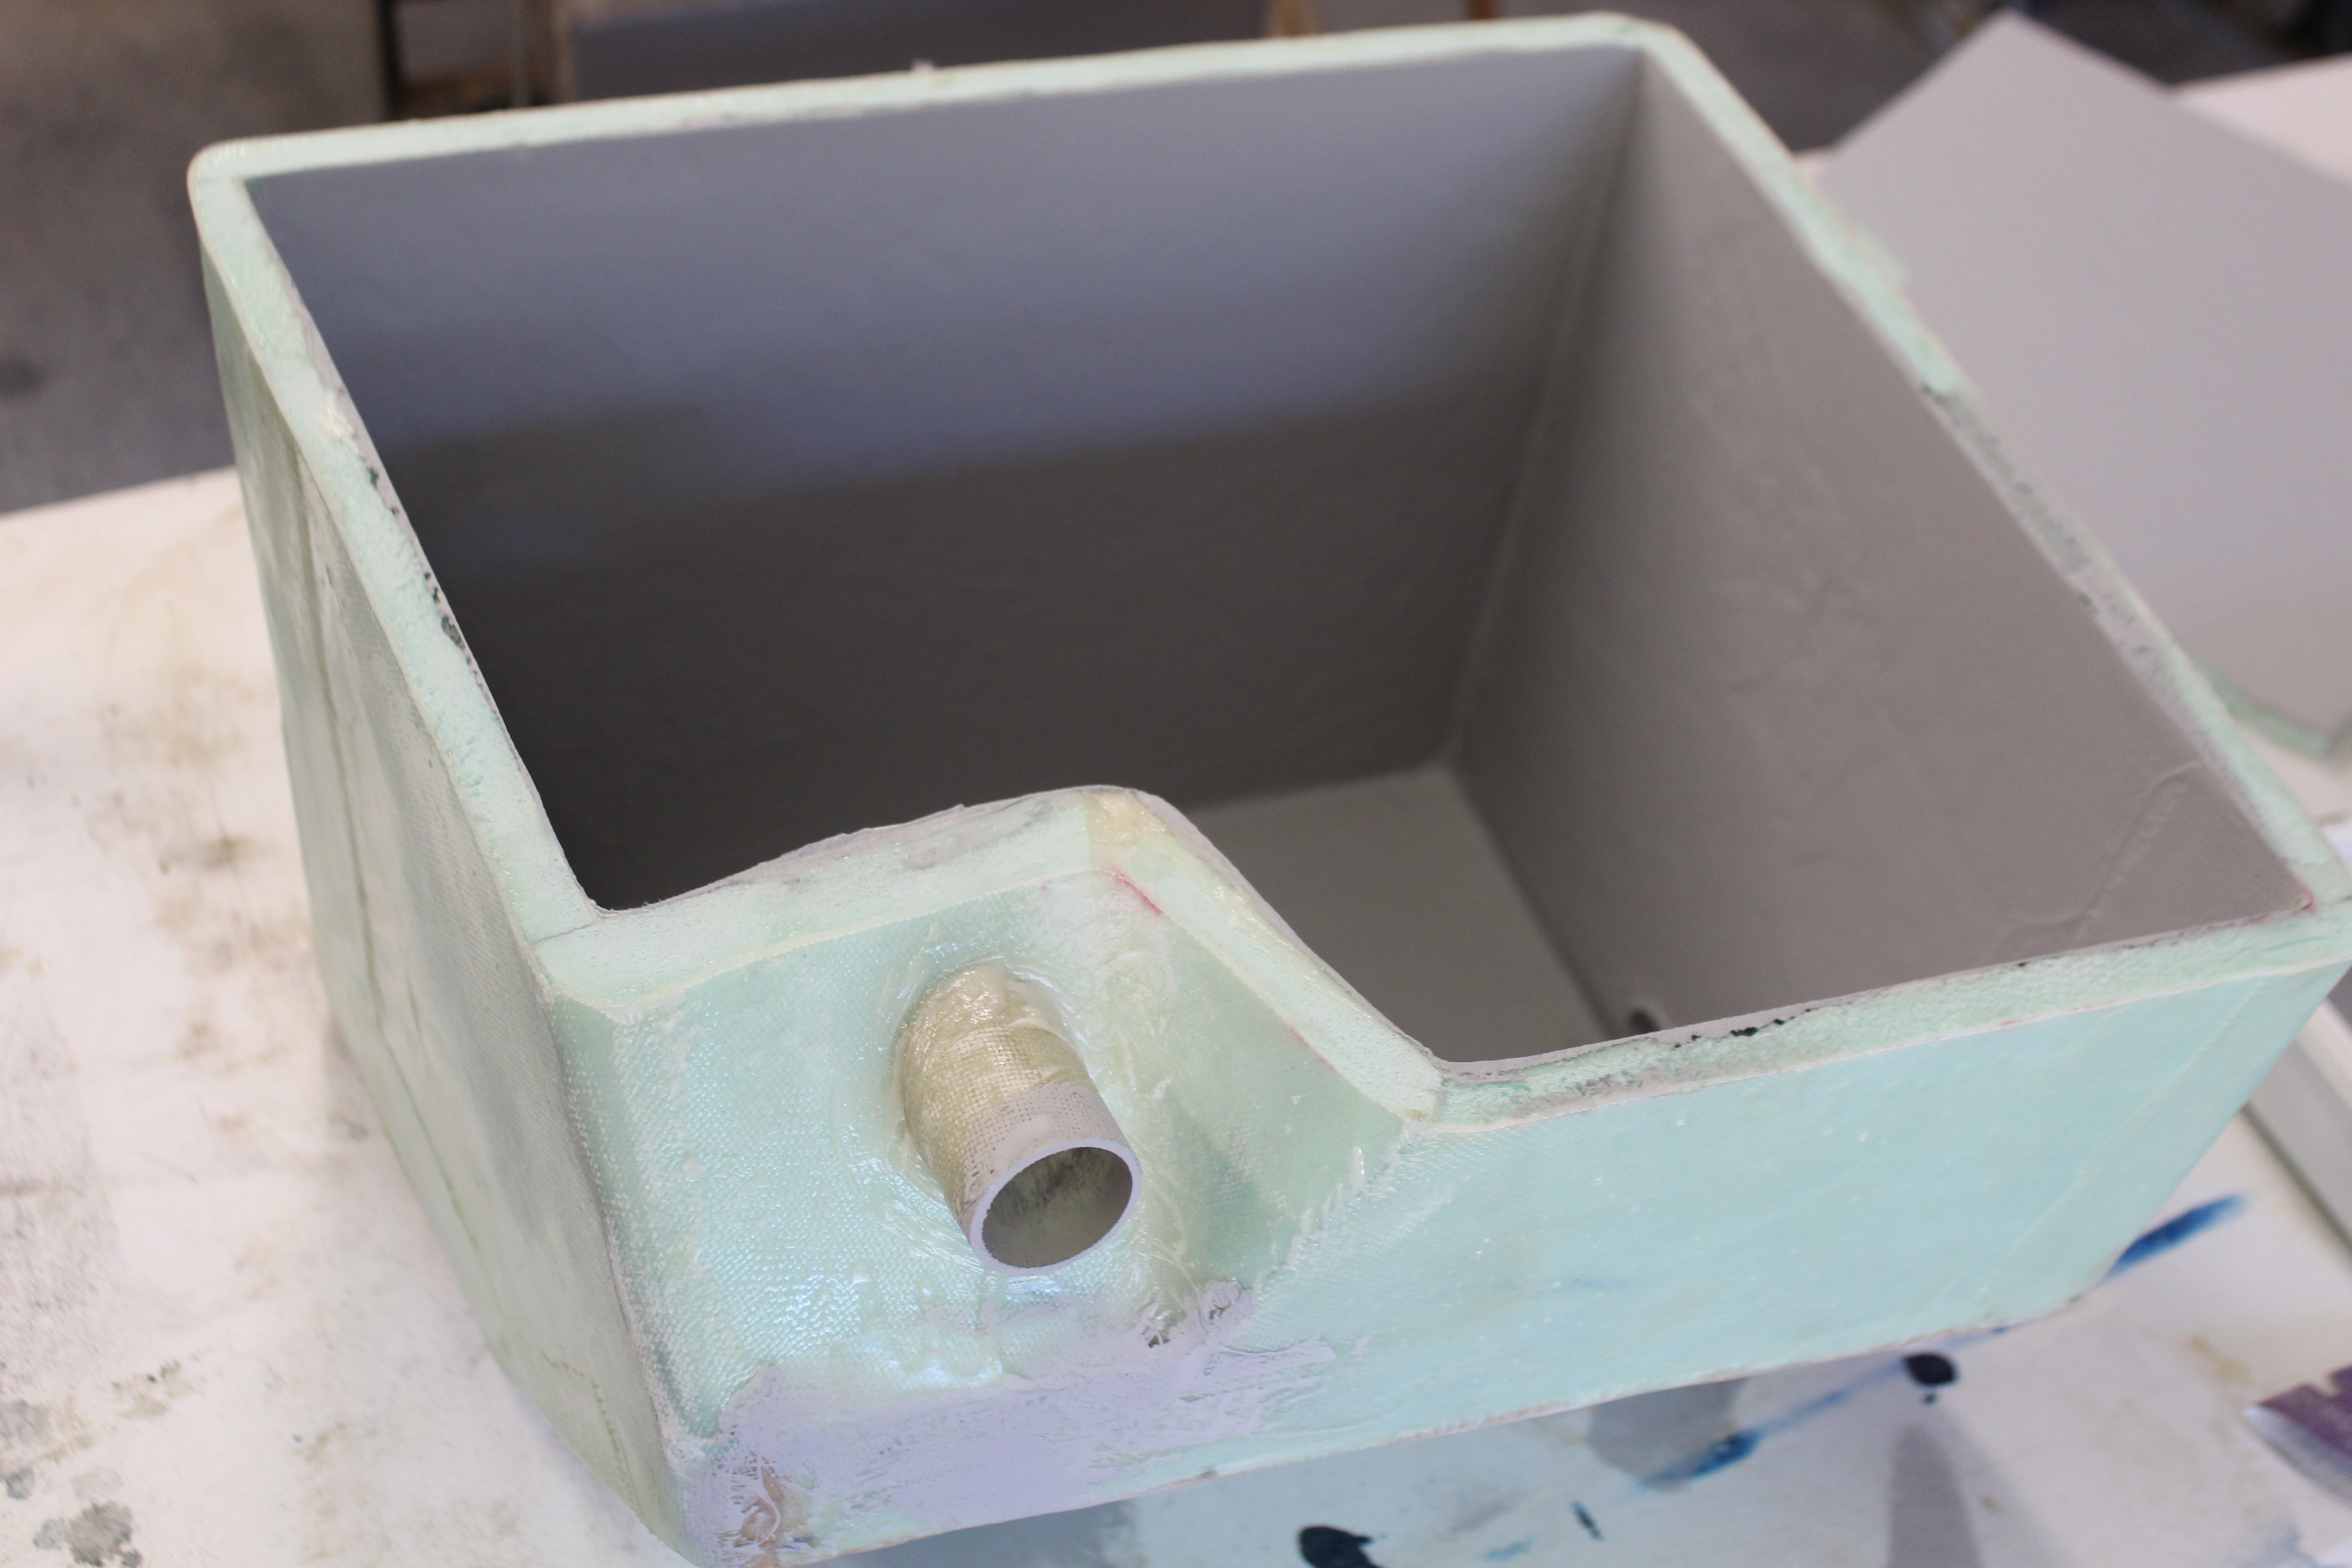
And when satisfied, take it all apart, glue and screw it and seal it:


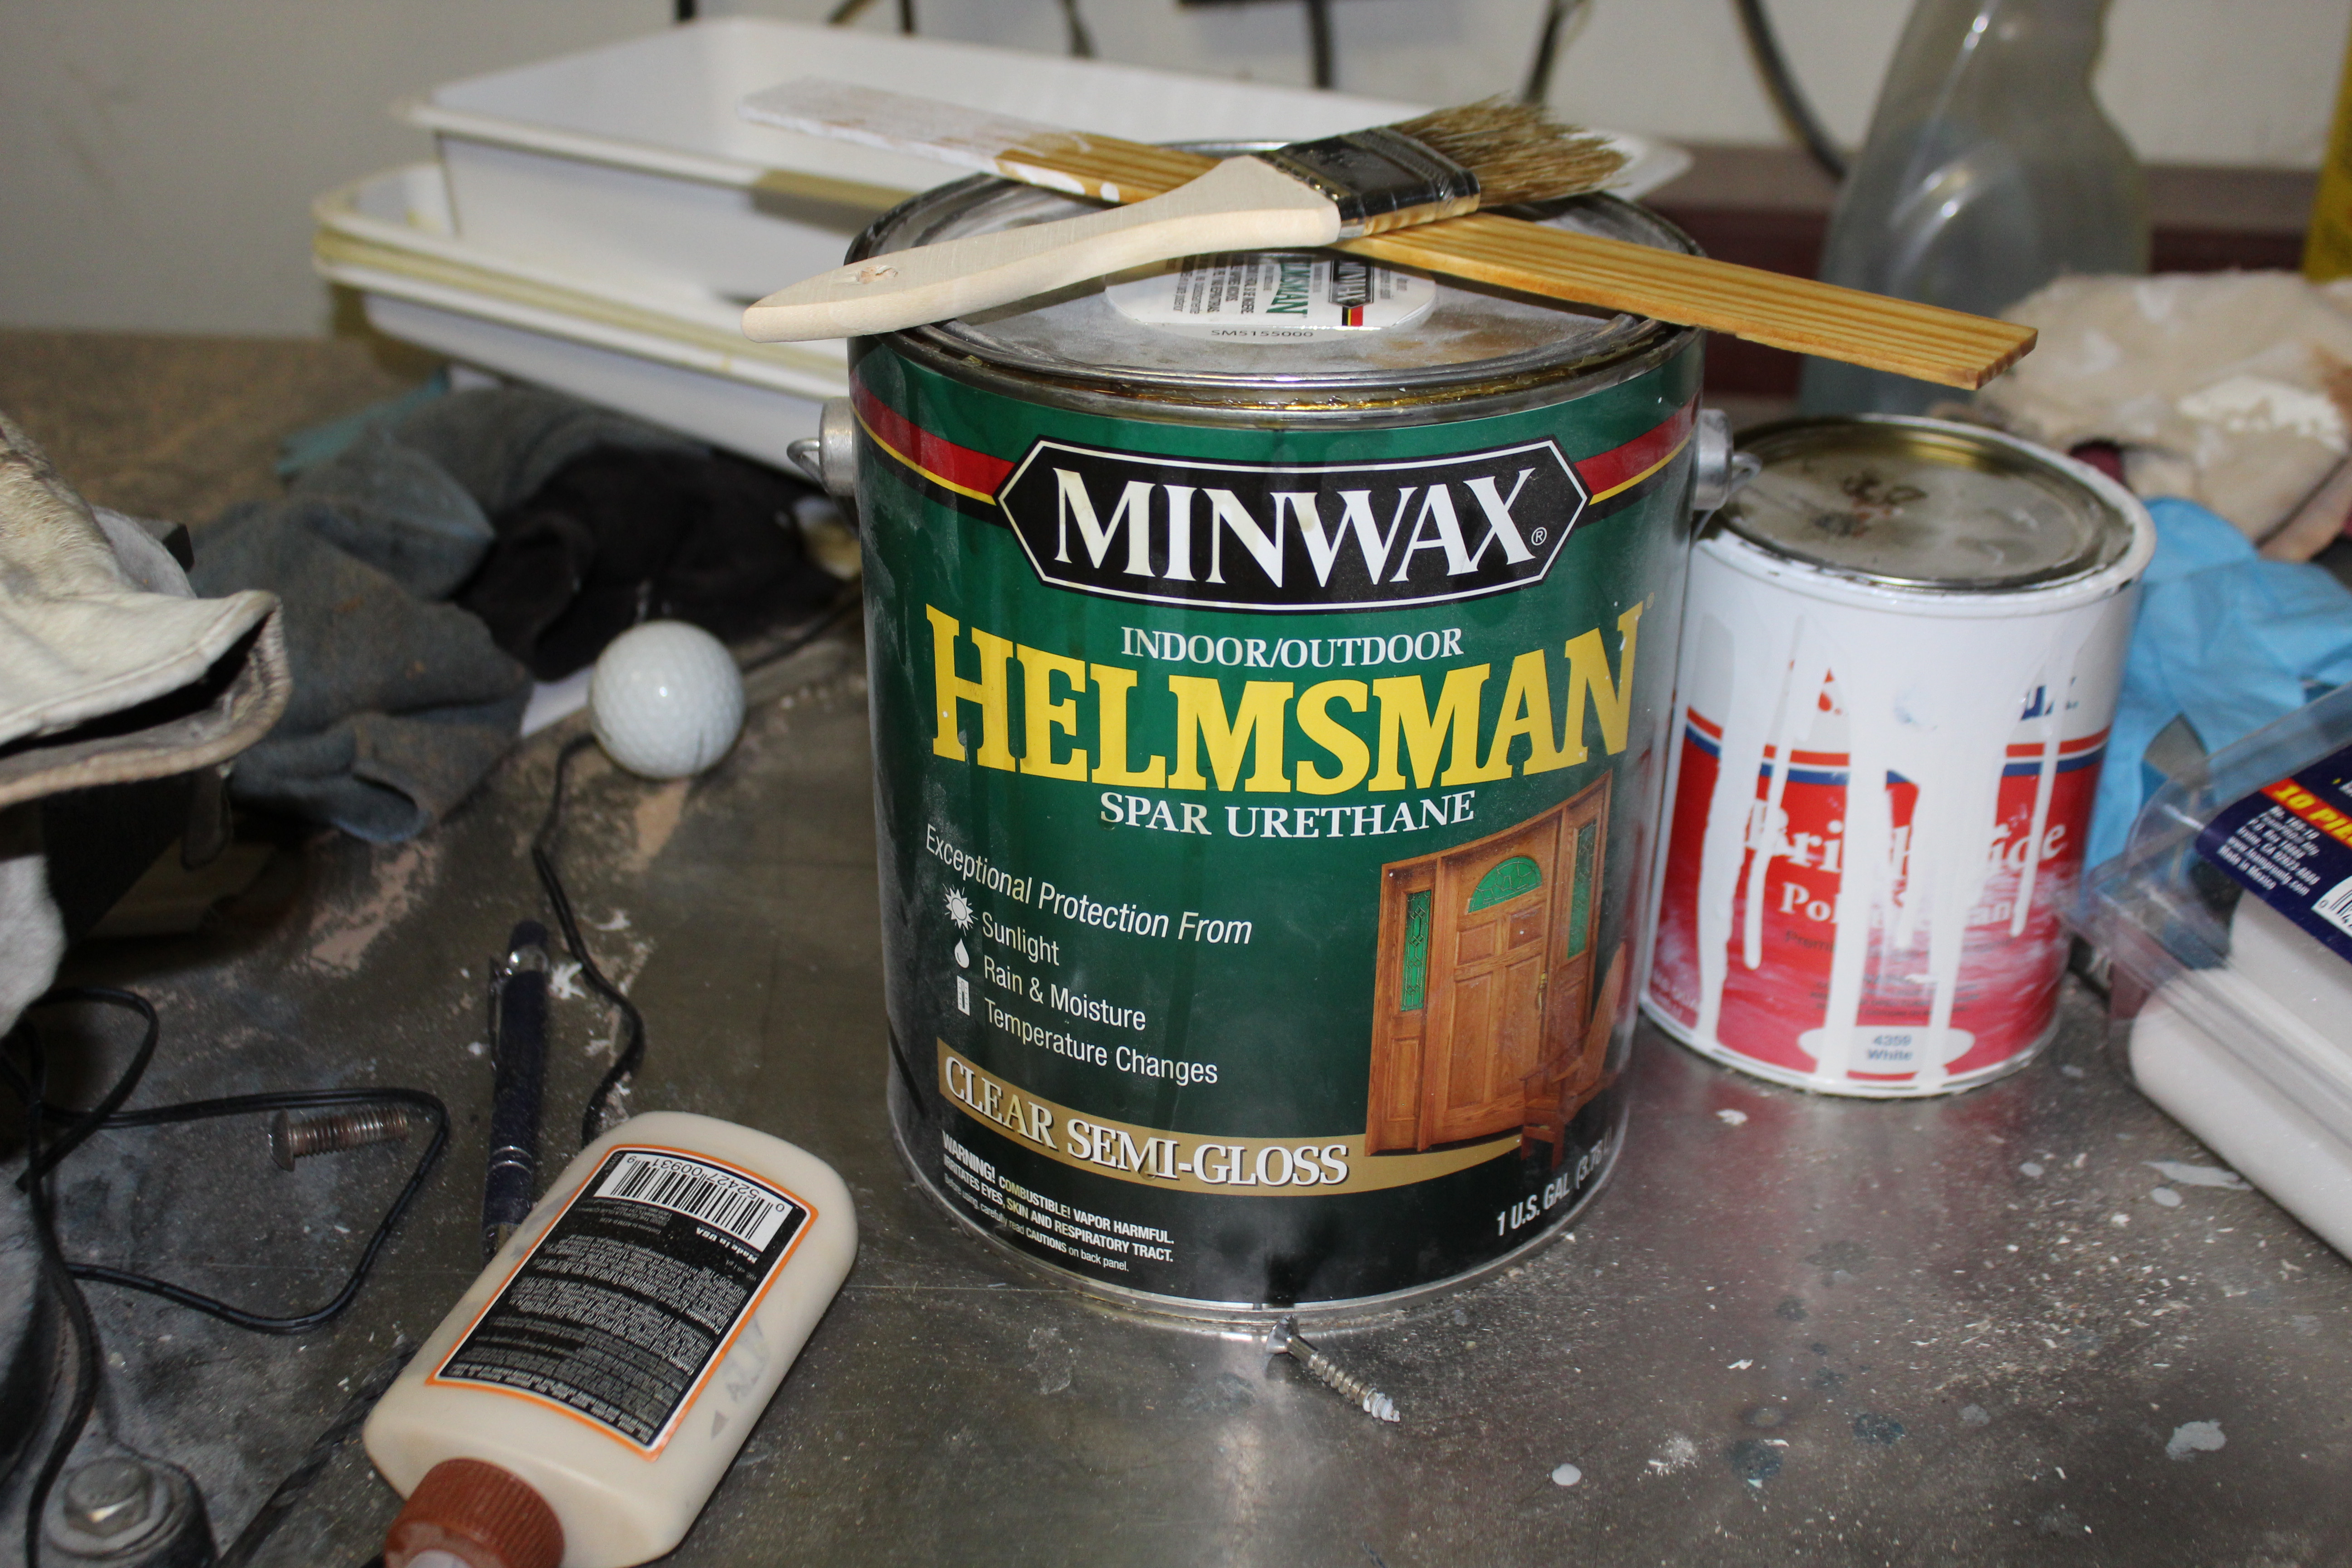
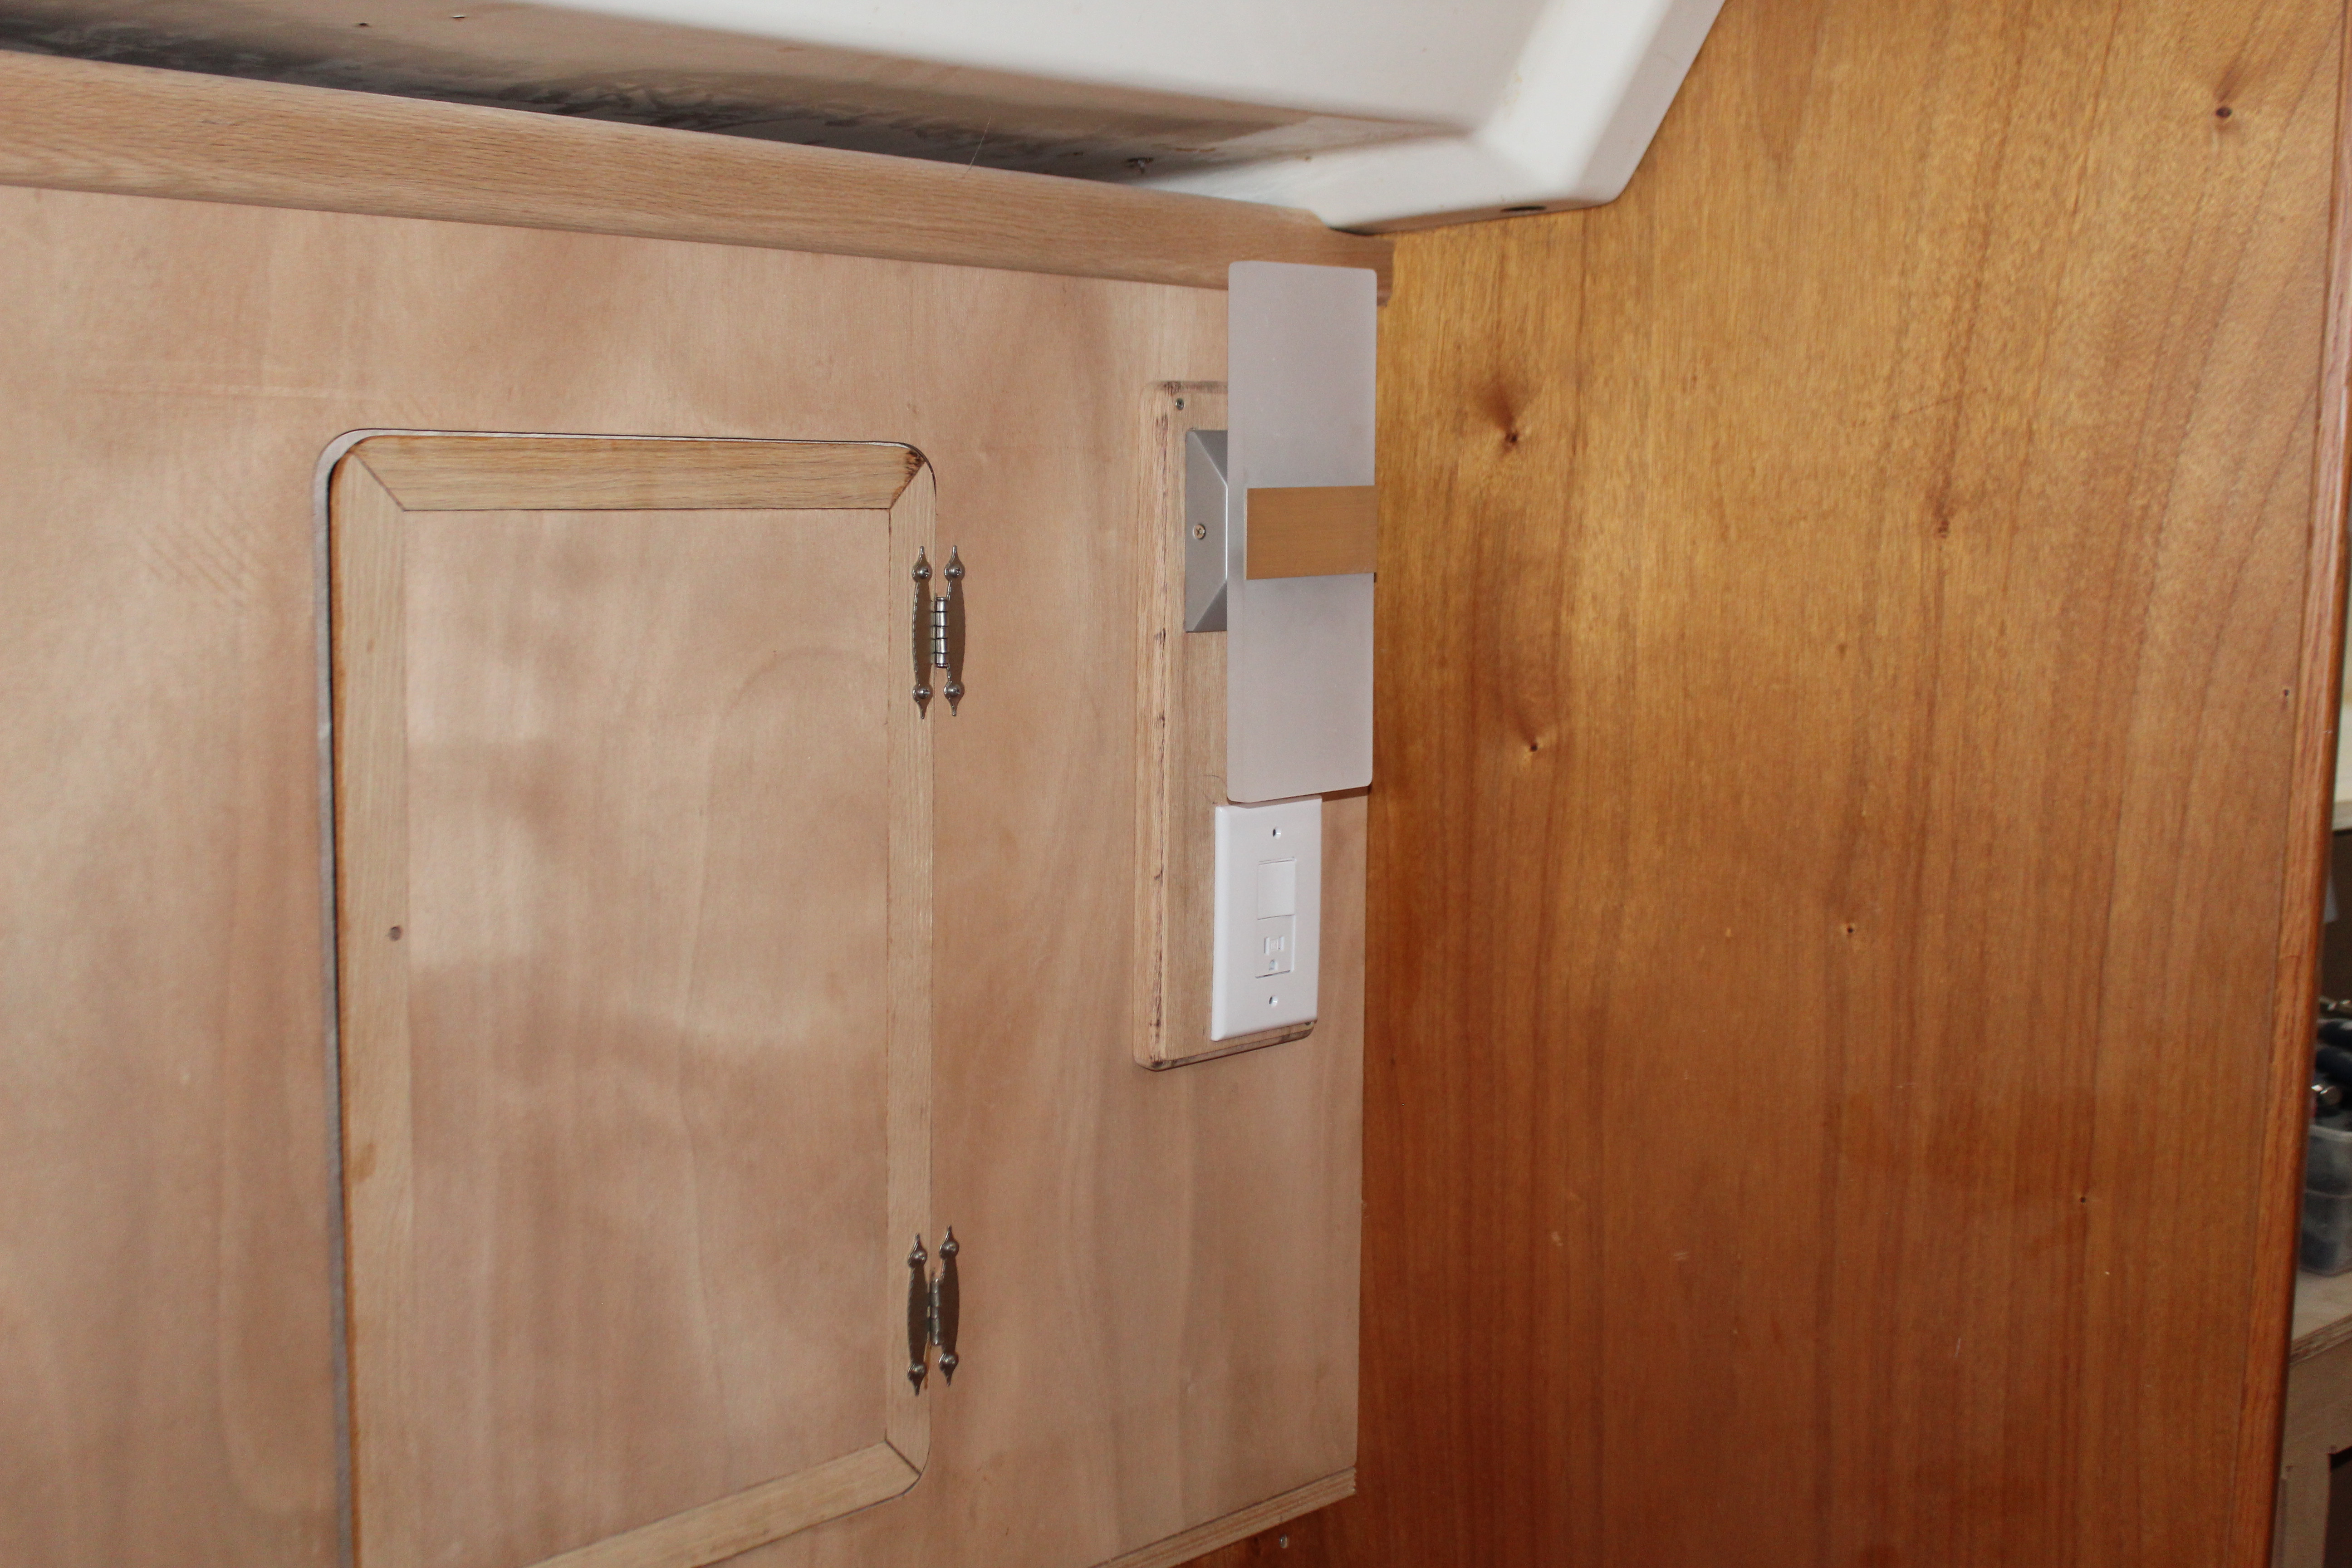
Next up, some cabinetry finish work!

Cheers,

Mark
 
Jul 1, 1998
3,062
Hunter Legend 35 Poulsbo/Semiahmoo WA
I read some where that after Dow 795 cures for the 14 days it pits with repeated washings. Have you used it before on windows or deck areas that would be subject to multiple scrub downs over the years? and if so have any pitting problems? I want to rebed the skylight deck windows on my boat and I was thinking of trying Dow 795 over the 3M products (of course my buddy a 3M rep will kick my butt if he finds out ... so no one blab to him)
With regard to the 3M sealant, since you obviously have an inside source, ask the rep if 3M 995 would be better.

Back in the late 1990s I went to re-bed our deadlights and contacted the 3M company about some details about doing it. Turned out the 3M tech-rep for the Pacific Northwest lived about 15 miles from us and he asked if he could come out and look at the boat / project. After looking at it, he recommended the 3M 995. The factory sealant was white but (and he didn't say this), I had found out that black has better UV resistance so that is what I used. With regard to details, there are some more. "The devil is in the details".

1. There is "bedding" and there is "sealing". The Lexan has a different coefficient of expansion from the coachroof. What can happen is the seal can loose it's bond. Broken bond = leak. Sealing is done edge-to-edge and the Lexan "floats" on the coachroof recess. The sealant is designed to act like a rubber band and not as a glue, ergo, it needs a thiner area in the middle between the gel coat and the edge of the Lexan. Your 3M buddy will know all about this because 995 is used in skyscraper window installation applications. Apply "bump-ons", thin (with peal-and-stick adhesive on one side) supports about 2mm thick, spaced around the recessed area, and foam "backer-rod" around the perimeter of the deadlight underneath the joint. Due to the think bump-ons I had to cut the backer rod in half.

2. Use 3M blue tape to mask off both sides of the joint then apply the sealant. Use a finger to smooth the sealant and leave a small depression between the Lexan and the coachroof. Underneath the sealant the backer rod will provide an upward push to the sealant, so between this and the depression above, there will be a "rubber band" effect created to provide for the coefficient of expansion.

3. The deadlights were apparently designed to be "glued" in place so there is no gap between the coachroof and the Lexan edges so this has to be enlarged. Ditto for the screw holes which I enlarged slightly.

4. Operation: The deadlight area is a no-step area now.

5. Results: 20+ years and counting, with no leaks. Includes one season in Alaska Southwest where it rains all the time (280 inches/yr) and the standard clothing attire are yellow slickers with rubber boots.
This has worked for me but, as they say, "your mileage may vary". I'd be curious what your 3M buddy has to say.
 
May 8, 2013
629
Hunter 40 Dataw Island, SC
Cabinetry work:

With the battery box built and glassed, next up was to get a few coats of paint on it (in it?) and do some final fitting on the port settees. Mainly just rechecking the fit and fixing any last minute anomalies before clearcoating the pieces. Of course that took several days for multiple coats so I routed the starting battery cables and water tank vents:


Finally I could start permanently installing the settee:


Adding the top and both battery boxes:


And working up the sides:


Next up on the cabinetry front will be pulling the upper cabinet faces and repeating final fit and finish. While they are out I will also start the wiring for the port side, but I'm not quite ready to do all that yet because:

Next - even more water tank tomfoolery! (You guys just thought I was done with the tanks :biggrin:)

Cheers,

Mark
 

Artey1

.
Jul 18, 2019
165
Hunter 34 Oklahoma
Cabinetry work:
How in God's name do you get those rounded vertical corner pieces for your settees? Other than using a big shaper which I don't have, how would I go about doing this? I tried doing kerfs in plywood and then laminating over it, but it just ended up with ridges showing where the kerf bends were due to the tight radius I was trying to mimic.
 
Oct 22, 2014
20,992
CAL 35 Cruiser #21 moored EVERETT WA
How ... do you get those rounded vertical corner pieces for your settees?
What if you use a quarter round piece of molding for the vertical?
The top is a straight piece of plywood cut with a curve to match the radius of the quarter round.
Then you only need to laminate the edge of the plywood top, in order to blend the pieces together.
 
May 29, 2018
457
Canel 25 foot Shiogama, japan
How in God's name do you get those rounded vertical corner pieces for your settees? Other than using a big shaper which I don't have, how would I go about doing this? I tried doing kerfs in plywood and then laminating over it, but it just ended up with ridges showing where the kerf bends were due to the tight radius I was trying to mimic.

Back on page 43 , Mark has a great explanation (as with all his work) on his method of rounded corners.
The alternative is to start with larger stock, do the internal dados then use a handplane and moulded sandpaper block to make the rounds.
Slower and not the level of perfection that you can see here, but quite doable.
 
  • Like
Likes: Artey1
May 8, 2013
629
Hunter 40 Dataw Island, SC
How in God's name do you get those rounded vertical corner pieces for your settees? Other than using a big shaper which I don't have, how would I go about doing this? I tried doing kerfs in plywood and then laminating over it, but it just ended up with ridges showing where the kerf bends were due to the tight radius I was trying to mimic.
Hi Artey,

Like Gary said, back a "few" pages ago I did a little explanation on the corners but in a nutshell, I have 1 1/4" square stock that I run through the router with a roundover bit to create a 1 1/4 quarter round stock. I worked on this starting a few years back solely as a design style decision and it created more than a bit of consternation on how to securely assemble the cabinetry! Even though you wouldn't think a 1/2" difference in radius in the corner pieces is a big deal, it is amazing how noticeable it really is.

The only real problem is that the industry standard for quarter round stock is 3/4" (to match lumber & ply thickness) so anything larger is either a custom order or you have to DIY like I'm doing.

Cheers,

Mark
 
May 8, 2013
629
Hunter 40 Dataw Island, SC
Even more water tank tomfoolery:


To complete the port-side water tank system I had to fabricate a tank to sit inside the forward seat base. This tank will be the intake point and drain into the below-decks tanks. Definitely an odd shape and first up I cut the tank base and elevated it about 1 1/2" - this is to facilitate the tank draining fully:


The tank will be a foam/glass composite. With the base in, working the sides:


Pieces just loosely placed for now. Continuing with the sides:


With all the sides shaped and the fit tweaked, next was to glue everything together using the hot glue gun:


Before I could level the top I needed to make a cutout for access to the intake hose:


The cutout lets me utilize the opening in the stringer (which has always been there though I have no idea why - maybe Hunter had me in mind way back then?;)). I'll plumb the hoses through there and up behind the cabinets. The reason for the angled cutout is to make the glass layup easier to transition in the corner.

Finally, making the top to the tank:


Next up, glassing the tank inside and out.

Cheers,

Mark
 
Aug 28, 2006
564
Bavaria 35E seattle
Hi Mark,
I realize you've probably posted an answer to this somewhere in the prior pages, but what finish are you using on the cabinetry?

Brad
 
May 8, 2013
629
Hunter 40 Dataw Island, SC
Hi Mark,
I realize you've probably posted an answer to this somewhere in the prior pages, but what finish are you using on the cabinetry?

Brad
Hi Brad,

I probably did but that might have been a few pages ago, so here's what I'm using:


I like it - no comparison to varnish, the urethane is much, much easier to apply - three coats and done - and I think it looks better too. So far I've only used it for finishes down below but I have a cockpit table that needs refinishing so I will get a good comparison as to how to lasts vs. varnish topside eventually.

I tested the urethane finish before going all in and found that the semi-gloss was a bit too shiny for my taste and the satin was a bit too flat so I mix the two equally - just a personal taste thing.

Mark
 
May 8, 2013
629
Hunter 40 Dataw Island, SC
Finishing the water tank tomfoolery!:

After final adjustments to the foam the tank came out for glassing. This was pretty easy - one layer of 6 oz. will adequately seal the foam and when both sides are done the foam is plenty rigid. I dug through my piles of scrap pieces of glass and patched together enough to cover the outside, then cut a few pieces to finish the inside of the tank. Next a few coats of primer:


After drying I scuffed the primer with a Scotchbrite pad and my DA sander then added three coats of urethane paint. Just doing the inside - since the tank will be hidden inside a seat I figure no need to paint the outside. After the paint dried I ground off the paint on the edges of the inside of the lid:


In hindsight, a few strips of tape prior to painting and I could have skipped this step, but then again I'm not always the sharpest knife in the drawer :biggrin:.

Next some thickened epoxy around the edges and I glued the top onto the tank. After drying I cut some strips of glass and wrapped the seam to seal both the joint and the exposed foam on the top:


Finally, I dropped the tank in place and hooked up the fill hoses and vent lines:


I left about a 1/2" gap between the tank and seat top so I could sandwich in some leftover foam to prevent the tank from moving. That and a few small pieces around the sides for the same and the seat top is now secured in place. I still have to finalize the fill and vent lines but I can't do that just yet - the upper cabinetry has to come out for finishing first.

Before pulling the cabinets though I wanted to do this:


This will be one of the cabin lights (AC) - it's a sconce I found a while back that I thought would look good. Problem is, most fixtures like this don't come with a switch so I had to find a way to add one. Plus I didn't want to cut a bunch of holes in the cabinet side for the light, switch, outlet and the USB ports that will "decorate" that area so I made a plate from 3/4" red oak to mount everything to. That way the only holes cut are for the cables. I picked up an outlet that's half outlet/half light switch so two birds/one stone there. I mounted the light fixture, routed a channel on the back on the plate for the wiring and cut the hole for the outlet/switch in the plate. I want the outlets to be black instead of white so this one in temporary - still hunting for black outlets. I still have to add the USB outlets but I can do that later.

Now that this is done I can start removing all the panels for finishing. Stay tuned! (Oh, and the water tank tomfoolery really isn't finished cuz I still have to do the starboard side!)

Cheers,

Mark
 
  • Like
Likes: Will Gilmore
Jun 25, 2004
475
Hunter 306 Pasadena MD
You're going to put access hatches in though, right? Trying to guess what's growing in there bugged me for 16 years until I put in an access/clean-out port.
 
May 8, 2013
629
Hunter 40 Dataw Island, SC
You're going to put access hatches in though, right? Trying to guess what's growing in there bugged me for 16 years until I put in an access/clean-out port.
Not unless I have to. I learned a while back that it's easier to inspect hard-to-get areas with my endoscope. Saved lots of heartache by allowing me to isolate the area needing to be opened up to a very specific point.

As this pertains to the water tanks, now that I have rid myself of the old dreaded aluminum tanks I can use the common cleaning and preventative methods for tank maintenance, and drop my endoscope into the fill ports once in a while to inspect them. They may need to be cleaned more thoroughly eventually and at that time it is pretty easy to cut an inspection hatch as necessary.

I also didn't want to start off with more openings (r.e, potential leak points) than necessary. Time will tell if my logic - or lack thereof - works out :biggrin:.

Mark
 
  • Like
Likes: jssailem
Oct 19, 2017
7,732
O'Day 19 Littleton, NH
I use to have horses that I watered with a 200 gal galvanized stock tank. Our water came from a gravity fed well and in a week's time, the algae would turn the water green. I started adding a cap full of household bleach whenever I refilled the tank. It kept the tank algae free for weeks and I never smelled the bleach after that first hour.

A simple occasional treatment of chlorine tablets should keep everything clean. As long as you don't have sediment build-up from your source.

-Will
 
May 8, 2013
629
Hunter 40 Dataw Island, SC
I use to have horses that I watered with a 200 gal galvanized stock tank. Our water came from a gravity fed well and in a week's time, the algae would turn the water green. I started adding a cap full of household bleach whenever I refilled the tank. It kept the tank algae free for weeks and I never smelled the bleach after that first hour.

A simple occasional treatment of chlorine tablets should keep everything clean. As long as you don't have sediment build-up from your source.

-Will
This.
 
May 8, 2013
629
Hunter 40 Dataw Island, SC
Now for some painting and finishing:

With the tanks and settees done I moved next to upper cabinetry and headliner finishing. First up was to remove all the upper cabinetry:


Flashback to the way it looked last year! The pieces got moved to the garage for paint and urethane while I worked on some repairs to the headliner, mostly fixing holes that were there pre-Matthew. The original DC cabin lights (long since eliminated) were recessed into the sides of the liner and I wanted to glass them over. Not any real requirement but I don't like unnecessary unsightly holes. This part of the liner is plywood covered with a thin layer of glass/gelcoat. Easy to rectify, a little grinding:


And a couple of layers of 1708, some sanding and paint. I also needed to do something about the deck vent. The deck itself is cored with plywood and the vent opening had been admitting water for quite a while. Hard to see from the picture since the headliner itself is not part of the deck structure so there is a natural gap between the headliner and coring:


. This highlighted why ply is NOT! (IMHO) a good material for coring - the wood in the ply laminate layers were still in good shape but over time the layers had separated when the glue failed. Good news - no soft spots anywhere else on deck. Bad news - I believe the entire deck is cored with ply so this may rear its ugly head someday :(. Granted. no core material is perfect - they all have their drawbacks - but I have grown to really like the XPS foam I used on the dodger. This might be my material of choice if/when I need to address any deck issues.

One reason why the vent opening may have been allowing the coring to fail came to light when I pulled the solar vent off:


:yikes:!

Sure looks like there have been a variety of different vents over the life of the boat! Granted, all but the holes for the current deck plate were filled, but they were filled with 5200 (probably) and easy to dig out. Some filling of holes will be required ;).

While addressing the vent opening I also worked on the holes in the liner:


And the parts & pieces in the garage got paint and clearcoat:


Next up, more painting & finishing.

Cheers,

Mark
 
  • Helpful
Likes: Will Gilmore

DArcy

.
Feb 11, 2017
1,690
Islander Freeport 36 Ottawa
Mark, did you inspect the chain plates while everything was apart? There was another thread that showed rusted out iron chain plates in a Hunter and that stainless rod reminds of that setup.