Repairing Hunter 40 damage from Hurricane Matthew

May 8, 2013
629
Hunter 40 Dataw Island, SC
So glad you are going in the water finally! Great posts. Currently in Fort Pierce getting the prop shaft and strut replaced.
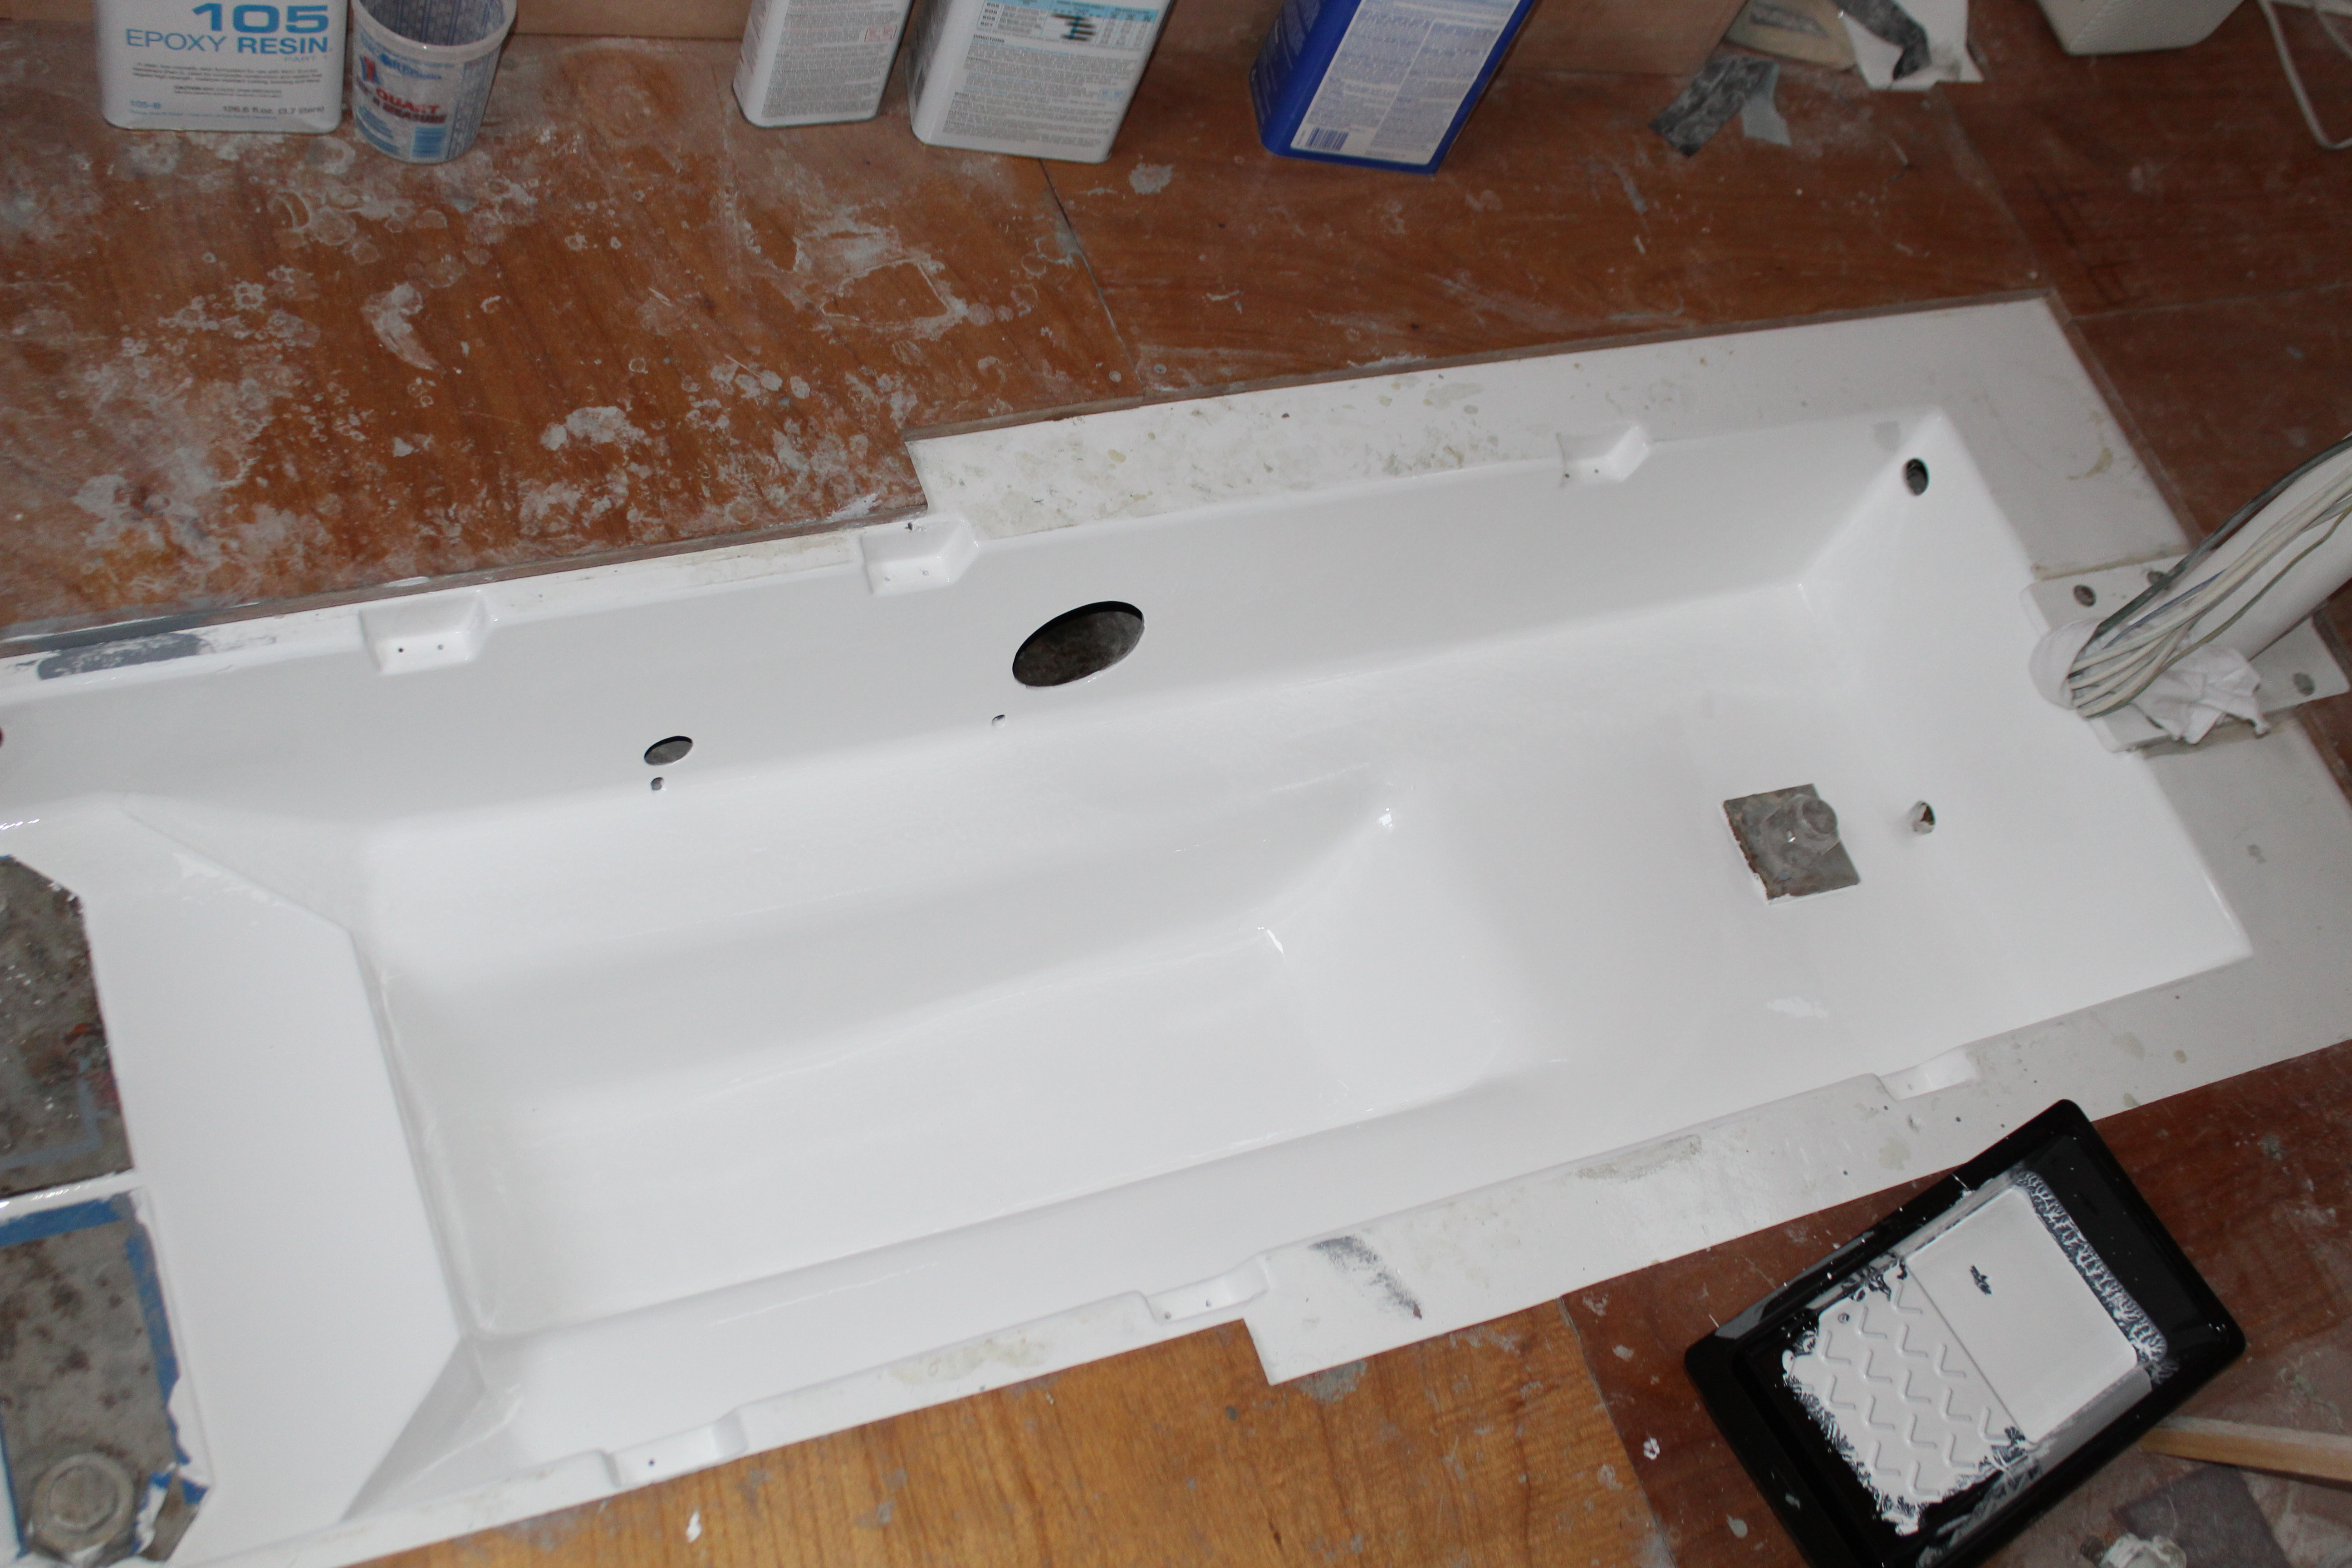
Question, I need to improve the insulation in my deep frig of my Hunter 40 1988. Before I attempt to dig into the project can you share some photographs of what you found when you demo'd you galley?
Unfortunately I didn't start taking pics until after Galley v1.0. I improved galley v2.0 with v2.5 - that's when I started taking pics. I looked through all my old photos and came up blank - sorry :(
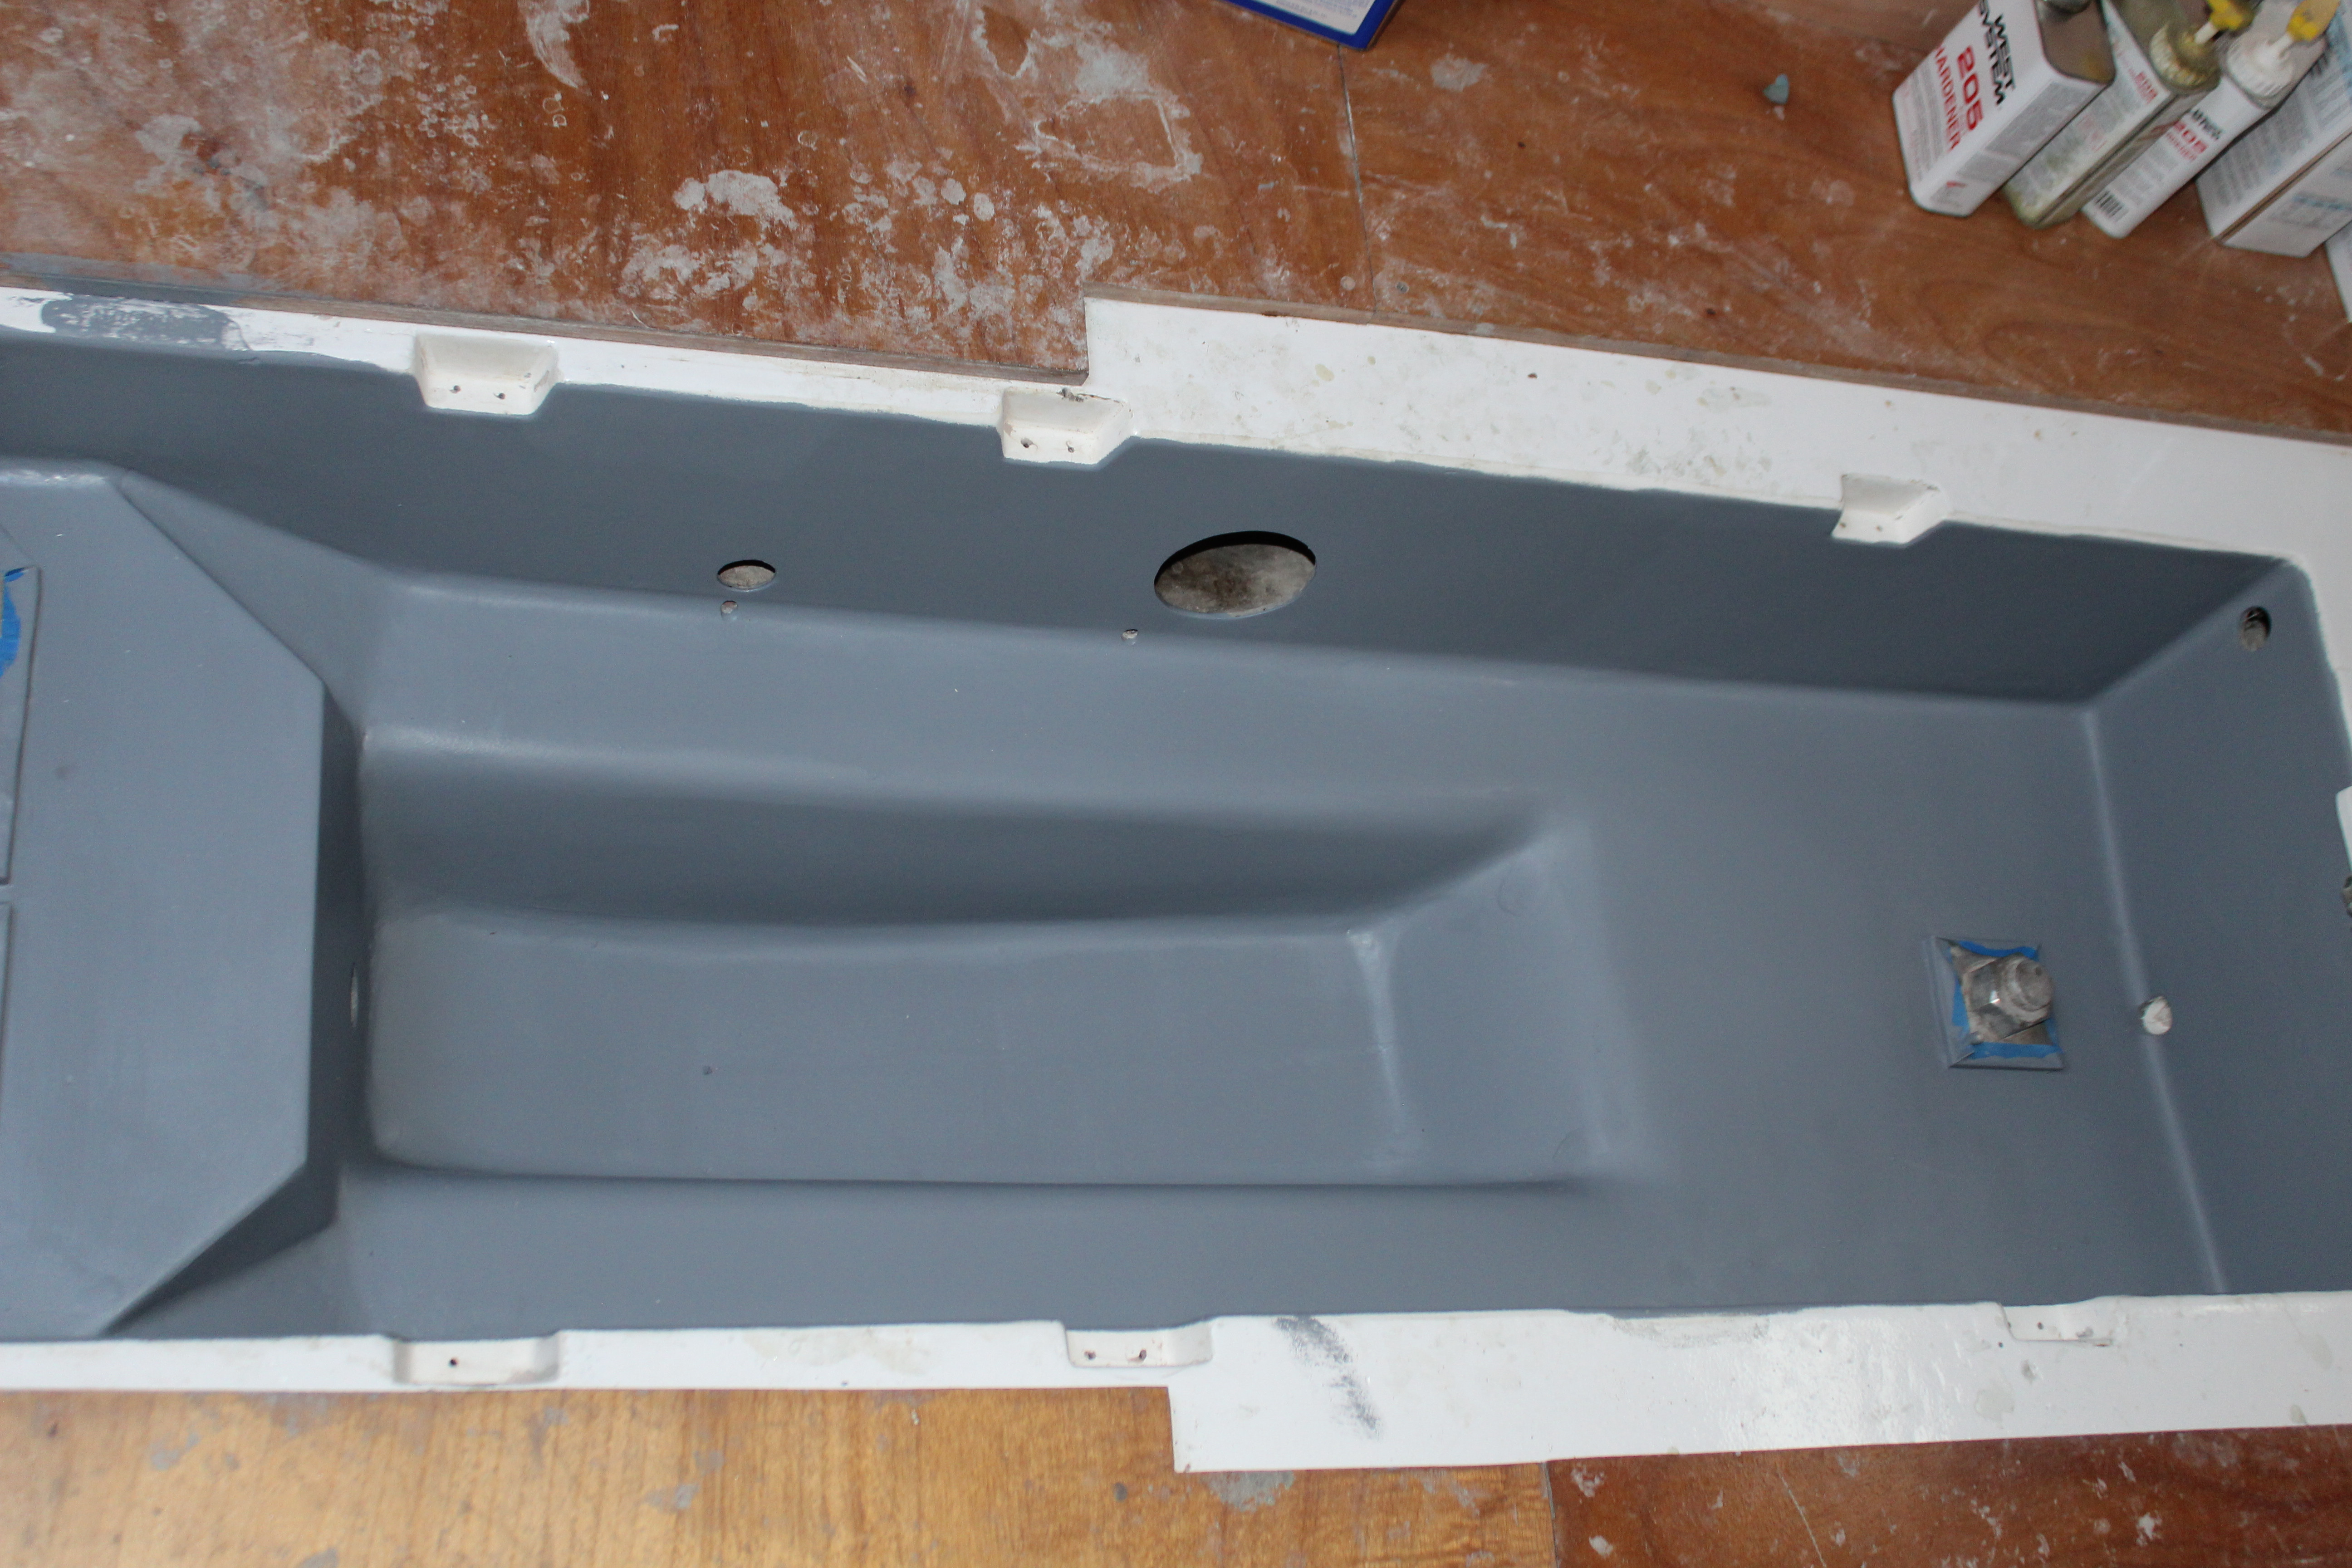
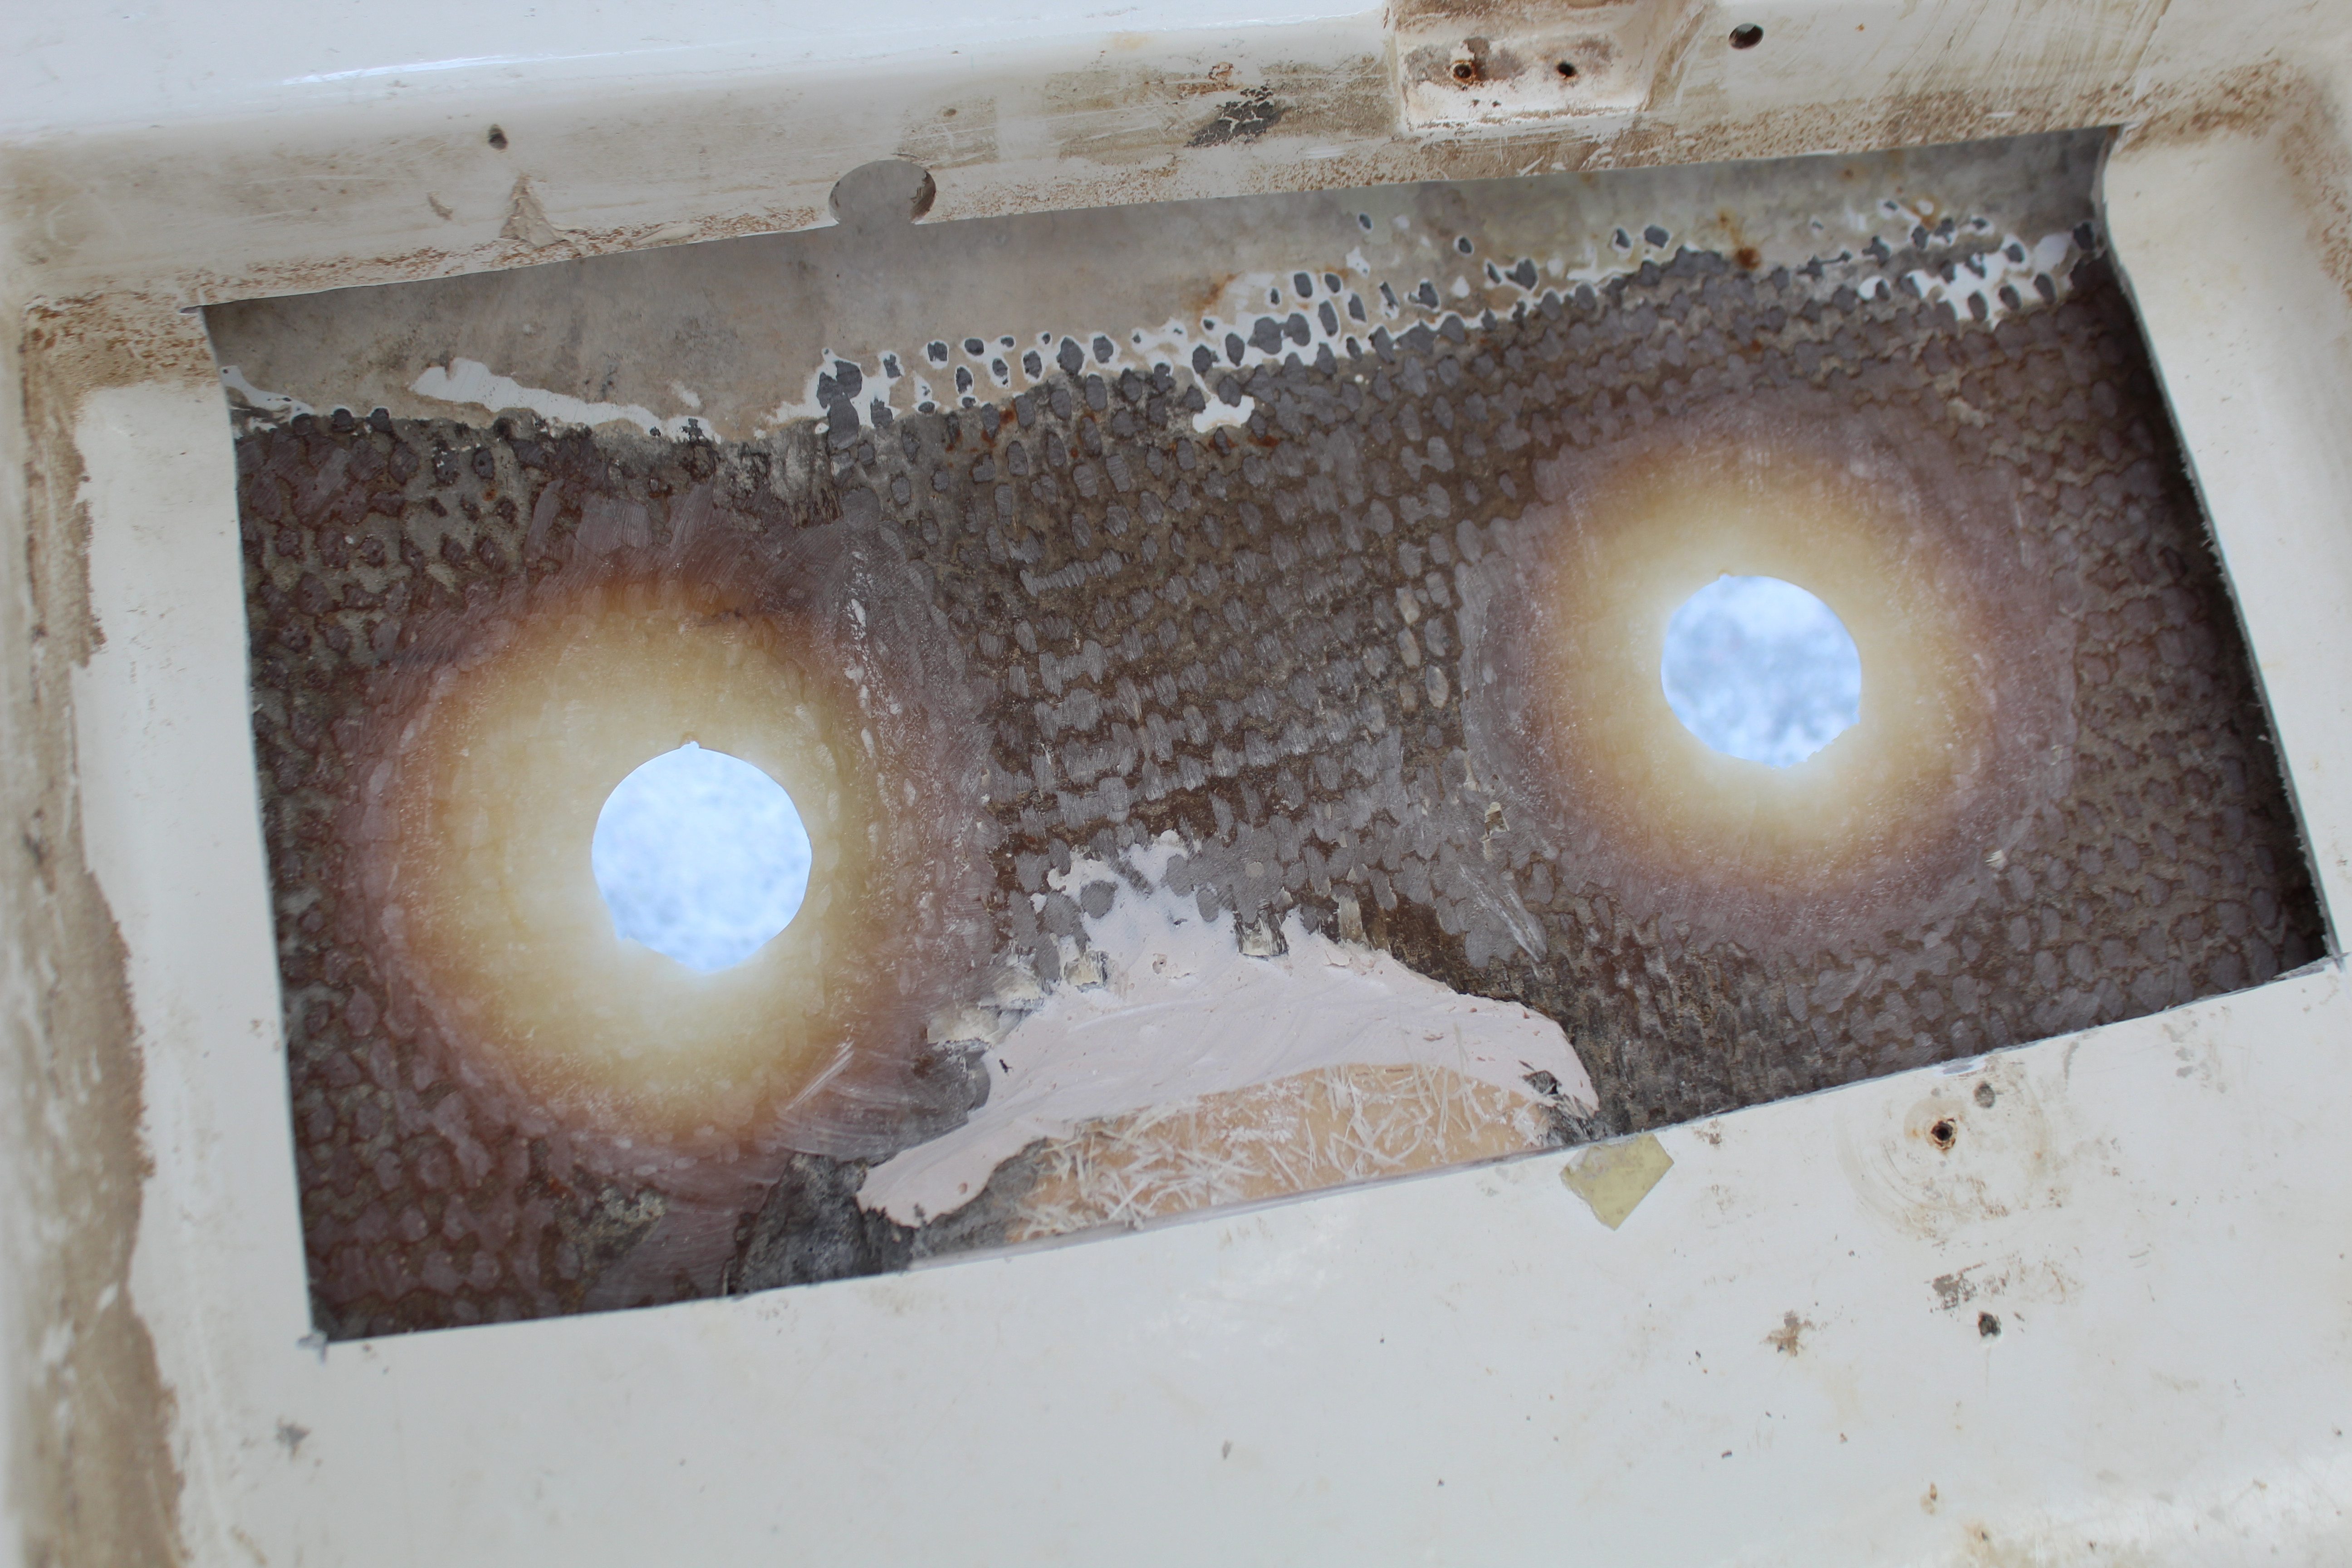
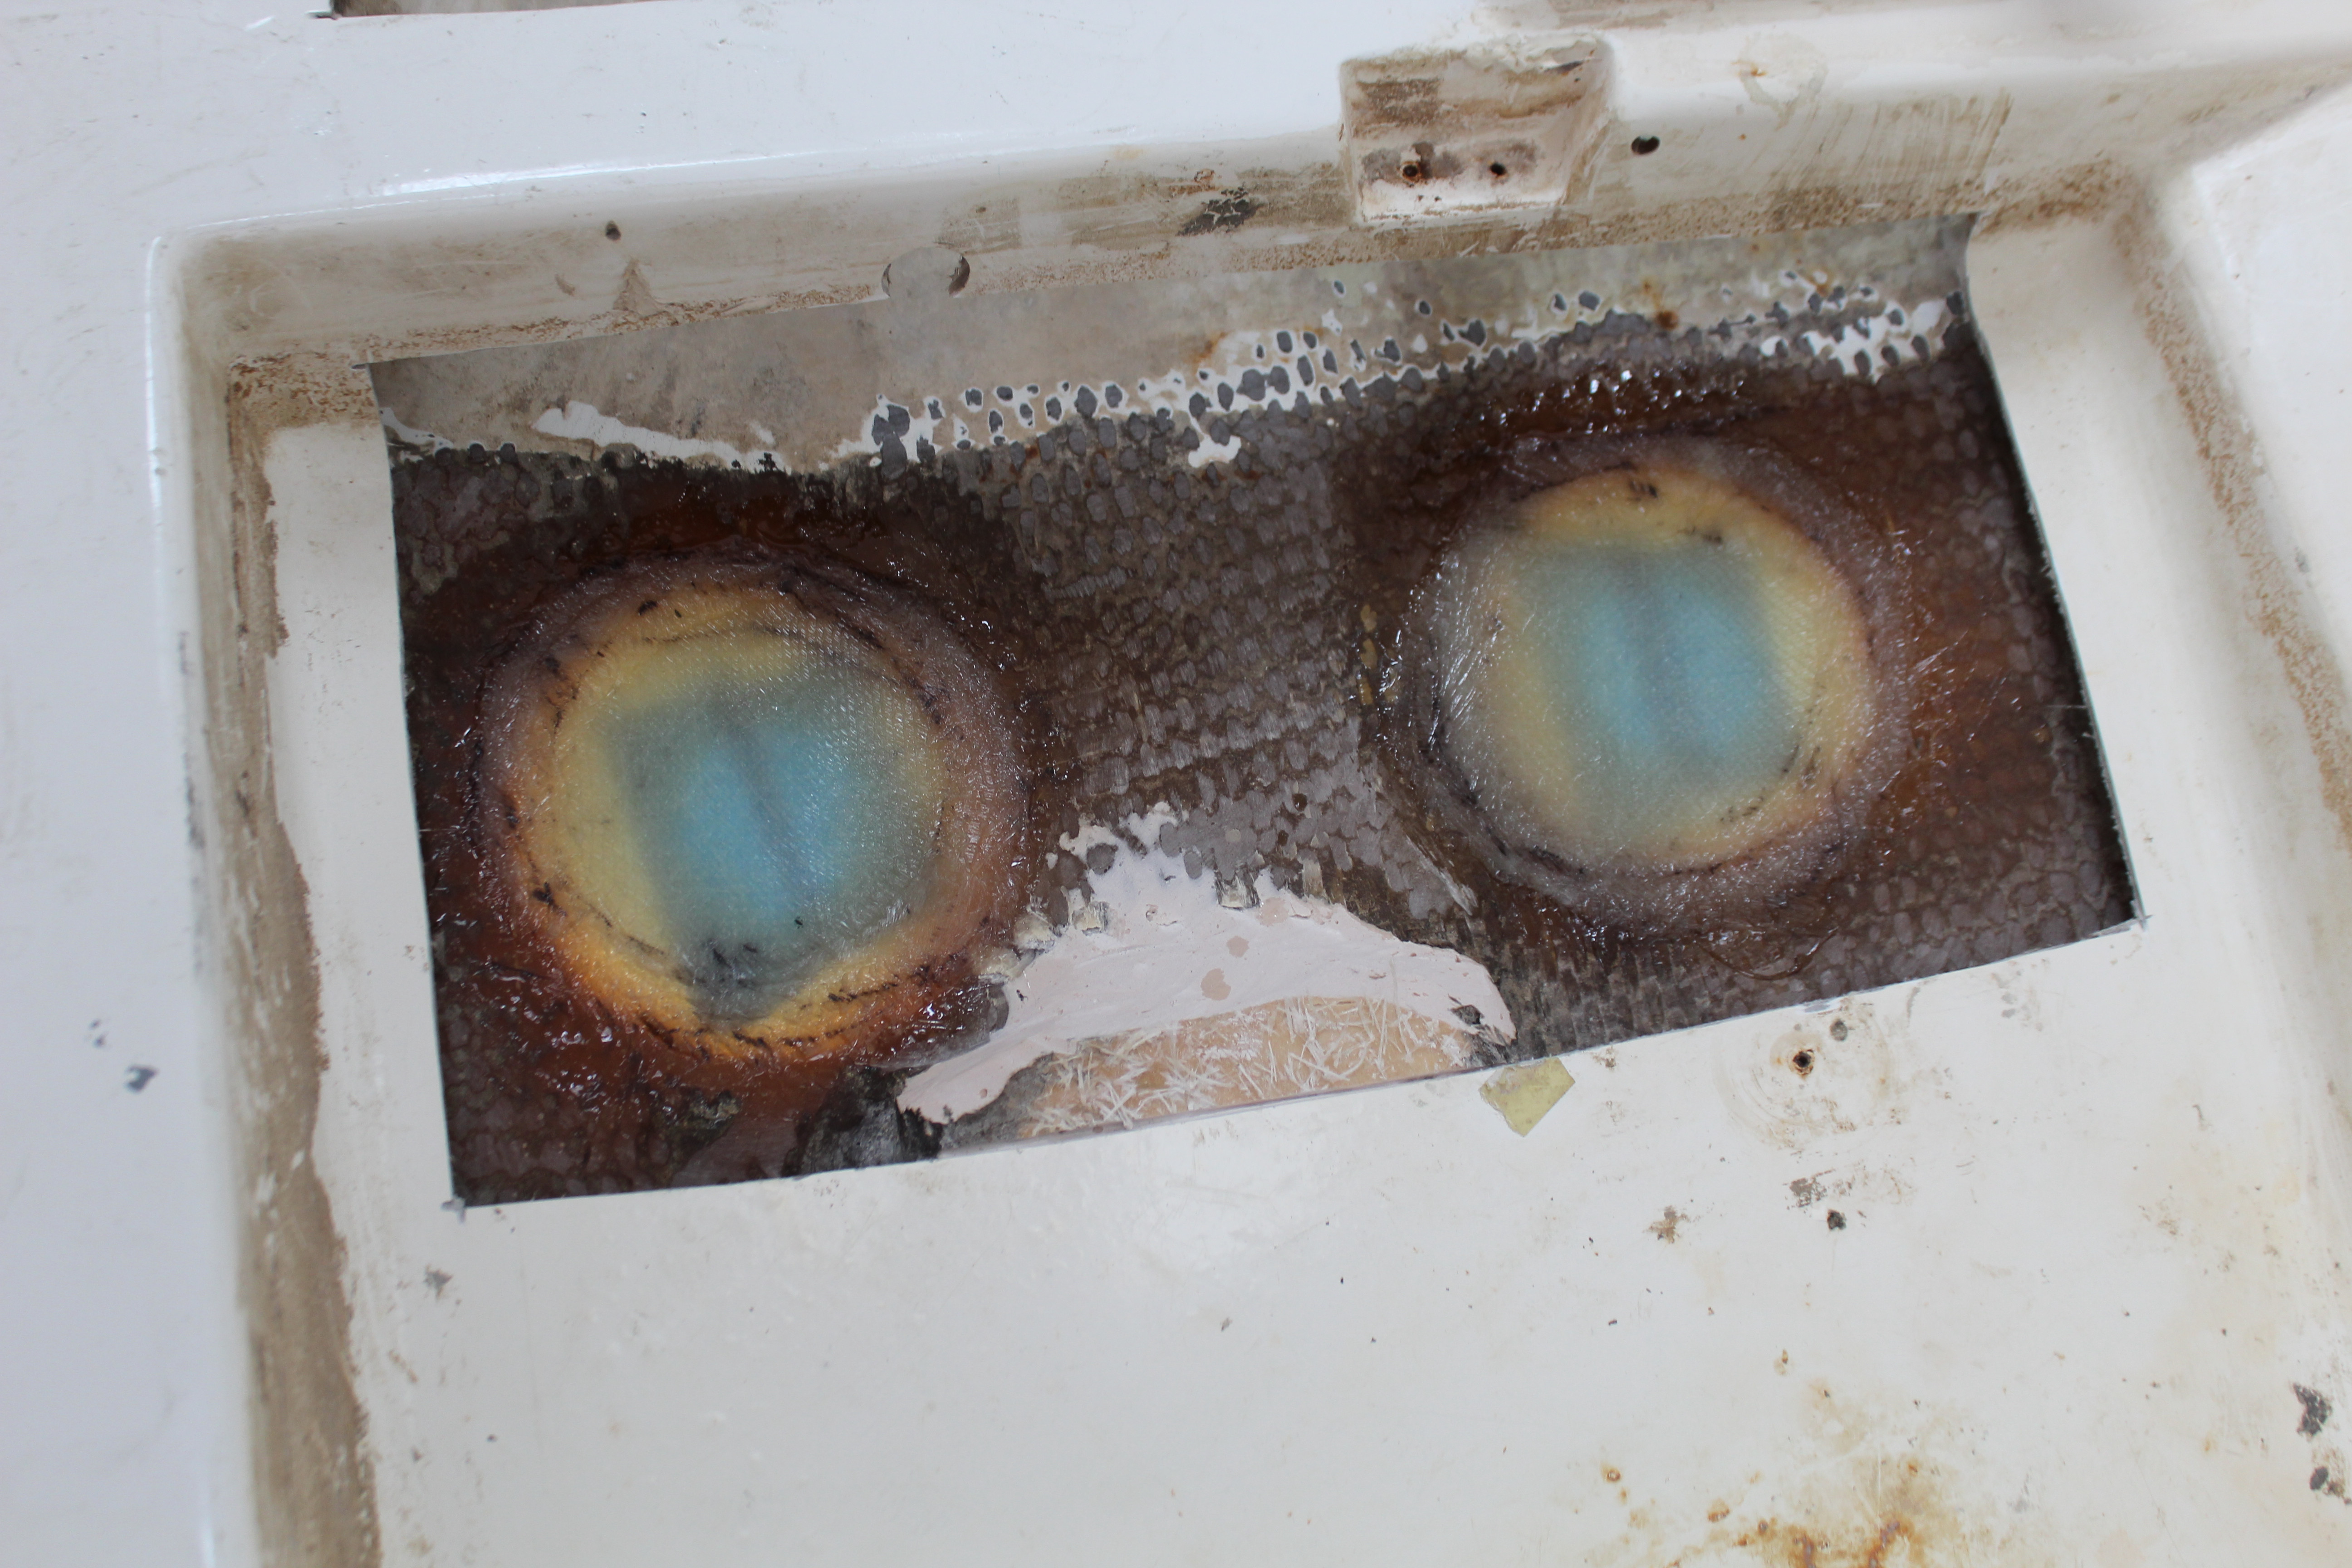
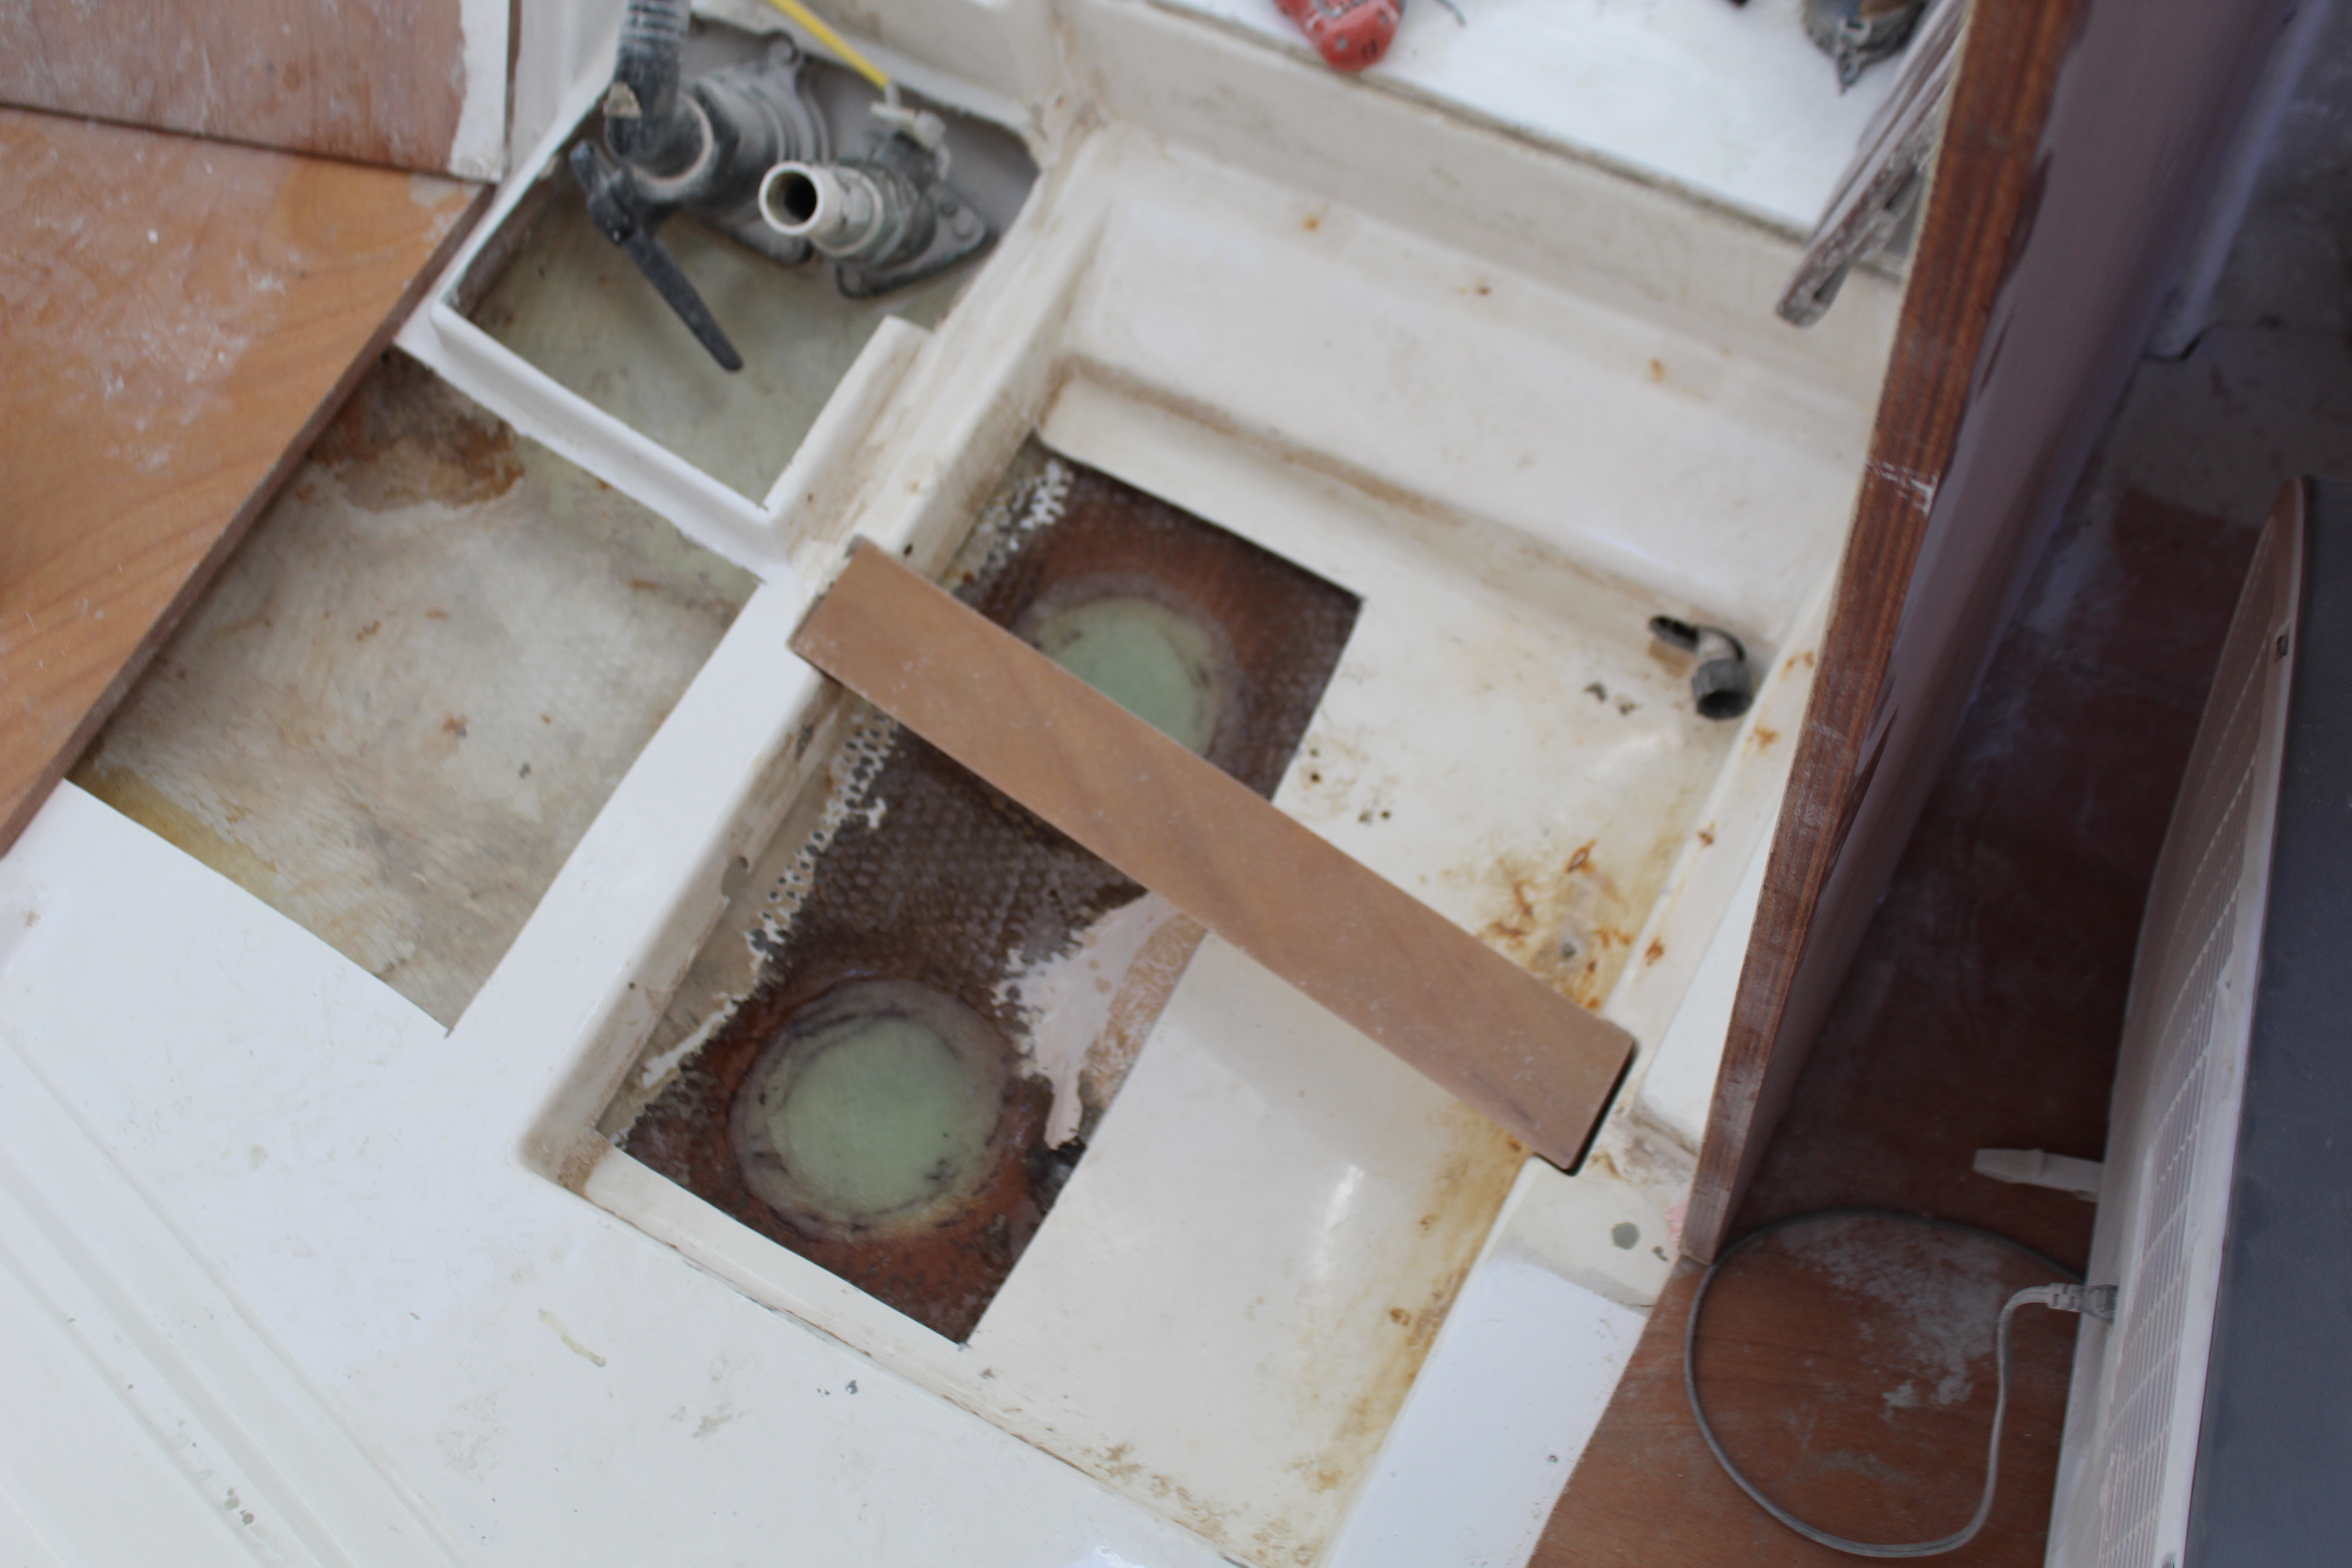
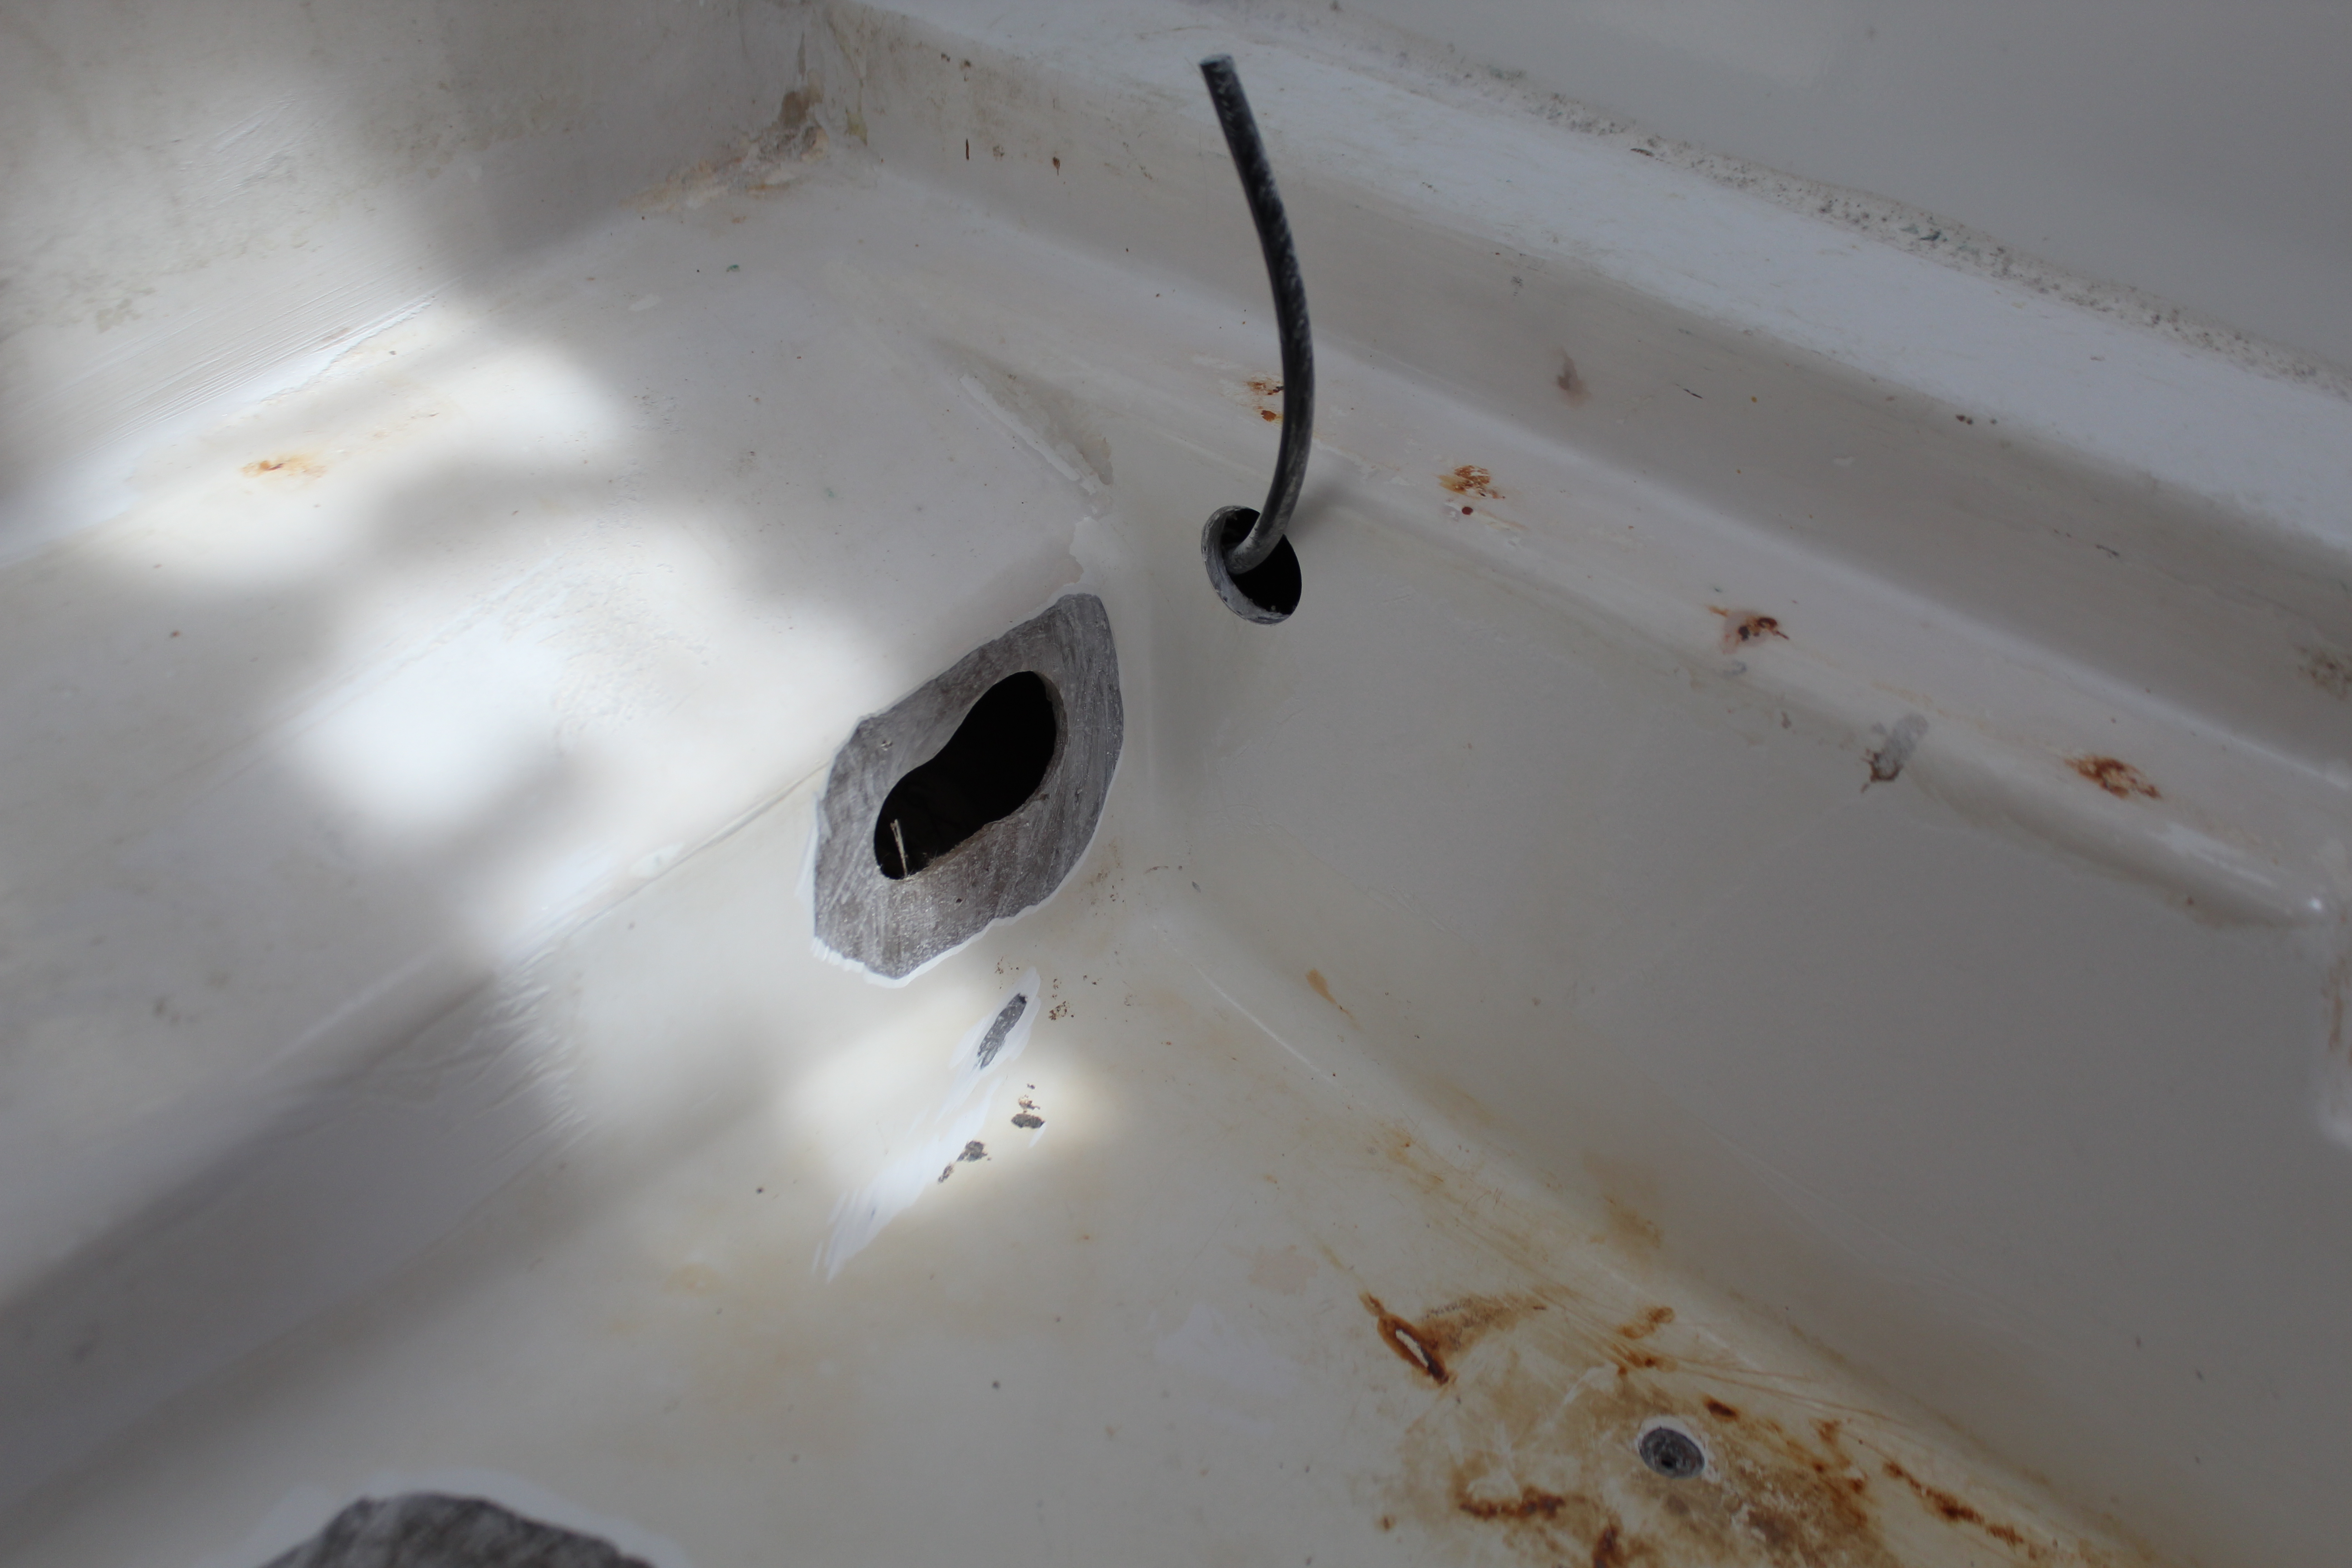
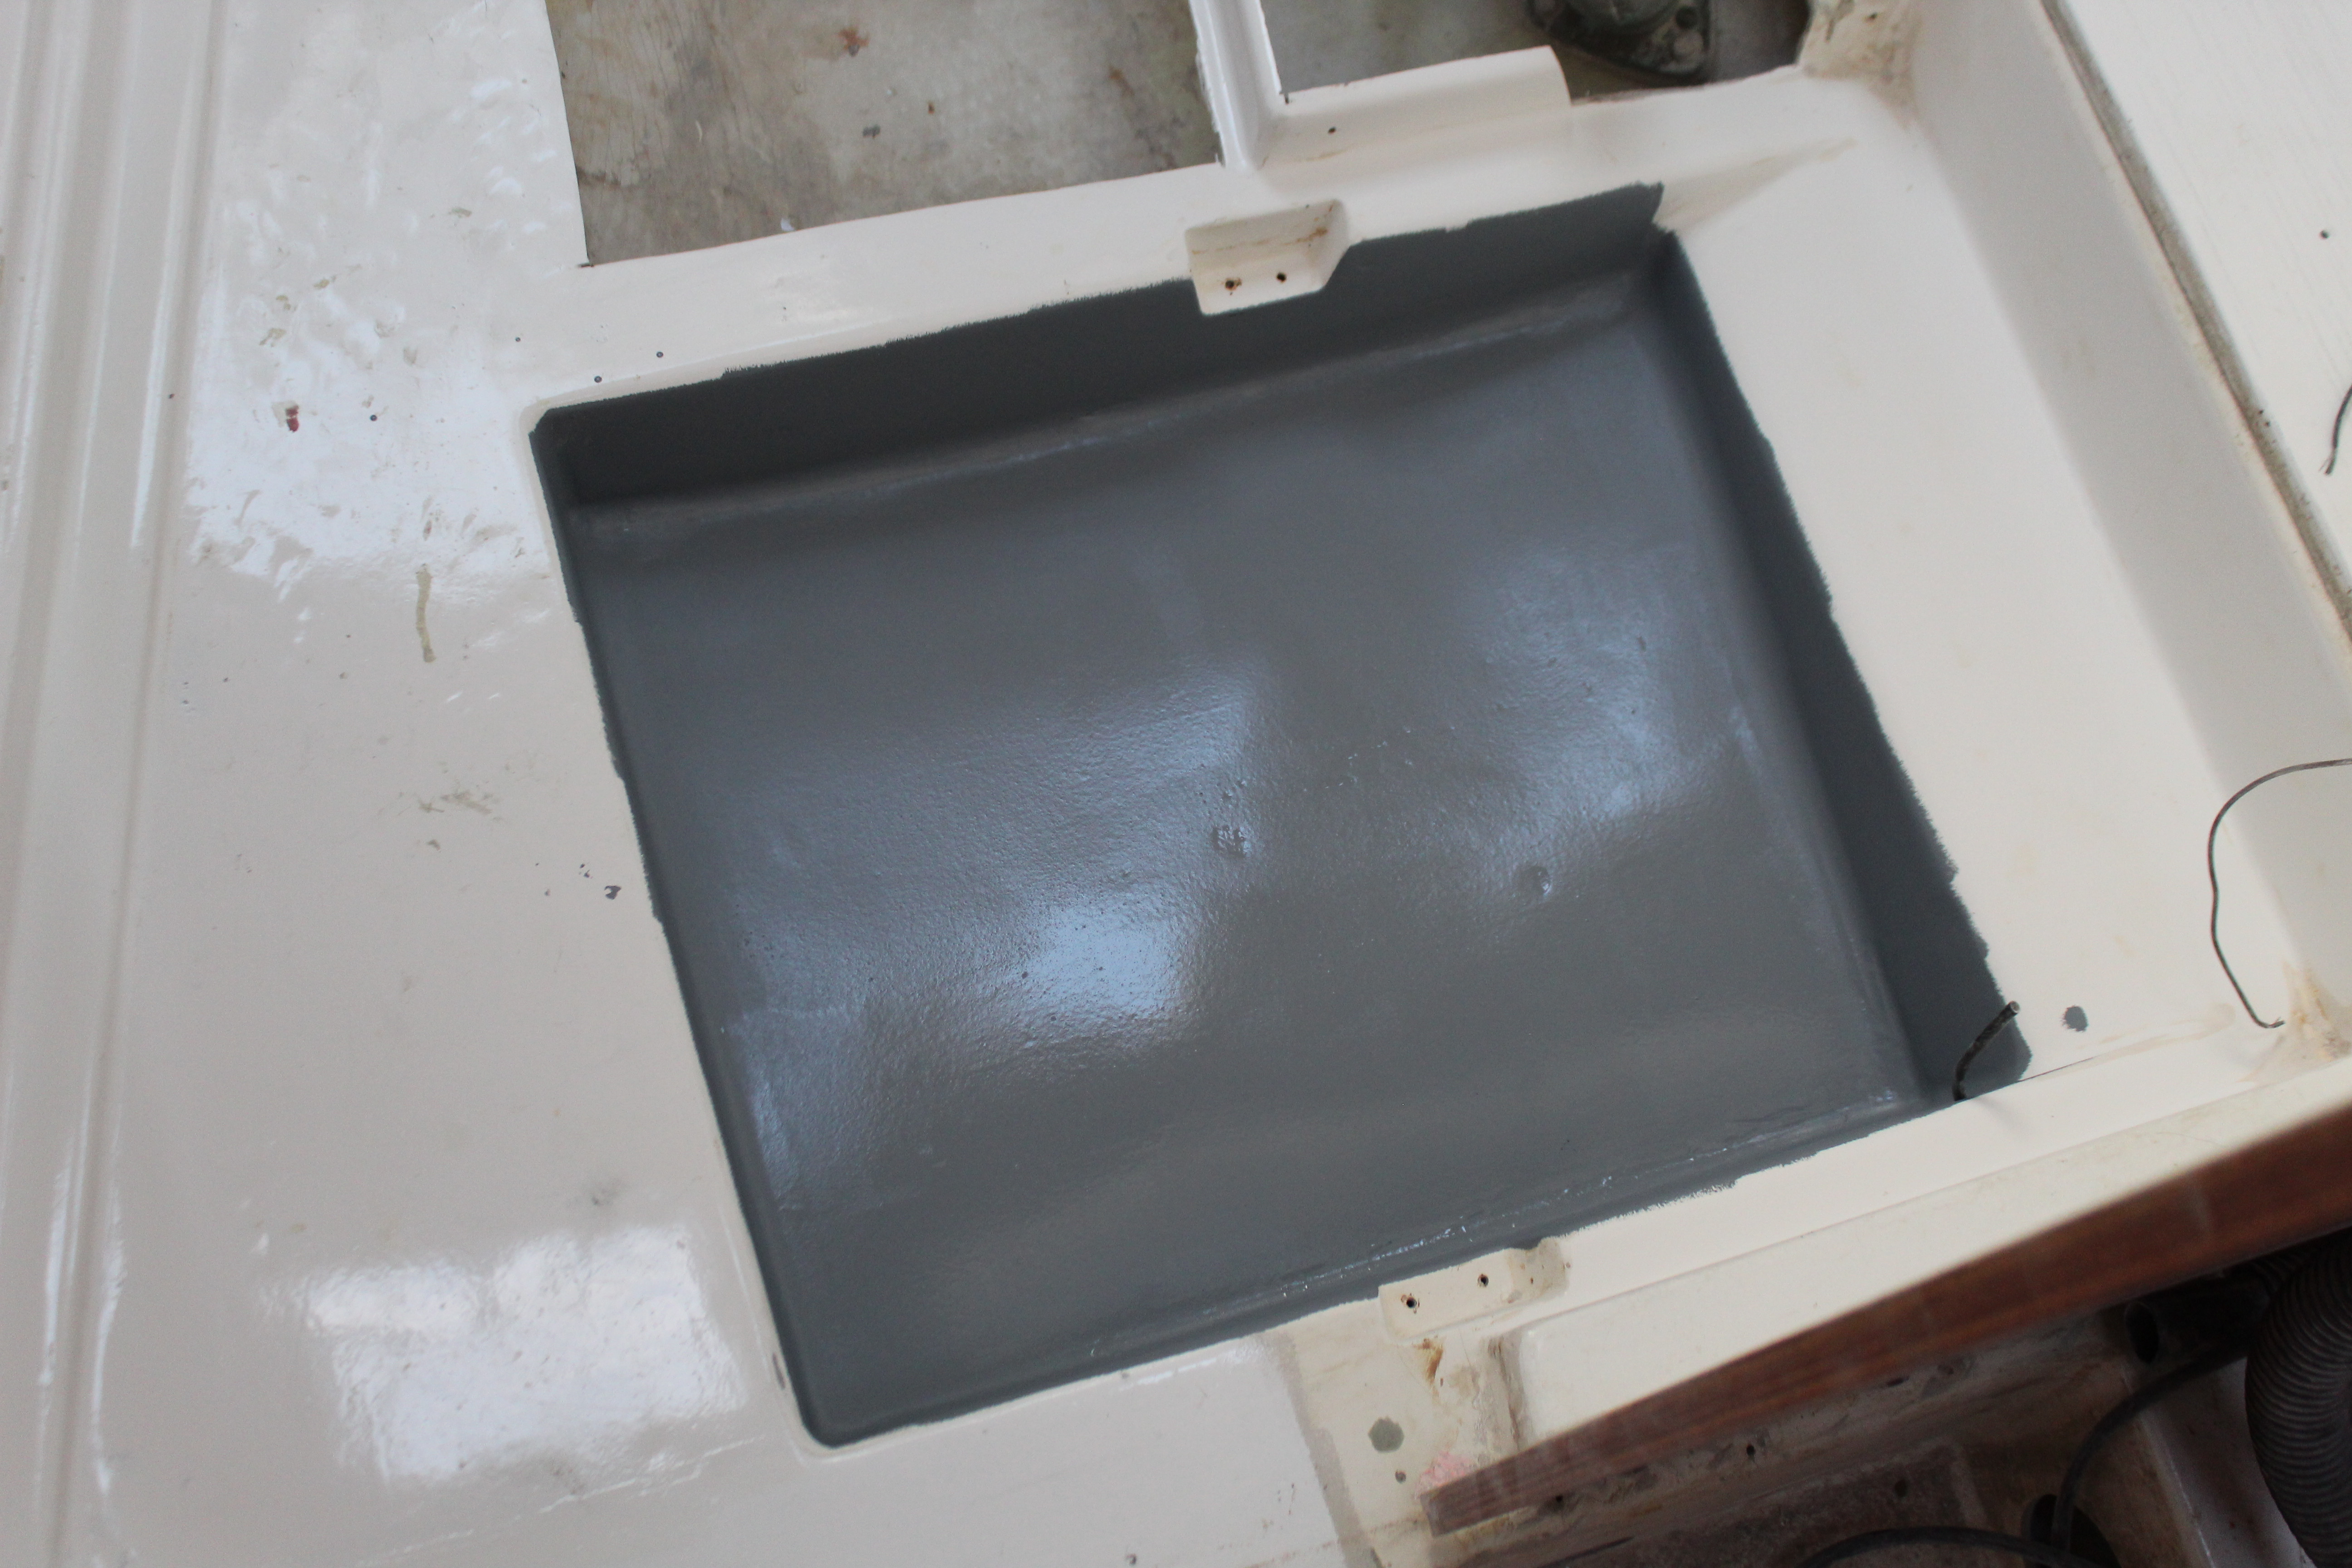
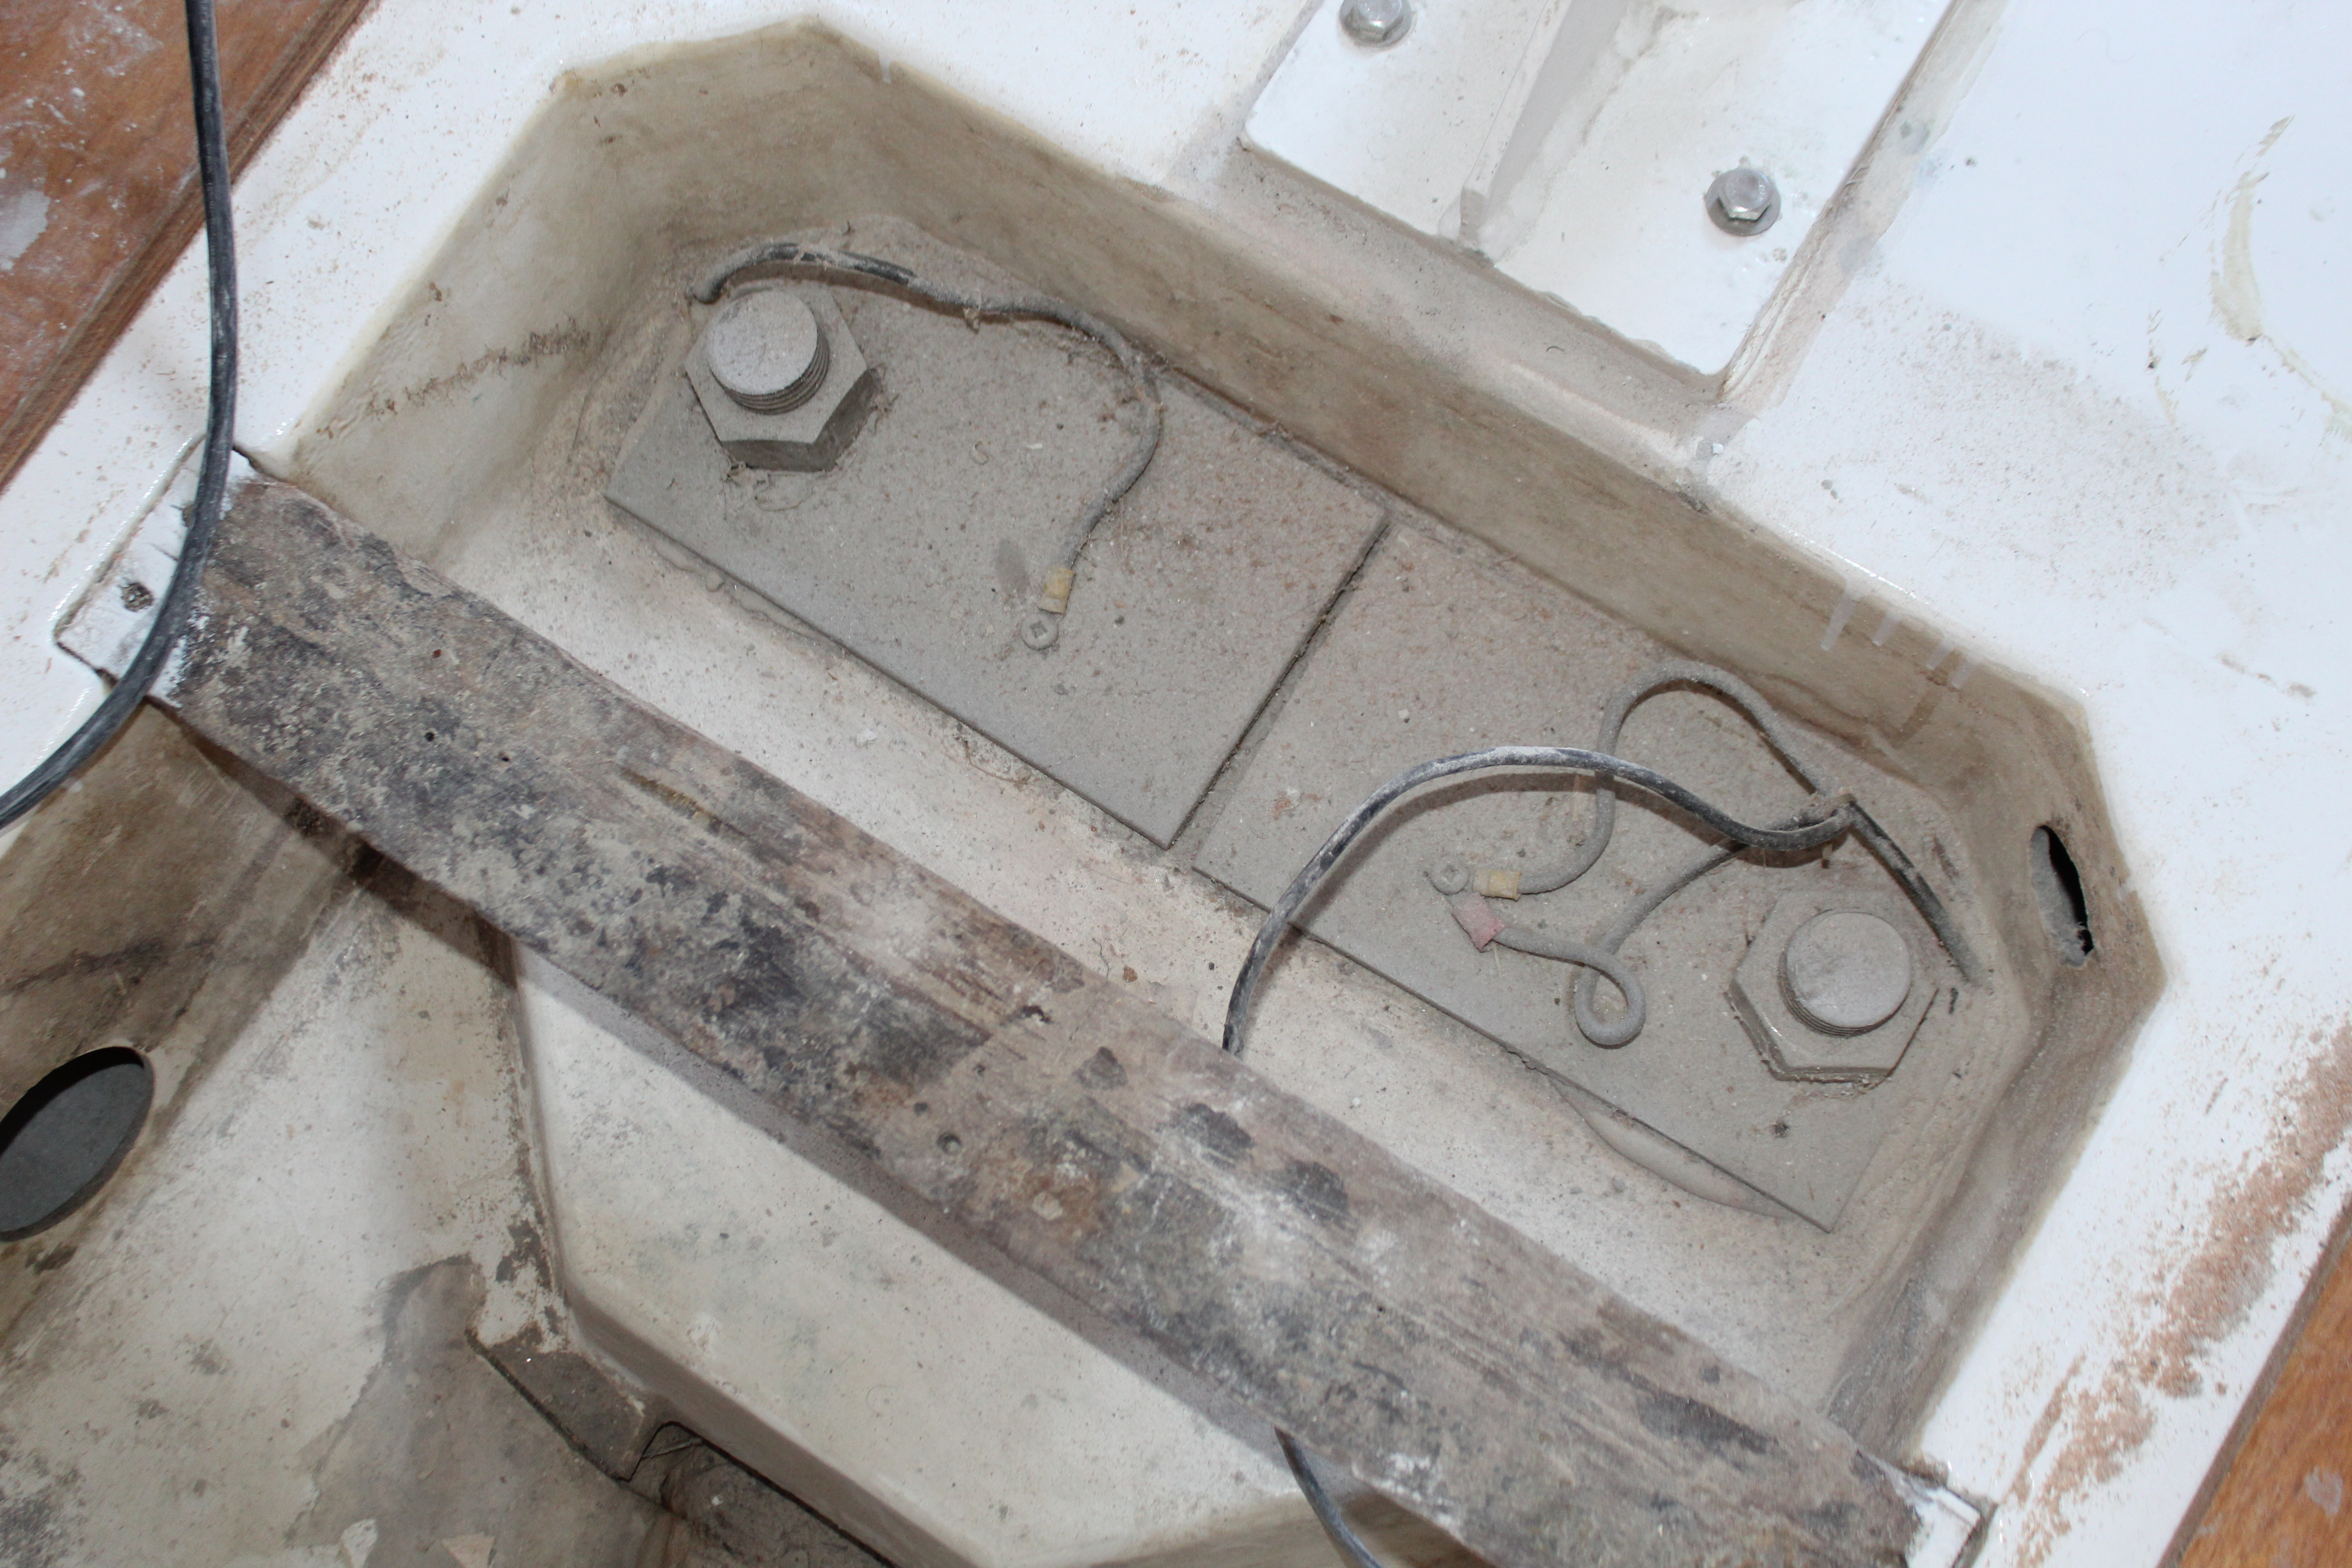
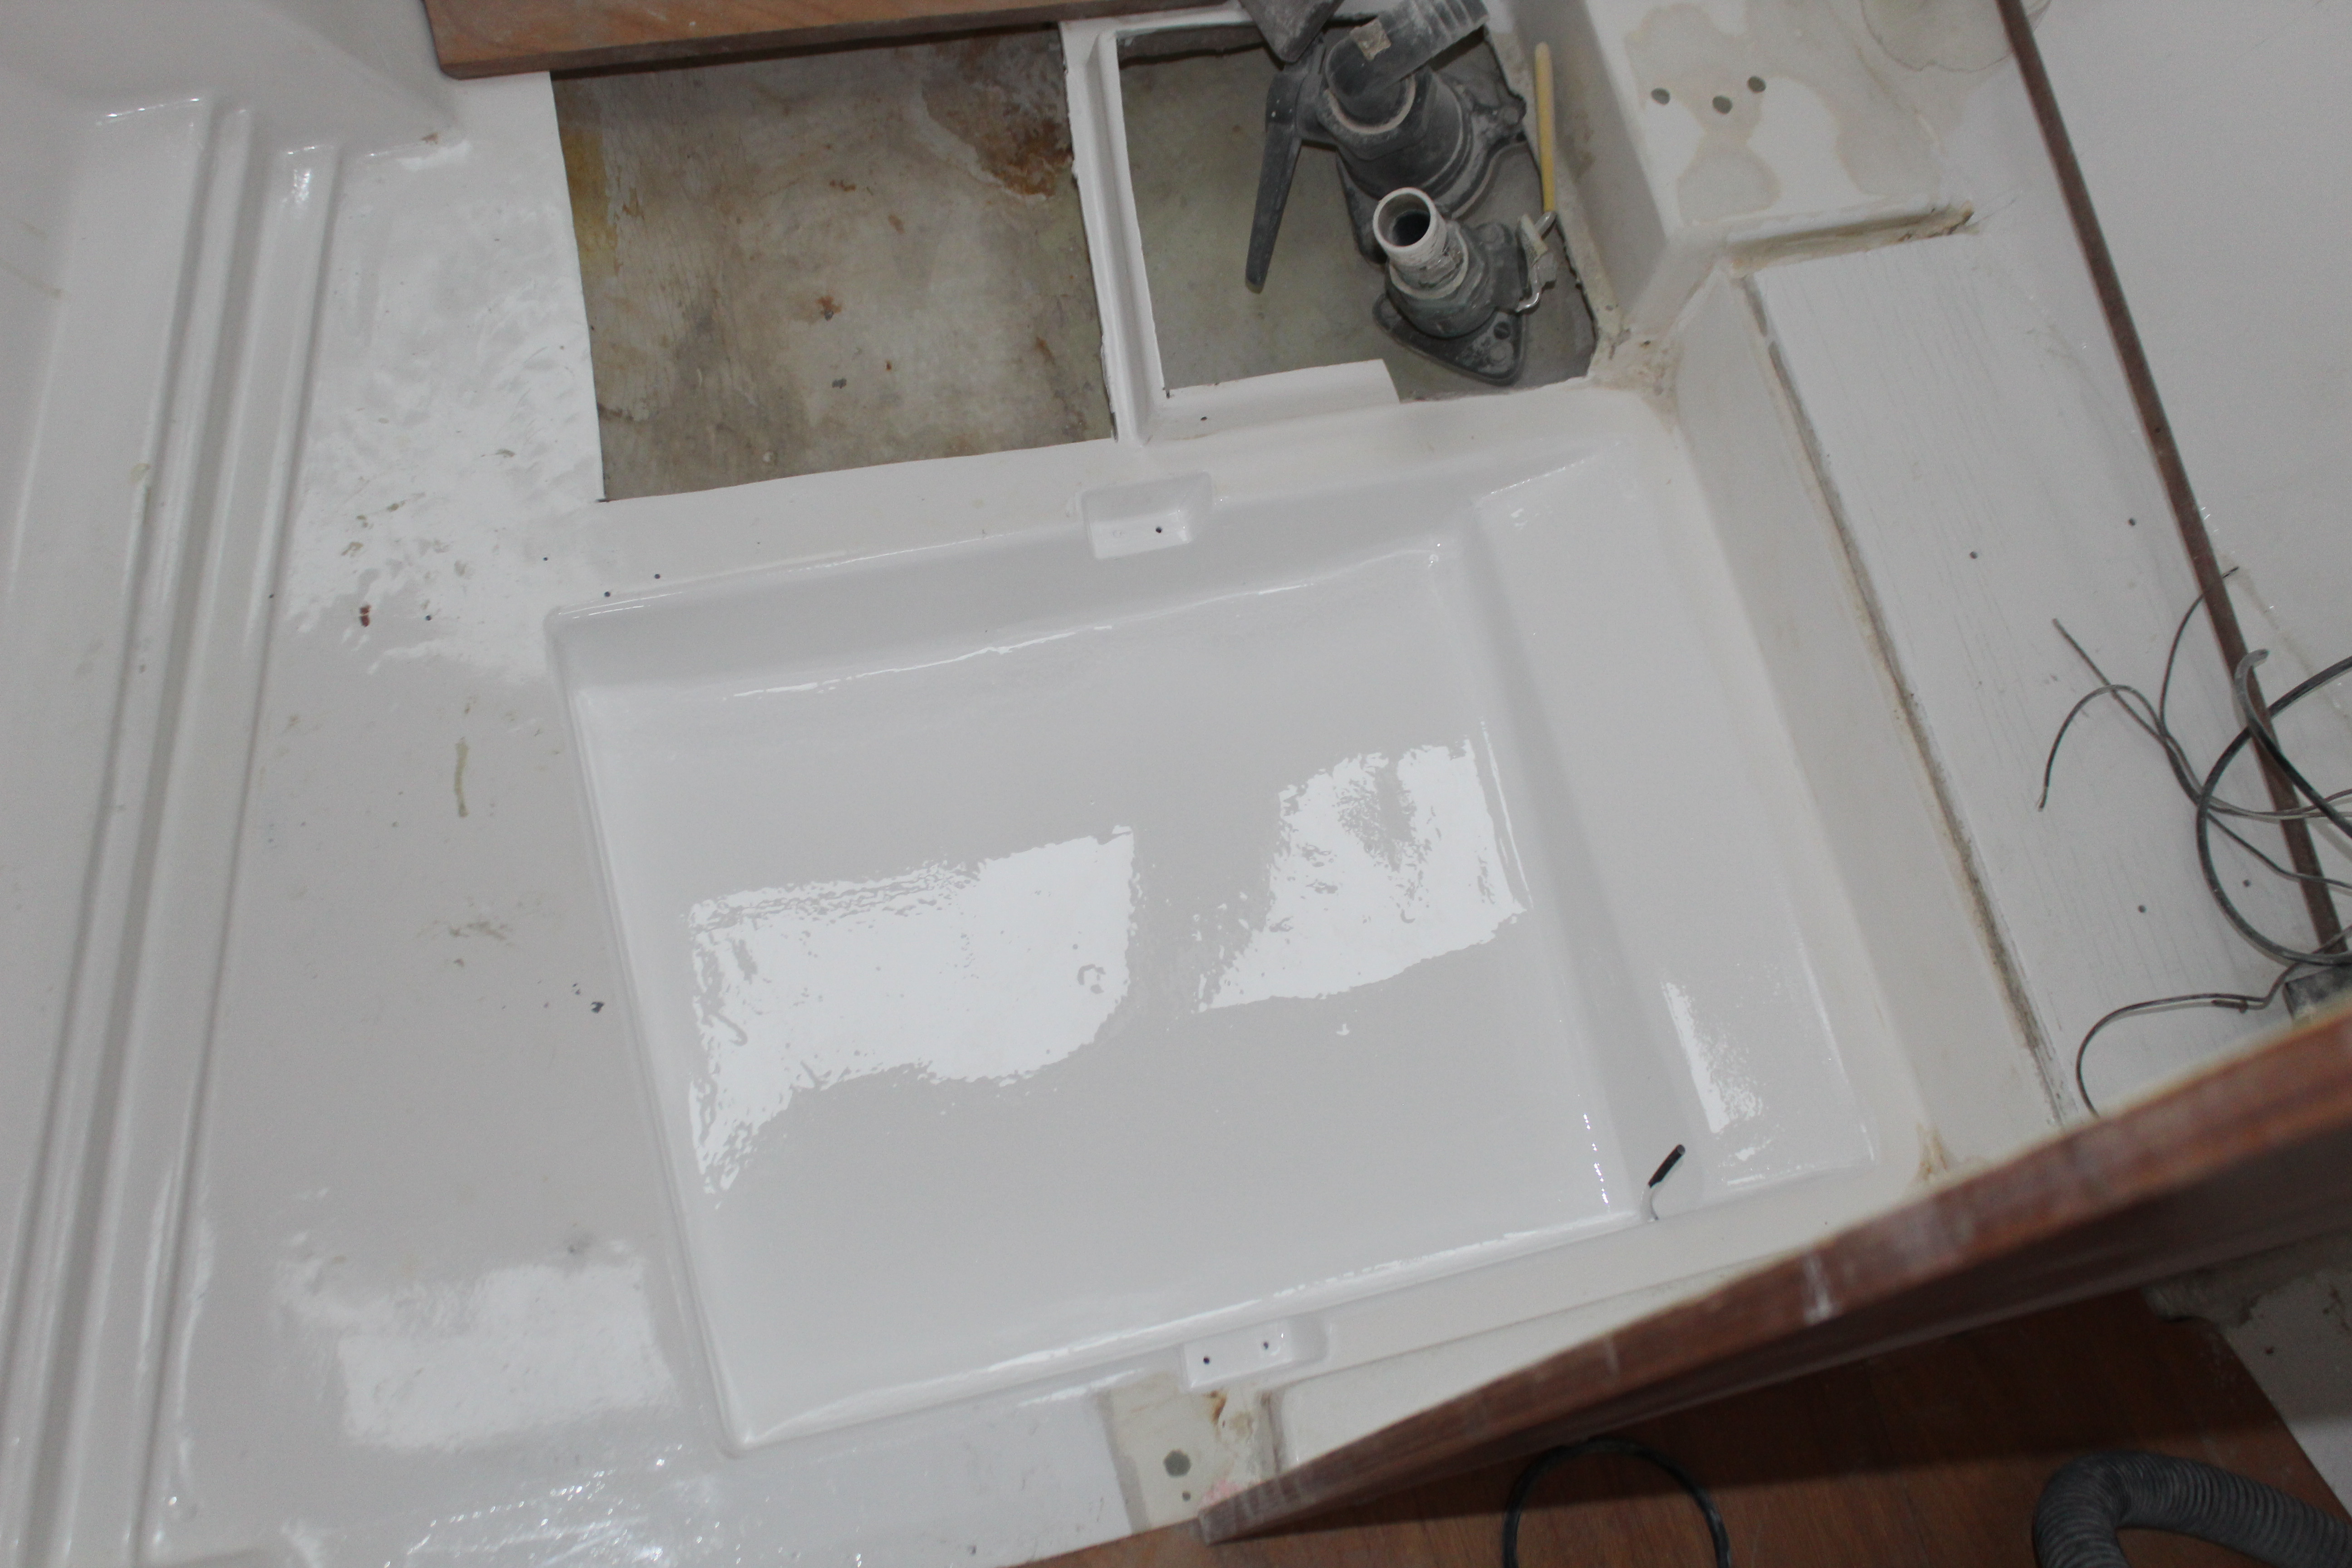
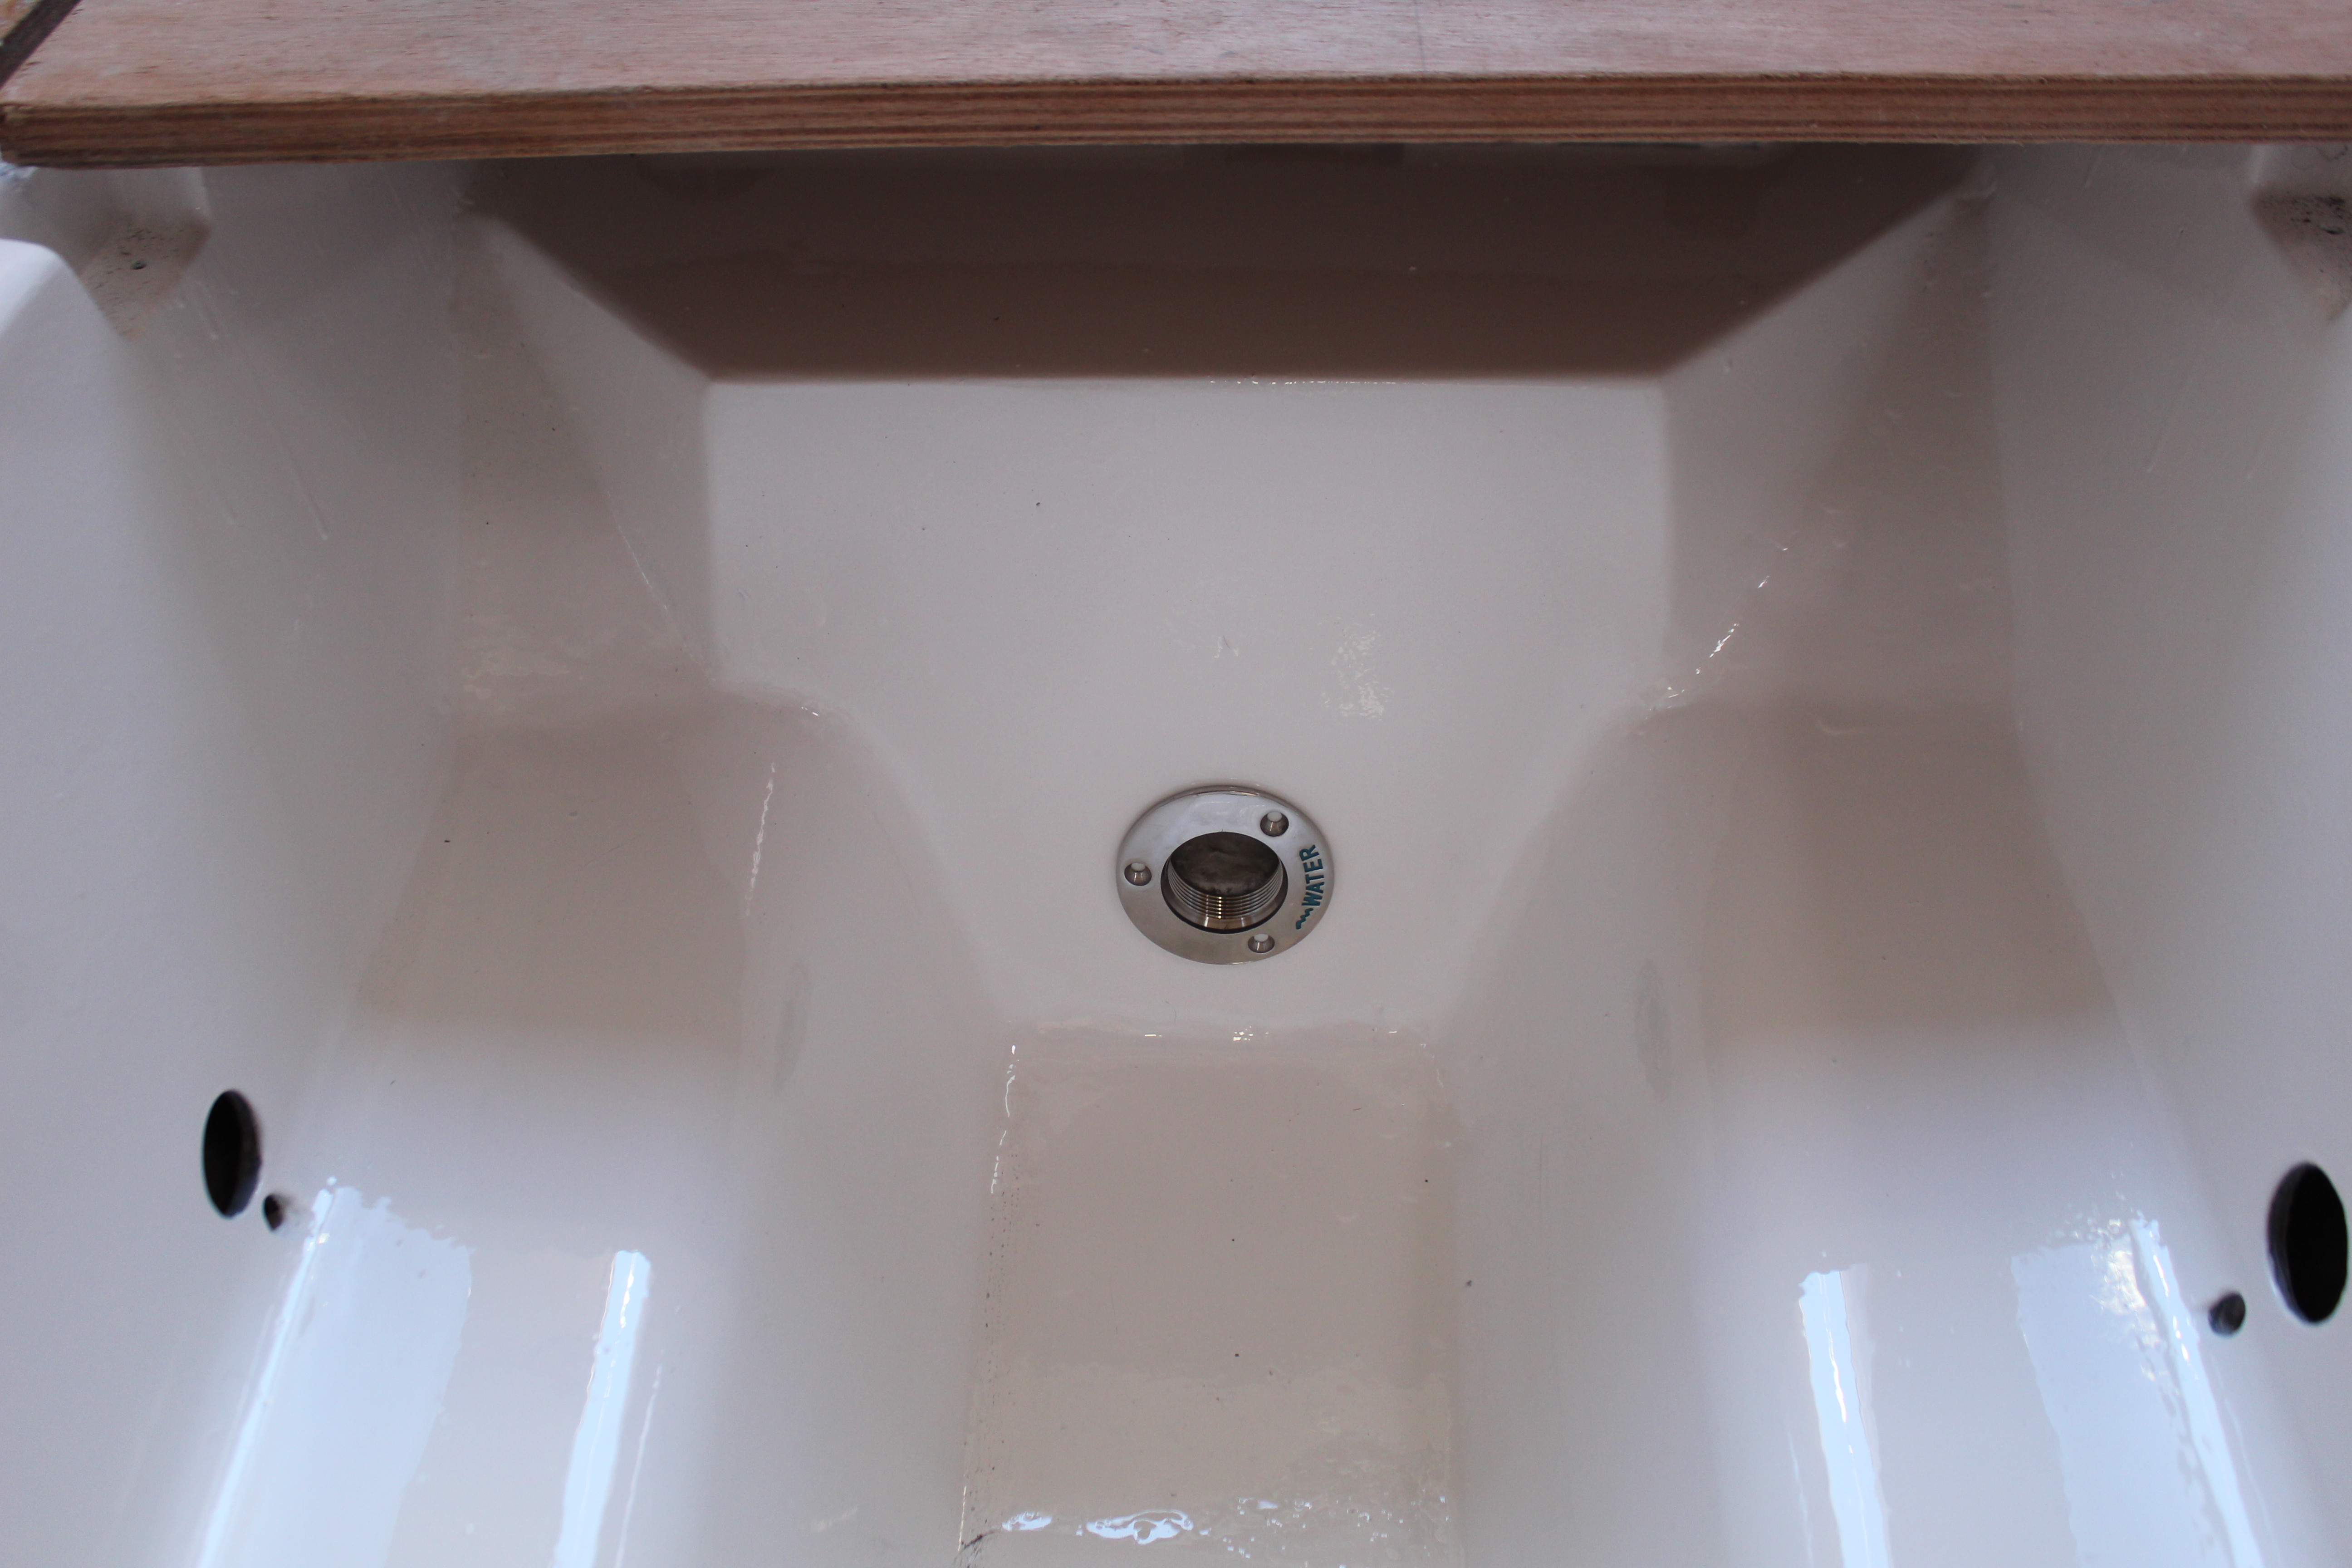
. As I remember from the original galley, the insulation was a nightmare and the cabinetry surrounding that area was probably inserted prior to the deck installation. Lots of hidden fasteners, everything was glued together and it was very hard to discern how to take things apart without destroying most of the pieces. That's what got me started redesigning galley v2.0.

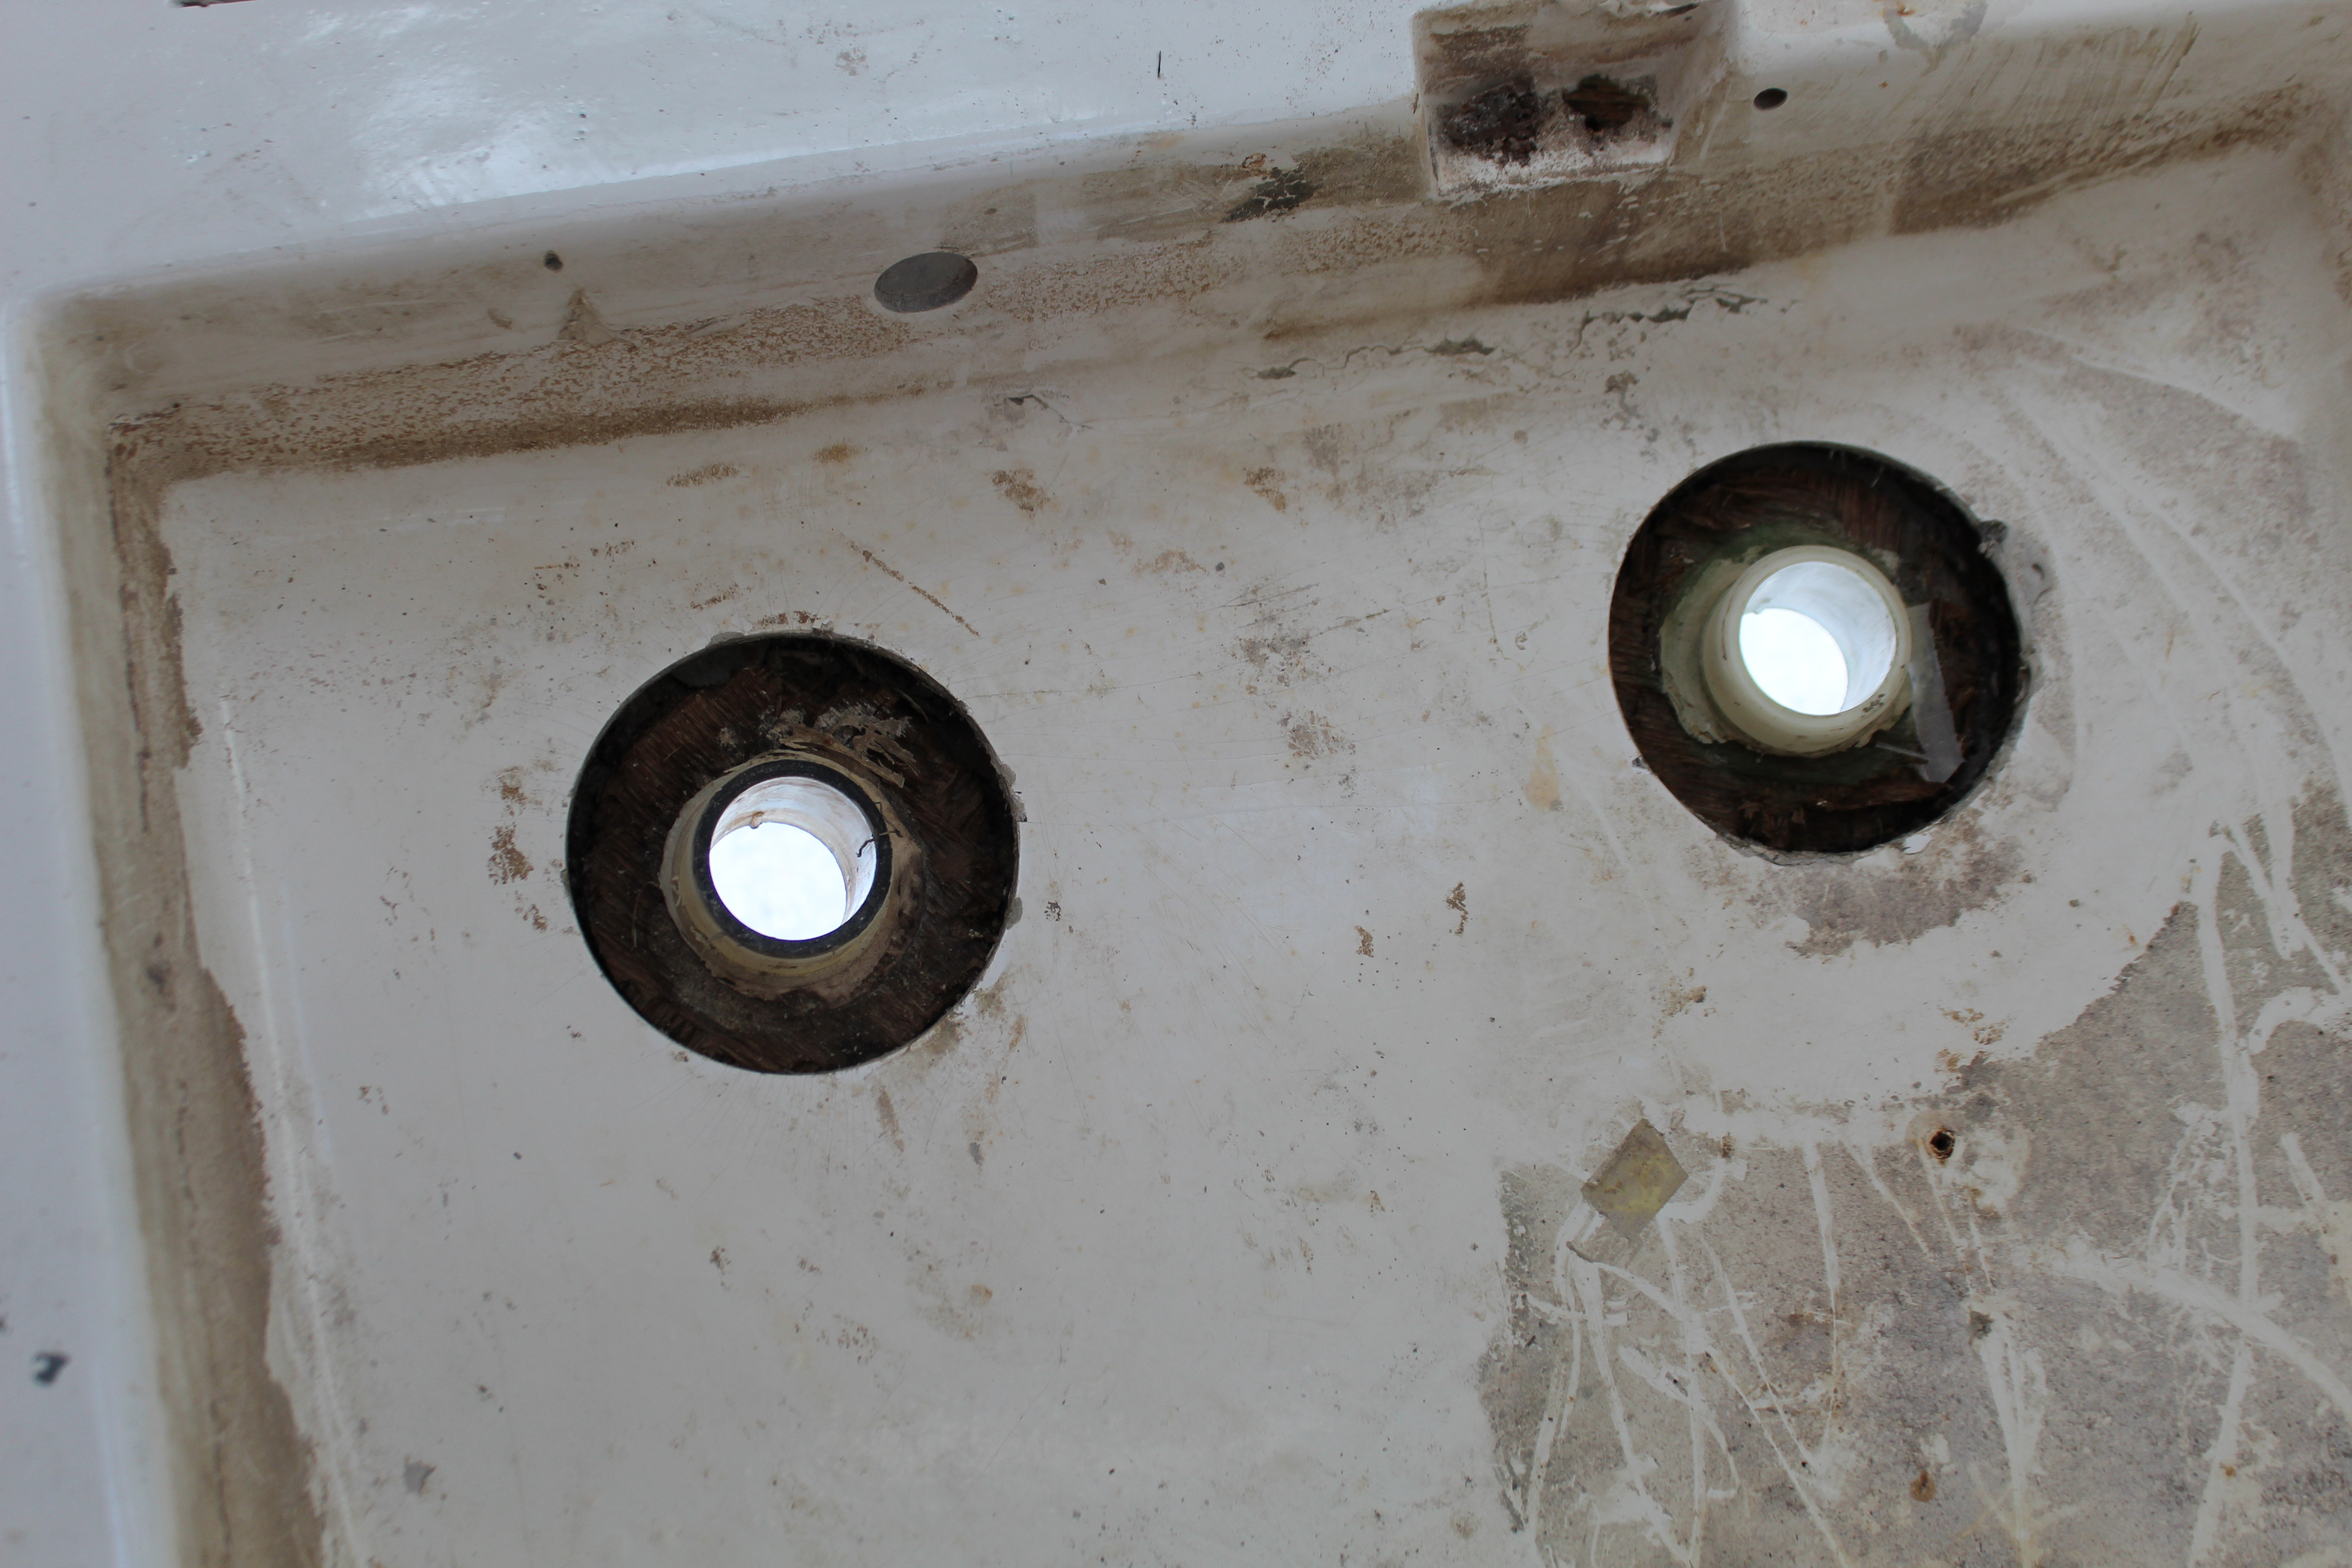
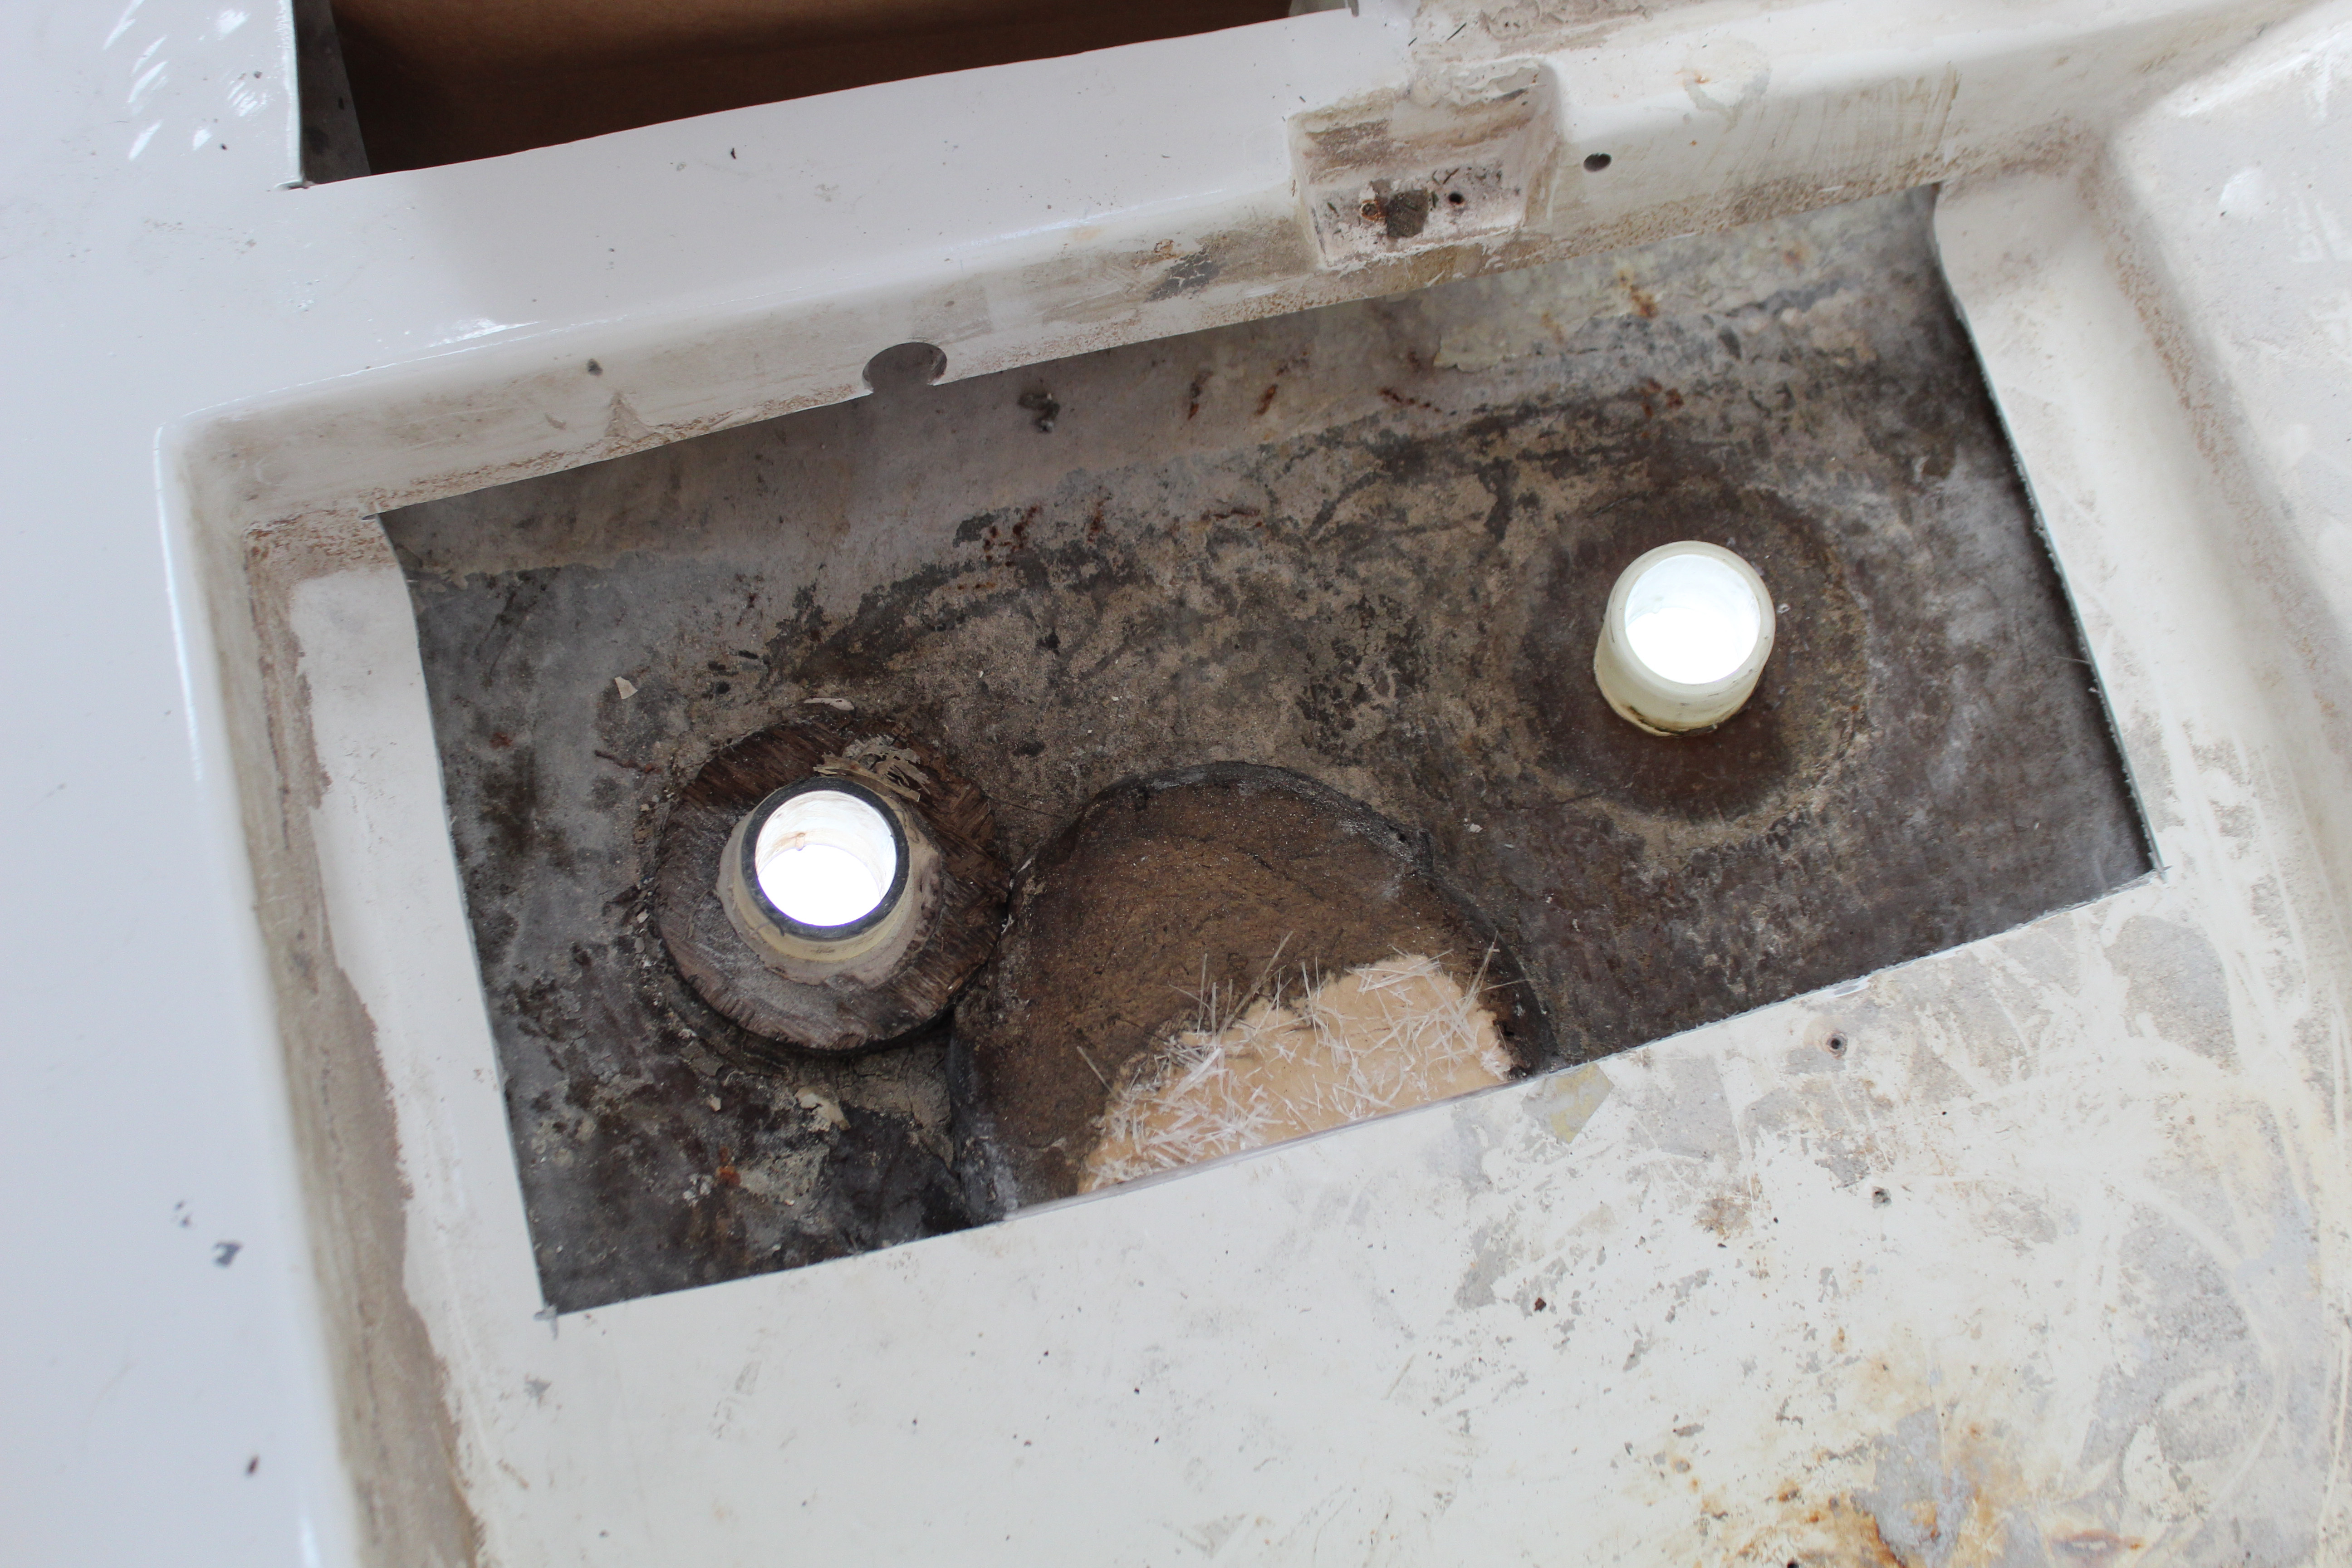
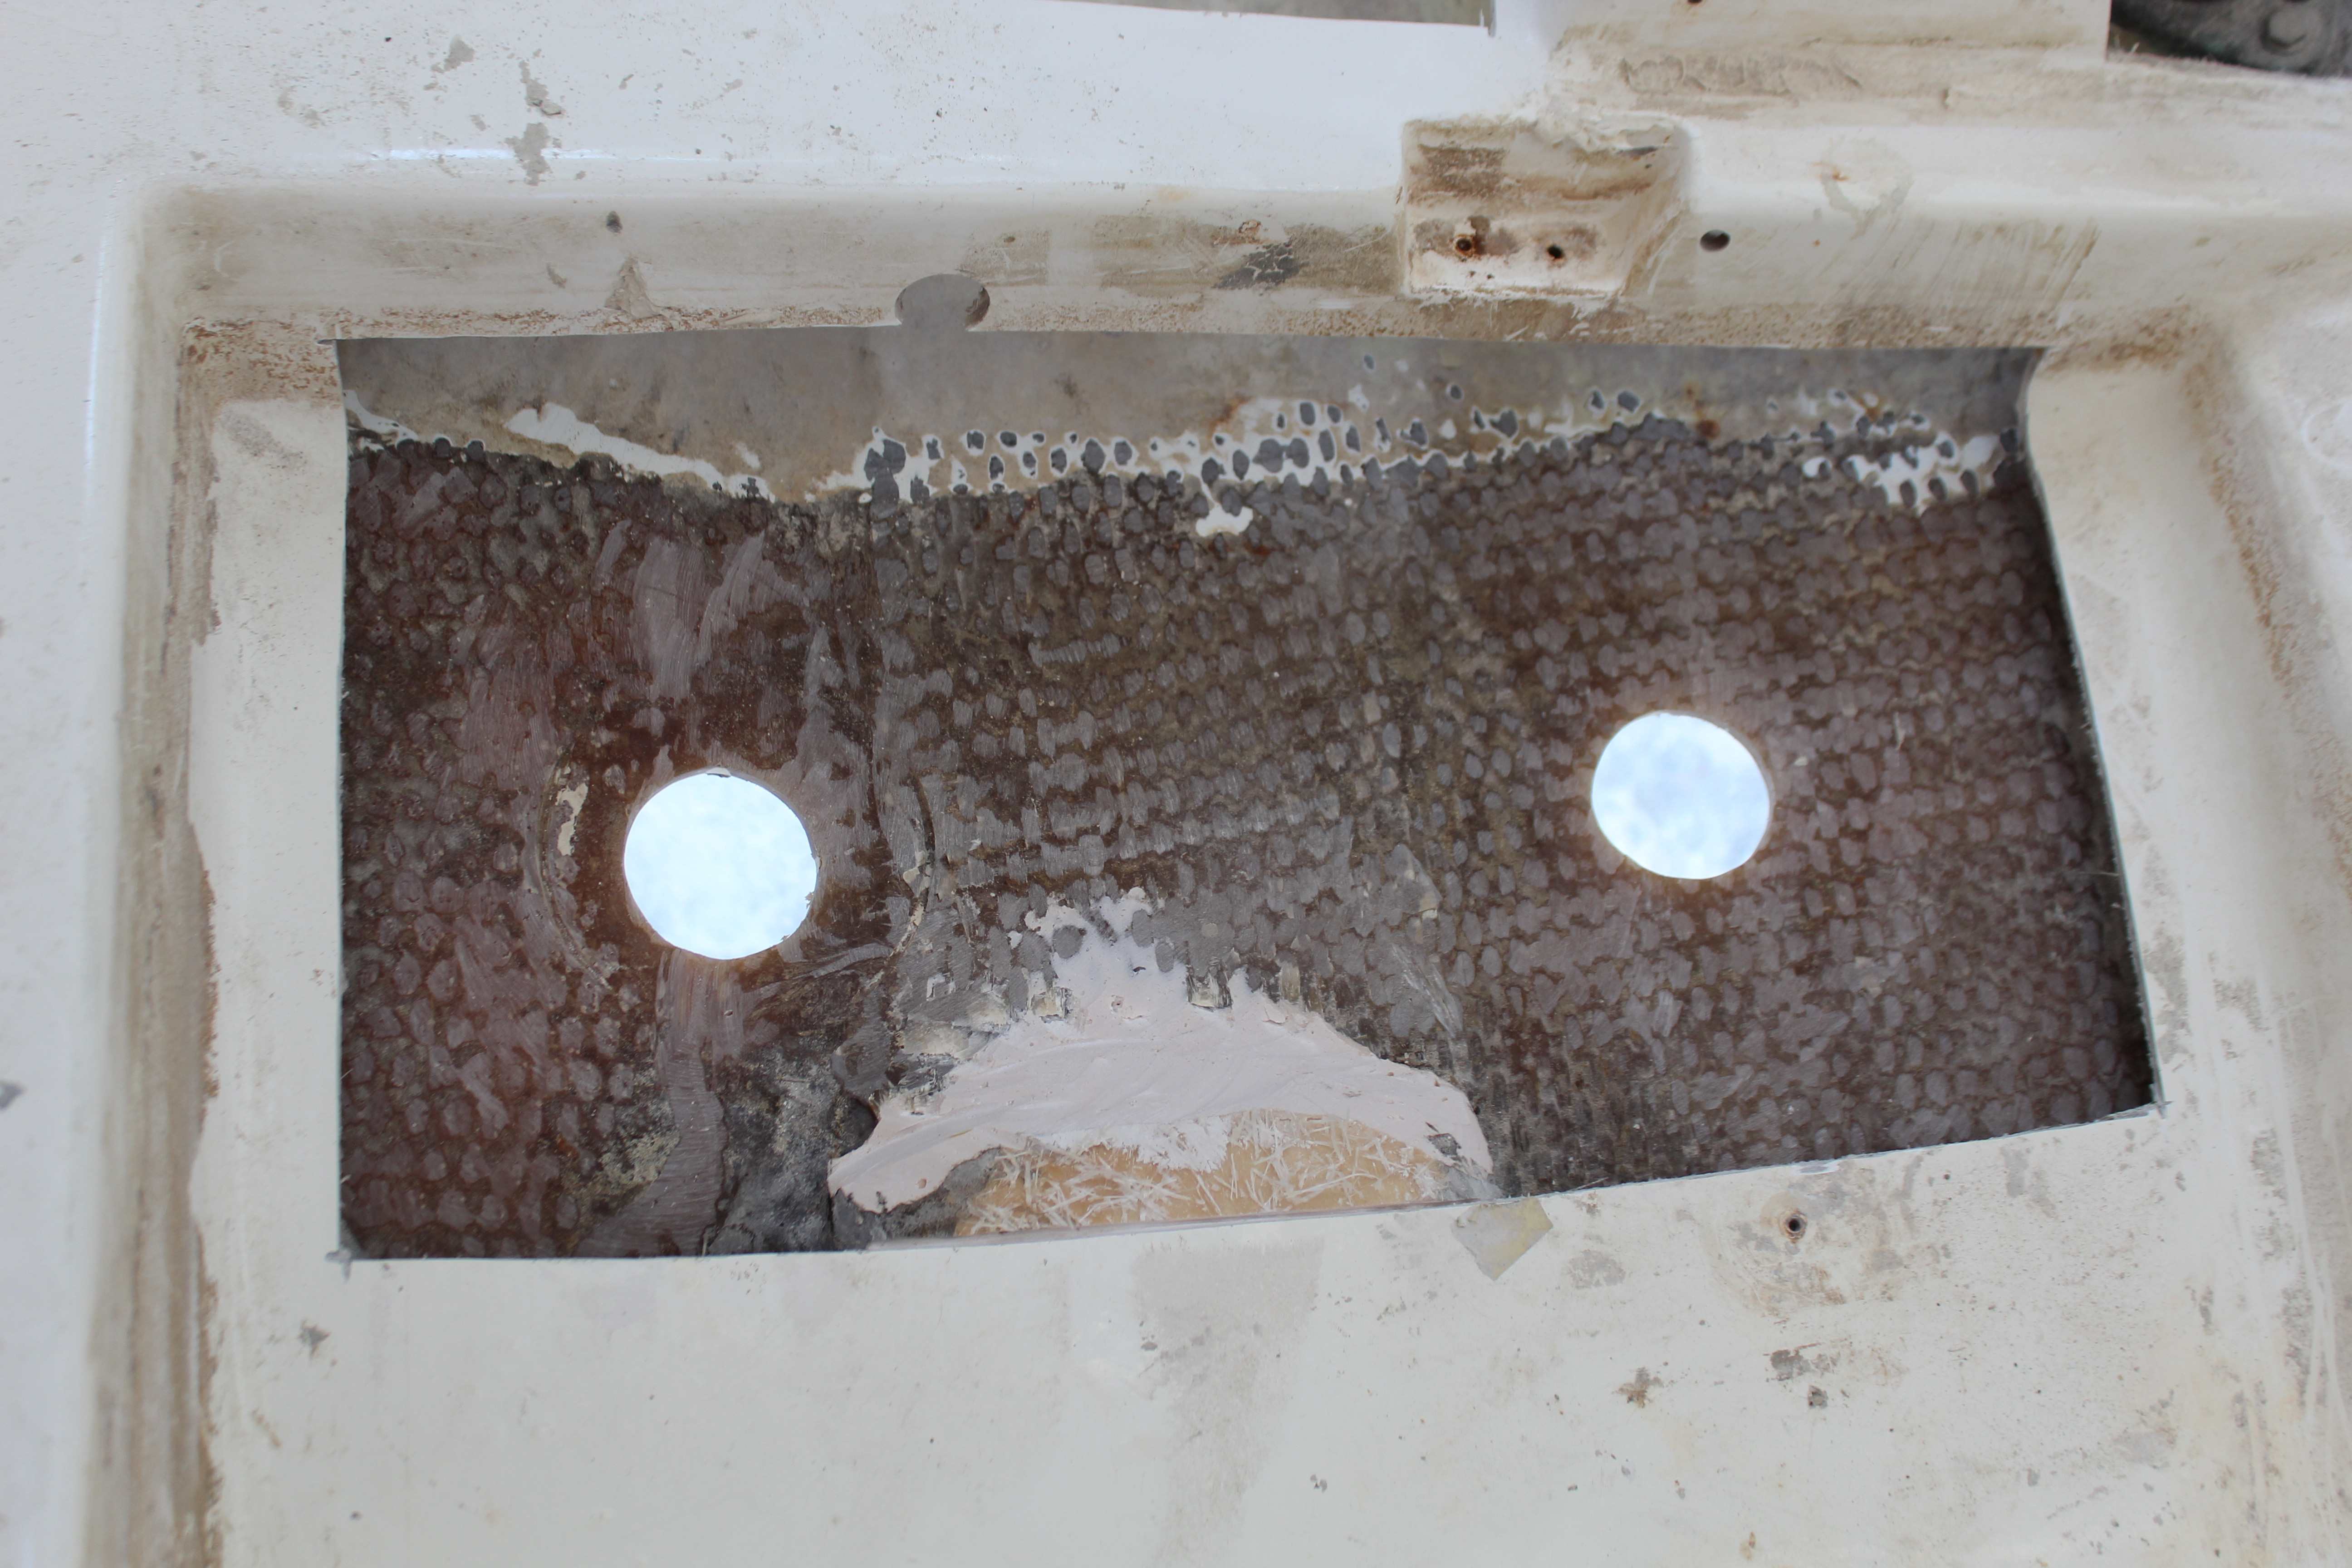
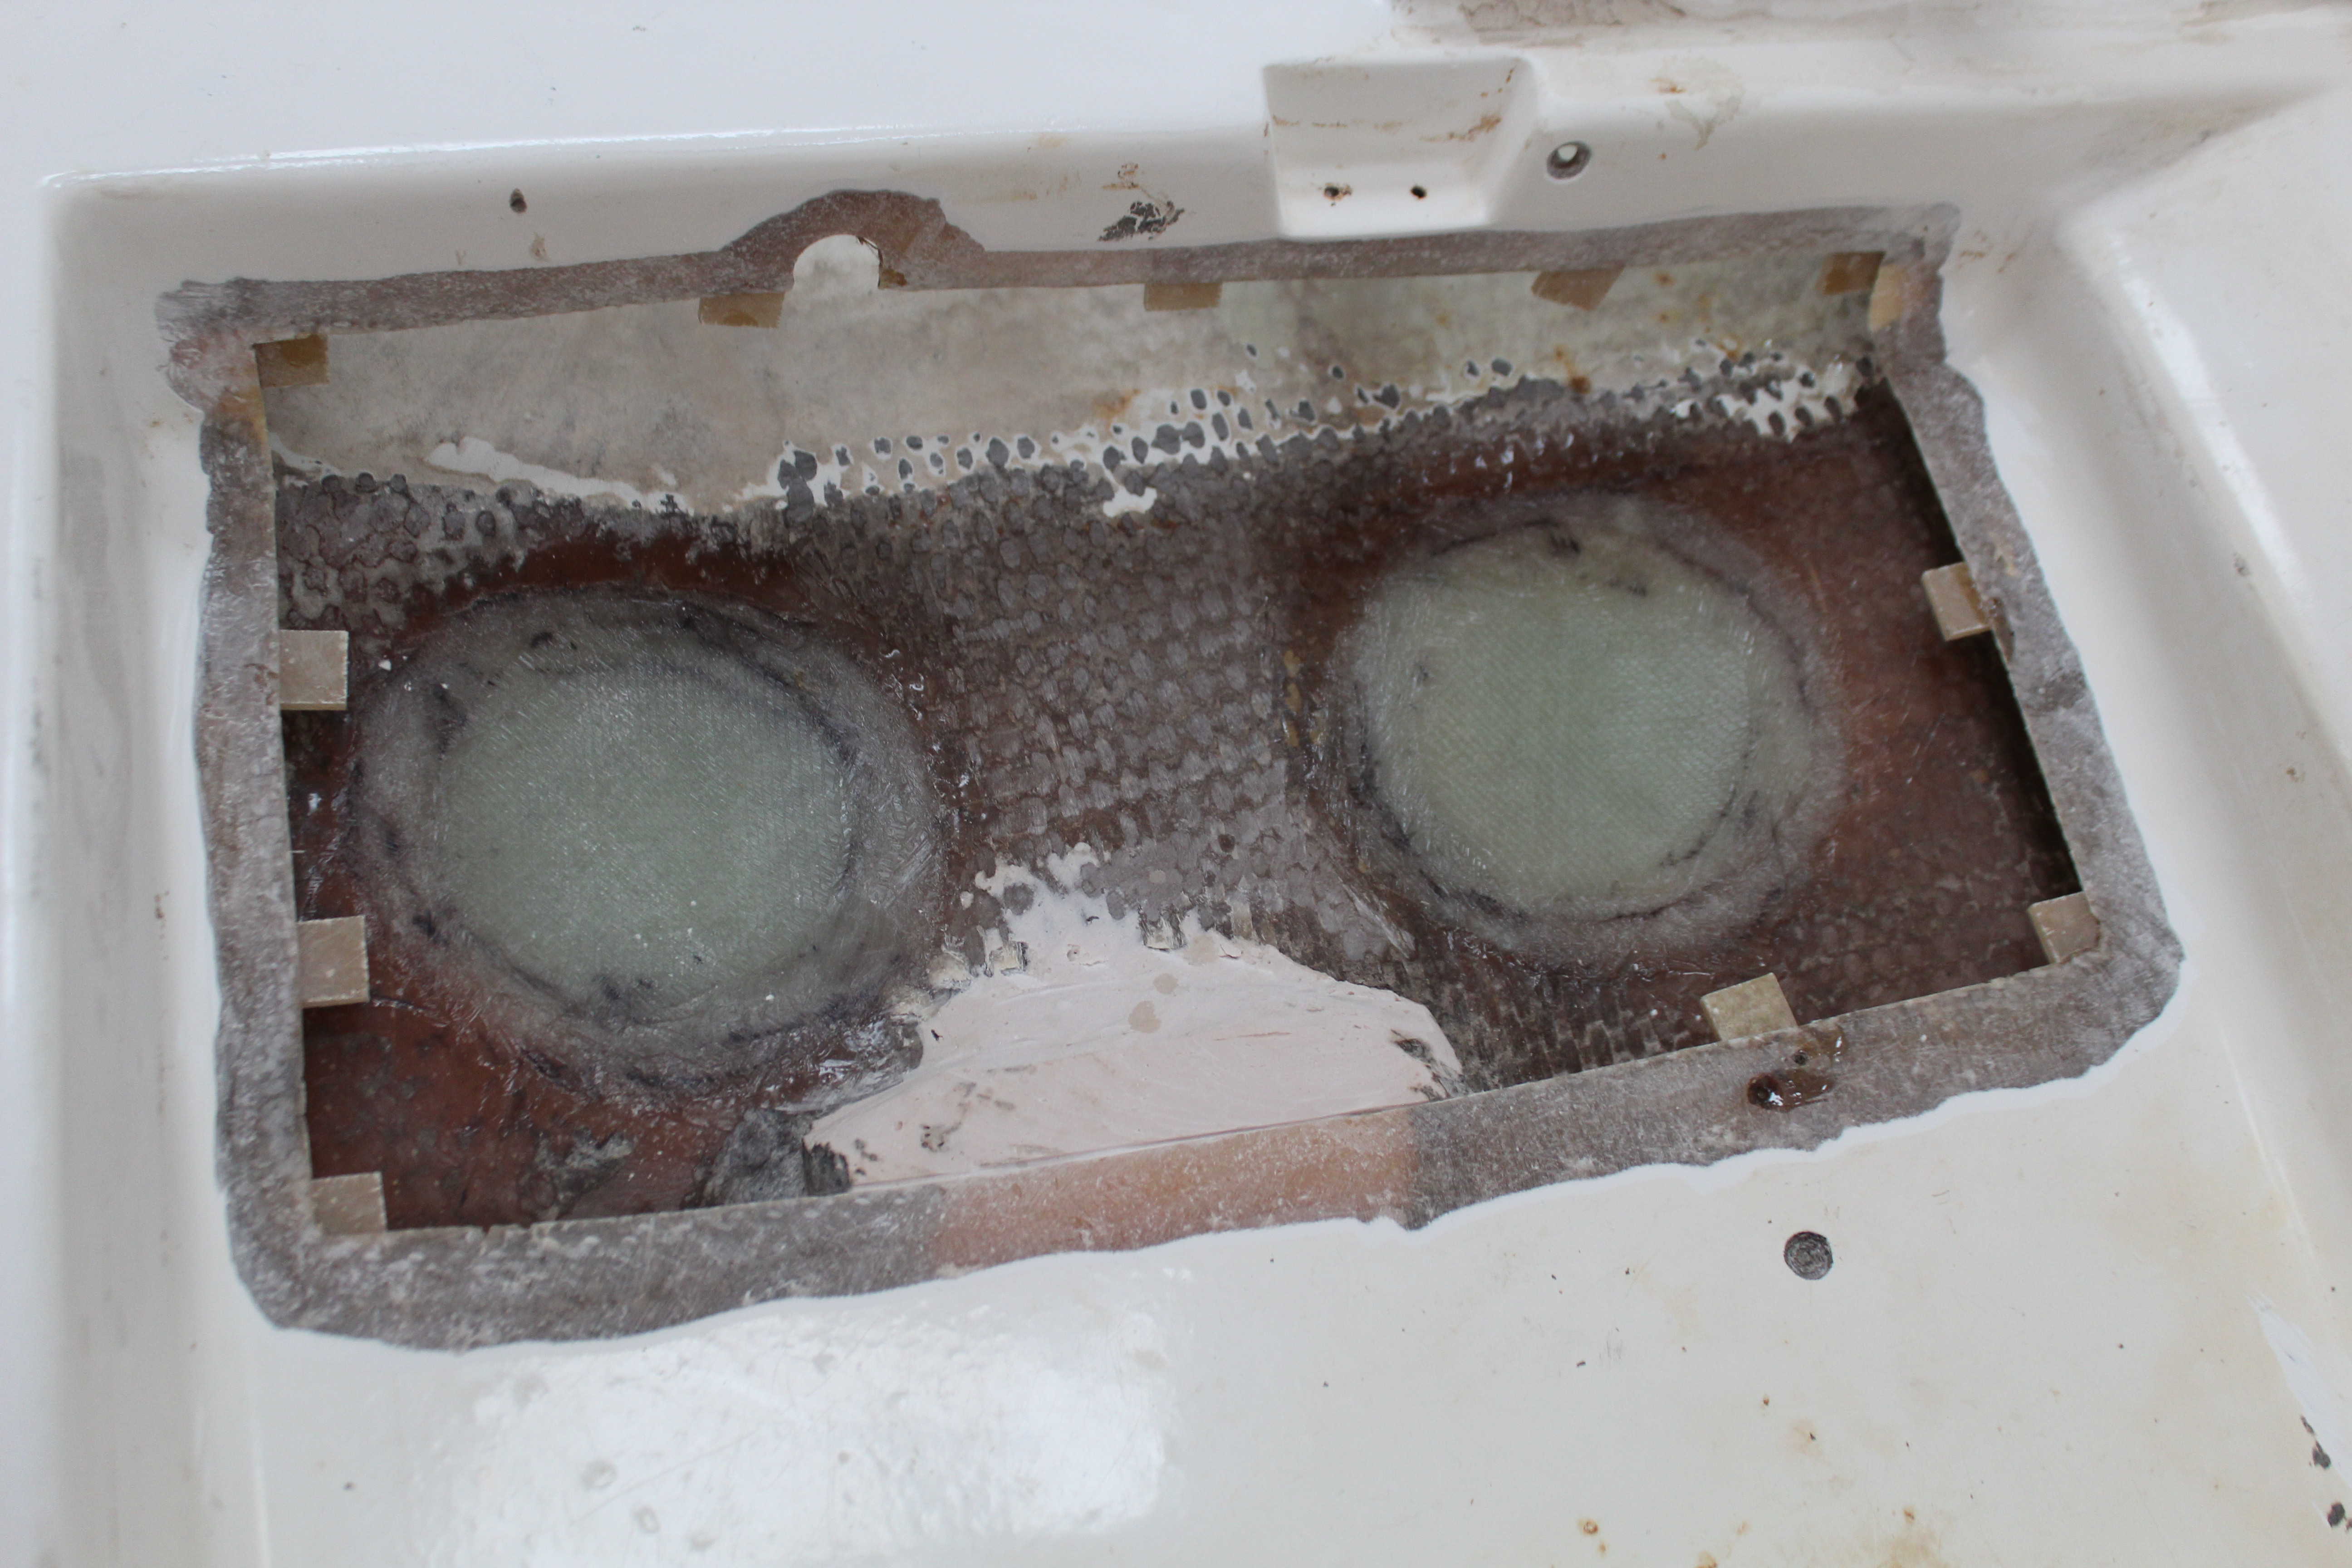
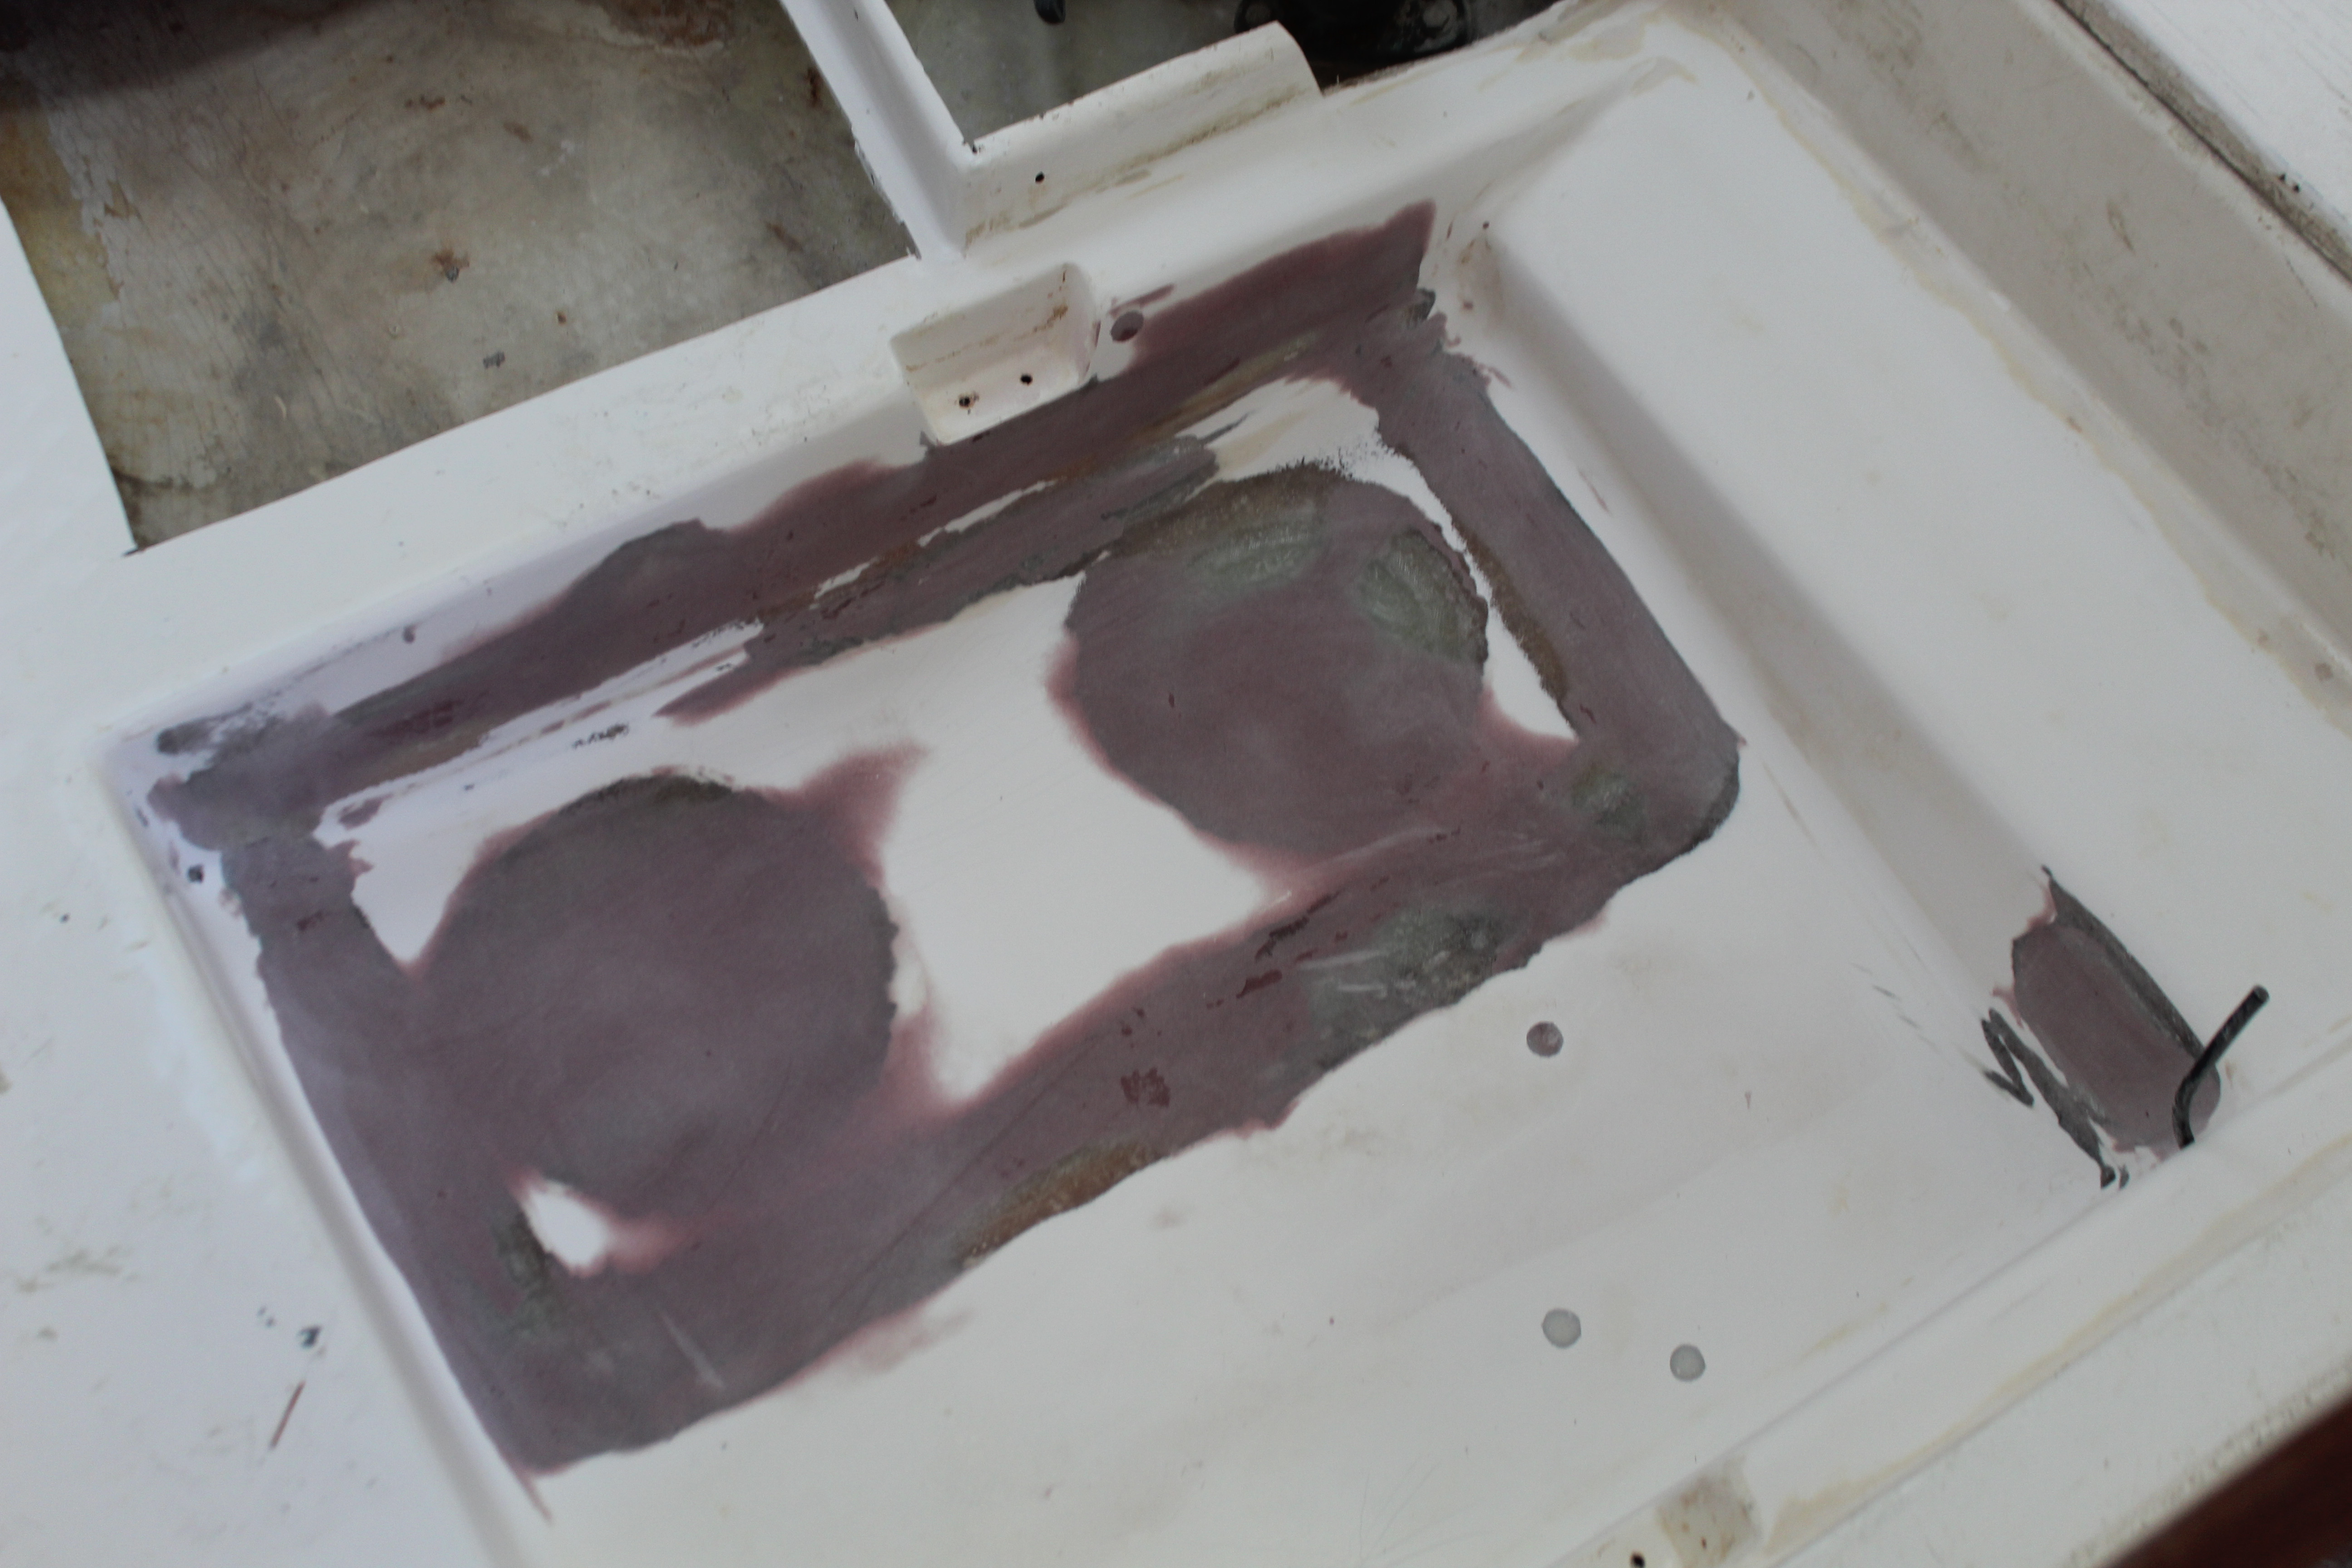
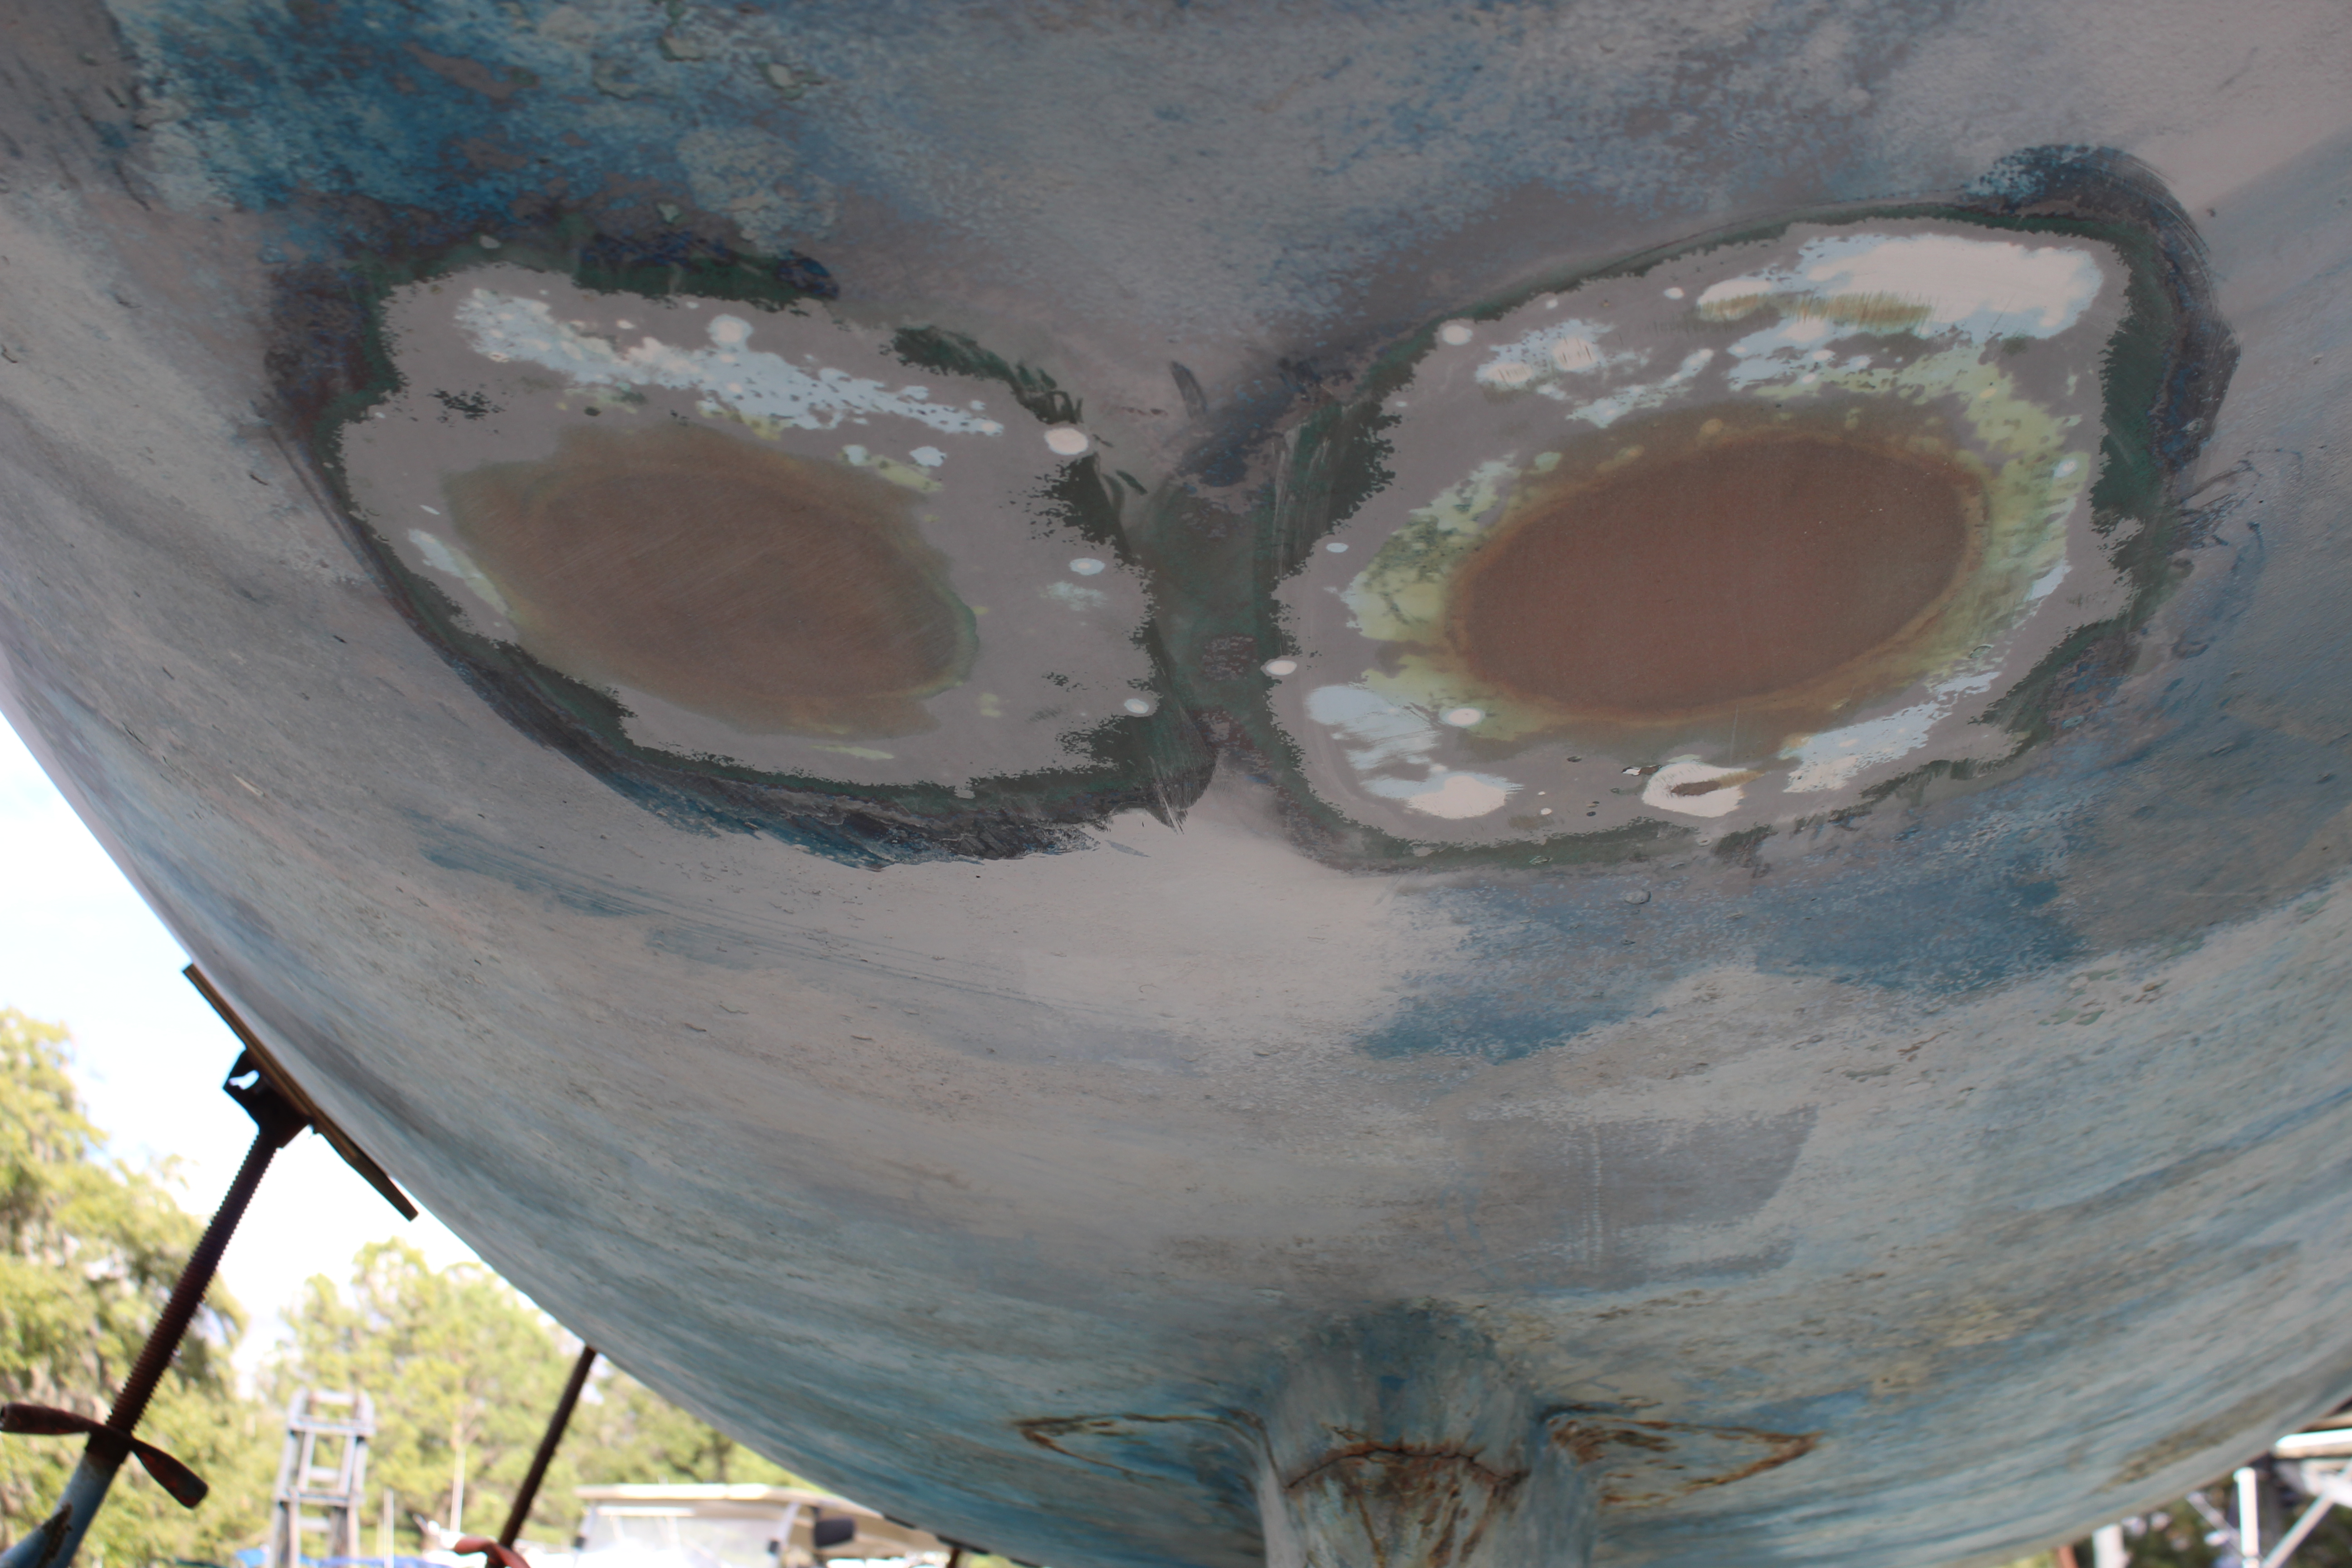
I do remember that the foam insulating the fridge had lots of voids and trapped water behind the box. Found some mold back there too :eek:
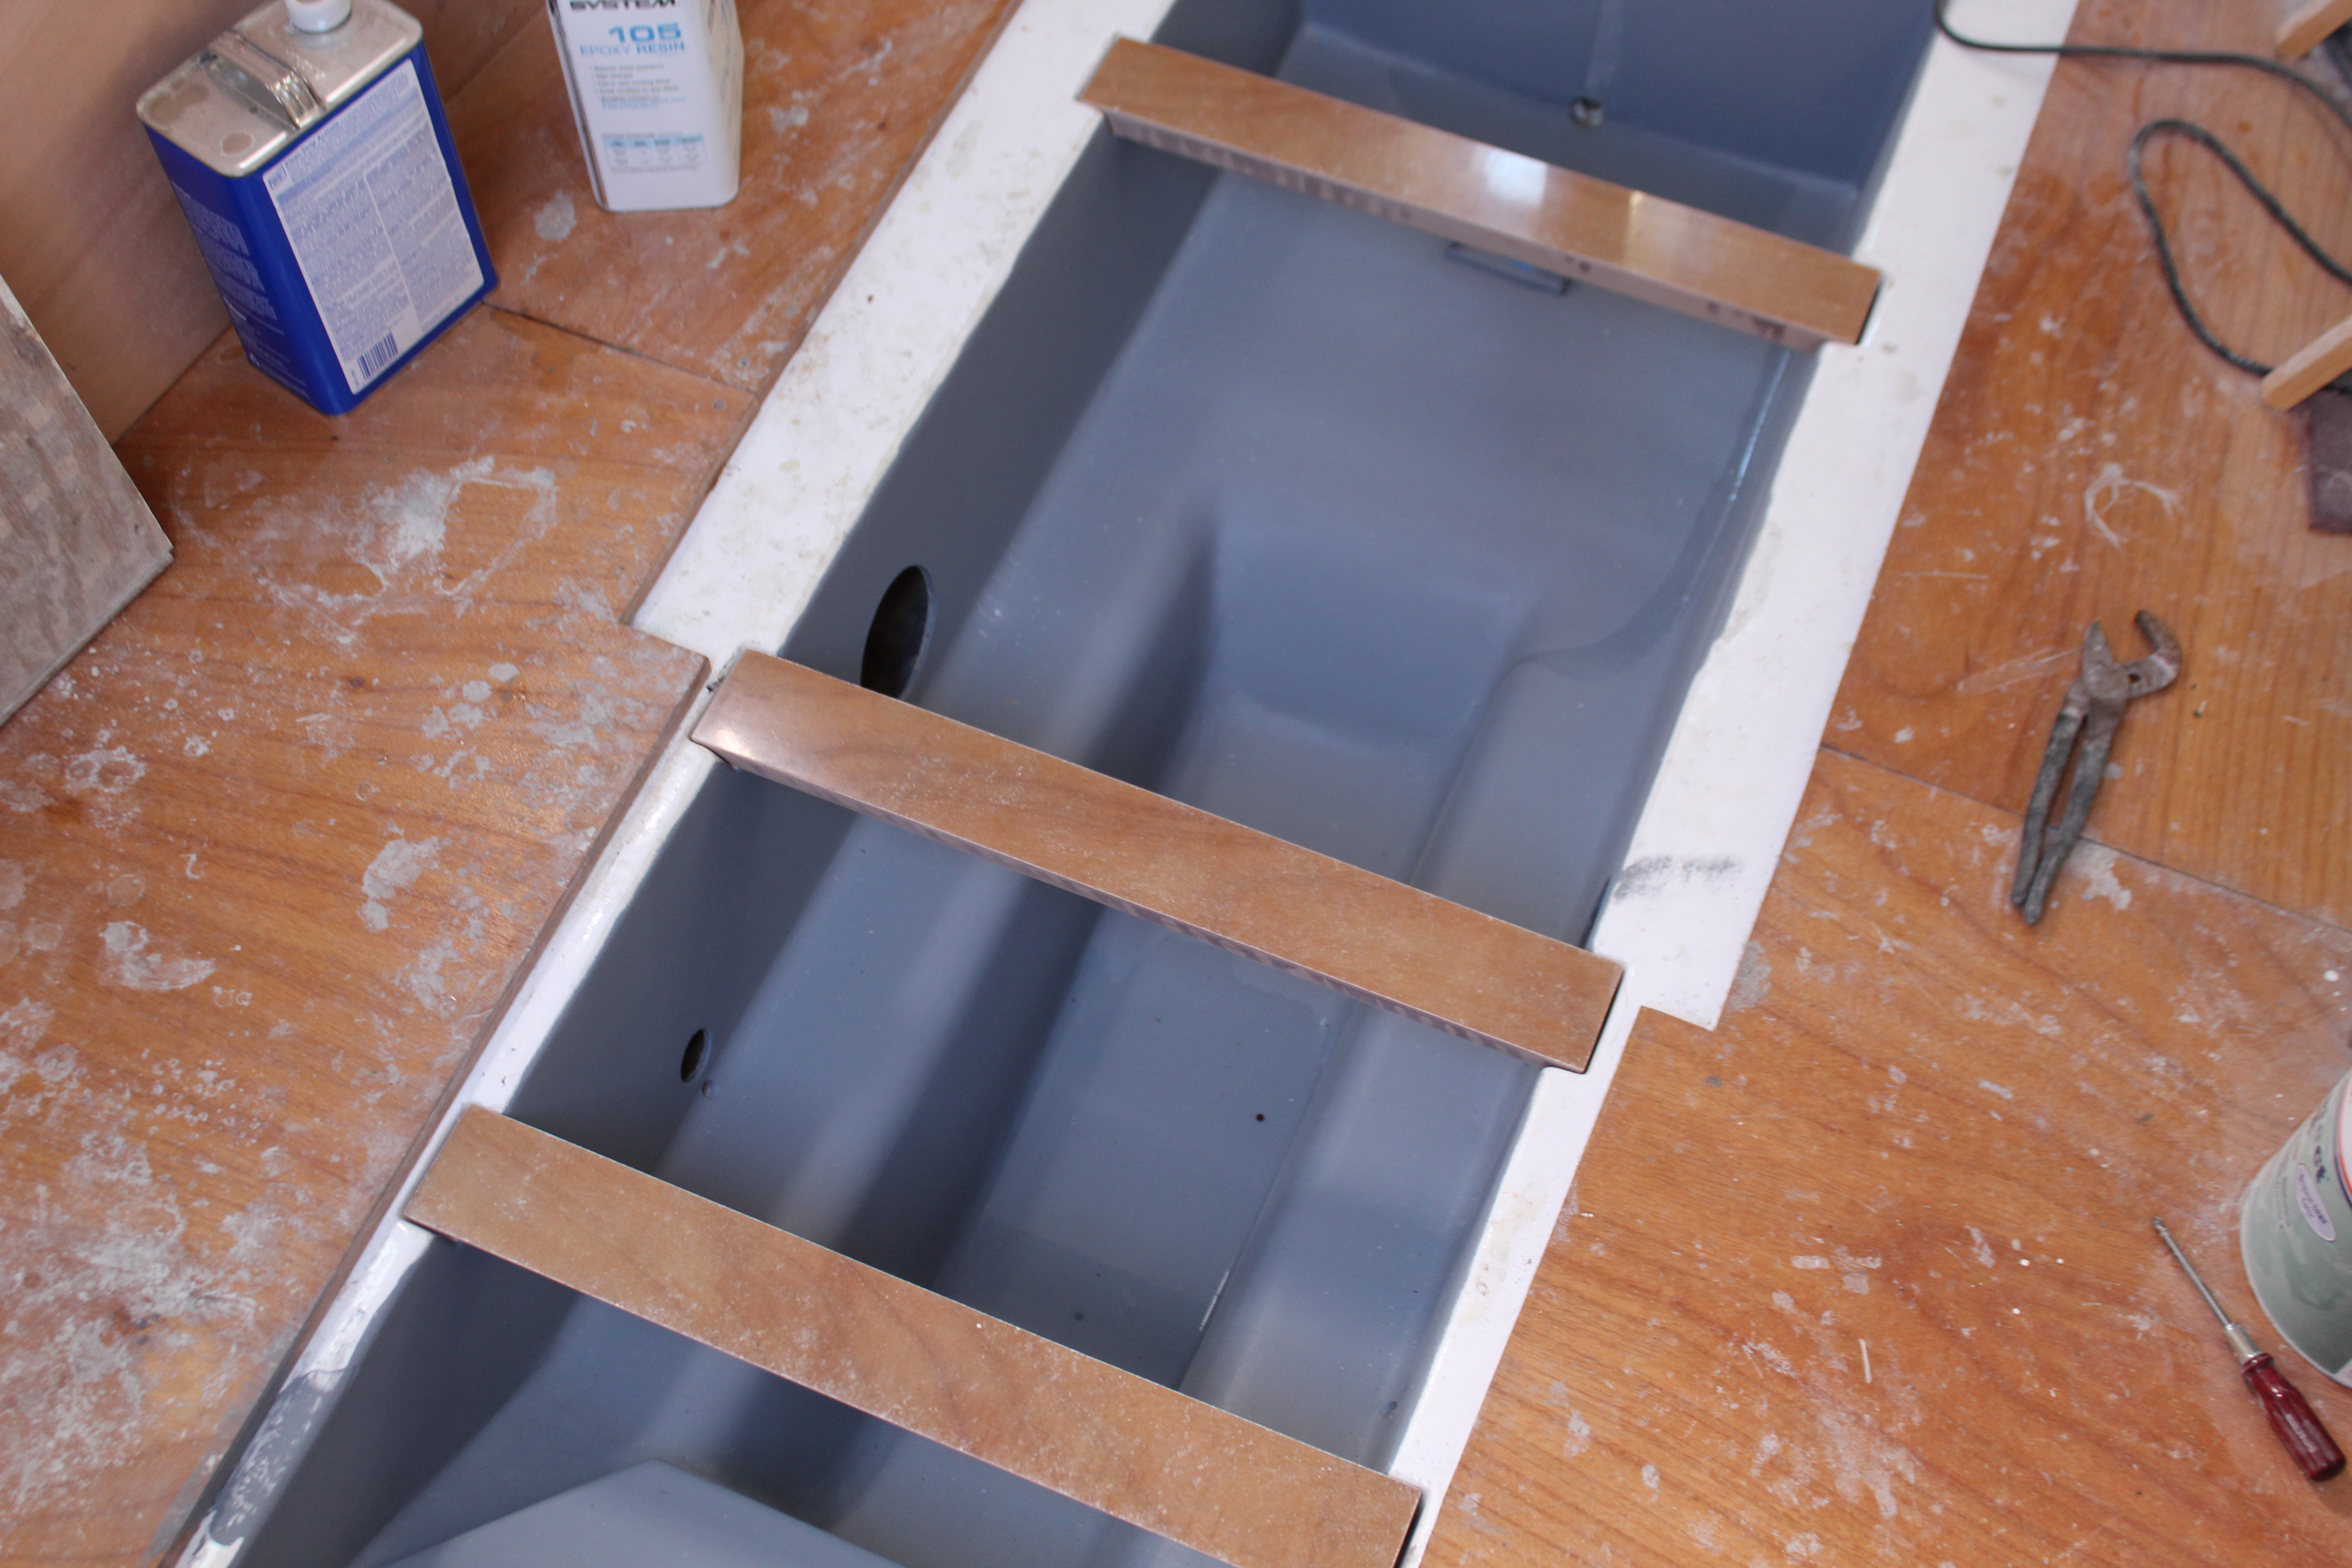
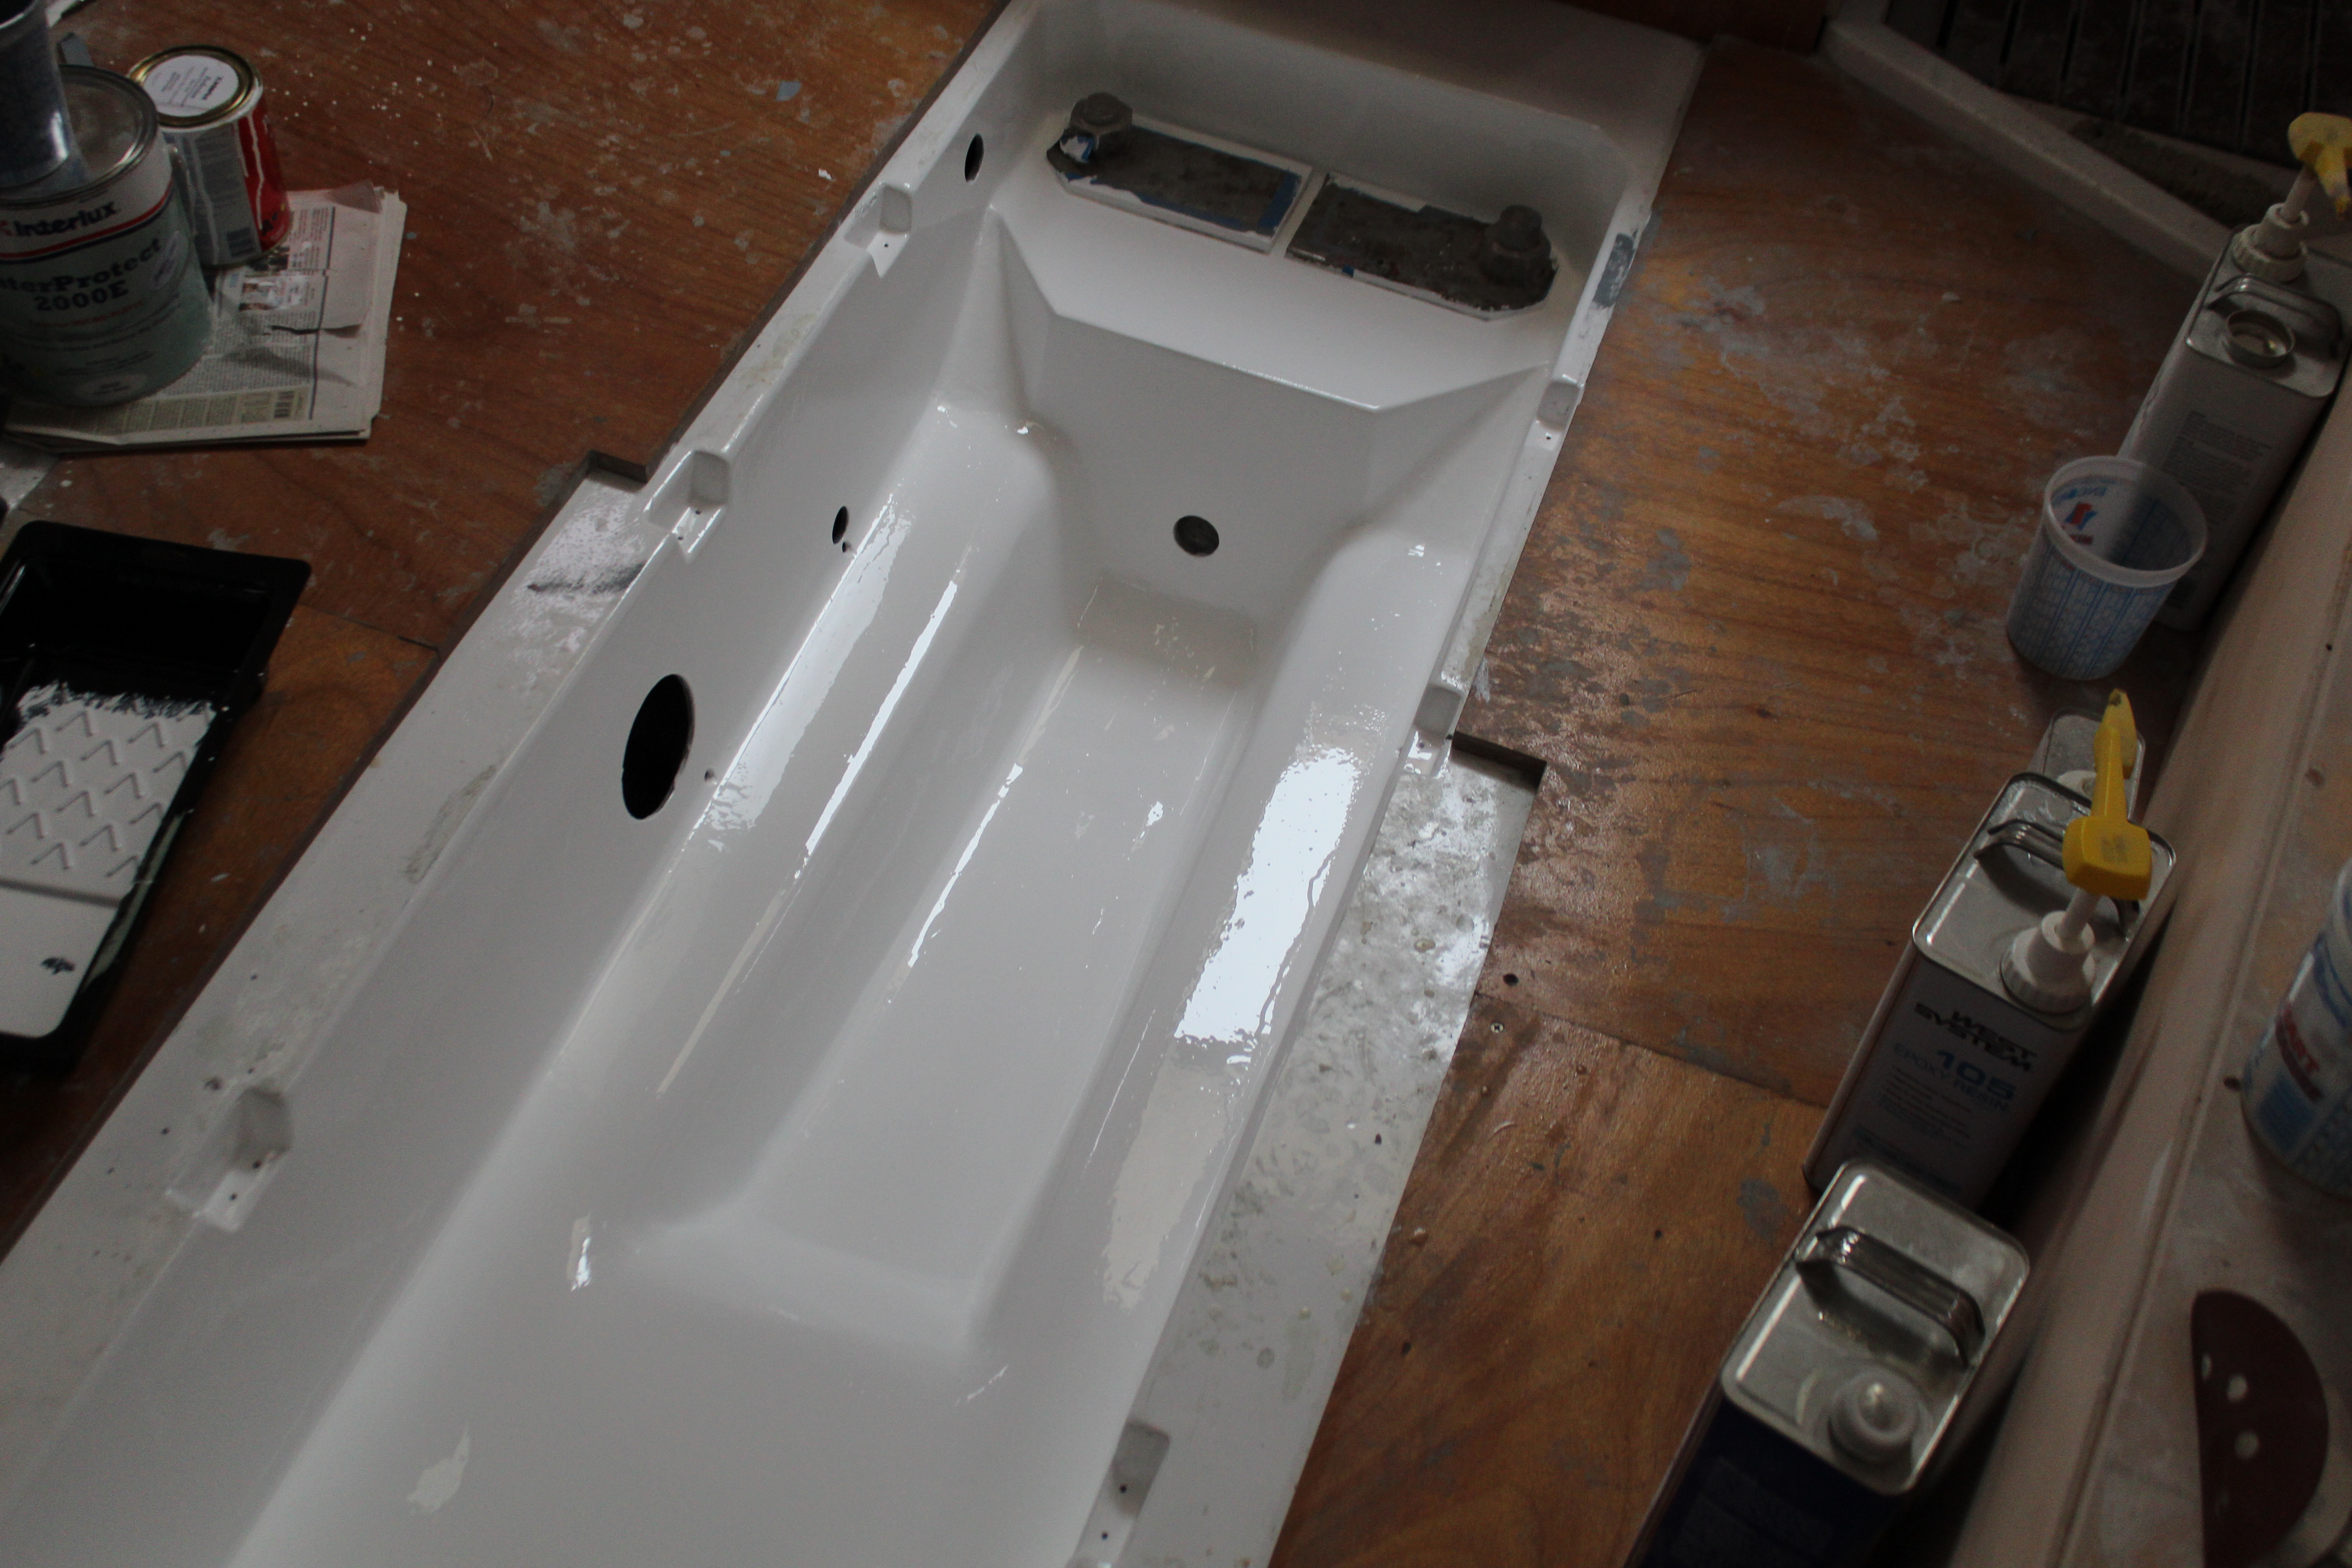
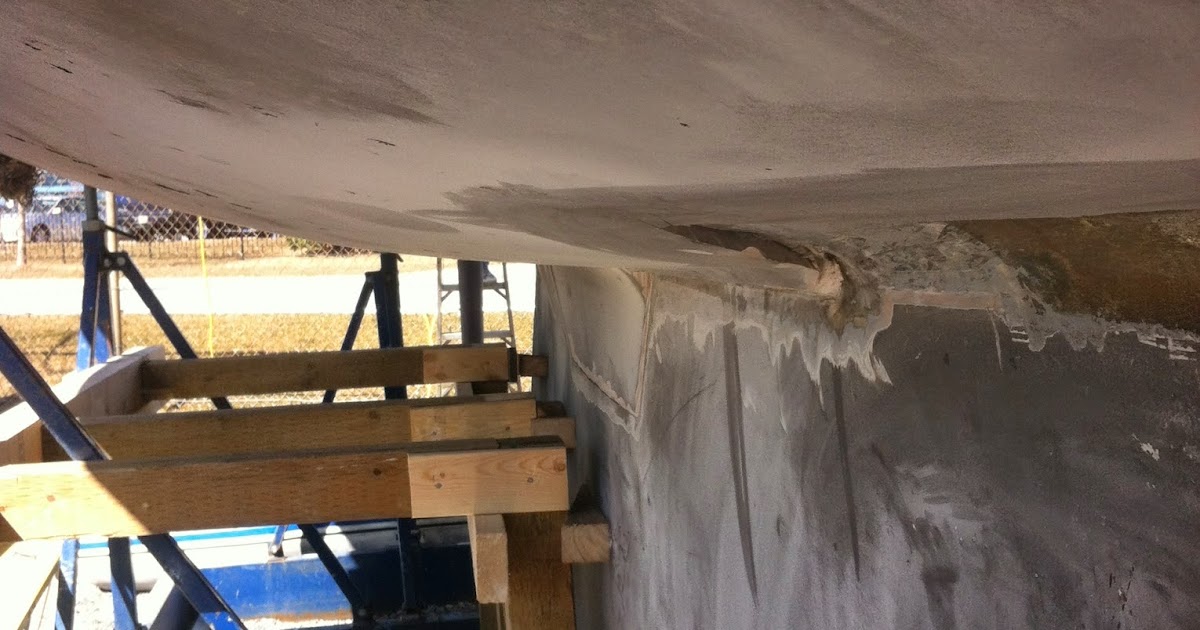
. Most of the larger pieces and the fiberglass fridge box were too big to fit through the companionway which is what leads me to think everything was installed pre-deck.
 
May 8, 2013
629
Hunter 40 Dataw Island, SC
Transducer survey results (and bilge update #127):

Ok, bilge first. Got two coats of primer on:


A light sanding and one more coat then paint. The end (of the bilge repairs!) is in sight :biggrin:

The general consensus about the existing transducers is that they gotta go. I heartily agree so time to get to work:


First up was to dig out the mass volume of sealer surrounding the tranducers. This right here is a good reason for doing this. Putting the transducers in the shower sump - bad idea. I'm not sure if the transducers were installed before the liner was placed in the hull (probably, followed by an oops moment then getting a holesaw and hacking up the shower sump) or after, but it's a good way for gray water to get under the liner. Even if I remount new thru-hull transducers I'll relocate them to a better spot.

I then got the lock rings off and started cutting:


Two things of note here - the backing plates were plywood and were not encapsulated, thus rotted and came off in pieces and chunks. I saw this also years ago when I replaced all the thru-hulls on the boat. I have no problem with using plywood for backing plates but you gotta seal them first! In the picture you can see a brownish lump - this is a big glob of glue! That took some time and effort to get rid of:


I left a little bit of it at the rear to support the bottom of the sump when I reinstall it. Next up is grinding the taper to fill the holes. I did the outside first then the inside:


Sorta looks like a frog! Hey Kermie, you watching? :biggrin: After some cleanup I taped the holes from the outside and got 4 layers of 1708 on the inside of the holes:


I'll get the outside layup done today and start grinding on the sump to get that back together. Plus come up with an idea for patching the two great big holes in the sump!

Cheers,

Mark
 
May 8, 2013
629
Hunter 40 Dataw Island, SC
Nicely done. I am curious how thick was the hull at this location?
Thanks!. The hull varied a little here because there's some cloth overlap down the centerline of the hull, but the average was a little over 3/8th. I expected this since this area is forward of the keel attach point and is narrowing towards the bow, thus the thickness can taper farther forward and still retain strength.
 
  • Like
Likes: limbodog
May 8, 2013
629
Hunter 40 Dataw Island, SC
You guys up north can have the cold weather!:

Ok, I admit it - I'm a wuss. Make all the jokes you want but it's true and I'm proud of it! :biggrin: Woke up this morning and the temp was 33 (that's F as is what the F?!?!?!). It's now warmed up to 35 (F!!) and windy. So no boat work for wimpy Mark today.

We had to go out of town over the weekend so not much to report but I have made some progress. I fabbed some new cross braces for the bilge:


The old ones were 1 1/2" solid teak, not in too bad shape but they have been absorbing 30+ years of bilge funk so I decided it was time. The new pieces are two pieces of layered 3/4" ply and encapsulated with epoxy. I re-did the brace for the forward shower sump also:


I have been taking the time to really look at some of the original design or construction decisions and fixing them where necessary. Here's a good one:


This is the drain for the forward shower sump. A small bilge pump moves the gray water out of the sump and dumps it overboard. No problem except look where the outlet is cut for the hose - most of the volume of the sump is wasted - um, even though I can take an onboard shower using about 3 gallons, based on where this hole is every shower taken will dump gray water into the liner cavity, where it will eventually dump into the main bilge. Probably also leaving a filmy, scummy layer in the liner cavity in the process - yuck!

It's just someone, somewhere along the line not putting enough thought into the process. The fix is really simple:


I cut a new hole as high as I could in the sump to relocate the hose. I ran an old cable inside the liner to make routing the hose to the new location easier. Next up is to glass the old hole closed.

When it warms up:eek:.

Cheers,

Mark
 
  • Like
Likes: Jim26m
May 8, 2013
629
Hunter 40 Dataw Island, SC
Warmer weather so back to work:

Ok, the cold snap is over and the weekend and all next week the temps are good for glassing and painting - yay!

So today (although it rained off and on most of the day) I prepped and got the shower sump back in. A few days ago I set the heater up in the garage and glassed the holes (from the transducers) in the section of sump I had cut out. With that cured I could reinstall it but first I needed to affix some tabs to hold everything in place before gluing:


I just cut some 1" x 2" tabs from a spare glass sheet I had and epoxied them in place. With a little adjusting and fiddling, the sump section dropped in place. A few screws to hold it to the tabs and after the glue dried some strips to tie in and fill the gaps:


This should be ready for sanding and fairing tomorrow. Depending on how the fairing goes maybe a coat of primer ;).

In case anyone is wondering why I interrupted the bilge work, it's due to the painting requirements. I figure the bilge should get about 6 coats of 2-part urethane. I plan on hot-coating all 6 coats so the paint schedule should take 3 days. I knew after deciding on re-doing the shower sump that it should get the same paint treatment. For anyone not familiar with the smell associated with drying urethane in an enclosed space, it's not conducive to good health and long life. In other words, pretty nasty chemicals :yikes:. I use a full respirator breathing apparatus when using this paint inside and I don't want to drag the painting process out any longer than necessary. Better to get both areas ready and paint them together. It just saves time and allows me to get to other stuff sooner :thumbup:.

Cheers,

Mark
 
May 8, 2013
629
Hunter 40 Dataw Island, SC
Ready for paint:

I built up some fairing compound in the shower sump and today got it sanded:


There's a spot or two that normally would need a touch-up with filler, but since this is just a sump and won't be seen I'm probably not going to fill them. Depends on how it looks in primer.

I finished the sanding on the old transducer holes and got two coats of primer on. One more area on the lower hull to address and it'll be ready for bottom paint. That's a job for another series of posts though:


Next up was primer on the sump and a final coat in the bilge:


I've got three days of forecast good weather and temps, so starting tomorrow, Paint!

I have a question: there's a mess of grounding wires attached to the forward keel bolts (plates). They don't connect to anything anymore but I have found traces of the wires leading aft, so I'm assuming they connected to the other keel bolts. I'm wondering - why? The keel bolts don't need to be connected to each other, they do that through - the keel. There was (and is) a grounding cable connecting the mast to the keel and I can't see that adding extra wiring will aid much in dissipating a lightning strike. The only other thing I can think of as to why they are there is to ground the thru-hulls, but none of the original thru-hulls had any evidence of this. Here's a pic of the offending wiring:


They are bolted to the keel bolt plates and run into the stringers, ending at cut ends shortly after. Can anyone shed some light on this?

Cheers,

Mark
 
May 20, 2016
3,014
Catalina 36 MK1 94 Everett, WA
And metal that penetrates the hull should be bonded. I have all forespare valves which don’t need bonding. only shaft, strut, and raw water intake are bonded.
 
Oct 29, 2016
1,915
Hunter 41 DS Port Huron
This link should help according to Maine Sail the article within this link is one of the best
 
  • Like
Likes: limbodog
May 8, 2013
629
Hunter 40 Dataw Island, SC
This link should help according to Maine Sail the article within this link is one of the best
I downloaded this then realized i had it already, I just hadn't looked at it in so long I had forgotten about bonding the rigging lines. I bet the extra wiring was for that. I'll break out the borescope and take a look, see if I can find the other ends of the wires. It doesn't matter in the long run because a: the existing wires are too small, and b: I'm wiring it up per the article.

Thanks!
 
May 8, 2013
629
Hunter 40 Dataw Island, SC
Bilge update #366:

Guess what? Paintwork for the bilge is done! I only needed 4 coats (I based my original 6 coat estimate on the coverage I got on the hull but then it was hot enough I had to thin the paint quite a bit.This time I didn't thin the paint at all after the first coat and got color coverage at 3 coats then one more for good measure. Just in time too cuz the weathermen messed the forecast up again - it started raining just as I was finishing. I stuffed a rag in the wire run from the compression post (found out that was the source of the water ingress in the bilge) so it should stay dry while the paint is drying.

The shower sump turned out ok:


And the bilge:


Since the temps have been on the low side of the paint chart I'll give this a few days to dry and harden before reinstalling the crossbeams and bilge pump. For now I'm just glad this little side show is done!

The last major task under the floor will be finishing the water tanks but I'm going to take a small break from the hurculean task list and do something fun that will show some real progress: I have noticed that I'm lacking in storage/horizontal space to work on/with, and it just so happens the v-berth is empty. Time to do some carpentry! I'm gonna get the v-berth bunk/storage area started so I can use that space while working.

After a major cleanup, that is :thumbup:.

Oh, and a heads-up: I have said before that I use an air supply repirator system when applying 2-part urethanes inside. Last night I got a good reminder why! After the first 2 coats yesterday (first in the morning, second late afternoon) I closed things up and left the heater on to help the paint dry, with the intention of going back out later that night to shut the heater off. So far, so good. So I go back out late yesterday evening - my wife asked to go too, just for the ride, not to go below. No prob. I climbed aboard, opened the hatch, went down below and turned the heater off then exited. That's it, no dallying because the smell was overpowering! I walked back to the car and as I was getting in my wife freaked out! She could smell the paint fumes on me, just from that short of an exposure! So could I, and it took several minutes before the smell was gone. Moral - take precautions and use the proper gear because some of the this stuff can hurt you!

BTW, the next morning the solvents had evaporated enough so that I could use my SN95 respirator while getting things prepped. Then the (as I call it) scuba gear went back on for painting today. Happy ending :biggrin:.

Cheers,

Mark
 
May 24, 2017
3
hunter Elvstrom 1/2 ton toronto
Hello from Toronto,
I also have a 1985 Hunter 40 and have been following your repair work. I have a question with regard to your keel /haul joint. Looking at the bow, image above, just behind your repair of the 2 thru hauls, on the outside. The 2 lead pods, which are part of the keel design, on port and starboard, approiximately 10 inches apart, , as I call them are showing signs of rust, i'm sure the other 2 at rear are in the same condition , along with the whole joint, mine is also showing the same signs of rust. Most of the rust accumulates at the bootom of the sump/keel attachment after the boat is hauled out, this being the lowest part of haul keel joint, water will flow to lowest point.
How will you repair the rust area.
Hunter used a product to seal the gap orignally, i believe similar to 3m 5200
I going to proceed by first sanding out the area, down to iron on one side, and gelcoat on the other side, 2" on each side, then cut out a v groove in the joint and then applying petis rust lock, 3m 5200, interlude 200 expoxy,then gflex, then anti fouling paint.
The other option is to drop keel, and proceed as this owner did,
.
The keels bolts have been torqued to hunter specs, all went well, nothing broke on mine. No rust or water in the bilge when boat in water,
I belive this keel/haul joint design to be one of the best, spreading out stress through haul strength.
Looking forward to your answer, excuse my fragmented explanation, reading too many ikea instructions
Thank you
Paul
Emerald II
 

Attachments

May 8, 2013
629
Hunter 40 Dataw Island, SC
Hello from Toronto,
I also have a 1985 Hunter 40 and have been following your repair work. I have a question with regard to your keel /haul joint. Looking at the bow, image above, just behind your repair of the 2 thru hauls, on the outside. The 2 lead pods, which are part of the keel design, on port and starboard, approiximately 10 inches apart, , as I call them are showing signs of rust, i'm sure the other 2 at rear are in the same condition , along with the whole joint, mine is also showing the same signs of rust. Most of the rust accumulates at the bootom of the sump/keel attachment after the boat is hauled out, this being the lowest part of haul keel joint, water will flow to lowest point.
How will you repair the rust area.
Hunter used a product to seal the gap orignally, i believe similar to 3m 5200
I going to proceed by first sanding out the area, down to iron on one side, and gelcoat on the other side, 2" on each side, then cut out a v groove in the joint and then applying petis rust lock, 3m 5200, interlude 200 expoxy,then gflex, then anti fouling paint.
The other option is to drop keel, and proceed as this owner did,
.
The keels bolts have been torqued to hunter specs, all went well, nothing broke on mine. No rust or water in the bilge when boat in water,
I belive this keel/haul joint design to be one of the best, spreading out stress through haul strength.
Looking forward to your answer, excuse my fragmented explanation, reading too many ikea instructions
Thank you
Paul
Emerald II
Hi Paul,

My hull/keel joint only has a few areas showing rust and the nose and front "wings" are the worst, along with one spot at the sump area. I'm debating whether to do spot repairs in these areas or do the whole joint and hit any additional spots on later haulouts as necessary. My techs in the yard here are saying it's not bad enough to address yet but I'm going to at least get the spots that need it.

My plan centers around this:


I'll grind to metal and gel coat. grind out the sealer that I can get to, hit the metal with Ospho then fill with the G-flex and sand to fair. Then barrier coat and bottom paint.

I agree with you, these boats have one of the best keel attach methods I've ever seen - one of the few benefits of having an iron keel! I don't think lead would have the strength to spread the keel bolts out on the wings.

I like your plan too but I don't think you need 5200 at all in the repair - the G-flex will do the whole thing, no need to mix sealers.

Cheers,

Mark
 
  • Like
Likes: limbodog
May 8, 2013
629
Hunter 40 Dataw Island, SC
Cleaning things and delivered goodies:

Spent most of the day playing catch-up on chores but I did get out to the boat for a few hours. Unfortunately the last coat of paint wasn't quite dry enough and the rain yesterday led to some water in the bilge. There's a few spots that I'll need to sand and re-coat. No biggie :eek:.

My solution to gain access to the one area of the bilge with a gap I couldn't fill is to add an access port. I will use a deck fill:


and cut it to fit:


Once in a while I'll remove the cap and see what drains out! It better not be anywhere as bad as what came out initially!

I also spent several hours with the vacuum cleaning dust - and not done yet!

West Marine called today and said my goodies had arrived!


I just had to open things up and oogle what was inside:


New chartplotter/MFD and radar! I also ordered the sonar transducer:


This thing is a beast! Much bigger than I imagined. Gonna have fun installing it :biggrin:

Cheers,

Mark
 
Aug 28, 2006
564
Bavaria 35E seattle
I'll be interested to get your impression of the sonar after you've had the opportunity to give it some real-world testing. BTW - what "paint" did you use for the bilge. I'm sure you mentioned it earlier, but I just didn't scroll back far enough to re-check. It sure looks purty!