Repairing Hunter 40 damage from Hurricane Matthew

May 8, 2013
629
Hunter 40 Dataw Island, SC
こんにちは 先生
In the fall of 2018 I bought a 1985 Hunter 40 that'd been on the hard for a couple years, but had been a liveaboard boat for a decade prior. She'd been a bit neglected, but with an inspection telling me she was in decent shape, I felt confident I could learn as I go and not be completely in over my head. I look back at that moment and laugh now.
I've been able to live on board, but my aft cabin is rotted and water streams in along the rails. My diesel (despite passing inspection) is contaminated and the fuel tank is a PITA to get at. My forward holding tank is cracked (knew that), my aft head leaks like the Trump administration, and the DC wiring appears to have been done by a troop of gibbons armed with duct tape.
I have one refrigerator that exploded over the winter, and another that died of ennui. My fresh water lines drip at every intersection, and the water pumps do nothing.
I began to despair. I'd worked on cars plenty, but boat work was somewhat new to me. (I'd helped a friend work on his, but that's about it) And, as you know, in cars you generally don't *cut* anything.
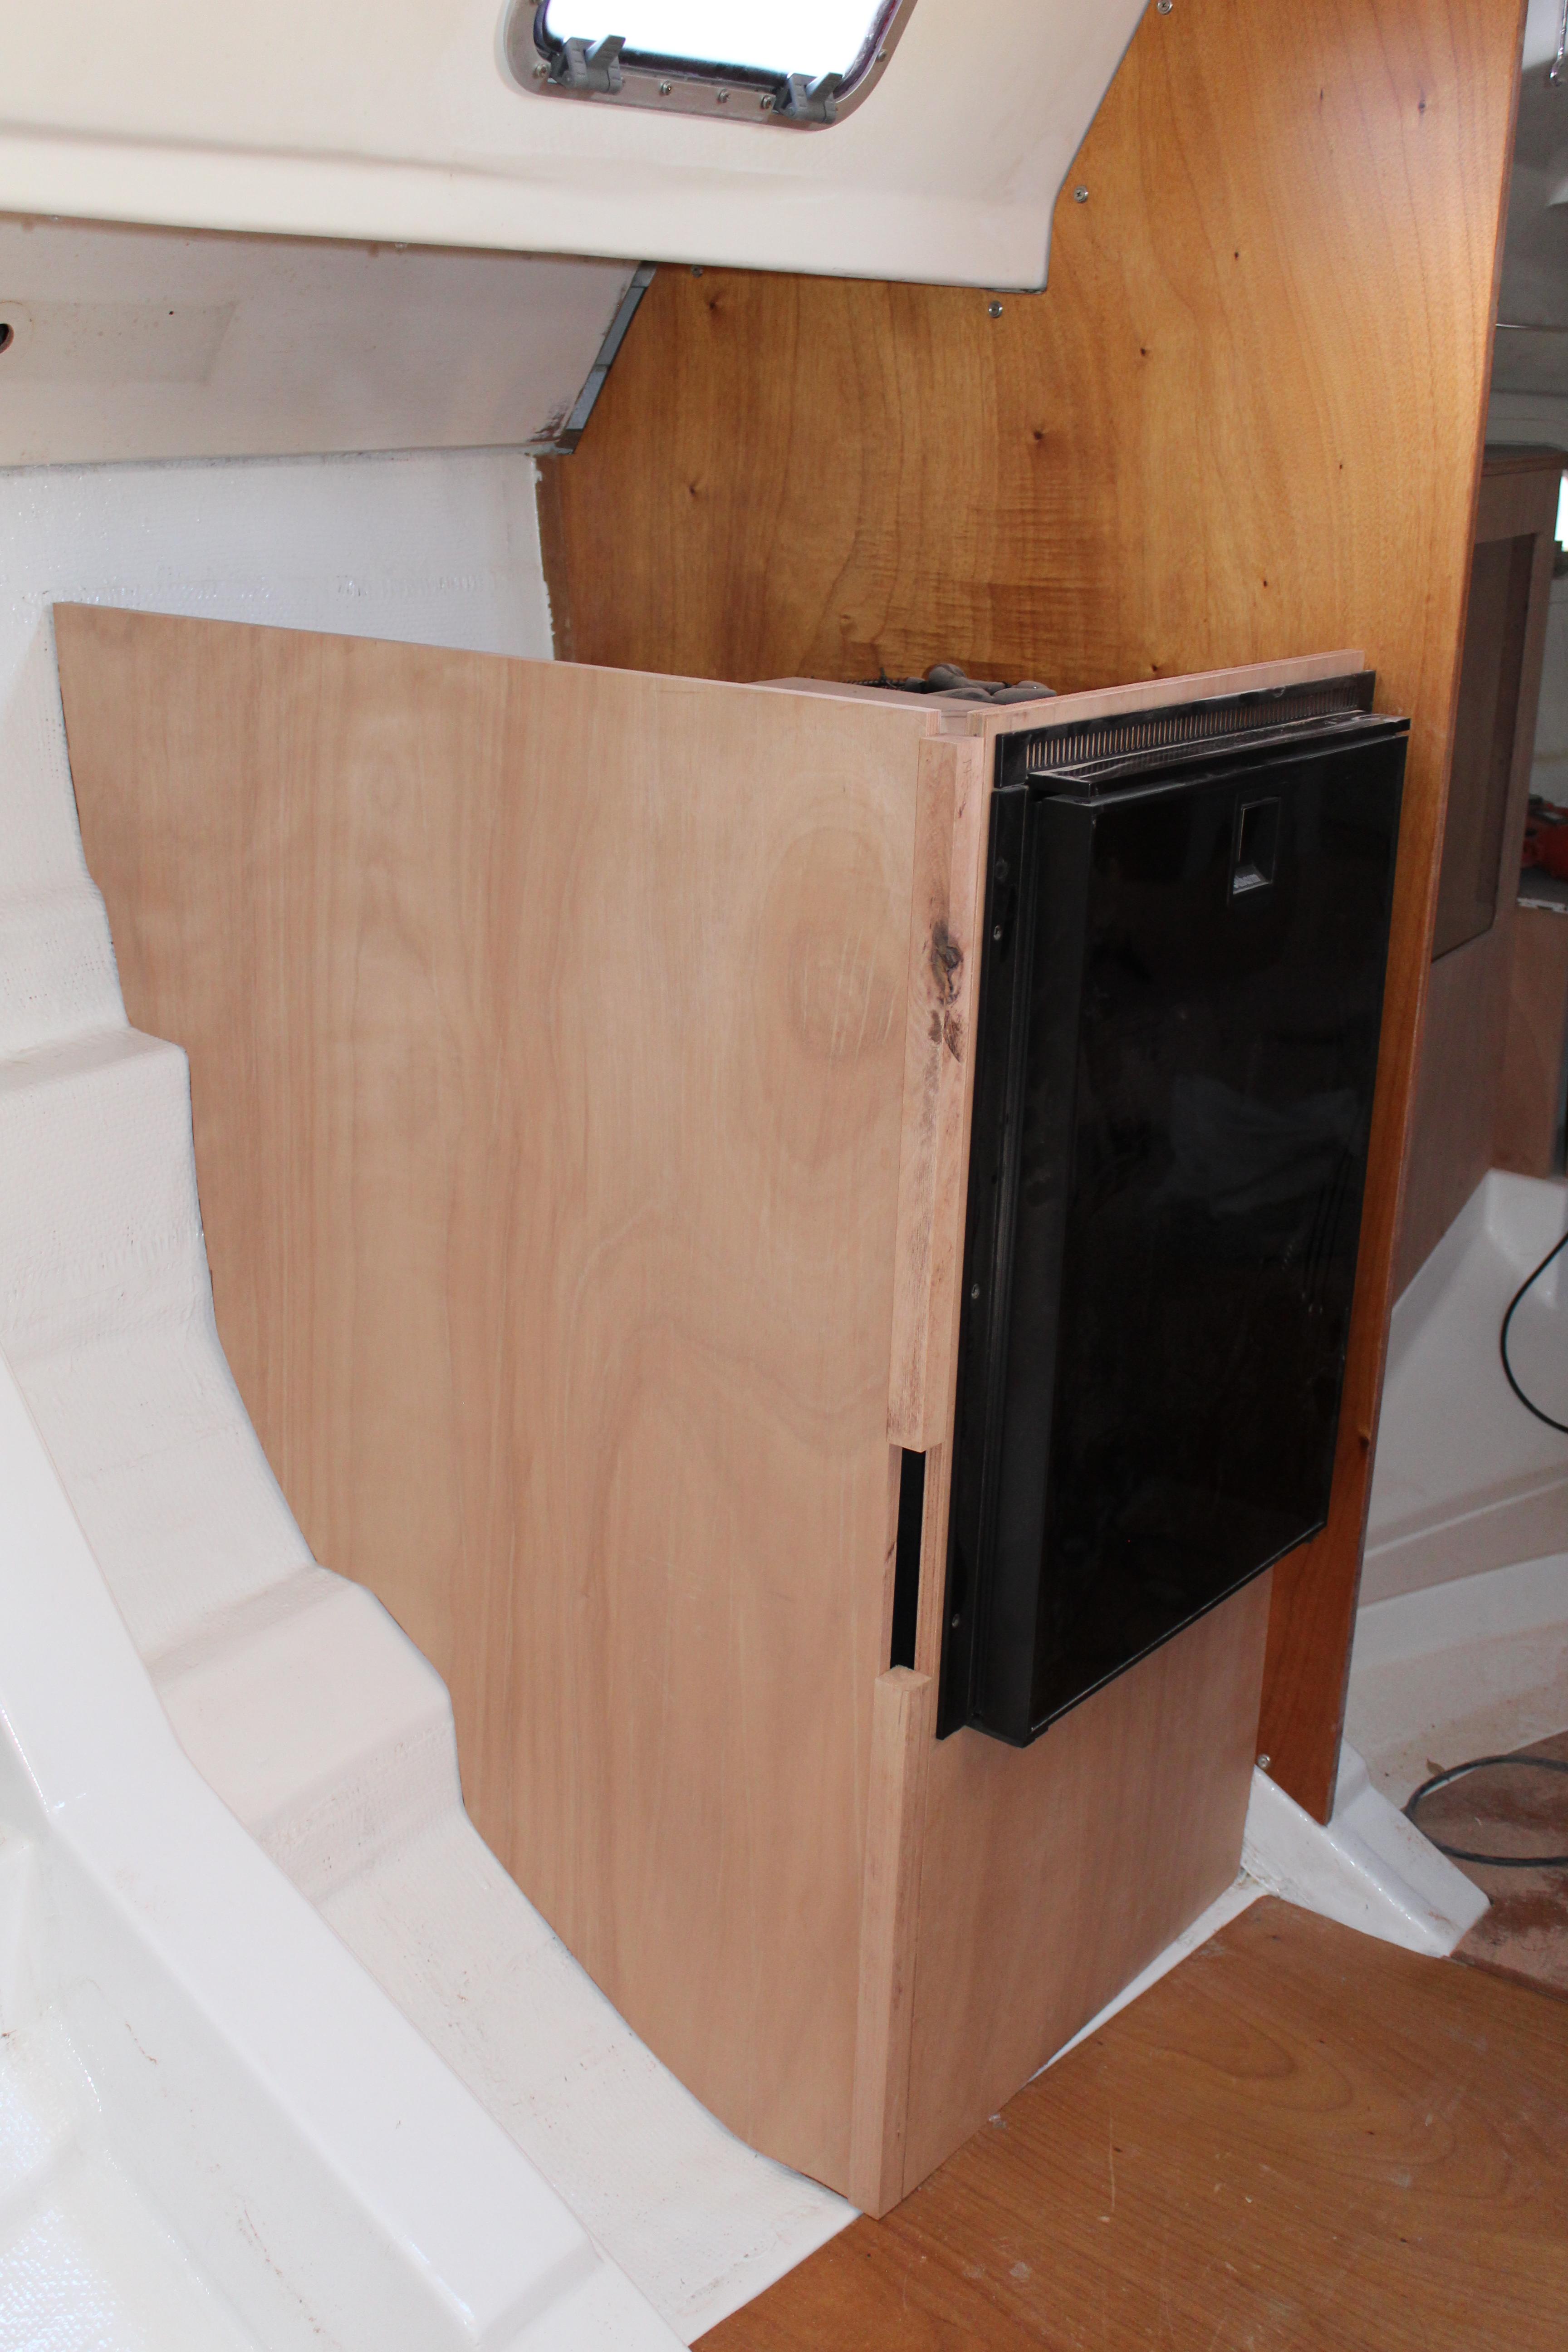
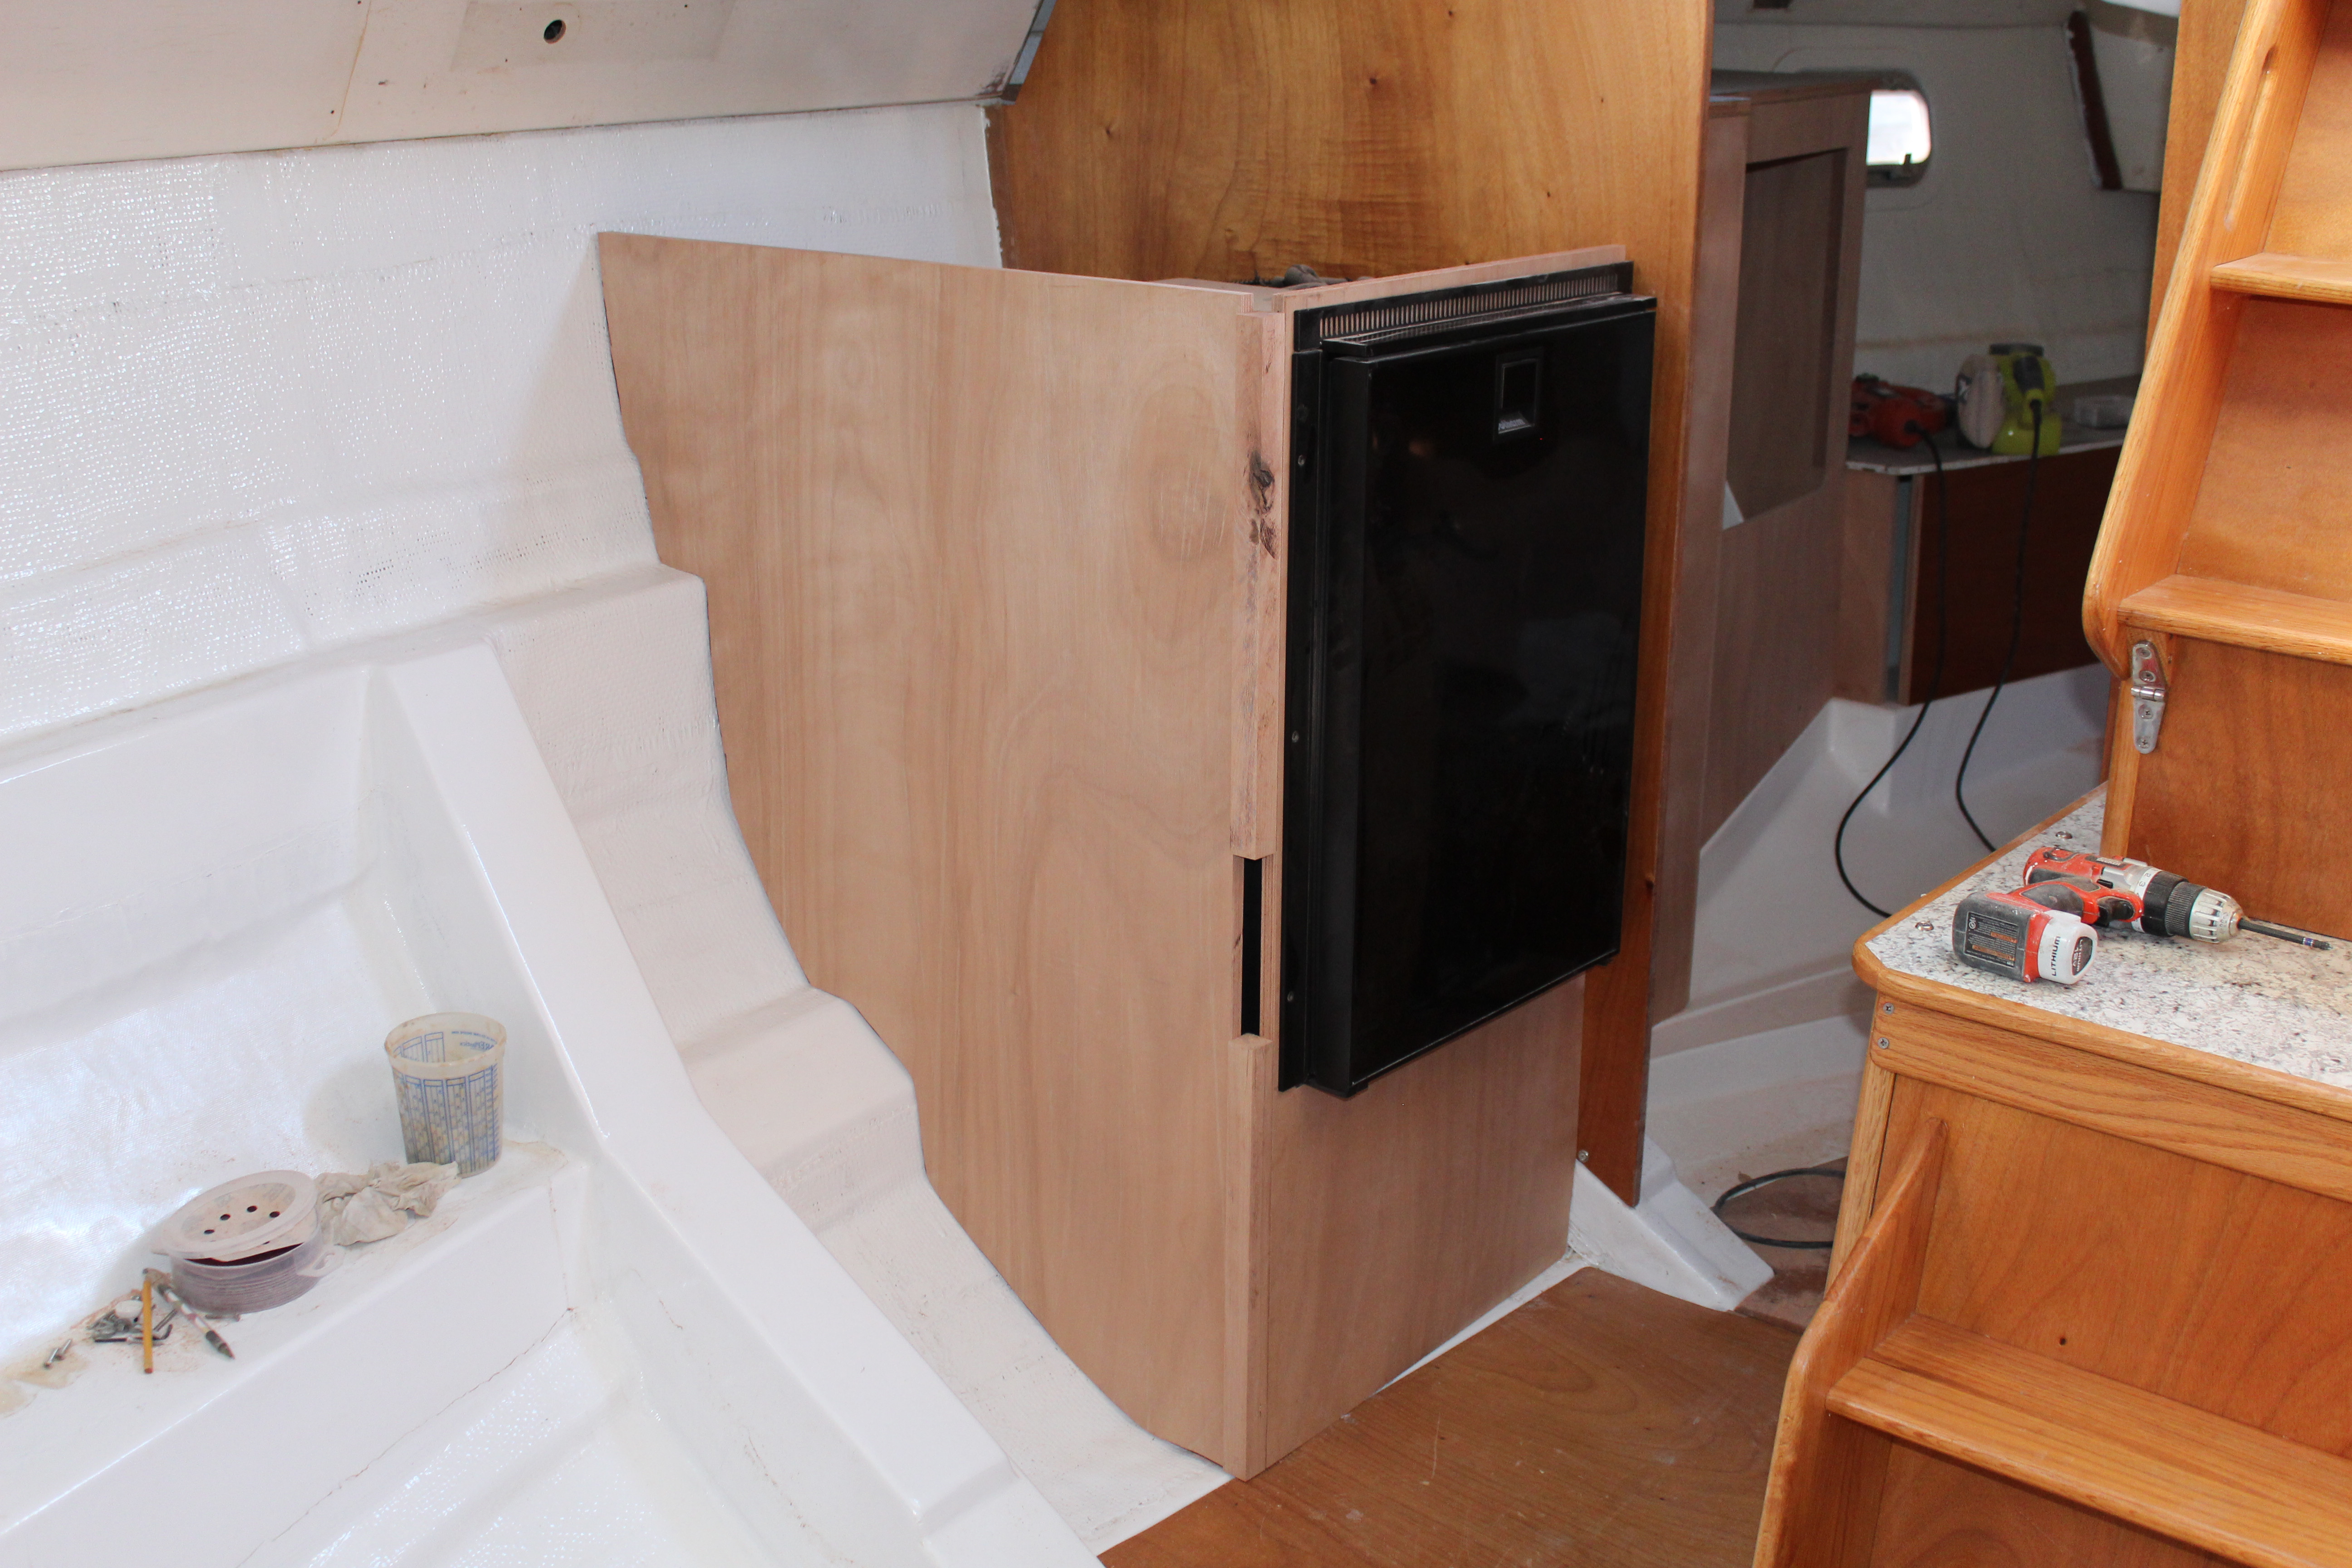
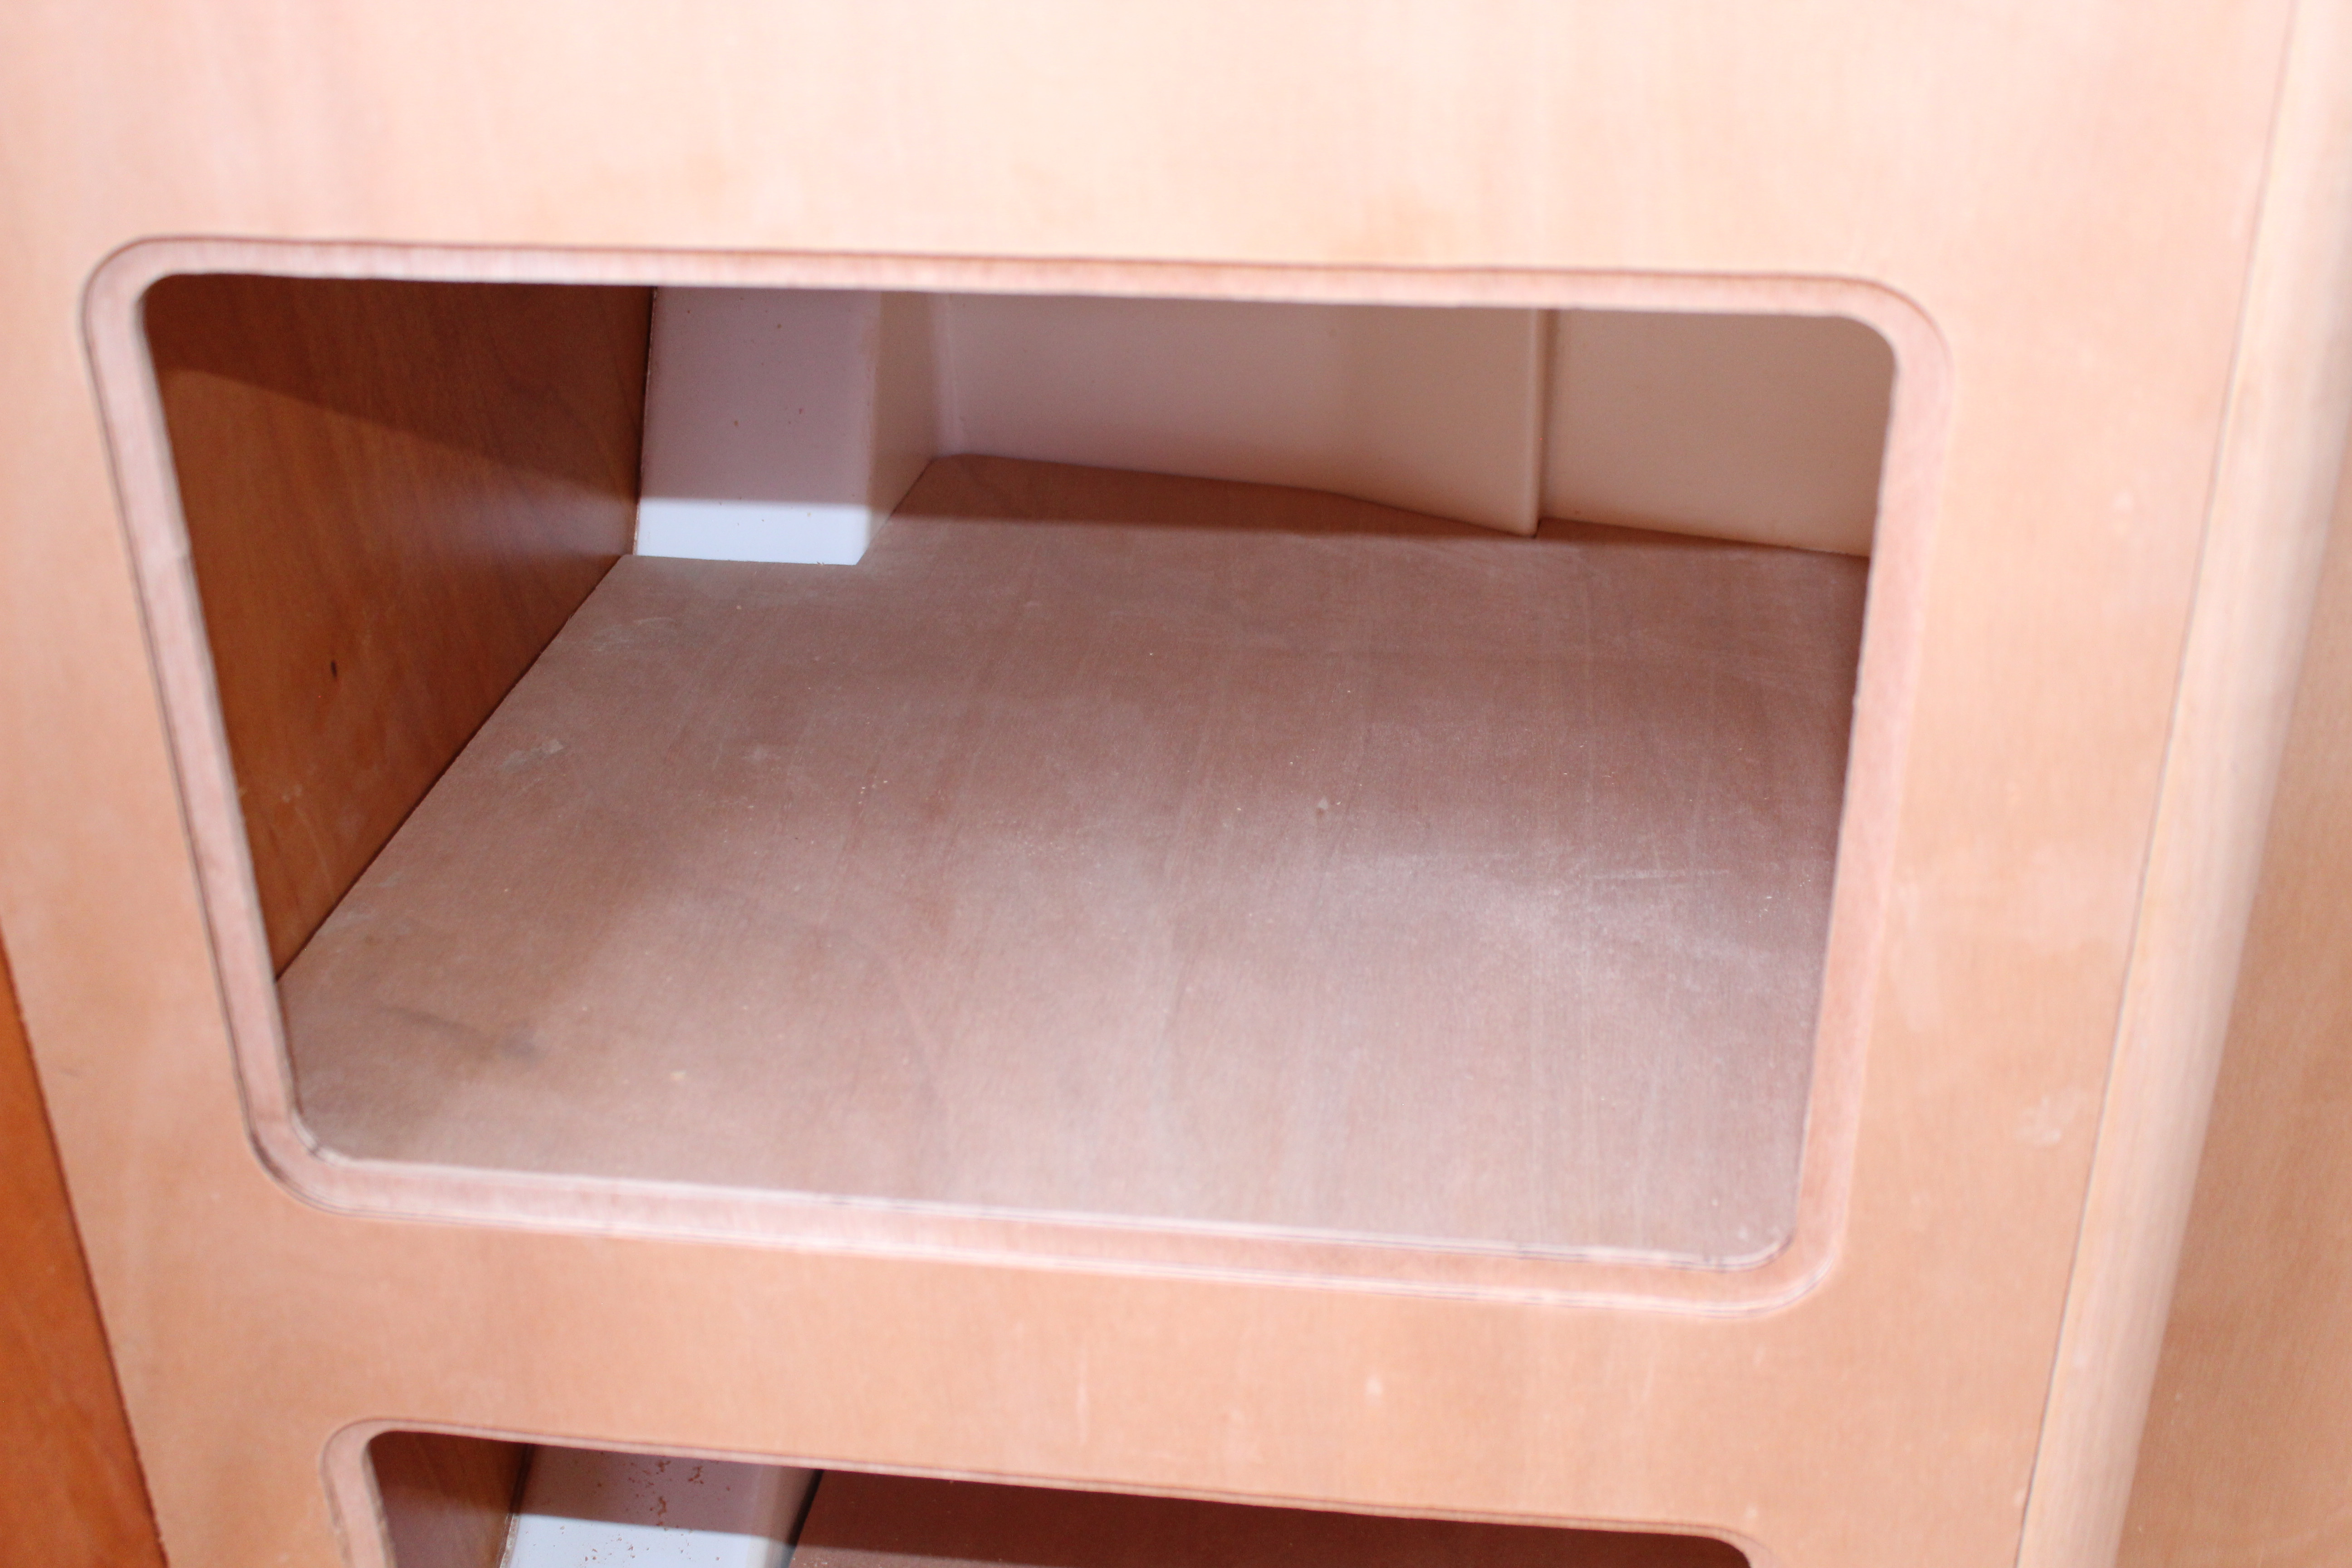
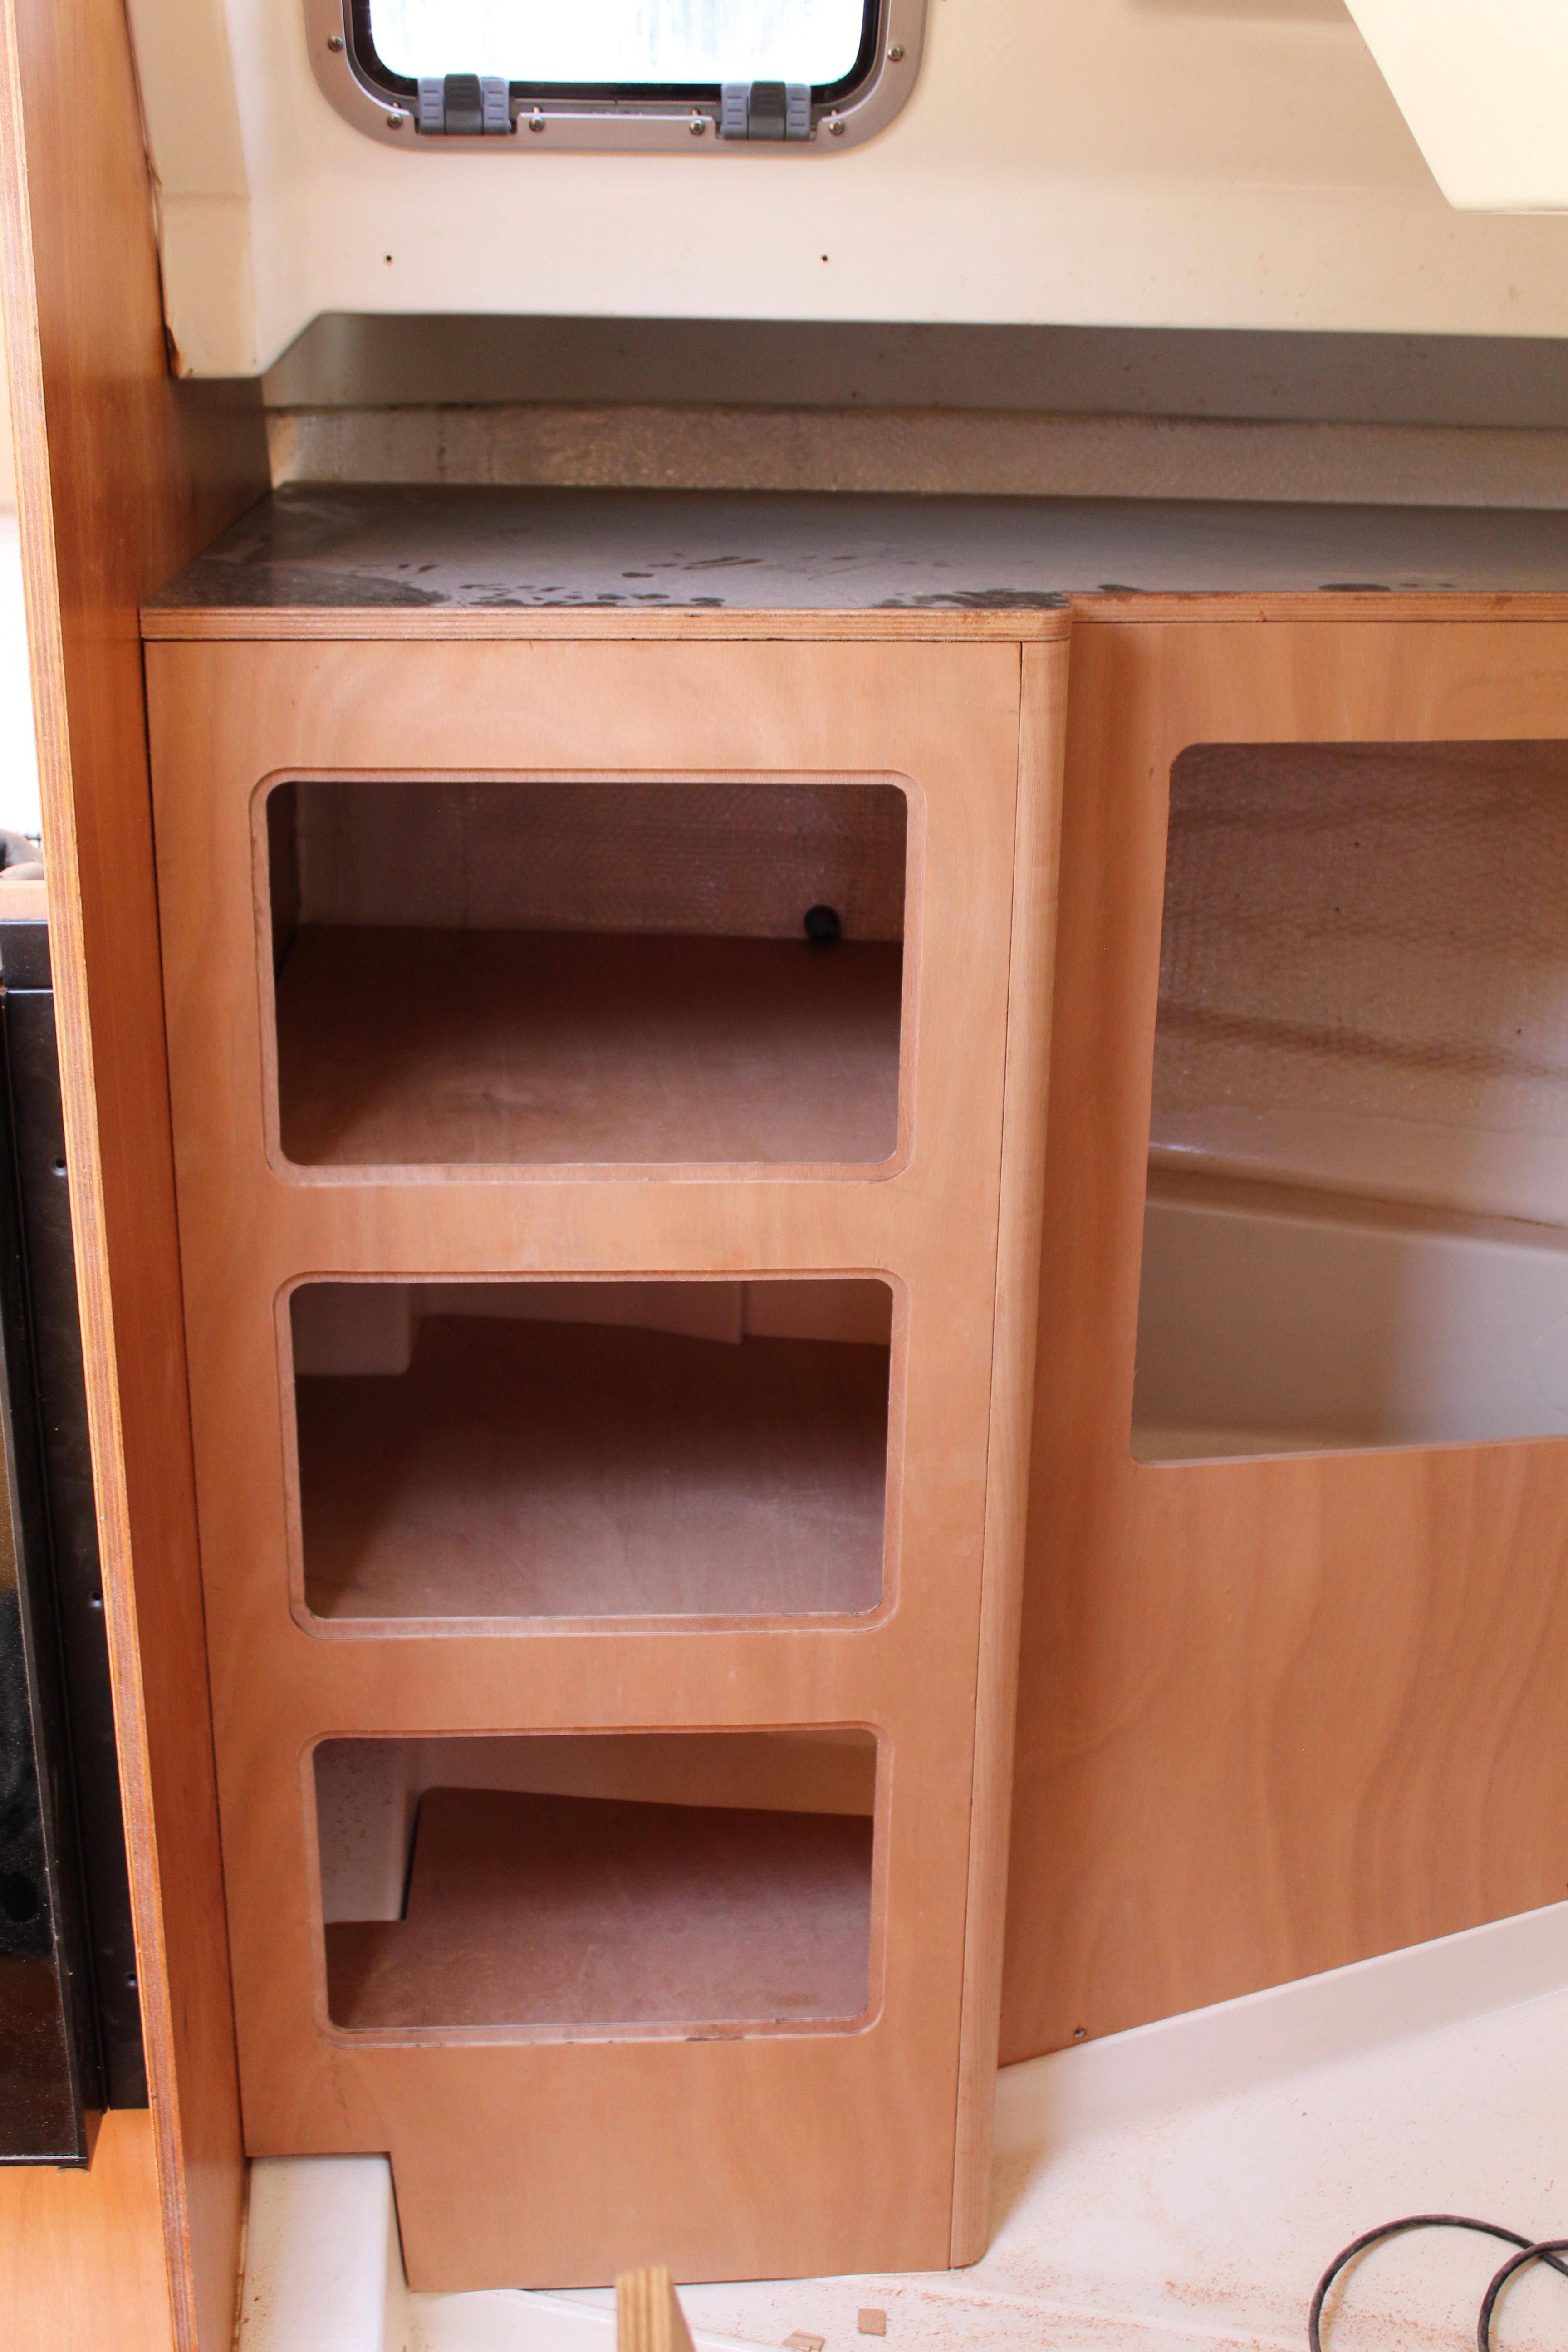
After binging your thread like it's an HBO special, I've saved all of your photos so I can reference them like they're x-ray shots of what's actually going on behind my cabinets. I can see what's really under the rear bed, and that it's not even close to as complicated as it looked in my boat (PO seemed to have been making a bird's nest out of discarded wire and duct tape under there). I can see that the cabinet where you're putting your pantry (where my fridge is) isn't some critical piece that mustn't be touched. And you even put in that porthole to give you more light!
And because I'm exactly like you minus all the knowledge, skill, talent, finances, tools, experience, space, family, career, and good looks (guessing here), I can see now that none of the tasks I have mapped out (fits neatly onto a 12 page spreadsheet) are, in fact, impossible. I can do what I wished I could do and just rip out the rotted bed frame and build a new one. It's not the end of the world! I can cut holes in my cabinet to put in a bigger fridge that actually fridgifies. It's possible to do! And if I need to rip things out, new things can be made to fit where the old things were.
Thank you for posting all of this very very much! Look forward to buying your book!
I had to use the translator to decipher your header - I can only read about 1/3rd Katakana, two characters of Kanji and no Hirigana! That's the extent of my written Japanese.

As to the rest of your post, thanks for the kind words! Feel free to PM me any time with specifics - I have some more photos in my archives from work past which shows some of the original stuff (holding tank plumbing, etc.) and though you obviously don't need to dig as deep as I am, I did have years of fixing and upgrading EV before the current rebuild.

Cheers,

Mark
 
Last edited:
  • Like
Likes: limbodog
May 8, 2013
629
Hunter 40 Dataw Island, SC
Beautiful work Mark. That looks like a huge improvement. I am curious why you did not use laminating resin for this project to avoid the blushing problems.
Mostly a. I have lots of epoxy sitting in the garage and ready access to more without needing to order, and b. greater familiarity with epoxies. As I understand using laminating resins, they still need peel ply, gel coat (with wax) or PVA over top to cure so I'm not sure it would have made the job any easier. Due to the number of layers, all of which were mostly vertical I don't think I could have done them all in one go, so the additional work for the epoxy was in the scrubbing and sanding between the two rounds of layup. That would have been cancelled out by the need for the top cover and finish requirements on the laminating resin.

Mostly though, I have tons (well gallons :)) of epoxy already.

Mark
 
  • Like
Likes: limbodog
May 8, 2013
629
Hunter 40 Dataw Island, SC
A long awaited update, final chapter (final, um, whatever!):

With the boat watertight again, domestic chores complete and sore muscles still a bit sore, I was running a little short on time left at home to get the primer/paint process done for the anchor well so I decided to delay that until July. Plus I have one more glass project to do so I can prime and paint it, the battery box and the anchor well all together. Don't despair, though, for me short on time never means out of time! I got some actual repair work in this repair/upgrade project done:


Bow rollers reinstalled. Not a big deal in the grand scheme of things but they are old pieces being put back on.

Next up was a little cabinetry. I measured out and fitted the enclosure for the fridge. The pieces are only about half attached and I did not have time to cut a corner piece (what's there are two old short pieces I had left over. Still useful for fitting purposes):


There is quite a bit of empty space behind the fridge and I'm not sure yet whether to leave it or find a doodad to put behind there. As the galley construction progresses and I start fitting equipment I'll know if that space is needed. Access when the galley is finished will be really difficult so it may just end up empty. I plan on building an additional cabinet on top of the fridge for a microwave to finish out the corner.

Now for the plan for July: Since it will probably be hotter than Hades during the day, I'll have the a/c cranked up and concentrate on inside work. First up will be some work in the bilge. I have some old access holes to plug up and an upgrade project - adding a slight incline to the bilge floor. Currently the bilge is long and narrow but flat on the bottom. There is always about an inch to inch and a half of water there that the bilge pump can't get. Probably not a big deal but it bugs me, so I plan on glassing in a little bit of a bevel to the bilge floor (bilge pump(s) in the middle, bevels front and rear) to minimize the water accumulation. Next up will be to finish the inside work on the anchor well by tying in the cabin liner to the new pieces. With that done, I'll prime and paint the bilge, the battery box and the anchor well. Cabinetry work will continue as well, finishing the fridge enclosure and finishing the shelves for the pantry. Then some of those pieces can come back out for paint and clearcoat. Plus anything else that I can think of.

Thanks for watching!

Mark san
 
Sep 20, 2014
1,320
Rob Legg RL24 Chain O'Lakes
A long awaited update, final chapter (final, um, whatever!):...
Next up was a little cabinetry. I measured out and fitted the enclosure for the fridge....
There is quite a bit of empty space behind the fridge and I'm not sure yet whether to leave it or find a doodad to put behind there. ...
Mark san
Weapons storage?? But seriously, what would happen if you step the fridge back towards the wall farther? Leave the base cabinet were it is, but put a lid on it, so you have storage below the fridge. Not sure about you, but I'm wider at waist level than down by my feet. Not only that, but since your fridge is below eye level, you have to bend over to see in. If the fridge is stepped back, it gives you more space to bend over as you reach down into the fridge.
 
  • Like
Likes: limbodog

senang

.
Oct 21, 2009
304
hunter 38 Monaco
There is always about an inch to inch and a half of water there that the bilge pump can't get. Probably not a big deal but it bugs me, so I plan on glassing in a little bit of a bevel to the bilge floor (bilge pump(s) in the middle, bevels front and rear) to minimize the water accumulation.
Another solution would be to install a small aquarium pump to get that inch of water out of the bilge and have it empty in the kitchen sink. Put a push buttom activation at the sink and pump every morning first thing.
 
  • Like
Likes: limbodog
Apr 5, 2009
2,774
Catalina '88 C30 tr/bs Oak Harbor, WA
Another solution would be to install a small aquarium pump to get that inch of water out of the bilge and have it empty in the kitchen sink. Put a push buttom activation at the sink and pump every morning first thing.
There is a commercial system that does this. http://www.drybilgesystem.com/index.html
I know of one guy that made his own with a $10 diaphragm pump from Amazon, some tubing and an electrical switch cover plate with a sponge glued to the inside face and a hose barb epoxied out the exterior face.
 
  • Like
Likes: limbodog
Jul 16, 2018
125
Hunter 40 Boston
Looking great!

Do refrigerators need ventilation to cool properly? I'm curious if you plan to leave some gap for the air to circulate through. You mentioned before that you like being able to get behind everything. Considering the space behind the fridge is narrow but deep, and in a galley, it seems like a good place to put a rack to keep plates and cutlery to me.
 
May 8, 2013
629
Hunter 40 Dataw Island, SC
Weapons storage?? But seriously, what would happen if you step the fridge back towards the wall farther? Leave the base cabinet were it is, but put a lid on it, so you have storage below the fridge. Not sure about you, but I'm wider at waist level than down by my feet. Not only that, but since your fridge is below eye level, you have to bend over to see in. If the fridge is stepped back, it gives you more space to bend over as you reach down into the fridge.
Weapons storage - I like your thinking!! Seriously though, this area will really be hidden and mostly inaccessible. My first thought was to put the water heater back there but that raises the (WH)heat exchanger above the fill level of the engine coolant system. I might still engineer a solution and do that. As the fridge sits now It can't be set back more than a few inches due to boat structure behind. It's really no big deal to leave the space empty - in the grand scheme of things it's only a few cubic feet but I am a big fan of optimizing every nook and cranny. That's the cross I bear!

I'm fighting the wider vs. narrower areas too as time goes by! Sitting in a cockpit for 12 hours a day isn't helping :(

Cheers,

Mark
 
  • Like
Likes: limbodog
May 8, 2013
629
Hunter 40 Dataw Island, SC
There is a commercial system that does this. http://www.drybilgesystem.com/index.html
I know of one guy that made his own with a $10 diaphragm pump from Amazon, some tubing and an electrical switch cover plate with a sponge glued to the inside face and a hose barb epoxied out the exterior face.
I had seen this and balked at the $400 price tag. I hadn't thought about an aquarium pump though. Will look into that.
 
  • Like
Likes: limbodog
May 8, 2013
629
Hunter 40 Dataw Island, SC
Looking great!

Do refrigerators need ventilation to cool properly? I'm curious if you plan to leave some gap for the air to circulate through. You mentioned before that you like being able to get behind everything. Considering the space behind the fridge is narrow but deep, and in a galley, it seems like a good place to put a rack to keep plates and cutlery to me.
They do need ventilation - if you look close the top flange of the fridge has a vent grill in it, I just haven't finished massaging the cabinet yet to make the slot for the vent. I was also considering a series of small (computer type) fans in all the cabinets to increase airflow and cut down the moisture levels.

Any kind of accessible storage in that space is problematic - eventually that whole corner will be filled with galley. Anything back there I have to consider permanent or semi-permanent because the easiest way to get behind there will be to remove the fridge.

Cheers,

Mark
 
  • Like
Likes: limbodog
Jul 16, 2018
125
Hunter 40 Boston
>I was also considering a series of small (computer type) fans in all the cabinets to increase airflow and cut down the moisture levels.​

Now that's a good idea! Building computers I know. And directing airflow is part science part art. Putting a couple intakes at one end of the salon and a couple outflows at the other and you could create a steady air channel behind and under the cabinets. Especially with a few well placed fins to keep the air going the way you want. I was thinking the Hunters were designed for Florida and it was just assumed it would never be cold enough for everything to condense (or freeze to the interior). That first cold evening last fall turned my interior into a rainforest with every surface looking like a soda commercial with water beading and pouring off of it. That was when I realized that every cabinet and void had the same thing going on, only I couldn't see it. It makes me want to replace all the sliding plexy with netting so that air is never trapped anywhere.

I'm still considering putting some air holes on the sides of all the under-bench storage just so it can vent a bit. But now I think maybe a couple cheap strategically placed blowers could do more than a large number of holes to keep the humidity circulating to where I can deal with it.
 
Sep 20, 2014
1,320
Rob Legg RL24 Chain O'Lakes
Naw, the water will always be cooler than the ambient air. Install a heat exchanger that circulates water from under the boat.
 
Apr 5, 2009
2,774
Catalina '88 C30 tr/bs Oak Harbor, WA
Naw, the water will always be cooler than the ambient air. Install a heat exchanger that circulates water from under the boat.
Said like a true warm weather sailor. Our water in the PNW ranges from 50º to 60º year around. The air temperature ranges from 20º's in winter to low 80º's in summer. Many of us sail all year round. There is lots of time with the water is warmer than the air.
 
  • Like
Likes: limbodog
Jan 17, 2010
19
Hunter Legend 40 Edgewater
Great job, I like the anchor locker. I had been thinking about just running a pipe down from the existing anchor locker down to the forward waste tank and storing extra chain there but you have given me another idea to ponder.

What capacity do you expect from the water tank you added? Thanks for pointing out the space I never knew it was there on my Hunter 40.

Have you given any thought to updating the scoop vents that are over the main cabin? They don't seem to do much for ventilation as installed by the factory.
Safe flying, we are headed to Nova Scotia today in the fog.(sailblogs.com under Monarch)
 
May 8, 2013
629
Hunter 40 Dataw Island, SC
Great job, I like the anchor locker. I had been thinking about just running a pipe down from the existing anchor locker down to the forward waste tank and storing extra chain there but you have given me another idea to ponder.

What capacity do you expect from the water tank you added? Thanks for pointing out the space I never knew it was there on my Hunter 40.

Have you given any thought to updating the scoop vents that are over the main cabin? They don't seem to do much for ventilation as installed by the factory.
Safe flying, we are headed to Nova Scotia today in the fog.(sailblogs.com under Monarch)
Hi Crothers! I did quite a bit of head-scratching on the anchor locker before finally deciding on the route taken. There's just not a lot of options due to the way the factory originally designed the space. I'm not sure about adding a pipe connecting to the fwd holding tank - one of the guys here at the marina tried that type of setup on his Endeavor (sp?) 38, cruised for one season and promptly removed it. Said it caused way more headaches than the marginal extra tackle was worth. I can see another potential problem though: how would you drain the secondary locker/holding tank? For that matter, everything up there is hard to reach so cleaning and servicing it also could be problematic. I'm still trying to come up with a solution on mine to use that space. It's a shame because there's a good bit of volume there. Bottom line on the anchor locker solution all depends on what (and where) you want to do and go. Where you are - rocks - and where I want to go - coral - determines chain instead of rode and the original design was not that direction.

The forward water tank I removed was supposed to be 110 gallons. I'm expecting to get get around 35 gallons in the under-floor tanks and around 50 in the settee tanks. I'm losing a little capacity but I've pretty much convinced myself I need a watermaker so total storage requirements are not as critical. I'm way happier about redistributing the weight.

Factory dorades - yep, they're terrible. I haven't addressed them yet but will eventually. I need to research how to build an effective vent first.

Enjoy your trip!

Cheers,

Mark
 
  • Like
Likes: Crothers99
May 8, 2013
629
Hunter 40 Dataw Island, SC
July update:

Howdy gents! I'm working on the update for my time home in July. It will be pretty short, family matters truncated my time at home, plus the biblical heat did a number on my outside time. Stay tuned.

Mark san
 
  • Like
Likes: jssailem
May 8, 2013
629
Hunter 40 Dataw Island, SC
July update - finally!:

Sorry for taking so much time to put this together, things the last few months have been - oh, what's a good word: hectic? daunting? borderline overwhelming? crappy? sucky? Let's settle for: interesting. Yeah, that's it.

My July leave period woes actually started in late May. After returning to Japan in May the airline decided (without my permission!) that spreading the flying evenly over the entire pilot group was not fair to the Japanese pilots, and a better idea was to lump most of the flying on the foreign pilots so the locals could have lots of time off. Of course, this decision was not made public, so the local guys are complaining about not flying enough and me, well I'm stuck in the cockpit all the time oblivious to it all. Said issues continue into June where my fatigue levels are soaring and rest times are few and far between. It didn't dawn on me at first - I thought the summer flying increase was across the board and everyone was pushing it. Turns out that wasn't the case. Long story short, I finally got (most) of the true picture, and since accepting being treated like the b*stard step-child and being mushroomed just isn't in my nature, I decided it was time to speak up. And did I ever! Stay tuned to this drama, it's ongoing, still unfolding and the outcome is still unknown.

The near-term outcome is I have September off (not what you think ;), just vacation). The options for long-term will be either more time at home, or LOTS more time at home. If you get my meaning.

So back to July: after 6 weeks of intense work and major fatigue, I knew July was basically going to be a bust - mostly recovering and trying to get back on my feet. Oh, I wish! Just as I got home, family drama starts. I felt like I was in a TV show with one thing popping up after another. Deep breath, deal with 3 or 4 things at once - which I'm pretty good at - and move on to the next. My first week home was not one of the more pleasant times lately but we got through it. I did get a few final days to work on the boat so here's what's new:

With just a few days to play, I decided to concentrate on the starboard pantry. I had not yet cut and fit the pantry shelves, and needed a templating solution for some really odd shapes:


I cut some 1/8th strips from scrap, broke out the hot glue gun and went to town. Works great and works well with my "measure once, cut twice" philosophy! Note to self: hot glue burns just a little if it drips onto skin :yikes:. With the shelves cut and fit I had to decide on the cabinet door interface - should the doors stand proud of the cabinet (for me, less desirable) or inset for a flush fit? Inset is more work but I think it looks better. So, inset it is and out with the router:


Here's the cabinet finished and almost ready for paint and clearcoat:


I also decided (with approval from the Admiral) on the stove setup: we don't bake enough to justify a full stove/oven setup so I exercised the bank account and this came in the mail:


I got a gimbal kit - this rig is not designed for gimballing but I have an idea on how to make it happen. Stay tuned, I think I have come up with an elegant solution.

I exercised the bank account for more than just the stove - lots of goodies arrived right before I left for Japan so I will have many things to play with in the months to come!

Well, that was July. I have been doing lots of brainstorming for upcoming projects but that's for another post.

Cheers,

Mark
 
Aug 28, 2006
564
Bavaria 35E seattle
Thanks for the update. At least you got a bit done with the little time you had. It's looking very good and I like the recessed panels.
 
Sep 20, 2014
1,320
Rob Legg RL24 Chain O'Lakes
So when this is all said and done, is your boat still going to be reasonably balanced side to side?