This could have Merit (or: look what followed me home)

RussC

.
Sep 11, 2015
1,578
Merit 22- Oregon lakes
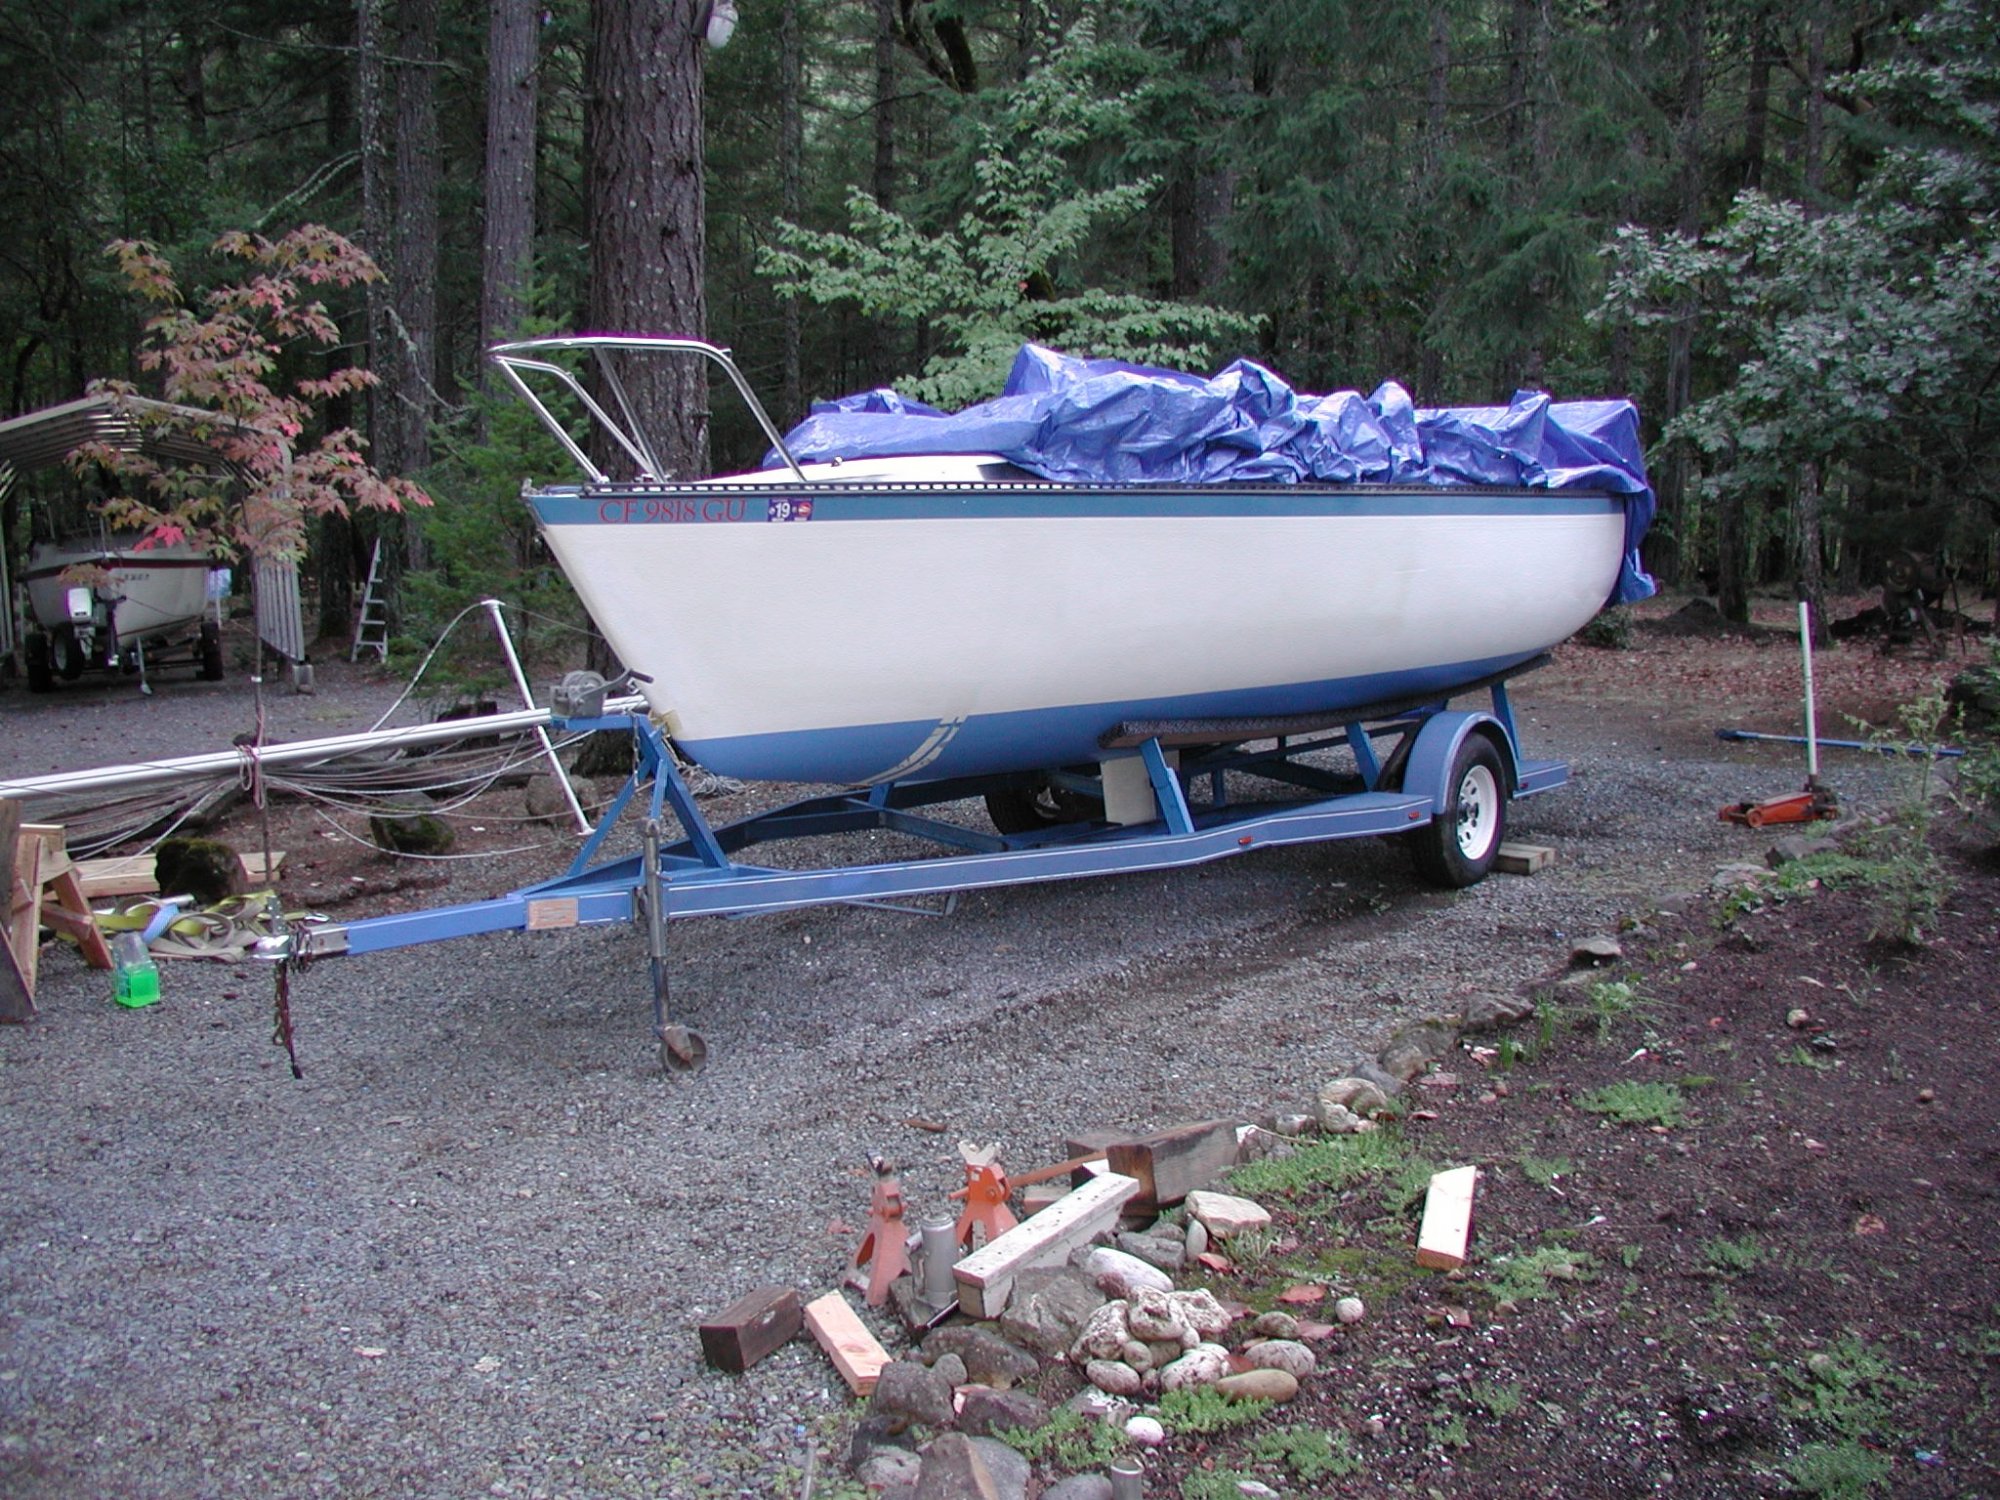
I couldn't stand the suspense and put in some time after dinner tonight. Yippie!!! I'm a happy boy! A little paint touch up where the straps were.... install the vinyl water line stripe.... maybe one or two other things left to do :laugh:
P1010001.jpg
P1010004.jpg
 

RussC

.
Sep 11, 2015
1,578
Merit 22- Oregon lakes
Progress report ;)
Hull paint, stripe, new logo, that part is ready to go now.
I did the common upgrade on the keel winch by installing an ATV winch to replace the use of the starboard lewmar to raise and lower the keel. new neoprene keel trunk seal fabricated. all 8 cam cleats have been cleaned and rebuilt, along with the 4 winches. The OEM Signet depth gauge and speedo faces have been buffed out so you can see the displays again, along with the compass globe.
Weather is getting iffy here now, but still hopeful to get it in the water at least once before the snow flys. fingers crossed :cool:

P1010006 (1).jpg
P1010003.jpg
P1010001 (1).jpg
 
Last edited:

RussC

.
Sep 11, 2015
1,578
Merit 22- Oregon lakes
As I posted elsewhere, we were finally able to get the Merit in the water and were VERY impressed with the performance, comfort, and ease of use. Only one "boat port" in our yard that's big enough so our beloved Macgregor 25 is getting nervous :laugh:.
But now that the major items are behind me and the test sail has gone so well, it's motivated me to get some of the smaller projects done. the OEM supplied Signet speedometer, compass and depth gauges didn't pass the sniff test, once on the lake, so that's the first project. I received a new Garmin Striker 4cv yesterday that should suit our limited needs nicely, without breaking the bank, and get us closer to the current century of technology. old instruments went in the trash so now it's time to creat a new blank slate on the cabin wall. I cut out fiberglass fillers from an old military instrument case and fiberglassed it in place. a little bondo and sandpaper from my previous life as a hot rod builder and it's now ready for paint touch up. I expect to build some sheet bags to hang in that space on the cabin wall, so the new Garmin will likely end up on a fabricated swing out mount, like the one I built for the Mac, in the companion way.
IMG_20191029_131045108_HDR.jpg
IMG_20191029_164202809.jpg


Because the best sailing adventures last more than one day, a 3" pad is also under construction and awaiting a cover :).
IMG_20191029_141317185.jpg


The fun has just begun: :cool:
 
Last edited:

RussC

.
Sep 11, 2015
1,578
Merit 22- Oregon lakes
I think it's some type of law that all sailboats must have at least one stupid design feature. it's apparently an unspoken designers code or something. anyway... the Merit 22 "feature" that fulfilled that requirement was the stern railing, which originally angled forward, into the cockpit, about 6". I neglected to take a good "before" photo, but it was enough that the top rail was inside the backstay when the mast was up :yikes:. obviously this took up needed space for the helmsman, especially when attempting to operate the outboard, which had required that you stick your head out below the top railing to reach the outboards controls. Aaaaannyway.... I removed the railing assembly, cut off the uprights, and re-welded them in a more user friendly configuration. As an aside, I was happy to discover that it welded very easily by simply installing some stainless wire in my MIG welder and using the same 75-25 gas that I use for plain steel fabrication. in fact, wile I was at it, I welded on two 1/2 rings near the bottom of the rear stanchions as an attachment point for my tiller tamer lines and one on the back as a place to quickly attach a line to go around the outboard when trailering. I hope I haven't besmirched the sailboat designers code too badly by doing these things :cool:.

IMG_0005.jpg
 
Mar 2, 2019
434
Oday 25 Milwaukee
Not when it's yours . One of the best things about our boats is that most of us do not care about resale value . Modifications done right add usefulness and safety . How did you keep the argon from blowing away . I'm assuming you welded outside
 
  • Like
Likes: RussC

RussC

.
Sep 11, 2015
1,578
Merit 22- Oregon lakes
Not when it's yours . One of the best things about our boats is that most of us do not care about resale value . Modifications done right add usefulness and safety . How did you keep the argon from blowing away . I'm assuming you welded outside
Everything was tacked outside, as I was utilizing all the original mounting holes, so everything had to align just right. finish welding was all done in the shop however. :)
I do try and keep costs low on my projects. The stern rail project was perfect for me. I "borrowed" the SS wire from a hot rod buddy, so the modification was basically free to me. :cool:
 
Last edited:
  • Like
Likes: Alan Gomes

Mr Fox

.
Aug 31, 2017
204
Marshall 22 Portland, ME
Great work, awesome documentation. Thanks for letting us follow along, can’t wait to see when it’s finished (and then improved!)
 
  • Like
Likes: RussC

RussC

.
Sep 11, 2015
1,578
Merit 22- Oregon lakes
Great work, awesome documentation. Thanks for letting us follow along, can’t wait to see when it’s finished (and then improved!)
Because it's a rather rare boat, and very little information is out there on it, I figured I'd continue to post as long as there's interest so thanks for the shout out. :)
 

MitchM

.
Jan 20, 2005
1,020
Nauticat 321 pilothouse 32 Erie PA
the old brown p plaid itchy cushions on my seafarer 30 come to mind when i saw yours. best move the spouse made was to DEMAND new velvety looking ones made by a pro, which lasted another20 years .
 
  • Like
Likes: RussC

RussC

.
Sep 11, 2015
1,578
Merit 22- Oregon lakes
the old brown p plaid itchy cushions on my seafarer 30 come to mind when i saw yours. best move the spouse made was to DEMAND new velvety looking ones made by a pro, which lasted another20 years .
Haha:laugh:. They do have a rather "traditional" look don't they :cool:. I'm not sure if it's the tight-wad in me or the "traditional" car restorer...... maybe a little of both... but there was a large extra cushion included when I bought the boat, which was in excellent condition, so I used it's cover material to make a couple repairs. also replaced 3-4 corroded zippers, sewed up a couple split seams, and gave all the covers a good machine washing before reassembly. amazing how much softer they are, now that they're clean ;). I've since made a new one piece 3" foam v-berth cushion, with a (light gray) custom "fitted sheet" cover, also, if I want to throw a sleeping bag up there.

P1010001 (2).jpg
 
Last edited:
  • Like
Likes: Jim26m
Apr 5, 2009
2,783
Catalina '88 C30 tr/bs Oak Harbor, WA
... I neglected to take a good "before" photo, but it was enough that the top rail was inside the backstay when the mast was up :yikes:. ...
You have a good photo of the "before" in post #30 and I agree, that was a crime against nature!
 
  • Like
Likes: RussC

RussC

.
Sep 11, 2015
1,578
Merit 22- Oregon lakes
It's been a busy few days since my last post. what began as a simple GPS "fish finder" (Garmin Striker 4cv) installation became a bit more involved :what:. The fabrication of a swing out mount and placing it in the cabin was pretty straight forward, with the exception of some project creep regarding the companion way trim refinishing and a small fiberglass repair where the door rests. but it eventually all came together well.
IMG_0031.jpg IMG_0033.jpg

The fun really began when it came time to place the transducer. there was an easy location under the rear port side seat. short cable routing and an access port to reach it already installed. the problem with that location was that it's behind the keel where I feared the keel might block the sonar image, and/or be affected by turbulence. then there was the hard location, under the v-berth, which required cutting in an access port (the easy part) and removing the flotation foam thats in there (not so easy). of course I chose the hard way:
IMG_0010.jpg
and spent the next couple hours removing the foam by taking multiple "core samples" with an aluminum tube and a hammer. scraping and clawing etc.
IMG_0011.jpg
Unfortunately, after all that, I discovered that part of the area is cored, and it's all layed up with heavy roving, including a seam right in the middle with visible entrapped air. not good for sonar transmission through the hull.

The only good news was that the transducer cable is just long enough to continue on past the newly installed v-berth opening and back to a spot in front of the keel near where the oem through hull transducers were mounted. this area also required some foam removal in rather tight quarters, but the fiberglass layup there looks much more suitable so that became the location of choice.
I had made a form out of poster board, covered with a bit of bondo for rigidity,
IMG_0016.jpg

The form was placed in it's new location, where it was sealed and held in place with a bead of bondo, then filled with melted toilet ring wax and the transducer placed in it.
IMG_0028.jpg

Piece of cake. nothing to it. ;)
 
Last edited:
  • Like
Likes: Jim26m
Apr 5, 2009
2,783
Catalina '88 C30 tr/bs Oak Harbor, WA
That is an interesting idea to use toilet seal wax for a through the hull transducer. In my last two boats, I mounted them in 4" ABS clean-outs that were cut to fit vertical and glassed to the hull. They can then be filled with water or mineral oil.
 

RussC

.
Sep 11, 2015
1,578
Merit 22- Oregon lakes
Wile I single handed sail, my wife Jennifer spends much of her time down below sewing, reading, relaxing. we each enjoy being out in our own way. one of her desires on-board is to have room to be comfortable. when we sailed the Merit for the first time I had the table stowed away and she pointed out several times how much she liked having the additional room to do her thing.

IMG_20191024_145235571.jpg


A table can still be useful however, so I built her some additional options ;). the full size table is easy enough to carry under the cockpit if it's needed for a three course meal or, more likely, to use to convert the area for additional sleeping space. but for daily use, the mini table can stay folded down and then quickly propped up when needed. or use the two thumbscrews to completely remove the table, along with it's hinges, from the two wall brackets.

IMG_0036.jpg


IMG_0035.jpg


I like having my room in the cockpit as well, and having lines organized is a big part of that, so today I also sewed up some halyard bags to that end. I've made these on previous boats as well and they really help keep things tidy. I had also planned to make one to hang beneath the traveler for the main sheet but I forgot that one until too late. maybe tomorrow :)
IMG_0041.jpg


IMG_0039.jpg
 
Last edited:

RussC

.
Sep 11, 2015
1,578
Merit 22- Oregon lakes
And a main sheet bag is added.
This worked out well as there are already countersunk holes in the traveler that work great to hang the bag from without interfering with the traveler function. I sewed in a 1" pocket into the top of the bag which contains a 1" wide strip of aluminum as a backing.

IMG_0045.jpg
 

RussC

.
Sep 11, 2015
1,578
Merit 22- Oregon lakes
Big PITA dragging around that stupid 6' step ladder to get in the boat with. it always seems to be somewhere I'm not. SOoooooo:

Now this is part of the Merit project which is right in my wheelhouse. I love doing metal-work design and fabrication and have been working on this ladder idea for a month or so already, in my head. so when the projects "number" came up I was actually pretty happy.
I've had my eye out for a suitable ladder to base it on for a wile and finally came across this one on Amazon for my kind of price. $34.oo for this 4 step. should have purchased the 5 step version for $42.oo but I screwed up :biggrin:.
61WOrBptuEL._AC_SL1500_.jpg

no problem, I just fabricated an extra step for the bottom out of some scrap tubing I had laying around ;) wile I was at it I replaced the top hinge brackets with a longer version which has two extra rivets each, as my design hangs most of the boarders weight fully on the hinges (original hinge plate next to the step)
IMG_0047.jpg

One of the key components of this whole thing is the support and latching segment which not only holds the ladder open when in use, but also securely latches it closed when trailering down the road.
IMG_0054.jpg

uprights/support rail assemblies were pretty straight forward. main thing here was strength via .120 wall tubing and angle iron, as well as substantial welds.
The 1/2" plywood on top will serve to replace the goal post on this side of the trailer, once it's covered in carpet.
IMG_0051.jpg

From there it was just a matter of smoothing welds, clean up and paint:
IMG_0056.jpg

and final assembly on the trailer.
IMG_0059.jpg

IMG_0061.jpg


Not only was this a very rewarding project to design and build, but it works great also :yeah::)
 
Last edited:

RussC

.
Sep 11, 2015
1,578
Merit 22- Oregon lakes
Sometimes there are mysteries in life that just have to remain un-answered :laugh:. When I purchased this boat there was a cup holder on each side in the rear of each Laz hatch........ and one of those crazy access ports (like the one laying there) in the front of each Laz hatch :doh::what:. why an access port would be needed in the Laz hatch is beyond my comprehension level, so I digress. I purchased 4 new cup holders so they all match now. can't have too many cup holders. plus I enjoy the thought of giving the next owner something to wonder about why the previous skipper needed four cup holders back there.:laugh:

IMG_0063.jpg
 
Last edited: