Replacing Stanchion Vent

Apr 11, 2018
6
Catalina 30 Waukegan Il
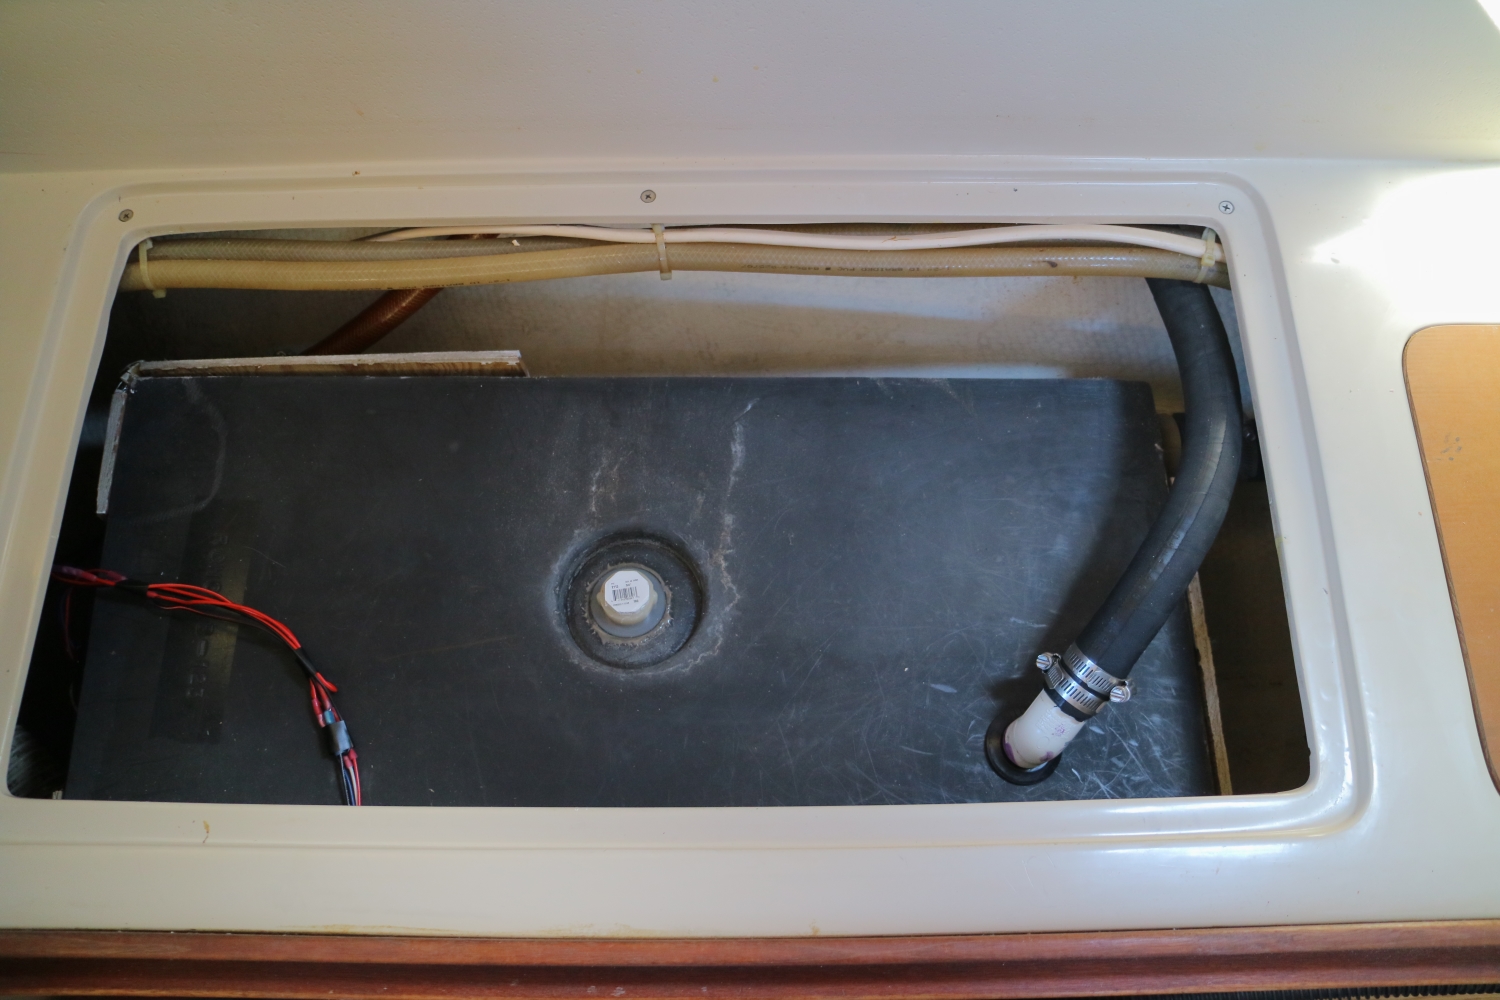
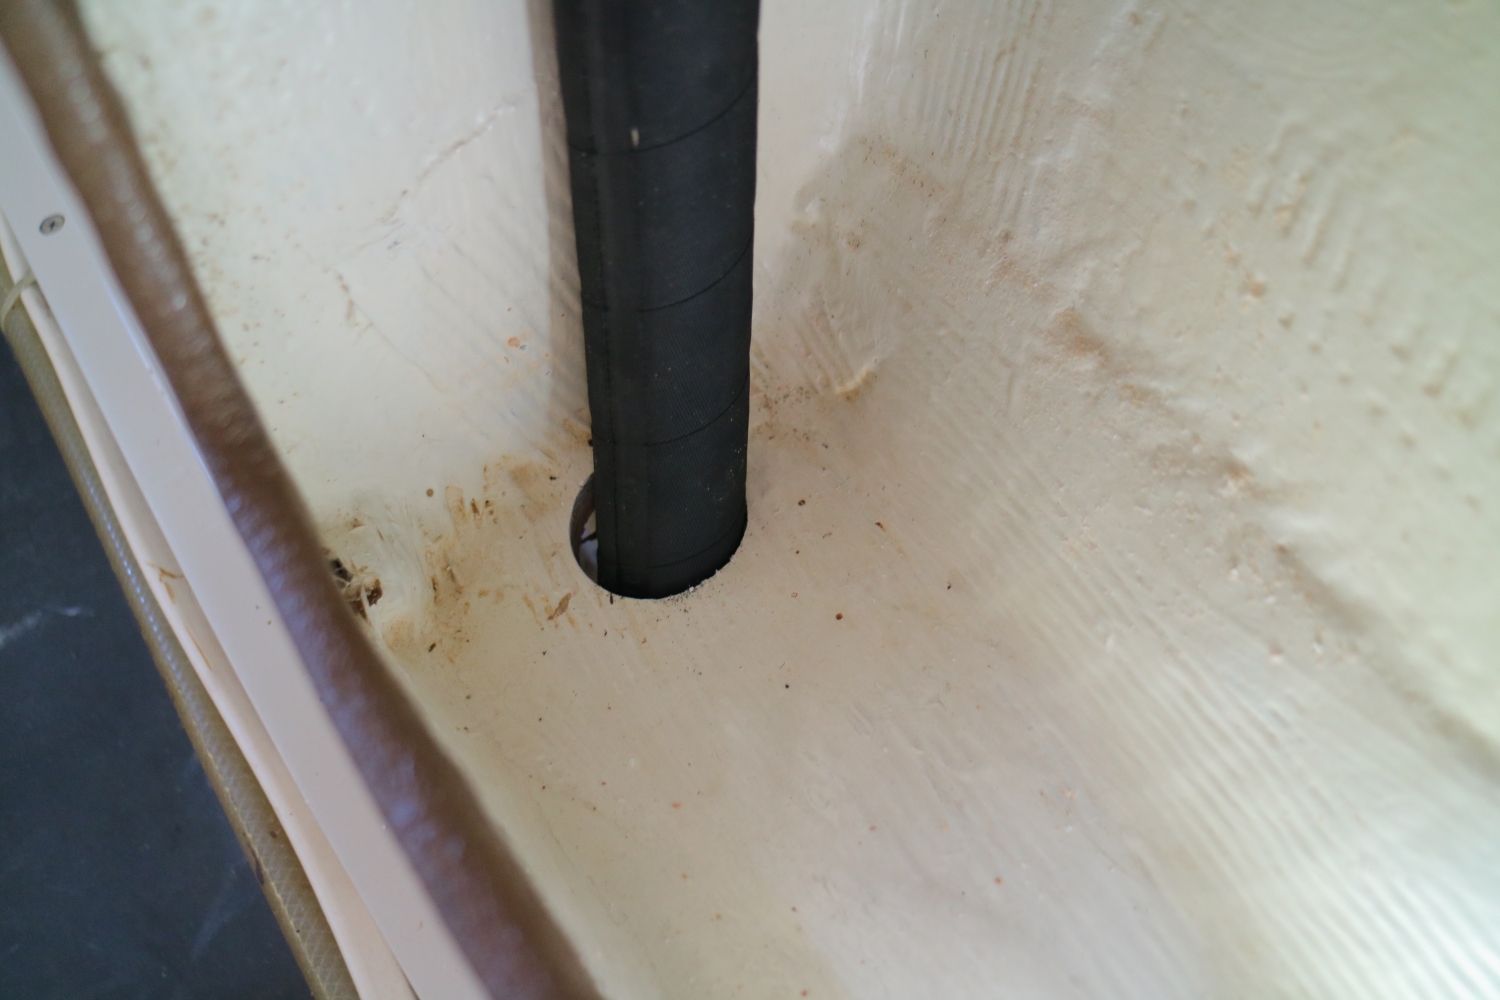
I am going to reroute the vent for the ware and water tanks to a mushroom vent located just belie the toe rail.

My question is where to locate the vent. It is currently located above the head and locker.

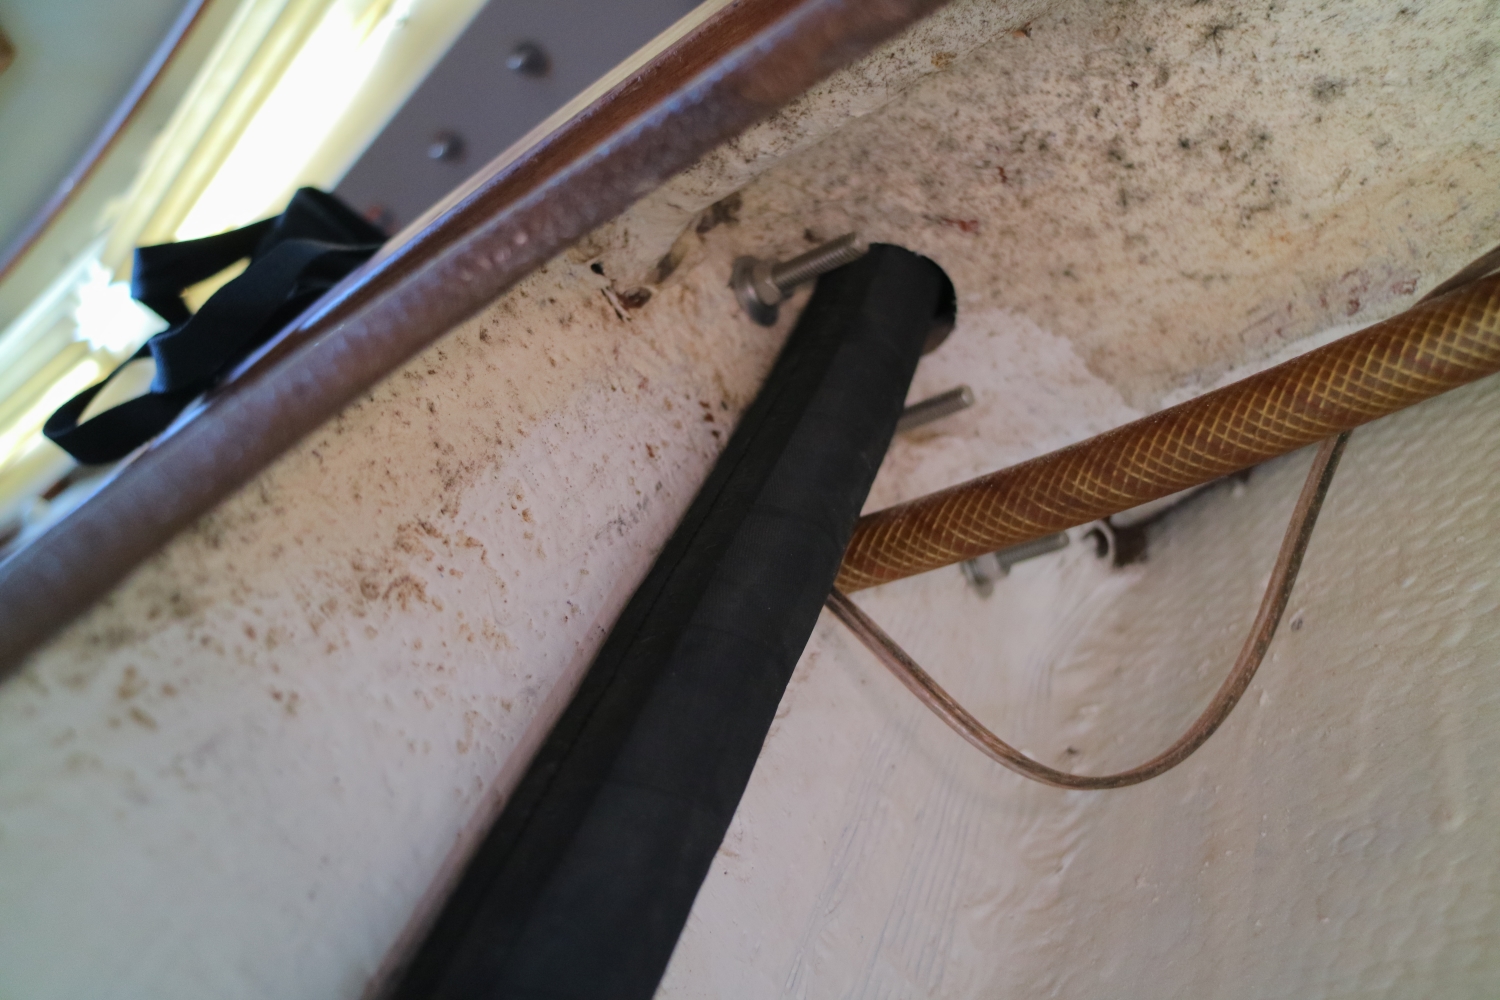
When I look at this locations there are several screws below the toe rail that suggest that there is some sort of reinforcement there. Can’t prove it.

Anyone know if there is?

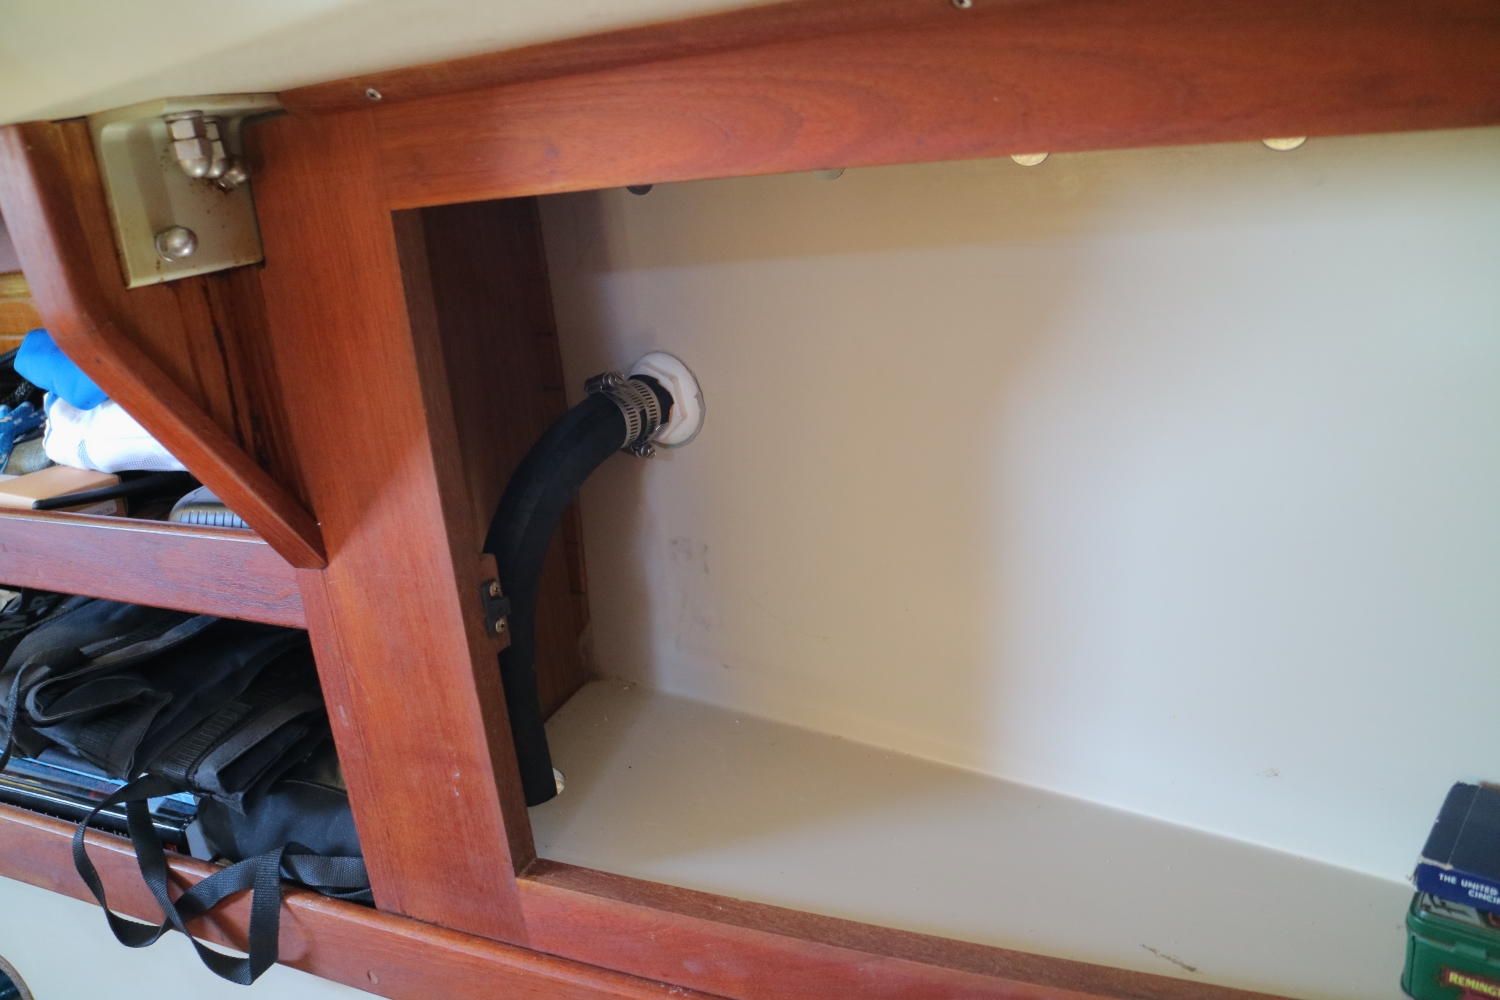
Should I never the hoses toward the stern and go through the small storage cabinets to the stern side of the bulkheads?
Any opinions?


Steve Goldman
Peenhonin
1985 Catalina 30 TRBS
Waukegan, IL
 
Dec 2, 1997
8,708
- - LIttle Rock
Move the waste tank vent to a thru-hull...it can go directly below the toe rail anywhere near the stanchion. Use an open "bulkhead" or "mushroom" thru-hull, NOT a "vent" thru-hull.

But don't move the water tank vent thru-hull out of the stanchion. Catalina had a good idea to run the fresh water and fuel tank vent lines into stanchions because that prevents sea water from contaminating them when the boat is heeled. But running the waste tank vent into a stanchion was a very BAD idea 'cuz the vent is easy to clog and and also doesn't allow anywhere near enough air exchange keep the tank aerobic...and besides, it doesn't matter if sewage gets "contaminated" by a little sea water..
 
Jul 12, 2011
1,165
Leopard 40 Jupiter, Florida
As Peggy suggested, I moved the waste vent to a plain mushroom below the toe-rail. You are trying to increase the amount of natural aeration in your waste tank, so don't run the vent hose for more than absolutely necessary - just bend the hose 90 degrees from below the stanchion fitting. I did not see any screws in that area on my C36, below those that hold the rub rail aluminum channel. You'll want to drill with the correctly sized hole-saw from the interior to avoid hitting stuff on the outside. Make sure that you allow enough room below the rub rail for the 'shoulders' of the external mushroom to fit on the outside. I did not allow enough, and actually shaved down a bit of the shoulder with a Dremel to fit flush with the rub rail bottom :oops:
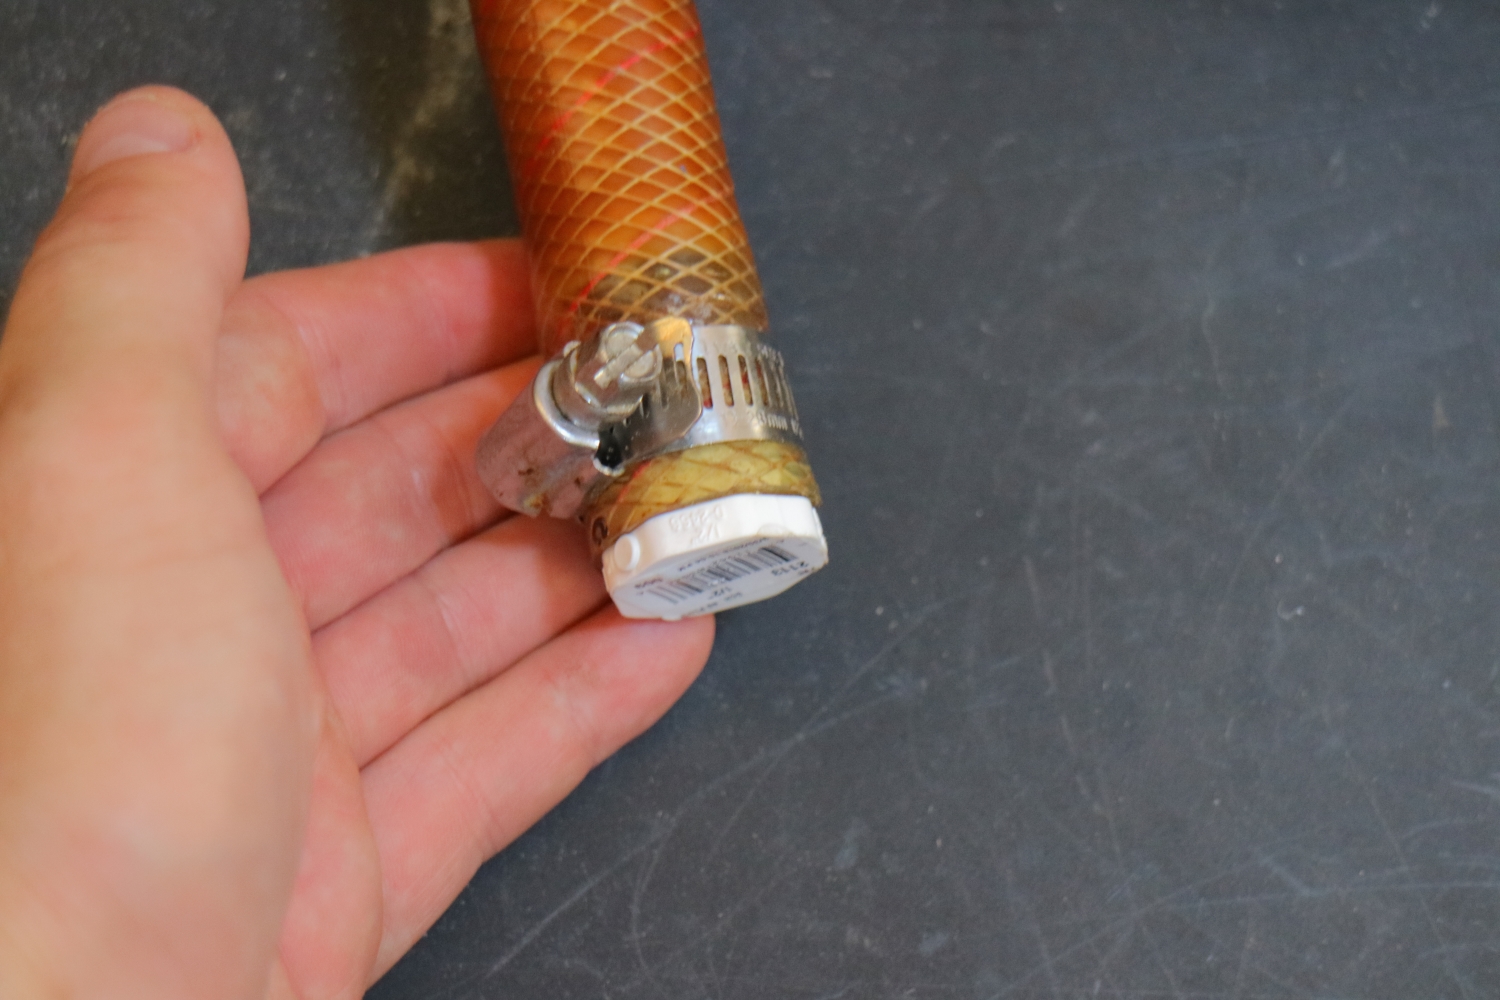
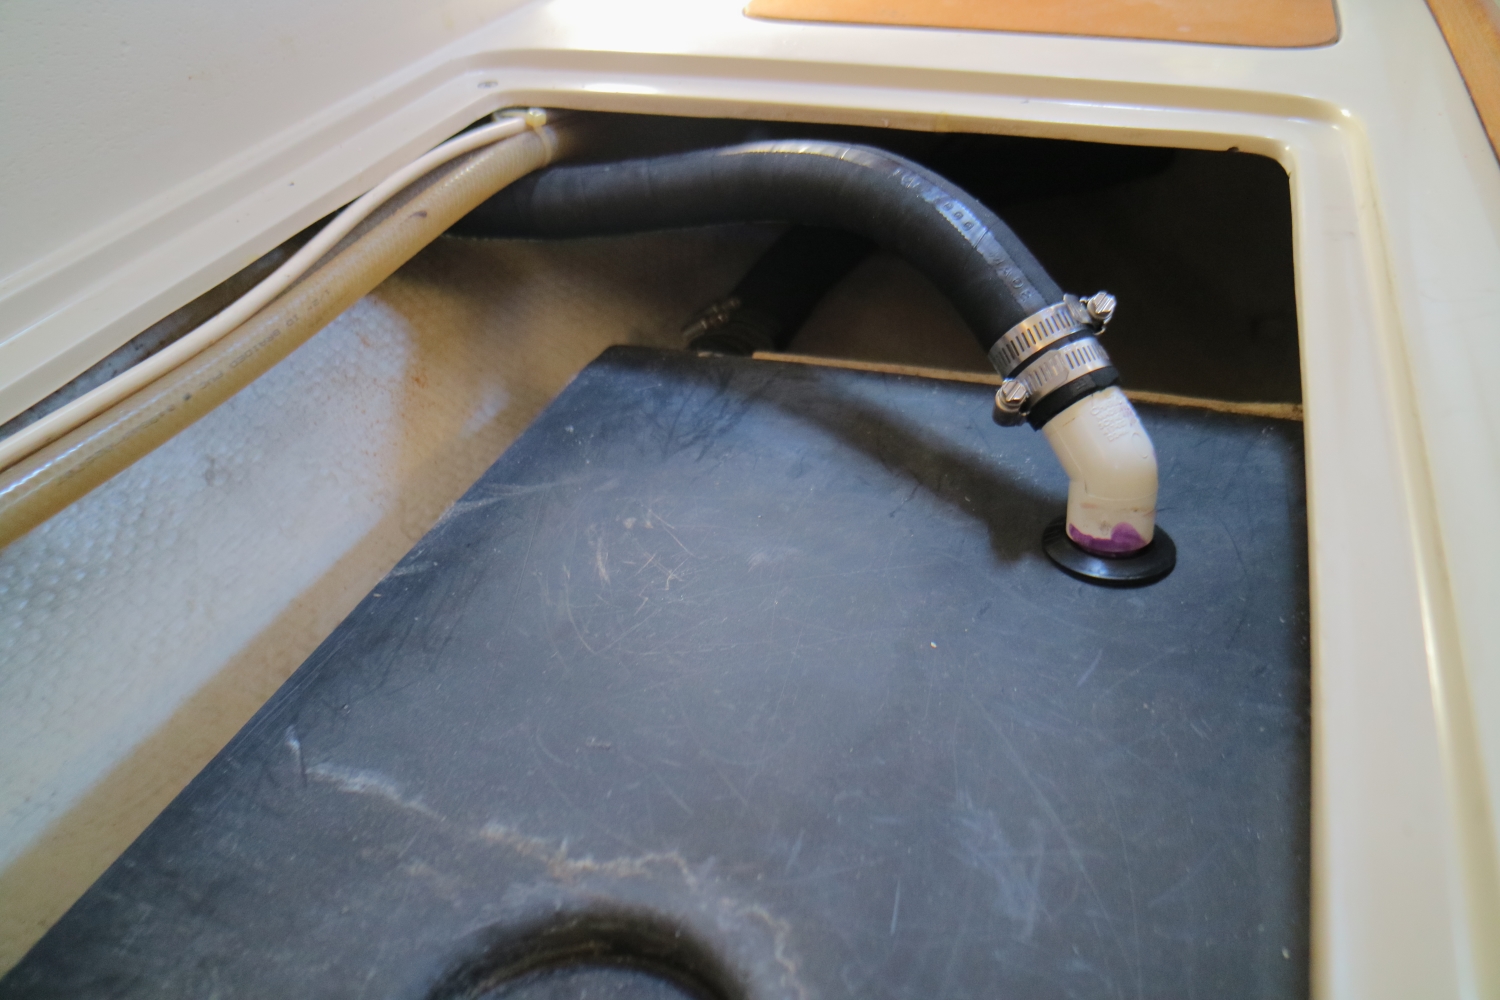
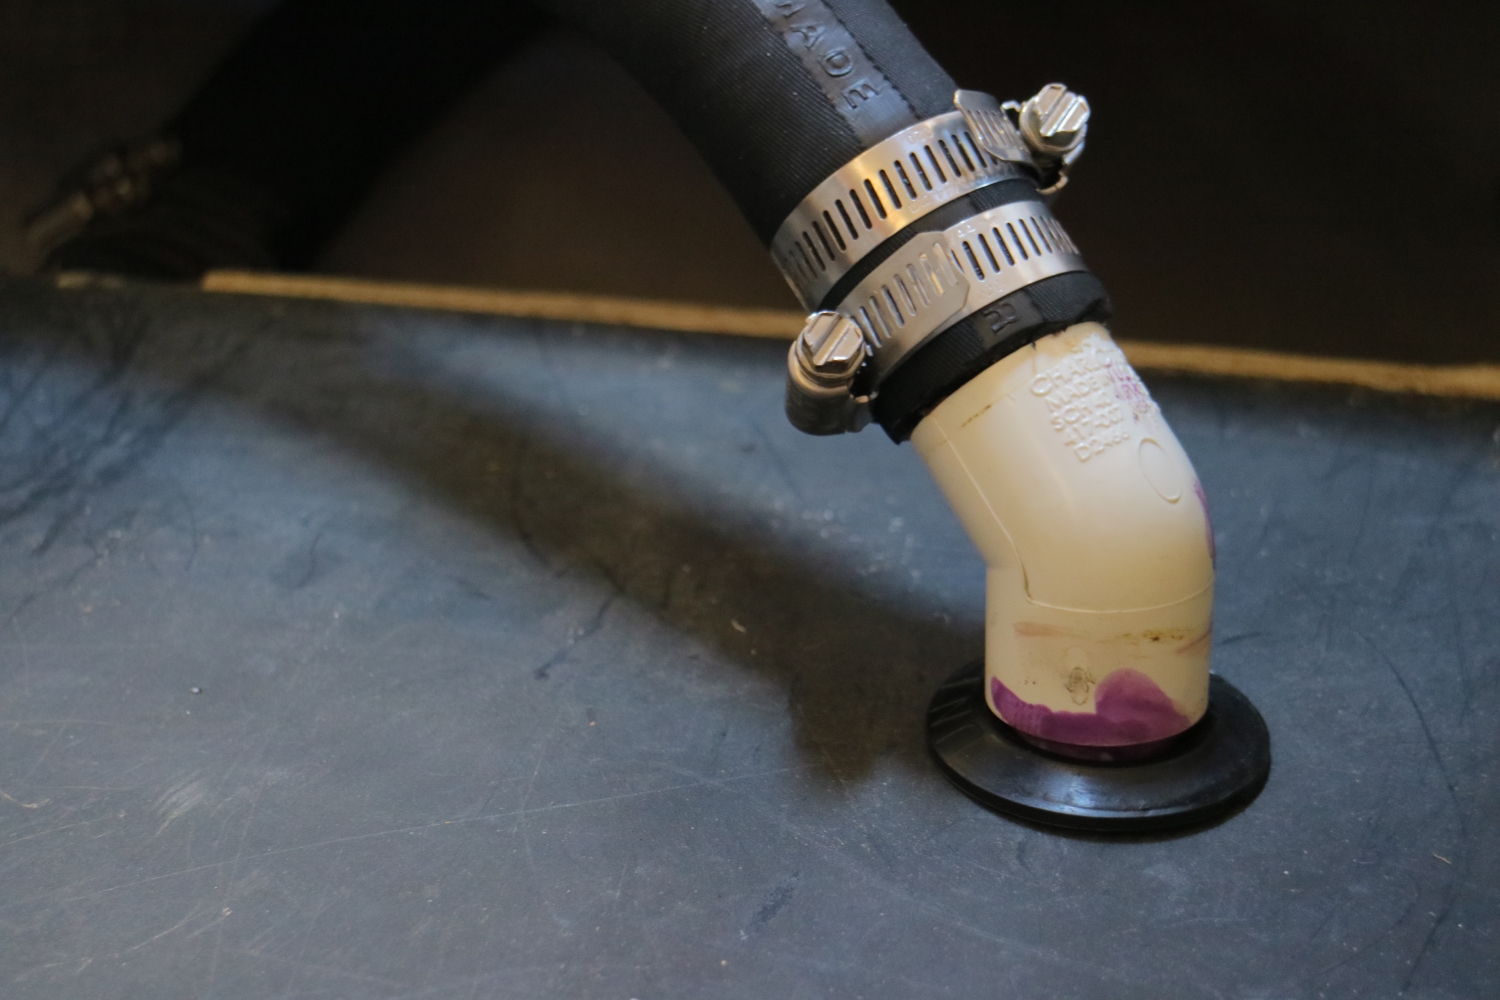
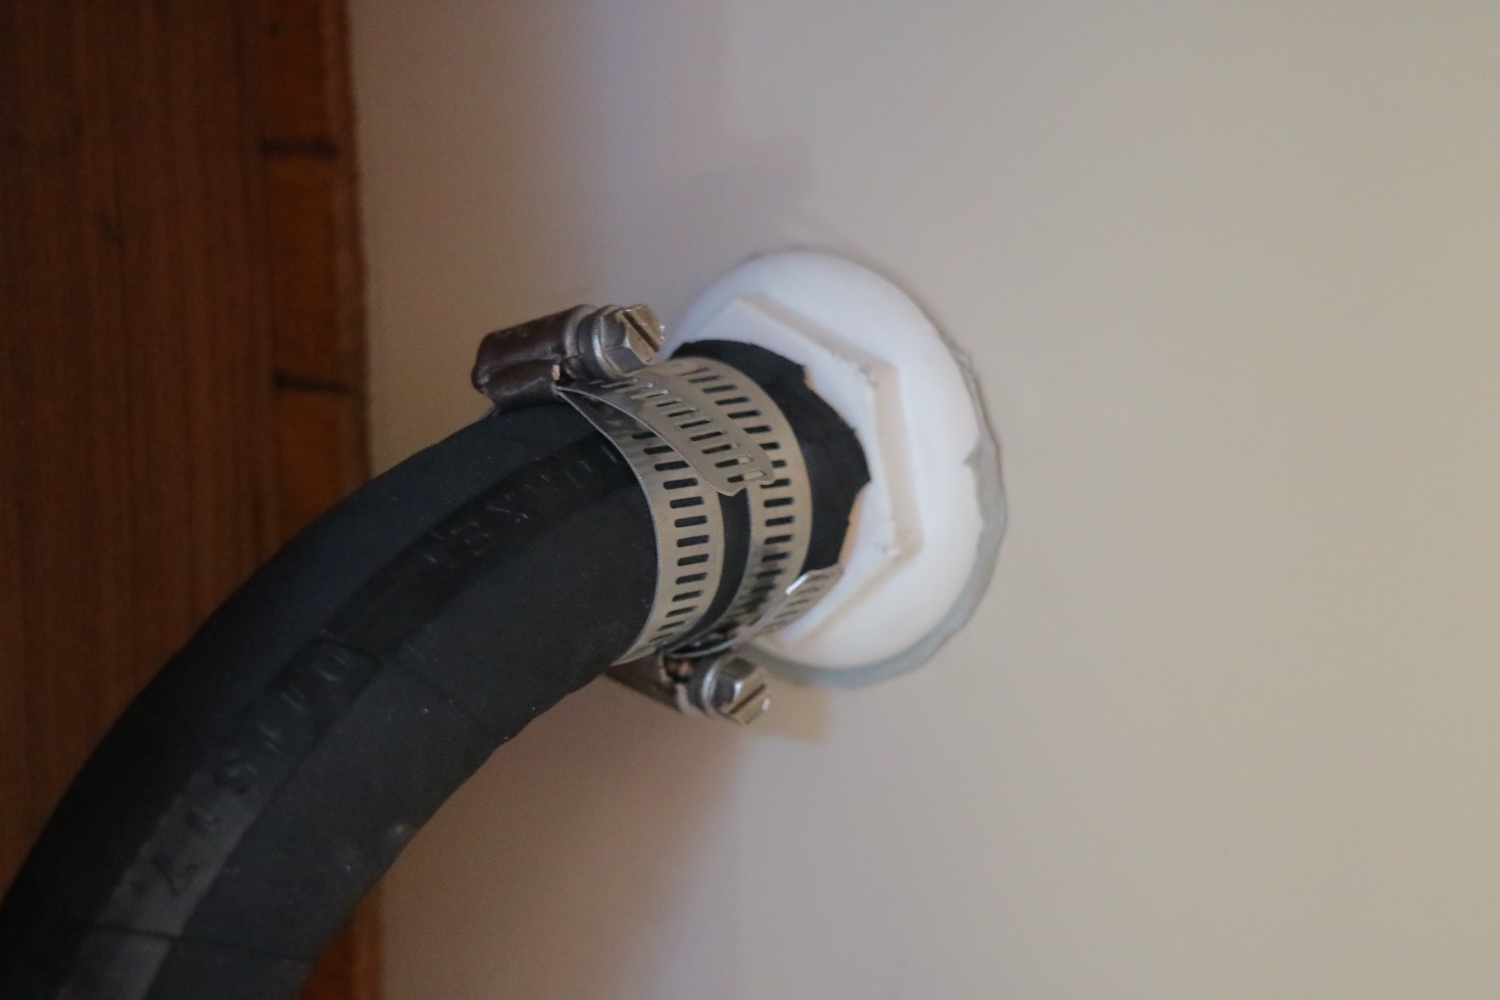
. You may need to trim a little hose to make a smooth 90 degree turn outboard so it doesn't kink.

Consider removing the stanchion, cutting off the vent fitting, and filling the deck with epoxy, fiberglass cloth, and a bit of wood to make it less likely to have leaks. I used the plug from cutting the hull vent to partially fill the deck hole, that way I did not have a ton of epoxy curing in a small space, getting hot. It's under the stanchion in the end, so pretty does not matter.
 
Jul 12, 2011
1,165
Leopard 40 Jupiter, Florida
Why would you remove the stanchion instead of just disconnecting the vent line from it?
The stanchion vent is just one more access point for water to the deck core. For my boat, I had a small amount of moisture at this stanchion at purchase - not severe and no rot, just damp. I was re-bedding the stanchion anyways, and used that opportunity to remove a huge (1 inch) hole in the boat. Sealant is good, but epoxy is perfect!
 
Jul 7, 2004
8,402
Hunter 30T Cheney, KS
I just removed my hooded vent with a mushroom. Even though I thought I was cleaning my old vent, it still had spider 'crap' up inside after I removed it. The mushroom is much easier to maintain airflow.
 
Apr 11, 2018
6
Catalina 30 Waukegan Il
On the topic of the Fresh Water tank vent. We are located on Lake Michigan, not to say that the water is perfect. Would creating a loop in the hose prevent water from entering the tank. That is the location that has suffered the most leakage and I would rather just seal it all up.

Thoughts?
 
Dec 2, 1997
8,708
- - LIttle Rock
The usual "vent" thru-hull is designed to keep water out of the vent, but it's not uncommon to also find a loop--just an arch in the line, not a vented loop--in fuel and water tank vent lines too. So whether a loop is needed or not, it can't hurt. Just make sure the loop is high enough to stay above waterline at max heel. (NONE of this applies to waste tank vent lines, ONLY to fuel and water tank vent lines!!)
 
Apr 11, 2018
6
Catalina 30 Waukegan Il
Does anyone recognize what these screws are screwed into. I believe that it is below the rub rail.
Steve Goldman
Peenhonin
1986 Catalina 30 TRBS
Waukegan Il.
 

Attachments

Apr 5, 2009
2,774
Catalina '88 C30 tr/bs Oak Harbor, WA
Does anyone recognize what these screws are screwed into. I believe that it is below the rub rail.
Steve Goldman
Peenhonin
1986 Catalina 30 TRBS
Waukegan Il.
If I am seeing it correctly, those are the screws that connect the aluminum rub rail extrusion and is part of the hull / deck joint.
 

Ward H

.
Nov 7, 2011
3,645
Catalina 30 Mk II Barnegat, NJ
I agree with Steve, they are below the rub rail and do not show on the outside of the hull.
They appear to be holding the back wall of the cabinet to the hull and only show in the cabinet when looking at the starboard side. That back wall is part of the inner liner.
I'll try to get some photos this weekend.
 

Ward H

.
Nov 7, 2011
3,645
Catalina 30 Mk II Barnegat, NJ
Working on boat odors and need to replace the holding tank vent hose so came back to this thread. I plan to install the mushroom thru hull.
I called Catalina and talked to Warren in customer service. He confirmed that the cabin liner extends up the side to just shy of the bottom of the deck. The bolts and nuts showing on the inside are the where the rub rail is bolted on.
He added that the hull deck joint is of the shoebox style.
He confirmed there is a small gap between the hull and the liner and suggested two options.
1. Drill to the correct size, then use thickened epoxy to fill the gap
2. Drill oversize on the inside hall liner. Then drill the hull to the correct size. Put the thru hull nut directly against the hull.

Not sure which way I will go but will post back when I get this project done. Found macerator was leaking, pulled it out and plugged the hole. Will see if that solves the odor.
 
Jul 27, 2017
44
Catalina 30 5167 Texas
I just did this project last week on my 88 TR. I drilled from the outside in, because I was worried about coming out in the raised section below the rub rail and going outside in assured that I wouldn’t. It wasn't very hard to figure out the horizontal position by just eyeballing it and measuring a little just to make sure.

I used Trident 101 as suggested. Found some 1-inch ID on eBay at a good price. I bought 5 feet, but the guy only sent me 55 inches. This is ok though because it still fit. Seems like anything between 50 and 60 would have done the job.

I used a Uniseal and a 45 degree PVC elbow, with about 1.5 inches sticking out either side. I used two hose clamps on either end in opposite directions.

Since I was not sure how it would all fit together, I bought a pack of 1" Uniseals and a pack of 3/4" Uniseals. Then one of each size PVC pipe and elbow. I also had two hole saws, 1-3/4" and 1-1/4". My thru hull was a 1-inch Forespar marelon mushroom head from West Marine.

The hose fit the thru hull no problem, but the hose would not go onto a 1" PVC pipe, so for the tank end, I had to use the smaller Uniseal, elbow, and pipe.

I used a 3/4" PVC plug in the tank where the old vent connected. I then used a 1/2" PVC plug in the end of the old vent hose, with the intention of shortening the hose later and moving the plug closer to the stanchion, rather than trying to remove the stanchion and plug it.

For the gap between the hull and the liner, I did nothing. I debated using thickened epoxy but voted in favor of butyl tape on each side. I can always add epoxy later if necessary.

I had to drill 3 holes. One through the boat, one through the bottom of the shelf, and one through the storage compartment behind the port side settee back cushion.

I also added a SCAD solo tank monitor, which seems pretty handy.

I will attach a few pictures. I didn't really have any issues other than the temperature being 95 degrees in the boat at the time, but I am kind of used to that now, plus cerveza makes it 72 degrees in my head. I can also say with 100% certainty that it has helped with odor so far.


Ward H

.
Nov 7, 2011
3,645
Catalina 30 Mk II Barnegat, NJ
@Smunkey
Nice write up and nice solution. Curious why you didn't use the current tank and hose size?
Thanks
 
Jul 27, 2017
44
Catalina 30 5167 Texas
The existing vent hose was a 1/2" hose, and I am under the impression from reading info here that bigger is better, for more airflow. The problem for us was odor. When trying to discover the source of said odor, we noticed that where the 1/2" vent hose goes through the bulkhead before reaching the bottom of the stanchion, that it was essentially smushed. It appears to have perhaps even been built that way. Like not enough hole, so they just kinda crammed it in there. So almost no airflow getting through it. The fitting on the tank was also loose, and the only way to correct that would have been to make the hose go a different direction, because the fitting, when screwed down tight, would be facing away from the stanchion. Also, the hose leaving the tank was 3/4, and then there was a 90 degree elbow connector/adapter taking it down to 1/2" on the way to the vent.

So the prospect of resolving all that sounded a lot more difficult than just going the "Peggy Hall way", which would also be an improvement. We are quite happy with it. And, if anything every goes wrong with the solution, everything is super easy to access now.

One other thing, and I almost don't want to bring up, is that under the right conditions, some pretty gnarly stuff can come out of the stanchion and onto the deck, and unfortunately I know this first hand :(. This way, worst case, it goes out the side. Not ideal either way, but if it does ever happen again, the latter is the better circumstance.
 
May 7, 2011
281
C - 30 # 3573 Lake NormanNC formerly Bflo NY
Here's a little tip when dealing with voids between the hull and liner. This pertains to the saloon, head, and space behind areas of the cockpit coming. And it works where you need to install a thru hole, a bolt, or a blind tapping screw (like for those canvas snaps that continually strip out of the thin fiberglass shell.)

Drill a hole, spray in insulating foam to expand to JUST a little more than the area you will eventually drill out, or beyond the area you need backing (like for a tapping screw.) Use the LOW EXPANSION foam (for around door and window frames) and use it sparingly -- you don't want to ooze it out all over the liner, use "just enough" (you will be forming a "dam" around the work area that will prevent epoxy from running and trying to fill the entire void area between the hull and liner! ) If you dispense it thru a vinyl hose you can reach far in and dispense the foam around the edge of the reinforcing area, leaving the center without much foam.

Drill a hole of appropriate size so you can remove as much foam as you need to, leaving the foam "dam" around the area you want to reinforce. You can use a bent nail (or a hex wrench works very well) in a drill. The size of the hole and method of removing the foam will depend on your specific application (e.g., providing bite for a tapping screw vs. reinforcing a large area to drill for a thru hull.)

Fill the void with thickened epoxy (I have totally switched to using the JTSO superior Mas Epoxy) and let it cure. Again, the thickness and amount of, and method to fill the void with the thickened mix will depend on your particular application.

Voila', You have a solid epoxy area to finish drilling out whatever you need to, or that provides solid backing for that tapping screw.
 
Last edited:
  • Like
Likes: Smunkey
Jul 27, 2017
44
Catalina 30 5167 Texas
We took the head cabinet out today. 4 screws inside the cabinet and two on the aft side of the saloon bulkhead. Turns out the vent hose was kinked. The cabinet itself was squishing it. My plan now is to just remove the old vent hose completely and cap off the bottom of the stanchion vent with a cap nut. Looks like it will be a 1/2"-13 size cap nut based on the dimensions of the stanchion on Catalina Direct. By the way, the entire length of this old vent hose stinks to high heaven!
1.jpg
2.jpg