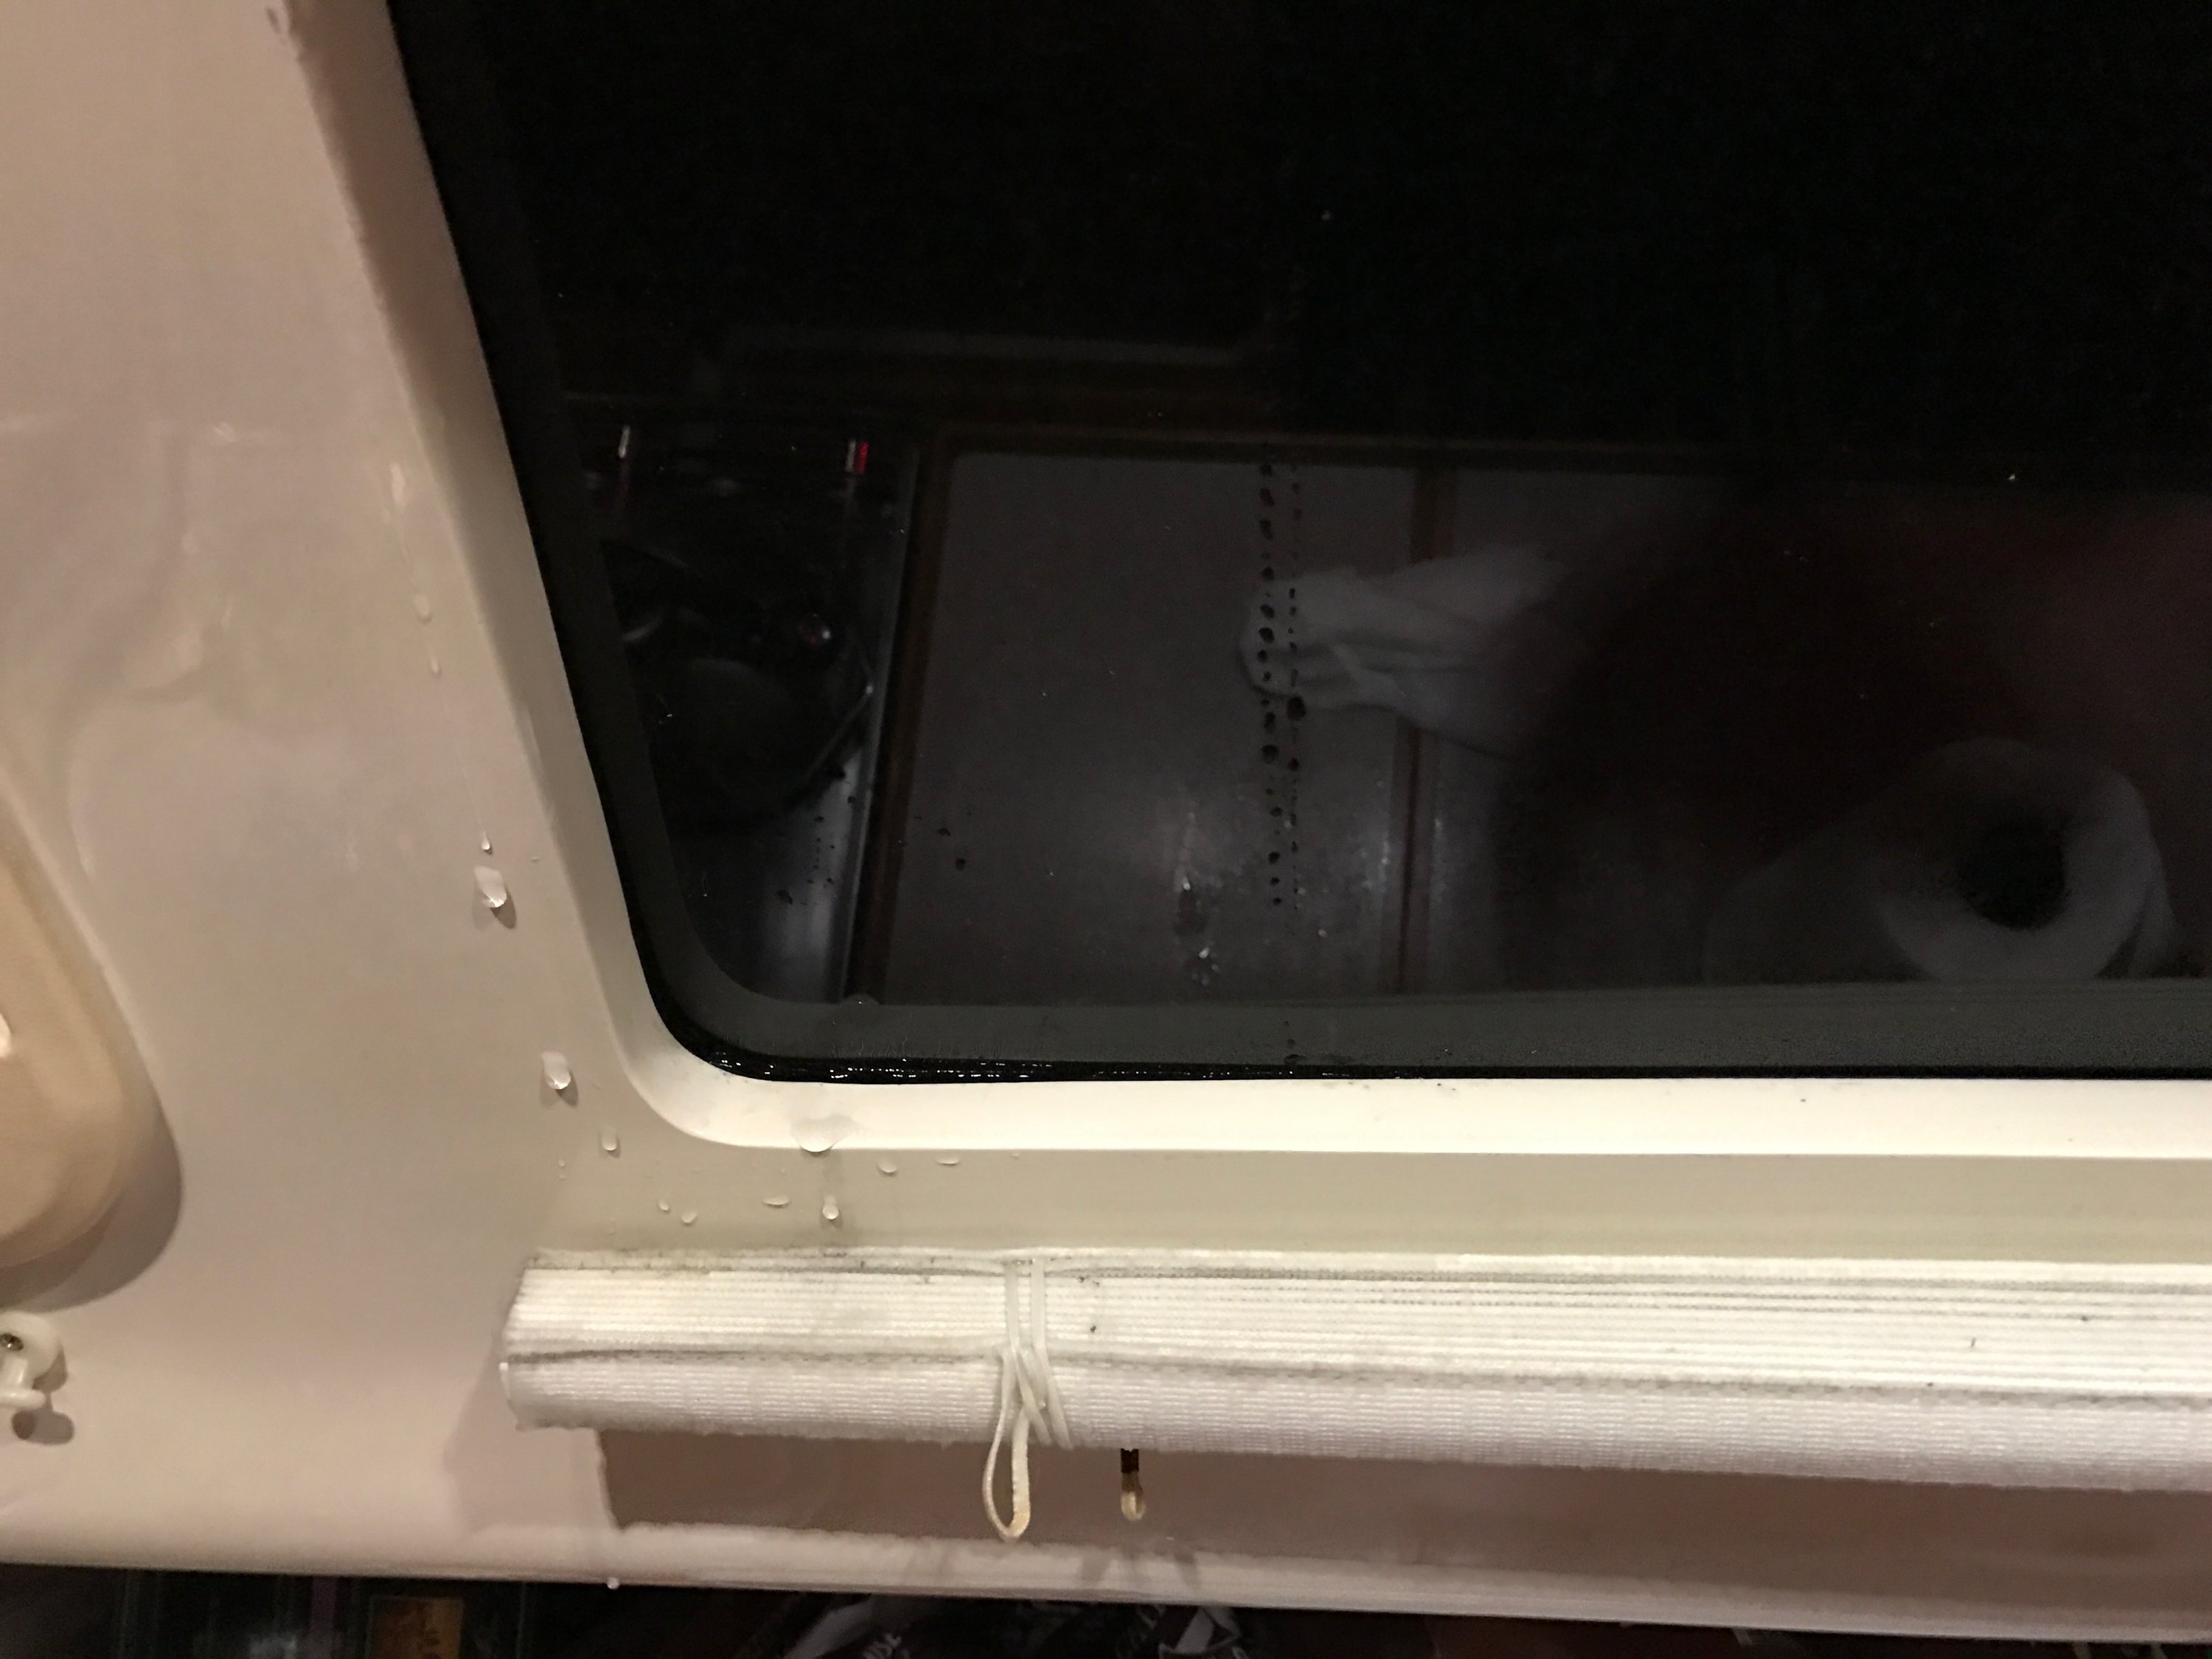
Thanks Cloud driver this is helpful. The windows are recessed and screwed in. (And large). Another good project.
For screws the install is pretty easy but there are a few things to keep in mind.
When tightening the screws you don't want to turn them down too tight so you don't squeeze out the bead and make it too thin.
After it cures overnight, then remove the screws. You have two options;
1. Leave the screws out, fill the holes with a dab of silicone. You'll barley notice it, and trust me when I say the window will hold just fine. I did my own boat this way.
2. Put the screws back in, but you MUST slightly over-drill screw holes one size larger than the screw size. This is critical, it allows for expansion and contraction of the plastic glass. The factory probably did not do this which is why they leaked to begin with. Only over-drill the plexiglass, don't over-drill the pilot hole into fiberglass/core material. When you put the screws back in, put a nice dab of 795 on the screw and in the hole and turn them in firmly, but still by hand.
BTW, when I store 795 after opening I put a long deck screw in the tip then wrap just the end tightly with plastic wrap for several turns. Store in the fridge, can last weeks.