Repairing Hunter 40 damage from Hurricane Matthew

May 8, 2013
629
Hunter 40 Dataw Island, SC
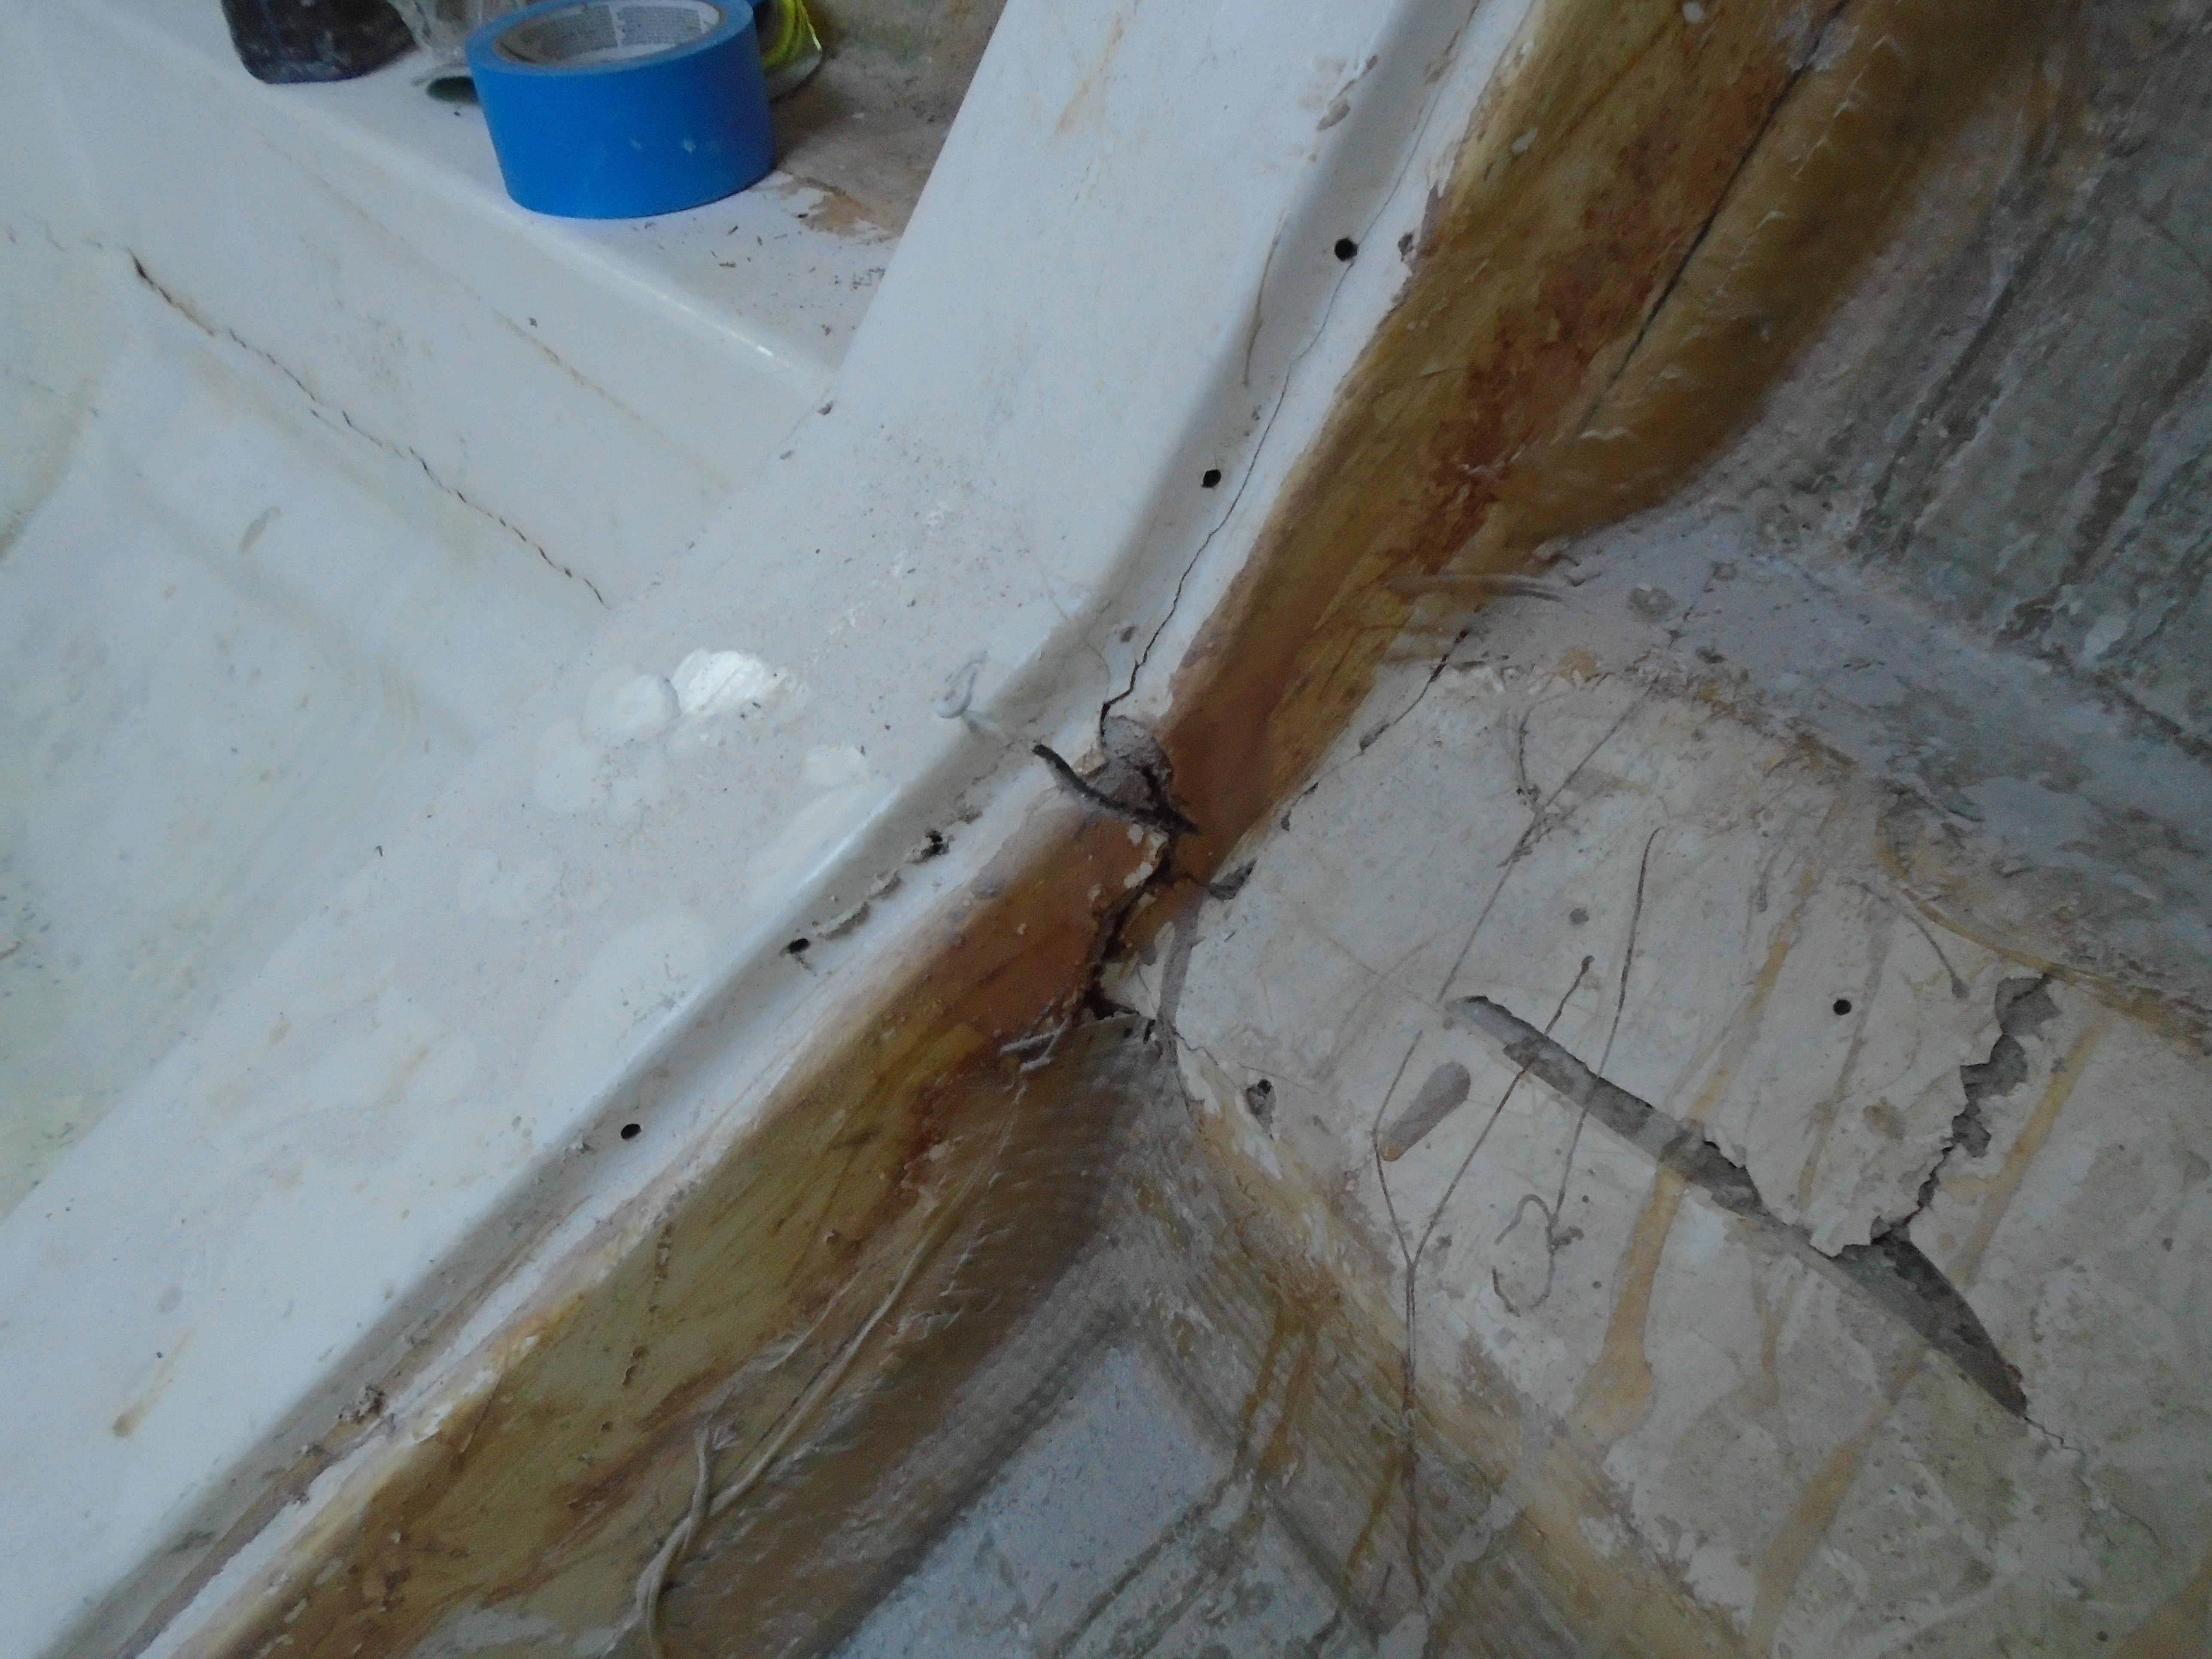
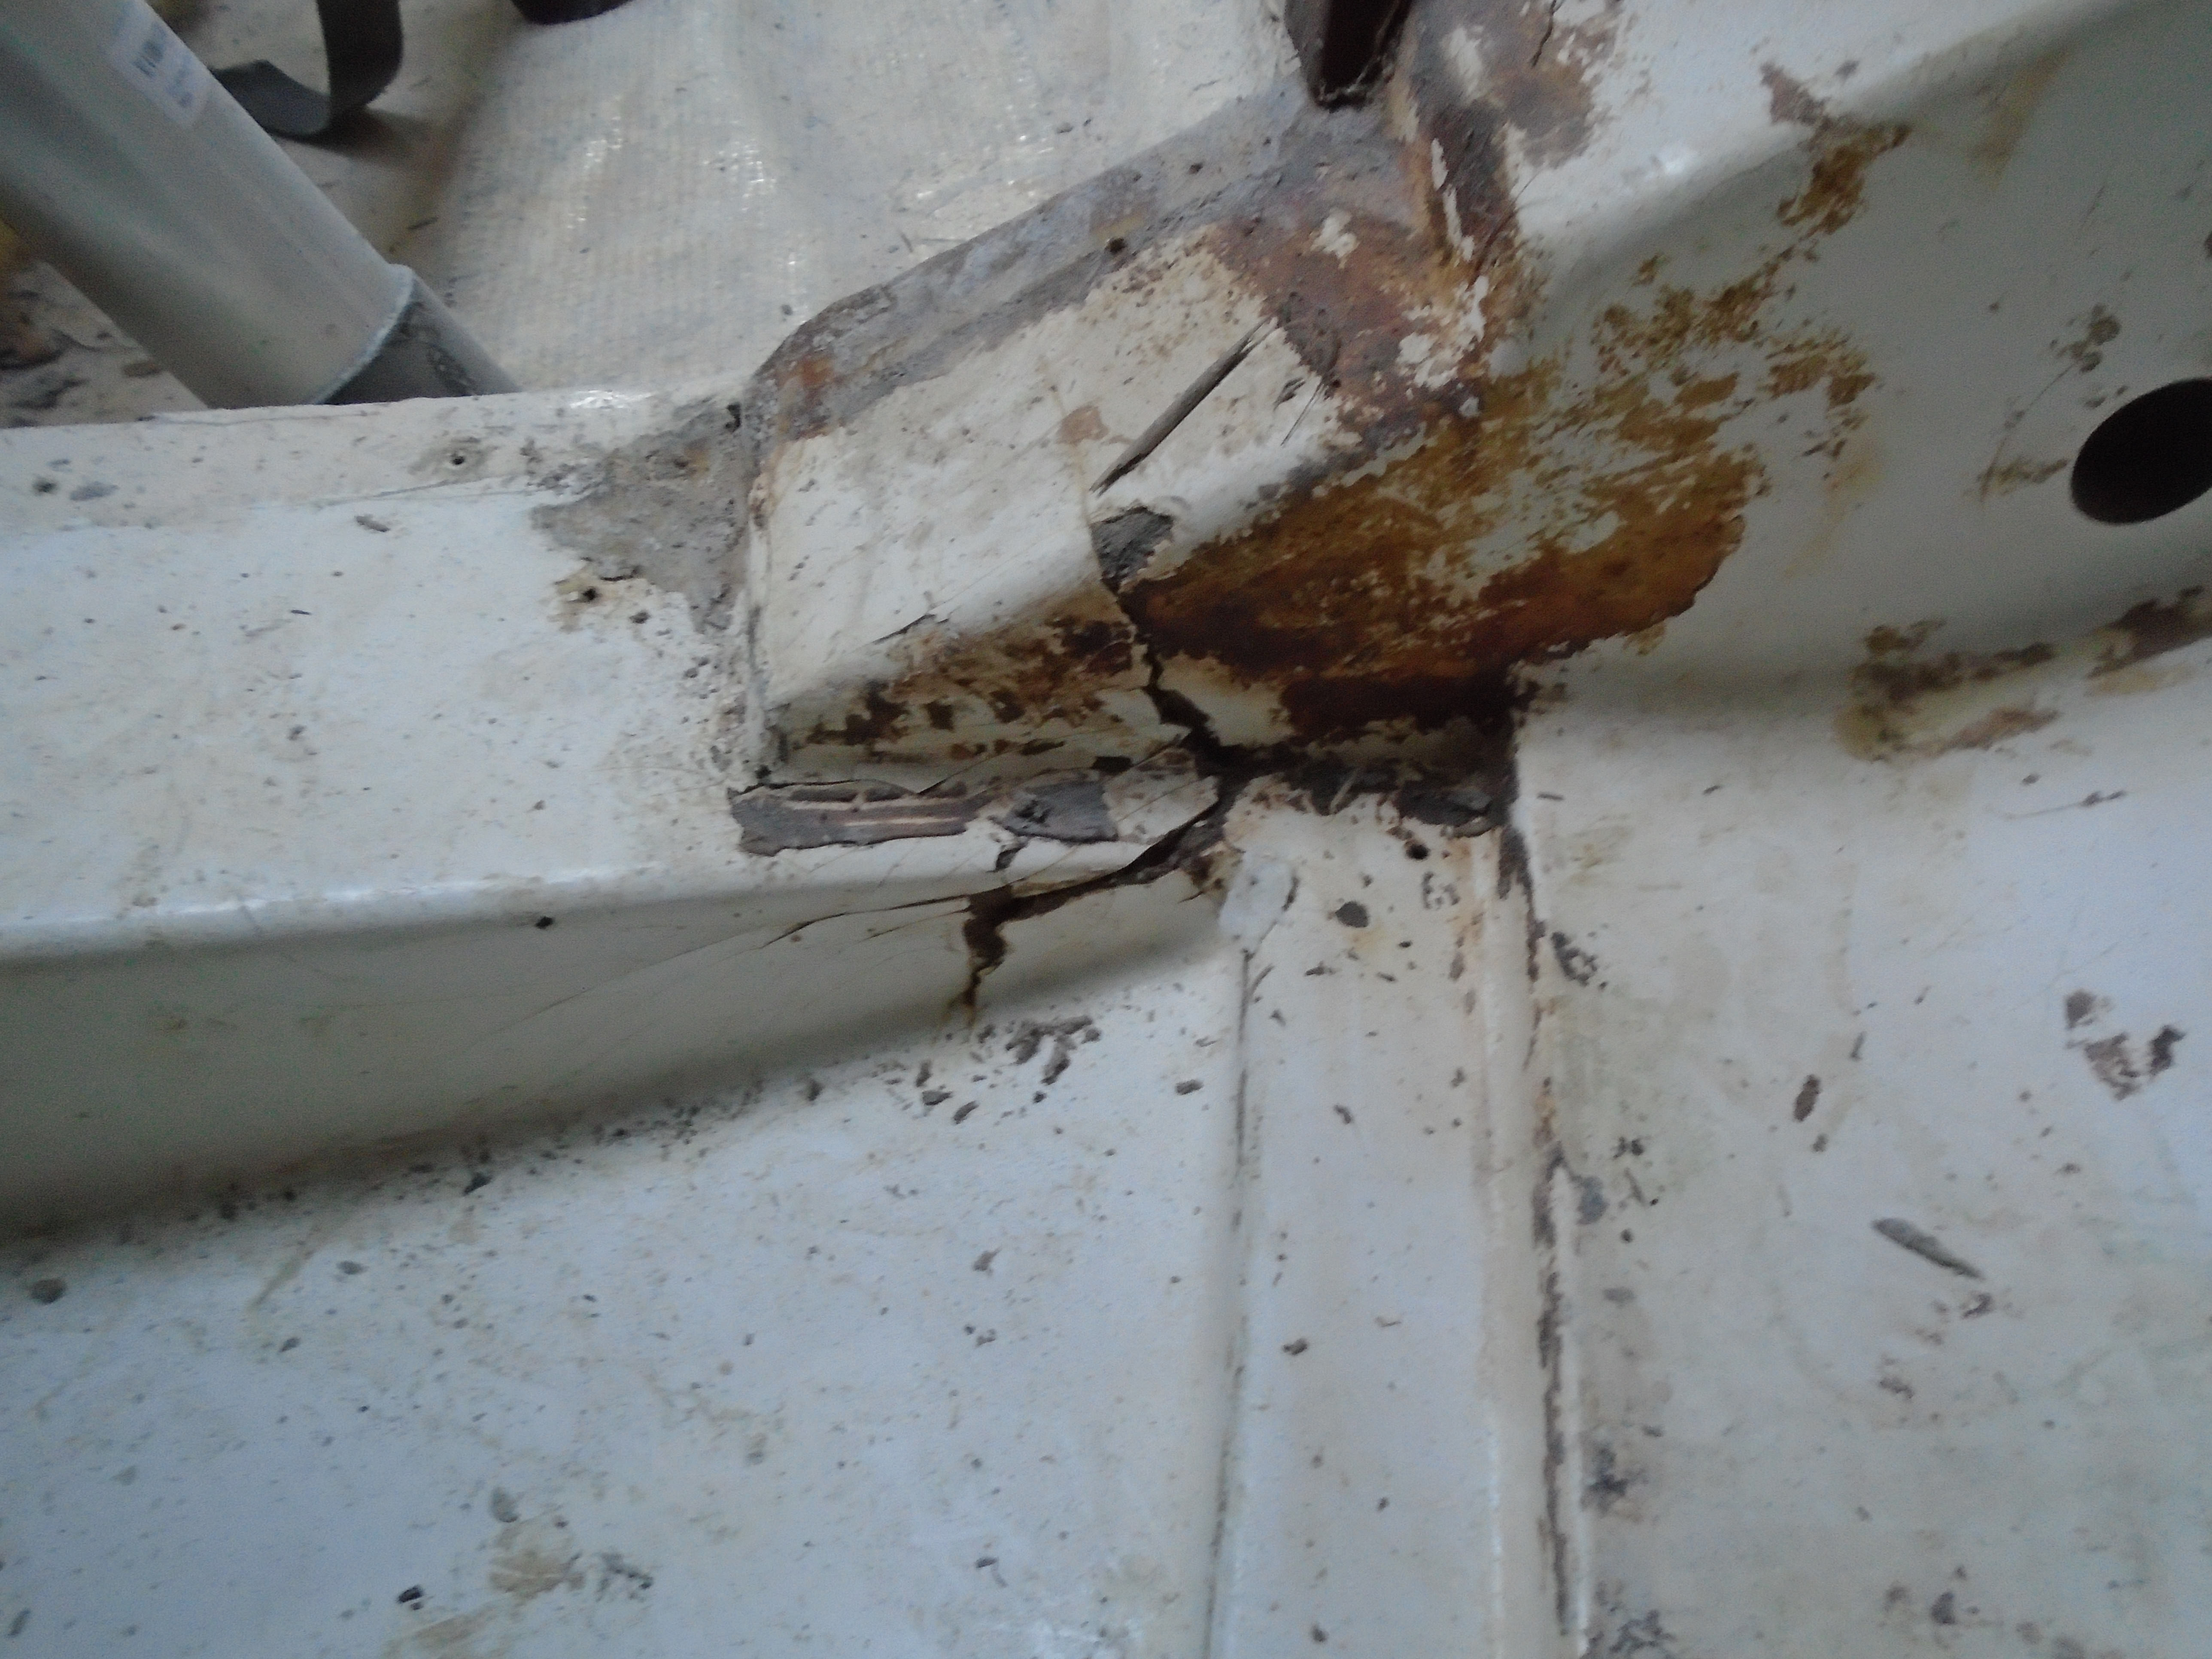
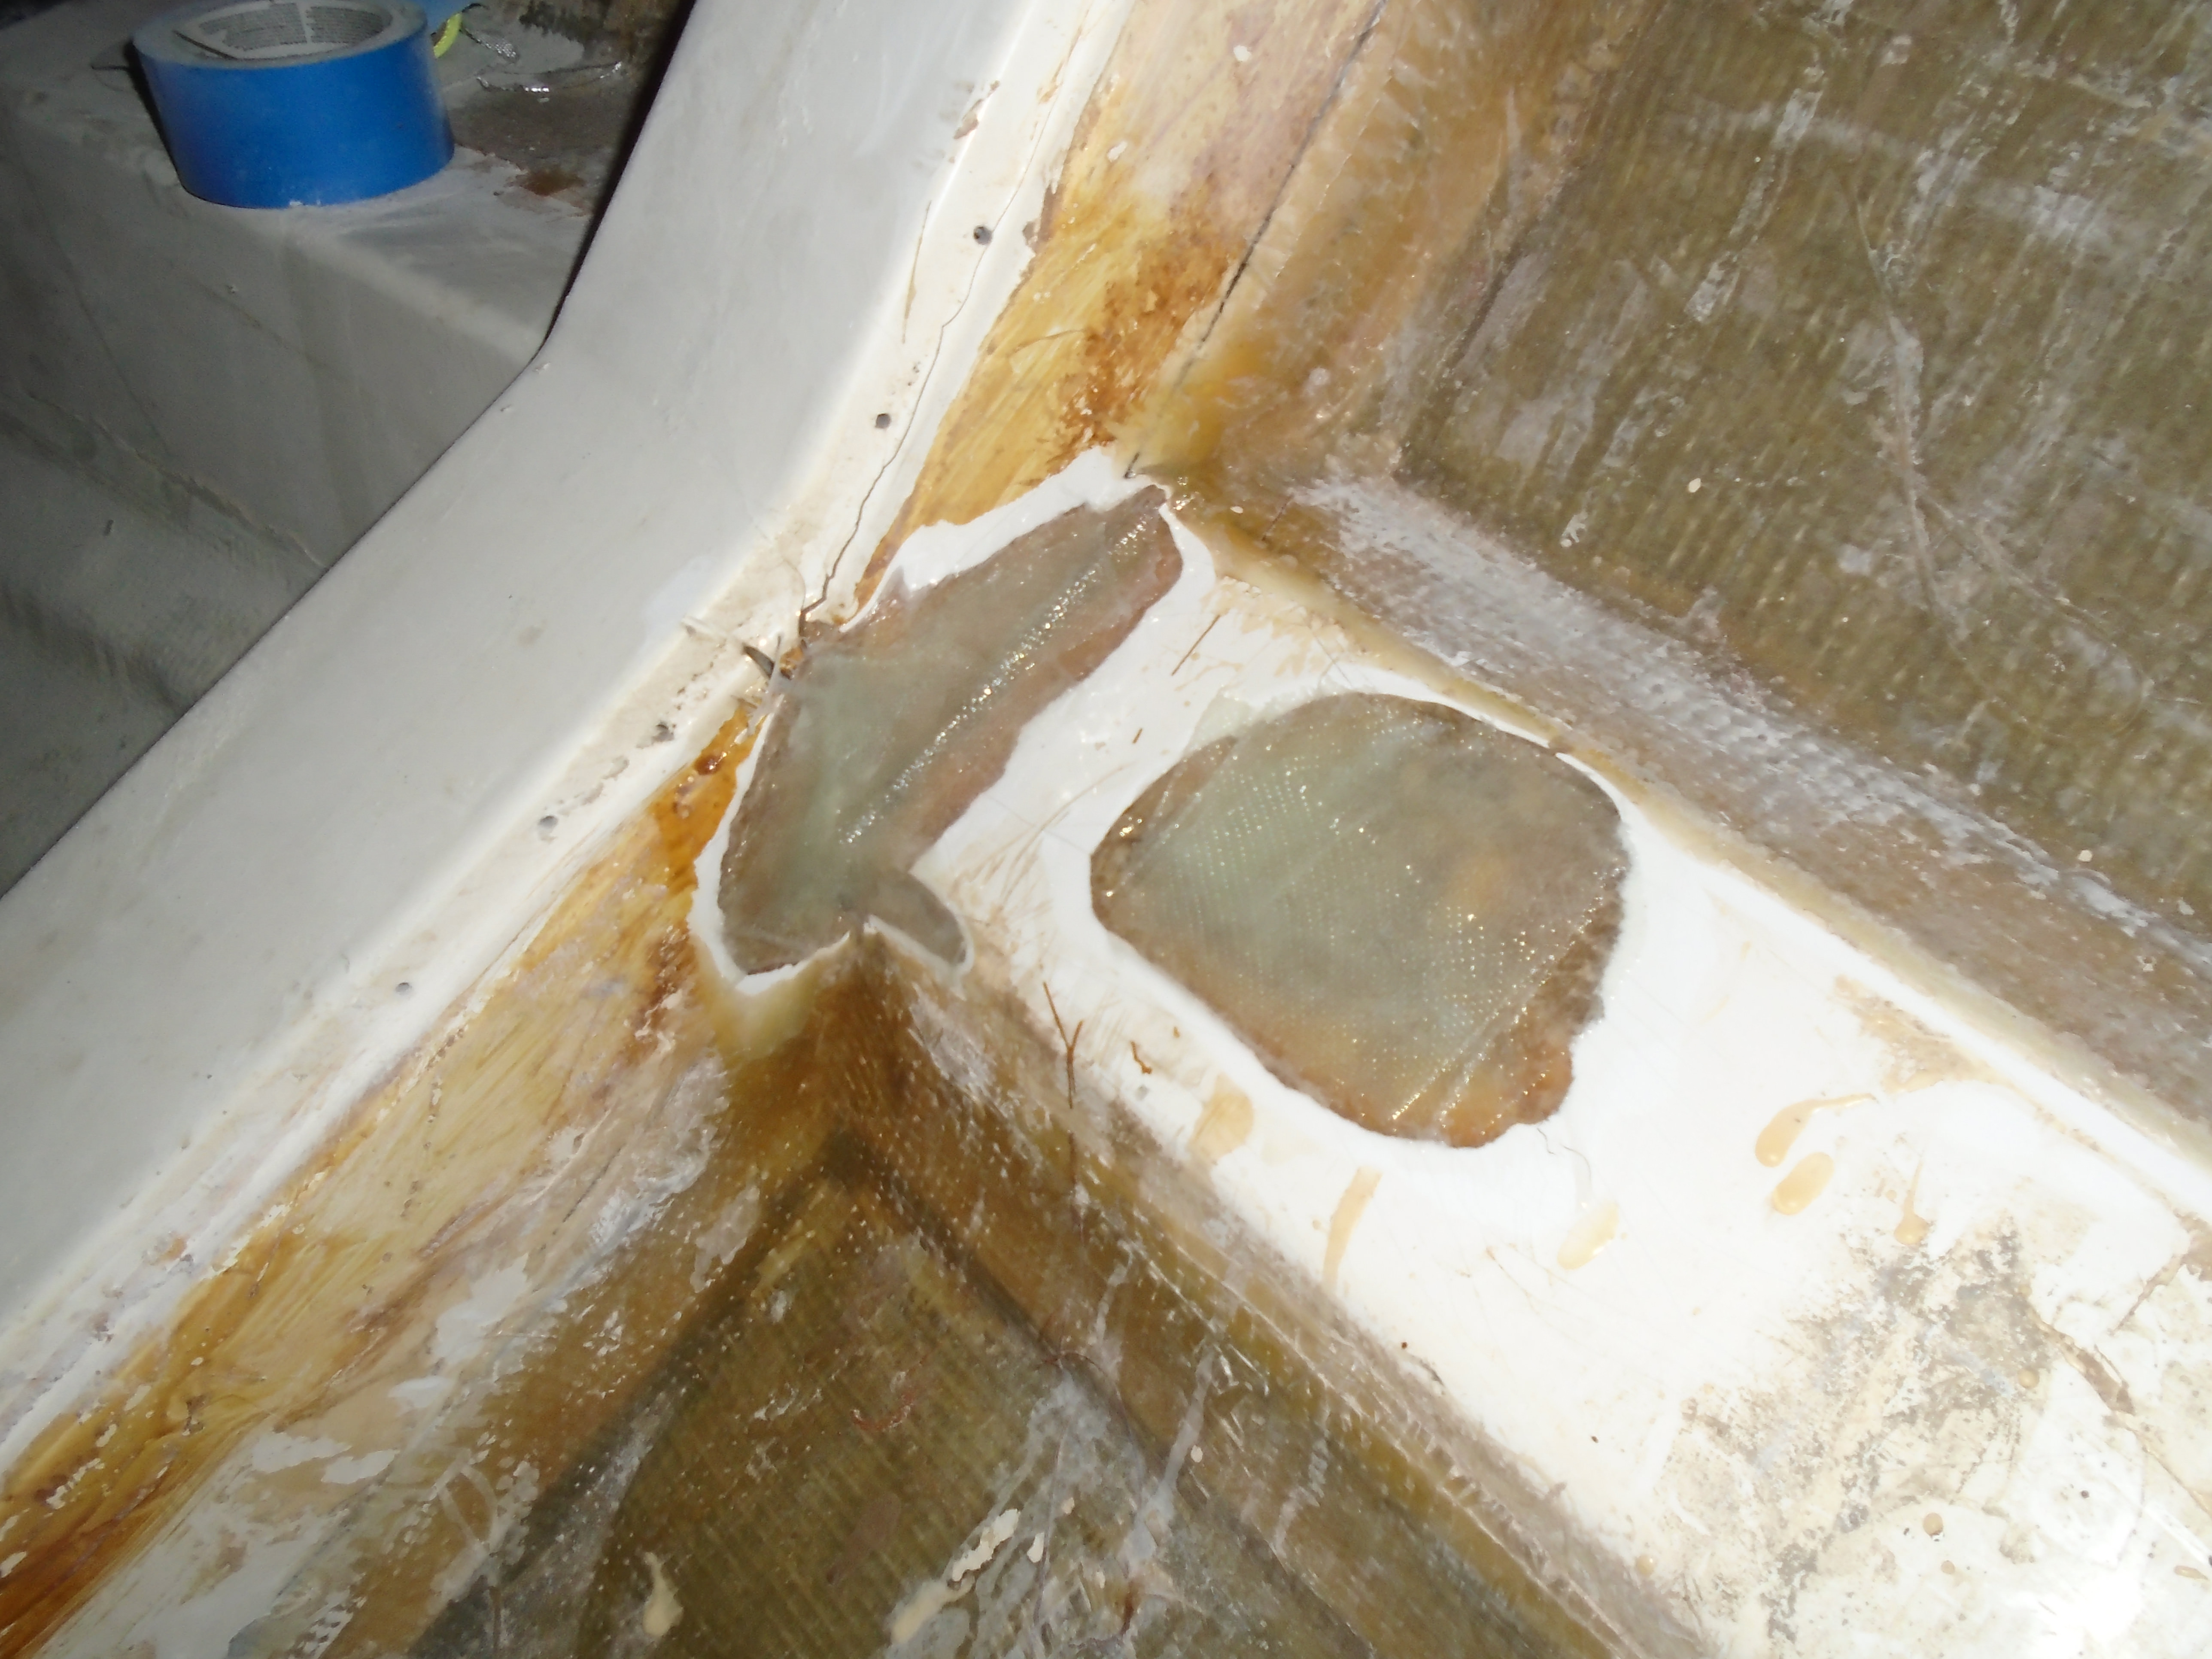
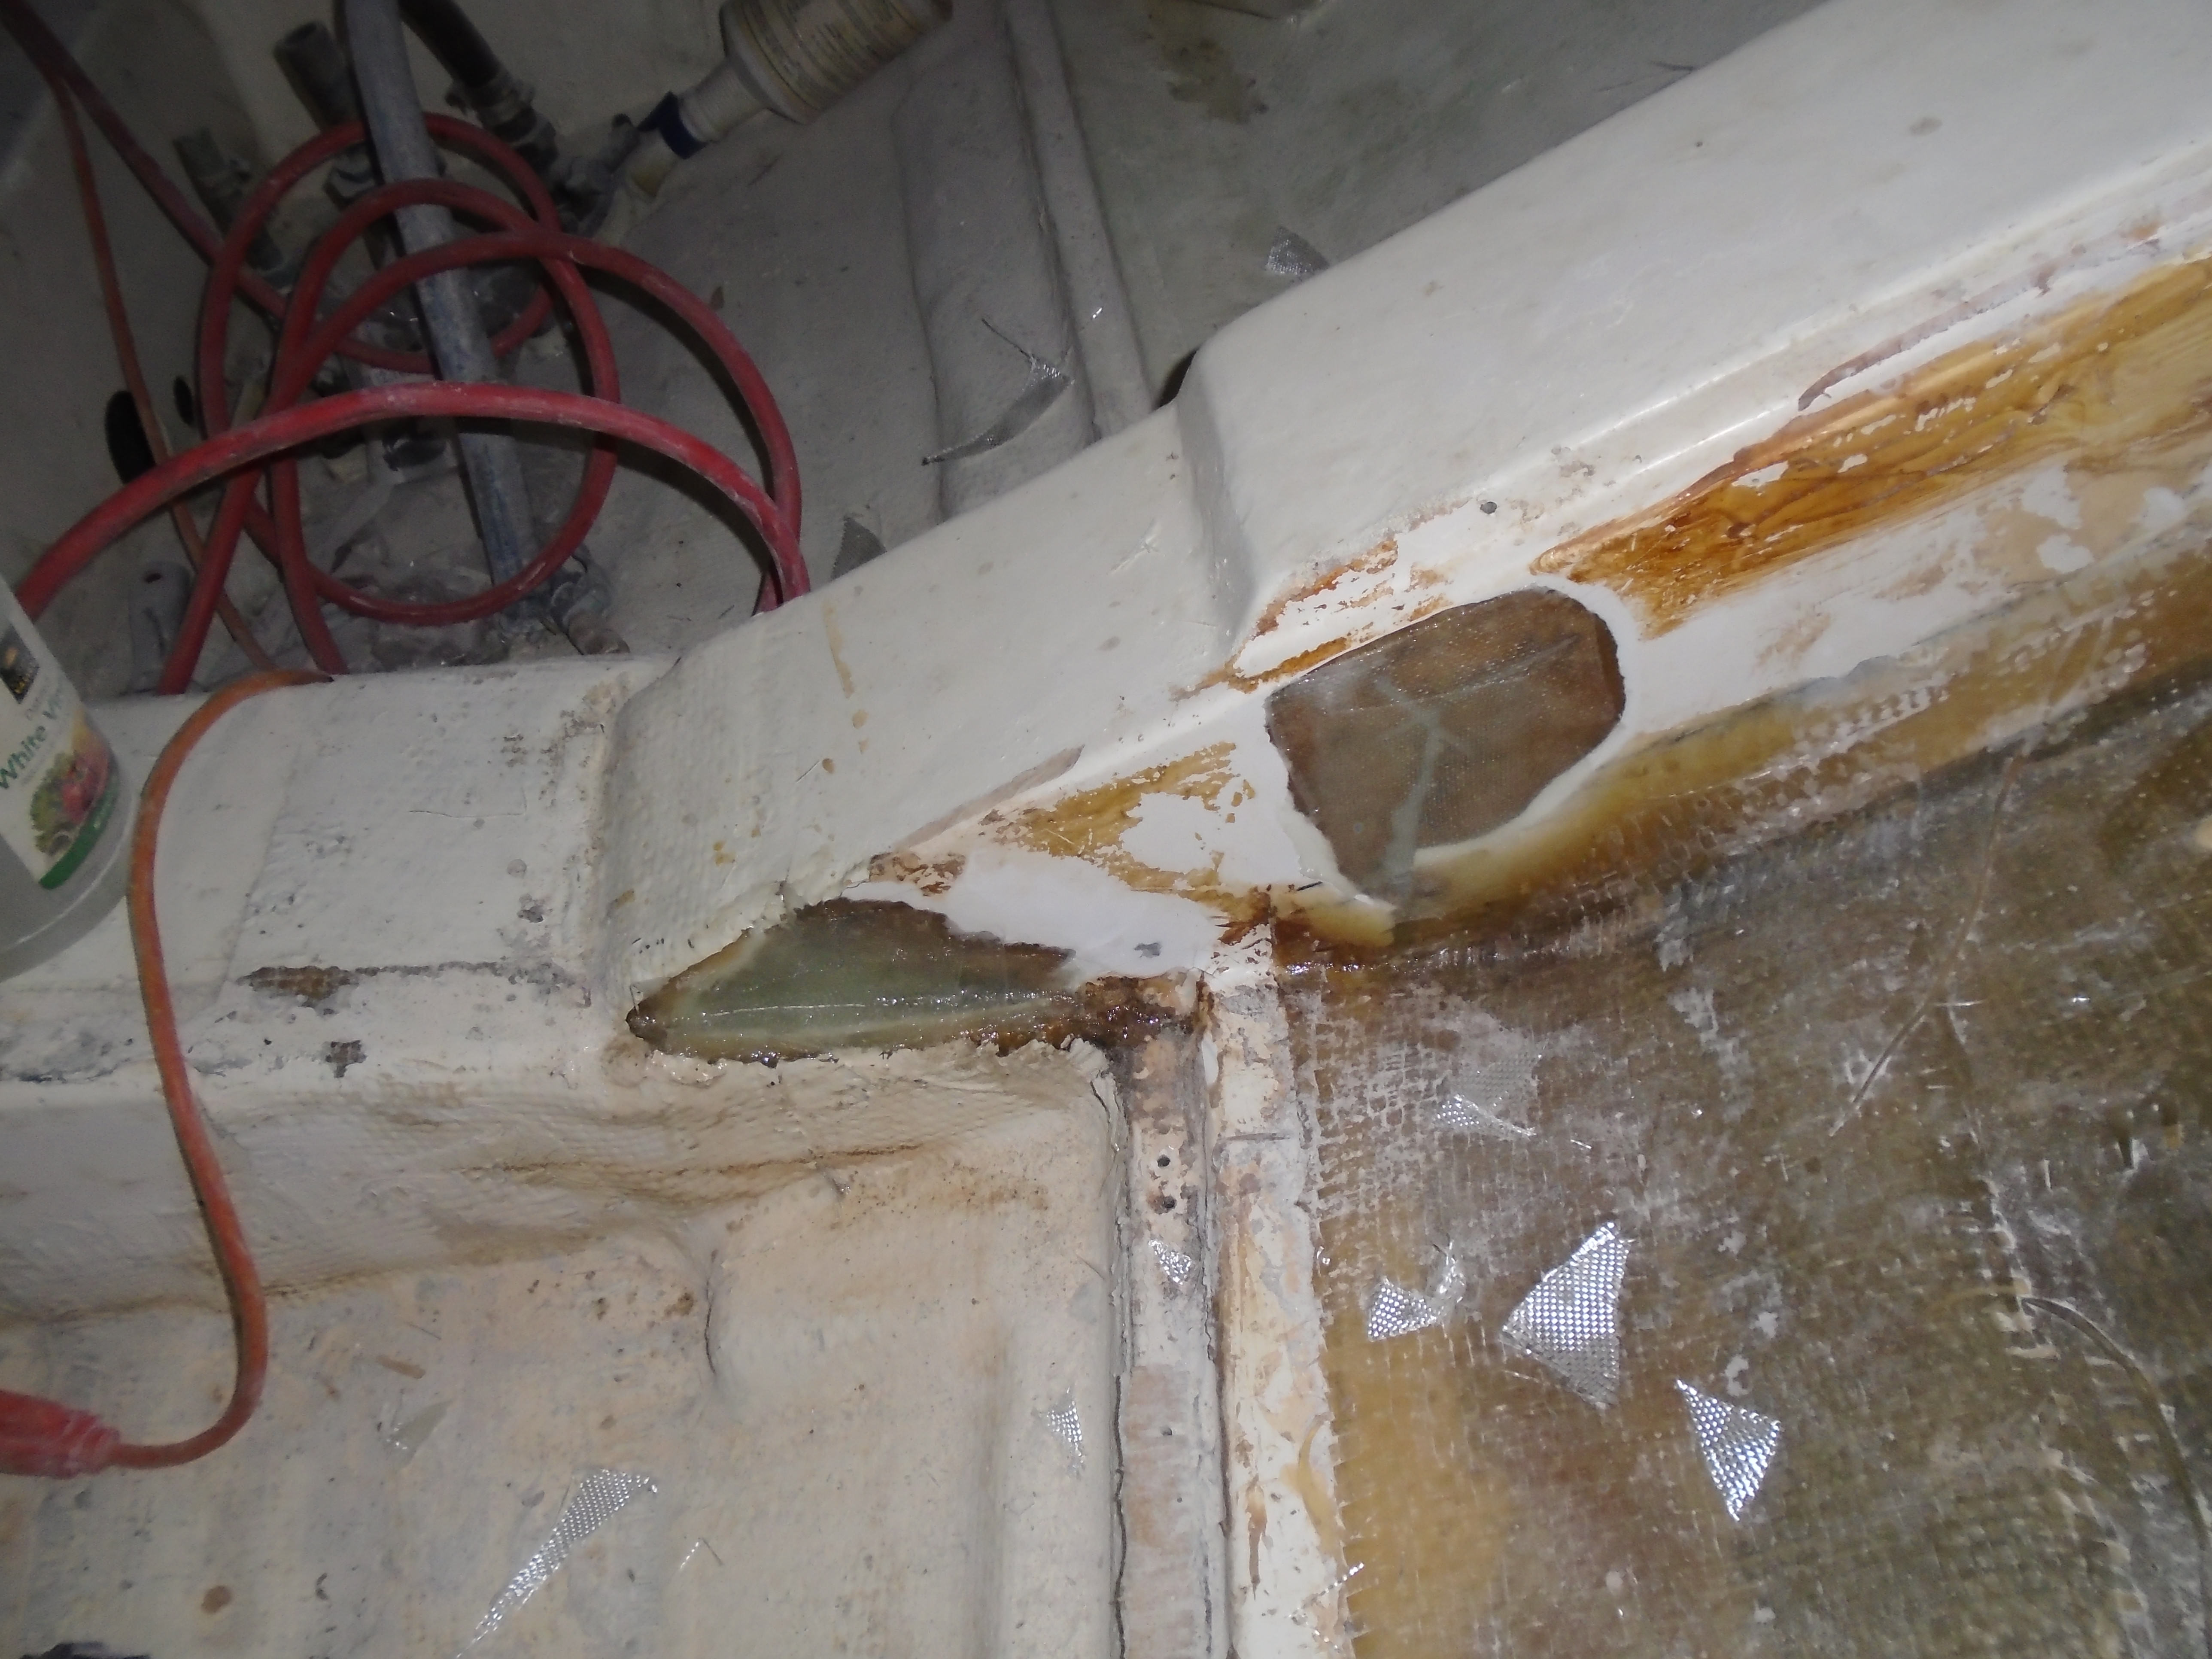
All this previous, undiscovered damage and repair. What the hell happened to this boat before you owned it?
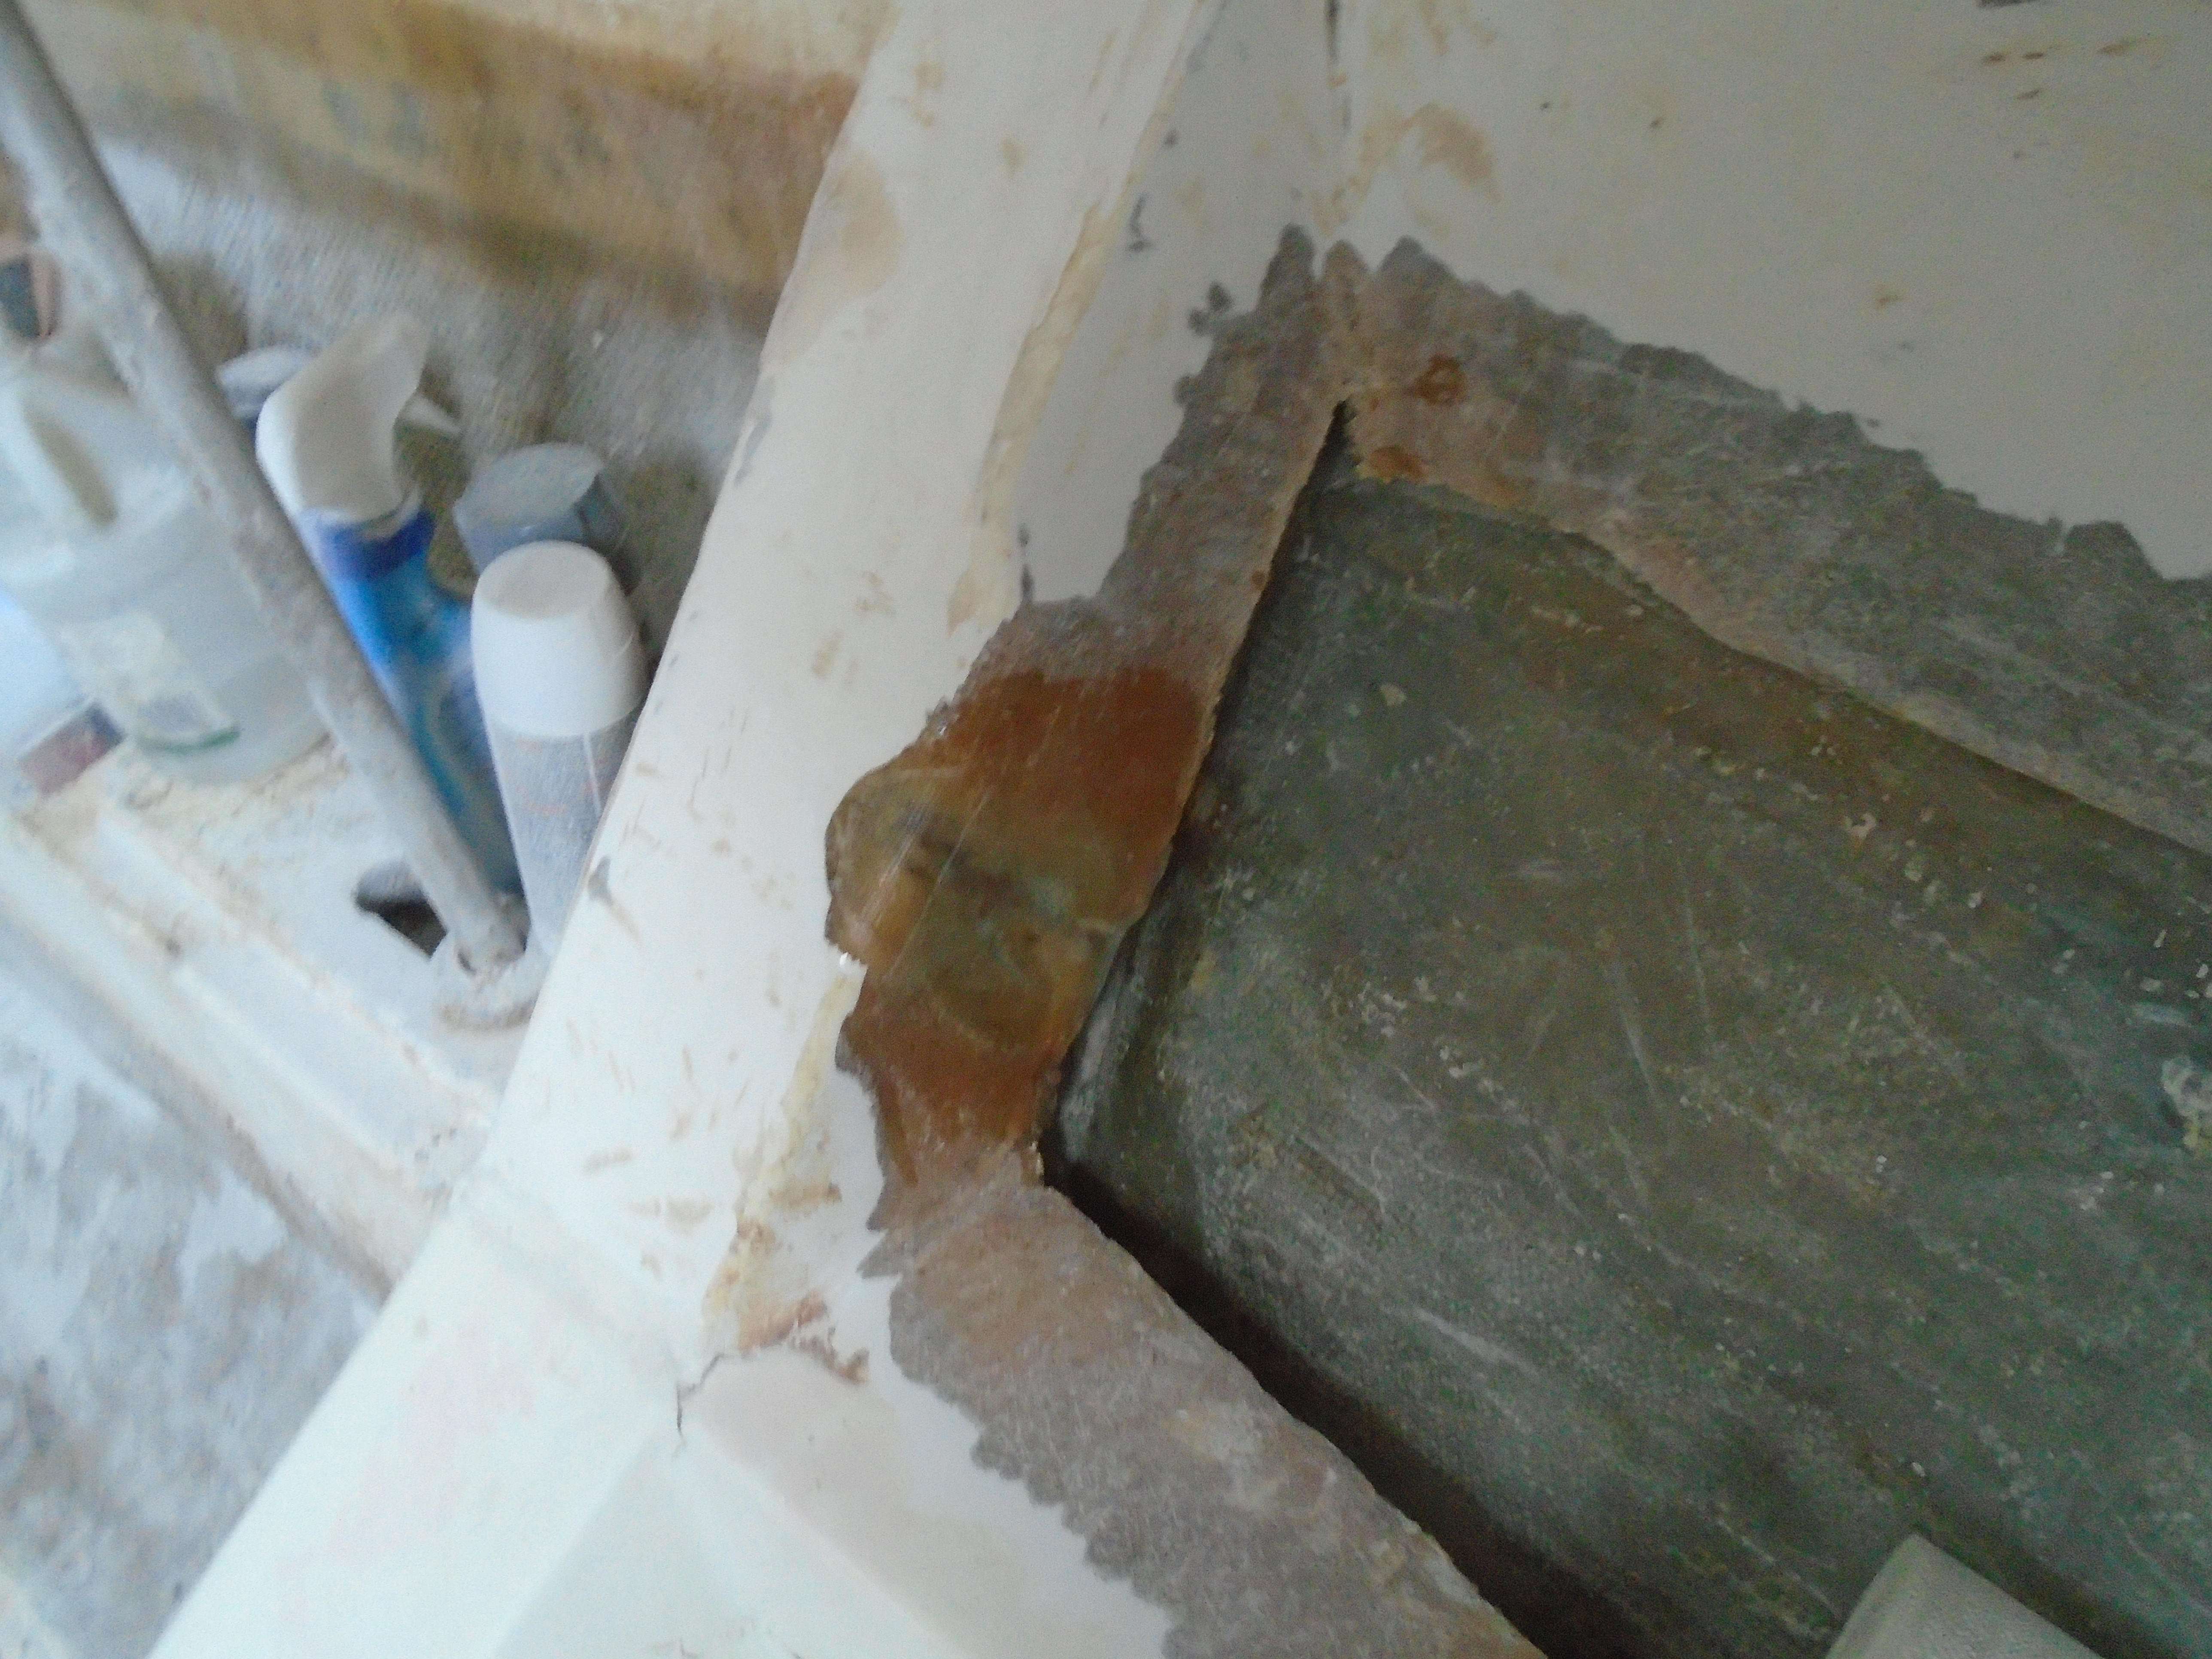
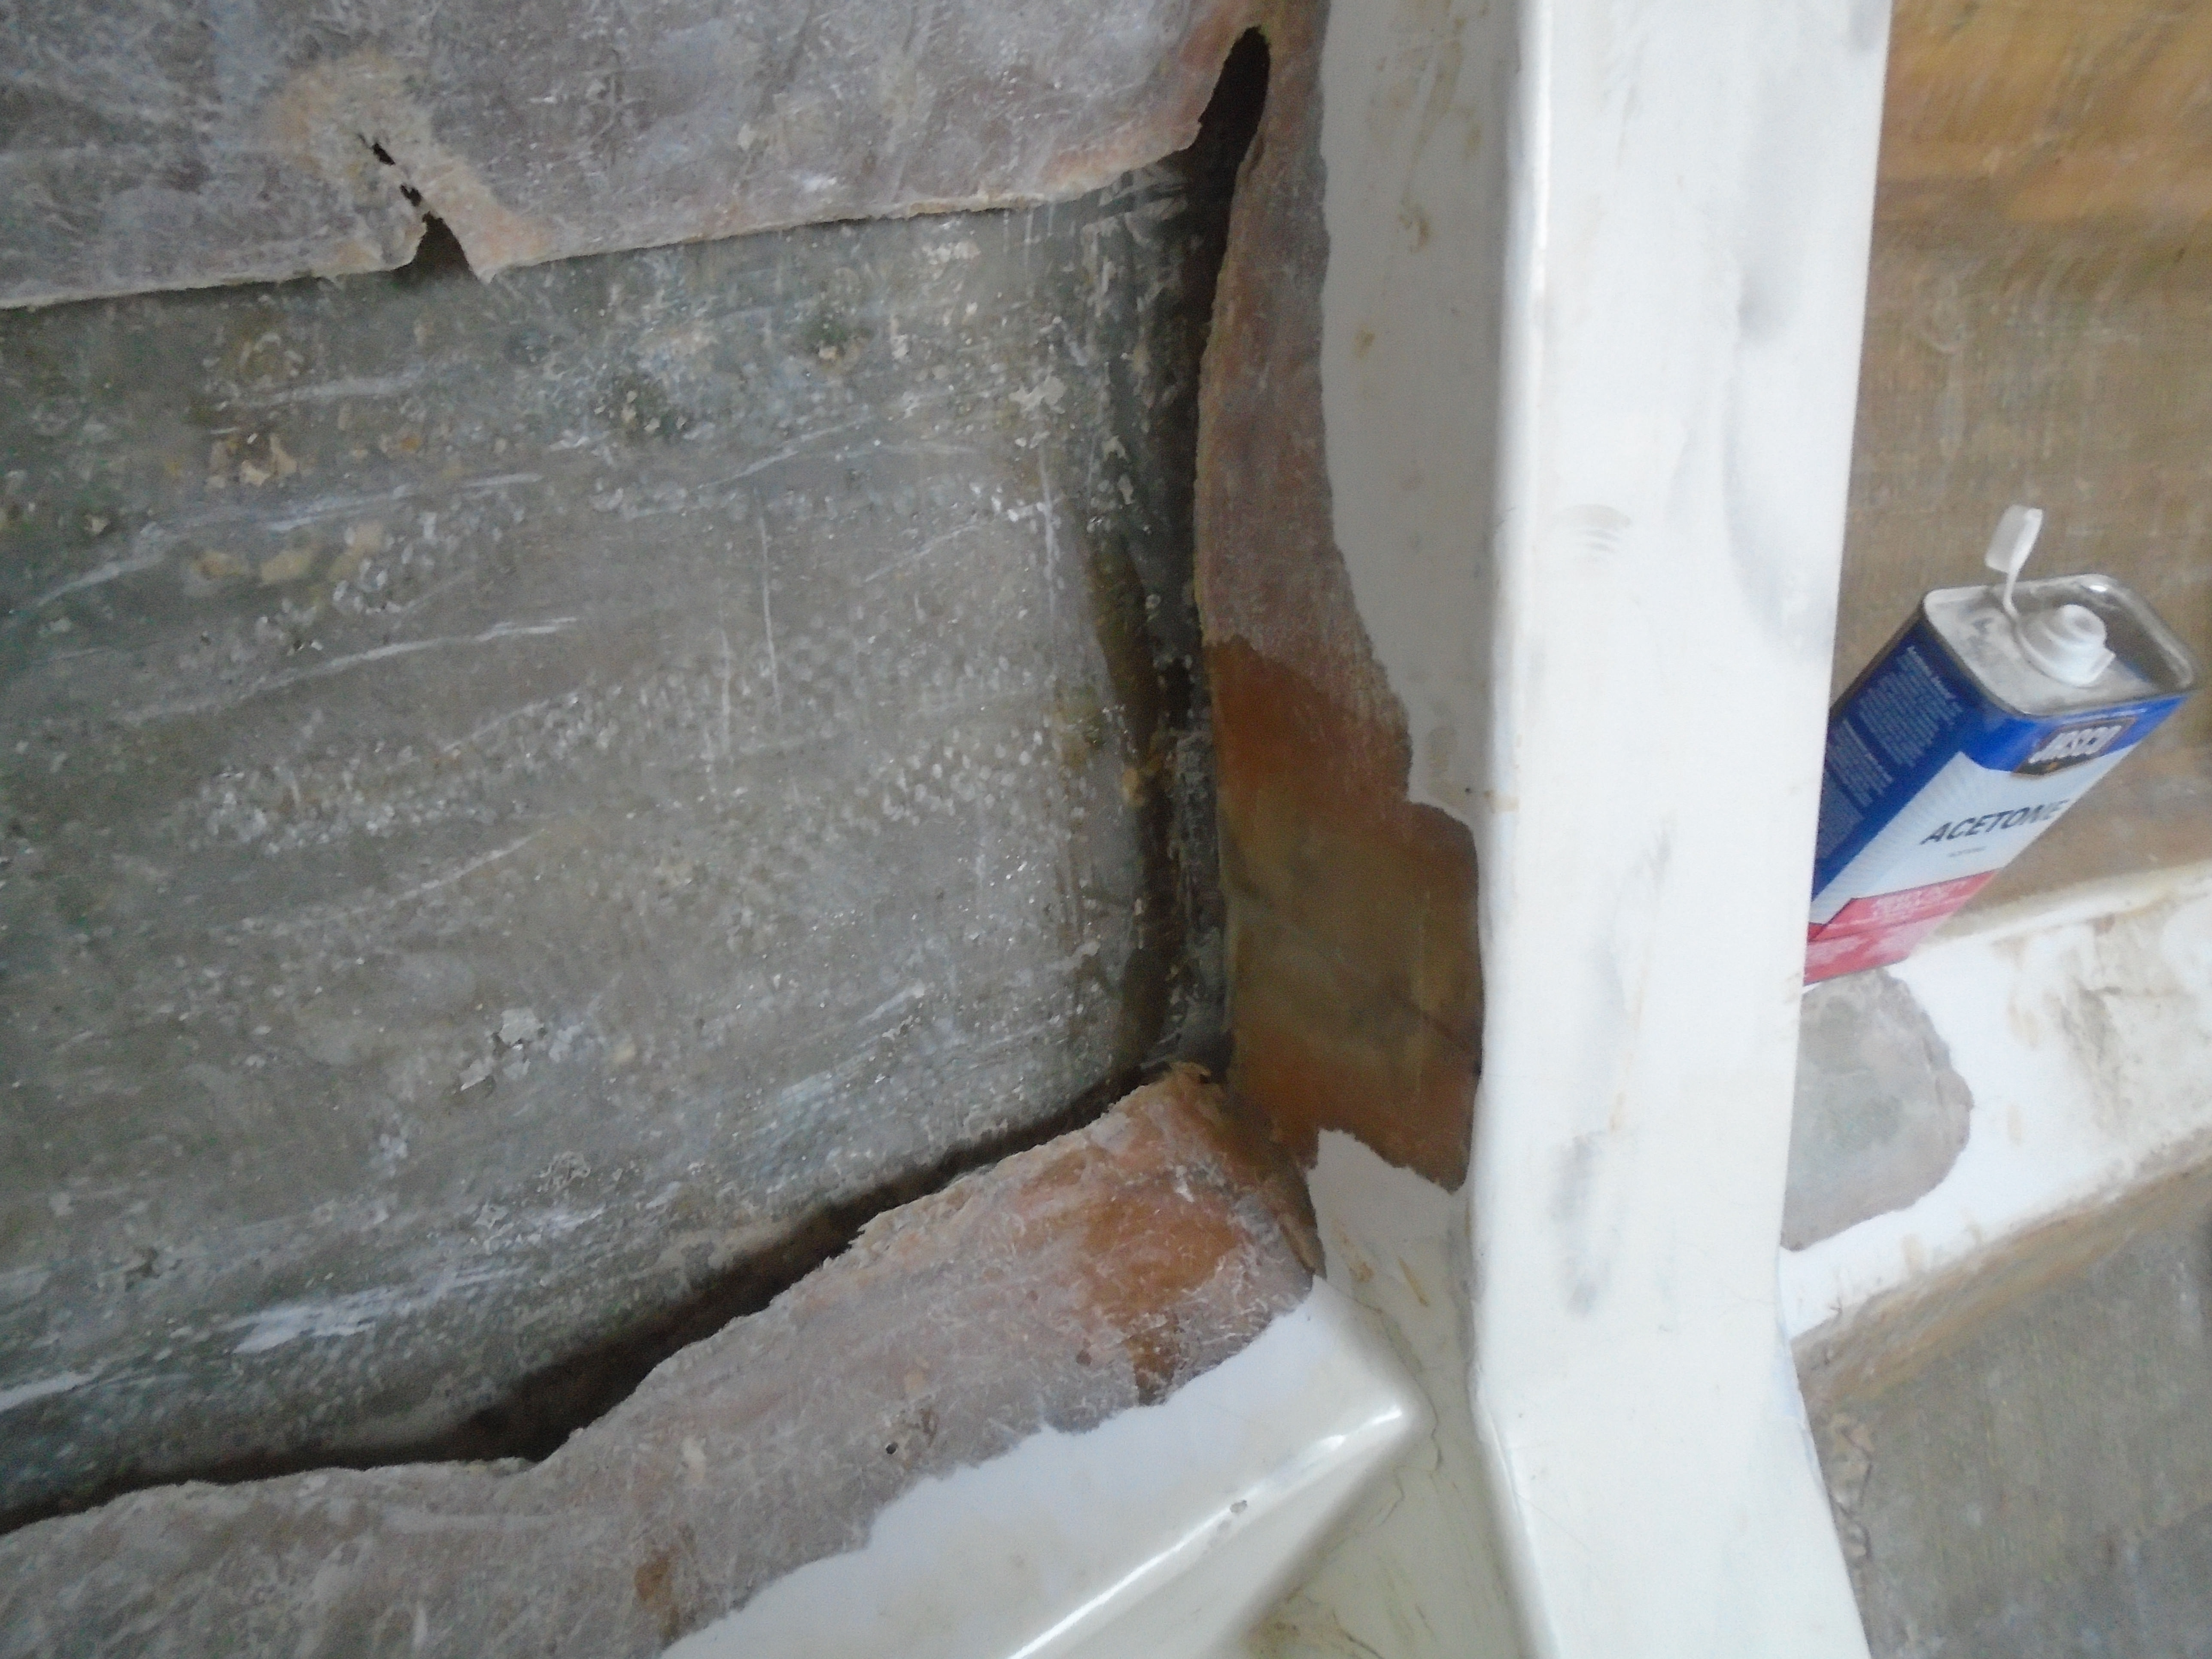
Most of what I've shown is all concentrated in two main areas. I suspect the port aft previous damage came from a boat vs. boat collision - I just get that feeling, and since it was such a poor repair it didn't take much to pop it loose. The damage to the port mid-ships is naturally in an area most likely to sustain damage with a dock. I bought the boat from the PO in Ft. Lauderdale and I think it had been a FL boat for most if not all its life. Probably seen a few storms long before I owned her! I just can't believe how poor the previous repairs were!

Does anyone know if there is an easy way to check the history of a boat?

Mark
 
May 8, 2013
629
Hunter 40 Dataw Island, SC
It's actually quite eye opening, we all have boats that likely had previous owners, who the heck knows what lays beneath the surface.
This project is big, very big, but I'd wager that once completed, this boat will be in better condition than when it left the factory! Every system will be known and understood, every repair done properly, and cabin layout exactly how the owner wants it!
I agree - any boat (or car, or airplane, house, etc.) can look good on the surface, but after years of use or abuse the only way to truly know what's under the skin is to be able to look under the skin! Most times that just isn't possible to the extent I am able to here.

I don't think I can achieve a brand new 30 year old boat but I'm going to get as close as I can. It will definitely be better than when it left the factory, if only because I can devote what the factory can't - time! Not their fault but all boats are built to a price and time is money! The main goal I'm trying to achieve is first obviously to fix the damage but at the same time to bring the basic structure up to a level that will be better than when it left the factory. I spent today repairing quite a few spots in the liner that started as voids or dry layup but over the years have morphed into unsightly cracks. Non-structural but necessary repairs nonetheless. Second is to bring systems such as plumbing, fresh water, electrics and wiring, lighting, etc. up to modern standards. Very few 30 year old boats can say that all the systems are equal to newer or new boats. Third is try to incorporate as many of the lessons I've learned and ideas I've had or have been taught as to what I think the ideal boat for me is. There is no way any factory-built boat can do that fully. That was a factor in my decision to rebuild - I would immediately have to plow just as much money into a new boat anyway so why not use the "blank canvas" to my advantage?
 
Mar 31, 2013
234
O'day 23 Pa
One question I had was about water ingress during submersion.
With her being a liner in hull build, how are you going to verify that no water is sitting between the liner and hull in places you can't get to?
Your not going to drill a bore scope hole in every "compartment", what's your plan there?
 
Nov 8, 2010
11,386
Beneteau First 36.7 & 260 Minneapolis MN & Bayfield WI
I agree - any boat (or car, or airplane, house, etc.) can look good on the surface, but after years of use or abuse the only way to truly know what's under the skin is to be able to look under the skin! Most times that just isn't possible to the extent I am able to here.

I don't think I can achieve a brand new 30 year old boat but I'm going to get as close as I can. It will definitely be better than when it left the factory, if only because I can devote what the factory can't - time! Not their fault but all boats are built to a price and time is money! The main goal I'm trying to achieve is first obviously to fix the damage but at the same time to bring the basic structure up to a level that will be better than when it left the factory. I spent today repairing quite a few spots in the liner that started as voids or dry layup but over the years have morphed into unsightly cracks. Non-structural but necessary repairs nonetheless. Second is to bring systems such as plumbing, fresh water, electrics and wiring, lighting, etc. up to modern standards. Very few 30 year old boats can say that all the systems are equal to newer or new boats. Third is try to incorporate as many of the lessons I've learned and ideas I've had or have been taught as to what I think the ideal boat for me is. There is no way any factory-built boat can do that fully. That was a factor in my decision to rebuild - I would immediately have to plow just as much money into a new boat anyway so why not use the "blank canvas" to my advantage?
Is just a tremendous amount of damage and poor construction.

You're doing great work, and it will server you well.

But at the end of your time with her you're going to have a salvaged, sunk boat that you've have a very hard time selling, as nobody will insure it for the new owner.
 
Sep 20, 2014
1,325
Rob Legg RL24 Chain O'Lakes
But at the end of your time with her you're going to have a salvaged, sunk boat that you've have a very hard time selling, as nobody will insure it for the new owner.
How will anyone other than us know it was sunk or salvaged? Since he is not making a claim on it and doing all the work himself, there will be no official record of the damage or the repair. Even if he discloses that information to a new owner, the new owner would probably not report it to the insurance company. As far as damage, it is in better shape than when he got it, so the boat will be of no worse value.
 
  • Like
Likes: Timm R Oday25
Nov 8, 2010
11,386
Beneteau First 36.7 & 260 Minneapolis MN & Bayfield WI
How will anyone other than us know it was sunk or salvaged? Since he is not making a claim on it and doing all the work himself, there will be no official record of the damage or the repair. Even if he discloses that information to a new owner, the new owner would probably not report it to the insurance company. As far as damage, it is in better shape than when he got it, so the boat will be of no worse value.
That's not how it works on 40 foot boats. Any insurance company will want a survey. They will find it. And this whole discussion is a mater of public record.
 
May 8, 2013
629
Hunter 40 Dataw Island, SC
Is just a tremendous amount of damage and poor construction.

You're doing great work, and it will server you well.

But at the end of your time with her you're going to have a salvaged, sunk boat that you've have a very hard time selling, as nobody will insure it for the new owner.
Thanks! I wouldn't say so much poor construction, just poor repair work. I'm actually fairly impressed (with a few exceptions) with the original construction. It is essentially an early example of modern construction techniques, albeit somewhat primitive in areas.

Not the least bit concerned with insurance companies and resale. I have already expressed my opinions about the insurance industry so no need to repeat that, and I wouldn't be doing all this work with the intent of reselling the boat. Granted, anything could happen in the future but for now my plan is the keep the boat long-term.
 
May 8, 2013
629
Hunter 40 Dataw Island, SC
Continuing grid repair:

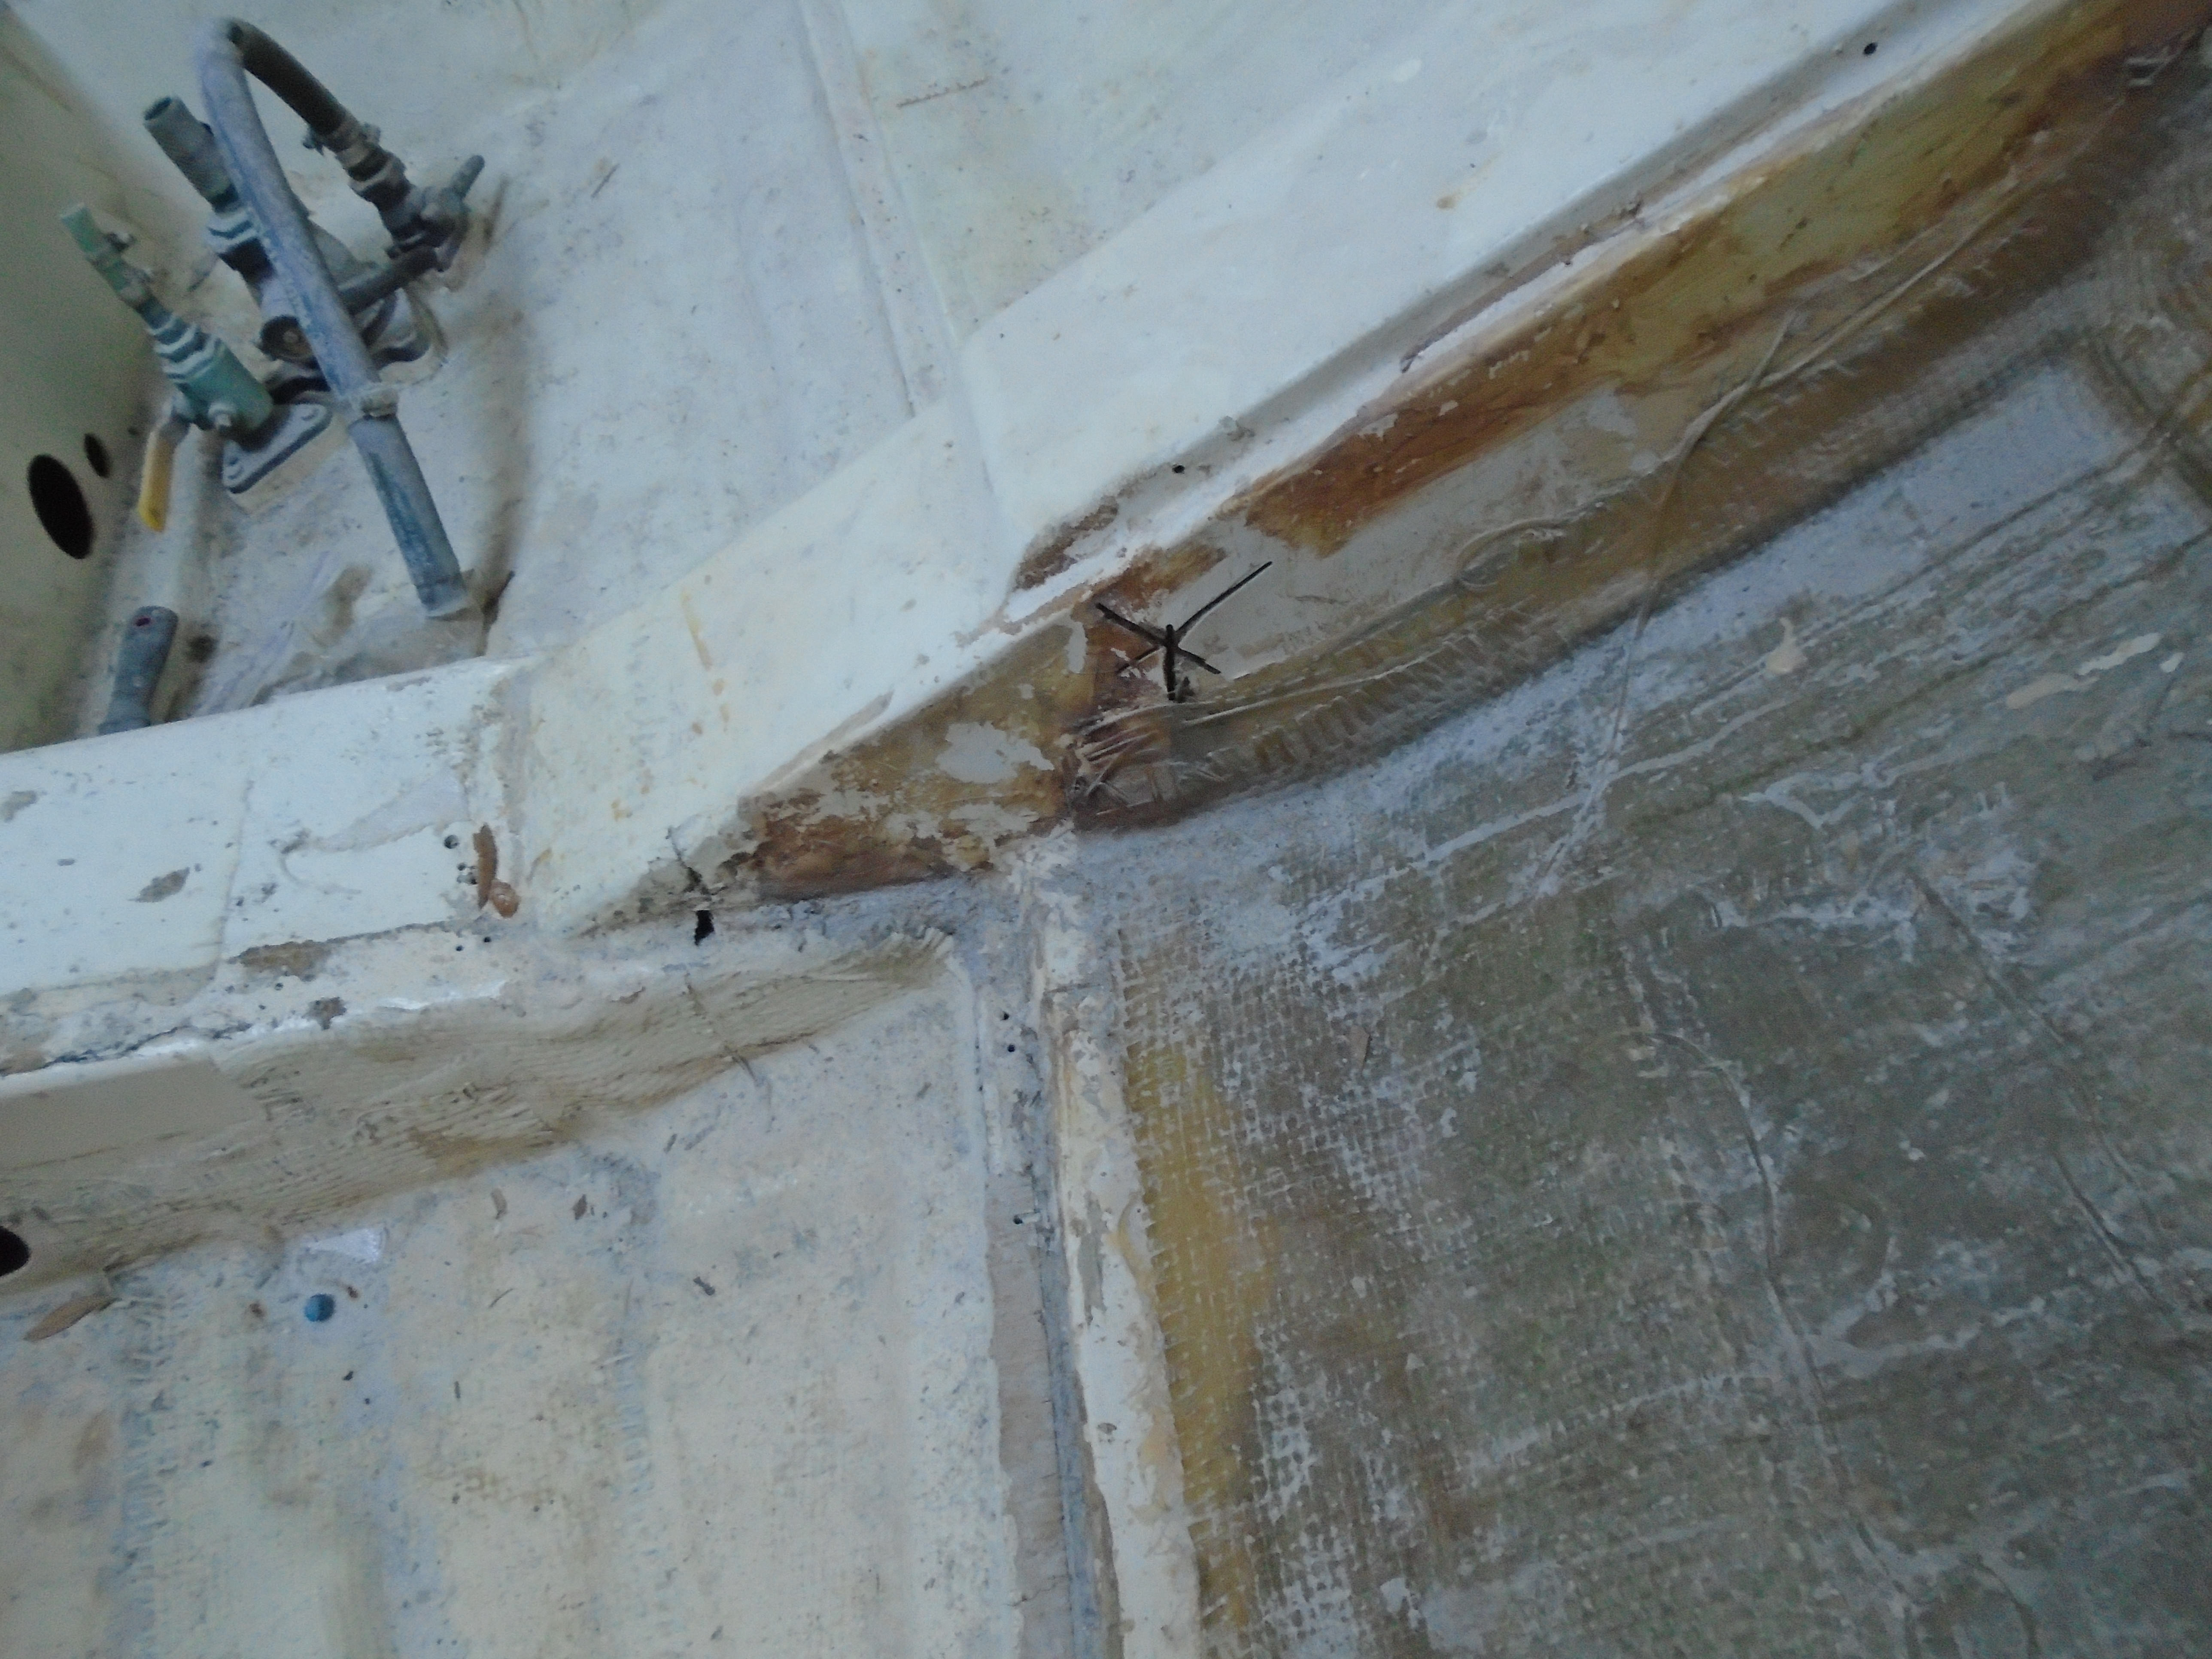
I left the port-side grid repairs for a few days to make a patch panel (shown below) and did some work in the v-berth. Returning to the port-side now, I first addressed the crack in the upper stringer:


Just a matter of grinding to good glass, then I epoxied a backing plate to support the new layup. I started with two layers and let them harden slightly to hold the shape before adding the remaining layers to build up the area. Now waiting for sanding and a little filler to pretty it up.

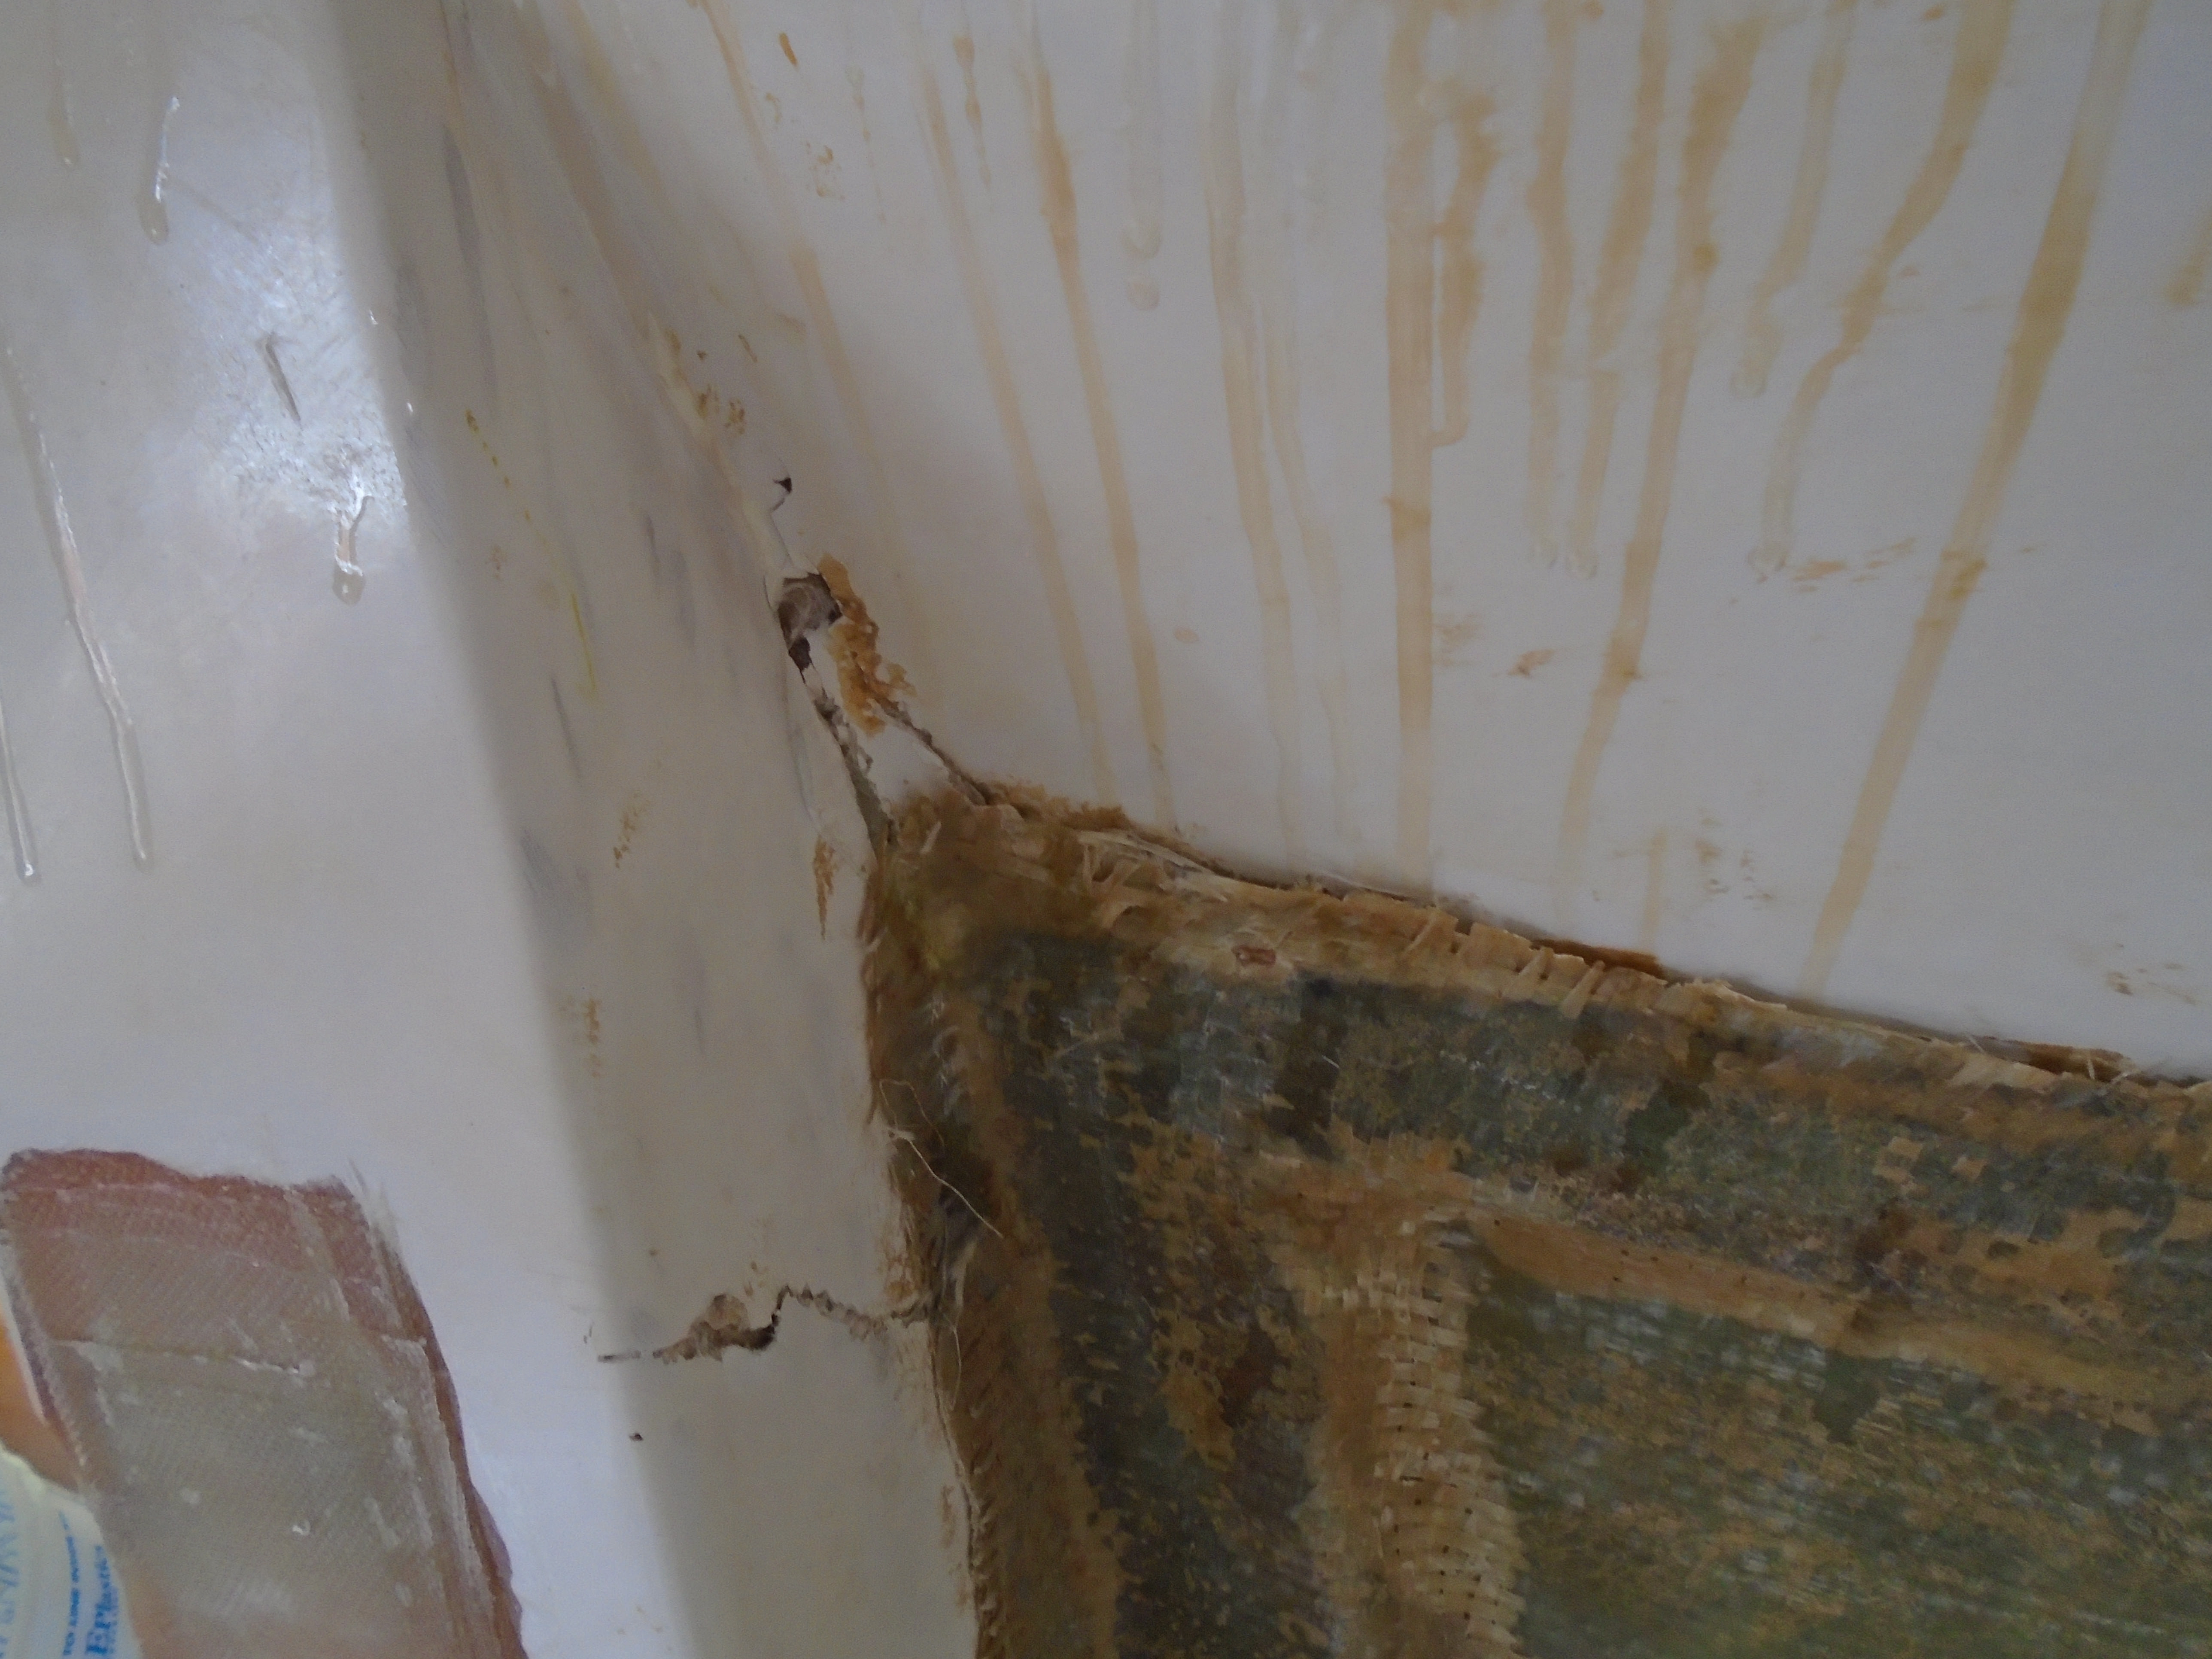
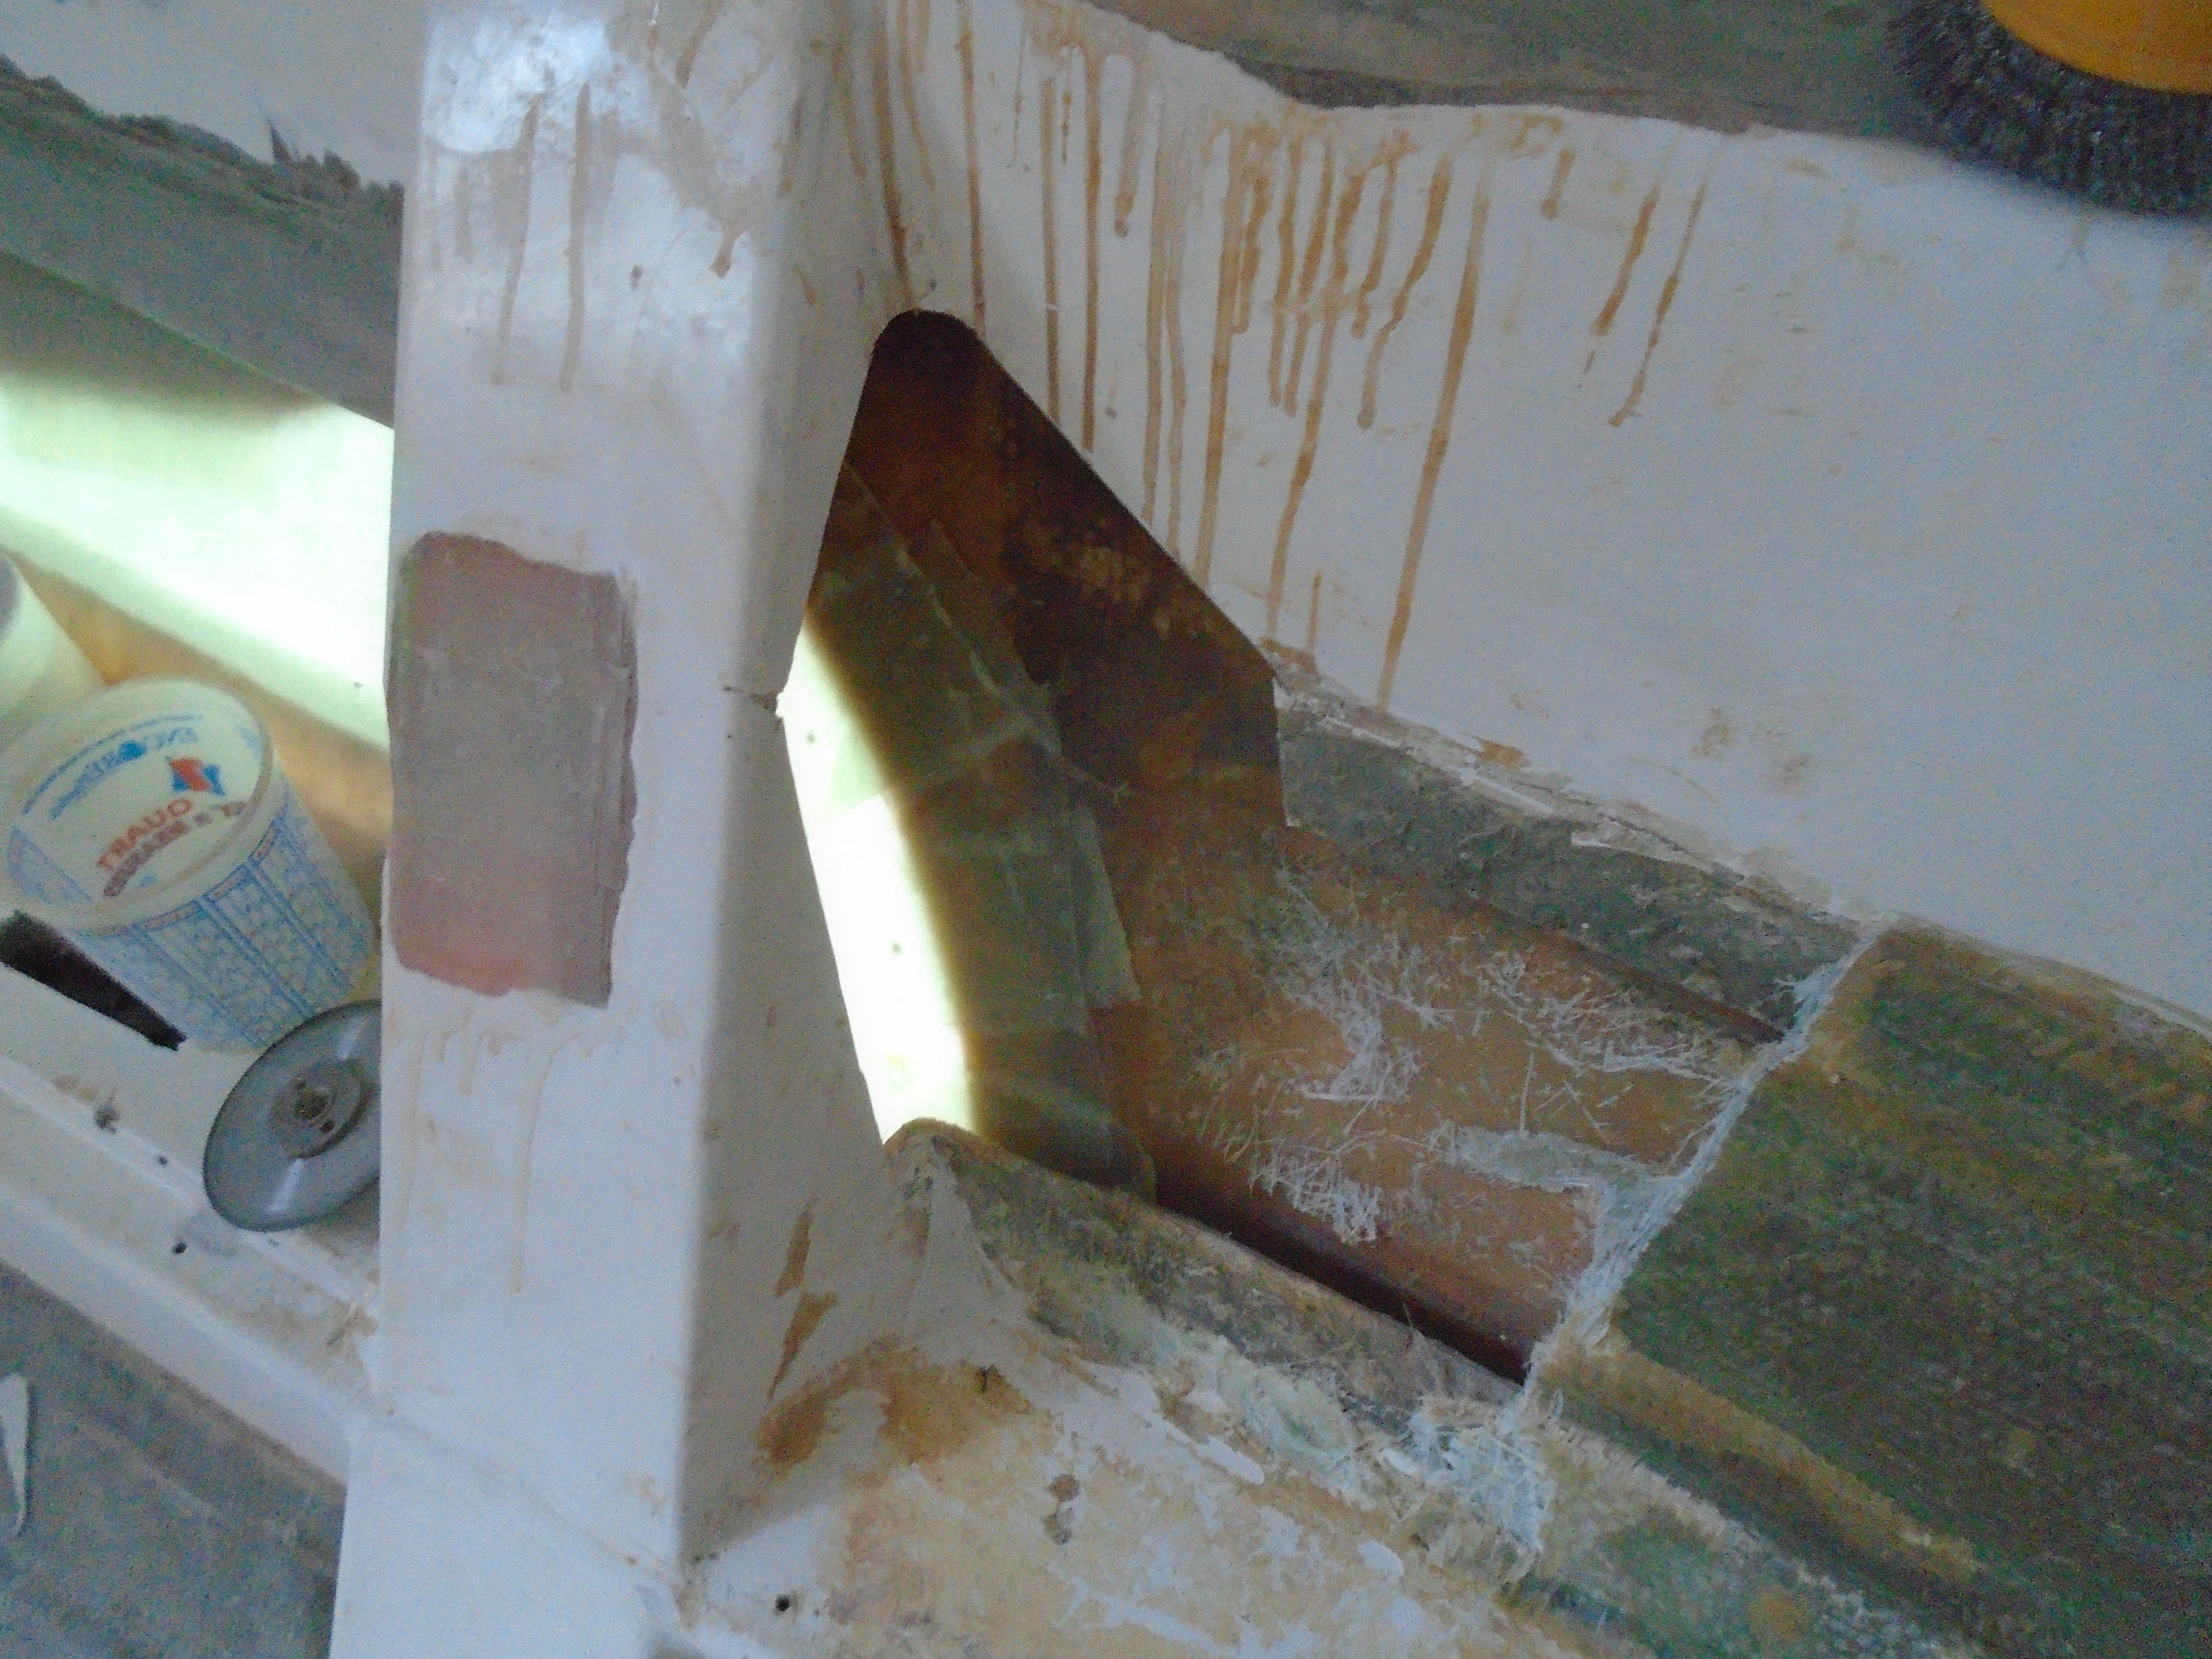
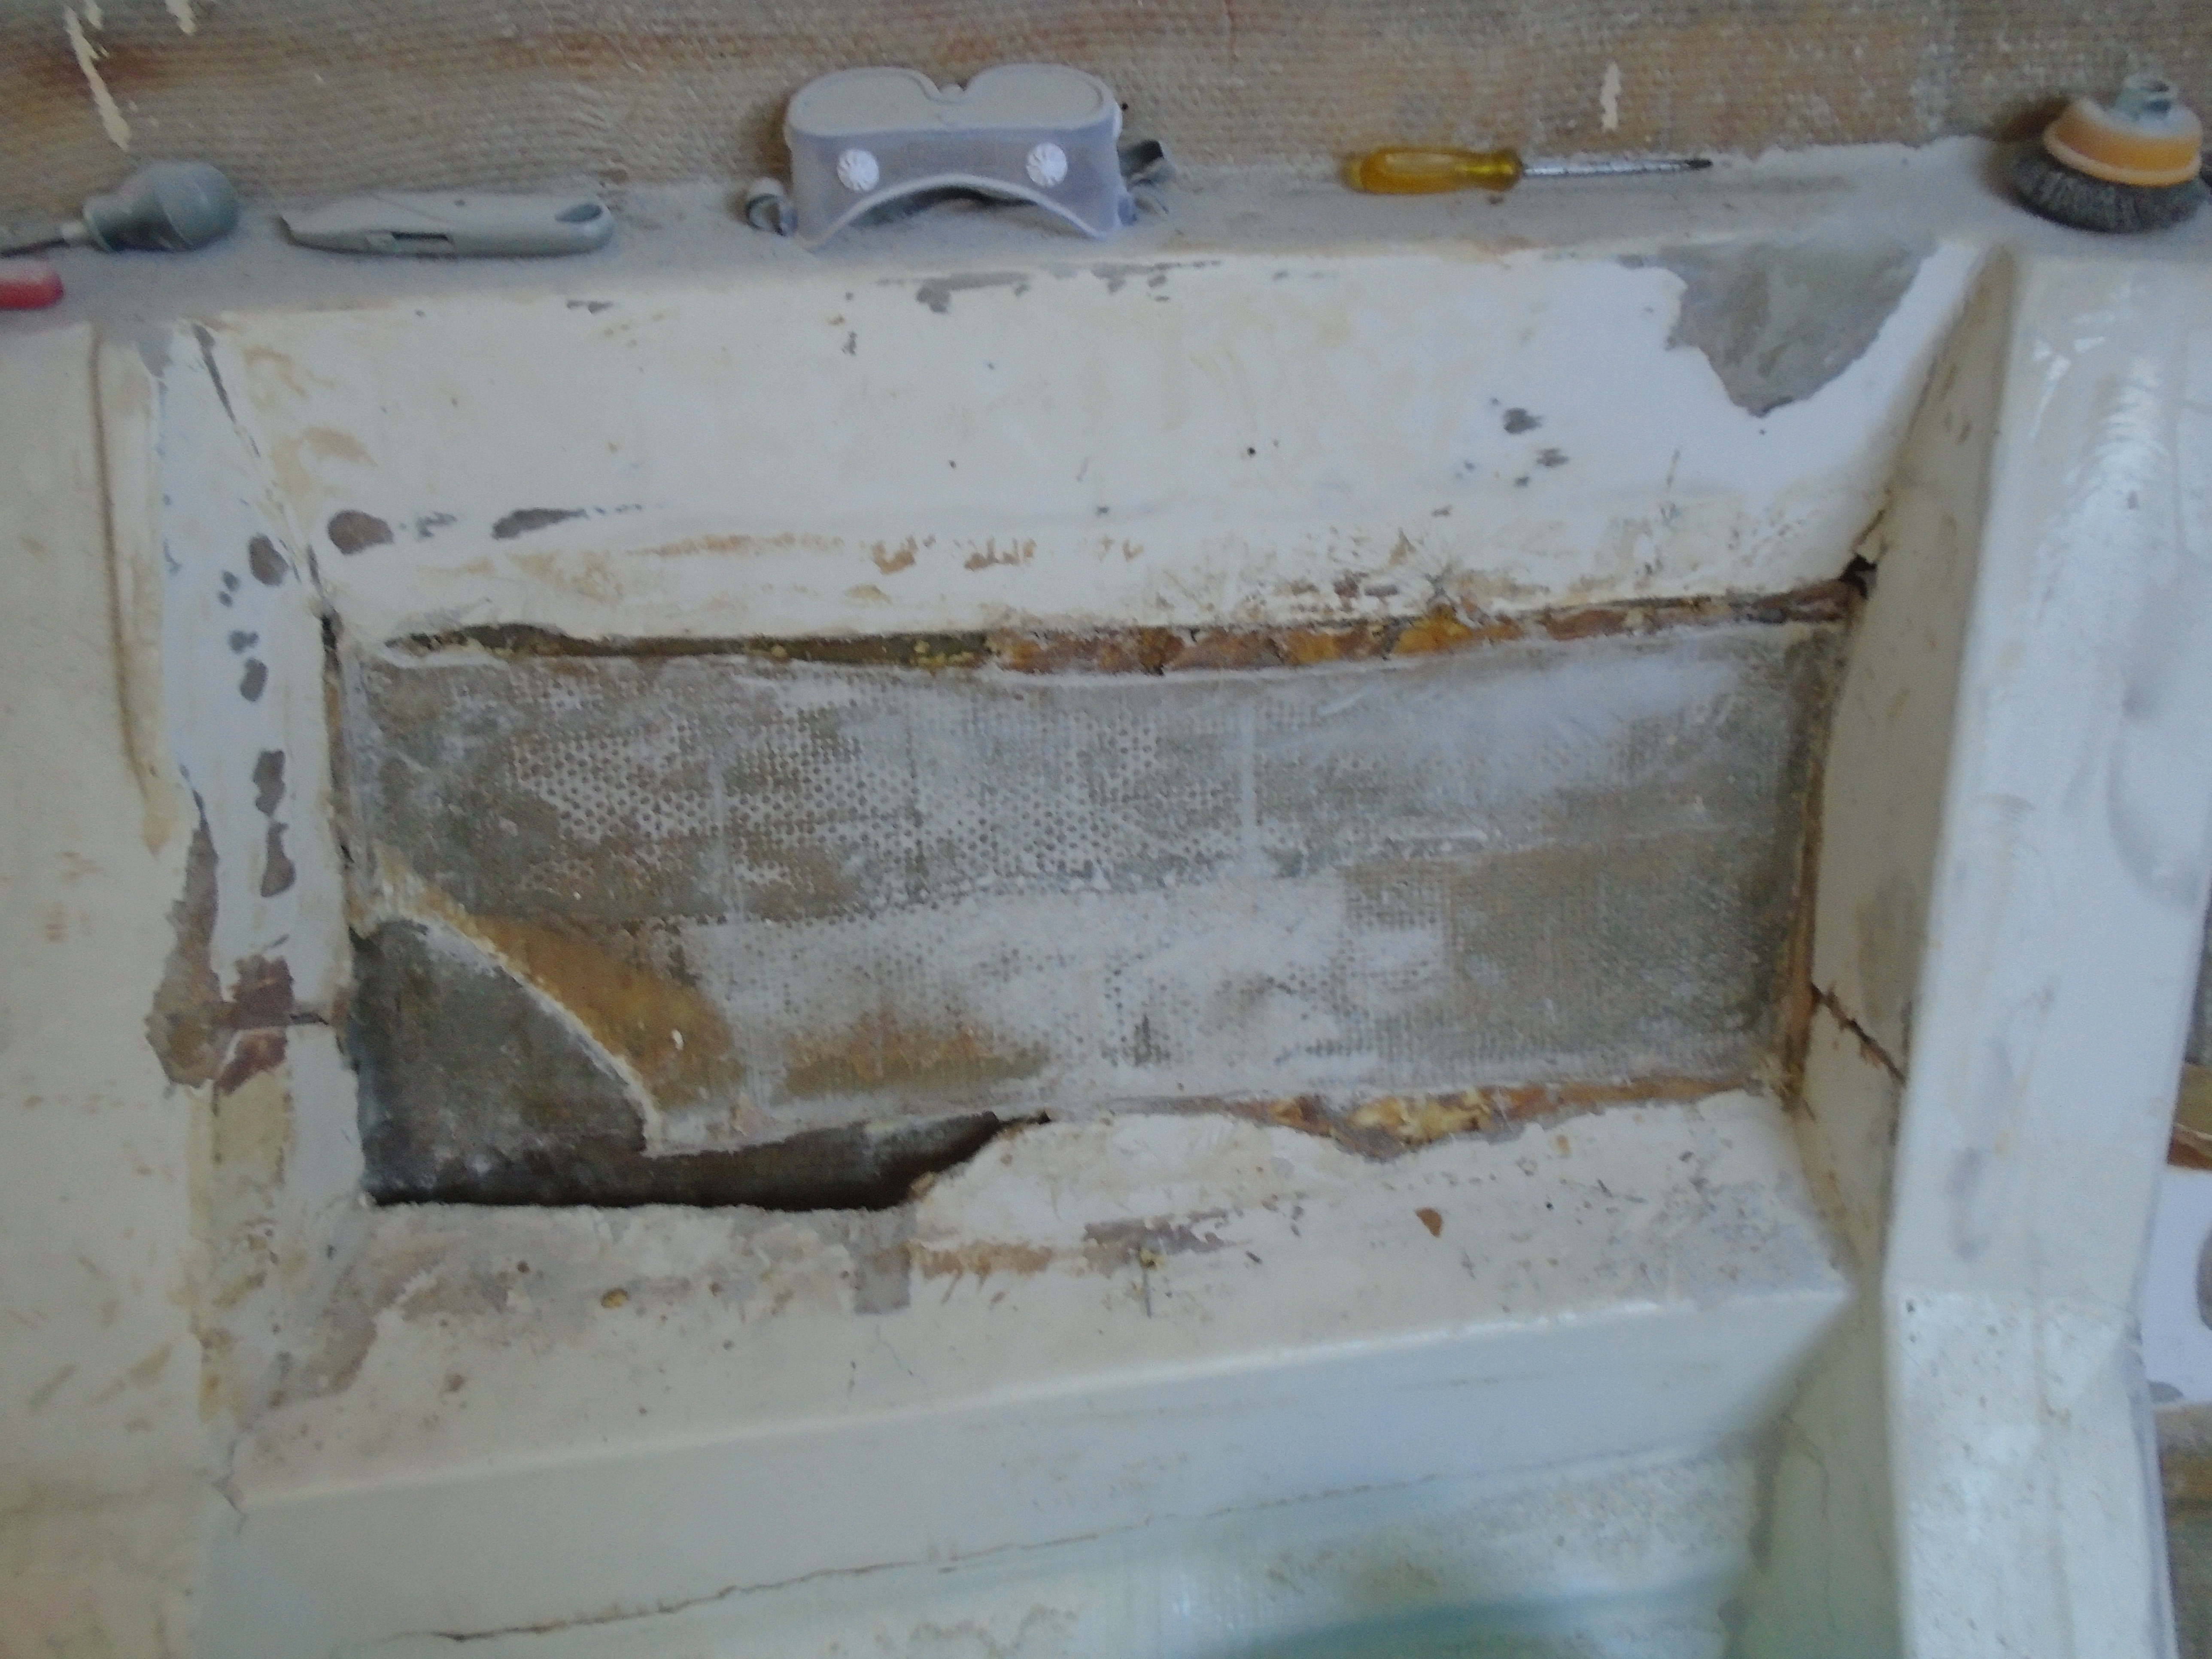
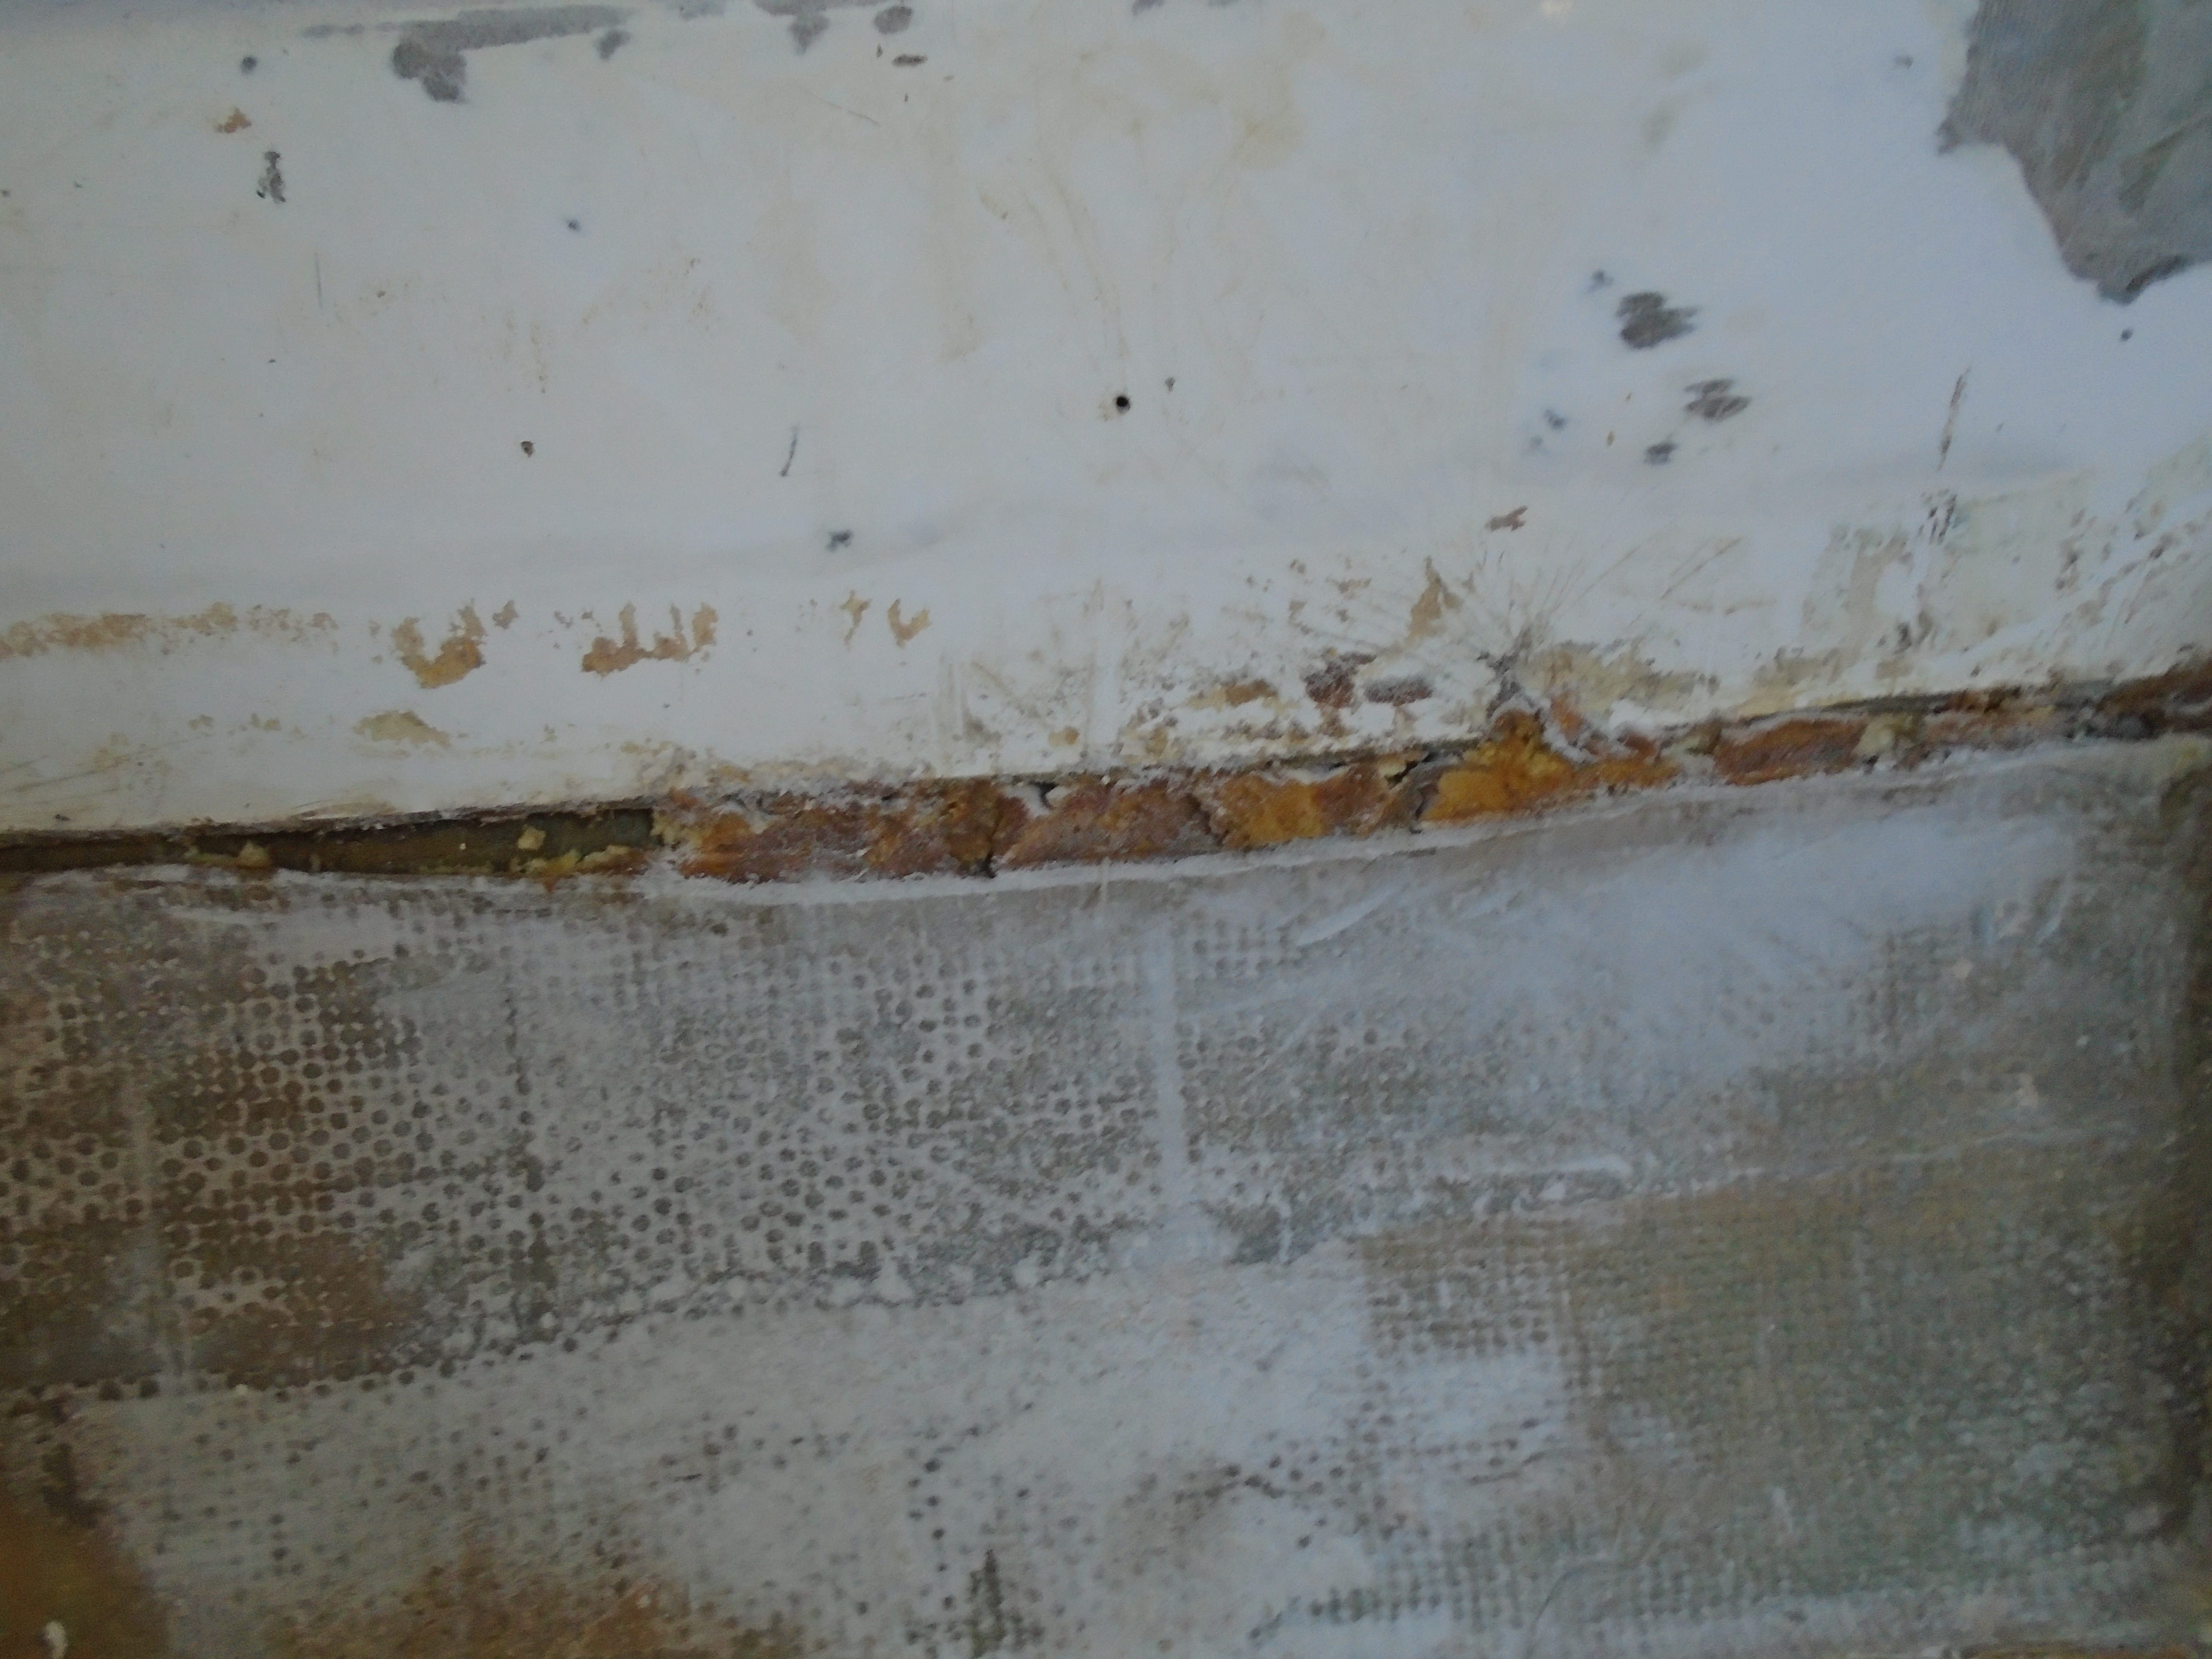
Next to the transverse bulkhead. A reminder of the previous "repair":


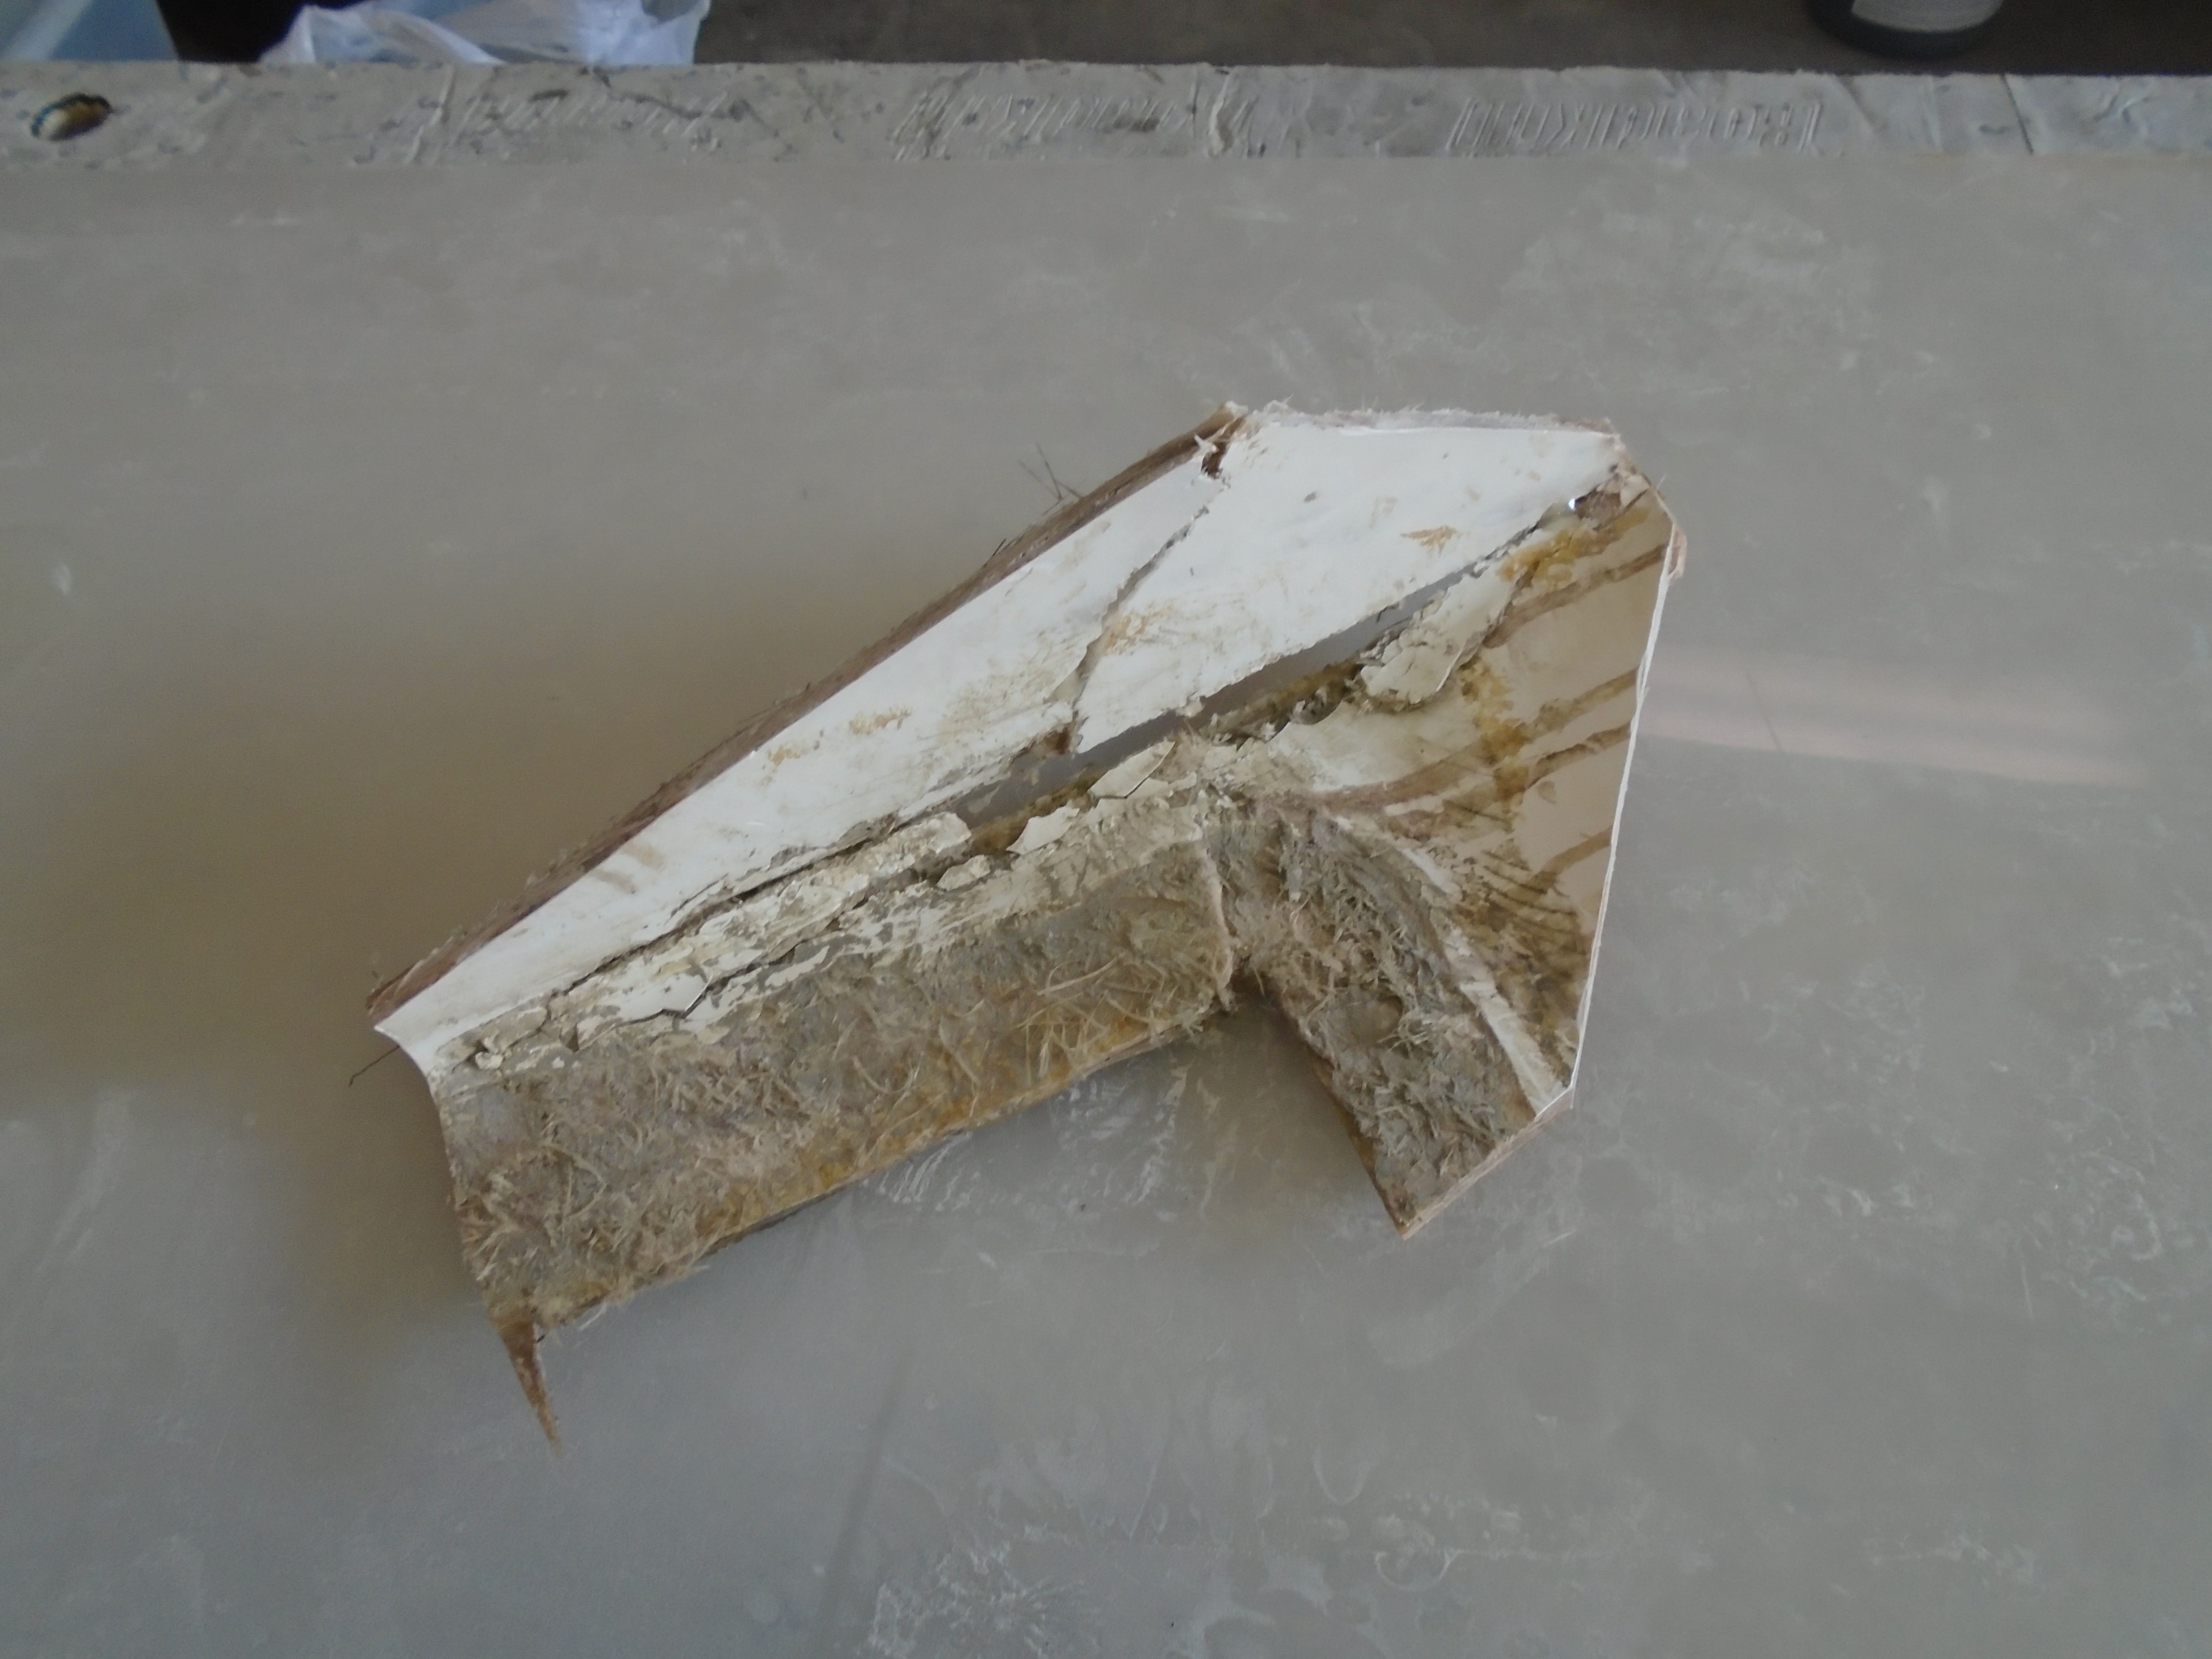
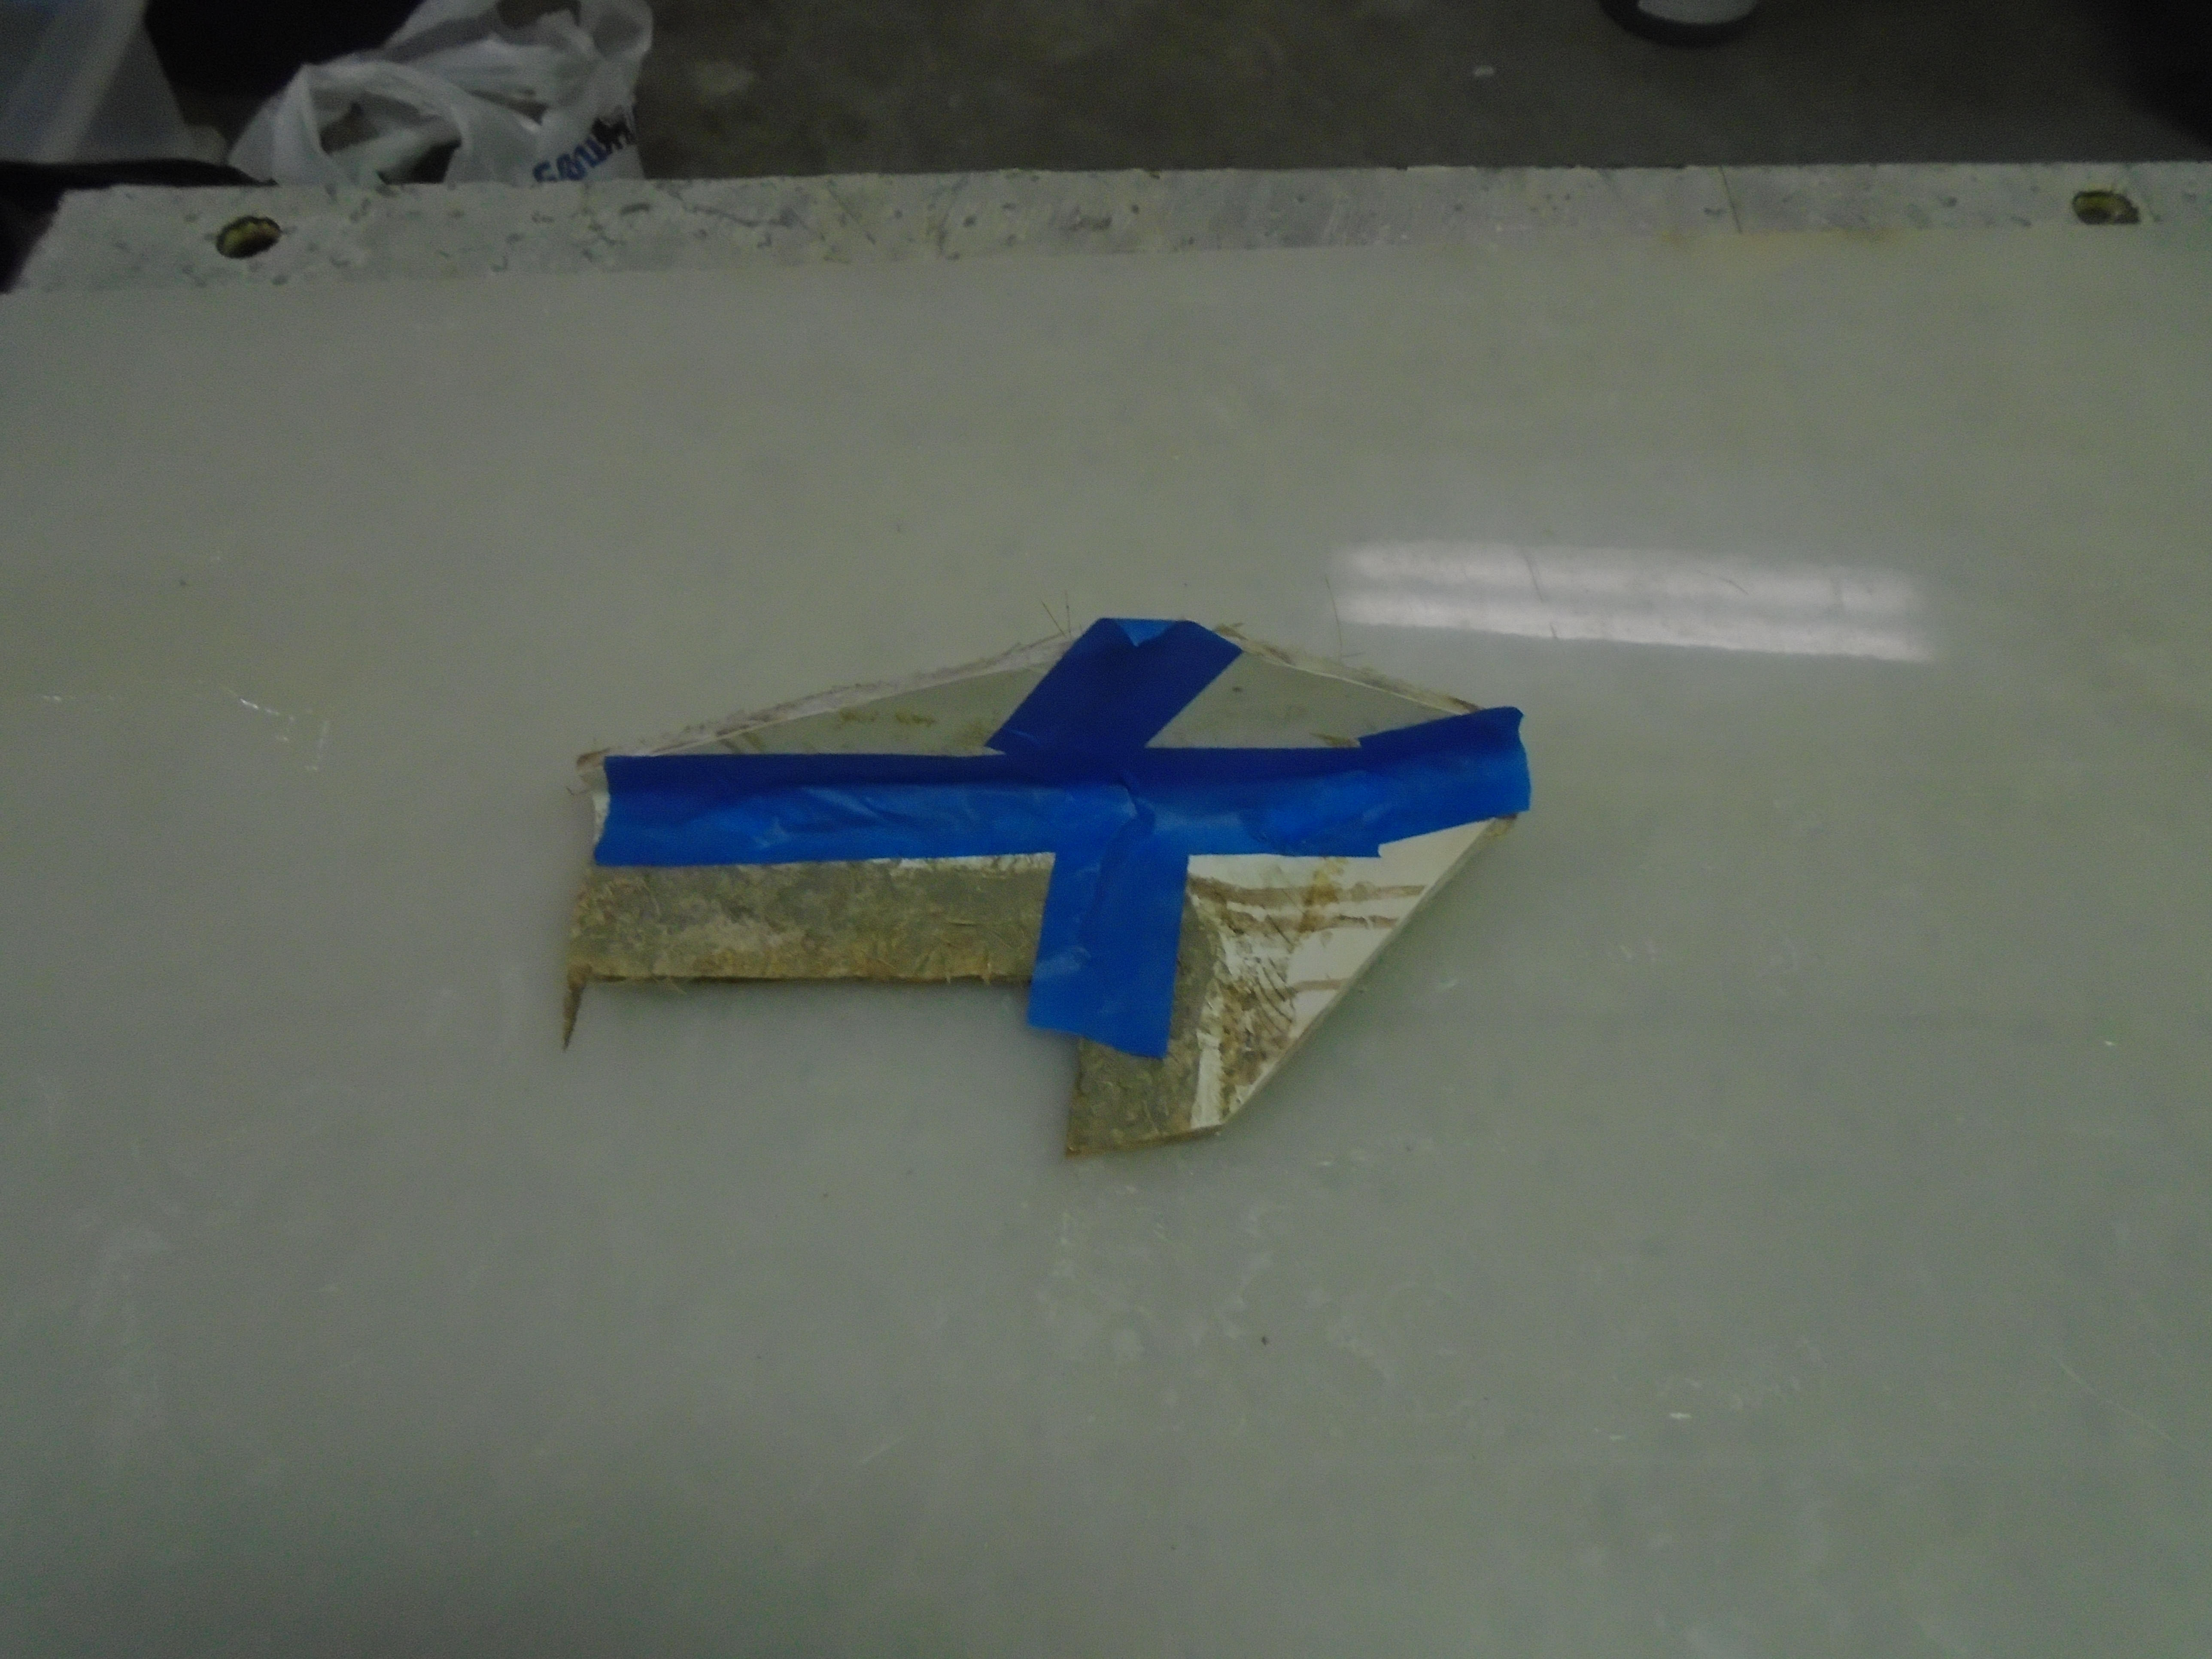
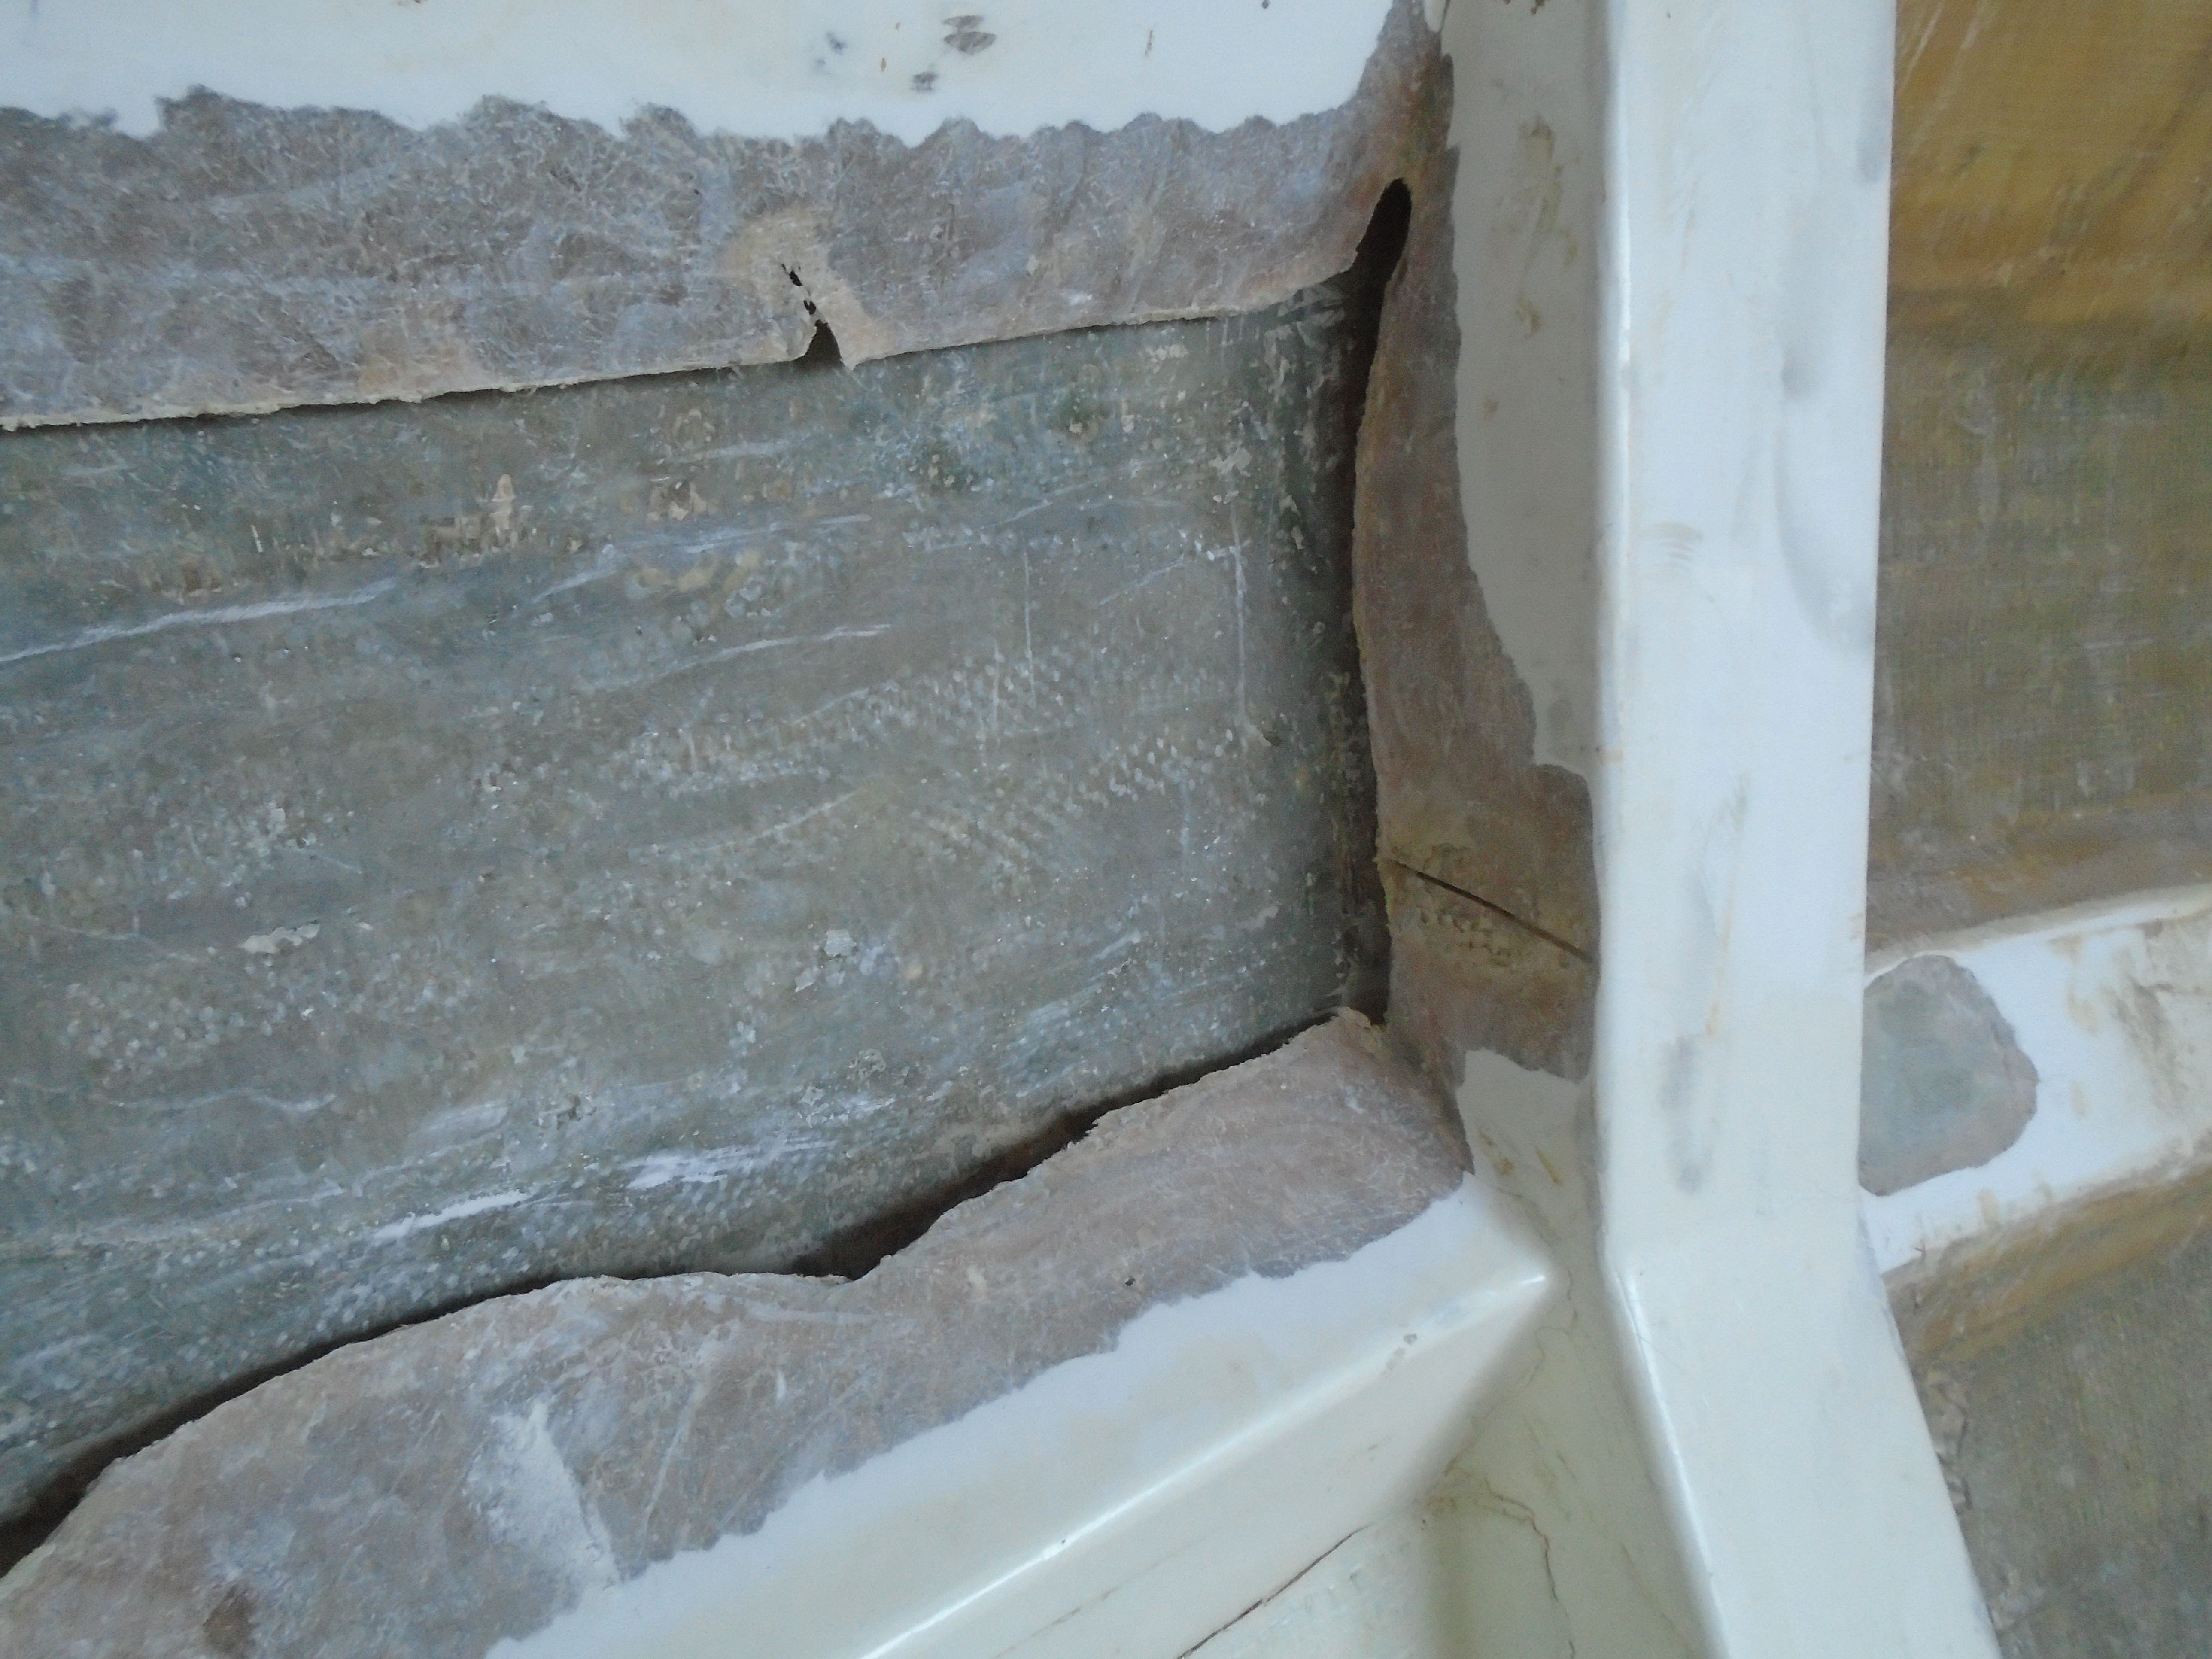
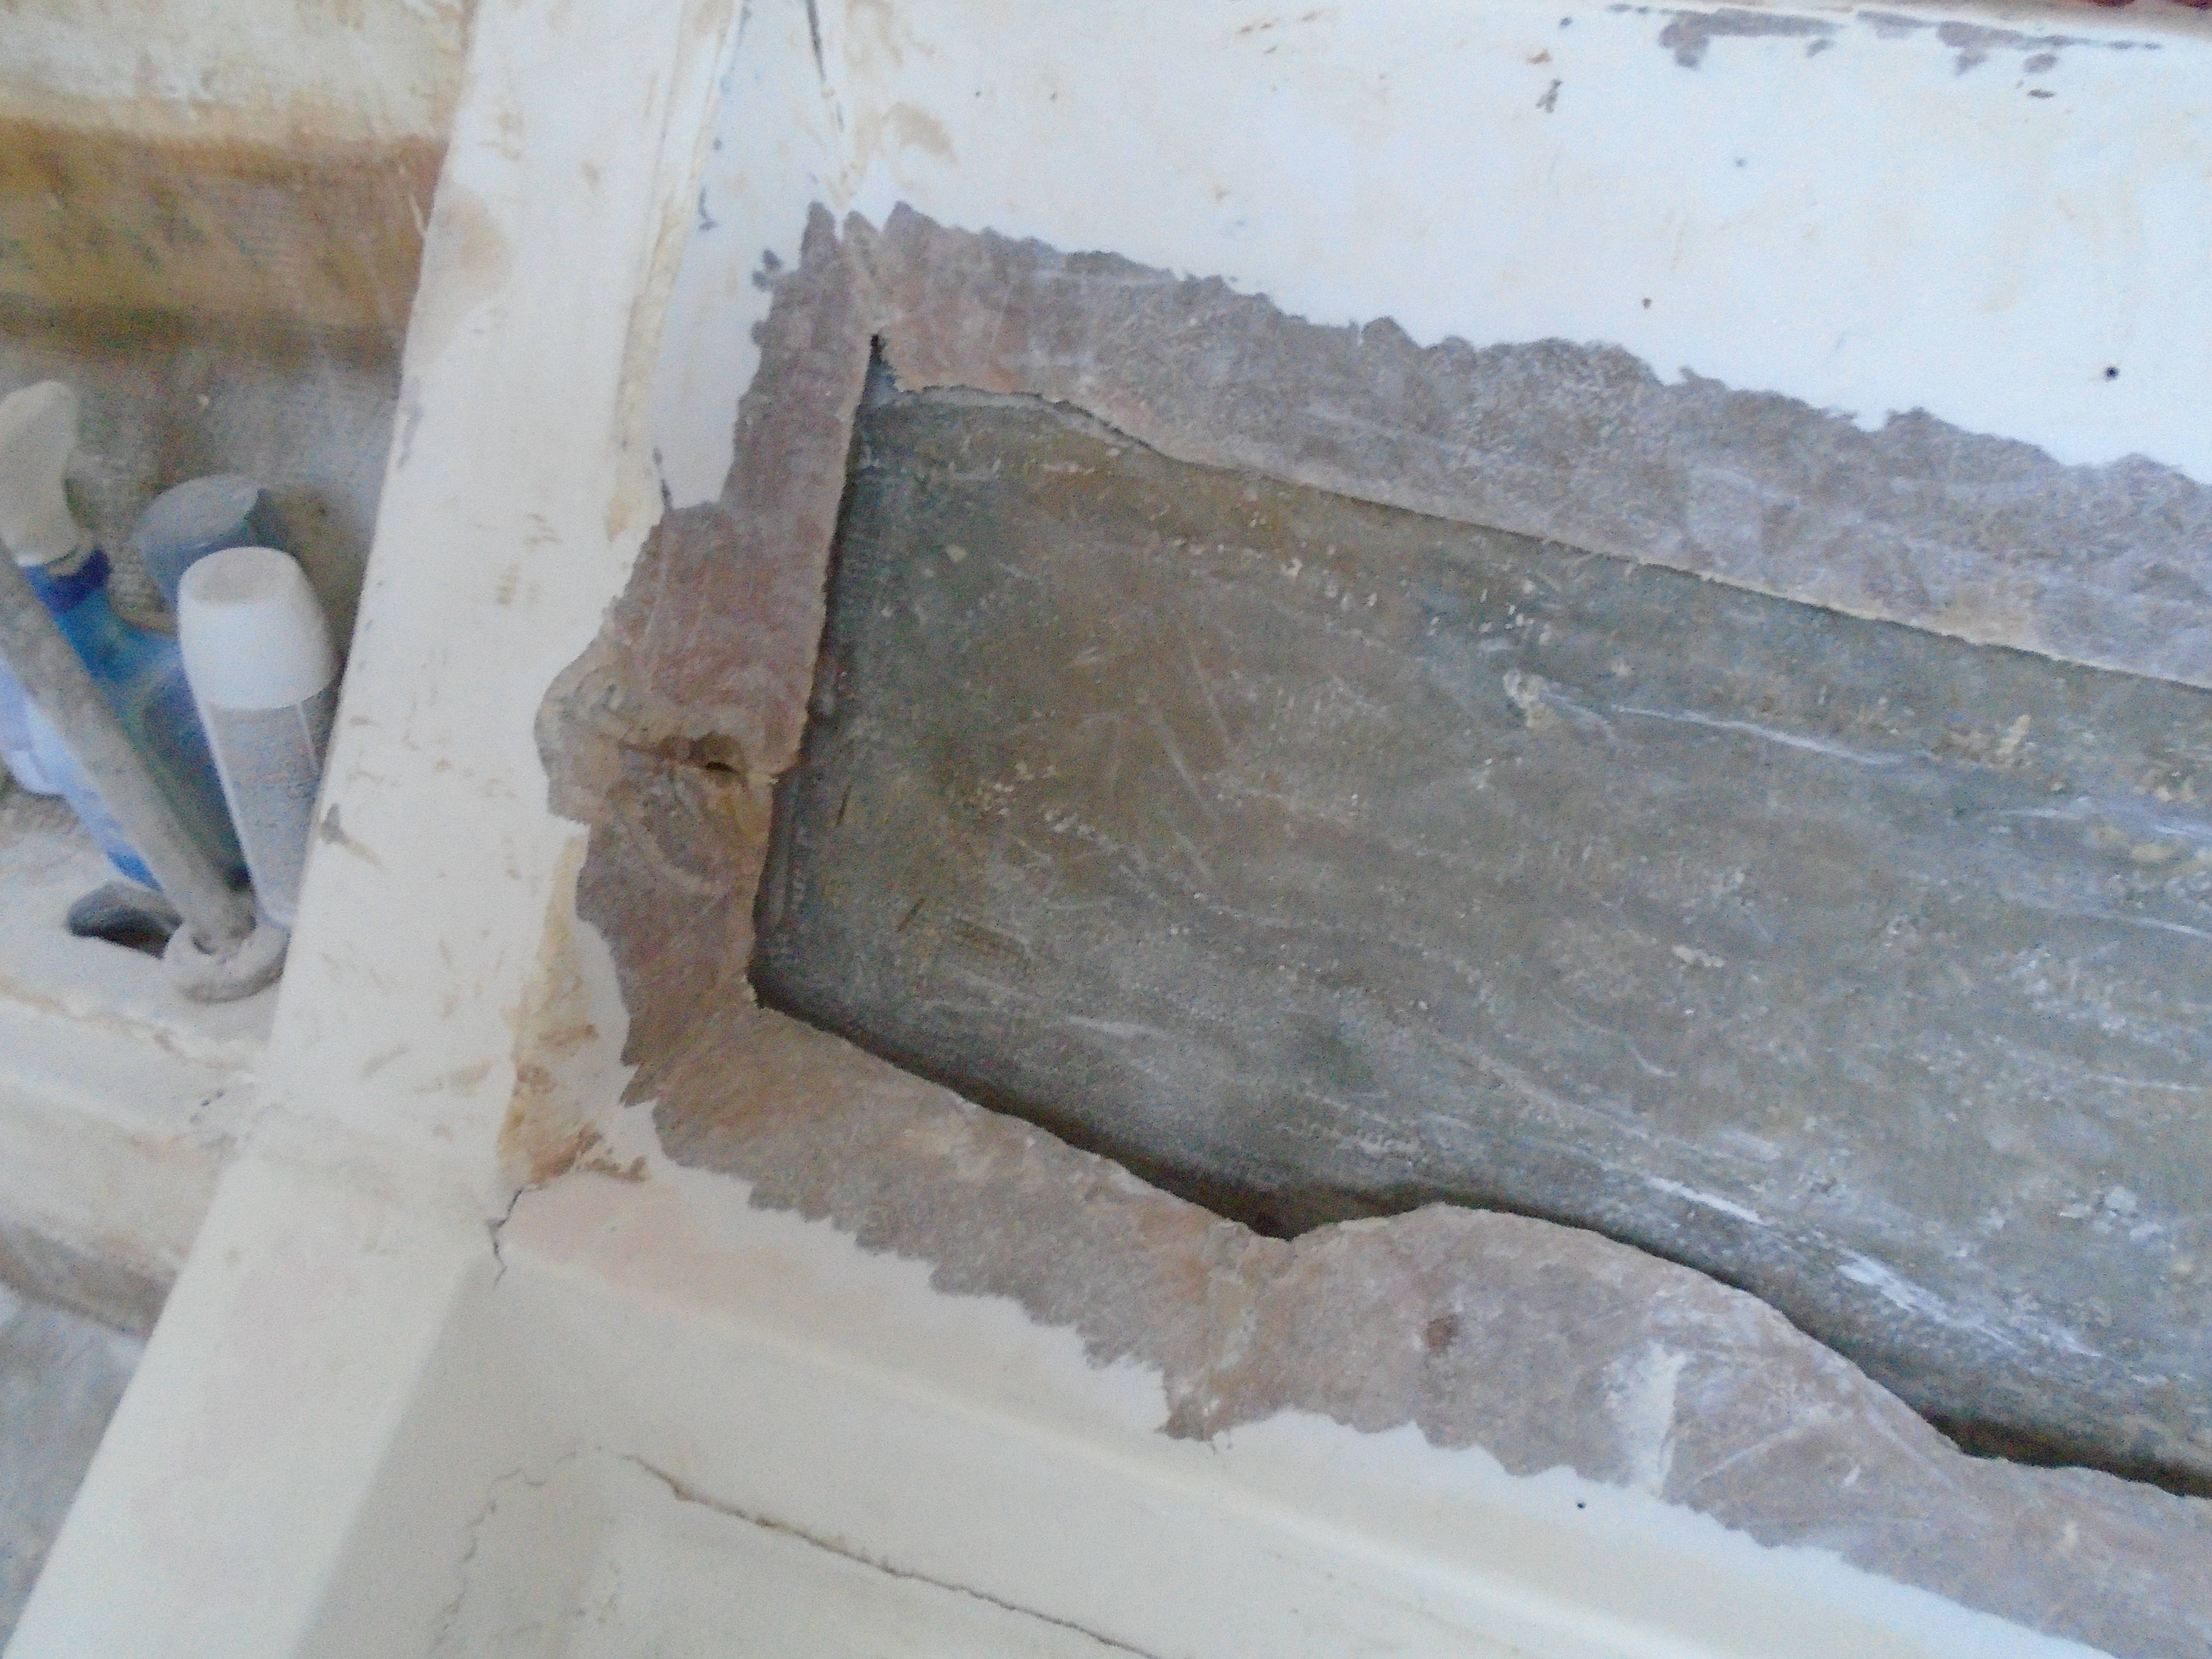
So after pulling away the bad repair panel I assessed the crack and decided the best course of action was to cut out the damage and patch the area. This required molding a panel. First I cut out the bad sections:


Next was to glue the pieces back together - test fitting to make sure I kept the original shape!


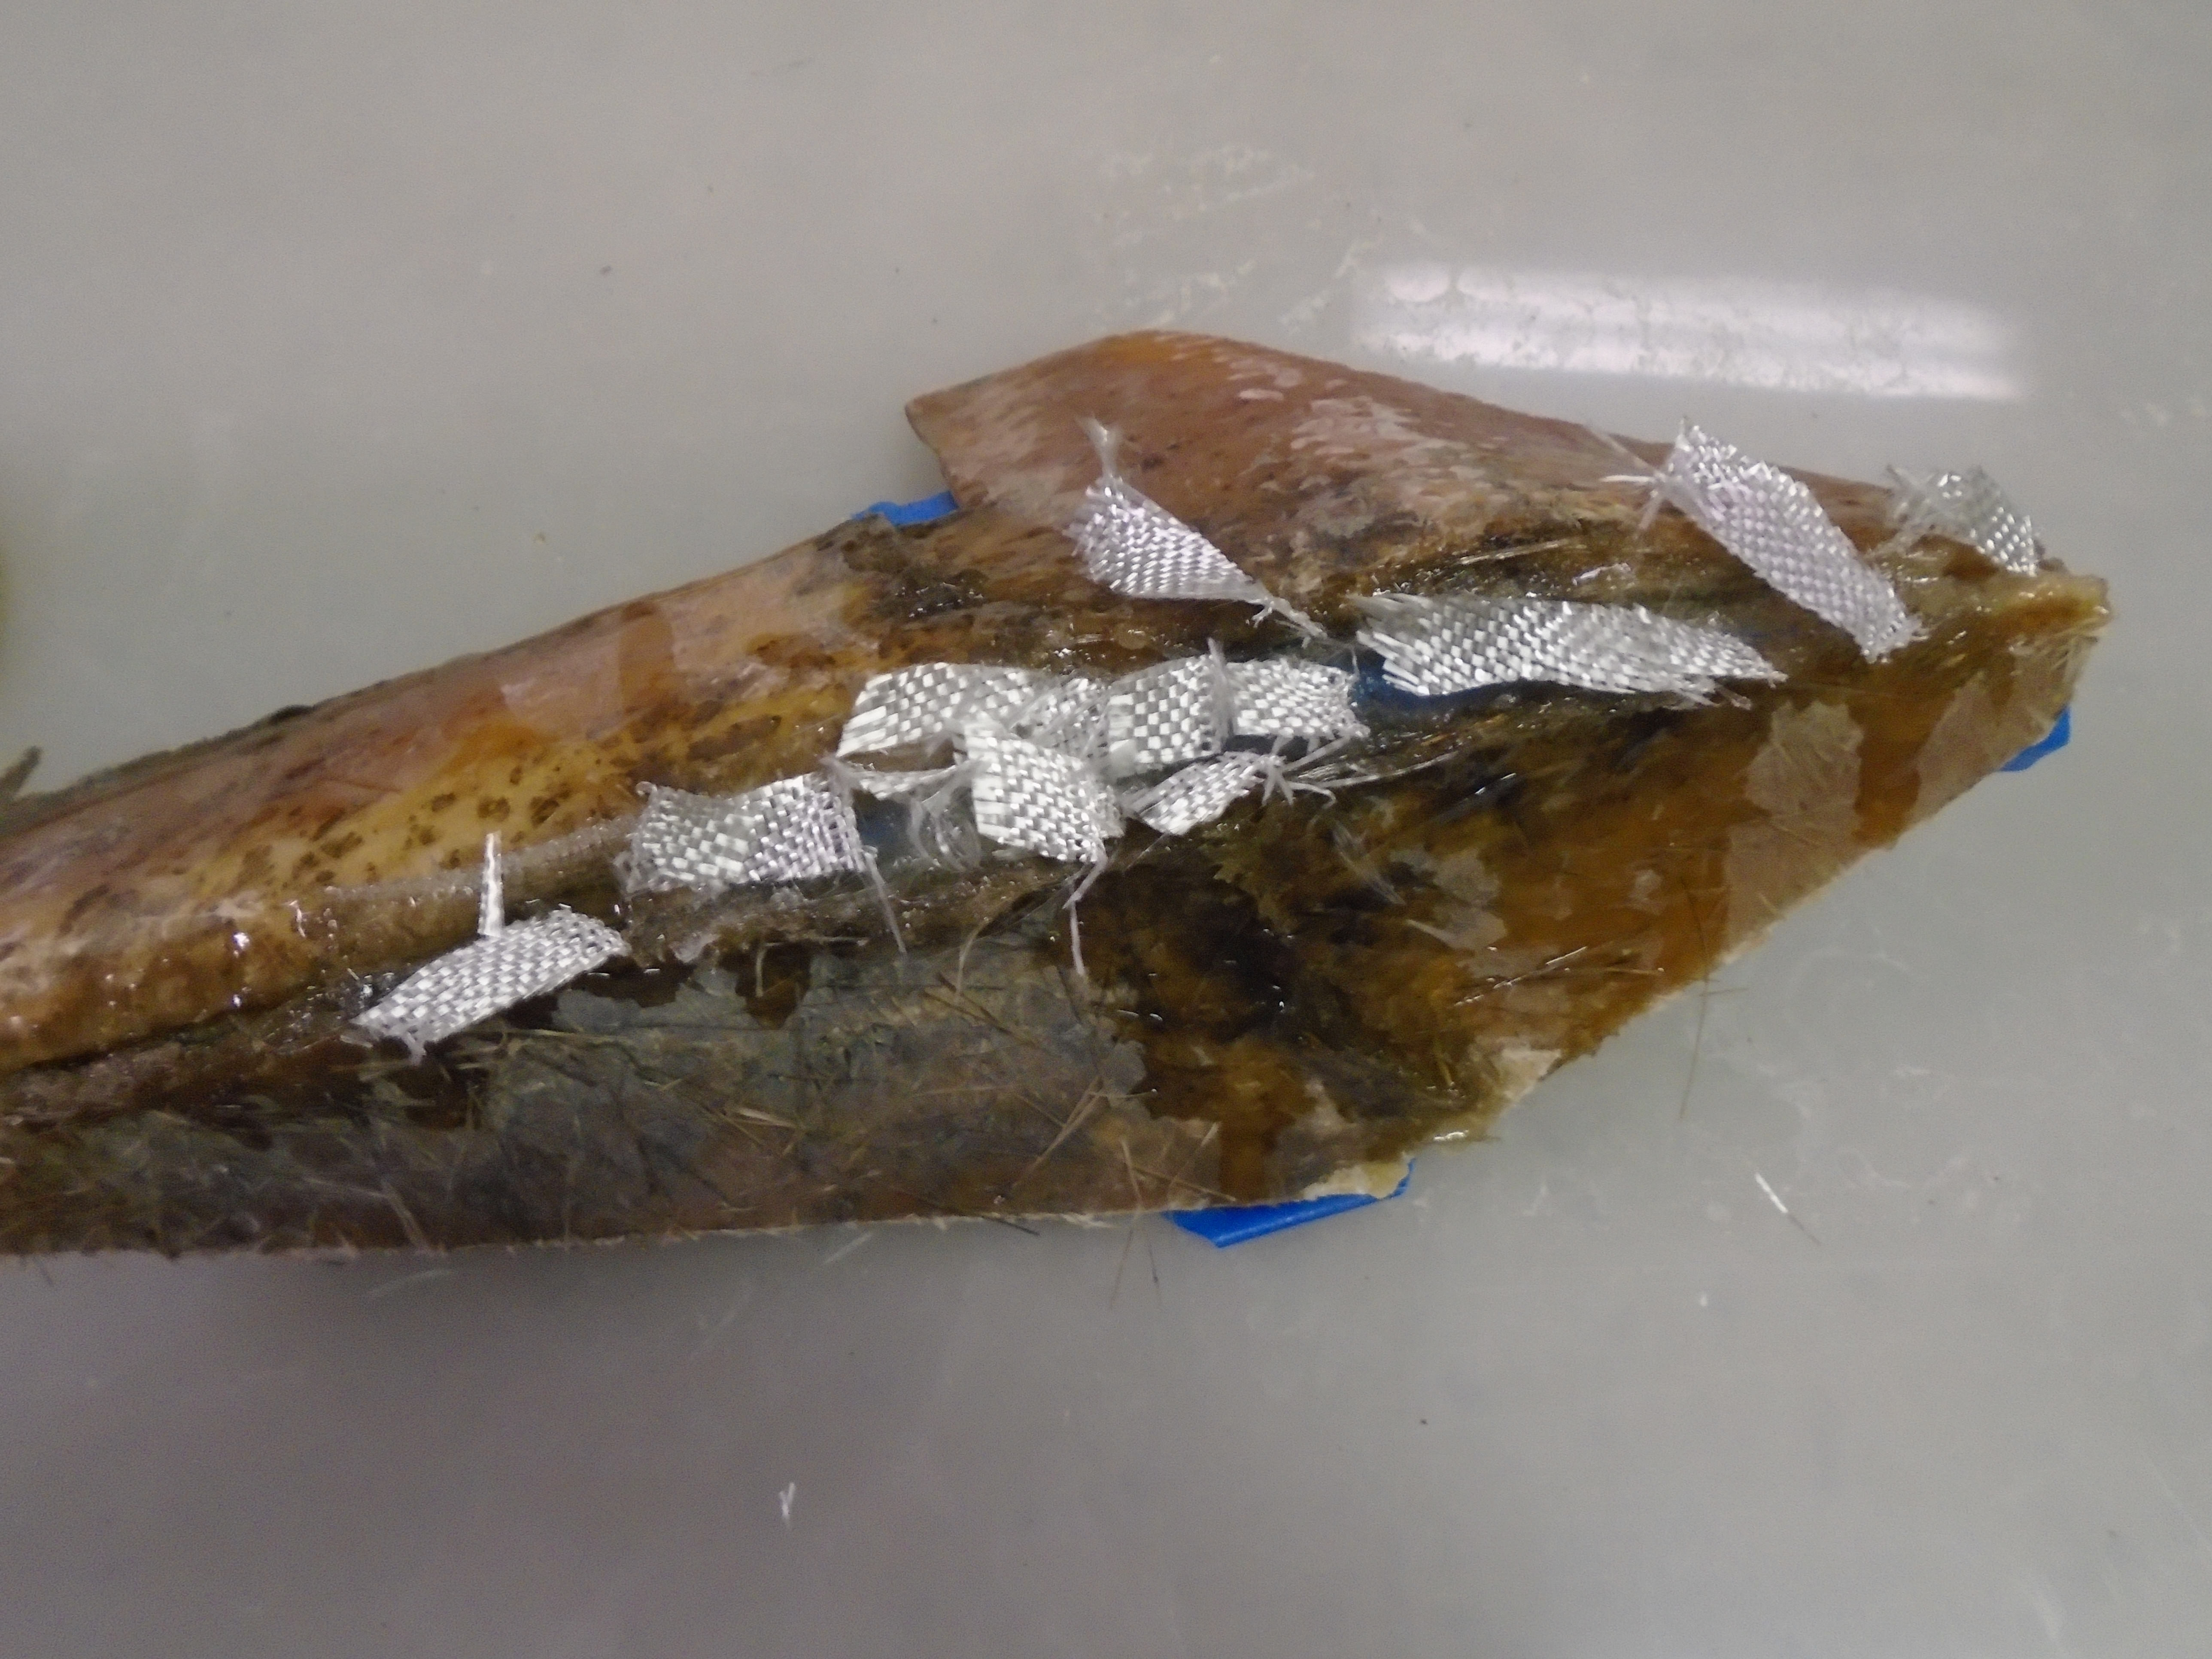
Off to the garage next - I added tape to the inside to seal the cracks:


I added a few scrap pieces of glass and dribbled epoxy into the crack for a little support for the next step in the operation:


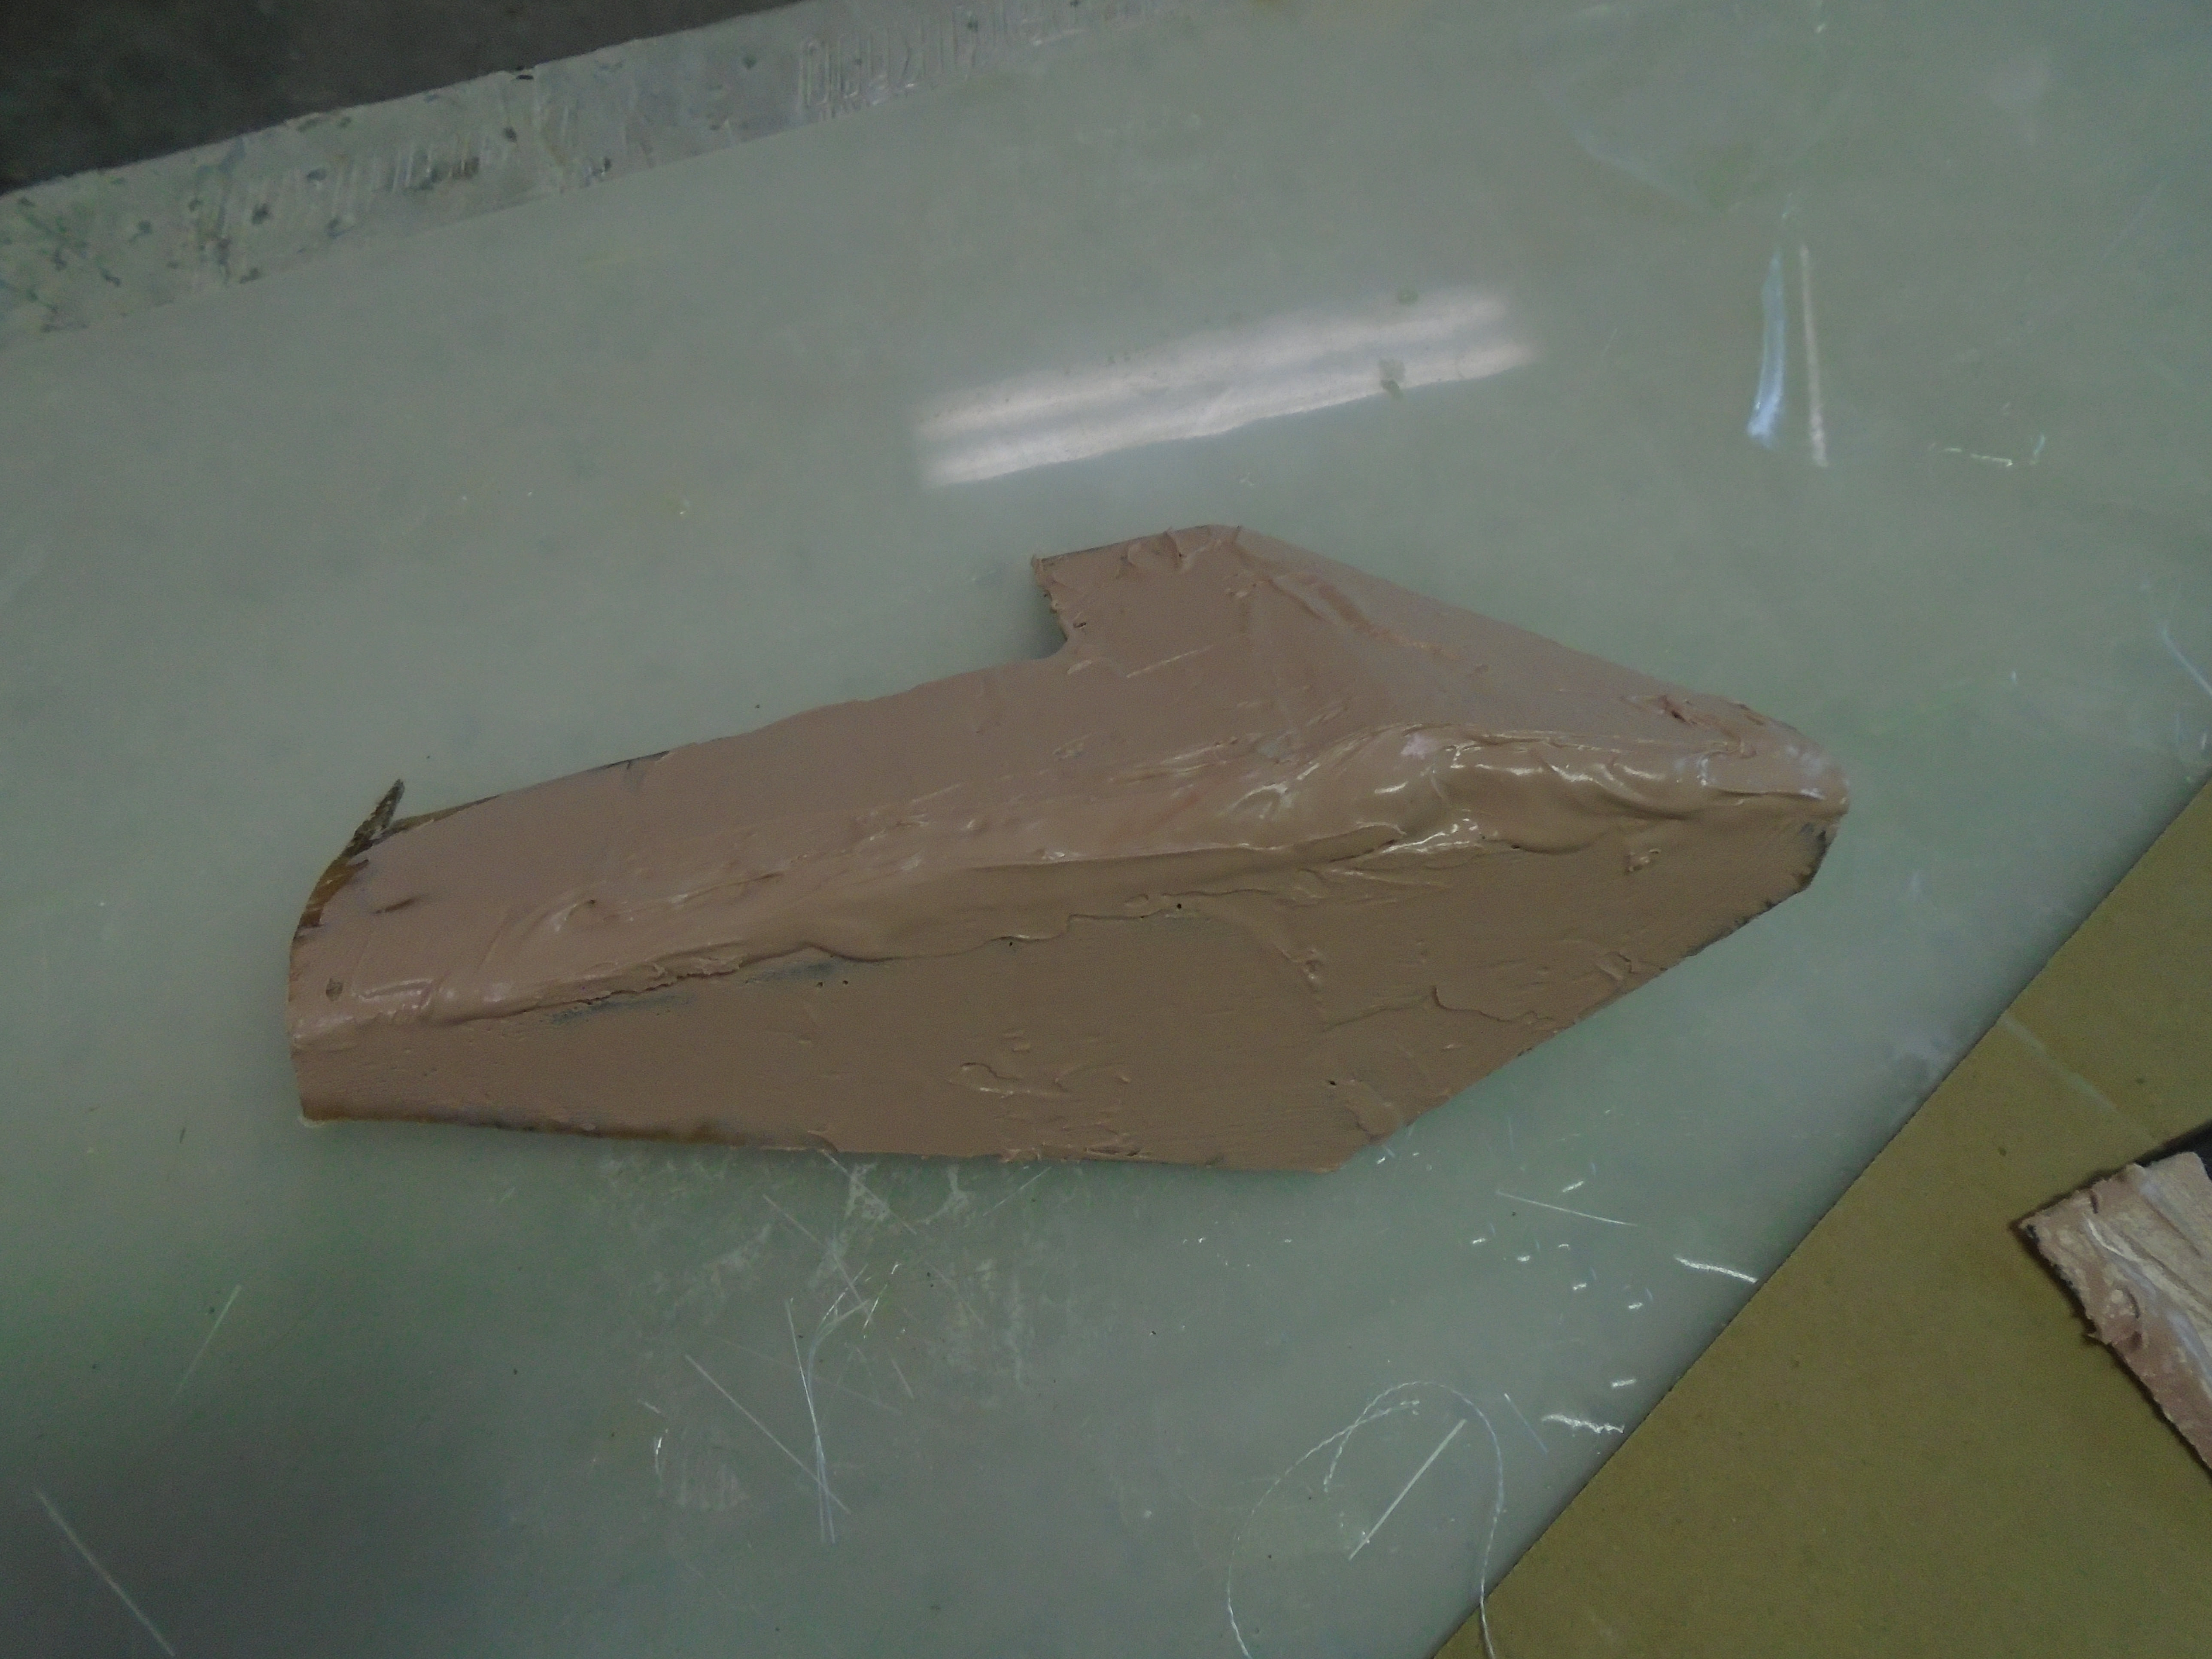
When dry I ground the back of the piece and covered it with bondo, building up the void around the cracks:


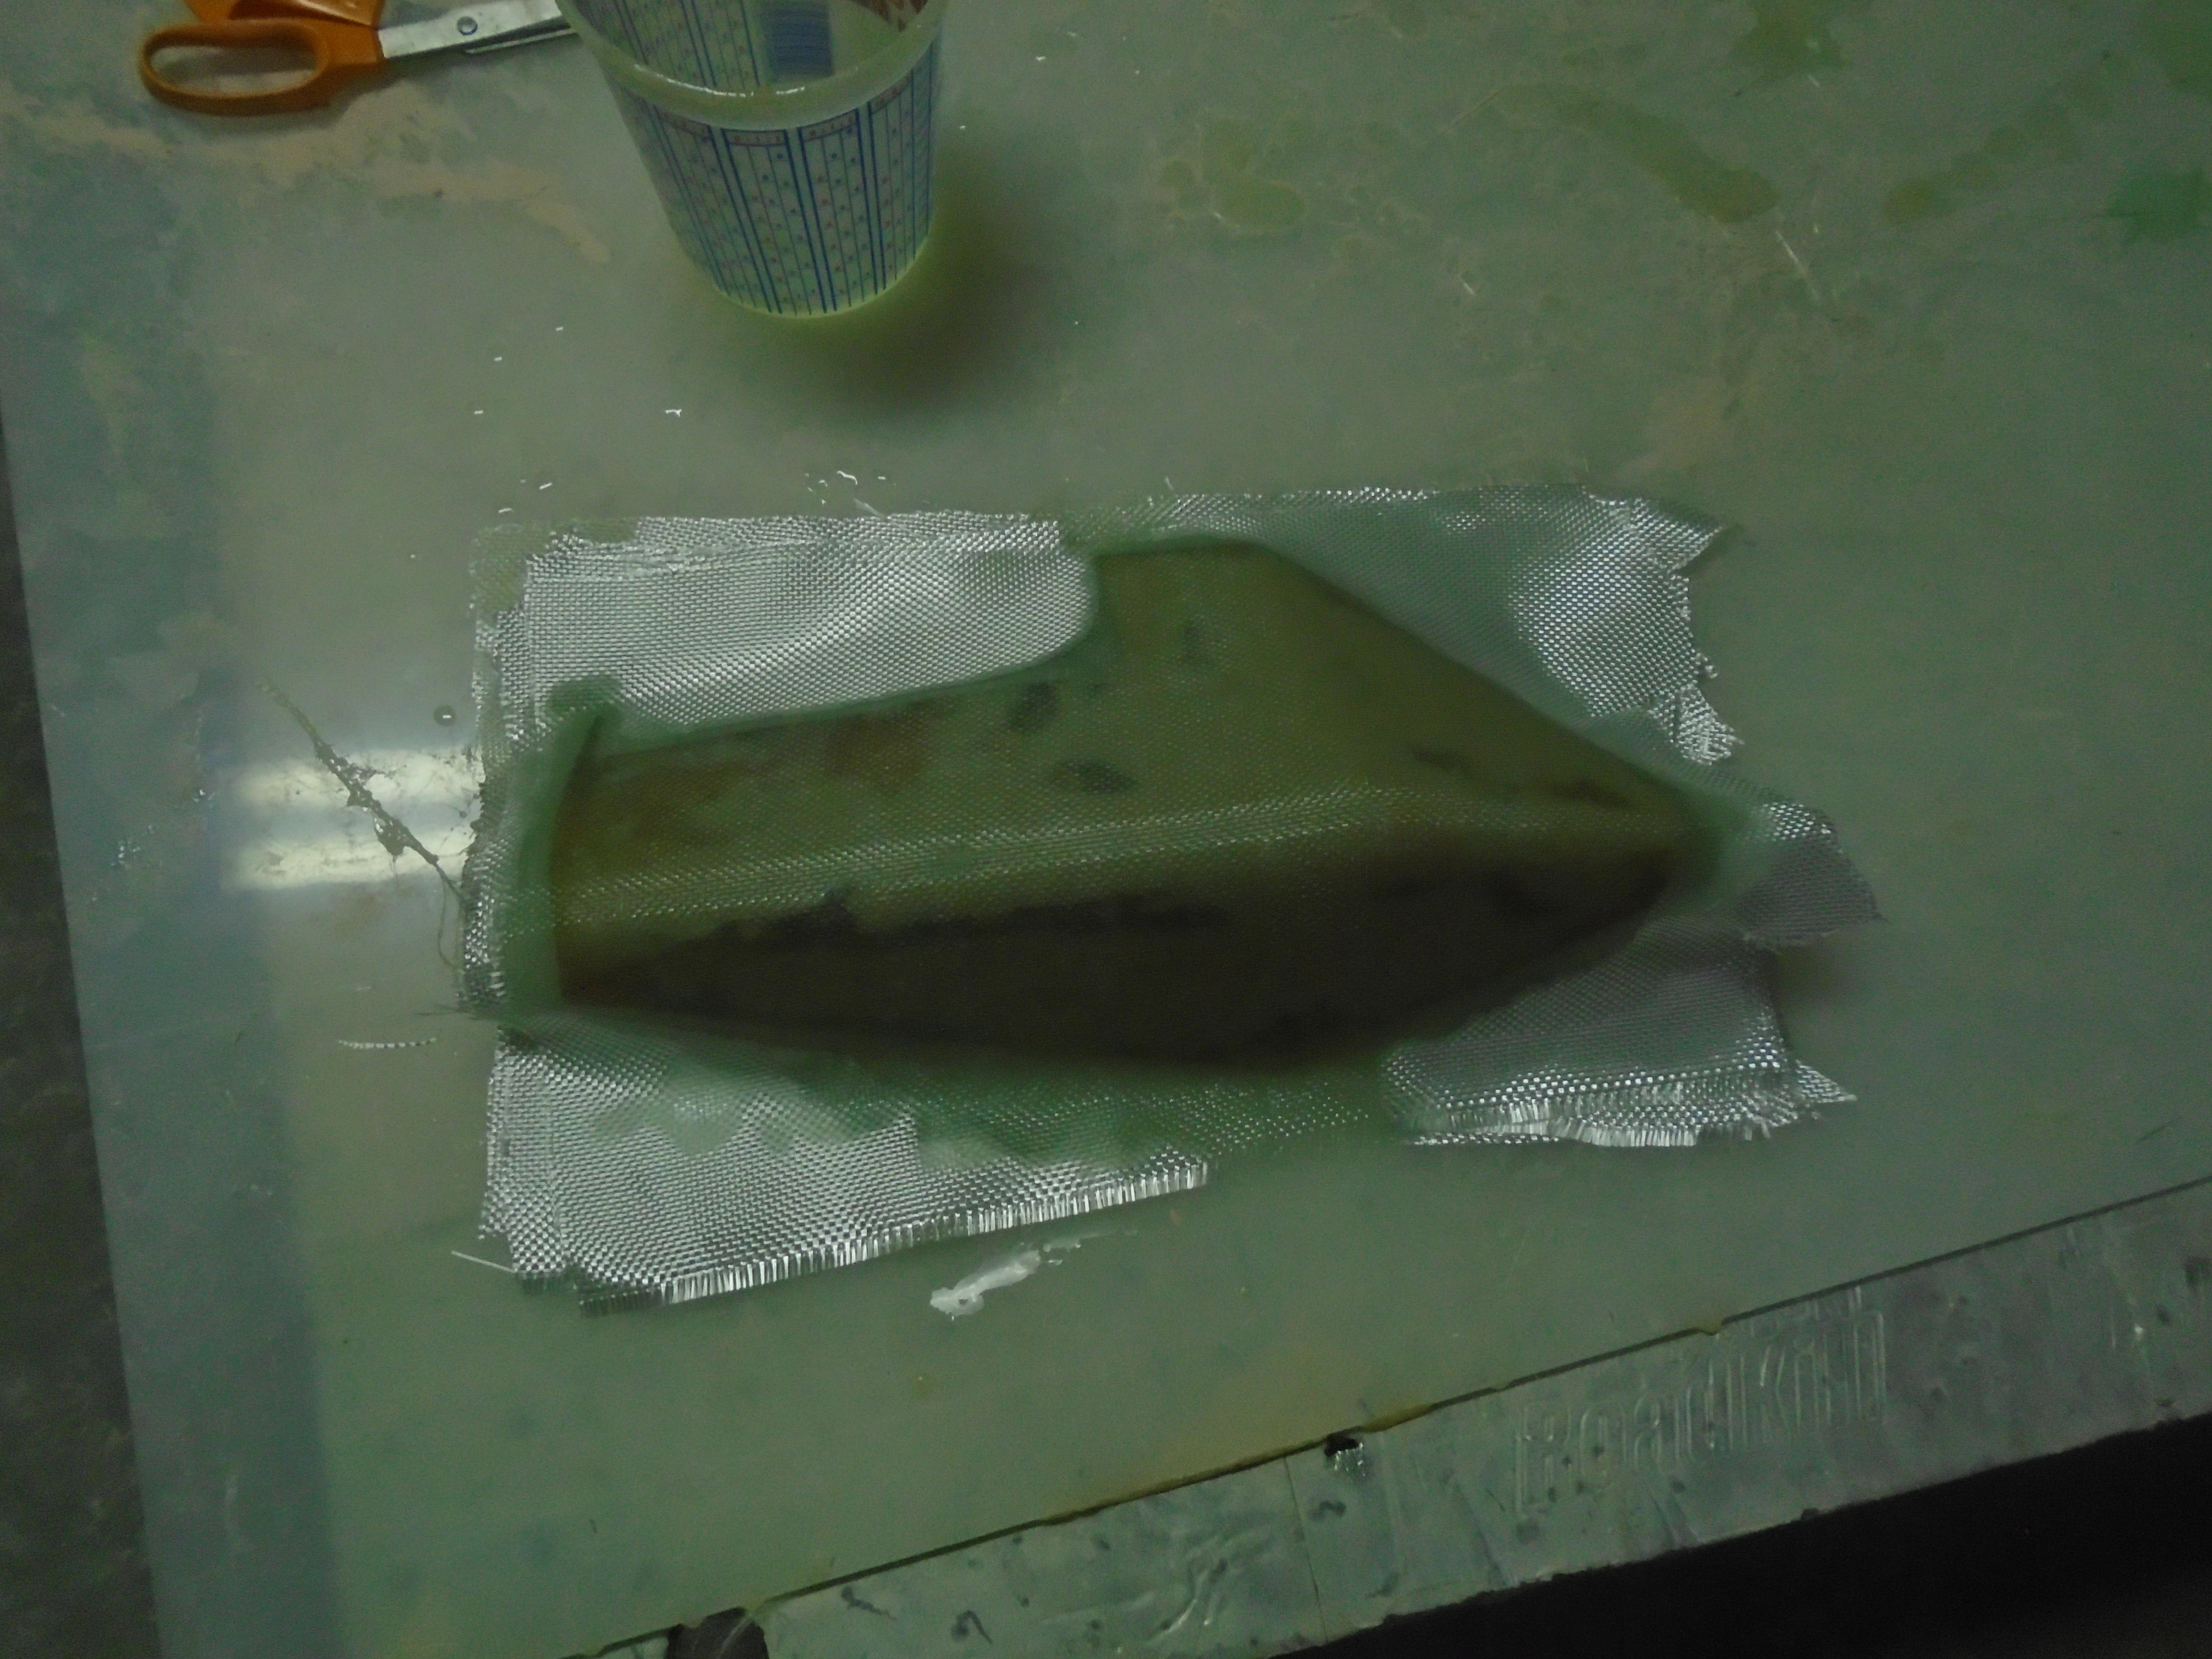
Then sanded everything smooth. Three coats of PVA as a mold release and 6 layers of glass:


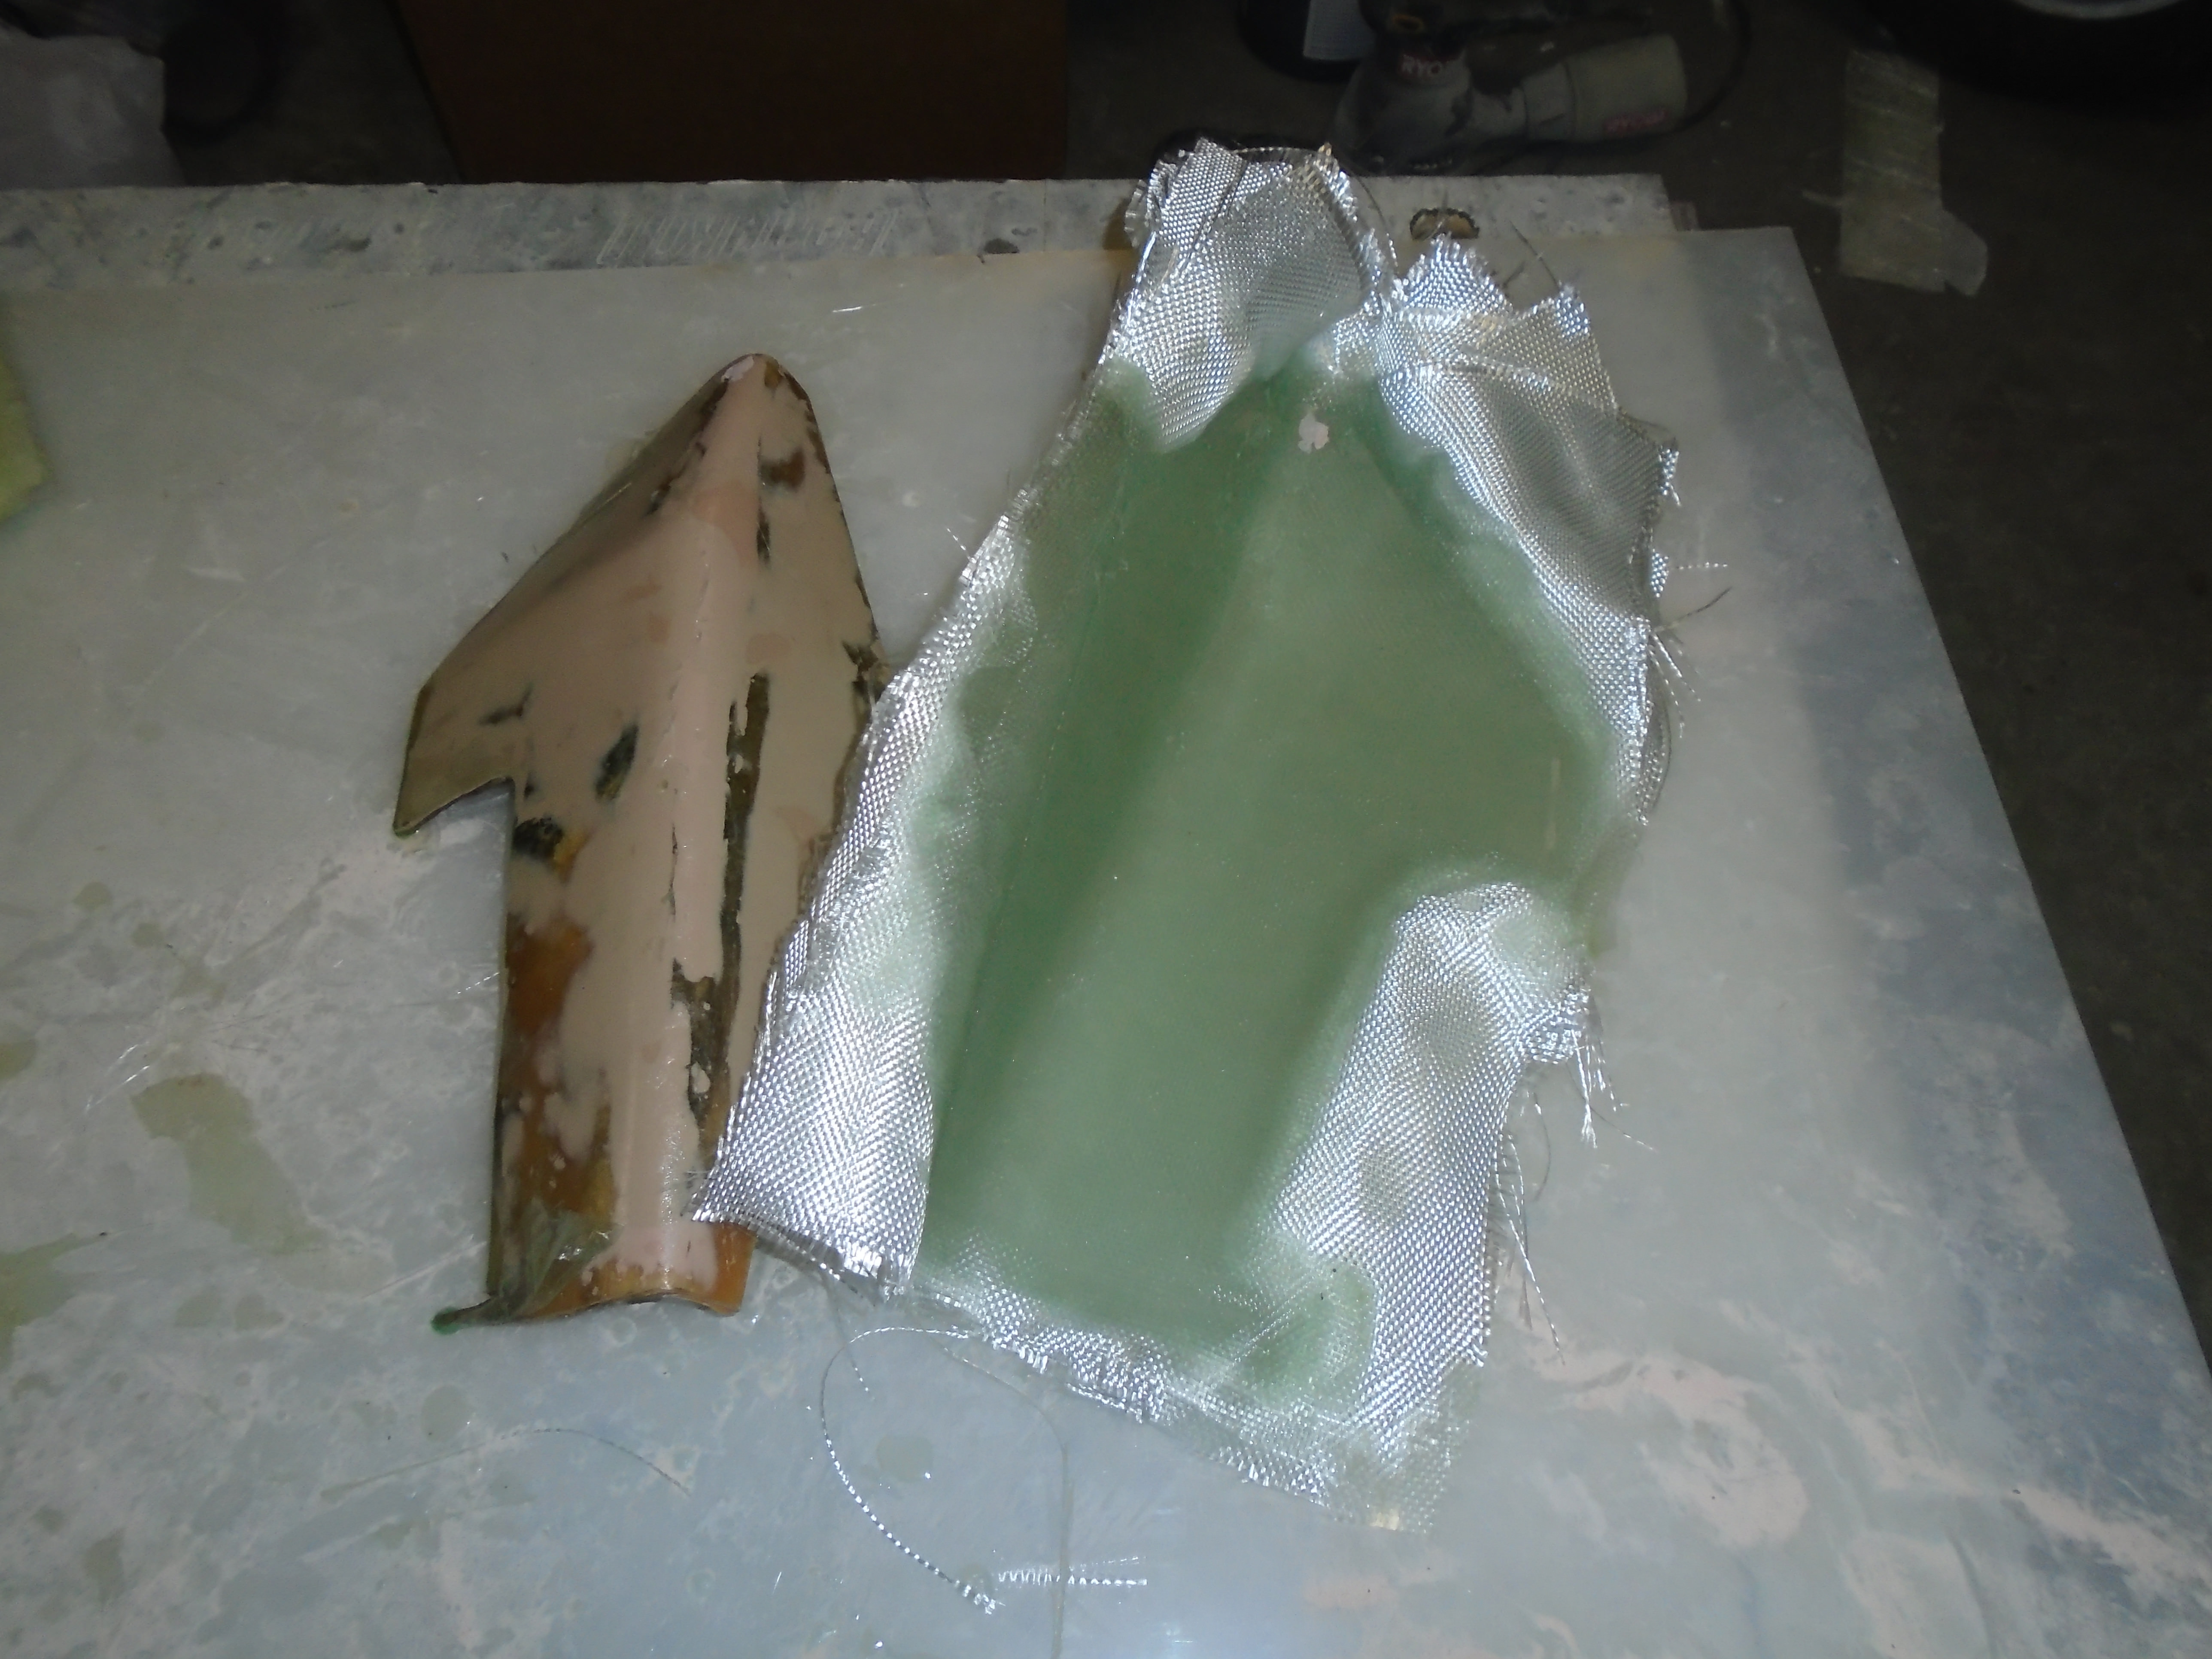
After curing, I popped the patch loose:


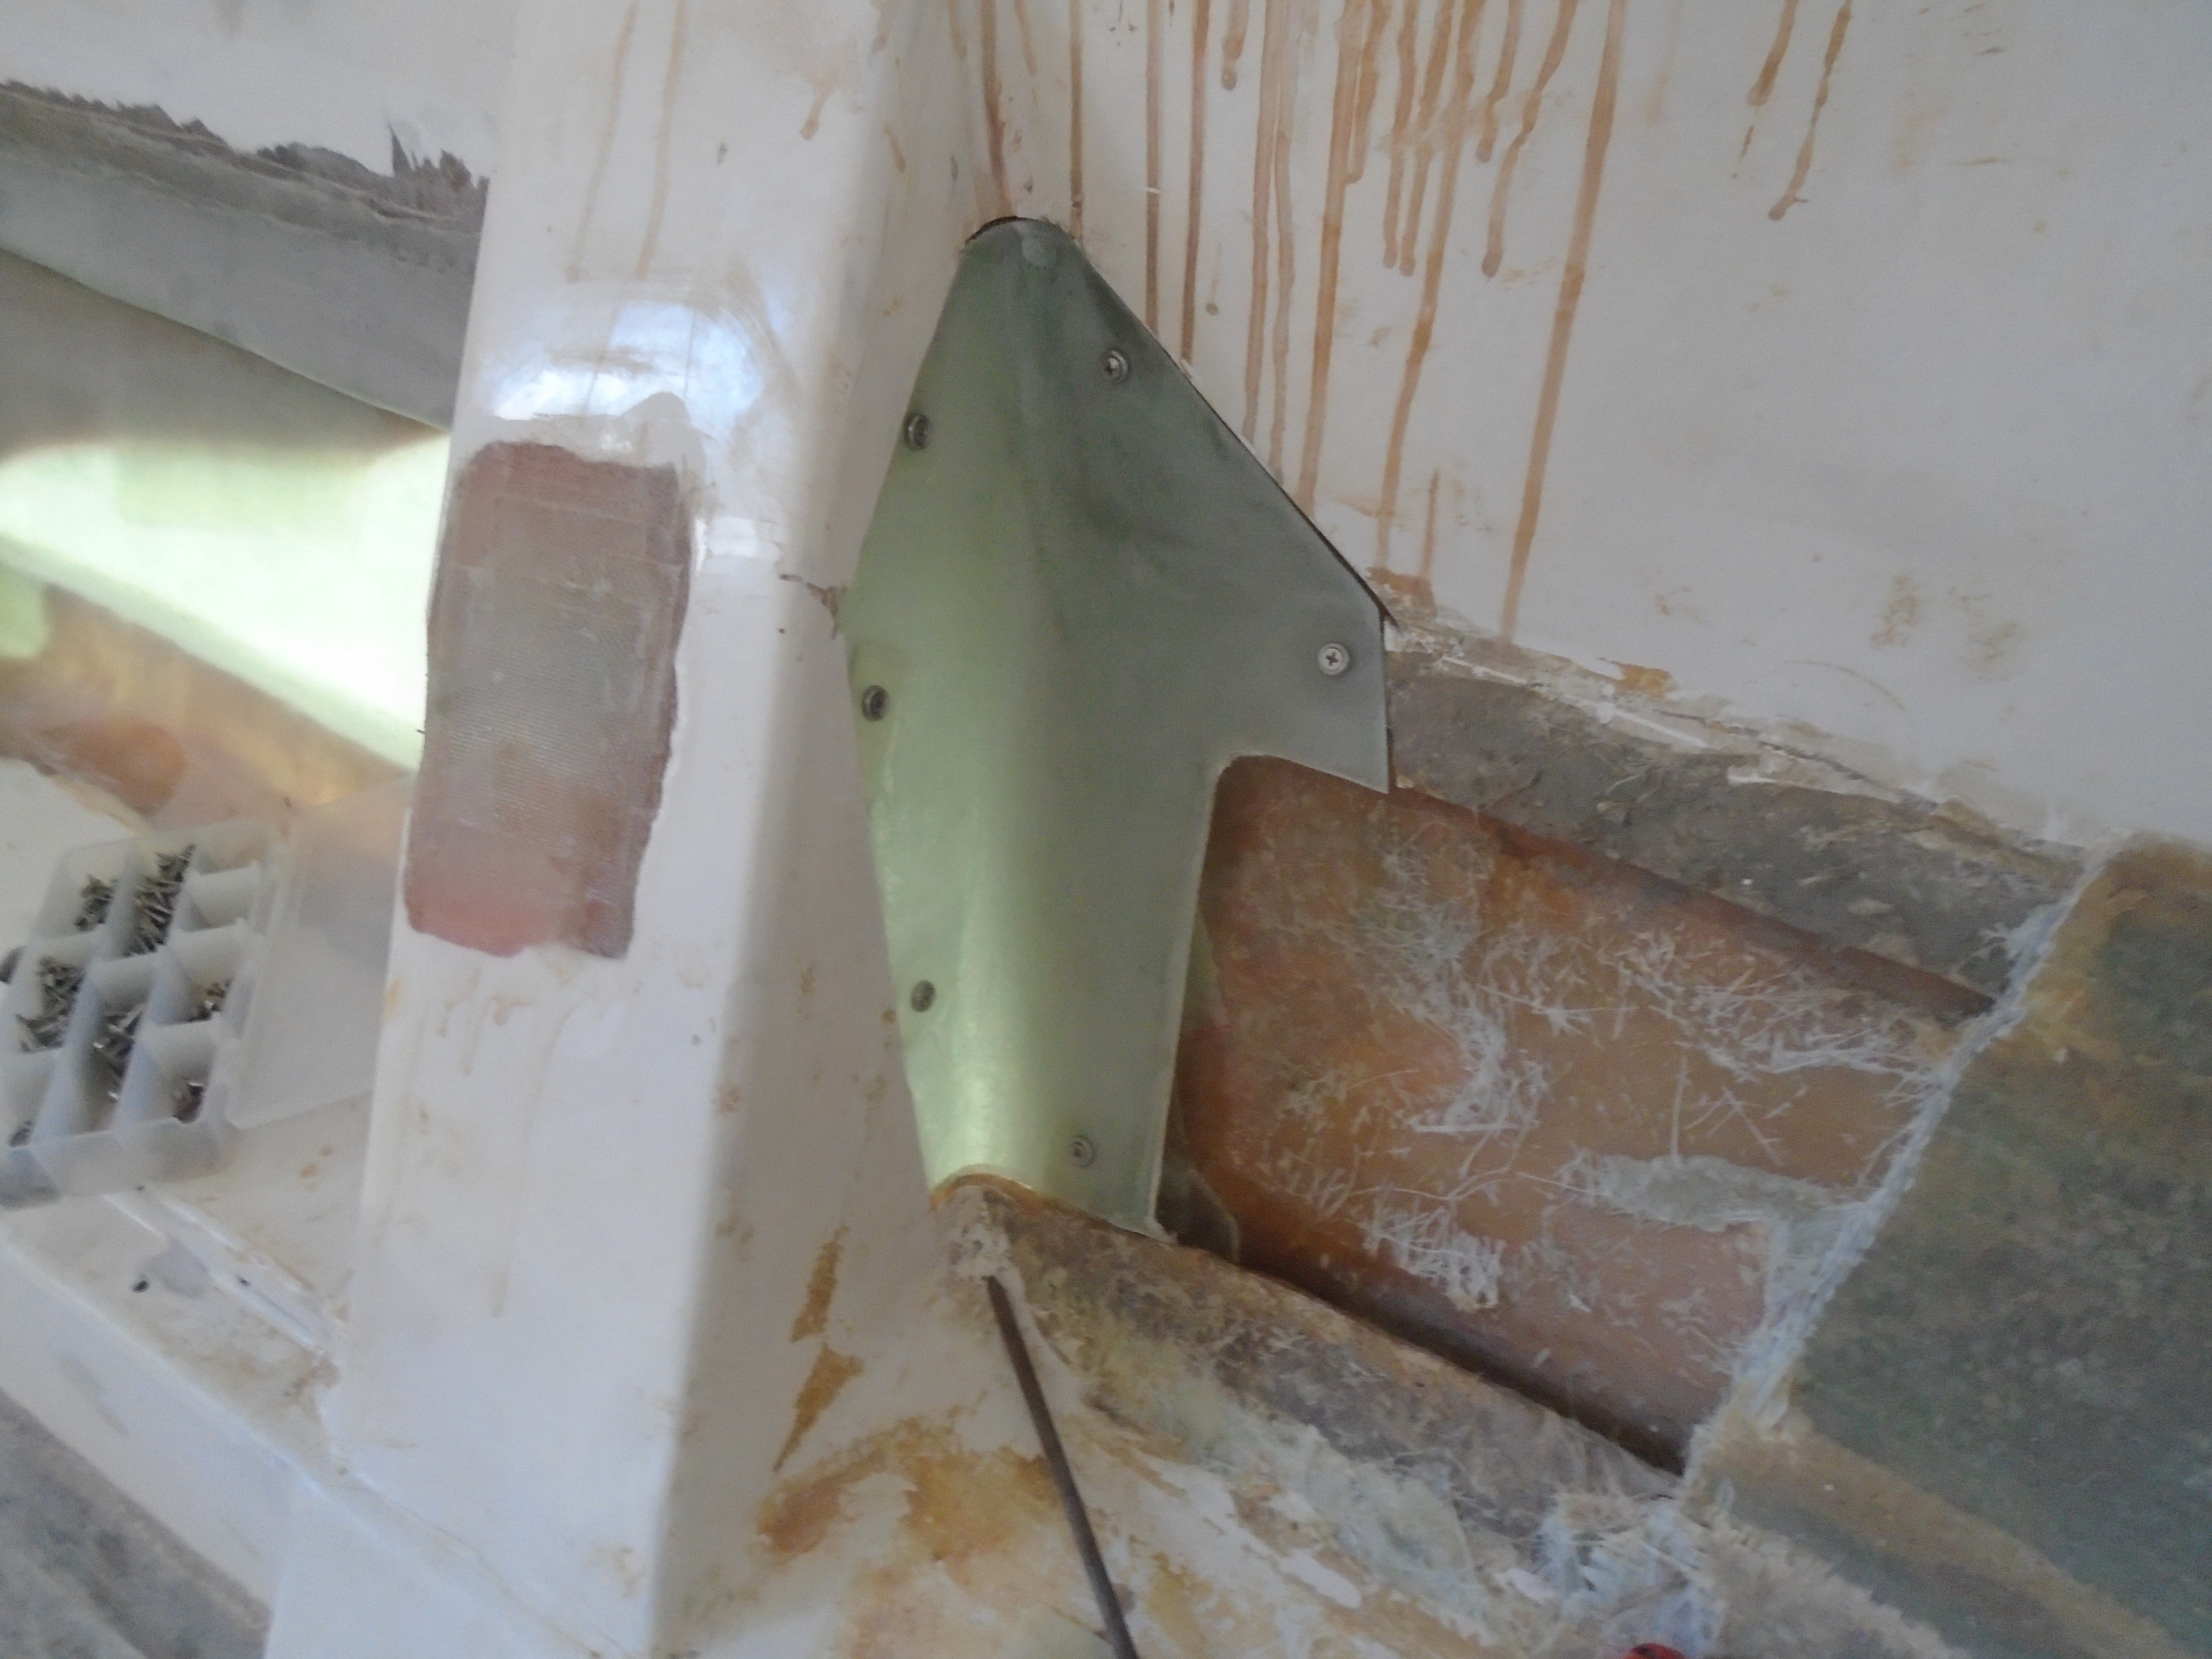
I trimmed the patch to fit and epoxied backing plates to the bulkhead, the bonded the patch in place:


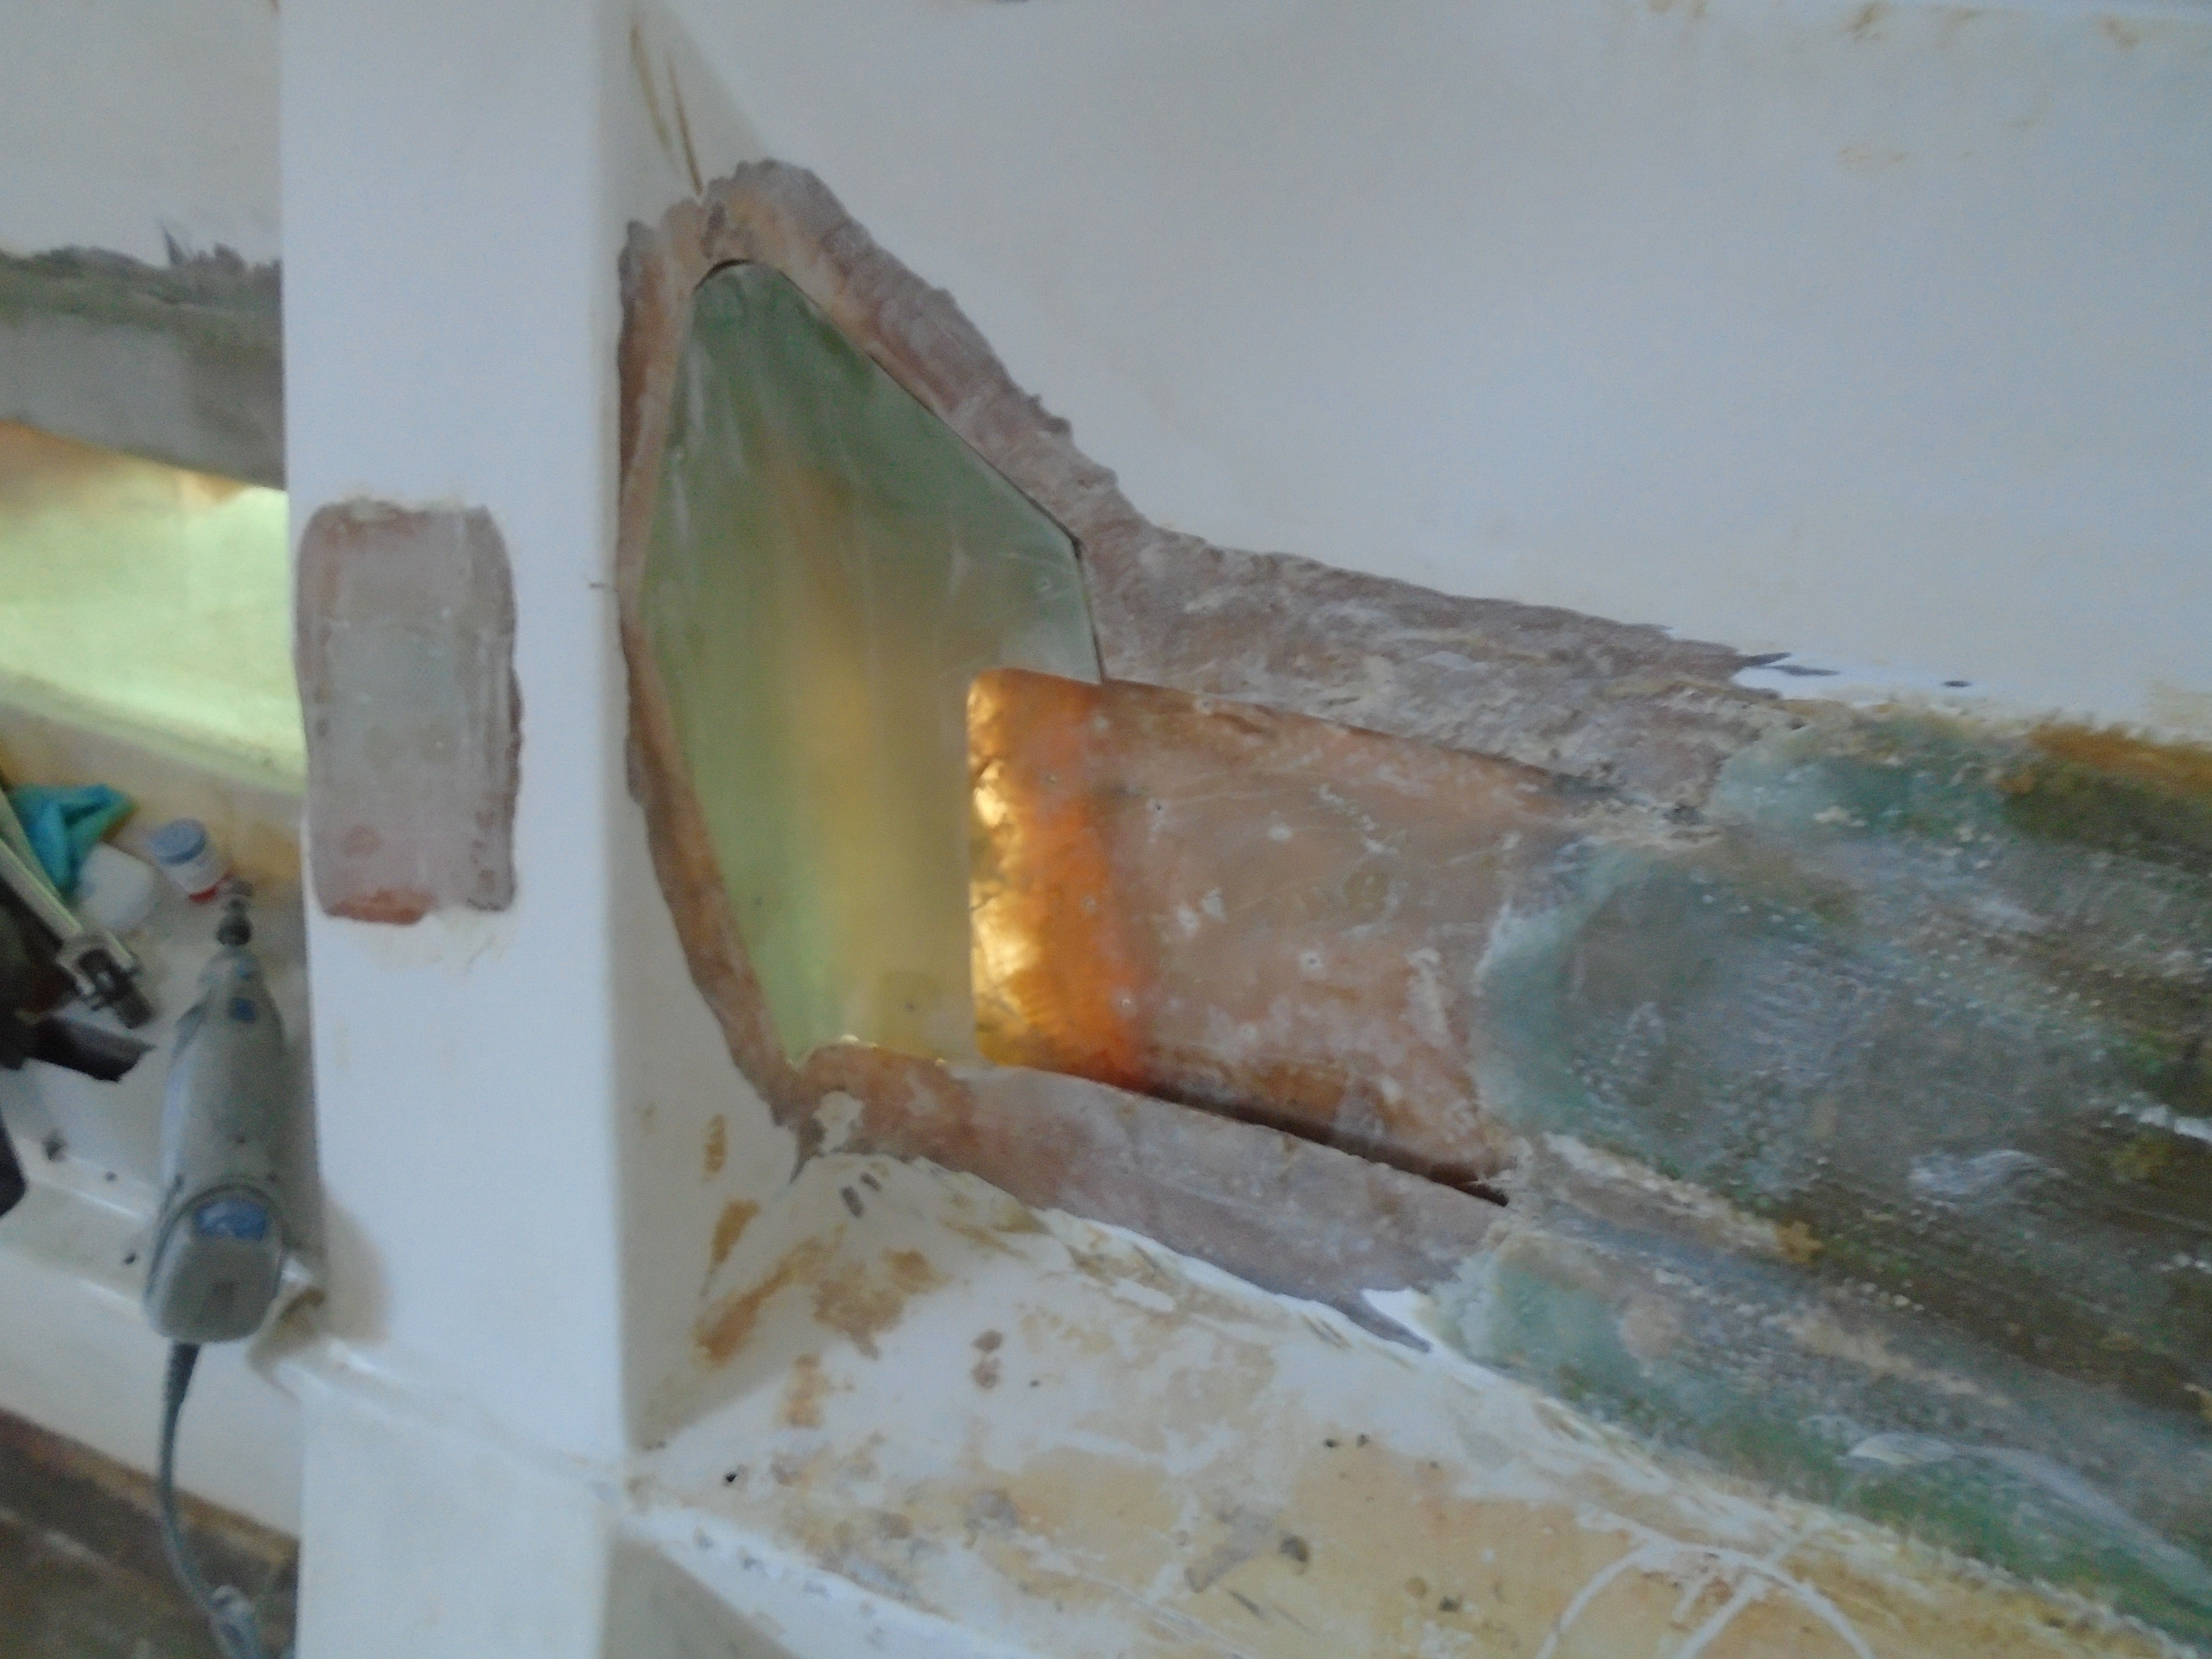
After it dried, I ground out a bevel to match and prepped the area:


This is where it sits now - I need a warm day to finish this layup. It's going to take multiple applications with pauses between to allow the epoxy to set. I should have a few warm days starting tomorrow to get this done.

We're almost caught up to where I'm at presently!

Cheers,

Mark
 
Last edited:
Sep 12, 2015
94
2002 Hunter 356 Oakville
Keep it coming!:D Looking forward to each new post, nice to see her coming back to life little by little with each one.
 
May 8, 2013
629
Hunter 40 Dataw Island, SC
One question I had was about water ingress during submersion.
With her being a liner in hull build, how are you going to verify that no water is sitting between the liner and hull in places you can't get to?
Your not going to drill a bore scope hole in every "compartment", what's your plan there?
The liner has a series of weep holes that drain the individual voids. They all eventually drain to the bilge. I have found over the years that they work pretty well but I have added a few in some areas too. There are also strategically placed access holes - looks like factory drilled - where the inside of the grid can be accessed. The only sealed (from the bilge) area is the engine bilge.
 
May 8, 2013
629
Hunter 40 Dataw Island, SC
Odds & Ends:

It's been too cold outside to work on the hull so I set up a heater inside and continued on the liner. All the structural repairs are either done or in-progress so I spent some time doing some non-structural and cosmetic repairs.

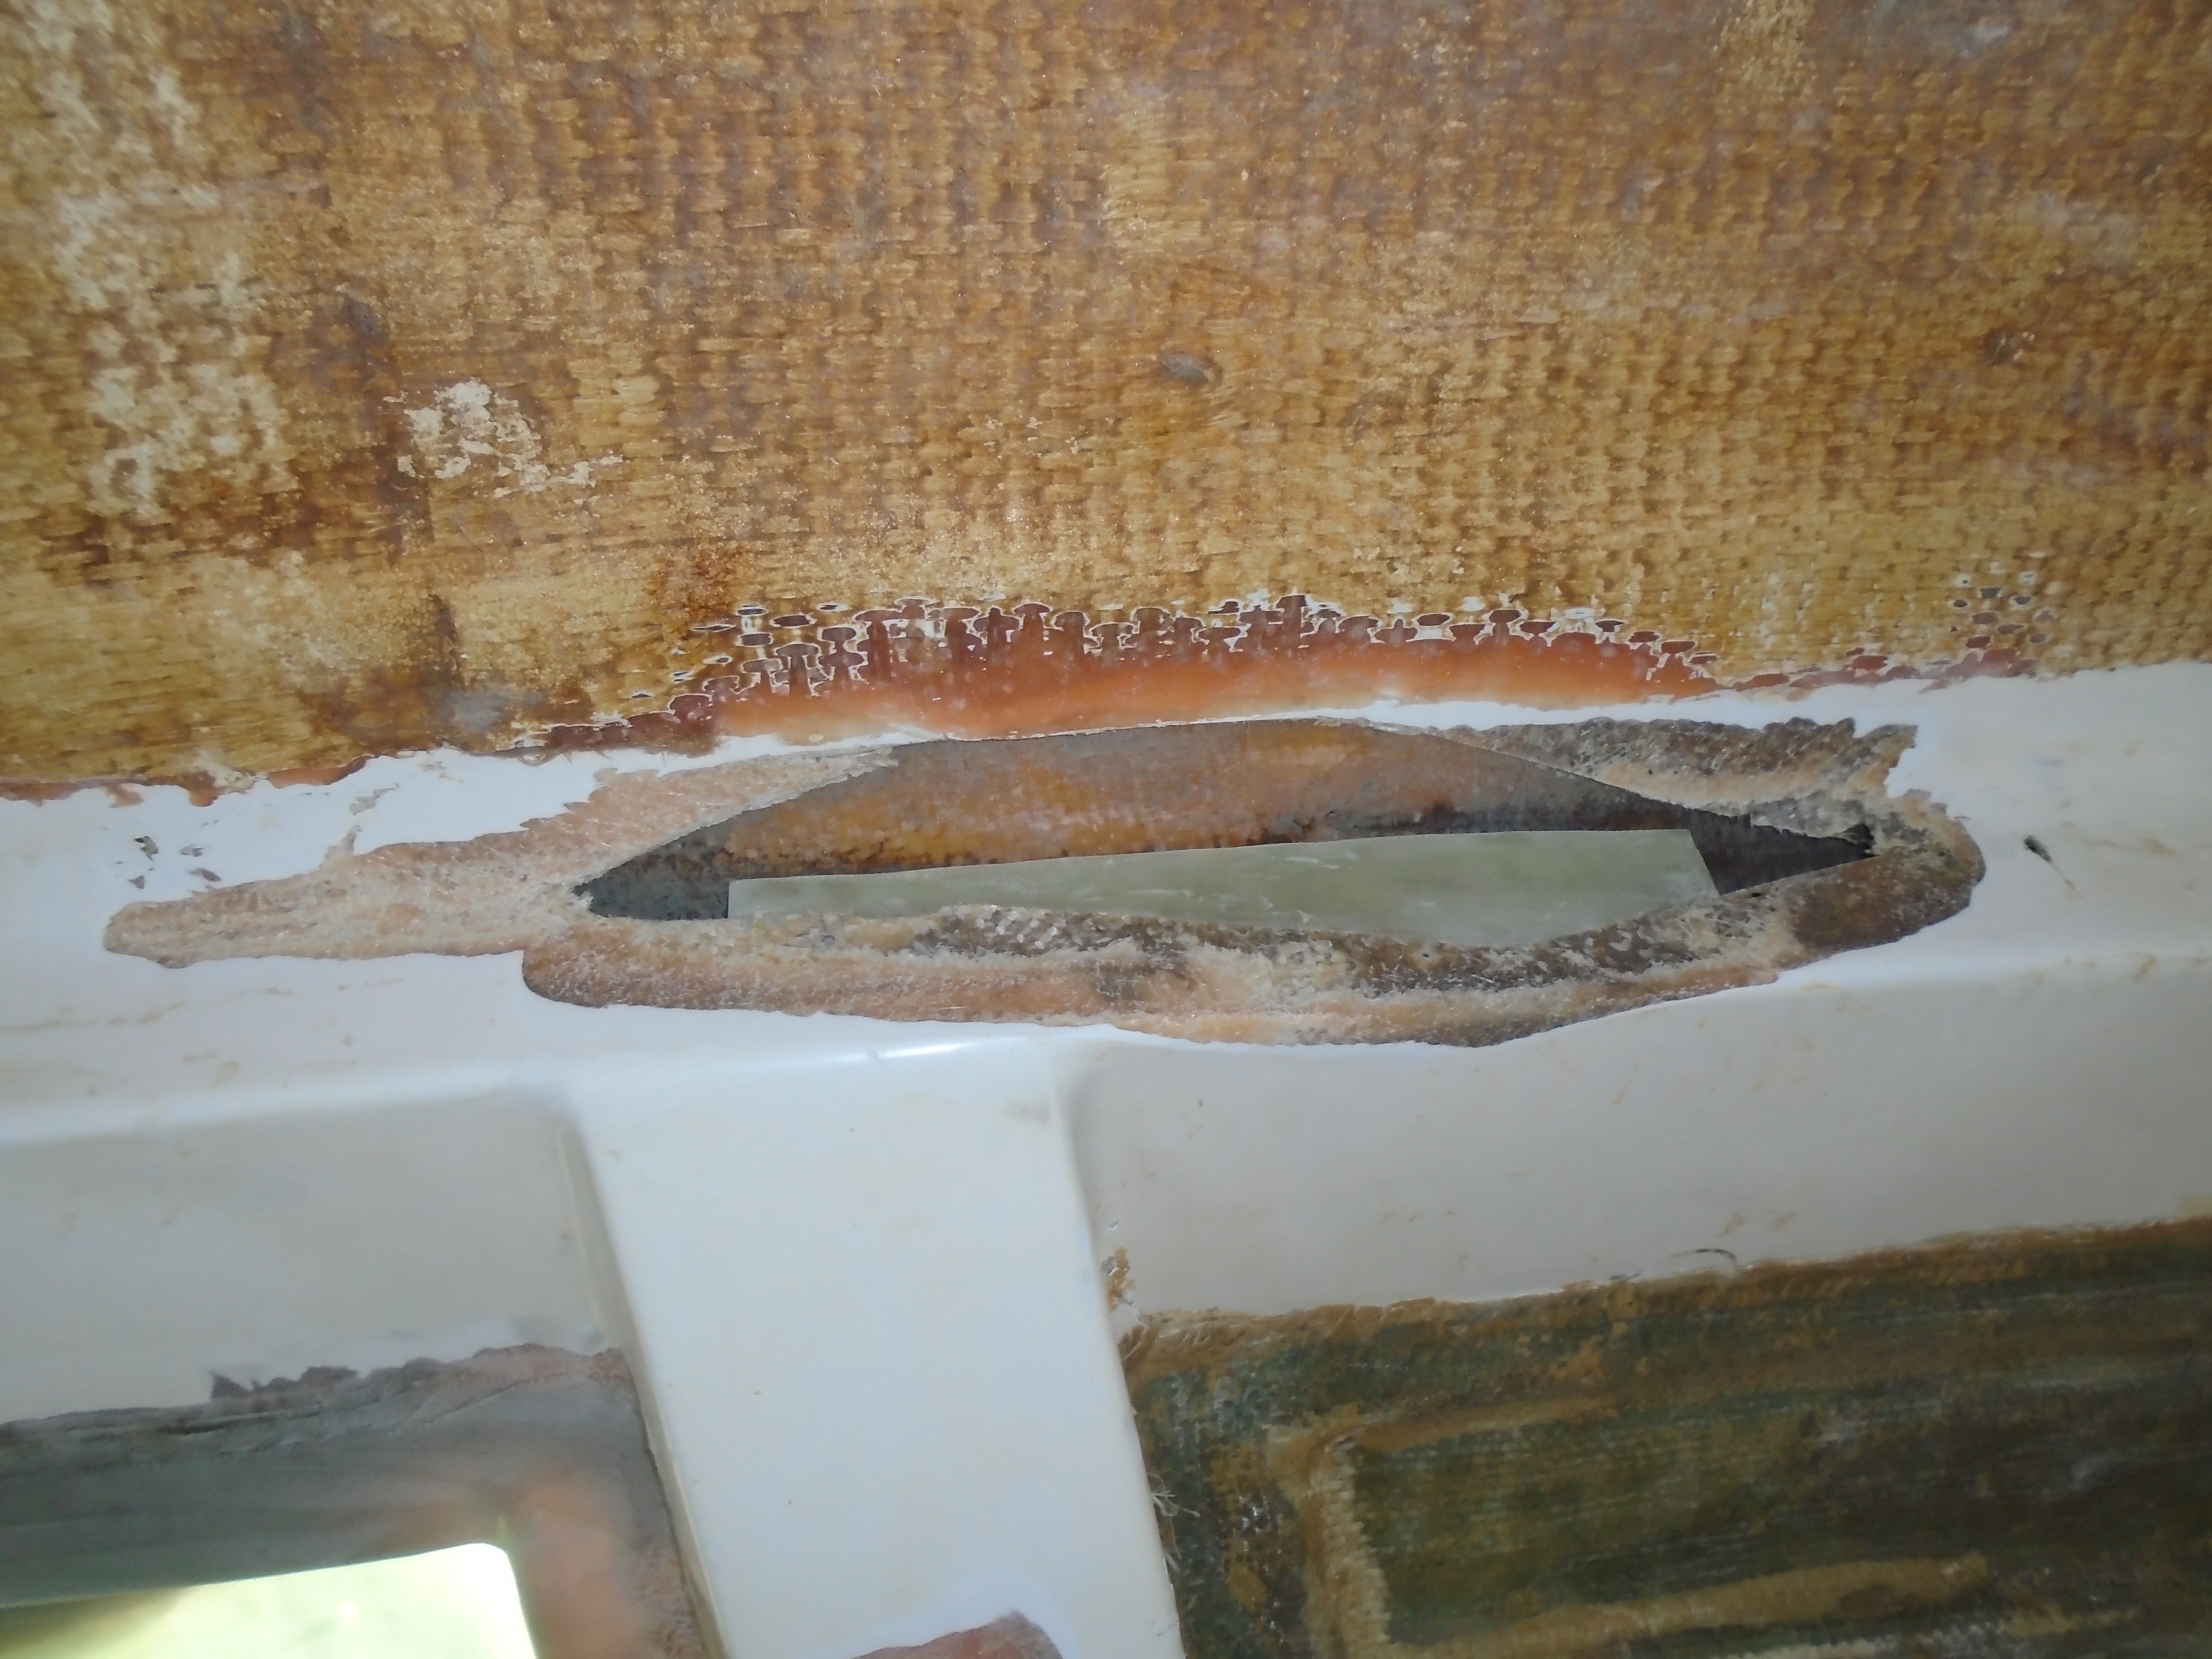
Moving to the starboard side, I found a head-scratcher:


This was definitely cut - by someone, for some reason (I assume!) but for the life of me I can't figure out why. Might as well fix it though. This was one of several man-made boo-boos that were behind the galley. Here's another one:


In the aft cabin starboard I found this under the floorboard:


Looks nasty but after grinding it out it's just a void that was present in the initial layup of the grid. Fairly common in areas like this - back in the day they didn't vacuum-bag the layup so sharp corners like this could be a void or dry spot. The factory would spray gelcoat into the mold, lay a layer of two of light cloth, then drape on several layers of really heavy cloth - the heavy cloth can't conform well to the sharp corner so it creates an air pocket which will eventually trap moisture, or normal hull flexing will cause the void to crack. No worries, it's relatively easy to fix.

A little grinding, some epoxy and cloth, and these spots are ready for filler (I will fair over the repair spots just for cosmetic purposes):


Next up, more odds & ends.

Mark
 
Last edited:
May 8, 2013
629
Hunter 40 Dataw Island, SC
More odds & ends:

One area I knew about and had debated for a while on the best way to address was a grid-tie on the starboard side behind the galley. This panel used to be behind the original cooler/frig. A little history first:

Years ago, one of the items noted on the initial survey was a soft spot on the floor around the galley sink. the surveyor said it should be easy to fix, just inject some epoxy and that should take care of it. Heck, I didn't know any better so - ok!

I didn't do anything about it for a few years, but after (I think) I'd owned the boat for about 3 years I had a leak coming from the water heater (close to the same area). I pulled the water heater to fix the leak and found that the floorboards under it had rotted completely away! The reason: Hunter used OSB for the floors! I'm not a fan of OSB in any type of construction, but it's definitely a bad idea in a boat. As soon as it gets wet it dissolves!

I have said before that I have been fairly impressed with the construction of the boat and I mean that. But in several areas they went cost over quality, and the floors are one. Interestingly, the bulkheads are all marine ply and tabbed in!

Back to the original floors - the rotted floor under the water heater encompassed essentially the entire galley area which included the soft spot under the galley sink. I started repairs with the intent of just putting new floors in but the more I got into things the more I found. Turns out the foam used to insulate the outside of the reefer box trapped water and had mold. That was the source of the water that had rotted the floor around the sink. Long story short, when I finished I had totally redesigned the galley! Reefer gone, replaced by side loading refrigerator and separate freezer, lots of other mods. All the OSB floor was replaced with marine ply during the interior remodel,

So, this area of the grid was behind the original reefer box. There were (definitely not cracks) cuts in the transverse bulkheads that had been covered by a glass layup. From the looks of it, it almost had to have been that way from the factory. I didn't like the looks of the glass around the cuts but initially only intended to repair those areas. However, after digging a little deeper, I found foam behind the glass filling the gaps between the bulkheads and hull!


Note: the pics are not before shots, I didn't have my camera with me. These pics are after I had already cut away parts of the panel.


Ummm, No! I also found that the glass had been layed over gelcoat and had delaminated in a few spots so I decided to redo the entire grid-tie panel. Ground properly and prepped:


Today I addressed the cuts in the bulkheads:


Tomorrow I'll lay in the replacement glass to tie the liner to the hull and that's pretty much the last of the big jobs (requiring a grinder anyway, lots of big jobs ahead!) and this catches the narrative up to the present! From now on it's real-time on the progress reports. I've got good temps for most of the next week and just got a shipment of epoxy so I should get lots done. Stay tuned!

Cheers,

Mark
 
Last edited:
May 8, 2013
629
Hunter 40 Dataw Island, SC
mark, forget time, but how much mat and resin are you in for at this point?
Before today's resupply of resin, I'm at $591 for epoxy and cloth/mat. I still have about 20% of the cloth remaining and most of the mat - I thought I would use the mat more than I have but didn't. I'm going to use the mat up building steps for the transom/sugar scoop. For reference, I budgeted $800.
 
May 8, 2013
629
Hunter 40 Dataw Island, SC
12/29 Update:

I had several good weather days but the holidays interfered somewhat with taking full advantage of them. Still got quite a bit done:

Port aft repair - fill and fair complete, final sanding to go and then primer.
Big repair port-side - still filling with glass cloth, down to filling low spots, fairing started on the outer edges.
All structural repairs to the grid/liner complete! I'm now filling some of the repair spots for cosmetic purposes. I'm also filling all the holes that have been drilled over the years in the liner. I figure since I'm starting new with the entire interior there's no reason to keep all the screw holes left over from the old interior.

All of this work is not really photo-worthy yet, but pics soon that will actually show progress.

I did score a smoking deal a few days ago though: I have been intending (after trying and failing to replace the seals in the original Bomar portlights) to replace the portlights. There are 8 of them, 2 size 2, 4 size 3, and 2 size 4 (using Lewmar sizing criteria). At retail prices replacing all would be around $2800. I had already bought the Lewmar size 2 portlights and they are still sitting in their boxes. I decided $500 apiece for the size 4s was a little overboard so I converted the original Bomar frames to fixed and put in new lenses. Cost: $30 for lenses and screws. So, what to do for the 4 size 3s? Still $1300 for them and they do need to remain as opening ports. Well, last week while gabbing with a friend he was flipping through Defender's websight and found Lewmar size 3s on closeout! They had beige trim pieces but otherwise brand-new in the box, $100 apiece! Add to cart! Early Christmas present to myself. I'll be installing all six remaining new portlights over the next few weeks as time permits.

Cheers,

Mark
 
Nov 8, 2010
11,386
Beneteau First 36.7 & 260 Minneapolis MN & Bayfield WI
Mark,

Do you get the sense that your hull liner has come detached (in many places) from the hull?

The liner should be chemically bonded to the hull every place that they touch - its 3-dimensional structure is what gives the hull its strength.
 
May 8, 2013
629
Hunter 40 Dataw Island, SC
Mark,

Do you get the sense that your hull liner has come detached (in many places) from the hull?

The liner should be chemically bonded to the hull every place that they touch - its 3-dimensional structure is what gives the hull its strength.
Well, that brings up a question that I have asked myself. I do know that in newer boats the liner is bonded (glued) to the hull everywhere the two touch, whereas mine has areas where the liner is attached with the FG overlays in the voids. I have checked via borescope and have seen that my liner is glued to the hull in some areas, but in others it has the liner cut out and the bond is via FG. The liner top is attached via FG overlay for the entire length of the liner, both sides. I do not know how newer boats are in this respect, but it leads me to several possibilities:

1. In the early era of this type of construction, the factory couldn't meet the tolerances for a consistent fit of the liner so they made up for that by gluing where they could and FG where the tolerances were too great.

2. There are stories of 80's era Hunters that had debonding issues of the liner and hull. It is possible that mine was one of those and what I'm seeing is the repair. No way of knowing for sure.

3. I'm dealing with battle damage from more previous occurrences than I thought.

Regardless, I have tried to check everywhere I possibly could for delamination areas, and from what I can tell none of the areas that are glued have debonded. From what I have been able to see, the inner hull surfaces I can get to don't show signs of earlier damage (other than areas I've already outlined from this time). The debonded or delaminated areas I've fixed seem to be from this storm and most seem to have been from poor earlier repair techniques or materials. So far all the cracks in the liner I have repaired other than directly attributable to this have been small pockets of voids present in the original layup. From what I've read on the subject, liner delamination usually presents itself with stress cracks in the hull and/or the liner, shifting of bulkheads, doors not staying in alignment, etc. I never saw any of that prior to now and I think my repairs will if any thing be stronger than before.

I would be curious to see what the hull/liner bond looks like in some of the other boats here that didn't fair so well. There are a few Catalinas, Hunters, Beneteaus and Jenneaus of newer vintage on the way to the scrap yard. A few are being cut up here which might be a good way to find out.

Mark