Repairing Hunter 40 damage from Hurricane Matthew

Nov 6, 2014
122
Yankee Yankee Seahorse 24 Beaver Lake
B757Captain, I have been following this thread. First, I am really impressed with both your skills and your determination.

Secondly, if you ever decide to sell the boat in the future, I think these documented repairs would likely make a good case for a potential buyer to select your boat over many others. A new owner should be able to get it insured. Your repaired boat will be as mechanically sound as any other boat that age.

I once rebuilt a totaled sports car, the same insurance company that totaled the car sold full coverage on it, after my repairs.

Looking forward to seeing more updates and eventually the finished product.
 
May 8, 2013
629
Hunter 40 Dataw Island, SC
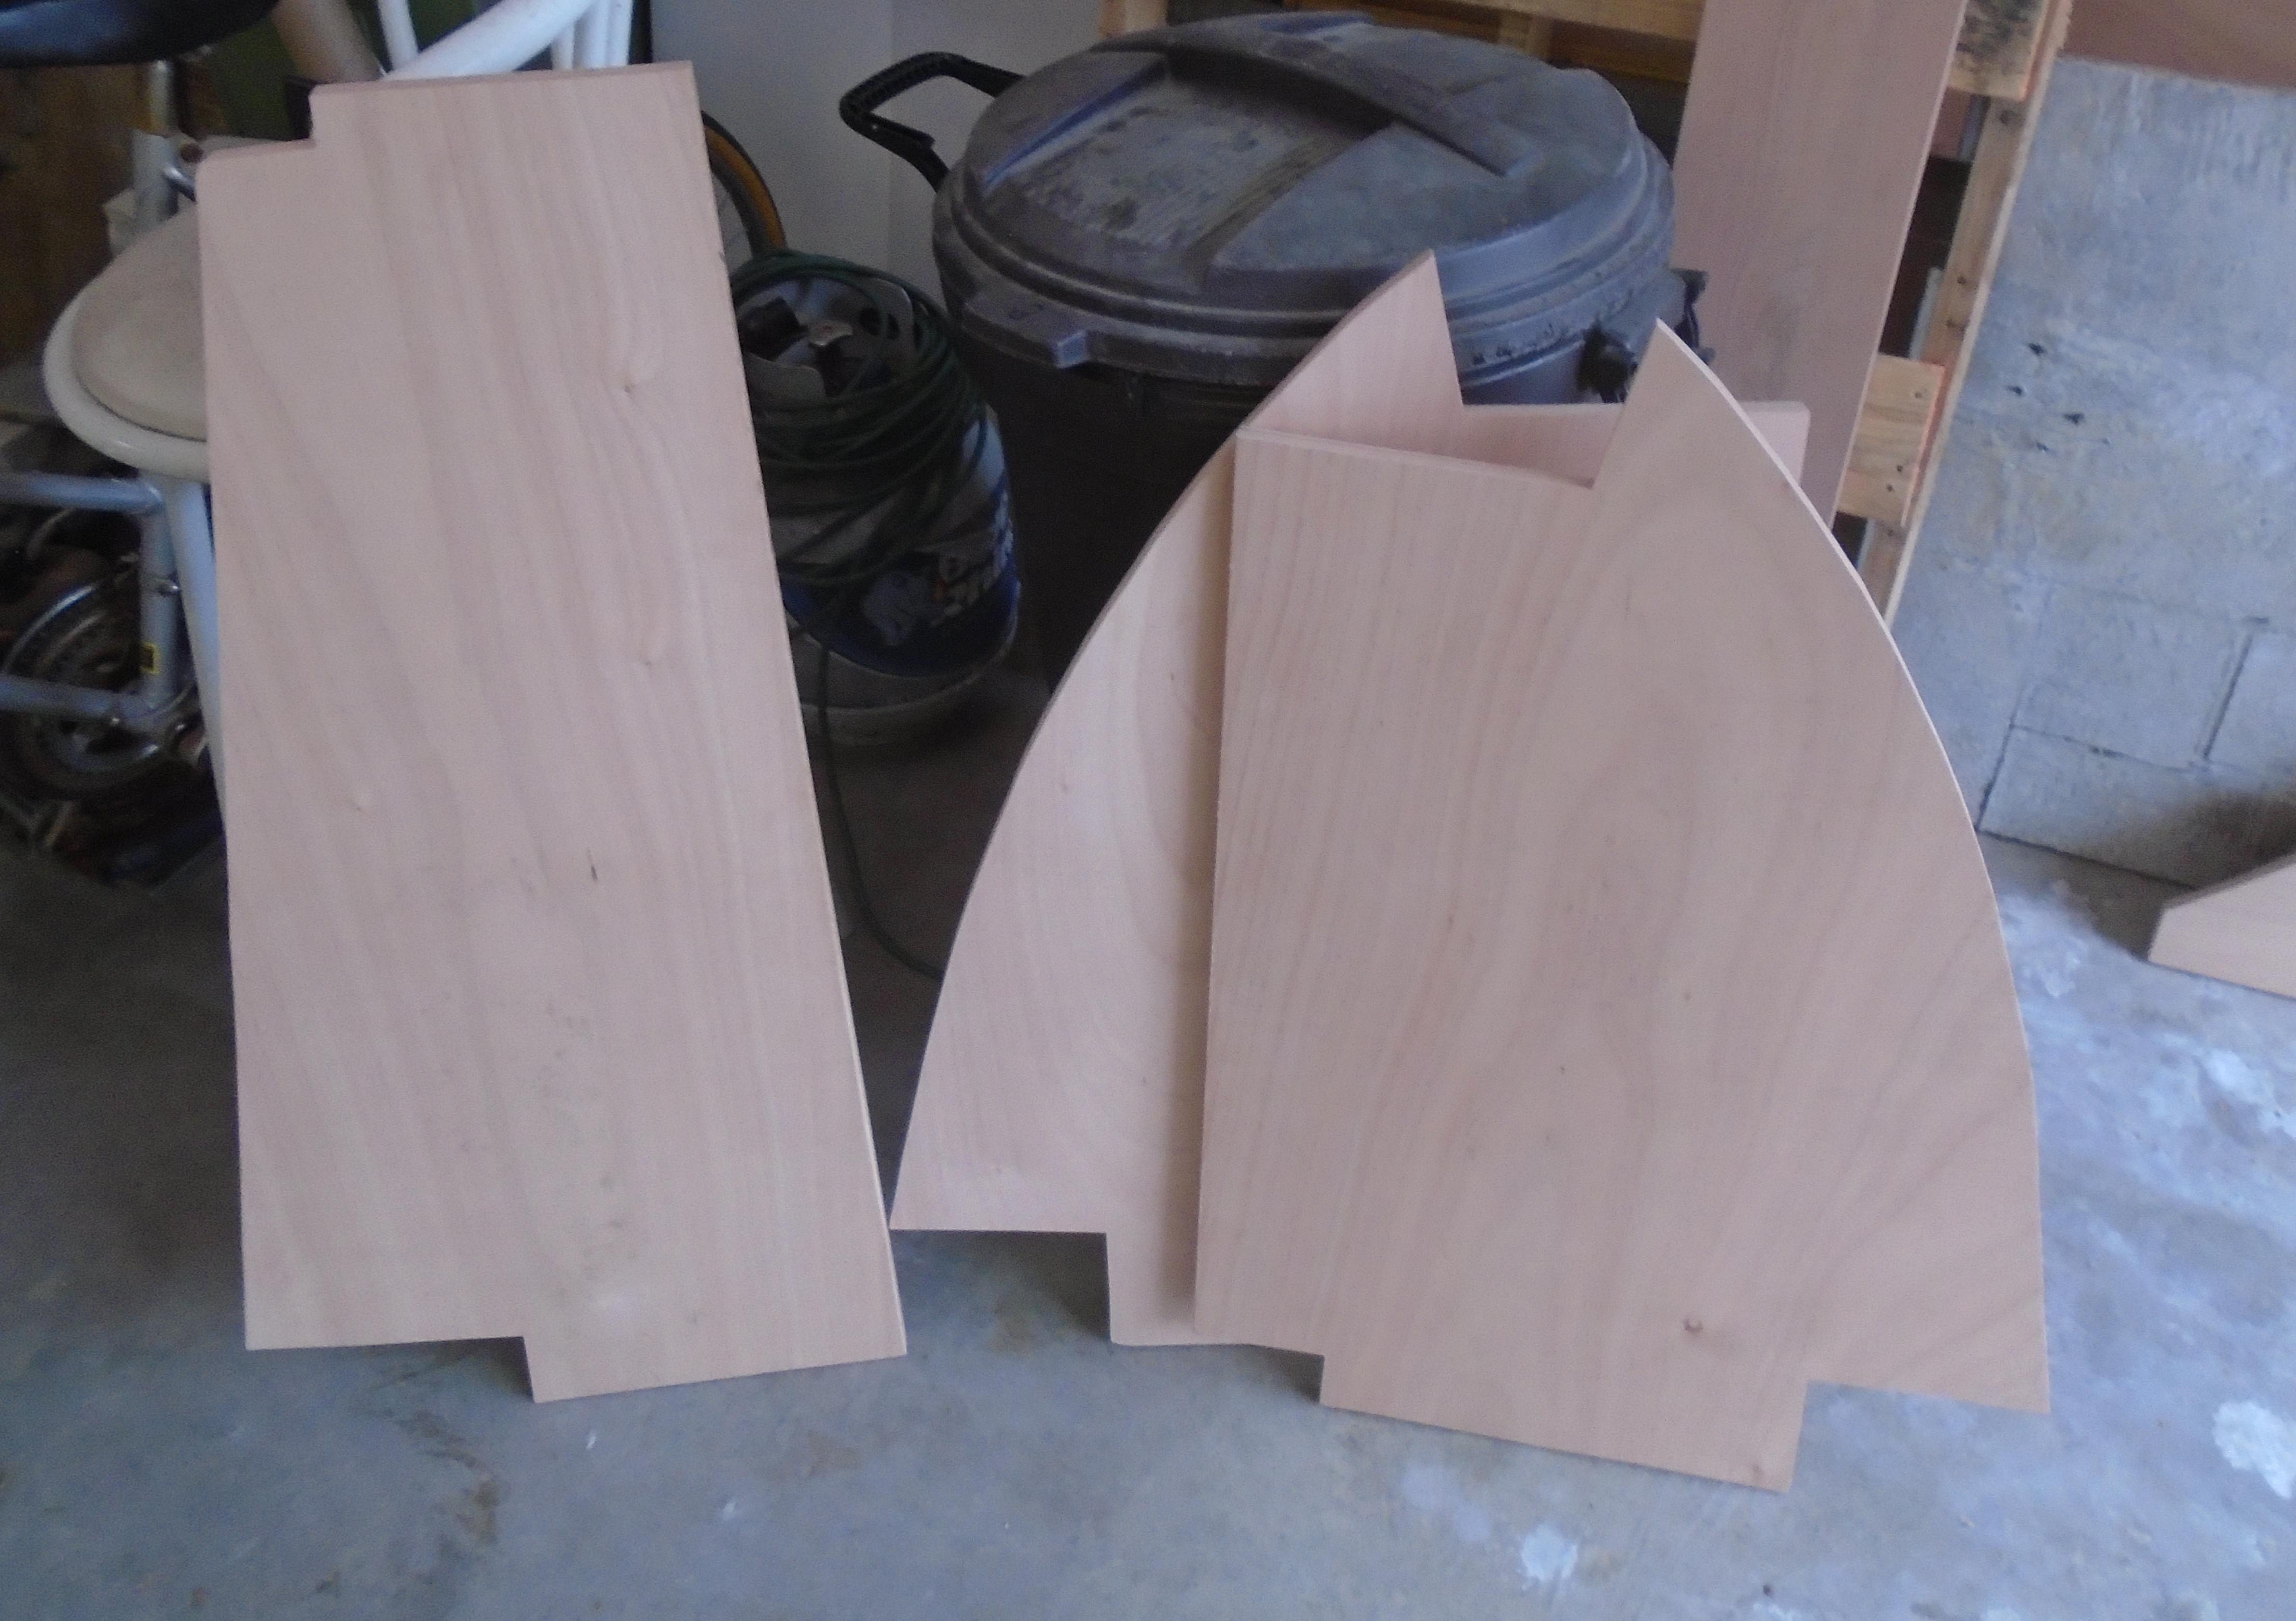
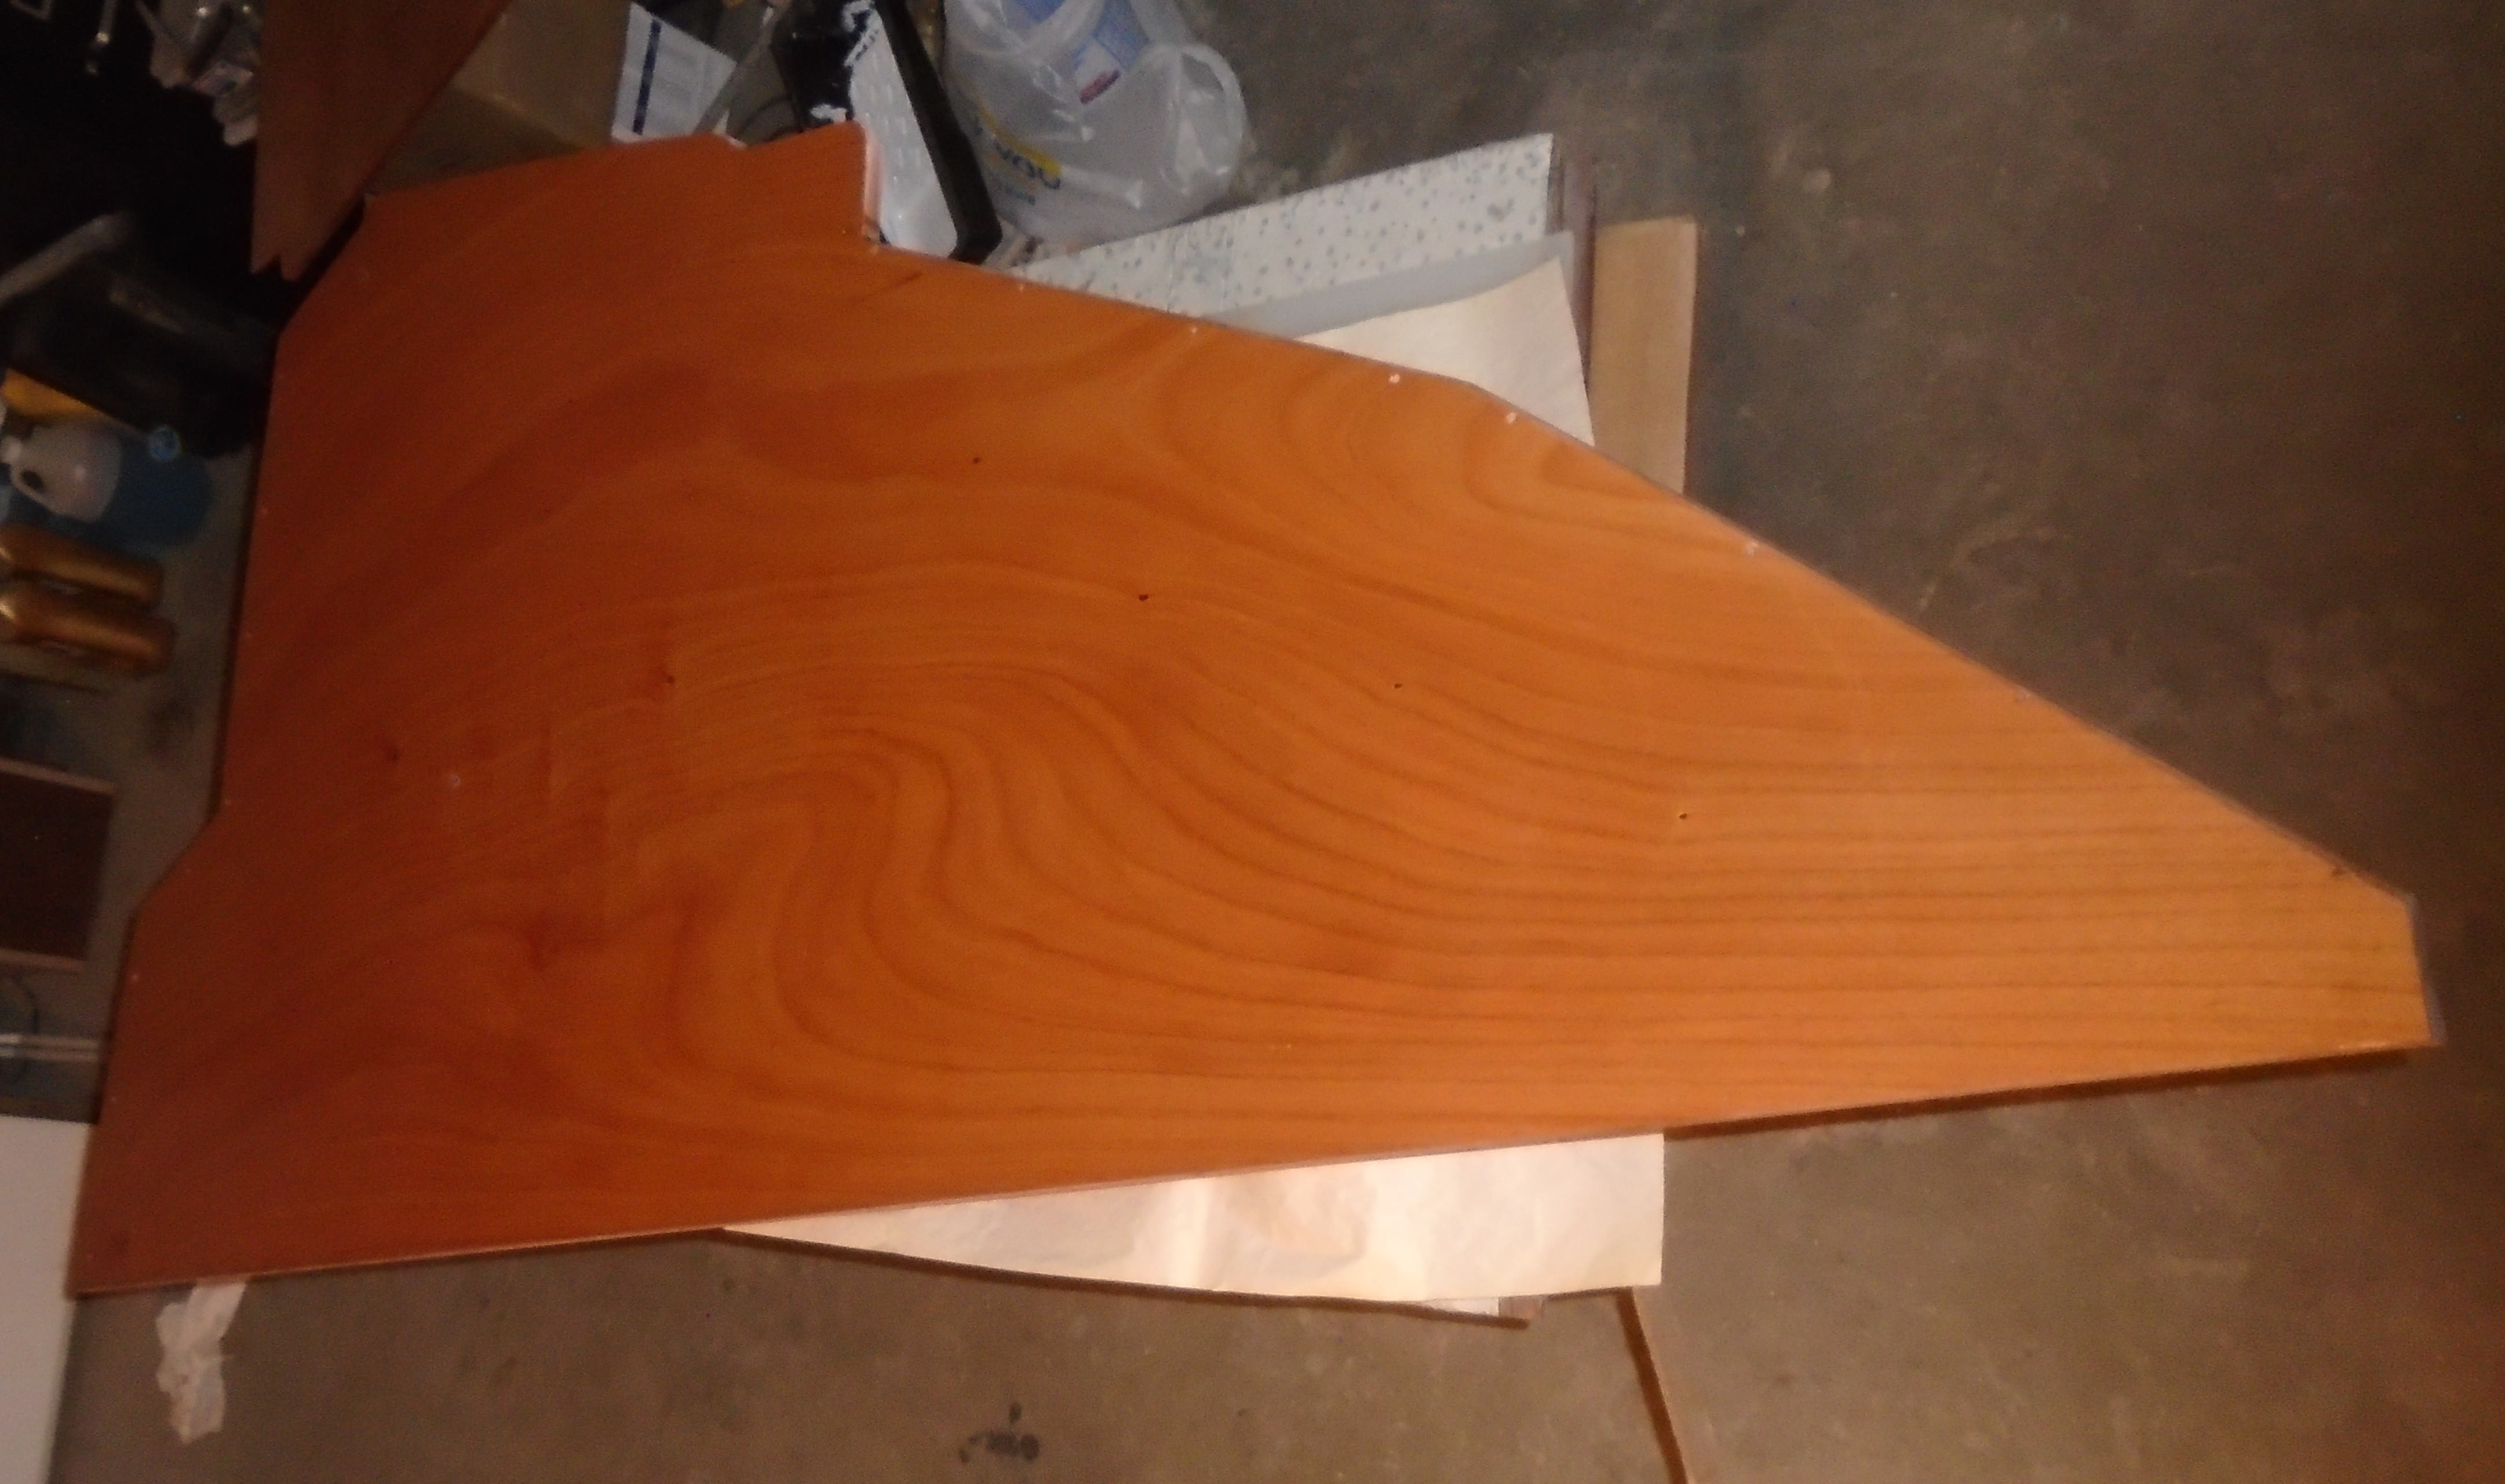
With most of the fiberglass work complete, it's time to cut some wood! After looking at multitudes of samples for the interior, I finally settled on okume plywood with red oak lumber. I ordered the first batch of ply to do the floors and bulkheads and when it arrived I started cutting:

First bulkhead out plus a few floorboards:


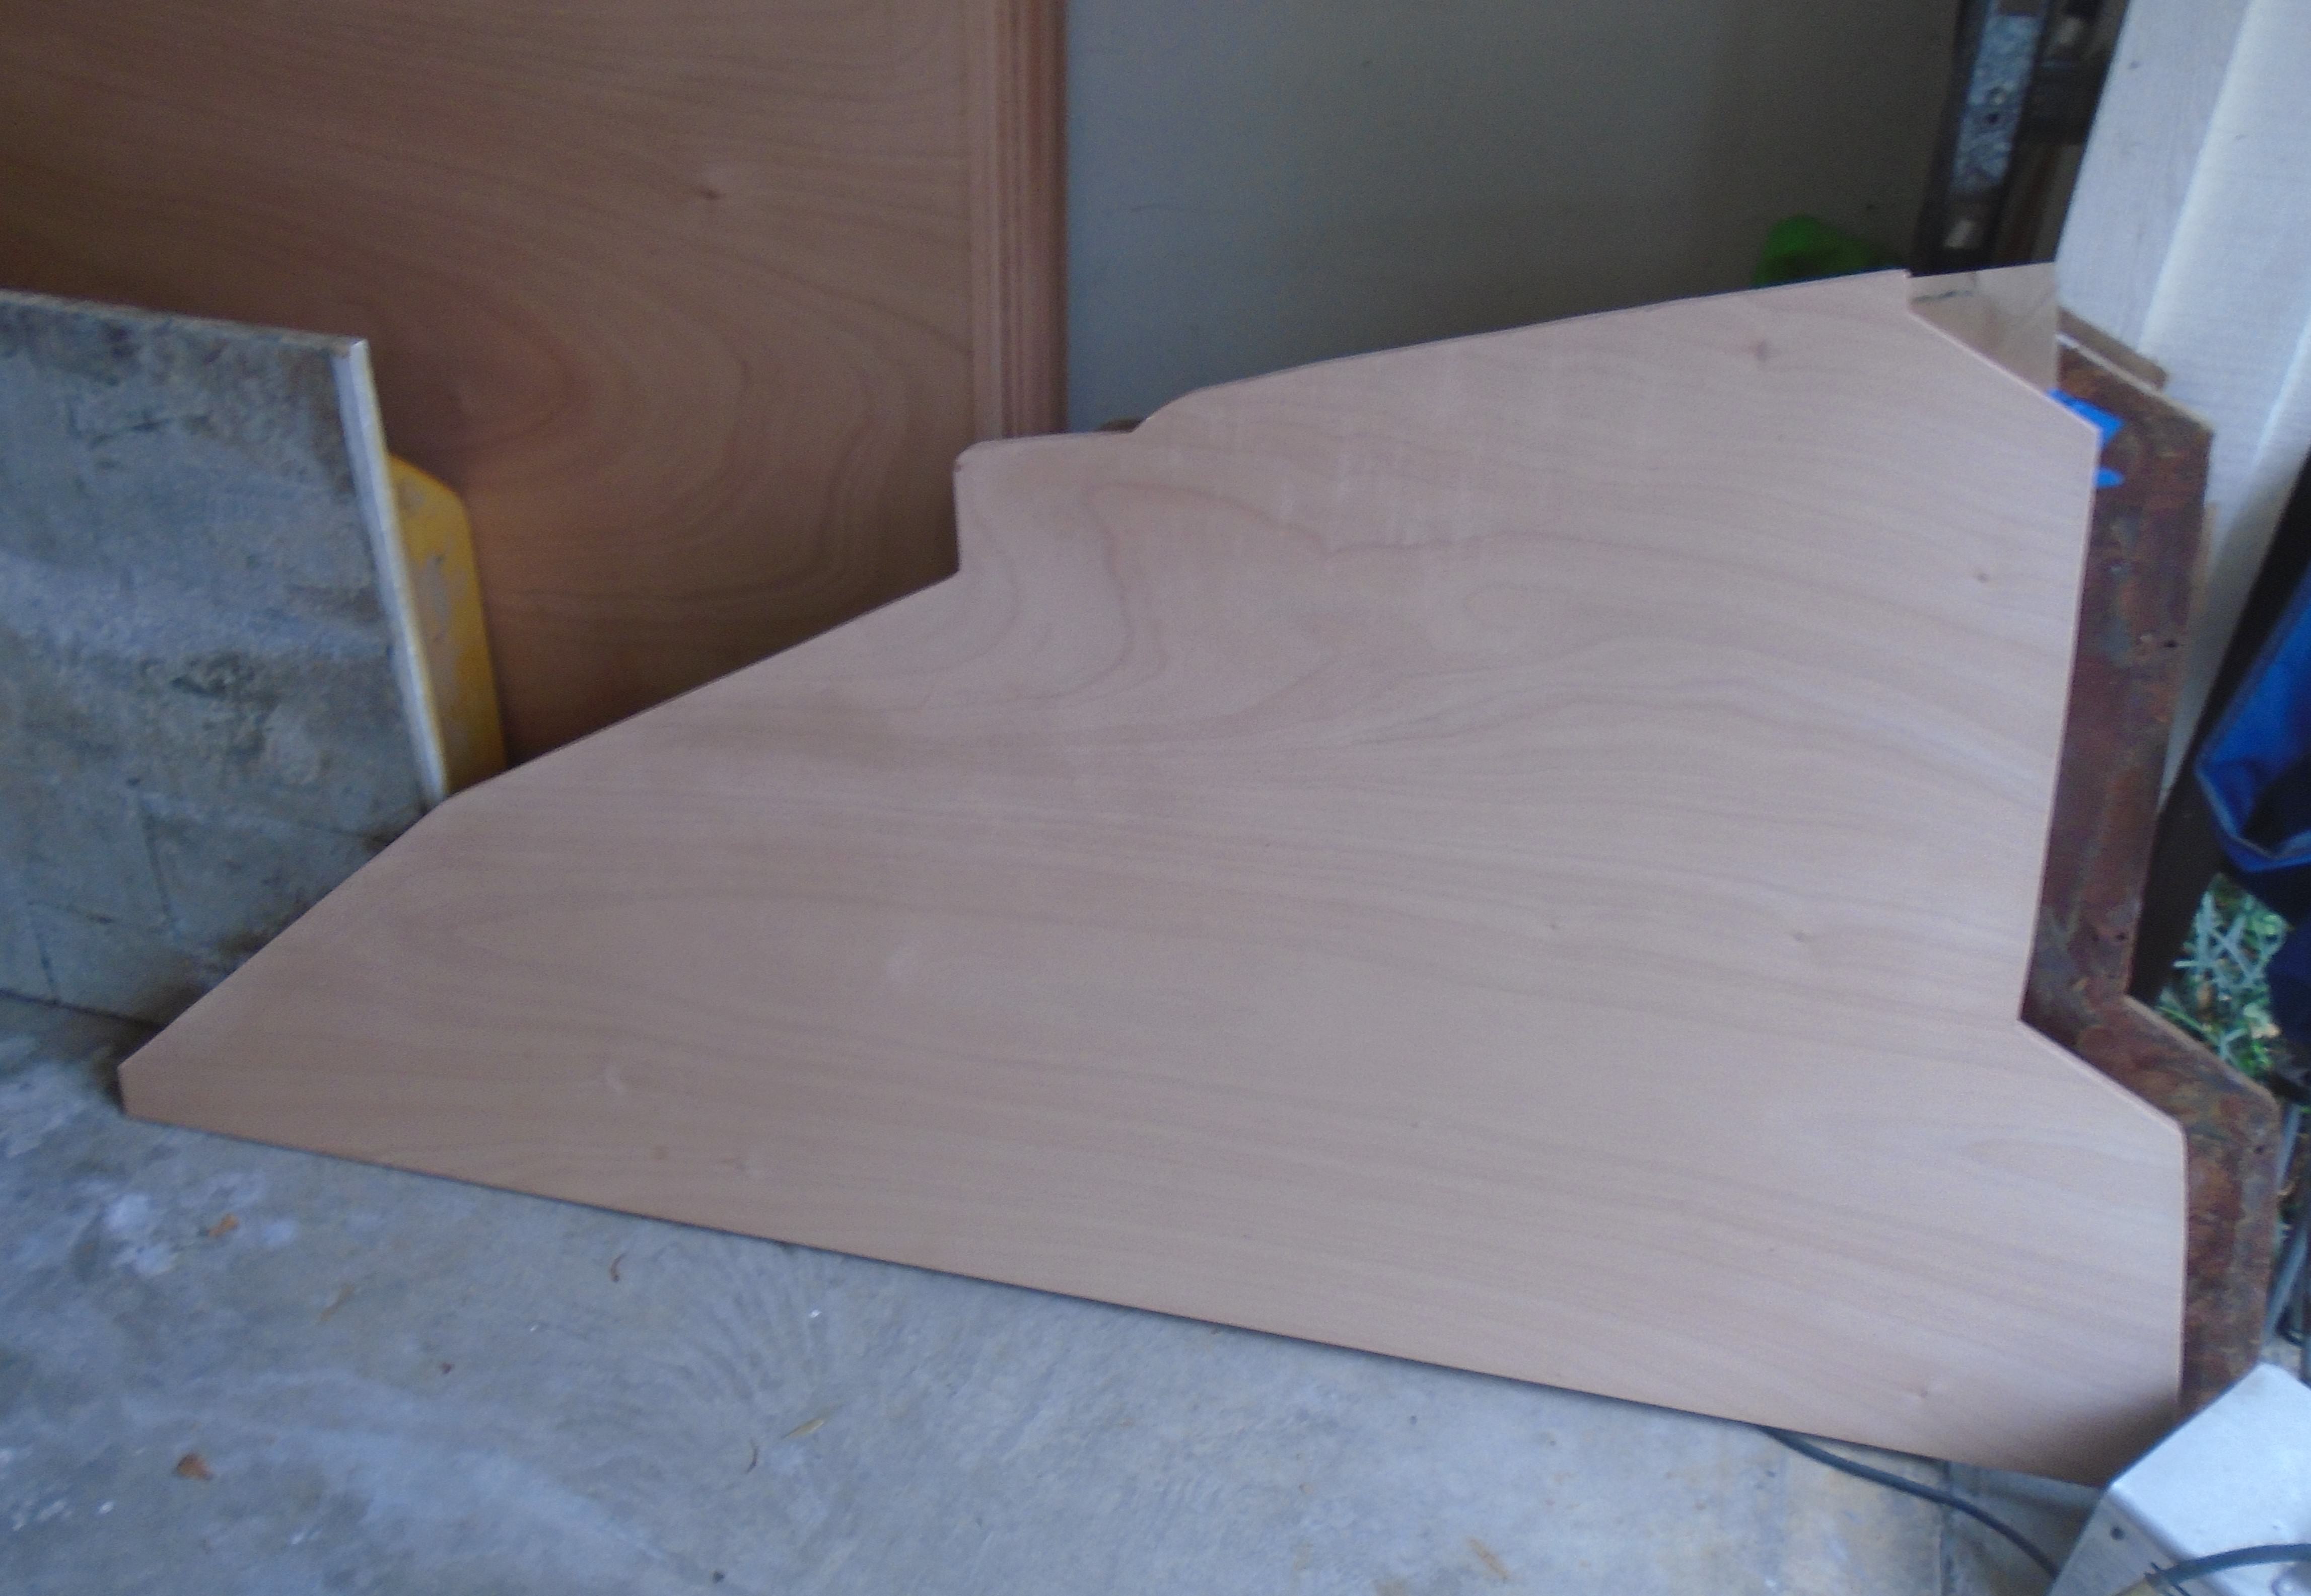
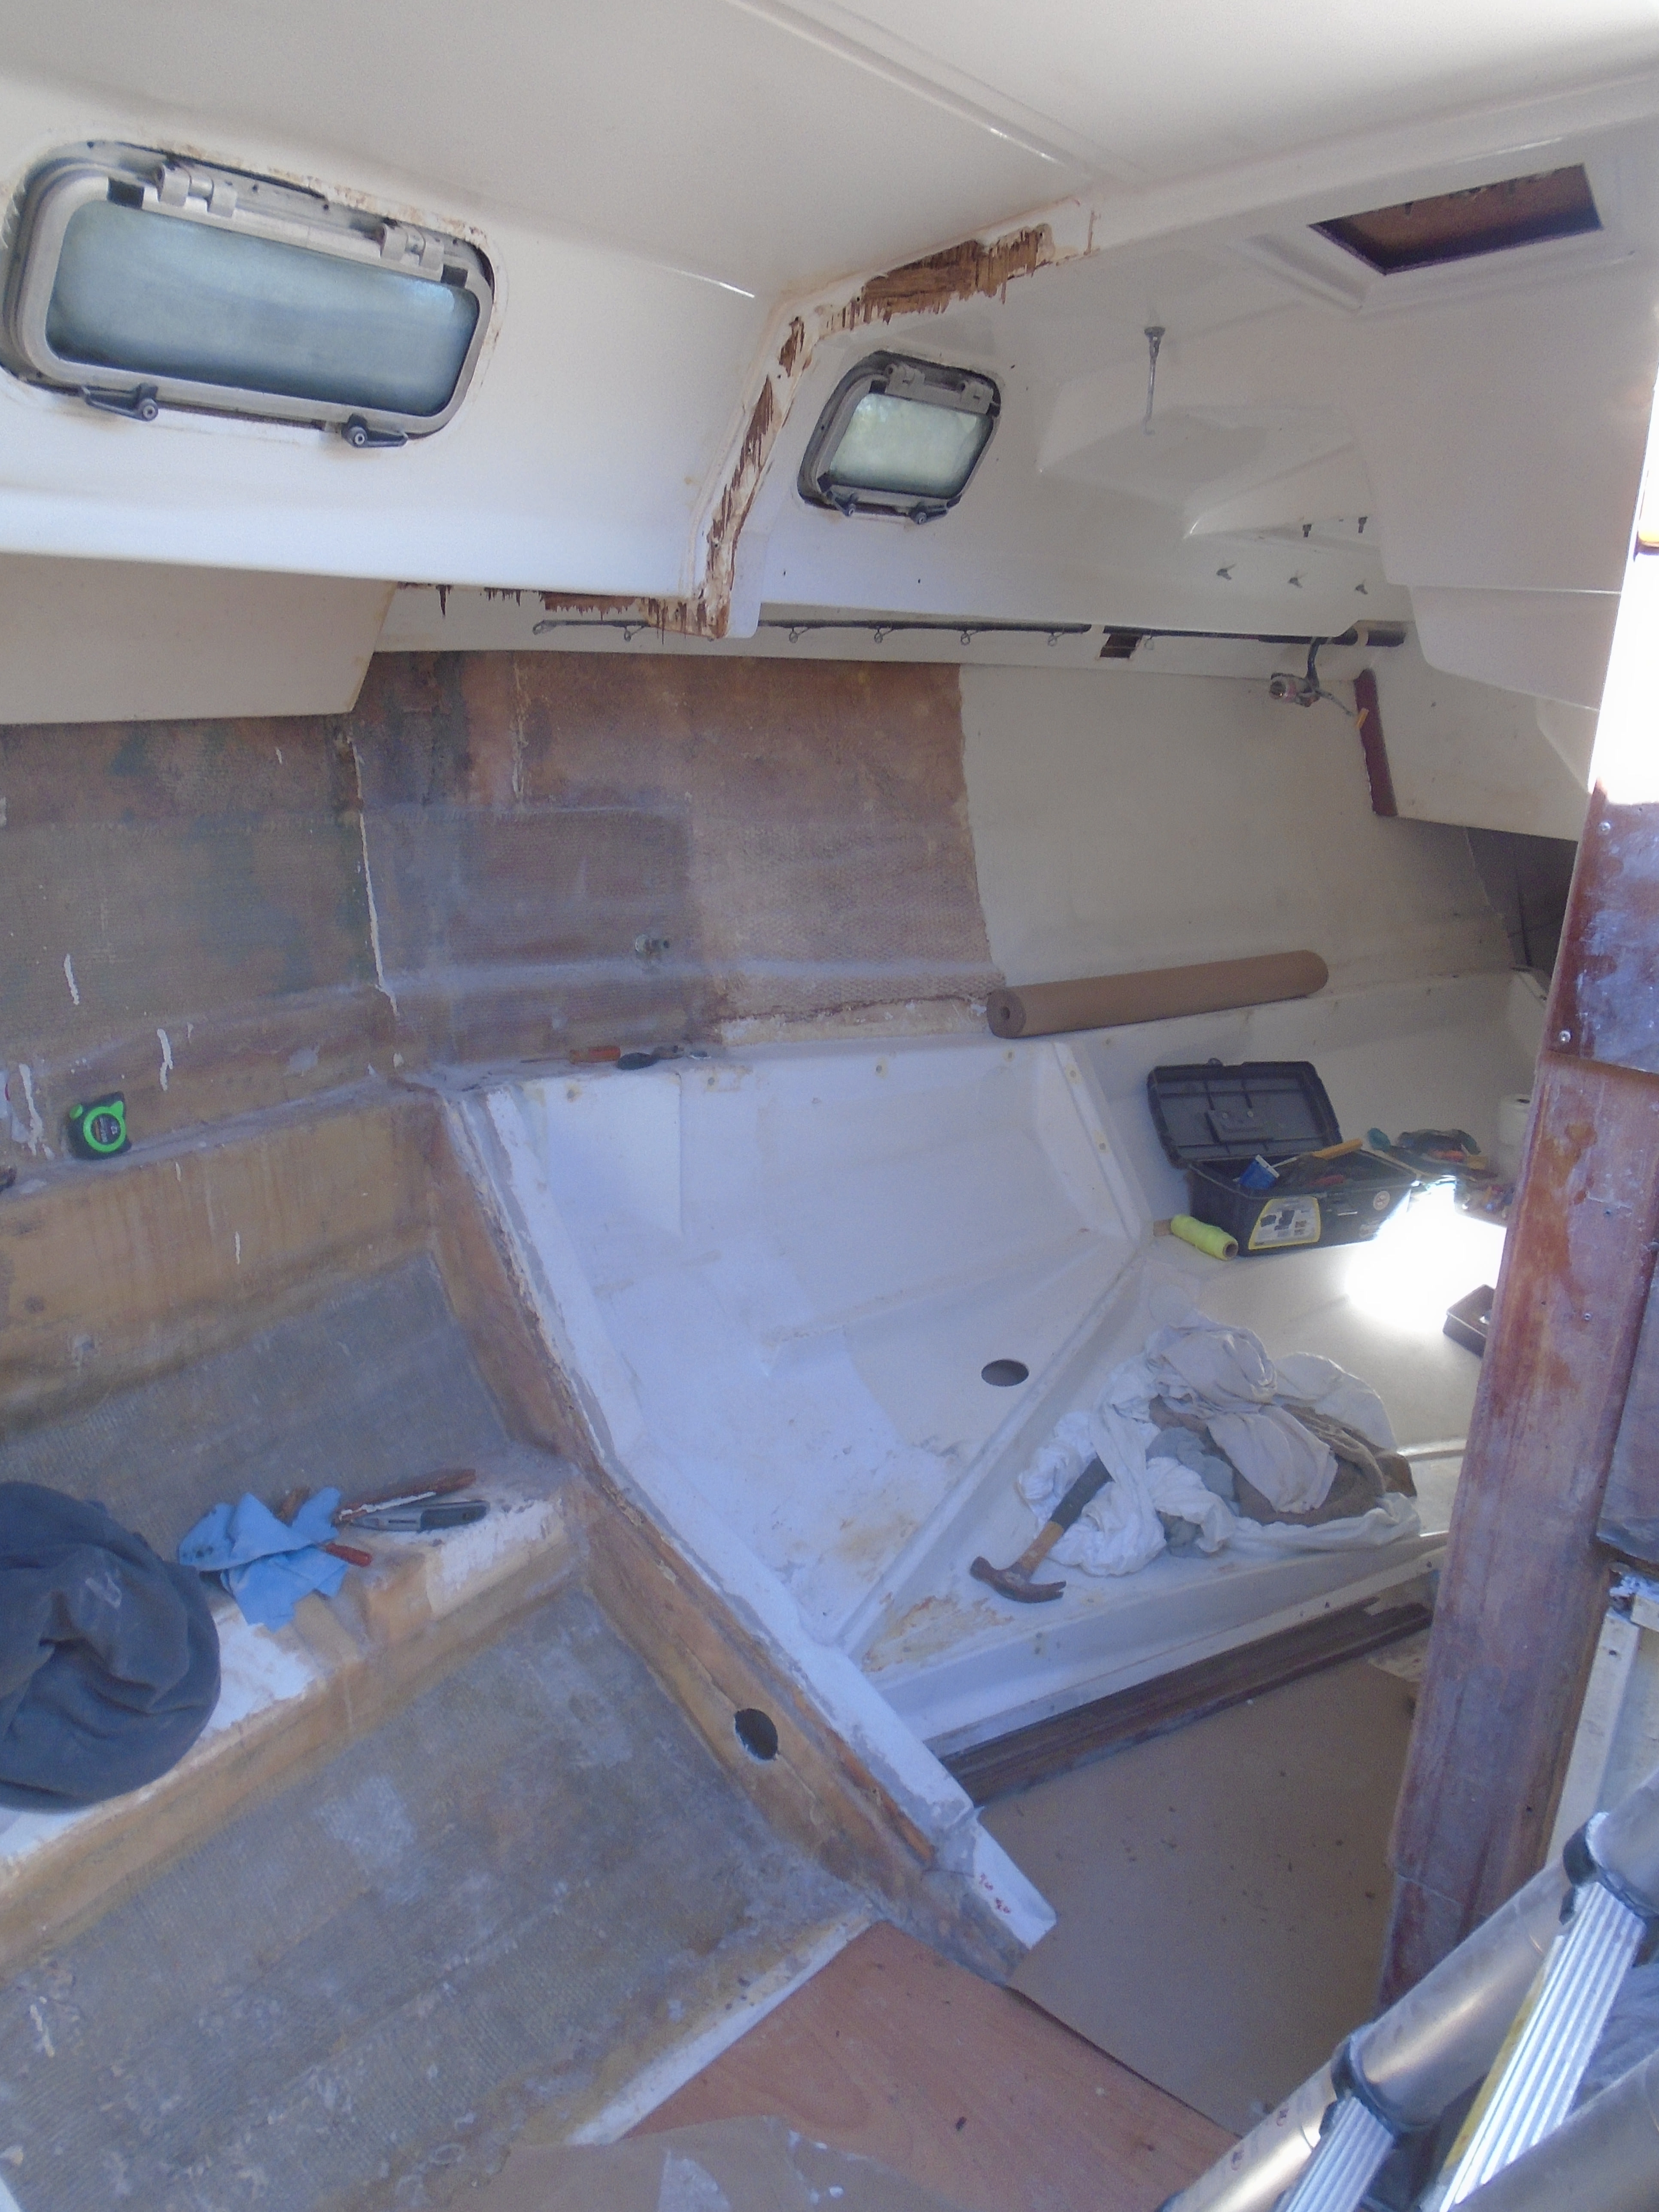
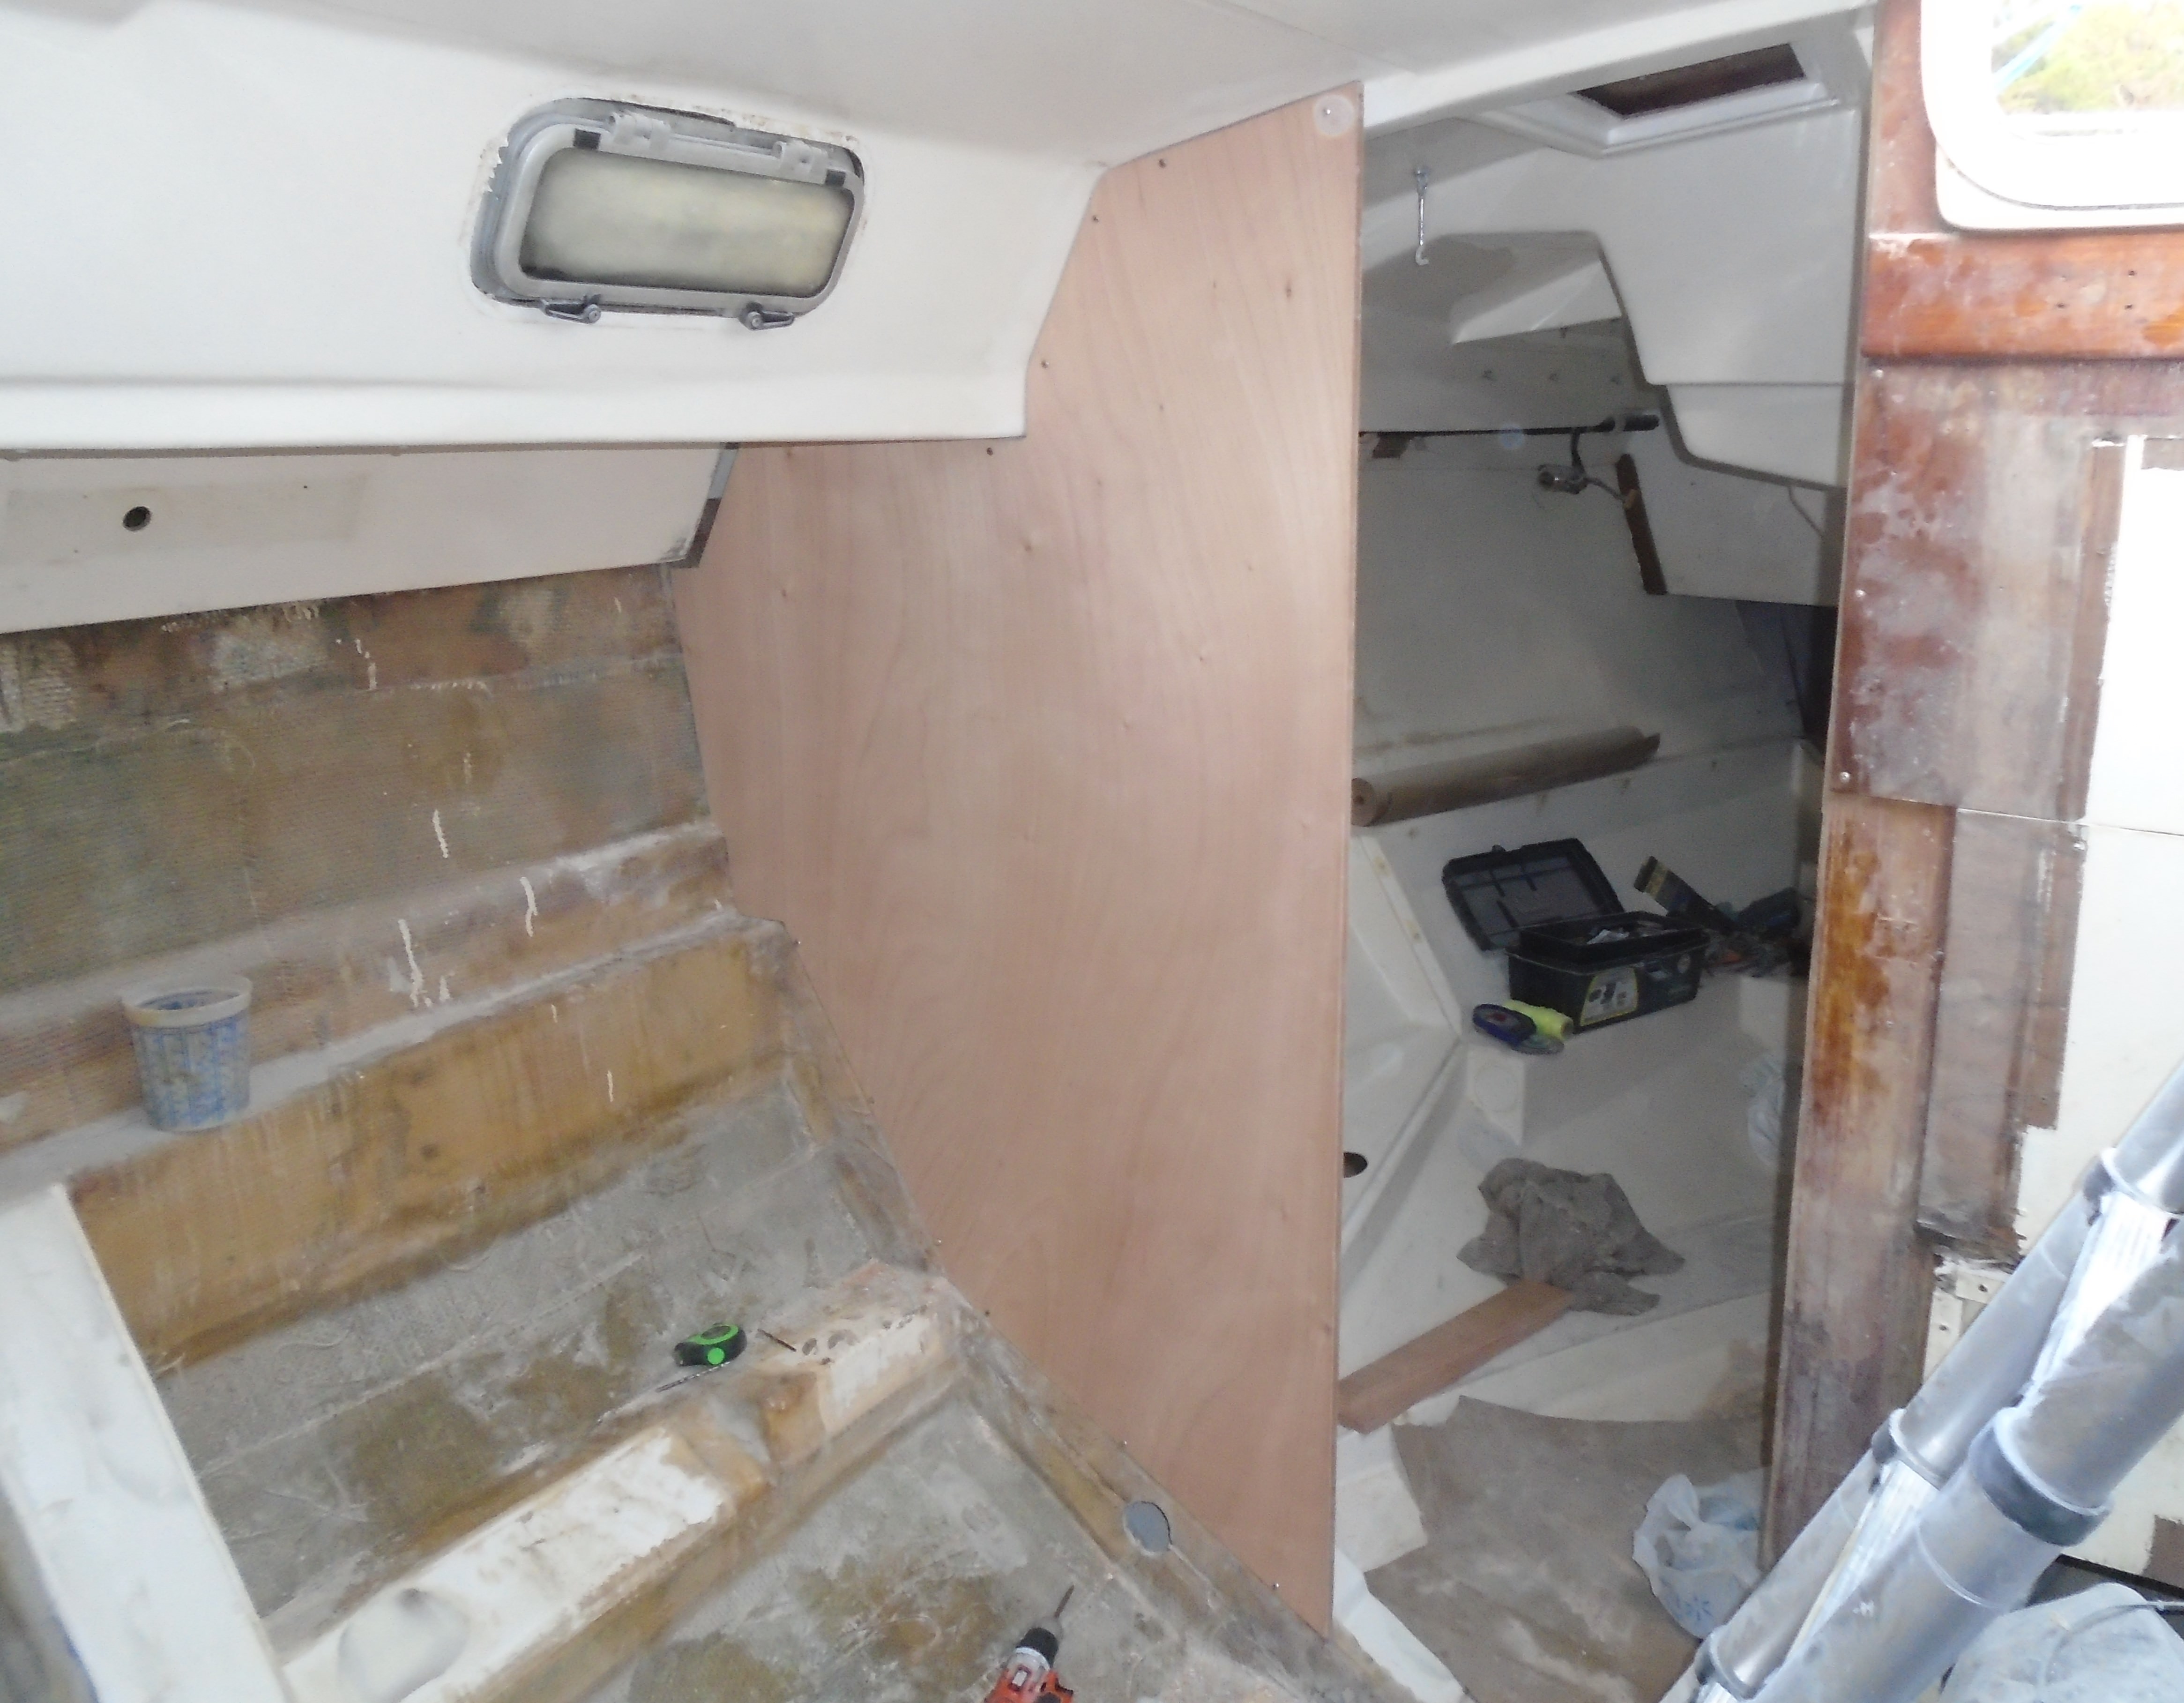
The bulkhead was tabbed and glued in so it took some muscle to get it out. After removing the bulkhead I cleaned up the upper and lower channels, ground down the tabbing on the hull side and reinstalled the bulkhead so I could pattern it in place. I wanted a better fit than the factory piece. One issue that made me scratch my head for a while was how to verify that the vertical edge was plumb to the boat. So I had to see where the boat itself sits. An angle gauge on the compression post showed the boat 1.5 degrees off to the right. The forward starboard bulkhead vertical edge matched, but the port side didn't. I measured the distance between the bulkheads and it was 3/4 inch narrower at the bottom than the top. I dropped a tape measure from the toe rail on both sides - the compression post angle was right so the new bulkhead needed to be cut to correct for this.

Floorboards cut and ready for fitting (slightly oversize to allow for trimming):


New bulkhead cut:


Next up - fitting the floorboards

Cheers,

Mark
 
Last edited:
May 8, 2013
629
Hunter 40 Dataw Island, SC
B757Captain, I have been following this thread. First, I am really impressed with both your skills and your determination.

Secondly, if you ever decide to sell the boat in the future, I think these documented repairs would likely make a good case for a potential buyer to select your boat over many others. A new owner should be able to get it insured. Your repaired boat will be as mechanically sound as any other boat that age.

I once rebuilt a totaled sports car, the same insurance company that totaled the car sold full coverage on it, after my repairs.

Looking forward to seeing more updates and eventually the finished product.
Thanks Seahorse!

I'm actually shooting for the boat to be in better shape than any other boat its age :) I don't think an insurance company would deny coverage to a repaired boat unless a surveyor found major issues - if that was the case most repair yards would not exist; damaged boats would automatically be scrapped. Based on the quality of the prior repairs on my boat I think I'm head and shoulders above their work and I'm trying to follow ABYC guidelines for everything.

I did the same thing many moons ago - my first totaled sports car was a 1973 Corvette I bought when I was 18. After repairing it the only thing the insurance company complained about was my age! They still insured it though.

Mark
 
May 8, 2013
629
Hunter 40 Dataw Island, SC
holy crap, I just went over to the edensaw site and saw the price of the teak/holly ply, no wonder you went with okume!
Yup. the teak prices are out there! I wanted a lighter color wood than teak anyway. I sampled several mahoganies - after clearcoating they were all too dark, same as teak. Ash and birch were too light - I tried staining them to darken the wood but in both cases the stain highlighted the grain way too much. The okume was perfect, plus my wood supplier says there is very little variation in okume so I can buy batches at different times and not have wide color variations.

Mark
 
May 8, 2013
629
Hunter 40 Dataw Island, SC
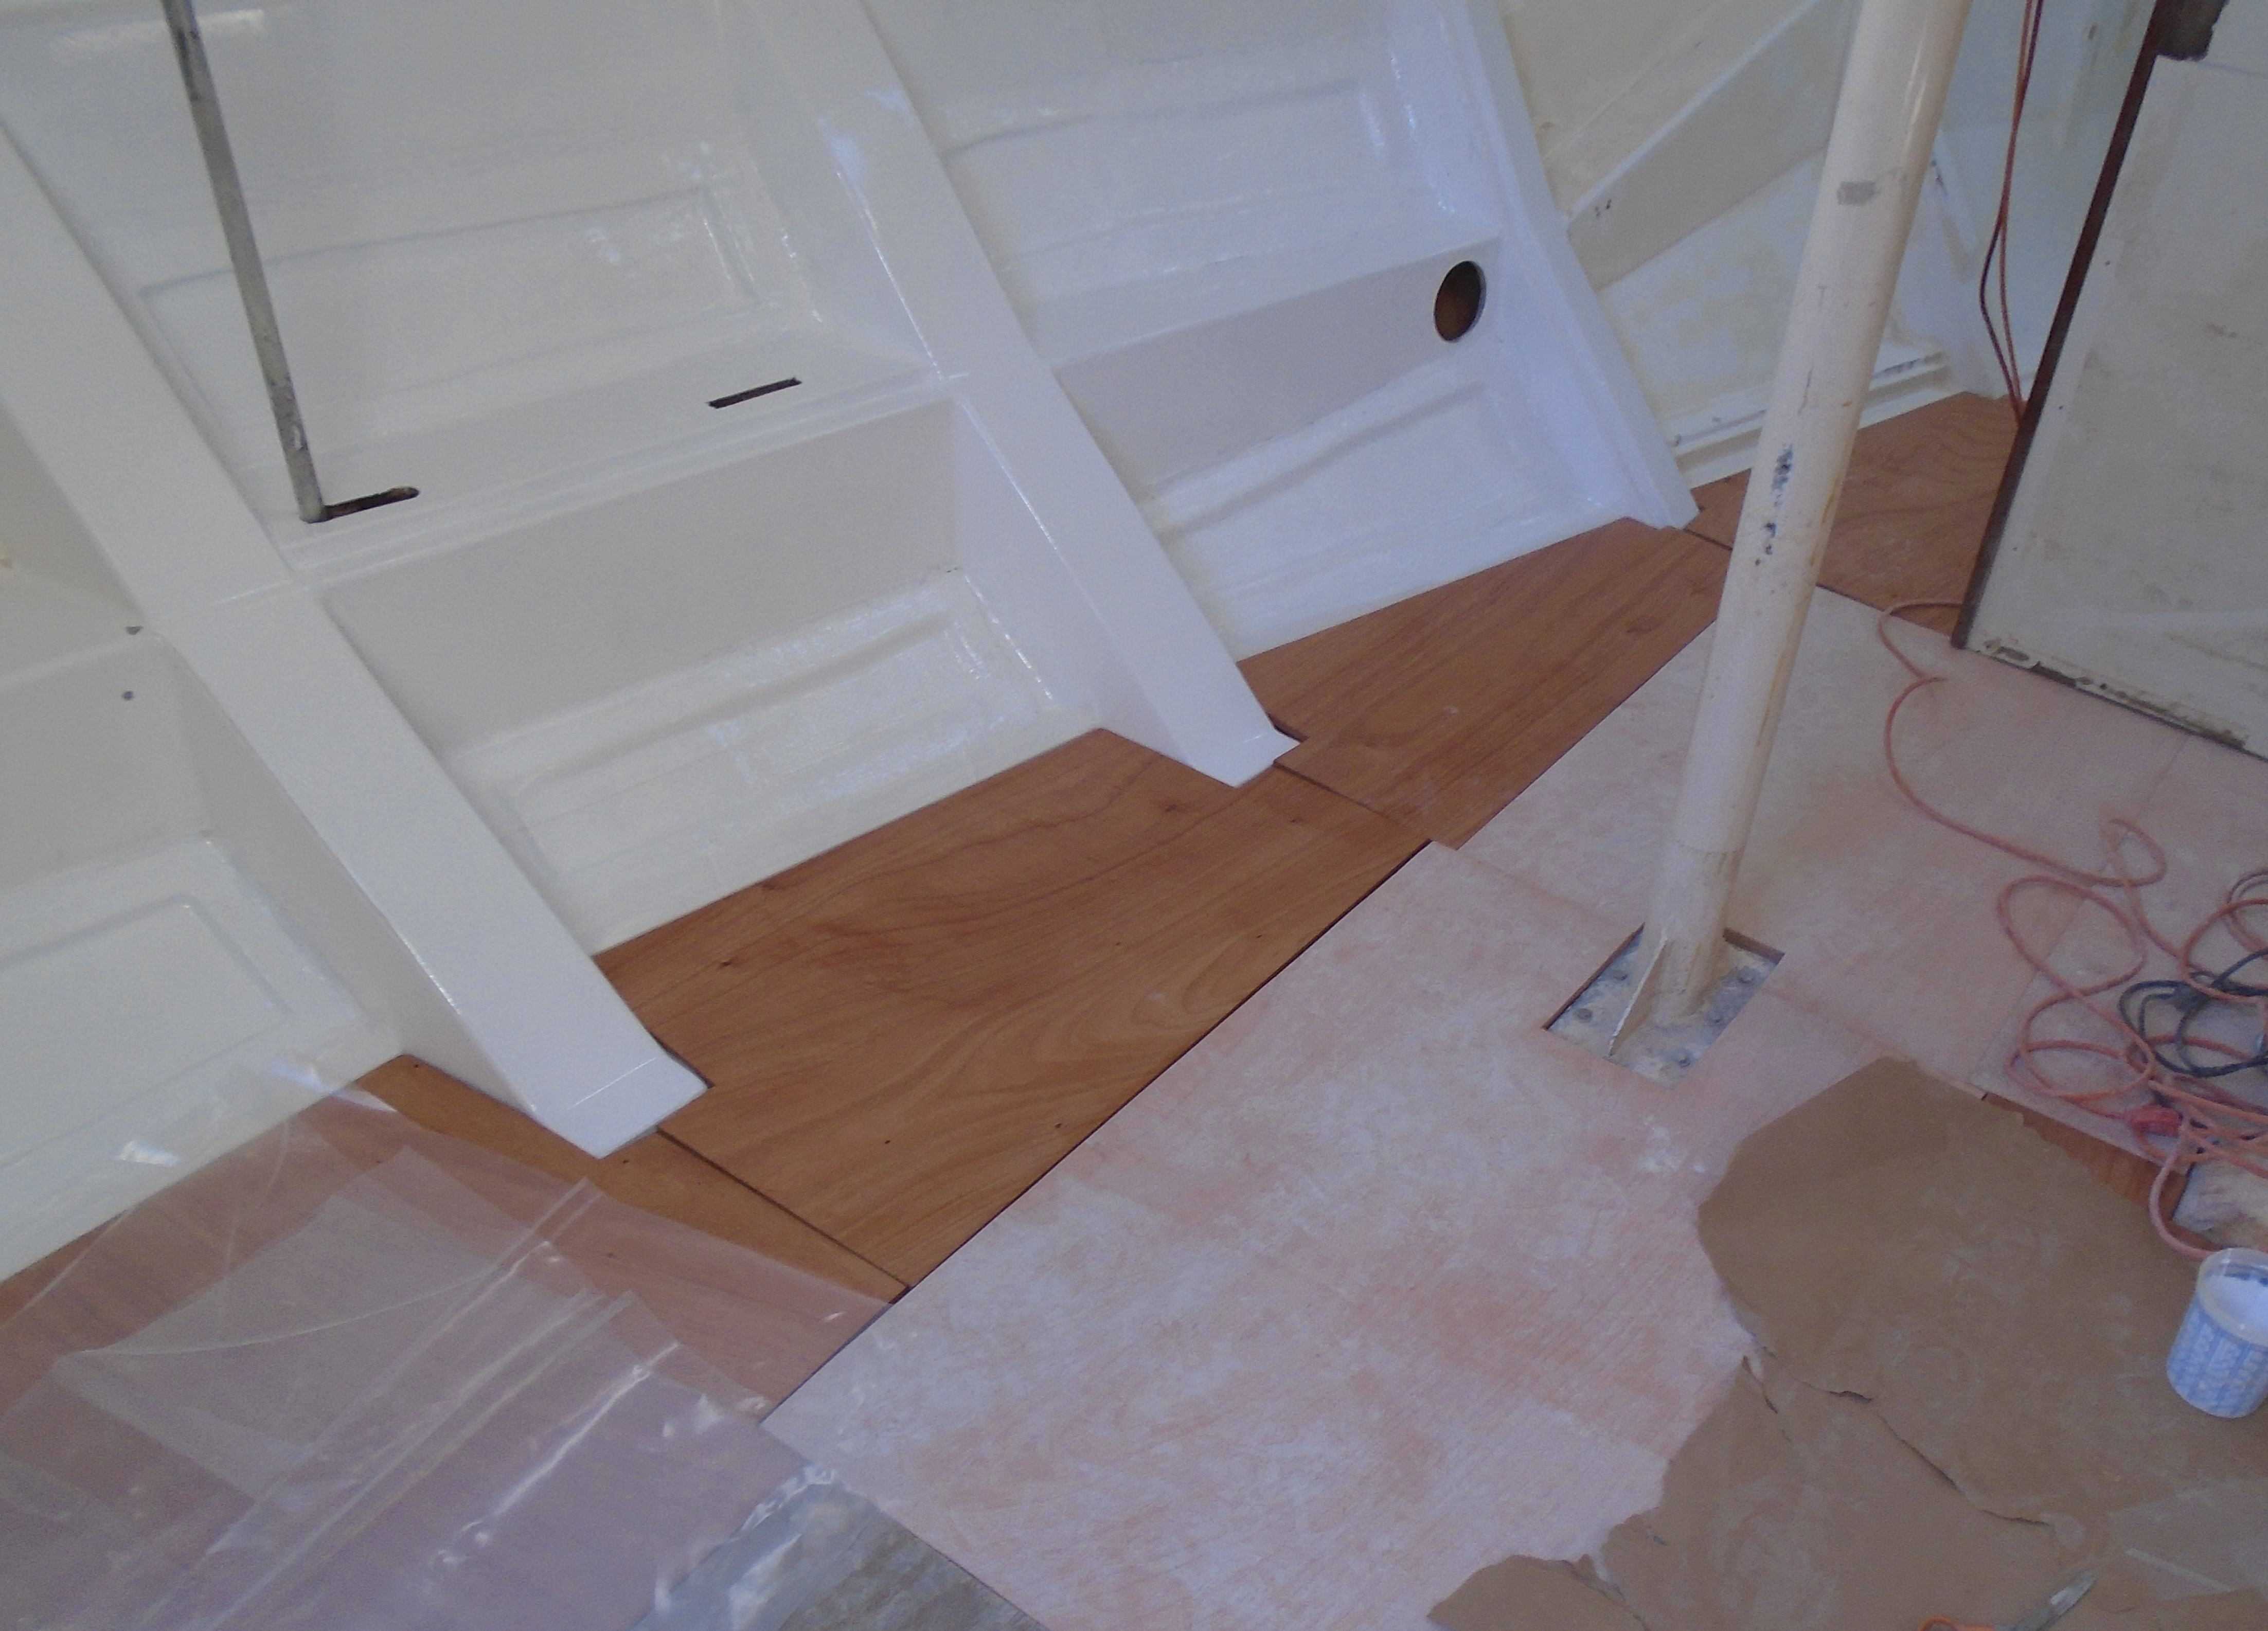
Fitting the floorboards:

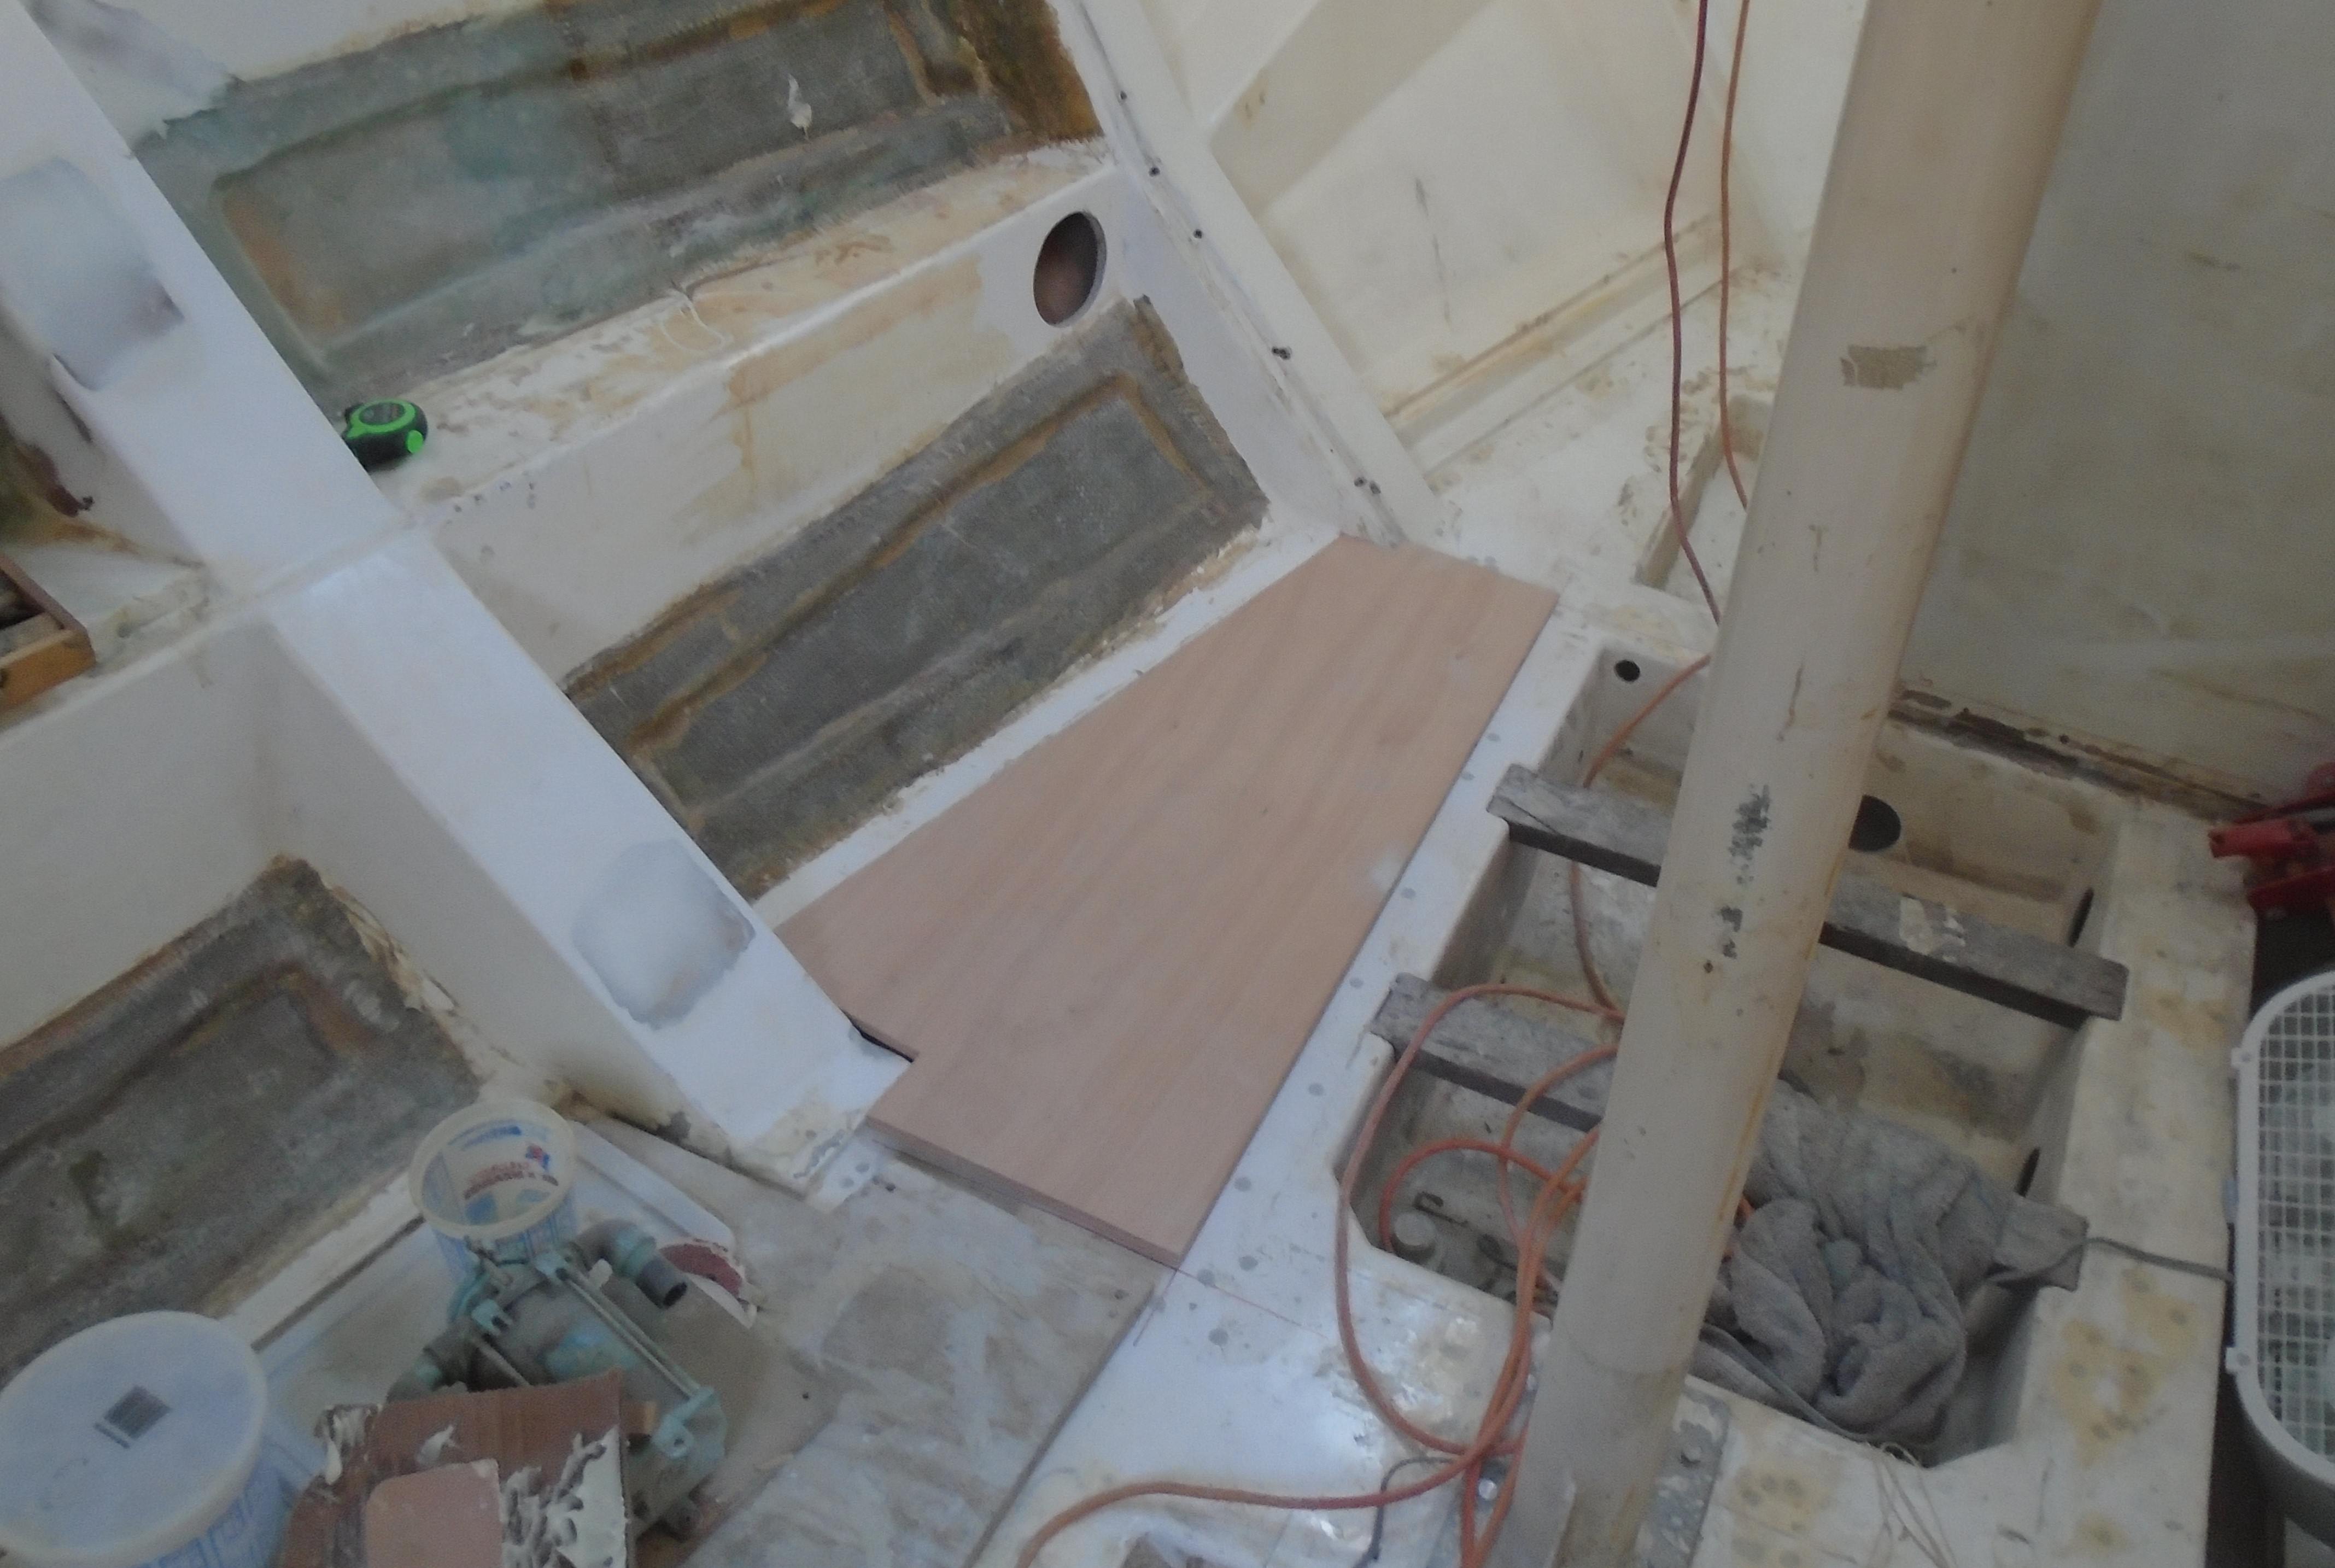
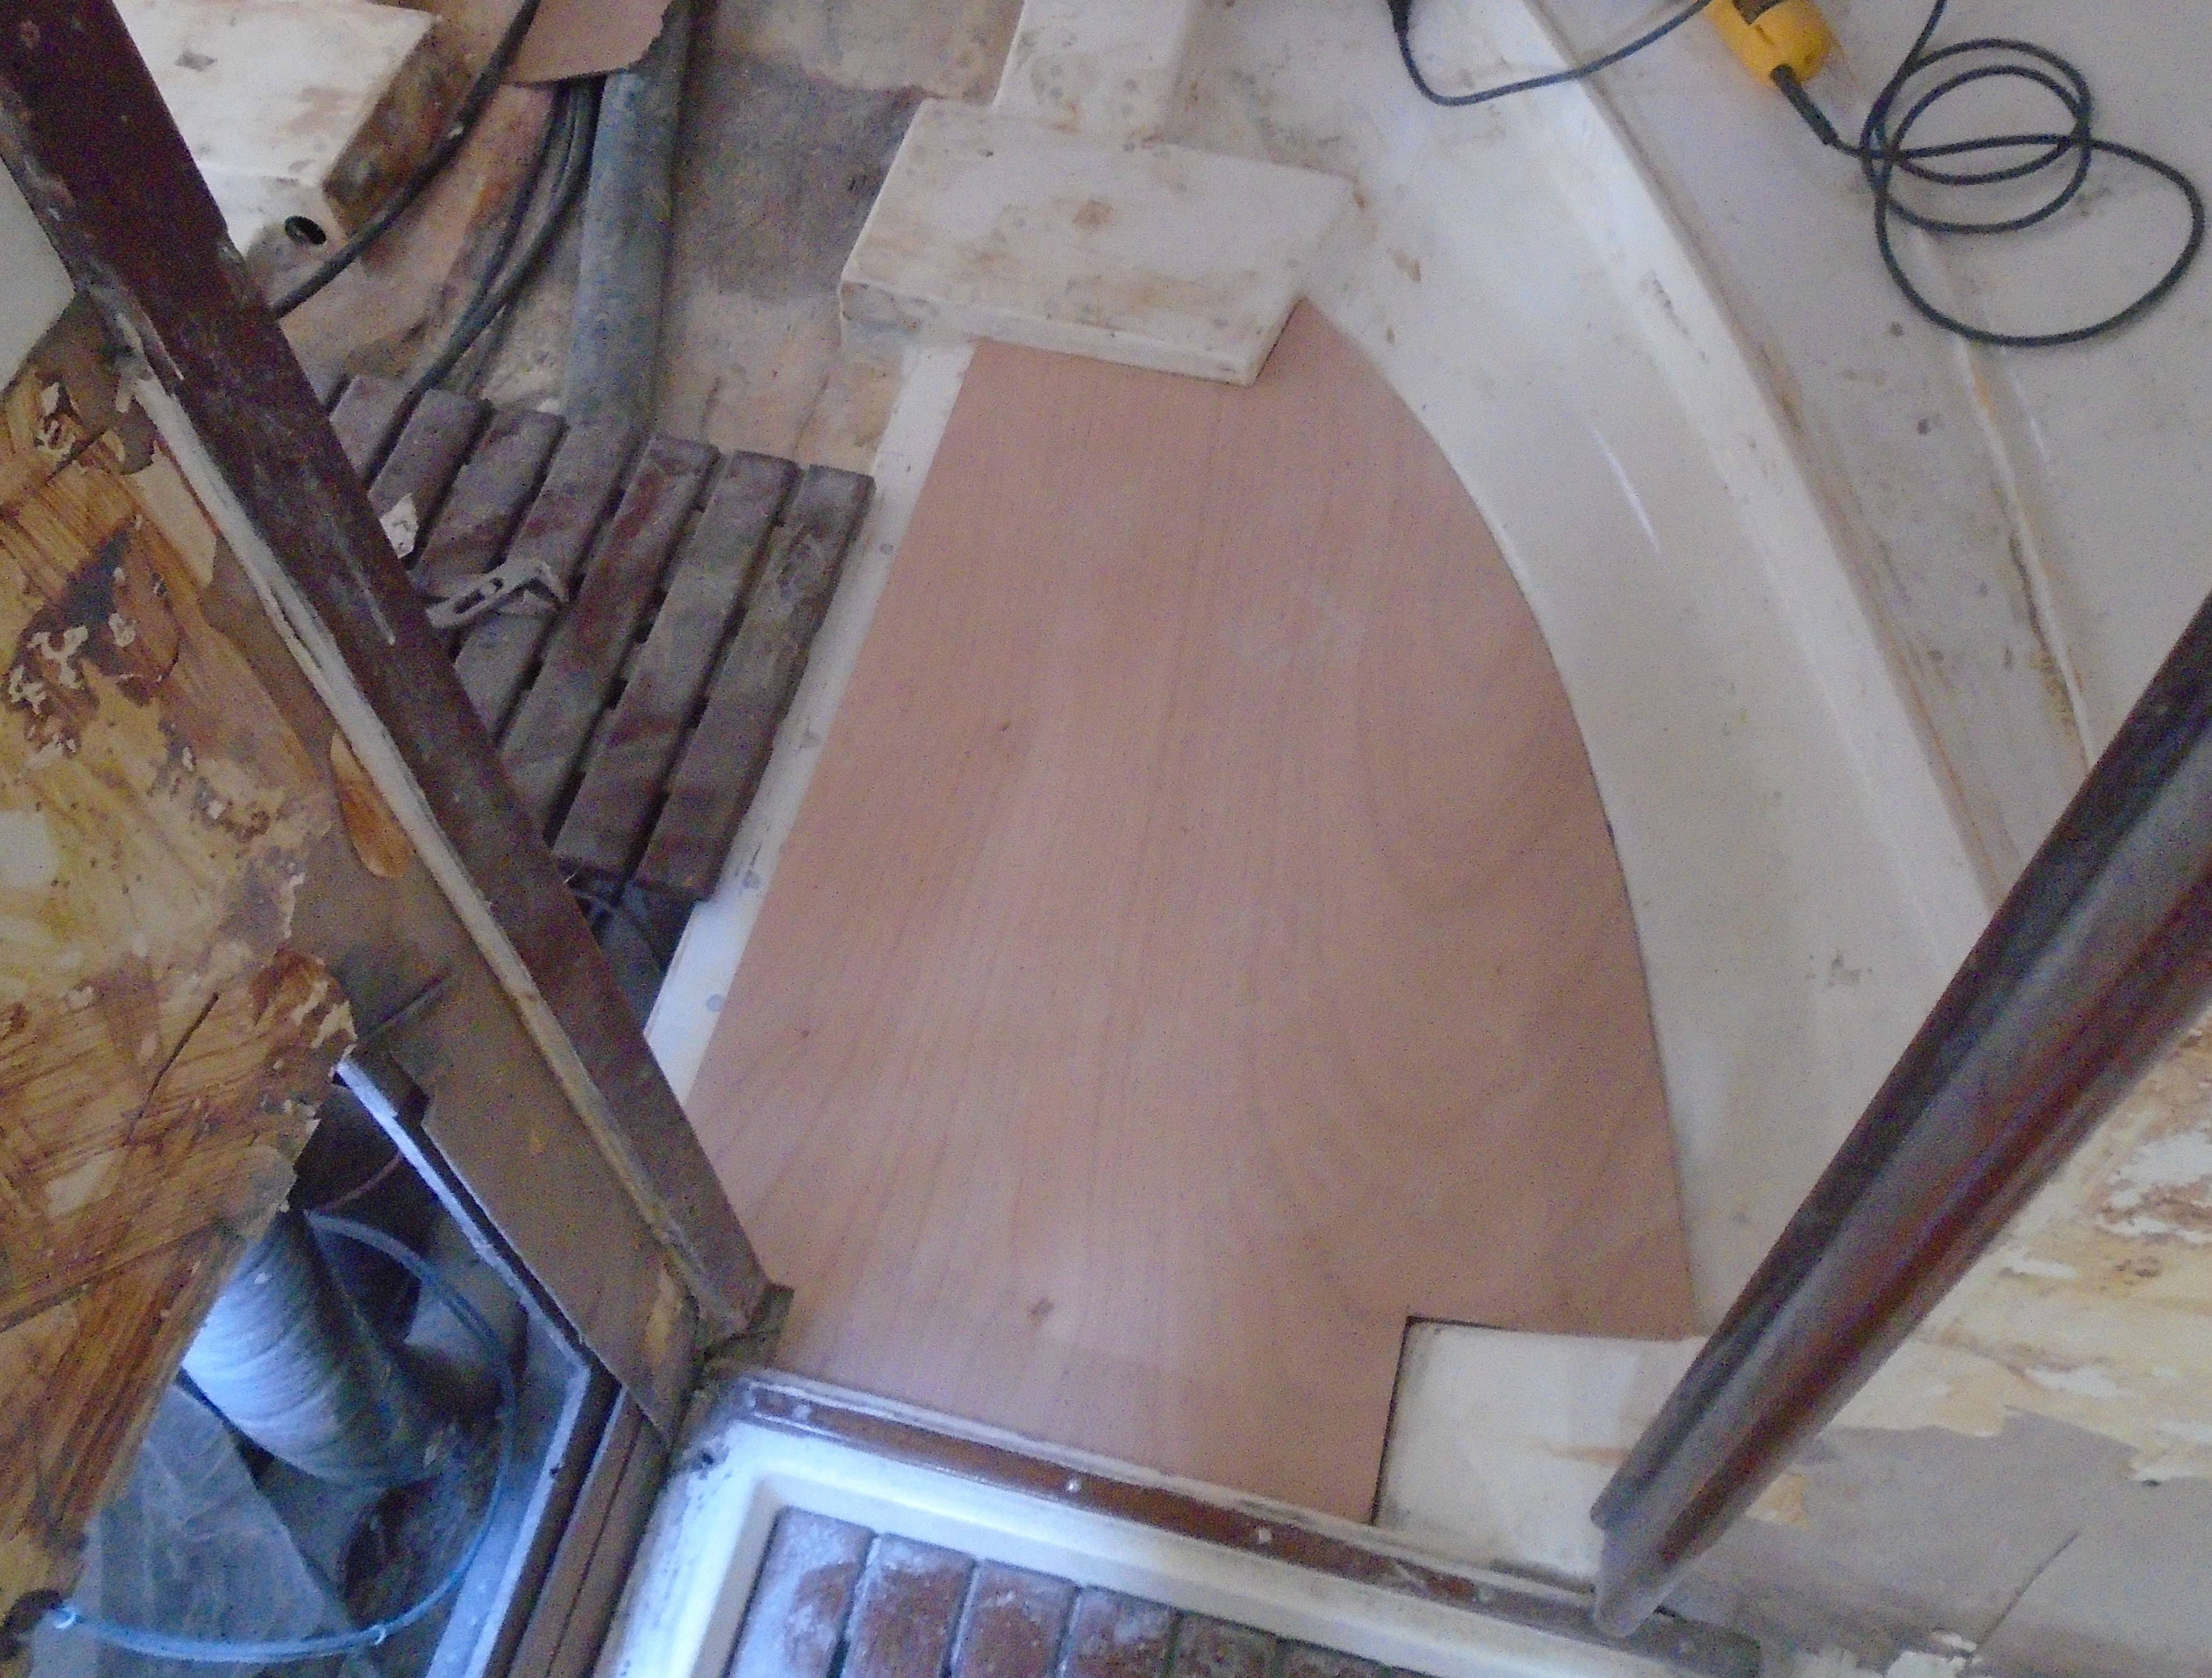
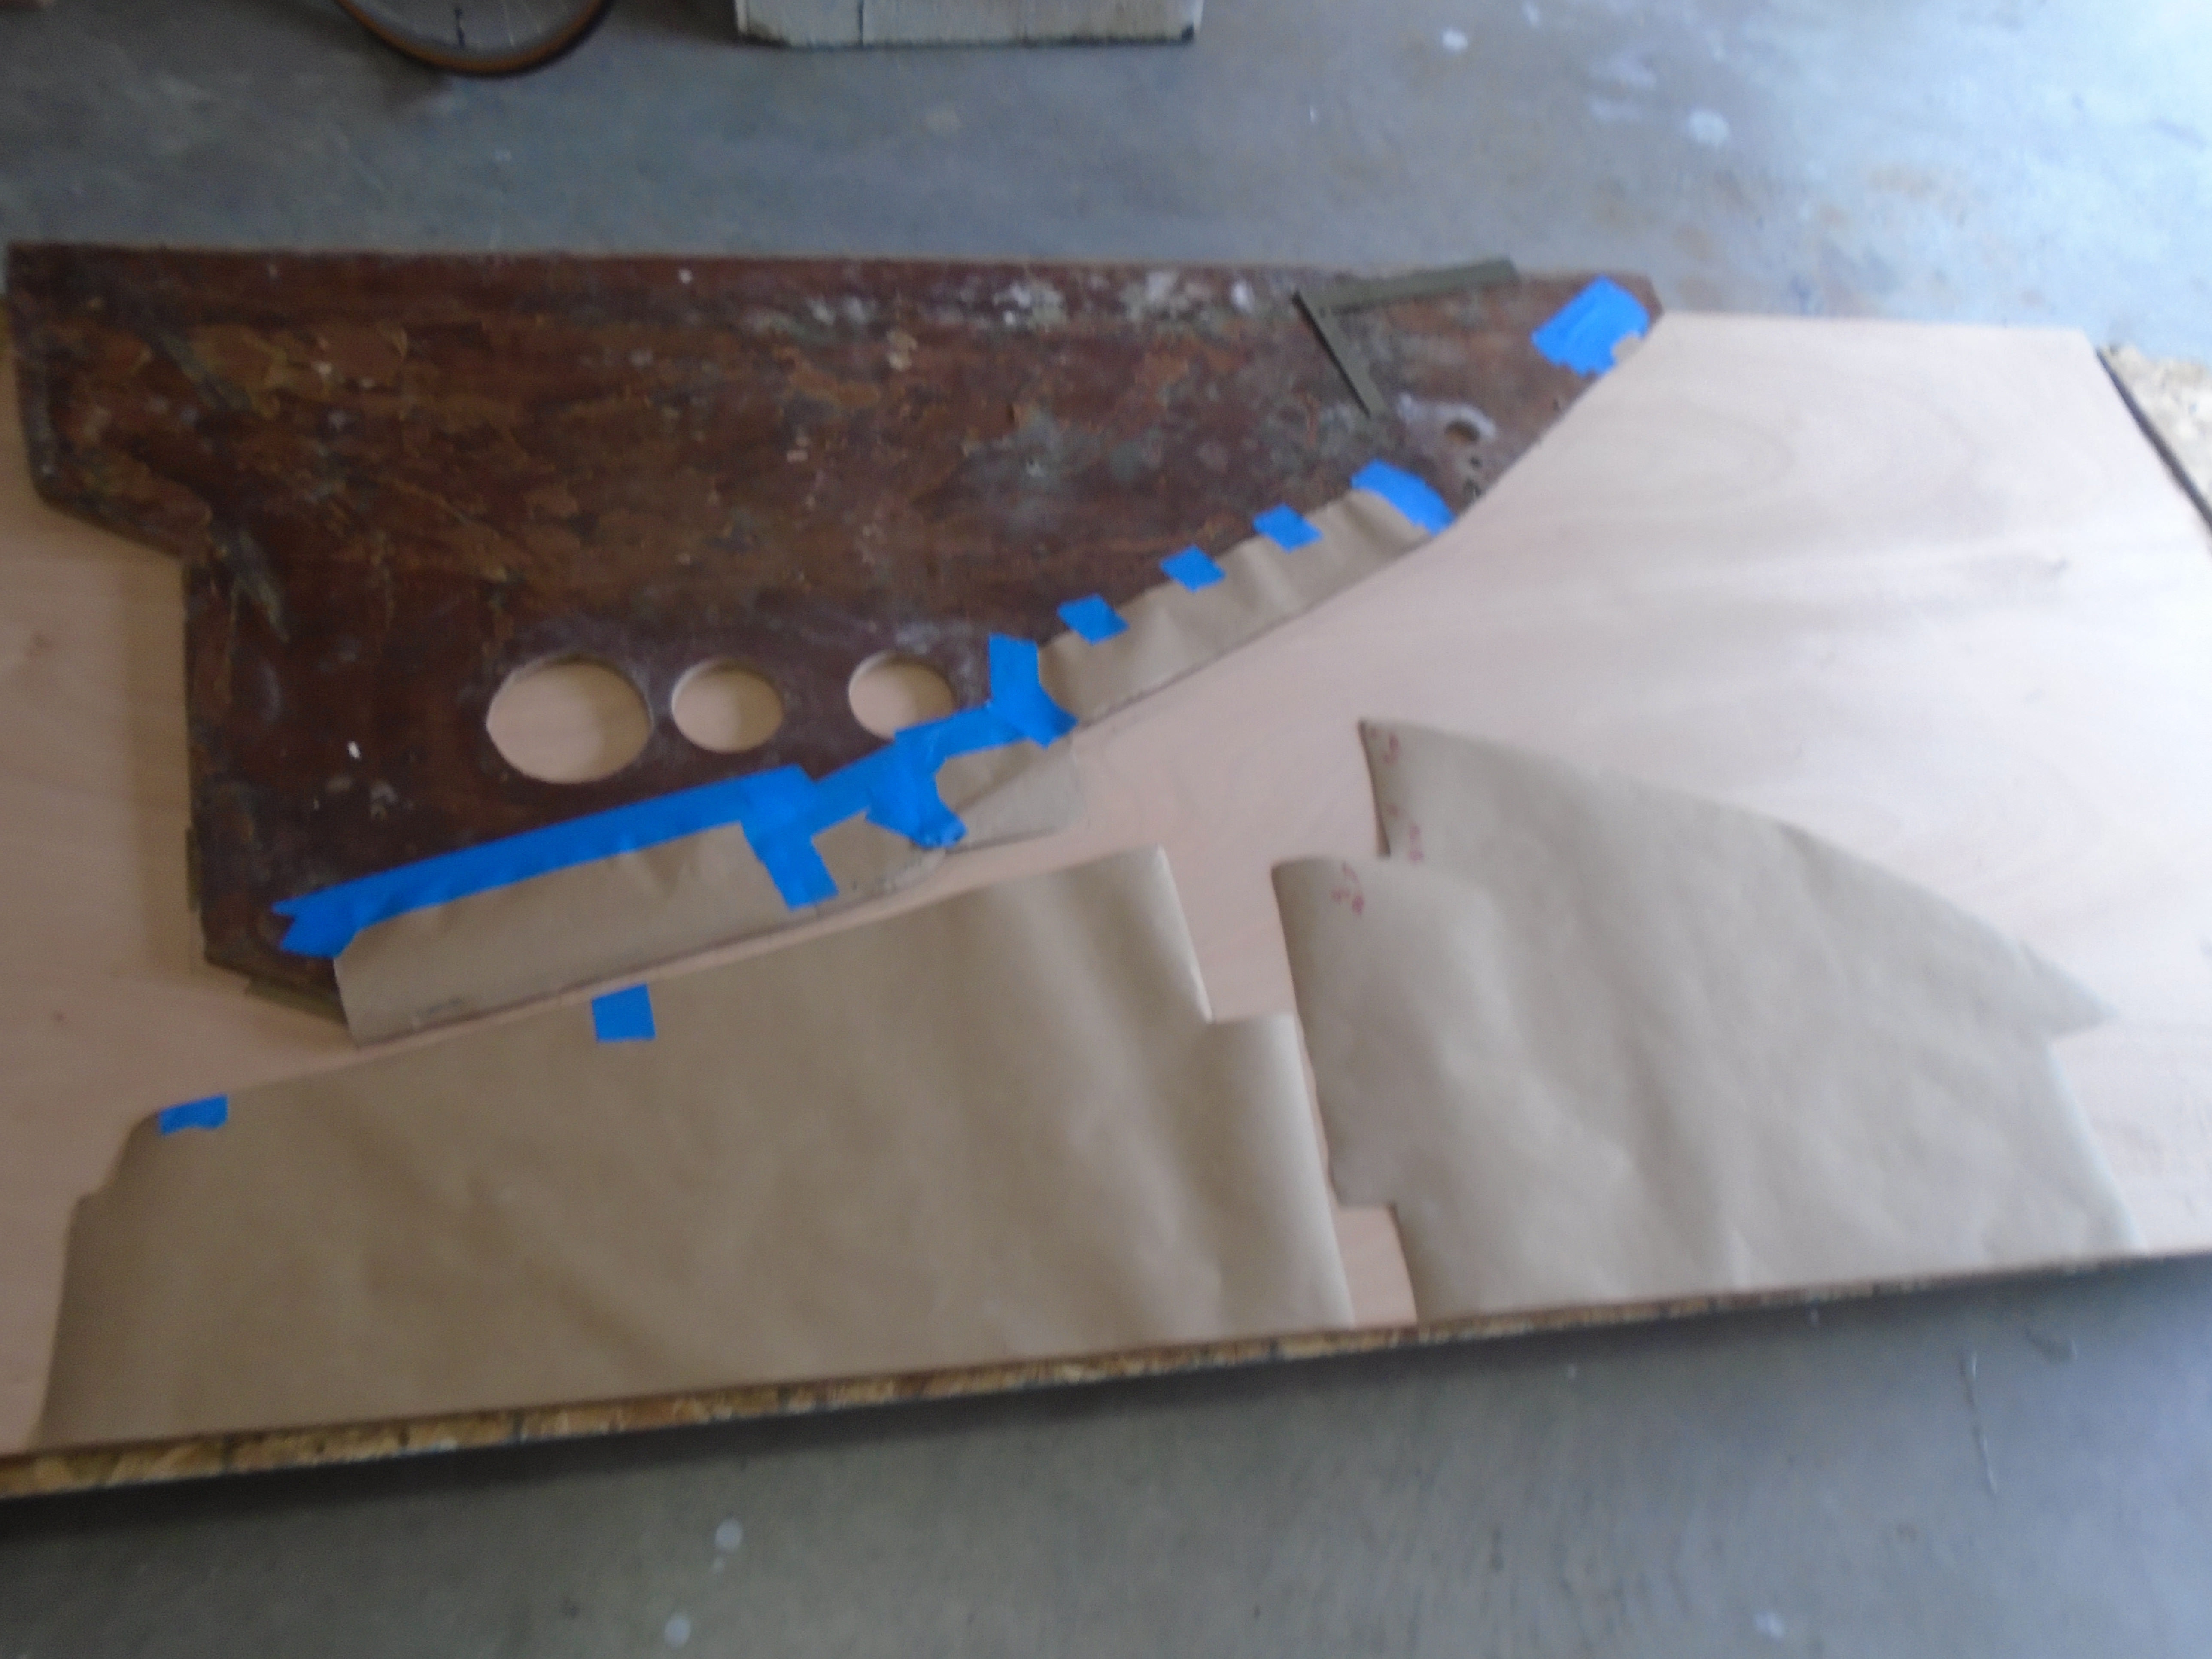
I was able to salvage about half of the old floorboards to use as patterns so I hauled them back onto the boat to check their fit, trimming, measuring and marking the discrepancies to transfer to the new pieces. Where I couldn't use the old boards I laid down construction paper to make patterns. I cut all the new pieces slightly oversize so I could trim to fit. I was shooting for about 1/16" gap between the boards, to allow for the epoxy edge sealing, plus I want a little room for the boards to flex so they don't rub, squeak and creak.

I'm not mounting them permanently yet, still lots of work to do underneath but it's nice to have something to walk on!

First piece fitted:


Piece in the aft cabin:


After I got all the floorboards in and fitted, they came back out a few at a time so I could coat them with epoxy to seal them. Nothing special, just one coat thinned about 15% with acetone and rolled on. When I get close to affixing them permanently I'll go over them again with one more coat.

Next: Time for paint!

Cheers,

Mark
 
Last edited:
May 8, 2013
629
Hunter 40 Dataw Island, SC
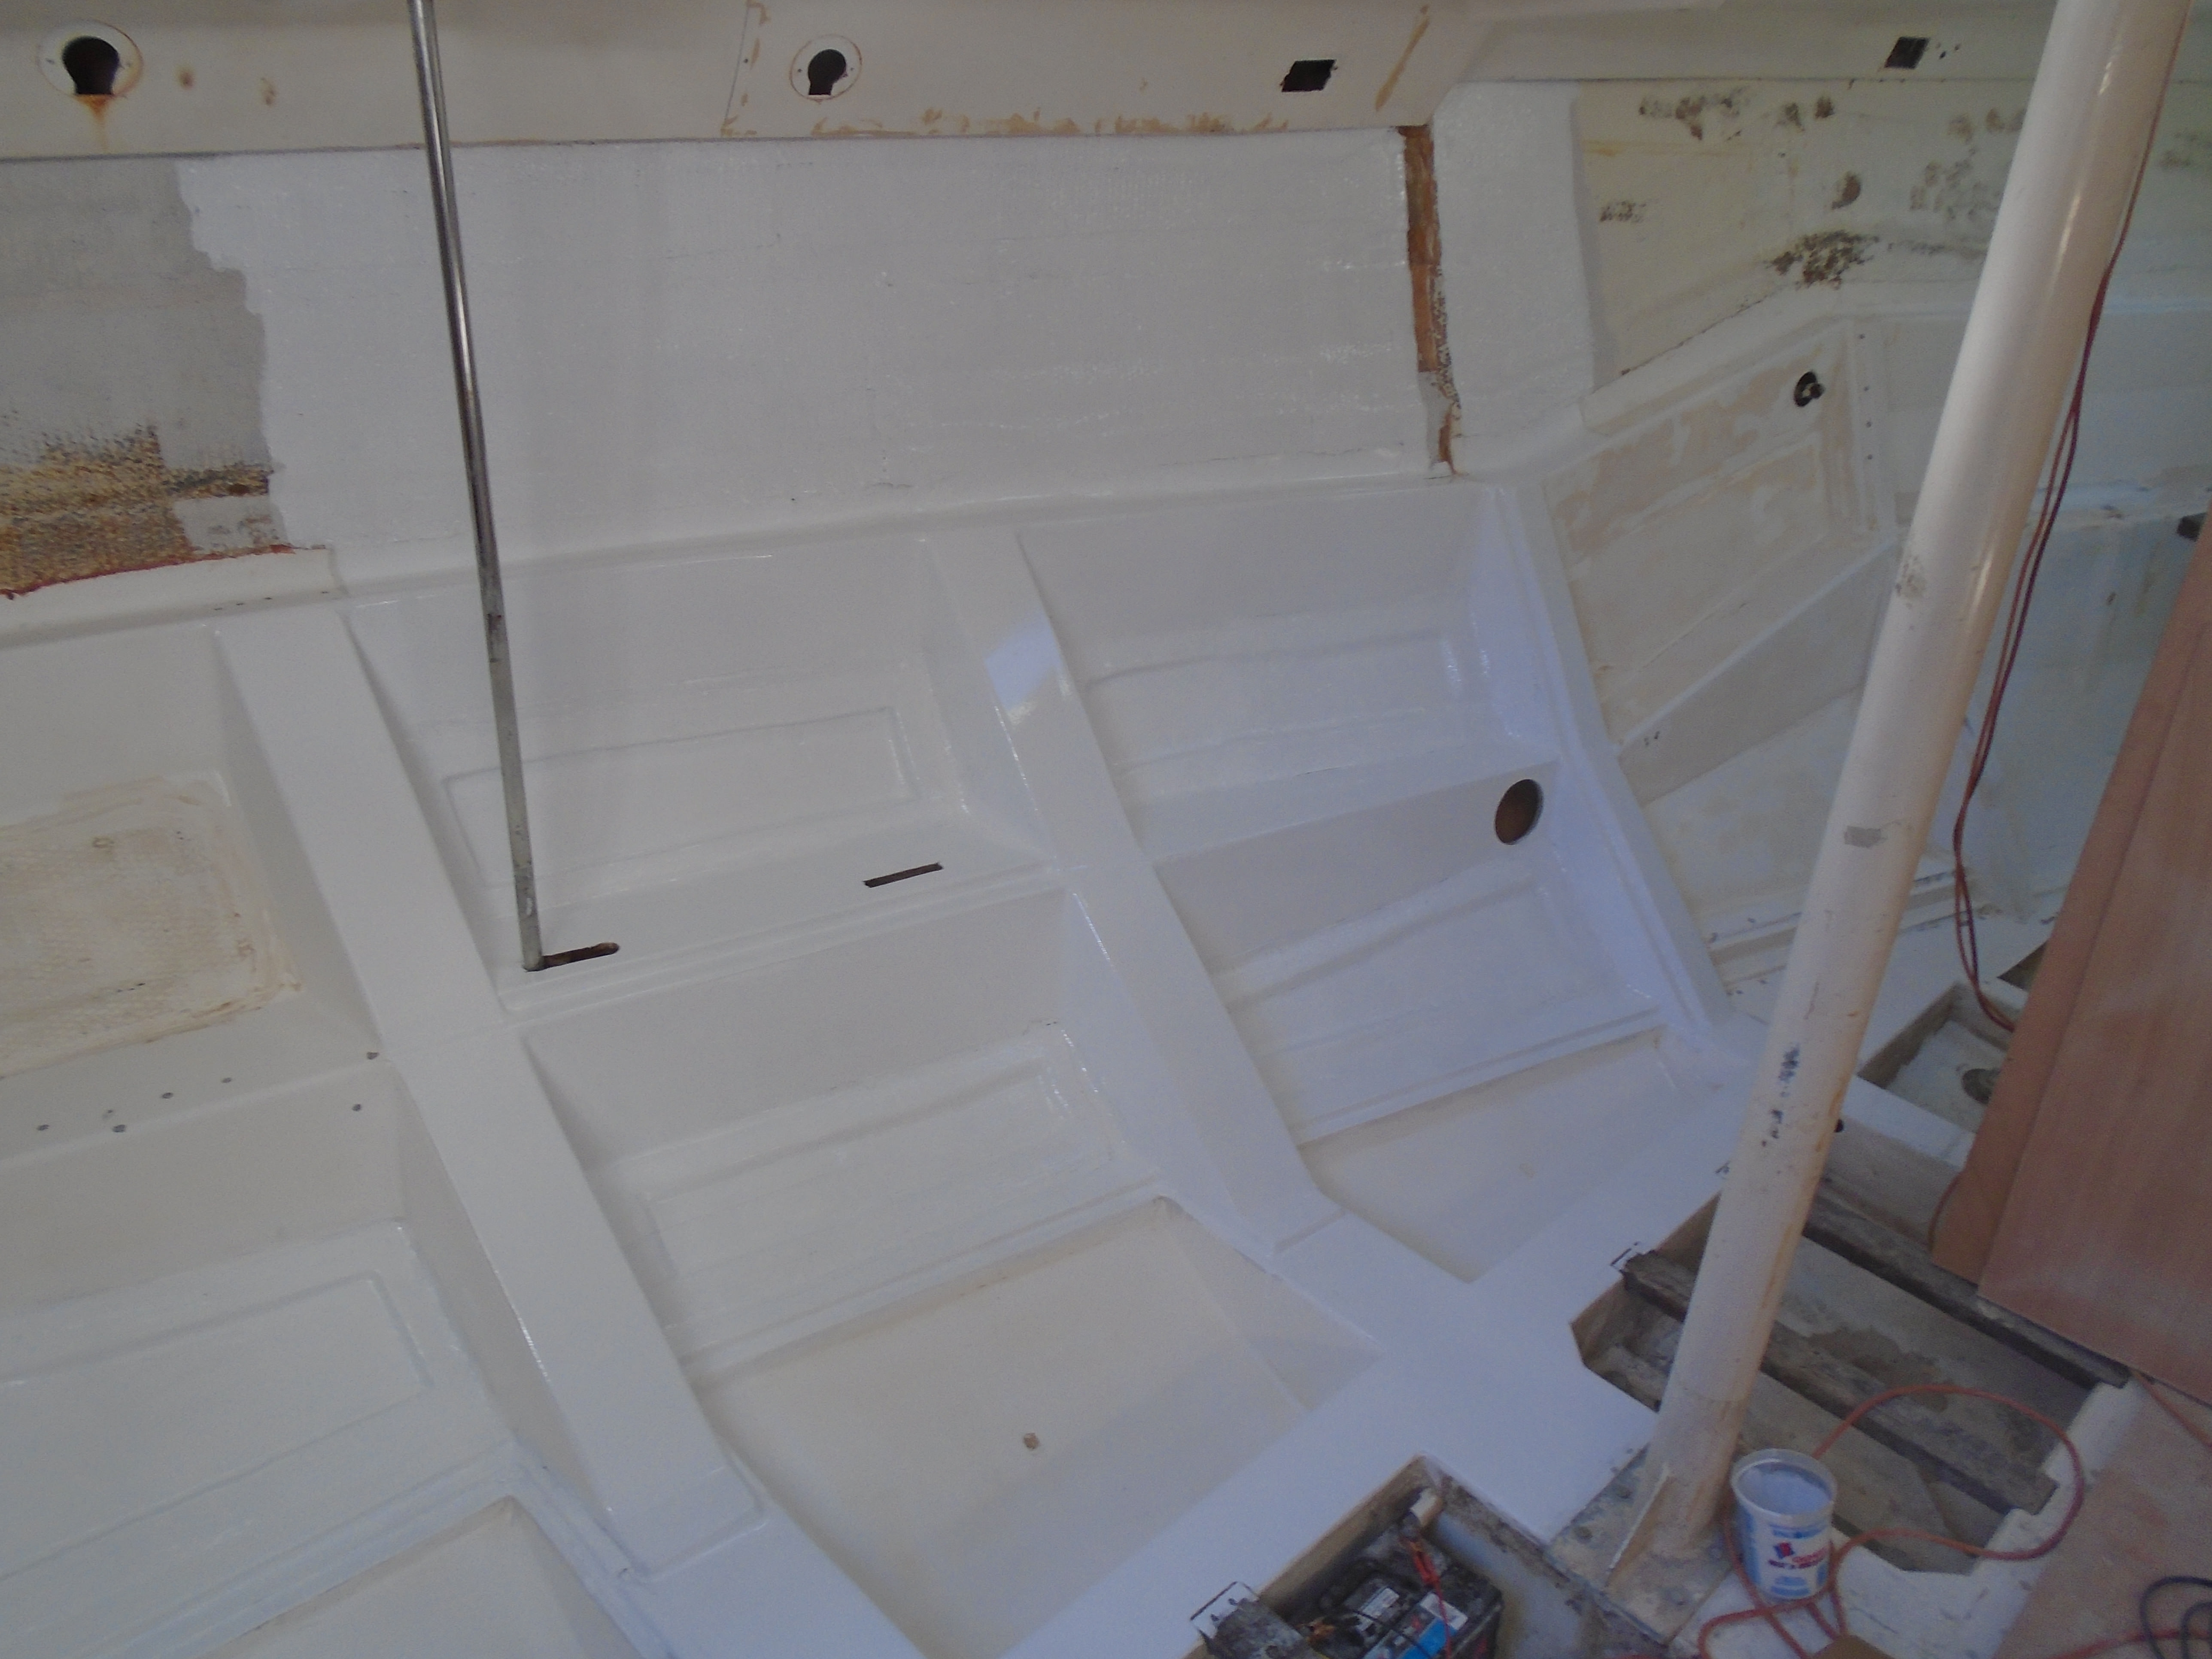
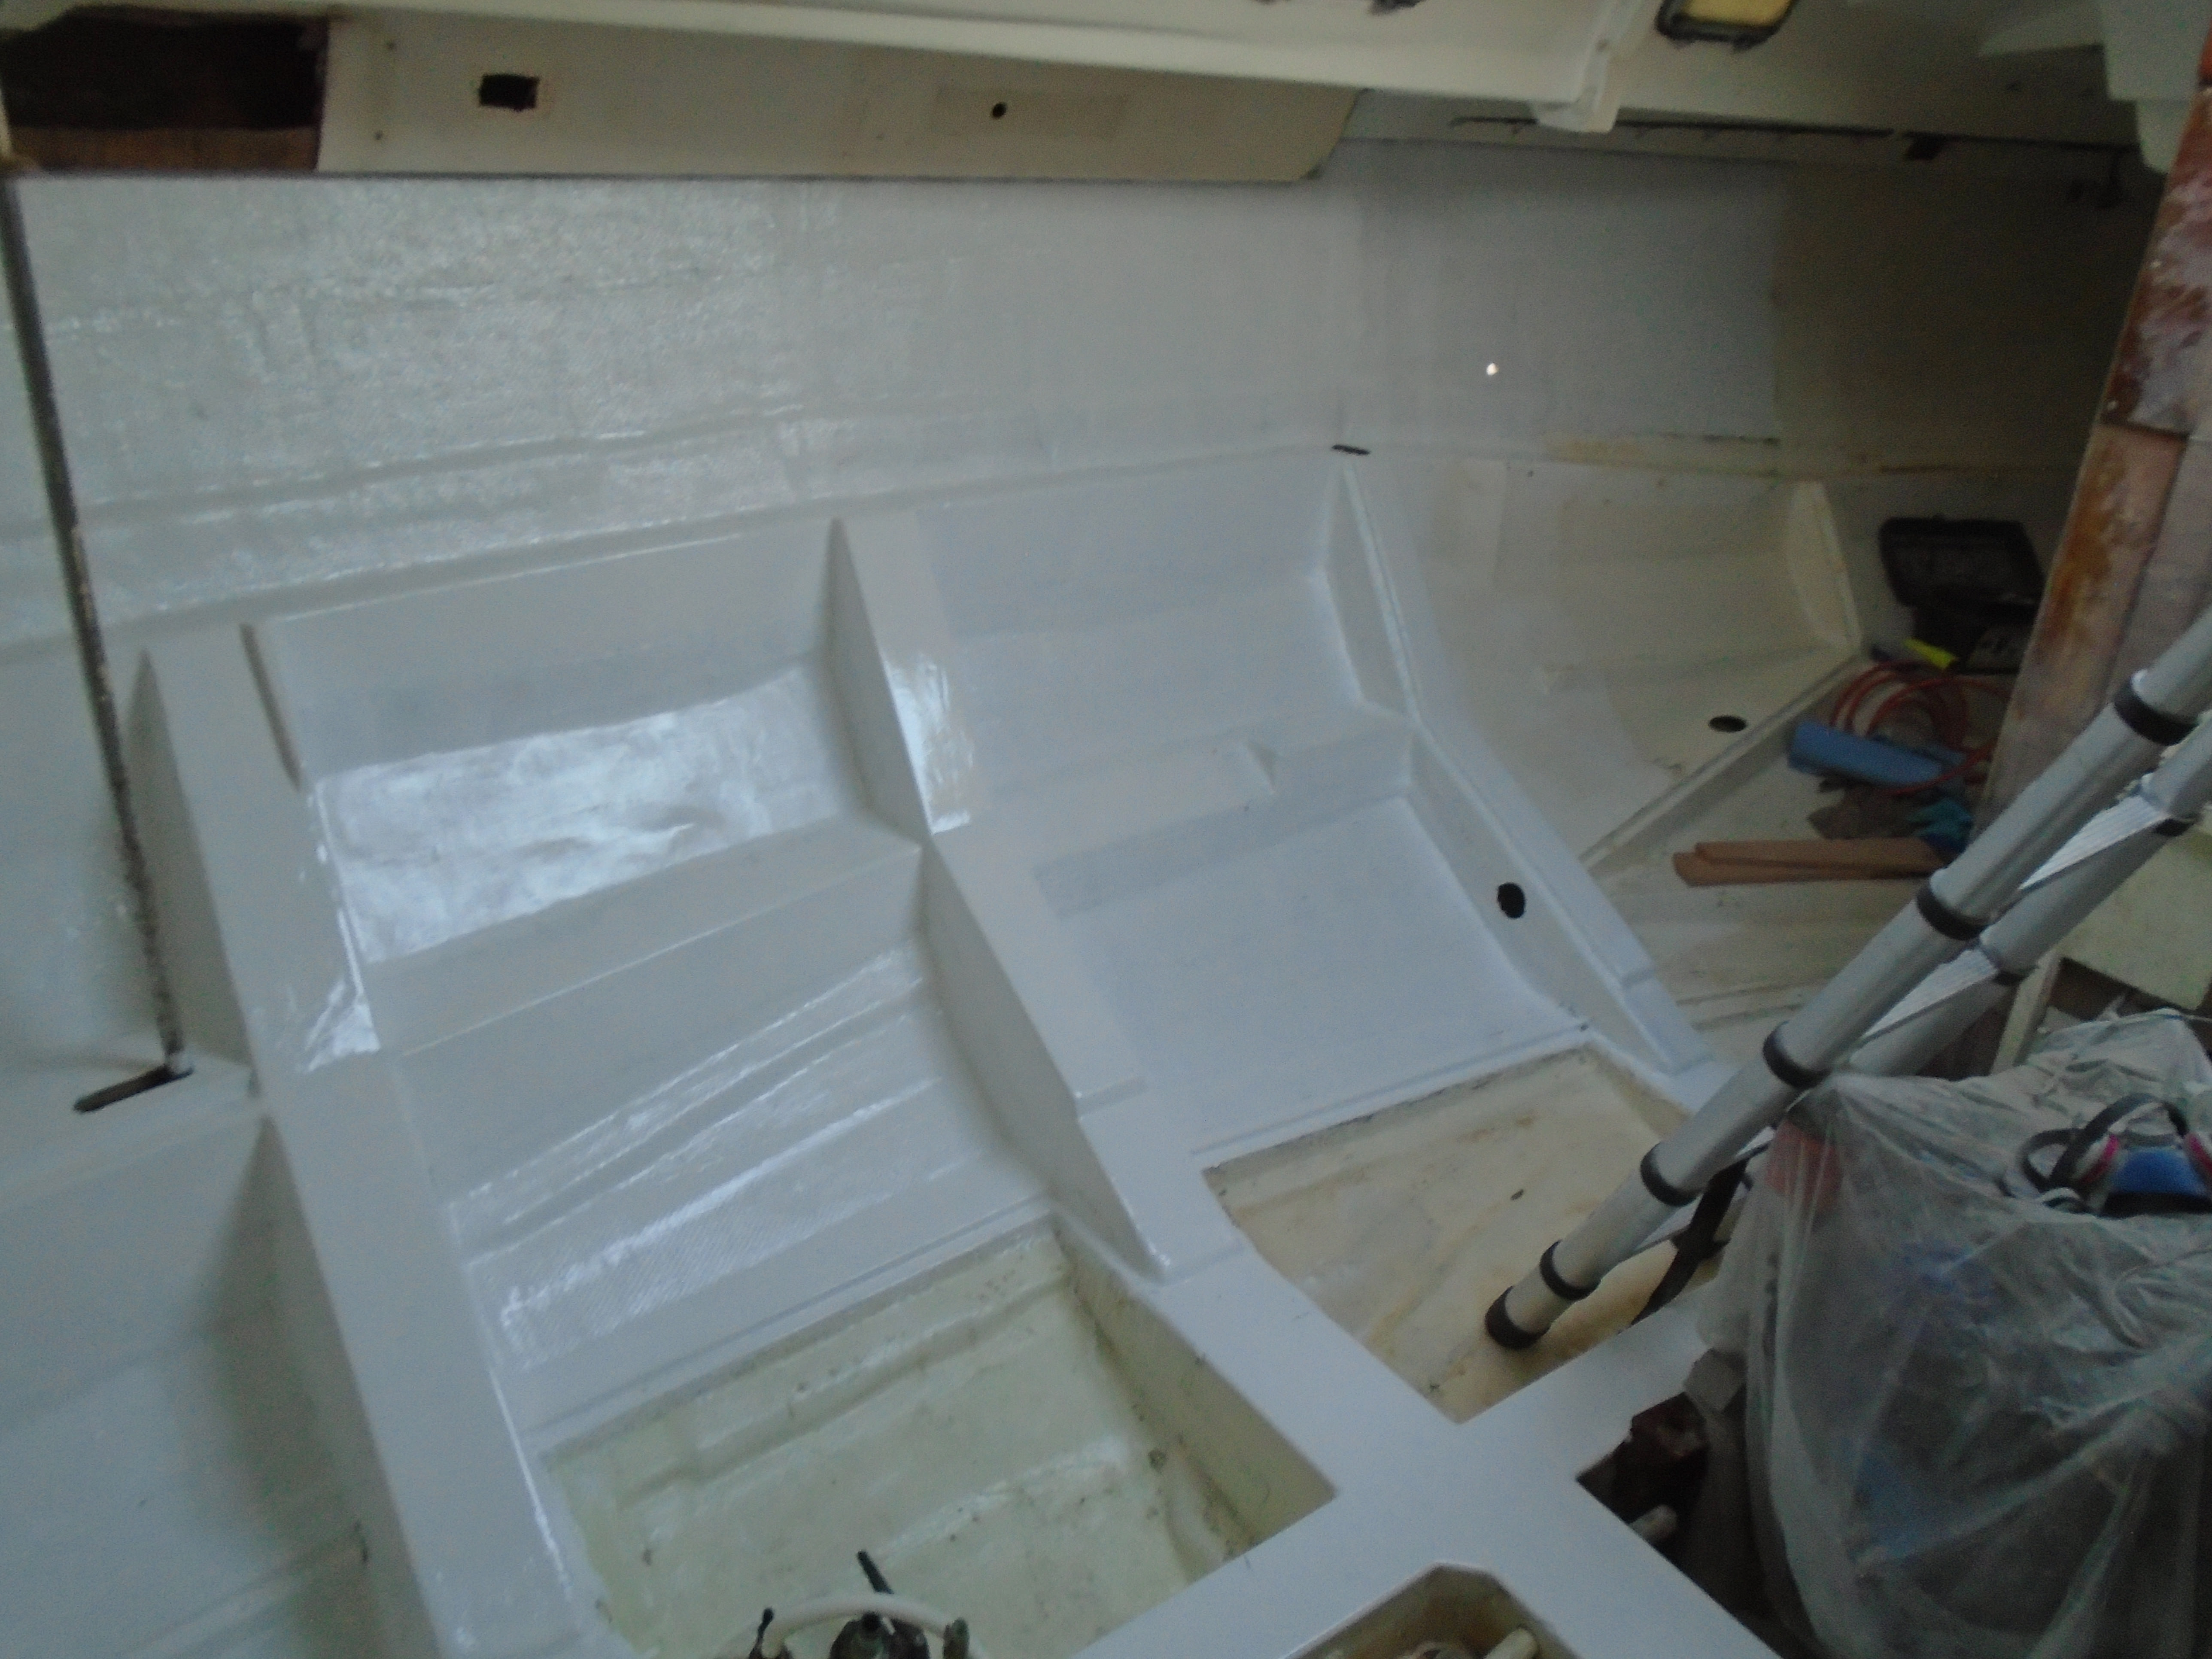
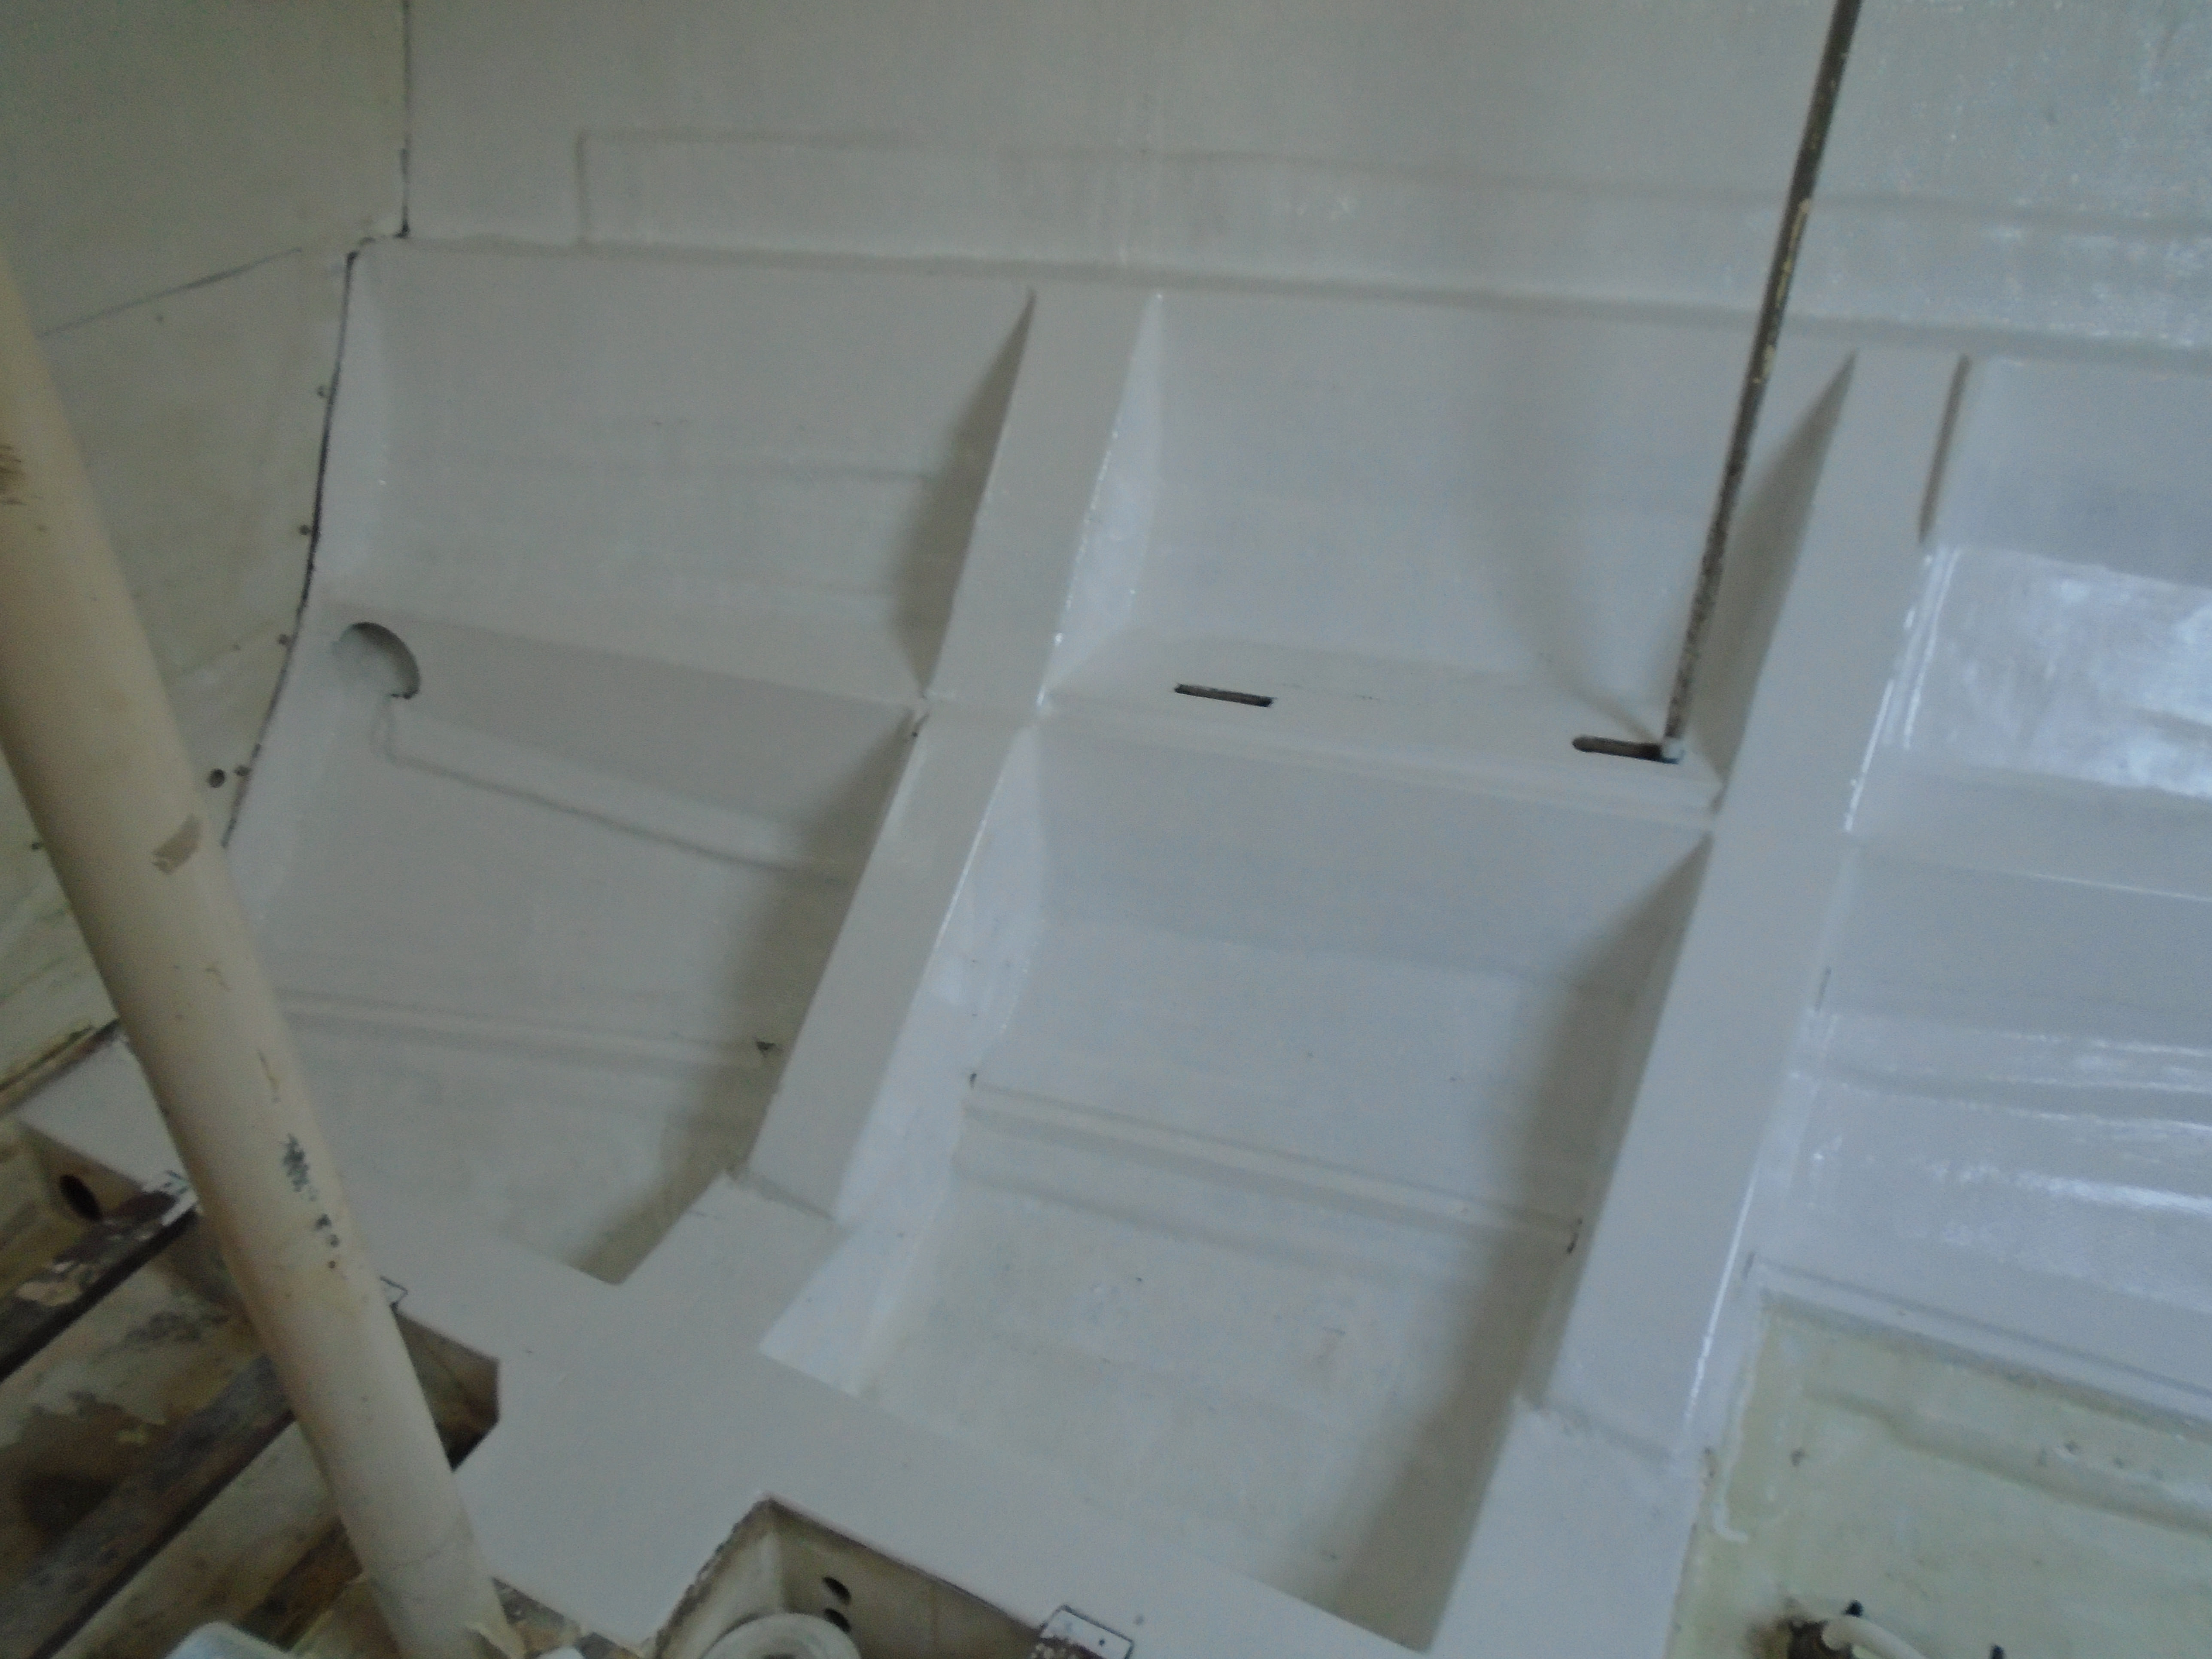
Interior paint:

I decided that the reconstruction would look much better and have a more professional look and feel if I painted the repaired areas - essentially the entire interior will get paint for continuity. Unfortunately two problems arose with this: One, I wanted to remove the old bulkheads, paint the interior and clearcoat (or as appropriate, paint) the new bulkheads off the boat. I can only remove one bulkhead at a time, however - I don't want to take any chances with distorting the hull by removing all the bulkheads at once. It might not be a problem but I don't want to find out the hard way! So that means I have to paint a section at a time. Second, I had no idea how far the paint would go. The guidelines for paint coverage can't be applied because I'm not dealing with a flat surface.

I sanded and prepped the port side from the aft head forward to the v-berth, then mixed up a quart of epoxy primer and started rolling it on, starting from the port forward bulkhead area aft. I figured that the top coat would probably go about as far as the primer. I made it about halfway aft.

I started the primer in the morning. Using the overcoat guidelines for the primer, I let it dry and that afternoon came back and rolled on the first coat of two-part polyurethane. That was left to dry overnight and the next morning I rolled on the second coat:


After drying I placed the floorboards back in:


Already looks 100% better!

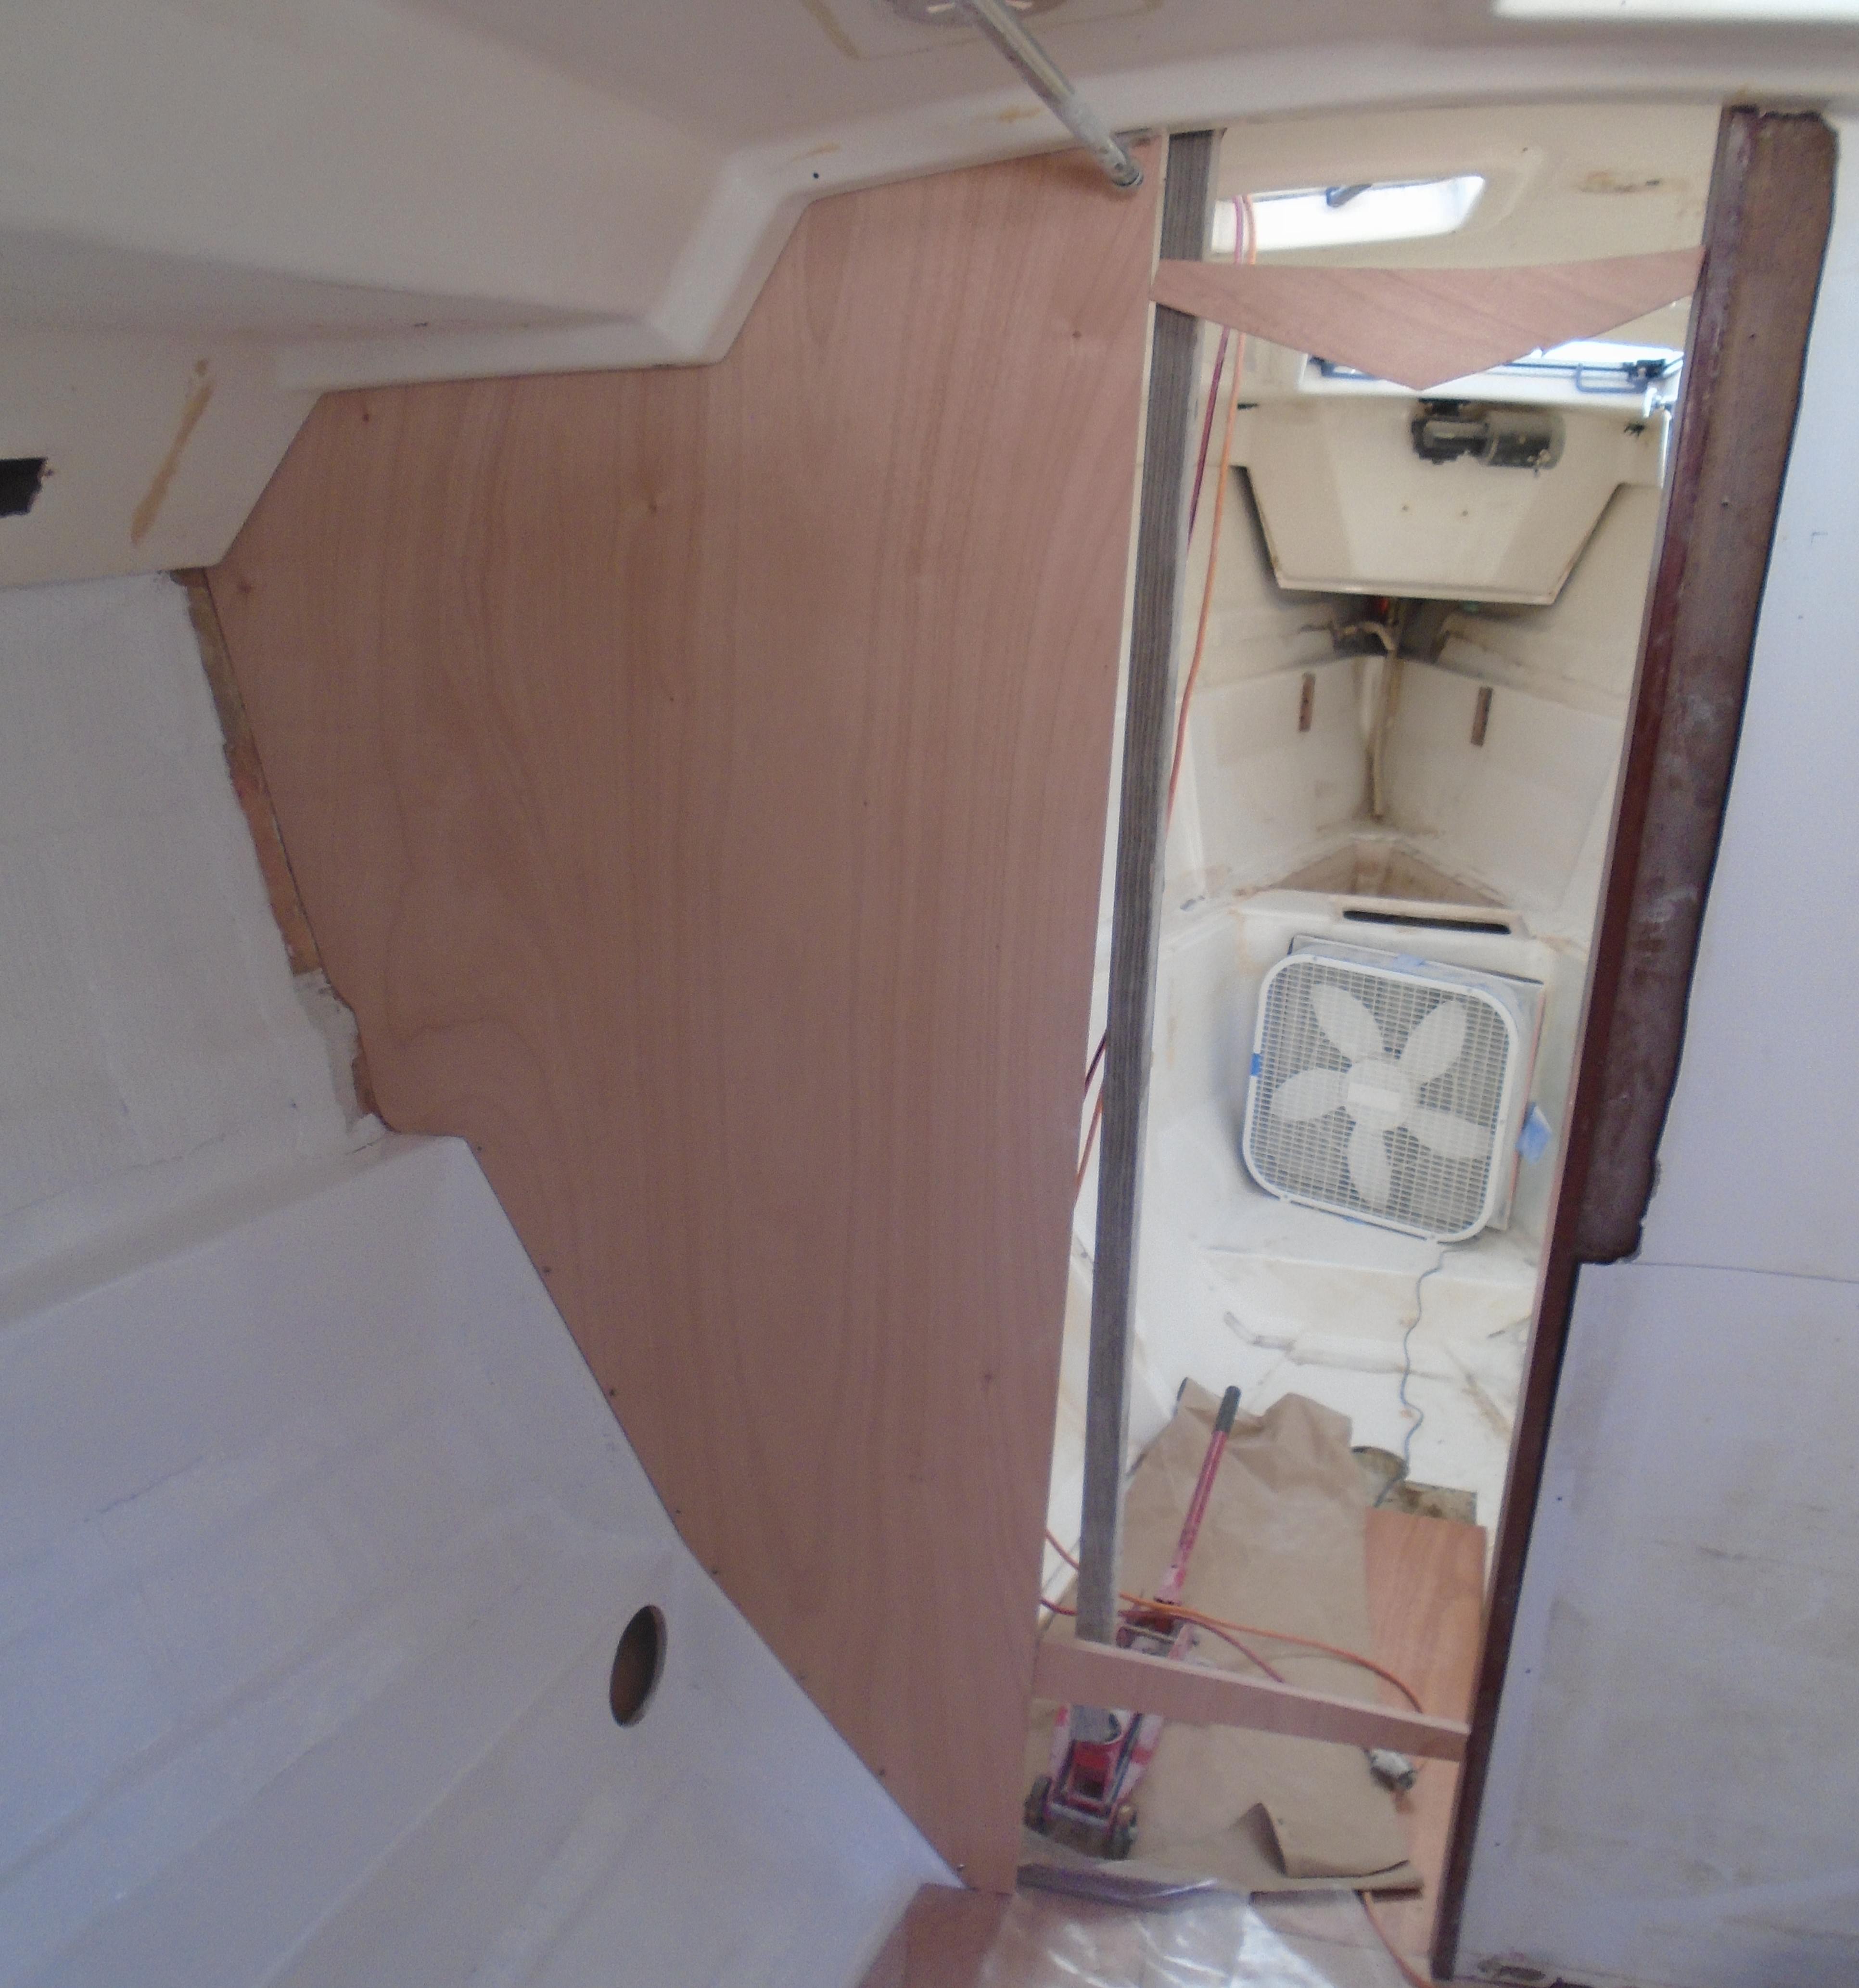
Next was the final fitting of the bulkhead:


I used my floor jack and a 2x4 to raise the cabin top a little - it had sagged about 1/4" - and I used a few pieces of scrap as wedges in the door opening to make sure I was getting the correct fitment, then drilled for the screws top and bottom. You might be able to see the area I left paint-free where the bulkhead meets the hull side - that's so I don't have to sand the new paint off for the tabbing.

The bulkhead is back off the boat now, in the garage getting clearcoat. Pics of that tomorrow!

Cheers,

Mark
 
Last edited:
May 8, 2013
629
Hunter 40 Dataw Island, SC
Adding some color to things:

Spent the last two days clearcoating the first bulkhead. I'm using Minwax polyurethane clear and I have to say I am very impressed with it! Goes on easy, sands nicely between coats and looks fantastic. All remaining cans of varnish I might have laying around will be disposed of - perhaps in an inglorious ceremony including a big hammer. Or fire.

I also really like the color - I experimented with Semi-gloss and Satin, finally decided the best hue was in-between so I mixed the two. Pic here:


I also finished epoxying the last of the floorboards. I'll get them put back in tomorrow and get the final coat on the bullkhead. Stay tuned!

Mark
 
Last edited:
May 8, 2013
629
Hunter 40 Dataw Island, SC
Progress report:

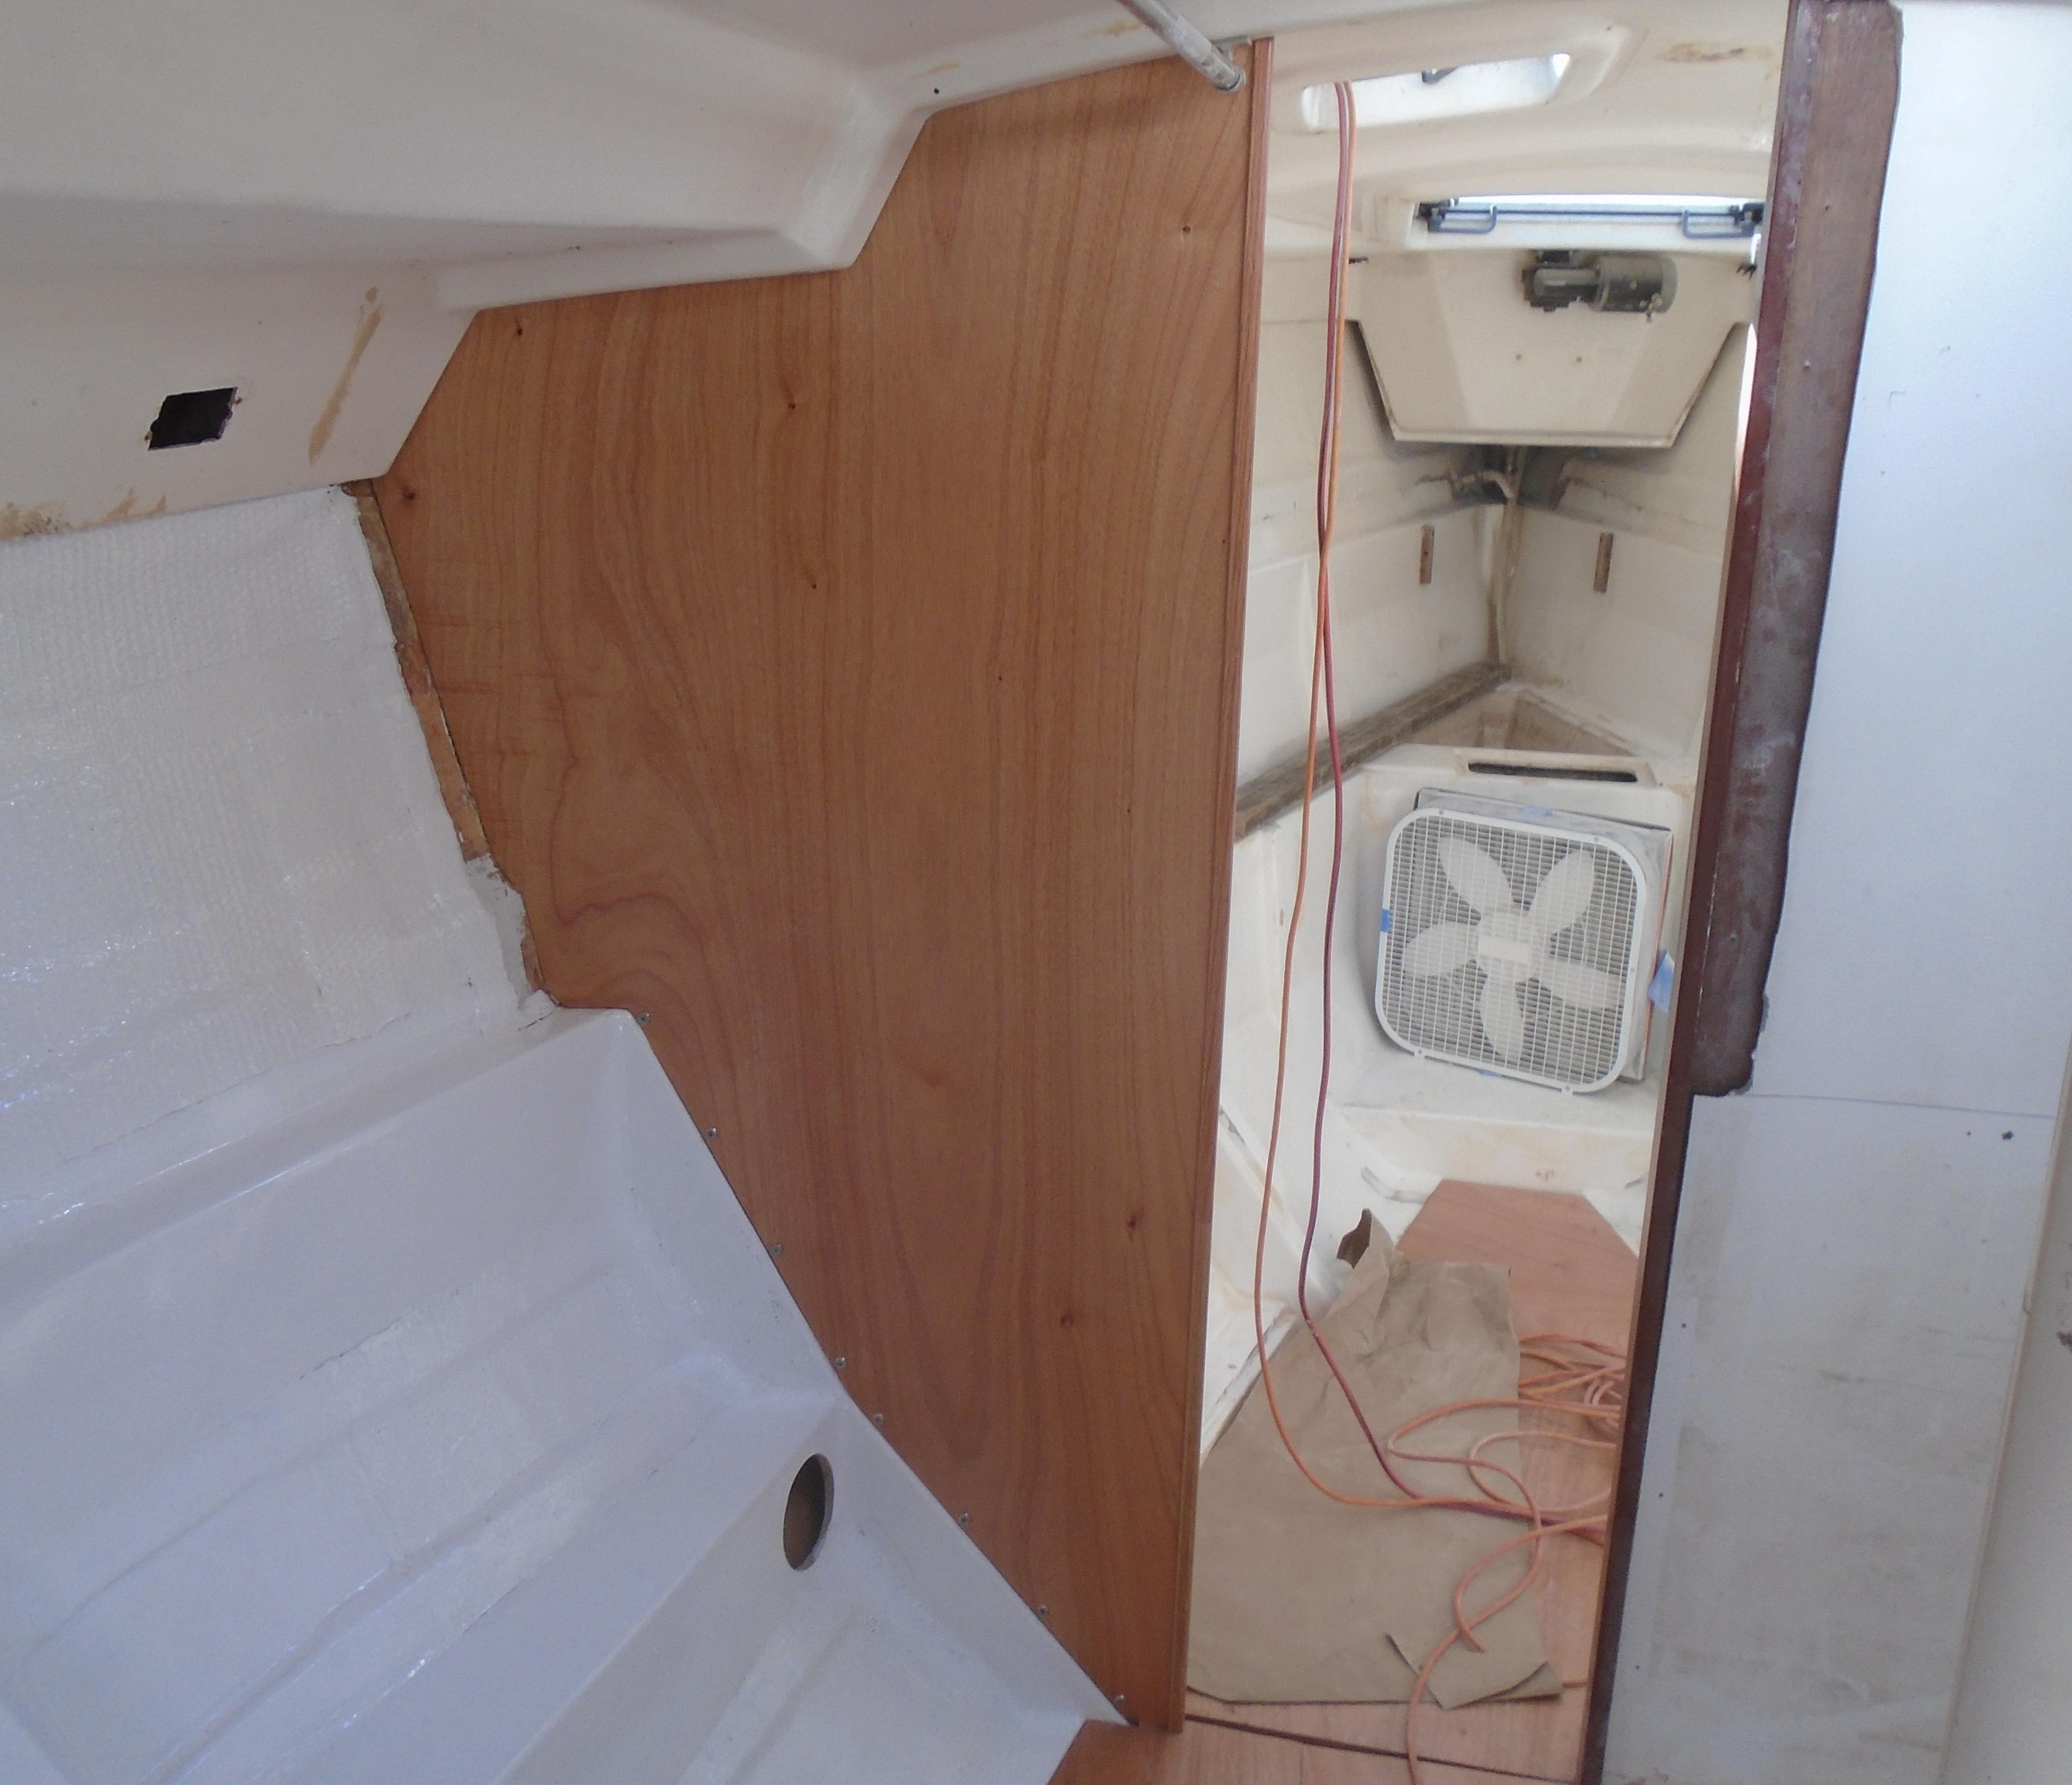
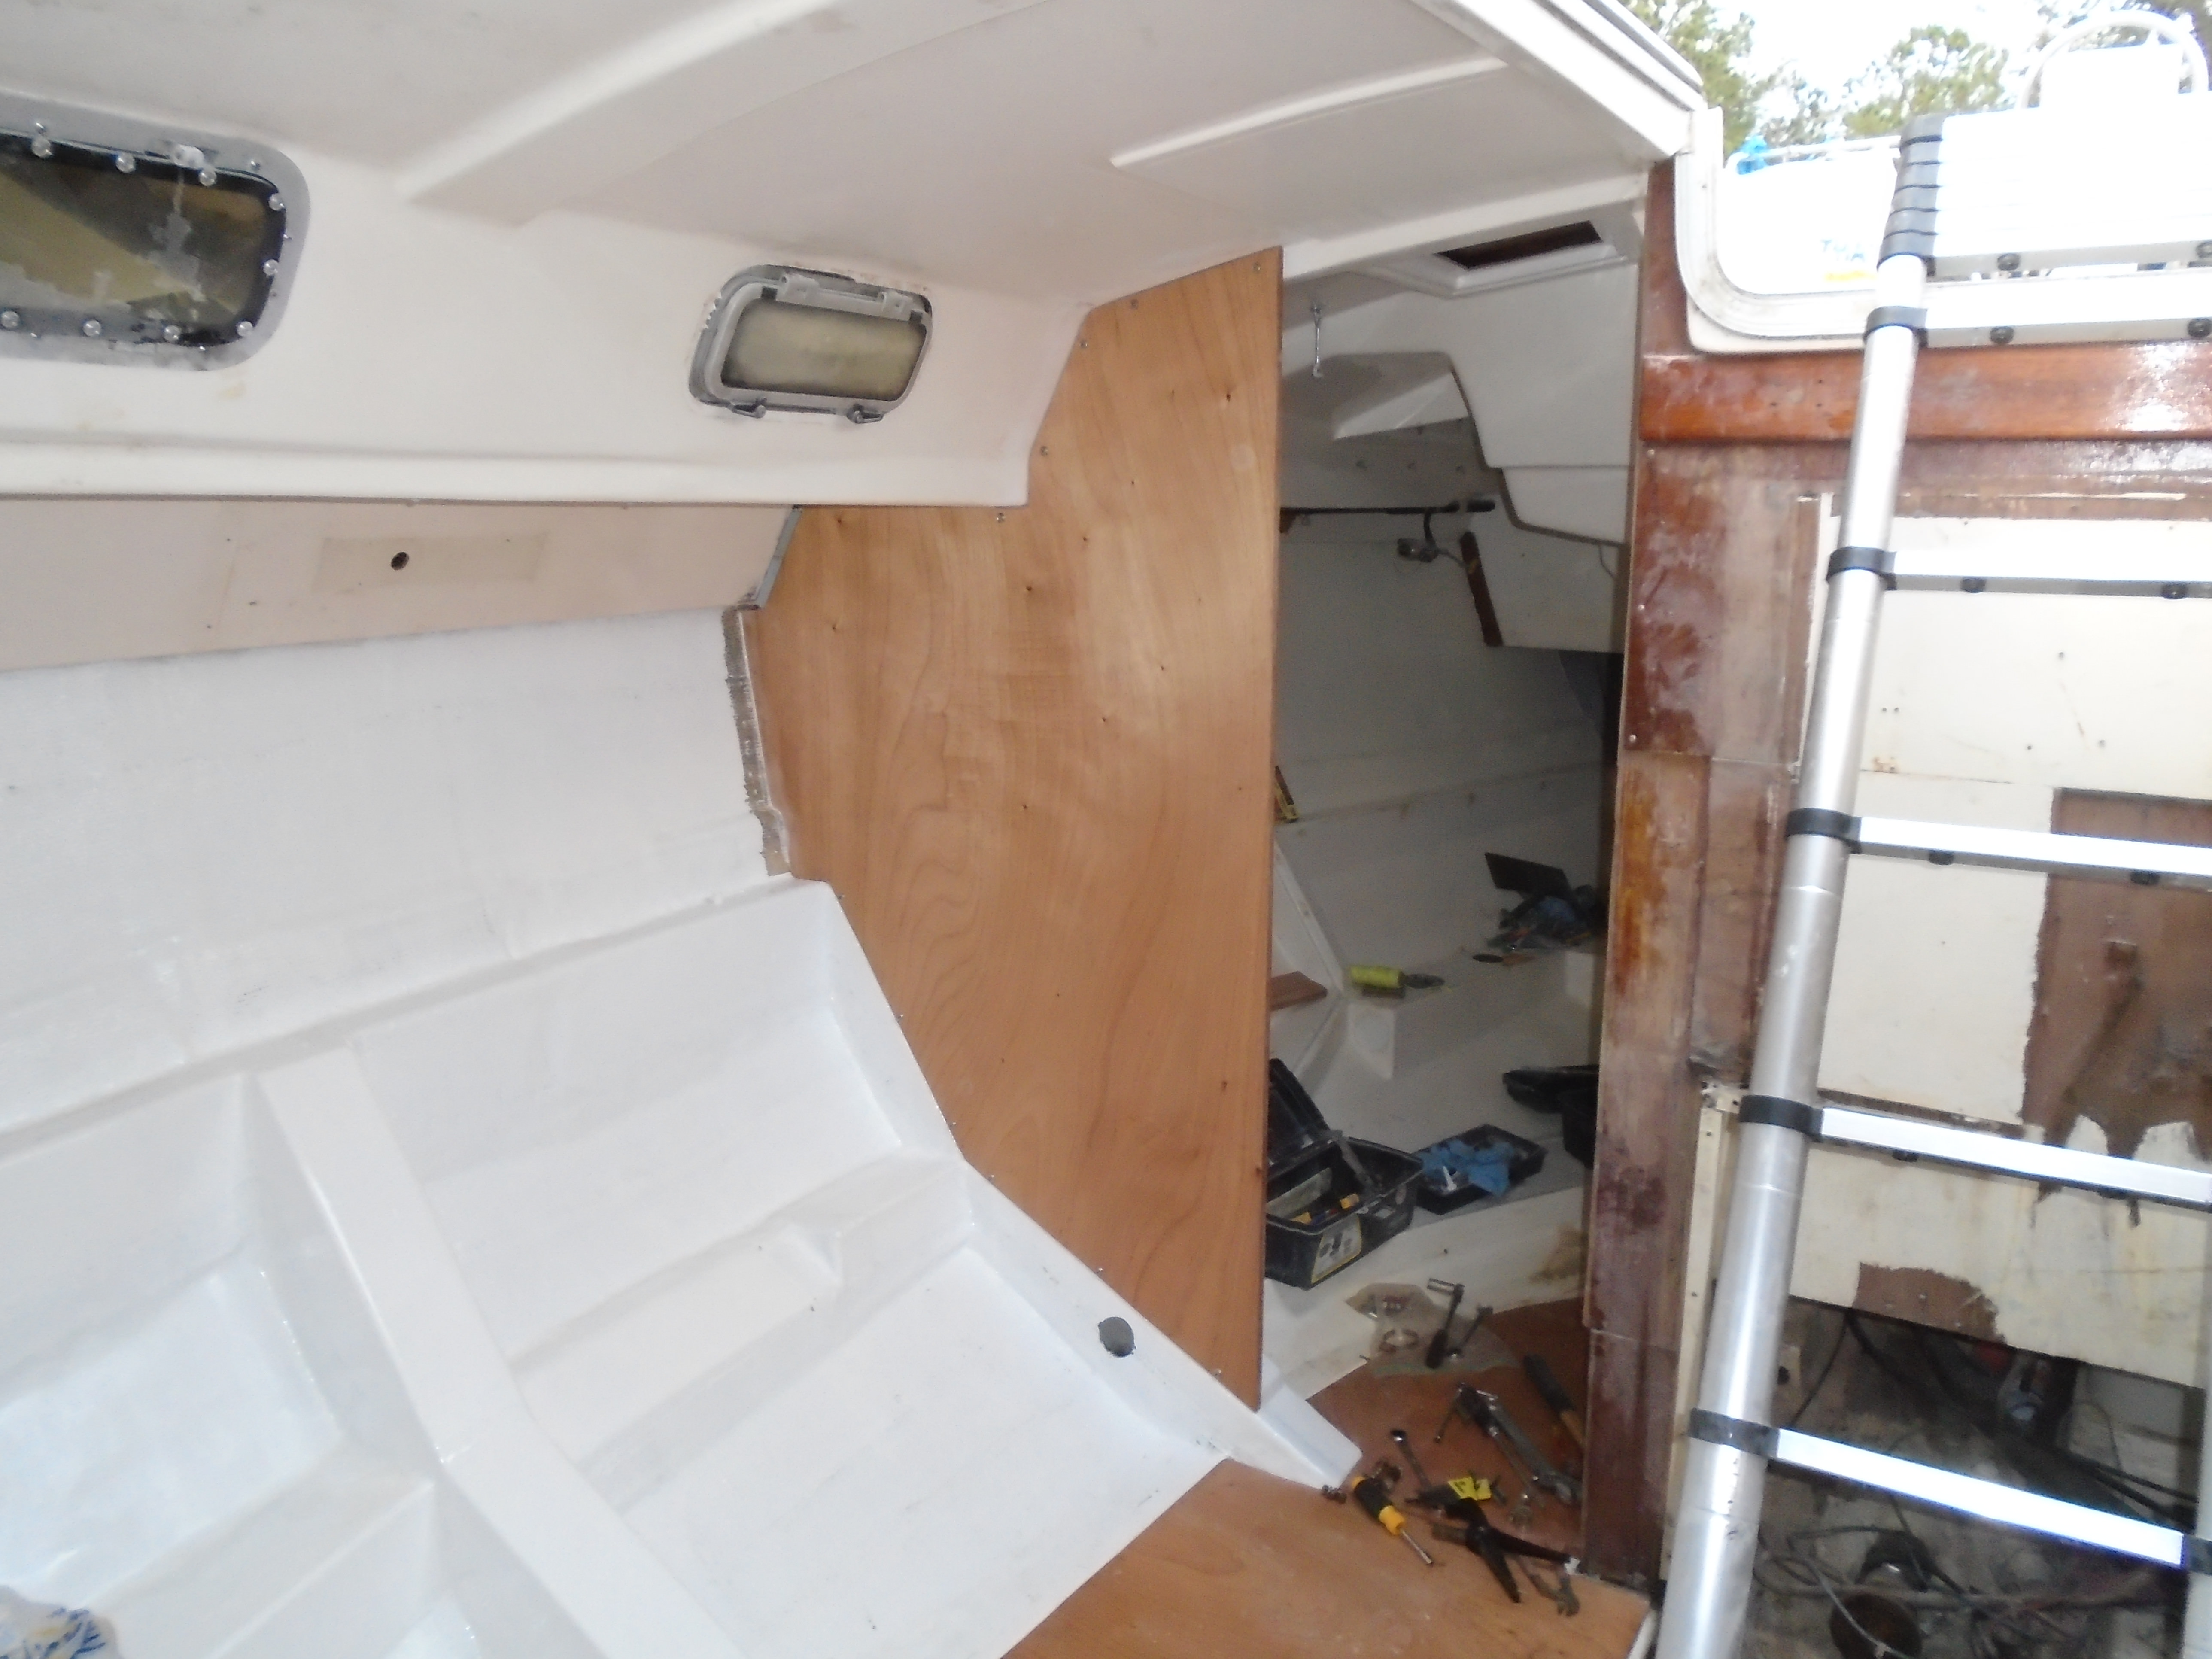
First completed bulkhead is finished and permanently installed:


I tabbed in the bulkhead only where the bulkhead meets the hull sides. I'll paint over the tabbing next round of painting.

Next up is more bulkhead replacements. The aft (or midships, depending) bulkheads are coming out next. Here, there are three - port, starboard and the center over the engine supporting the companionway. I felt I could safely remove the port and starboard bulkheads since the center was still there. After I get the replacements in I'll work on the center.

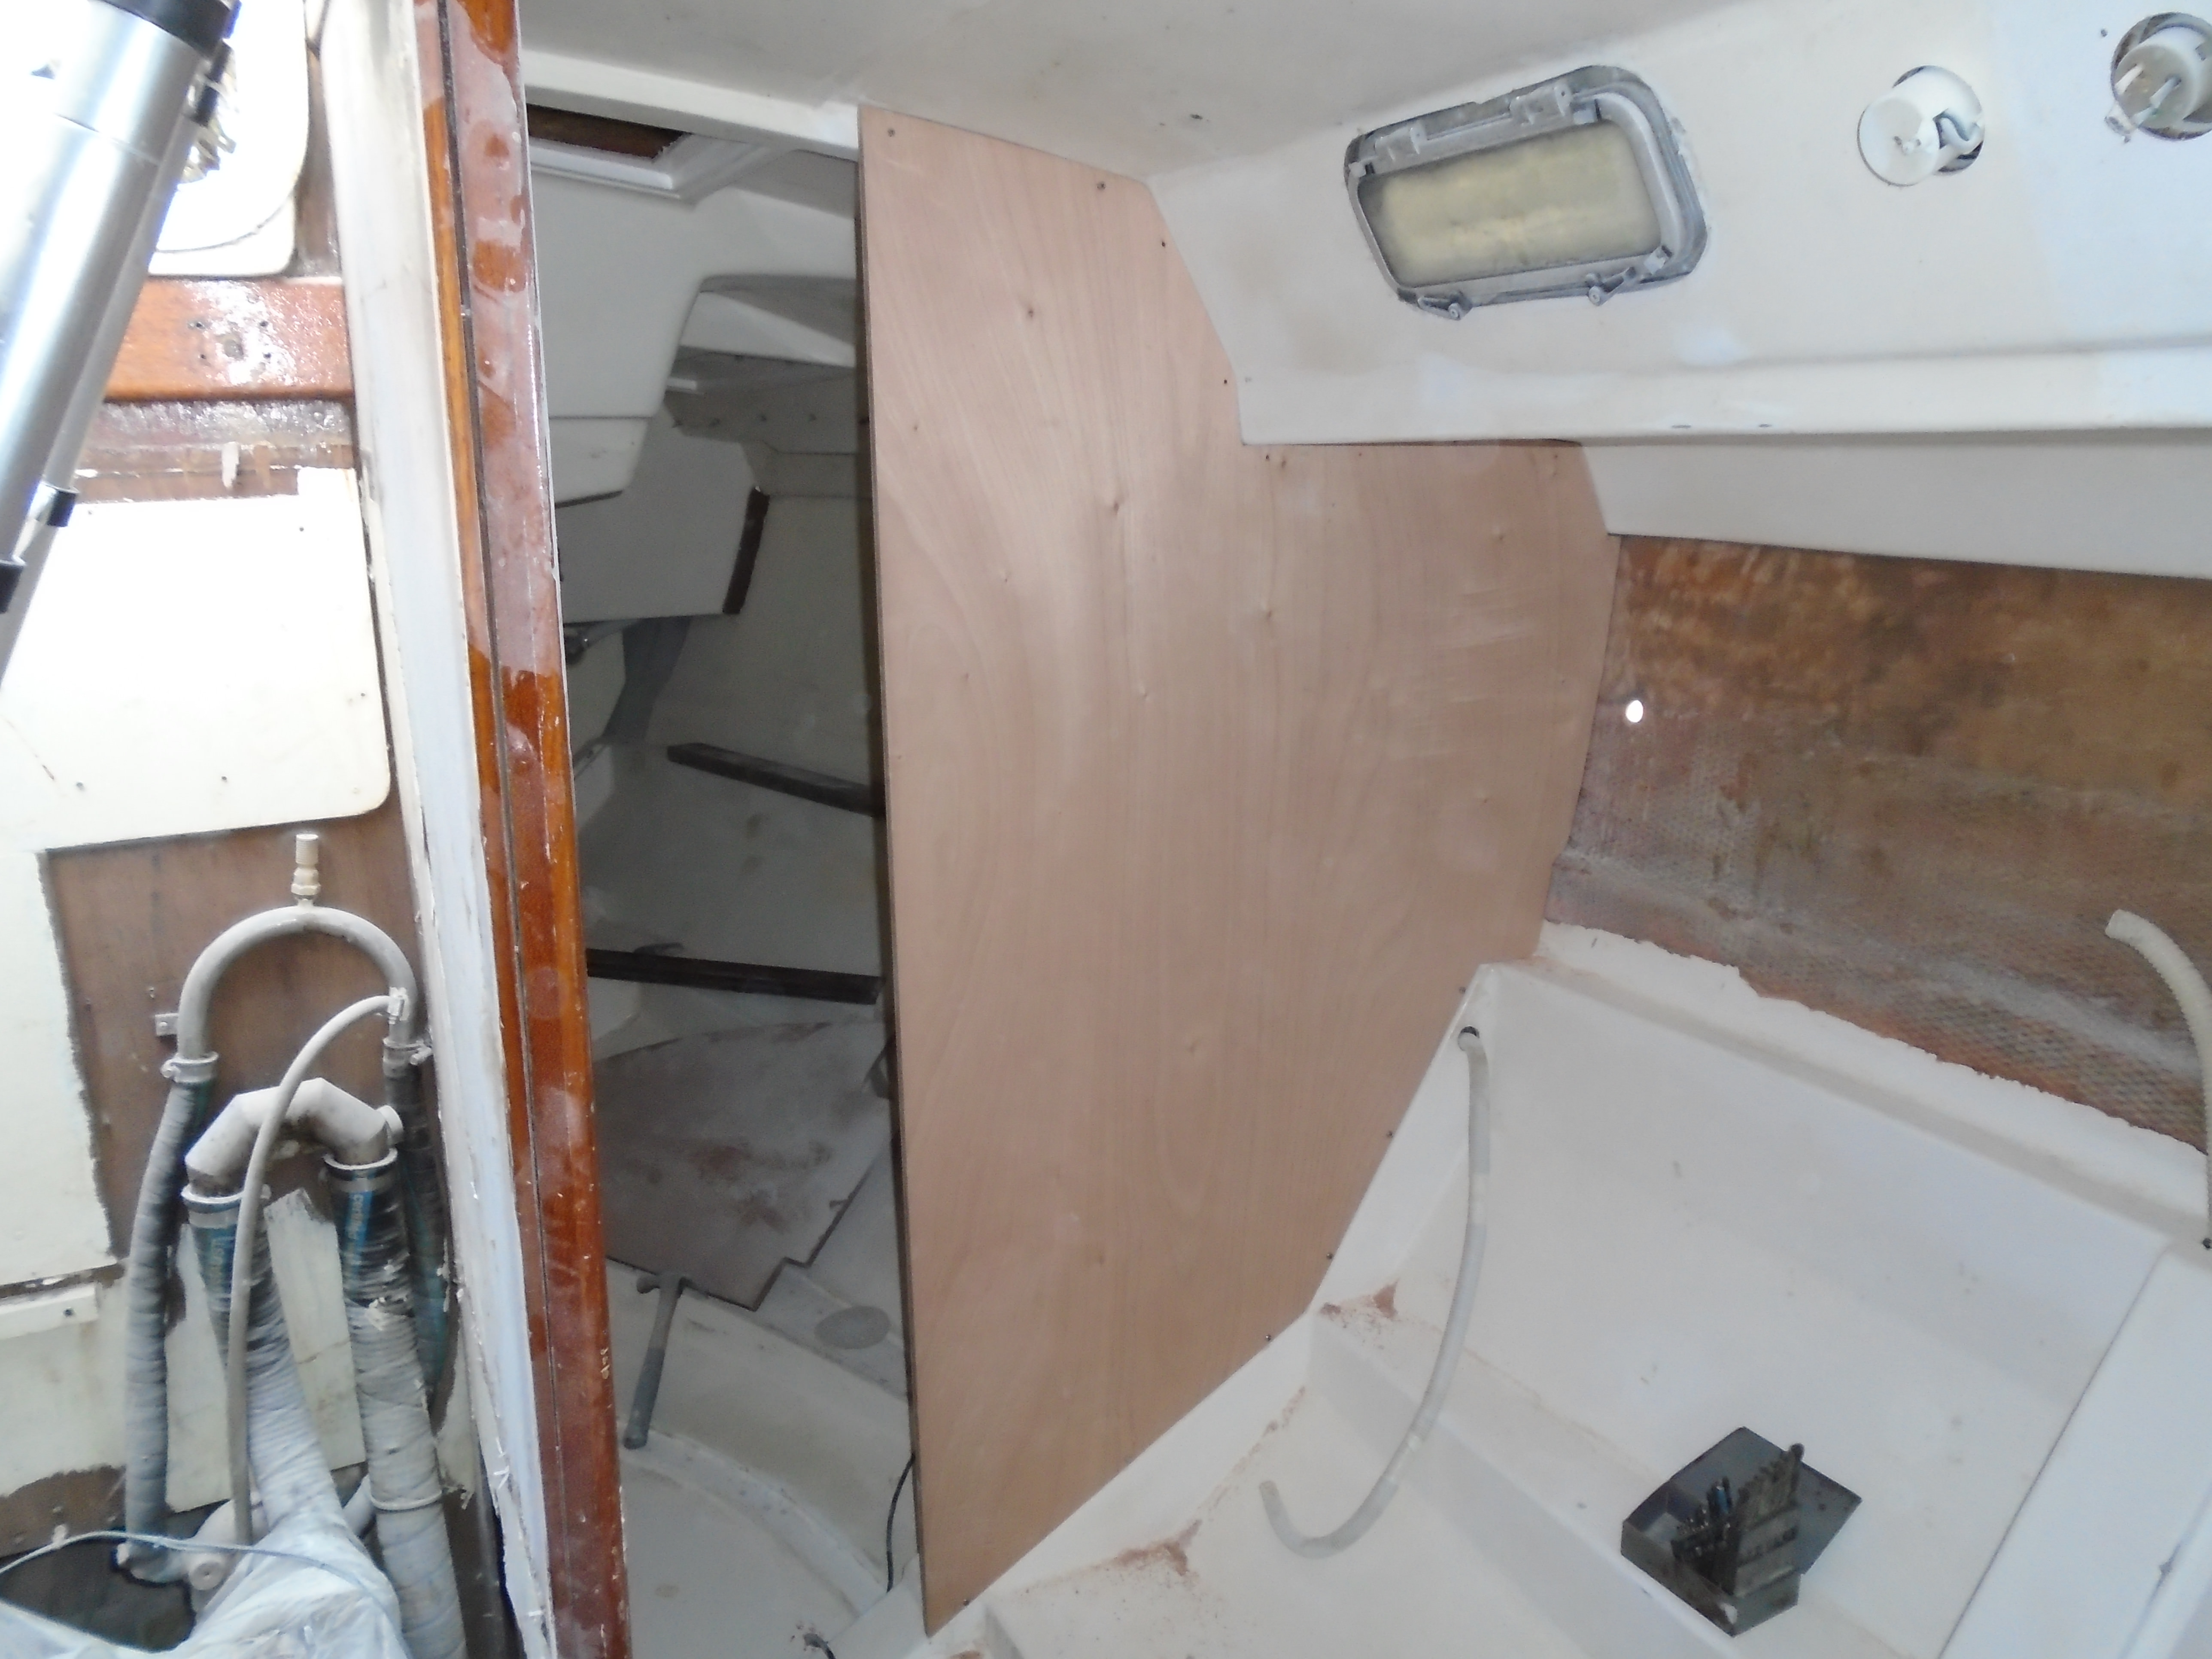
Starboard bulkhead removed:


And the new bulkheads cut and fitted:


I have removed them for finishing and the interior painting continues!

Cheers,

Mark
 
Last edited:
May 8, 2013
629
Hunter 40 Dataw Island, SC
Hi guys -

Paint's on:


Tough couple of days getting all the sanding and prep done, but I think the result is worth the effort, even though most of this will only be seen when a locker or cabinet is opened. I still have to paint the v-berth and aft cabin but they will be easier (I hope!).

For the next few days I'll be putting the finish on the midship bulkheads. Got to get them done and installed before tackling the bulkhead under the companionway.

Cheers,

Mark
 
Last edited:

Kermit

.
Jul 31, 2010
5,669
AquaCat 12.5 17342 Wateree Lake, SC
I applaud your efforts at painting the insides that won't be seen much. You would probably kick yourself every time you opened a locker or cabinet if you left them unfinished. Good work!
 

HMT2

.
Mar 20, 2014
899
Hunter 31 828 Shoreacres, TX
I applaud your efforts at painting the insides that won't be seen much. You would probably kick yourself every time you opened a locker or cabinet if you left them unfinished. Good work!
1+ with Kermie, plus it's good practice for when you are painting where it shows
 
  • Like
Likes: Timm R Oday25
Feb 20, 2011
8,029
Island Packet 35 Tucson, AZ/San Carlos, MX
Paint those deep and dark holds. It brightens up an otherwise dim area.
Your eyes aren't getting any younger.
 
May 8, 2013
629
Hunter 40 Dataw Island, SC
Thanks guys!

Today's update in two parts - Part 1: More bulkheads

Last week I pulled two bulkheads mid-aft cabin. I figured I could do this because there is three bulkheads across this section of the boat. The center supports the companionway so I removed both outers. After cutting and fitting new bulkheads and getting the finish on, here's the starboard side installed:


The bulkhead on the other side is also the aft bulkhead for the aft head - the original had lots of delamination due to years of exposure to water so I wanted to add some protection for the new one. Instead of just clear urethane, this one got two coats of epoxy followed by primer and paint on one side and clearcoat on the other. Took a few days longer to finish. The final coat of clear is drying tonite so I'll get this bulkhead installed tomorrow. Then I can pull the center.

For part 2 of the update, I am going to invoke what's written in big letters on the cover of The Hitchhikers's Guide To The Galaxy: Don't Panic!

Cheers,

Mark
 
Last edited:
May 8, 2013
629
Hunter 40 Dataw Island, SC
Update Part 2: Don't Panic!

For the last few years I have been intending to replace the motor mounts. One of those projects that kept getting moved farther down the queue until last year when I started noticing an intermittent rattle at various rpms. I figured I had a broken spring on the damper plate so it seemed that replacing it and the mounts could happen together. It has also been since 2010 that the boot for the dripless packing had been replaced, so it was time for that as well. I had been planning all this for the next haulout - then Matthew came along.

I've had the parts sitting in the garage for a while now, and now seemed to be the right time to accomplish some engine maintenance. But I got to thinking, most of the engine connections are already disconnected, I have to pull the tranny anyway along with all the mounts, so why not pull the engine and do a serious clean and refurbish of the engine and engine bay?


The engine is now sitting in the garage, has been pressure washed and is ready for some scrubbing, rust control and paint. The exhaust elbow looks a little iffy so I'm going to address that, plus replace all the coolant hoses (there are a bunch of them!) and take a peek inside the heat exchanger.

Now for the not so good news - and remember, Don't Panic!


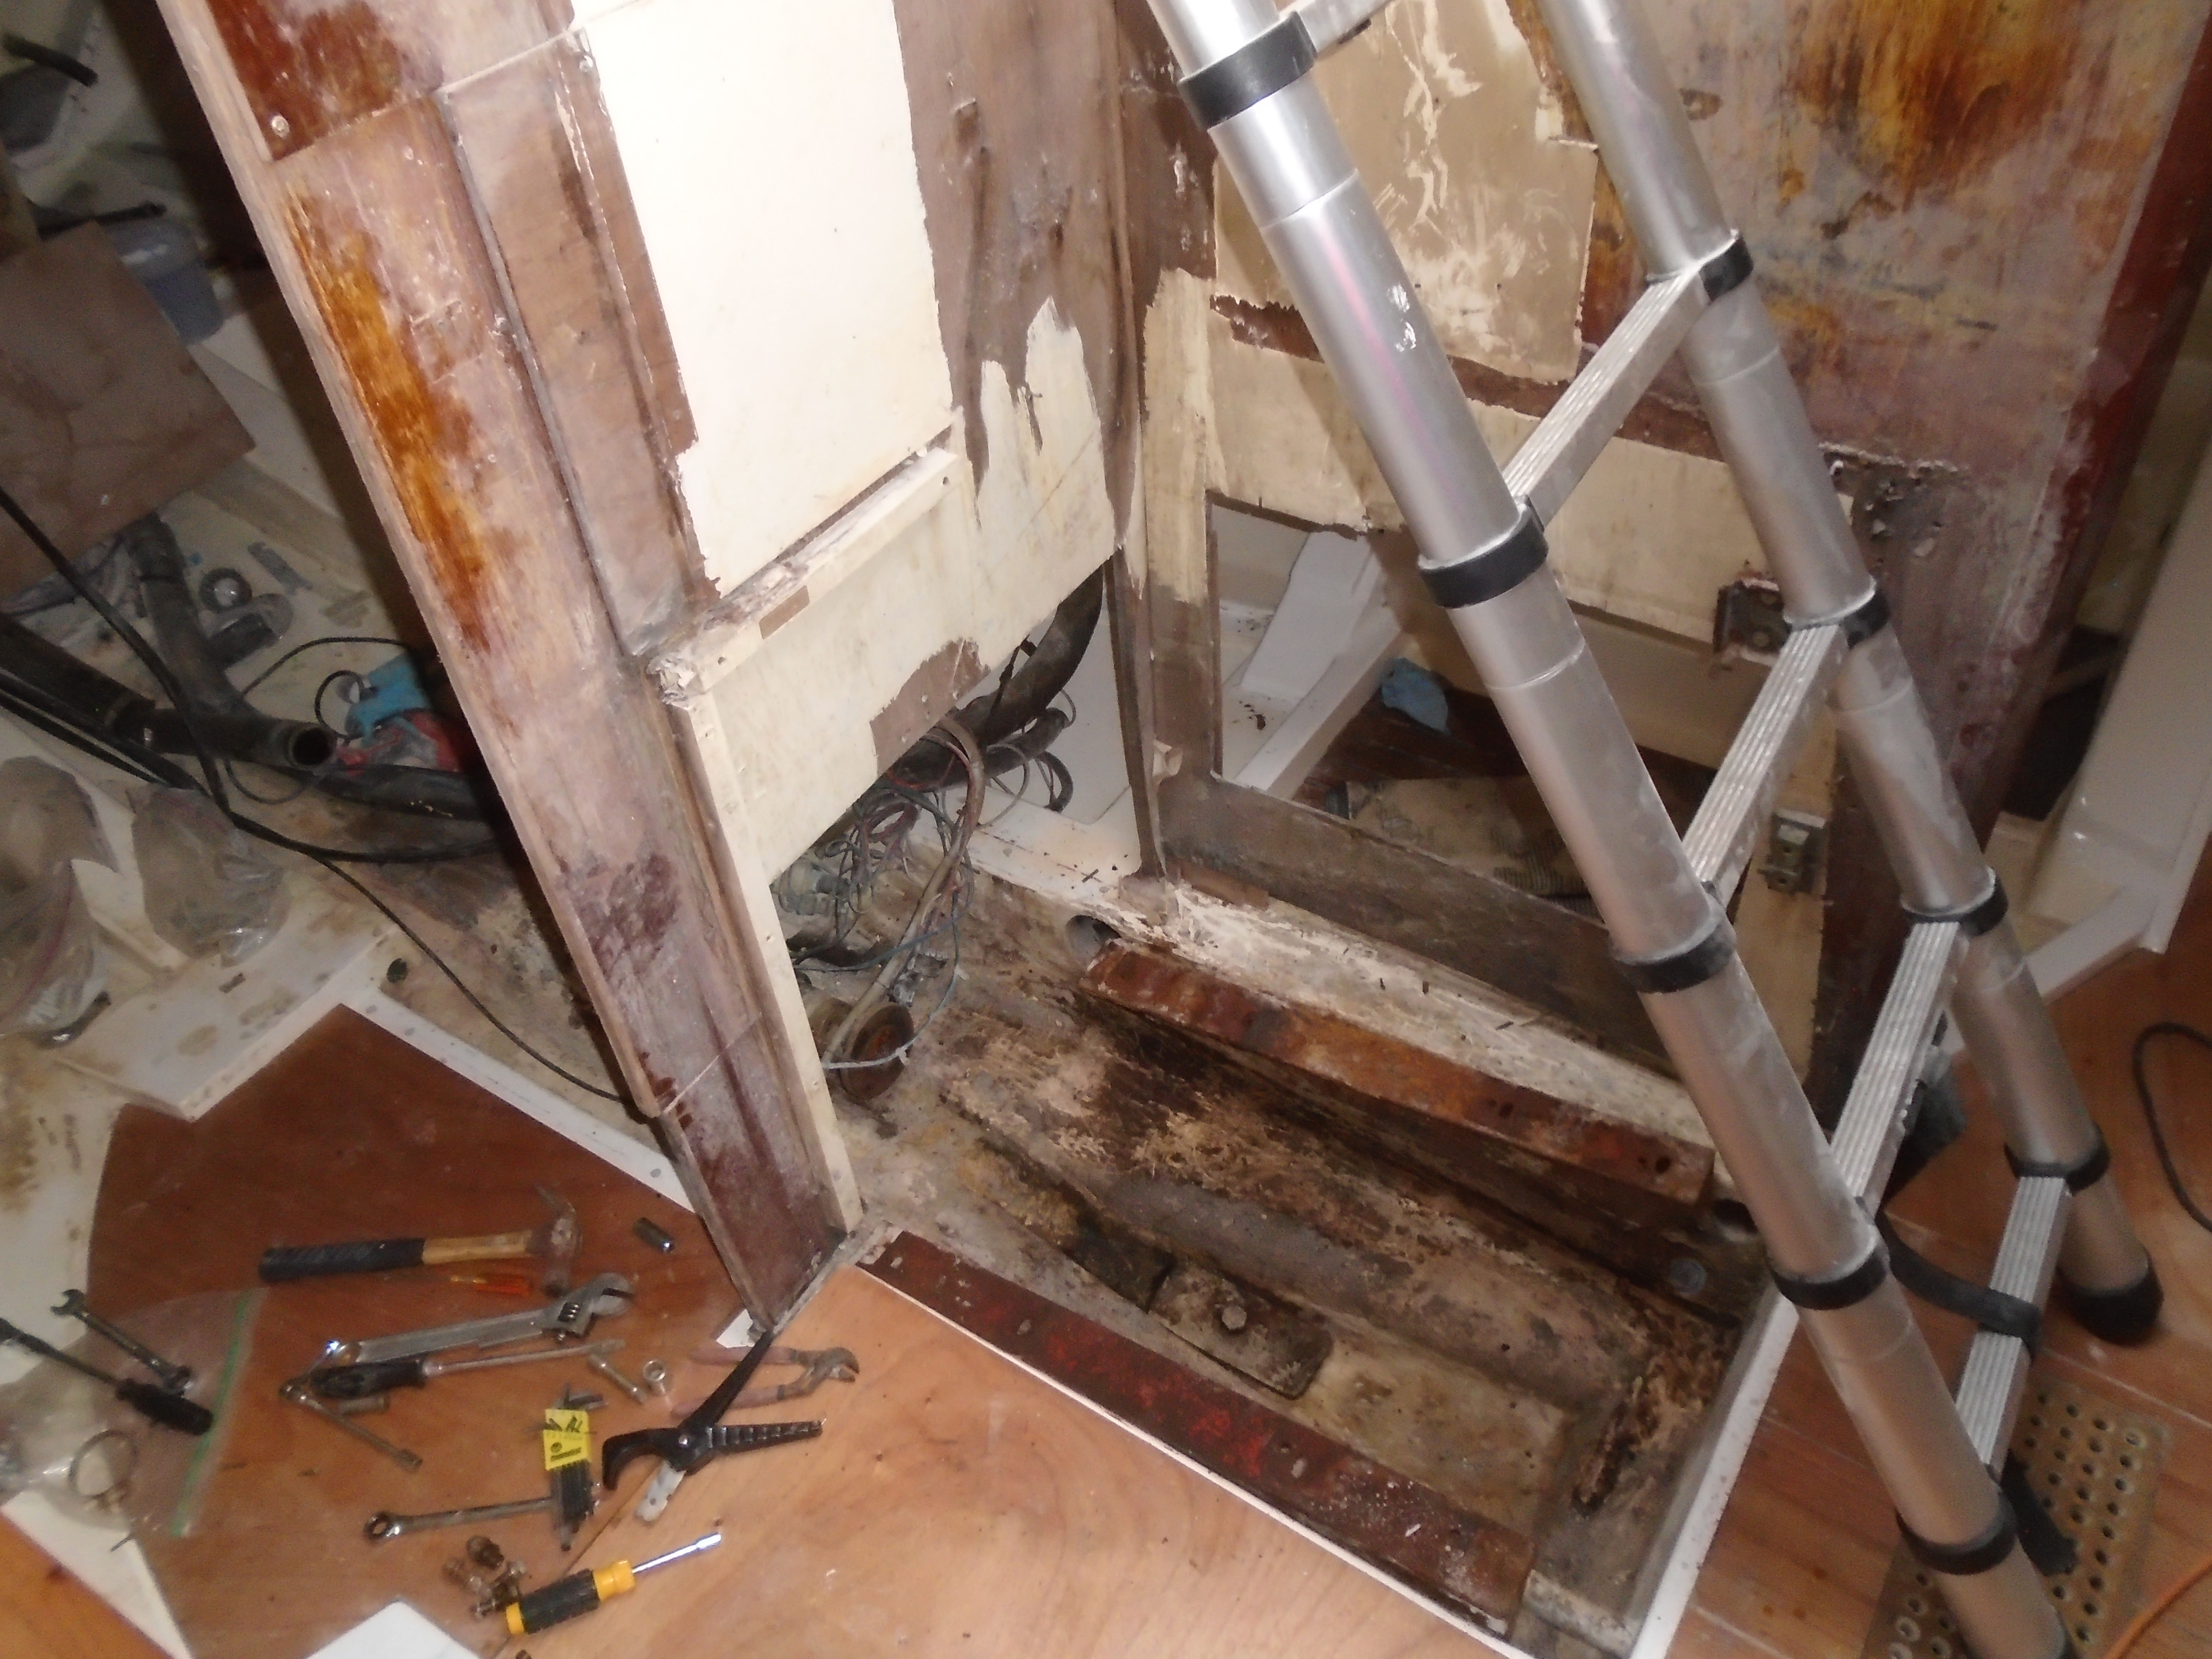
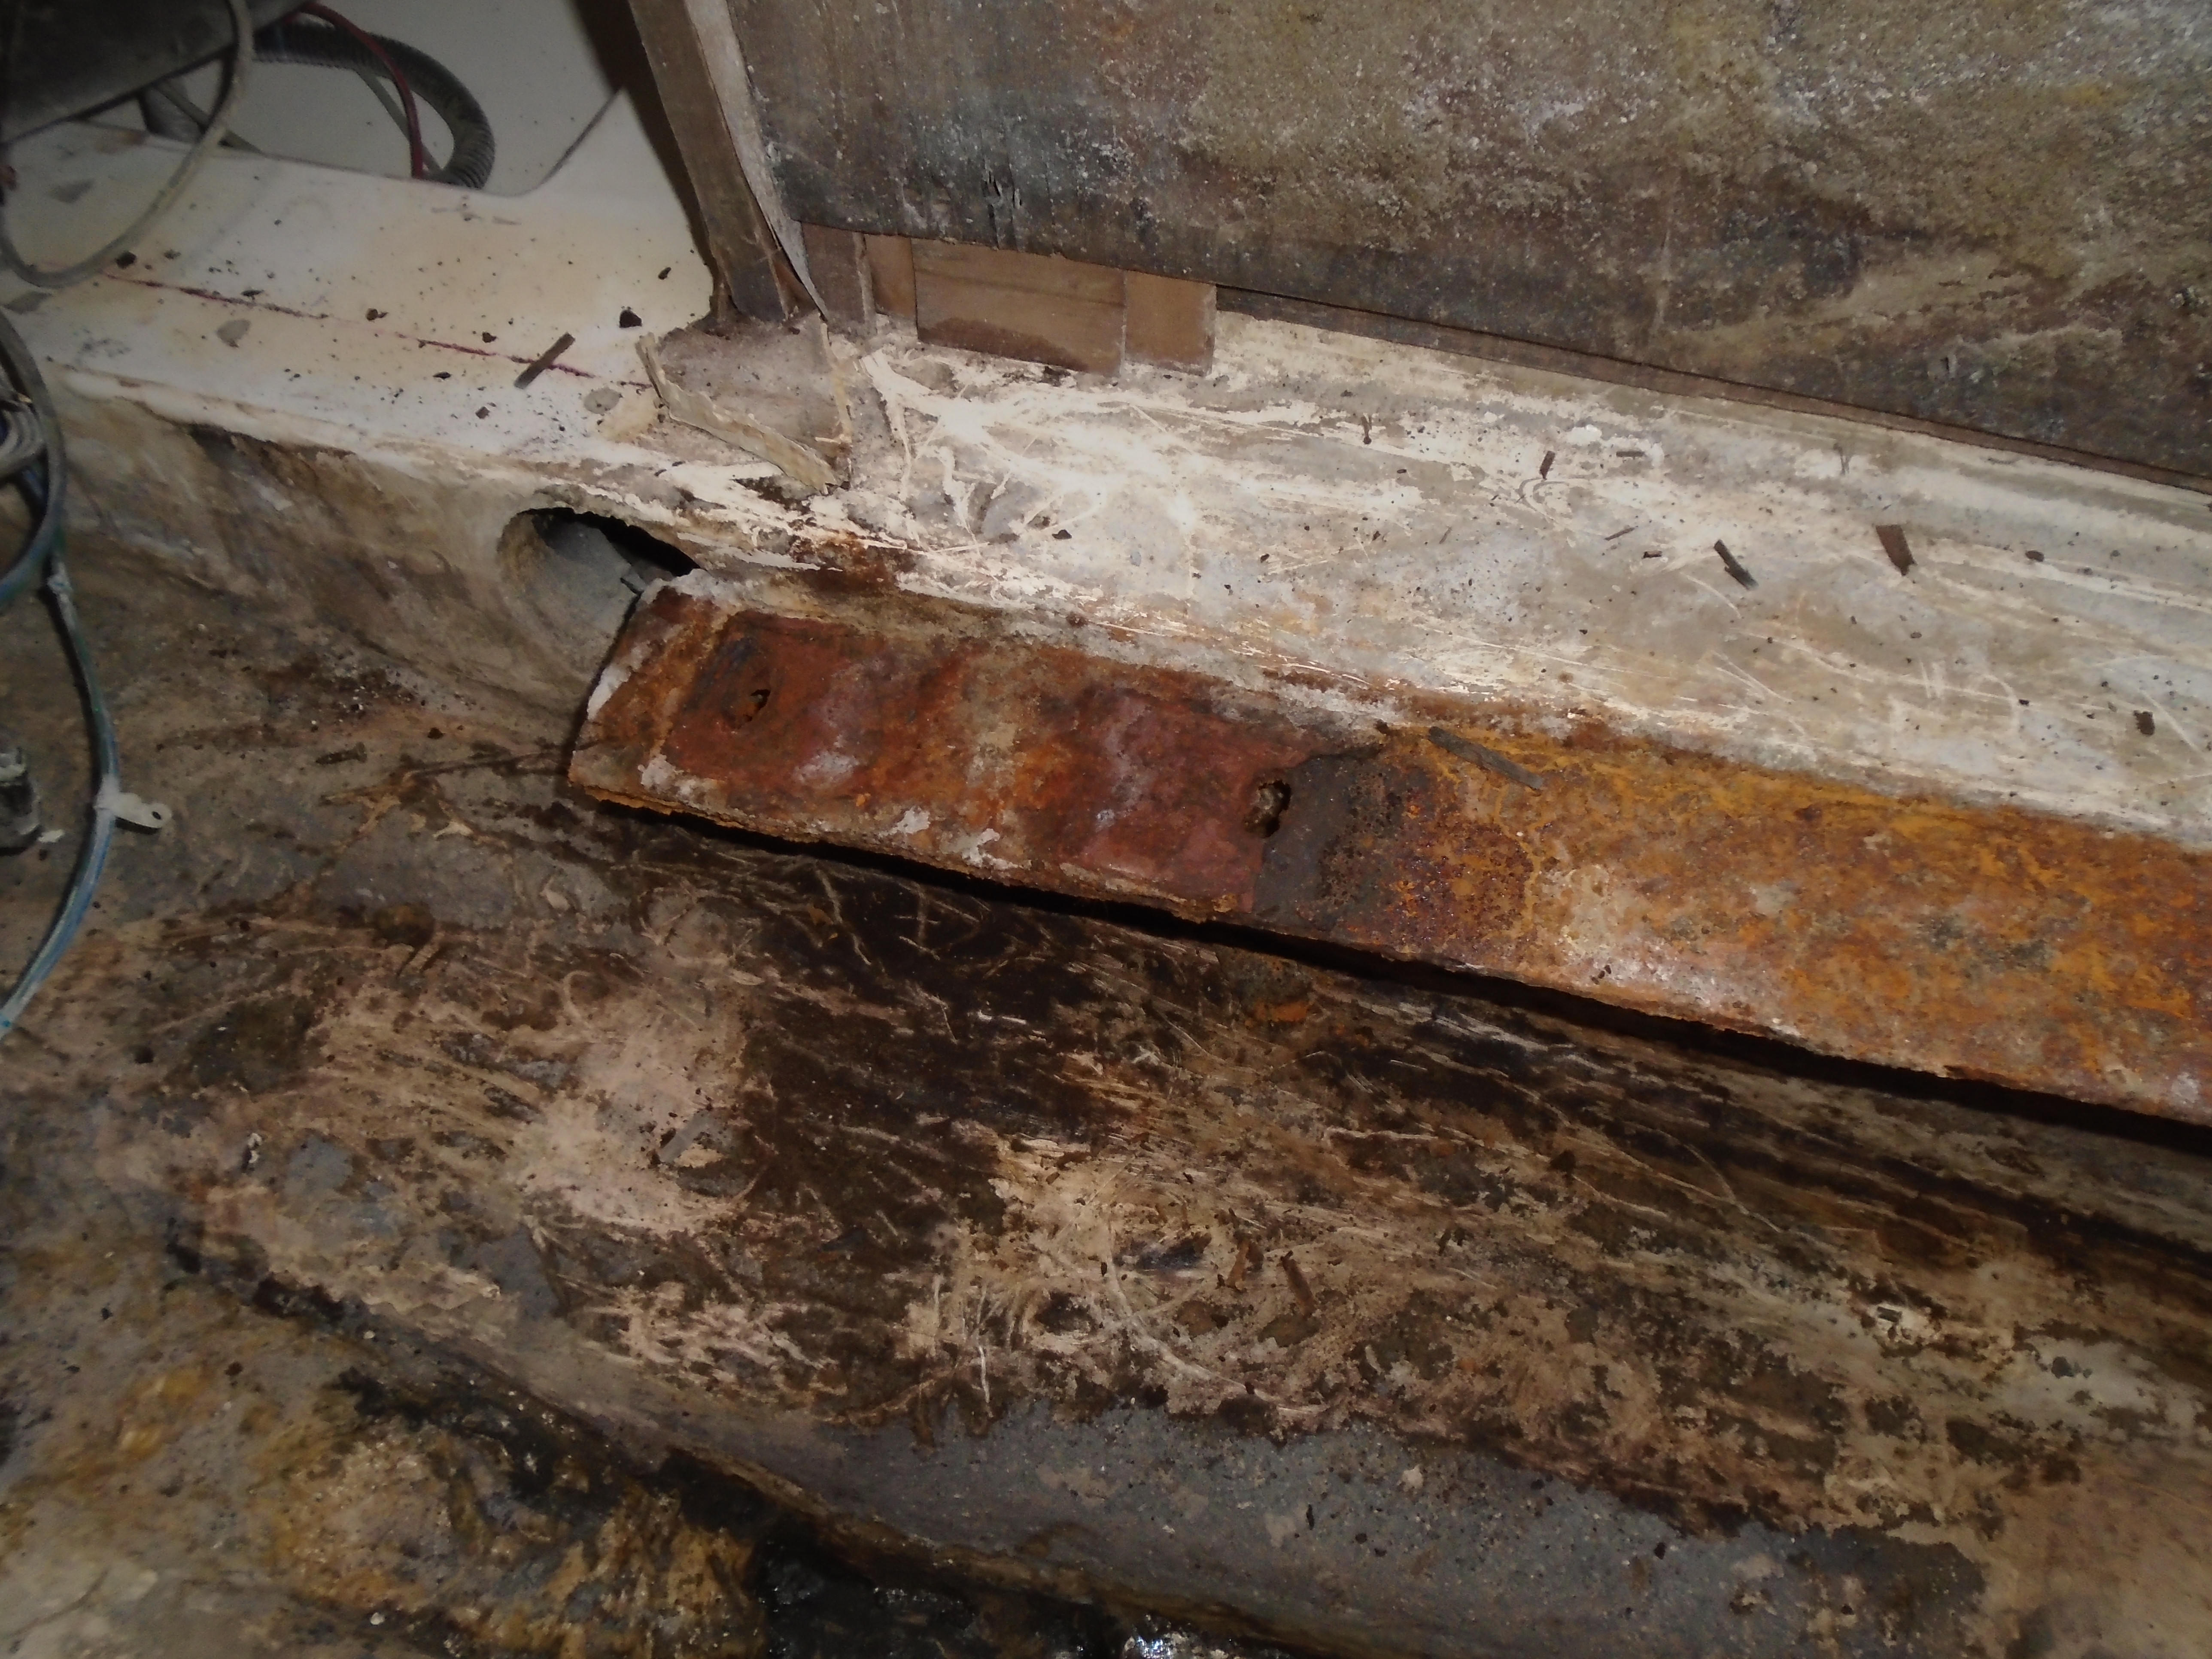
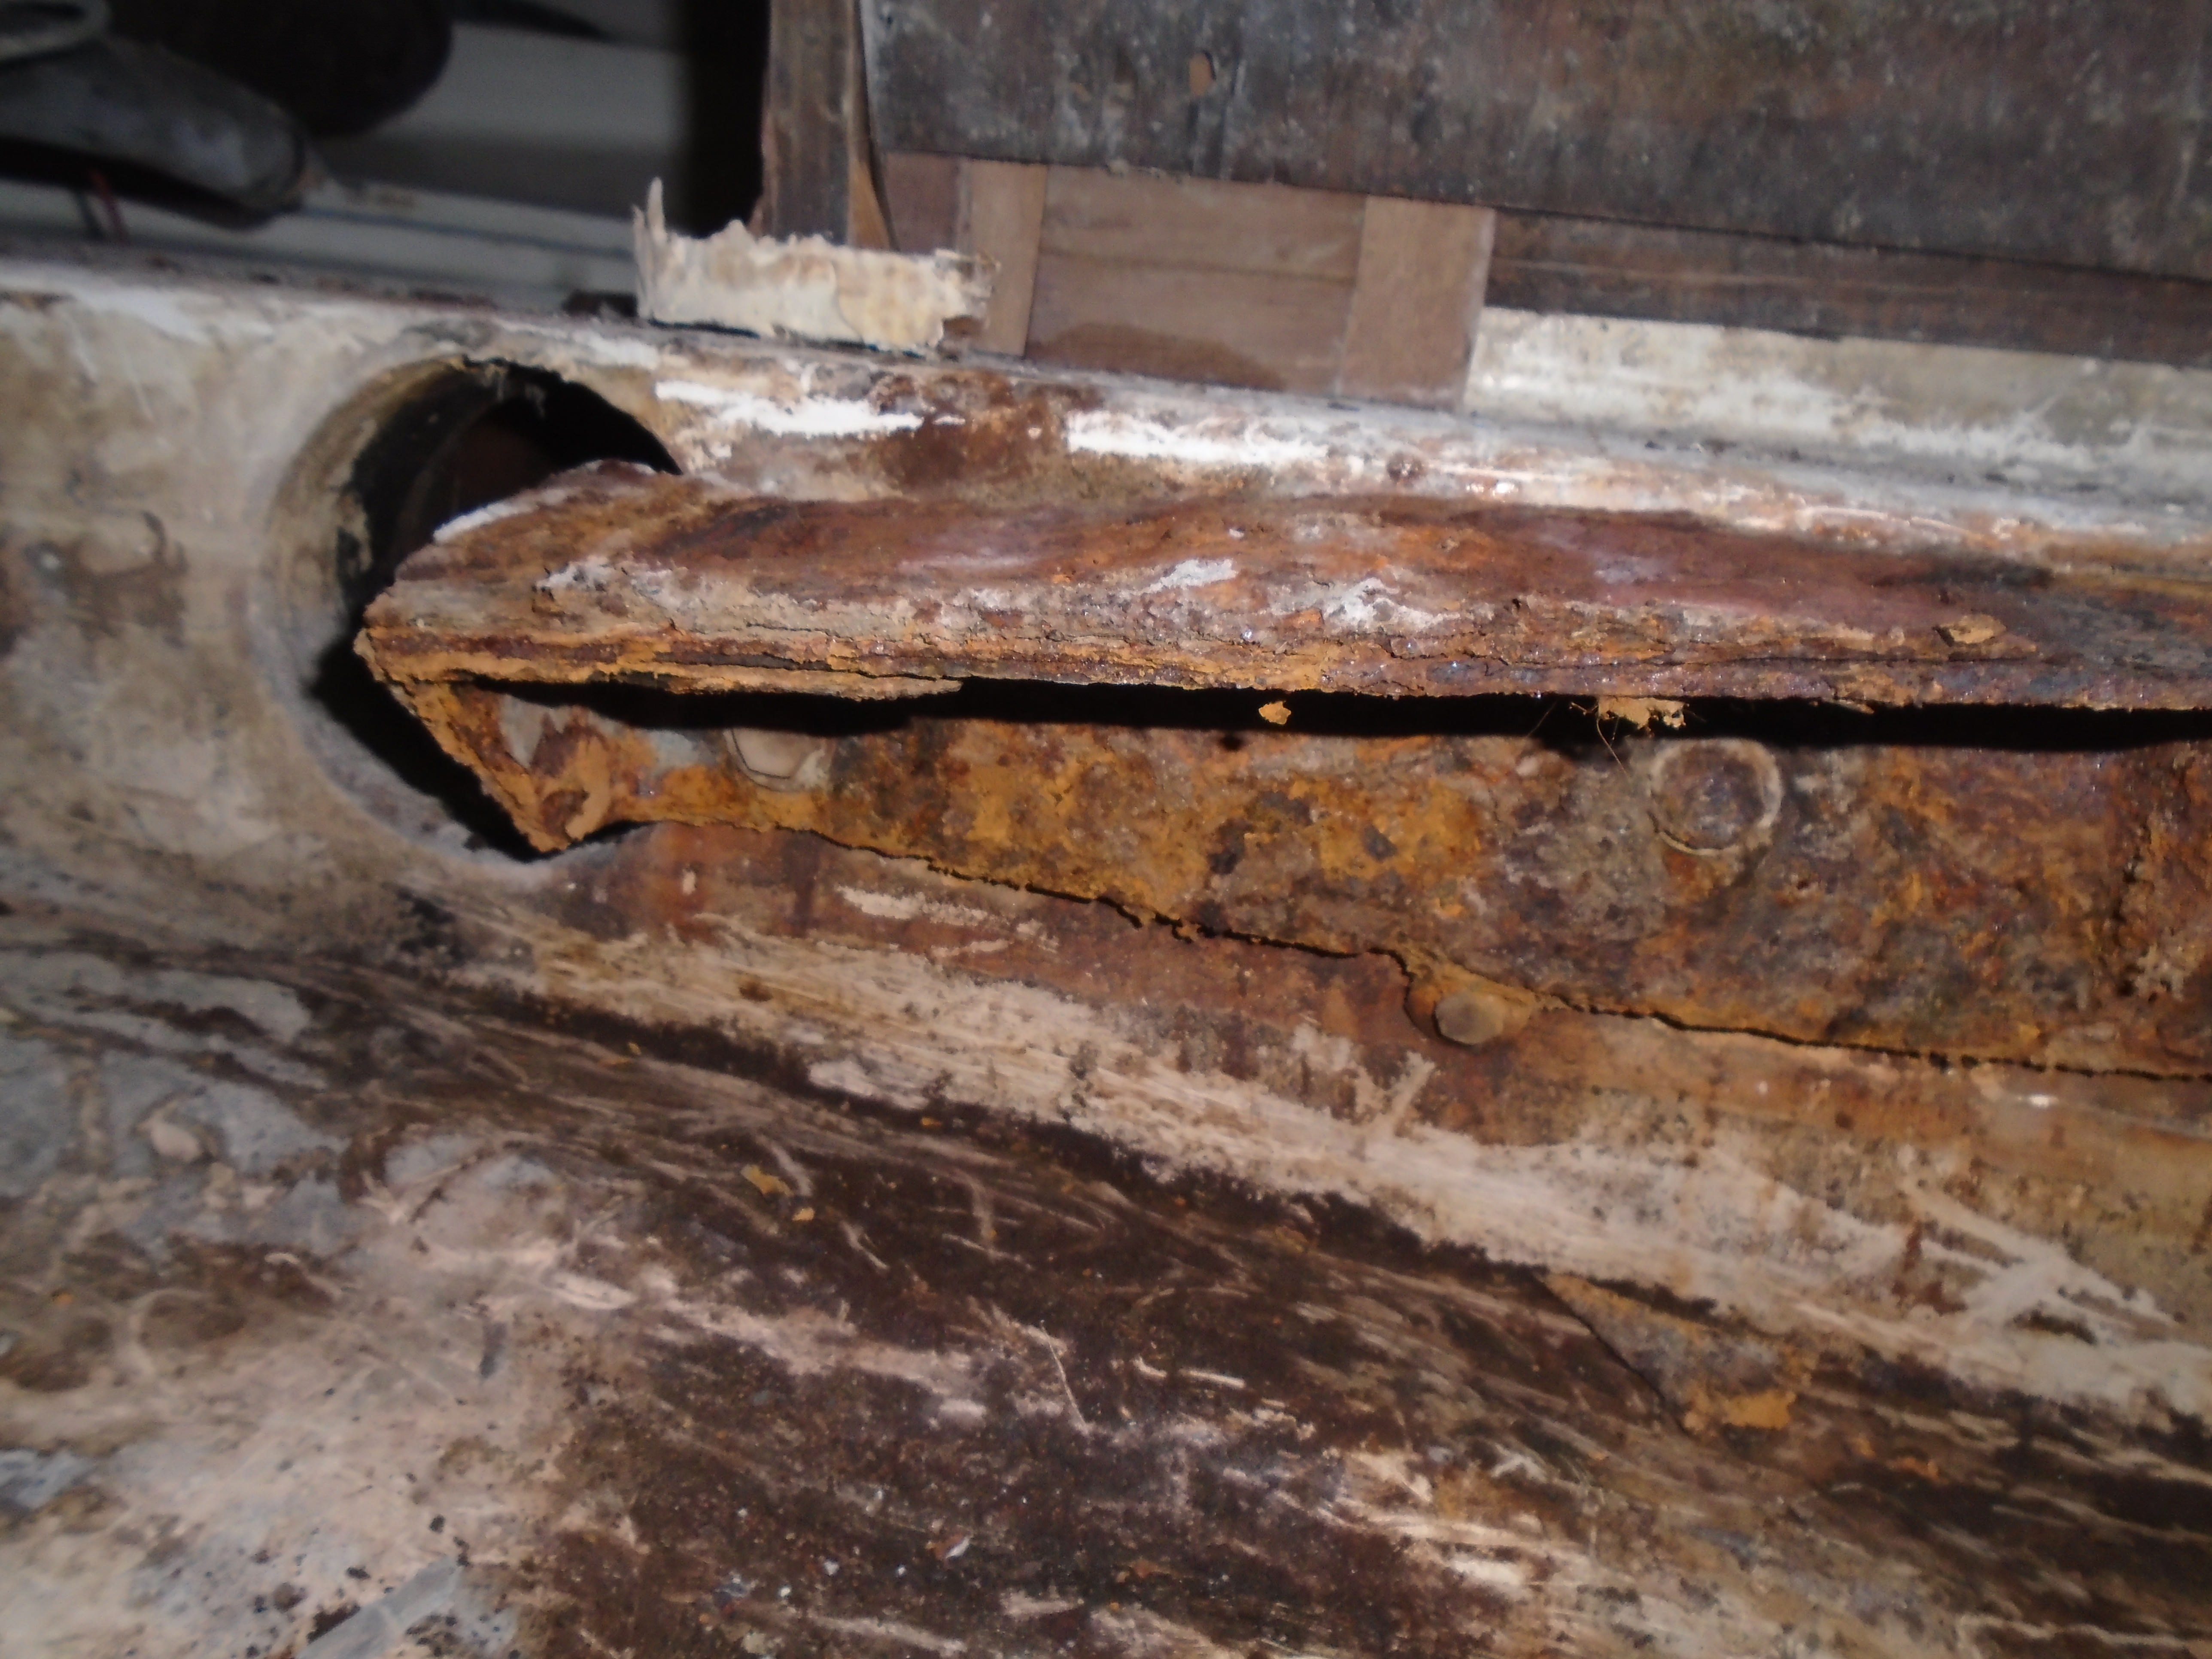
Found a "slight" amount of rust on one of the engine bearers.

So tomorrow I'll pull the engine bearers and make a trip to the welder and have him fab up some new ones. Good news is they are just pieces of angle iron with a few extra braces welded in so they won't be hard to duplicate, and with a good coat of epoxy primer and paint, the new ones should last even longer than these did. None of this was Matthew related, it's more 30 years of age and use, plus this area sits directly under most of the exhaust plumbing and the companionway. Really difficult area to keep dry. I'll be putting some thought into that when rebuilding.

As a final observation, the motor mounts varied from bad to catastrophically bad. They were definitely overdue for replacement! I'll post pics of them tomorrow.

Cheers,

Mark
 
Last edited:
  • Like
Likes: kloudie1
Sep 23, 2009
1,475
O'Day 34-At Last Rock Hall, Md
You might also want to consider power coating them. Could be faster, easier, more durable and about the same cost.
 
Oct 29, 2016
1,929
Hunter 41 DS Port Huron
If you made them from Stainless Steel, you may be able to forego the coating business, that is if they remain dry (not submerged in stagnant water).
 
Sep 20, 2014
1,325
Rob Legg RL24 Chain O'Lakes
They may look bad, but probably not that much structural integrity lost. The expansion rate of rust is 12:1, meaning the layer of rust you see is 12 times thicker than the metal it originally was.