Hi guys,
Fitting the patch panel!
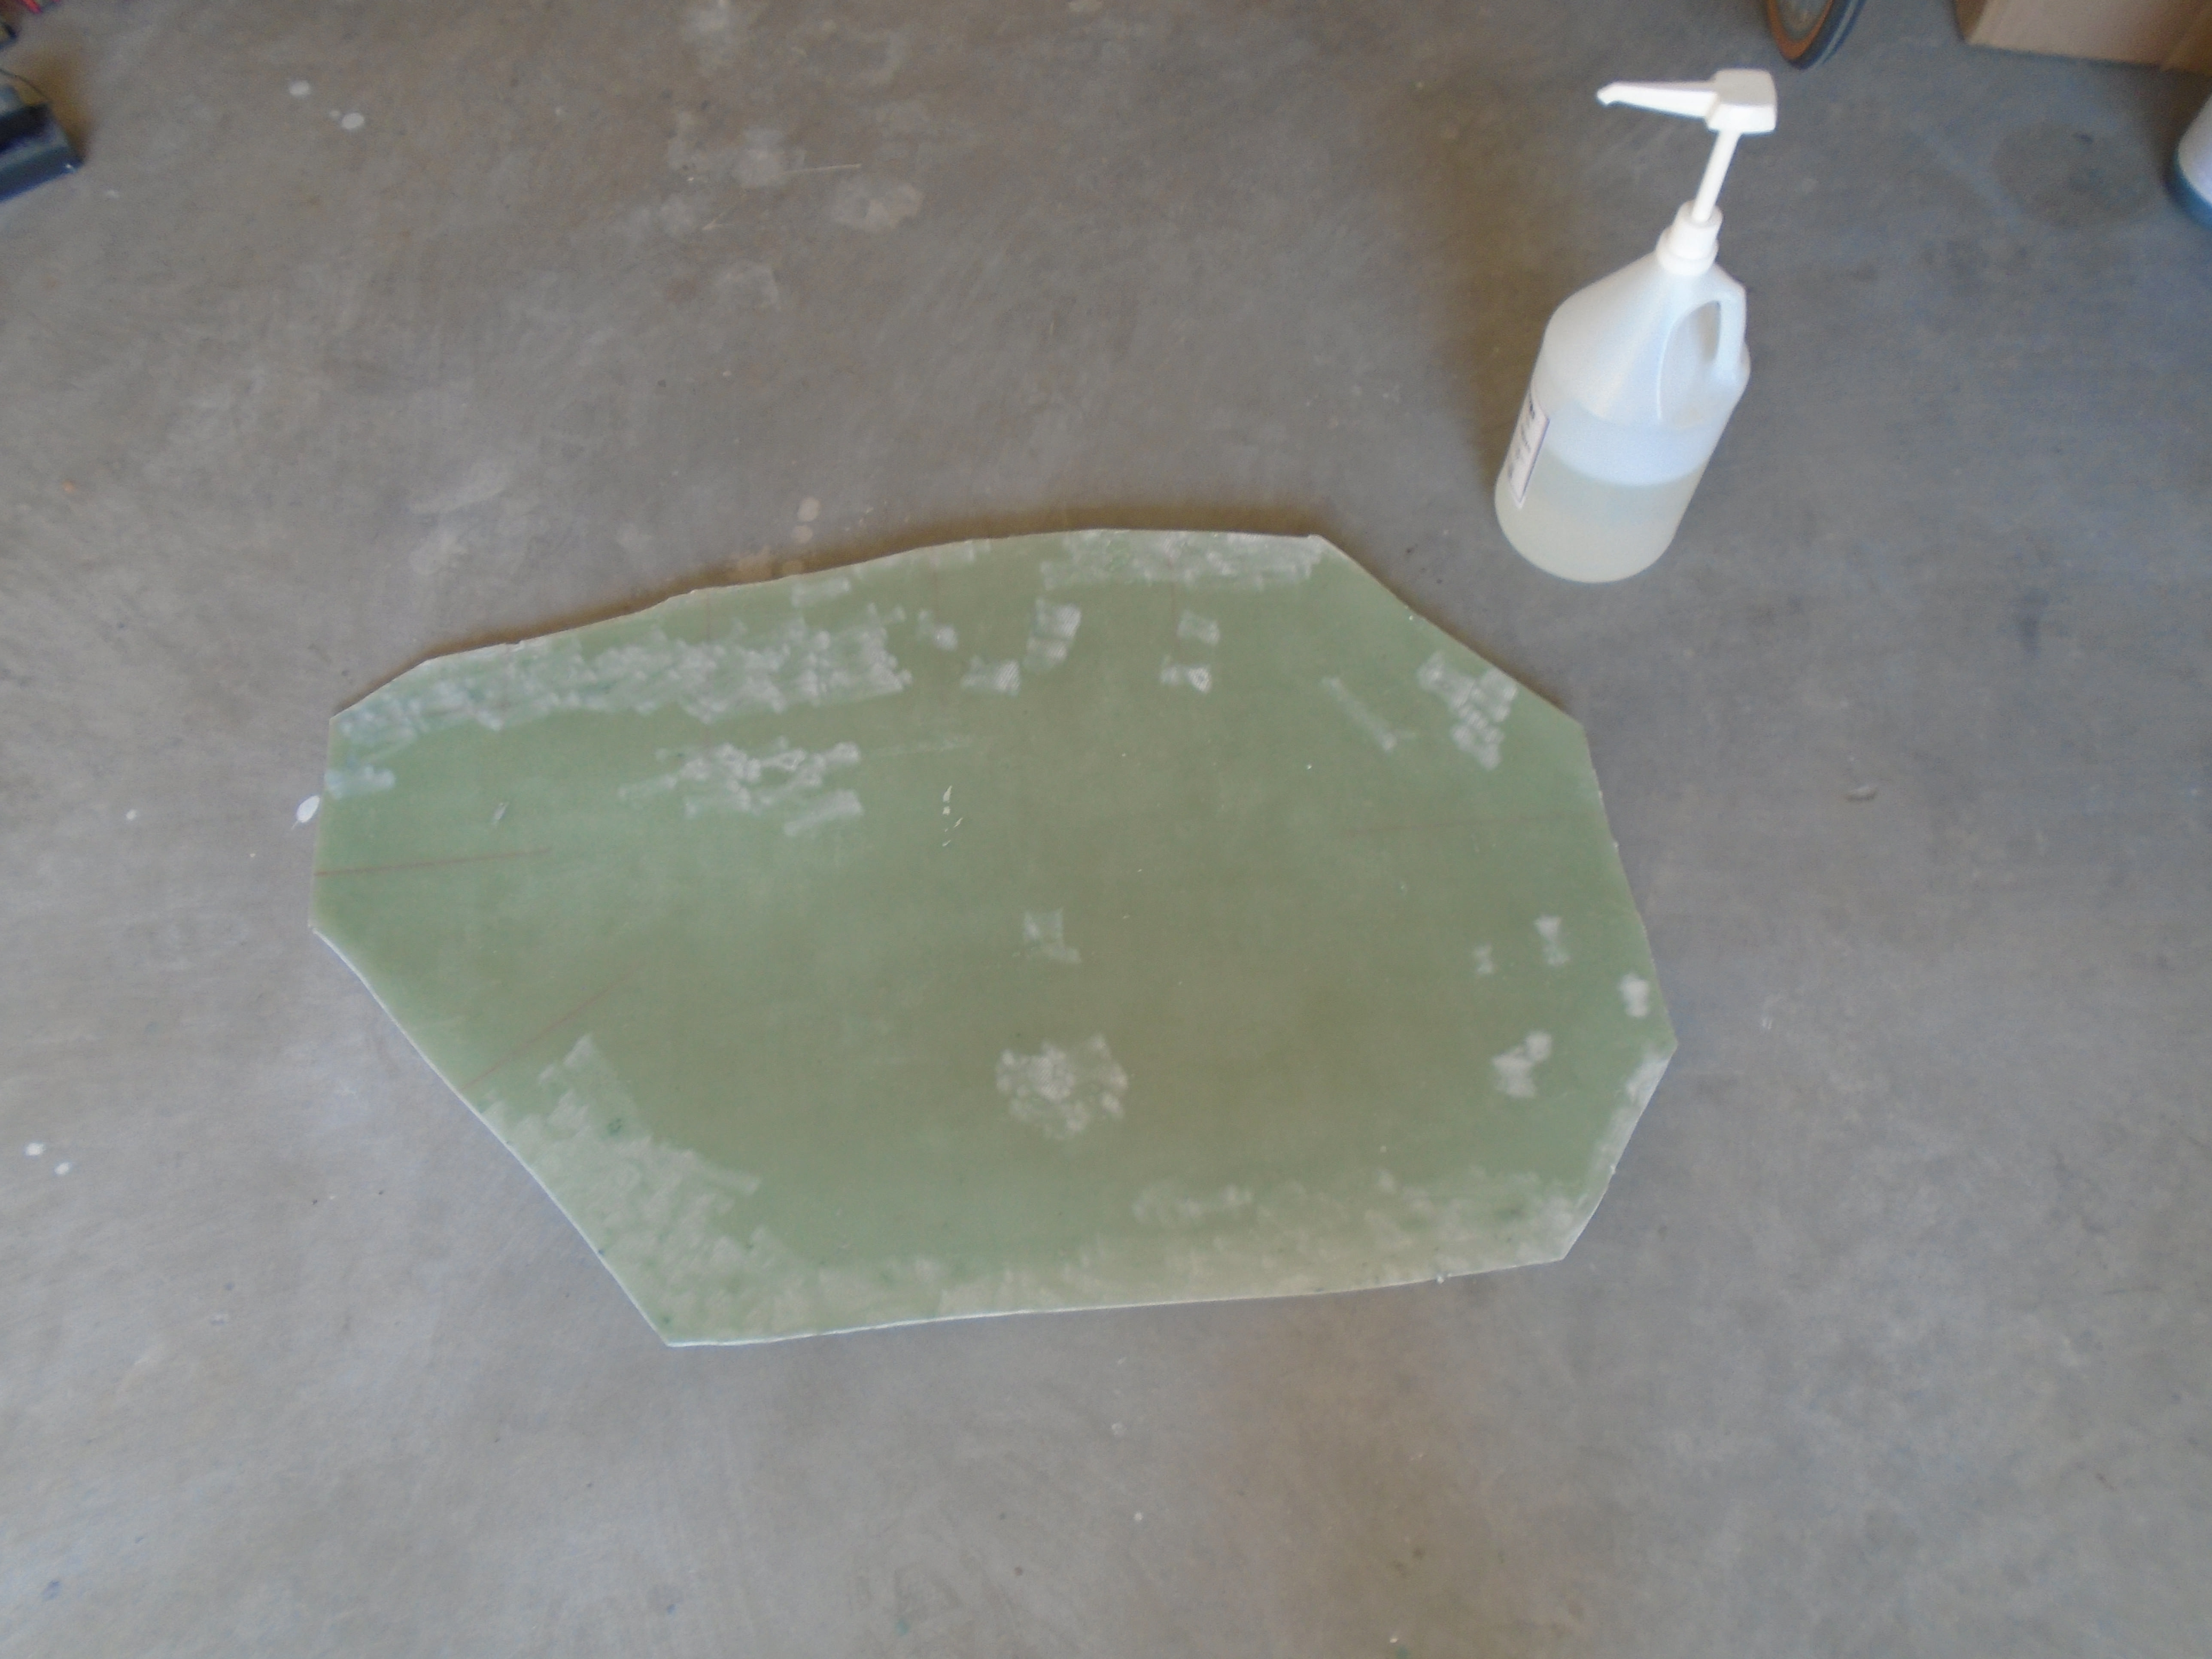
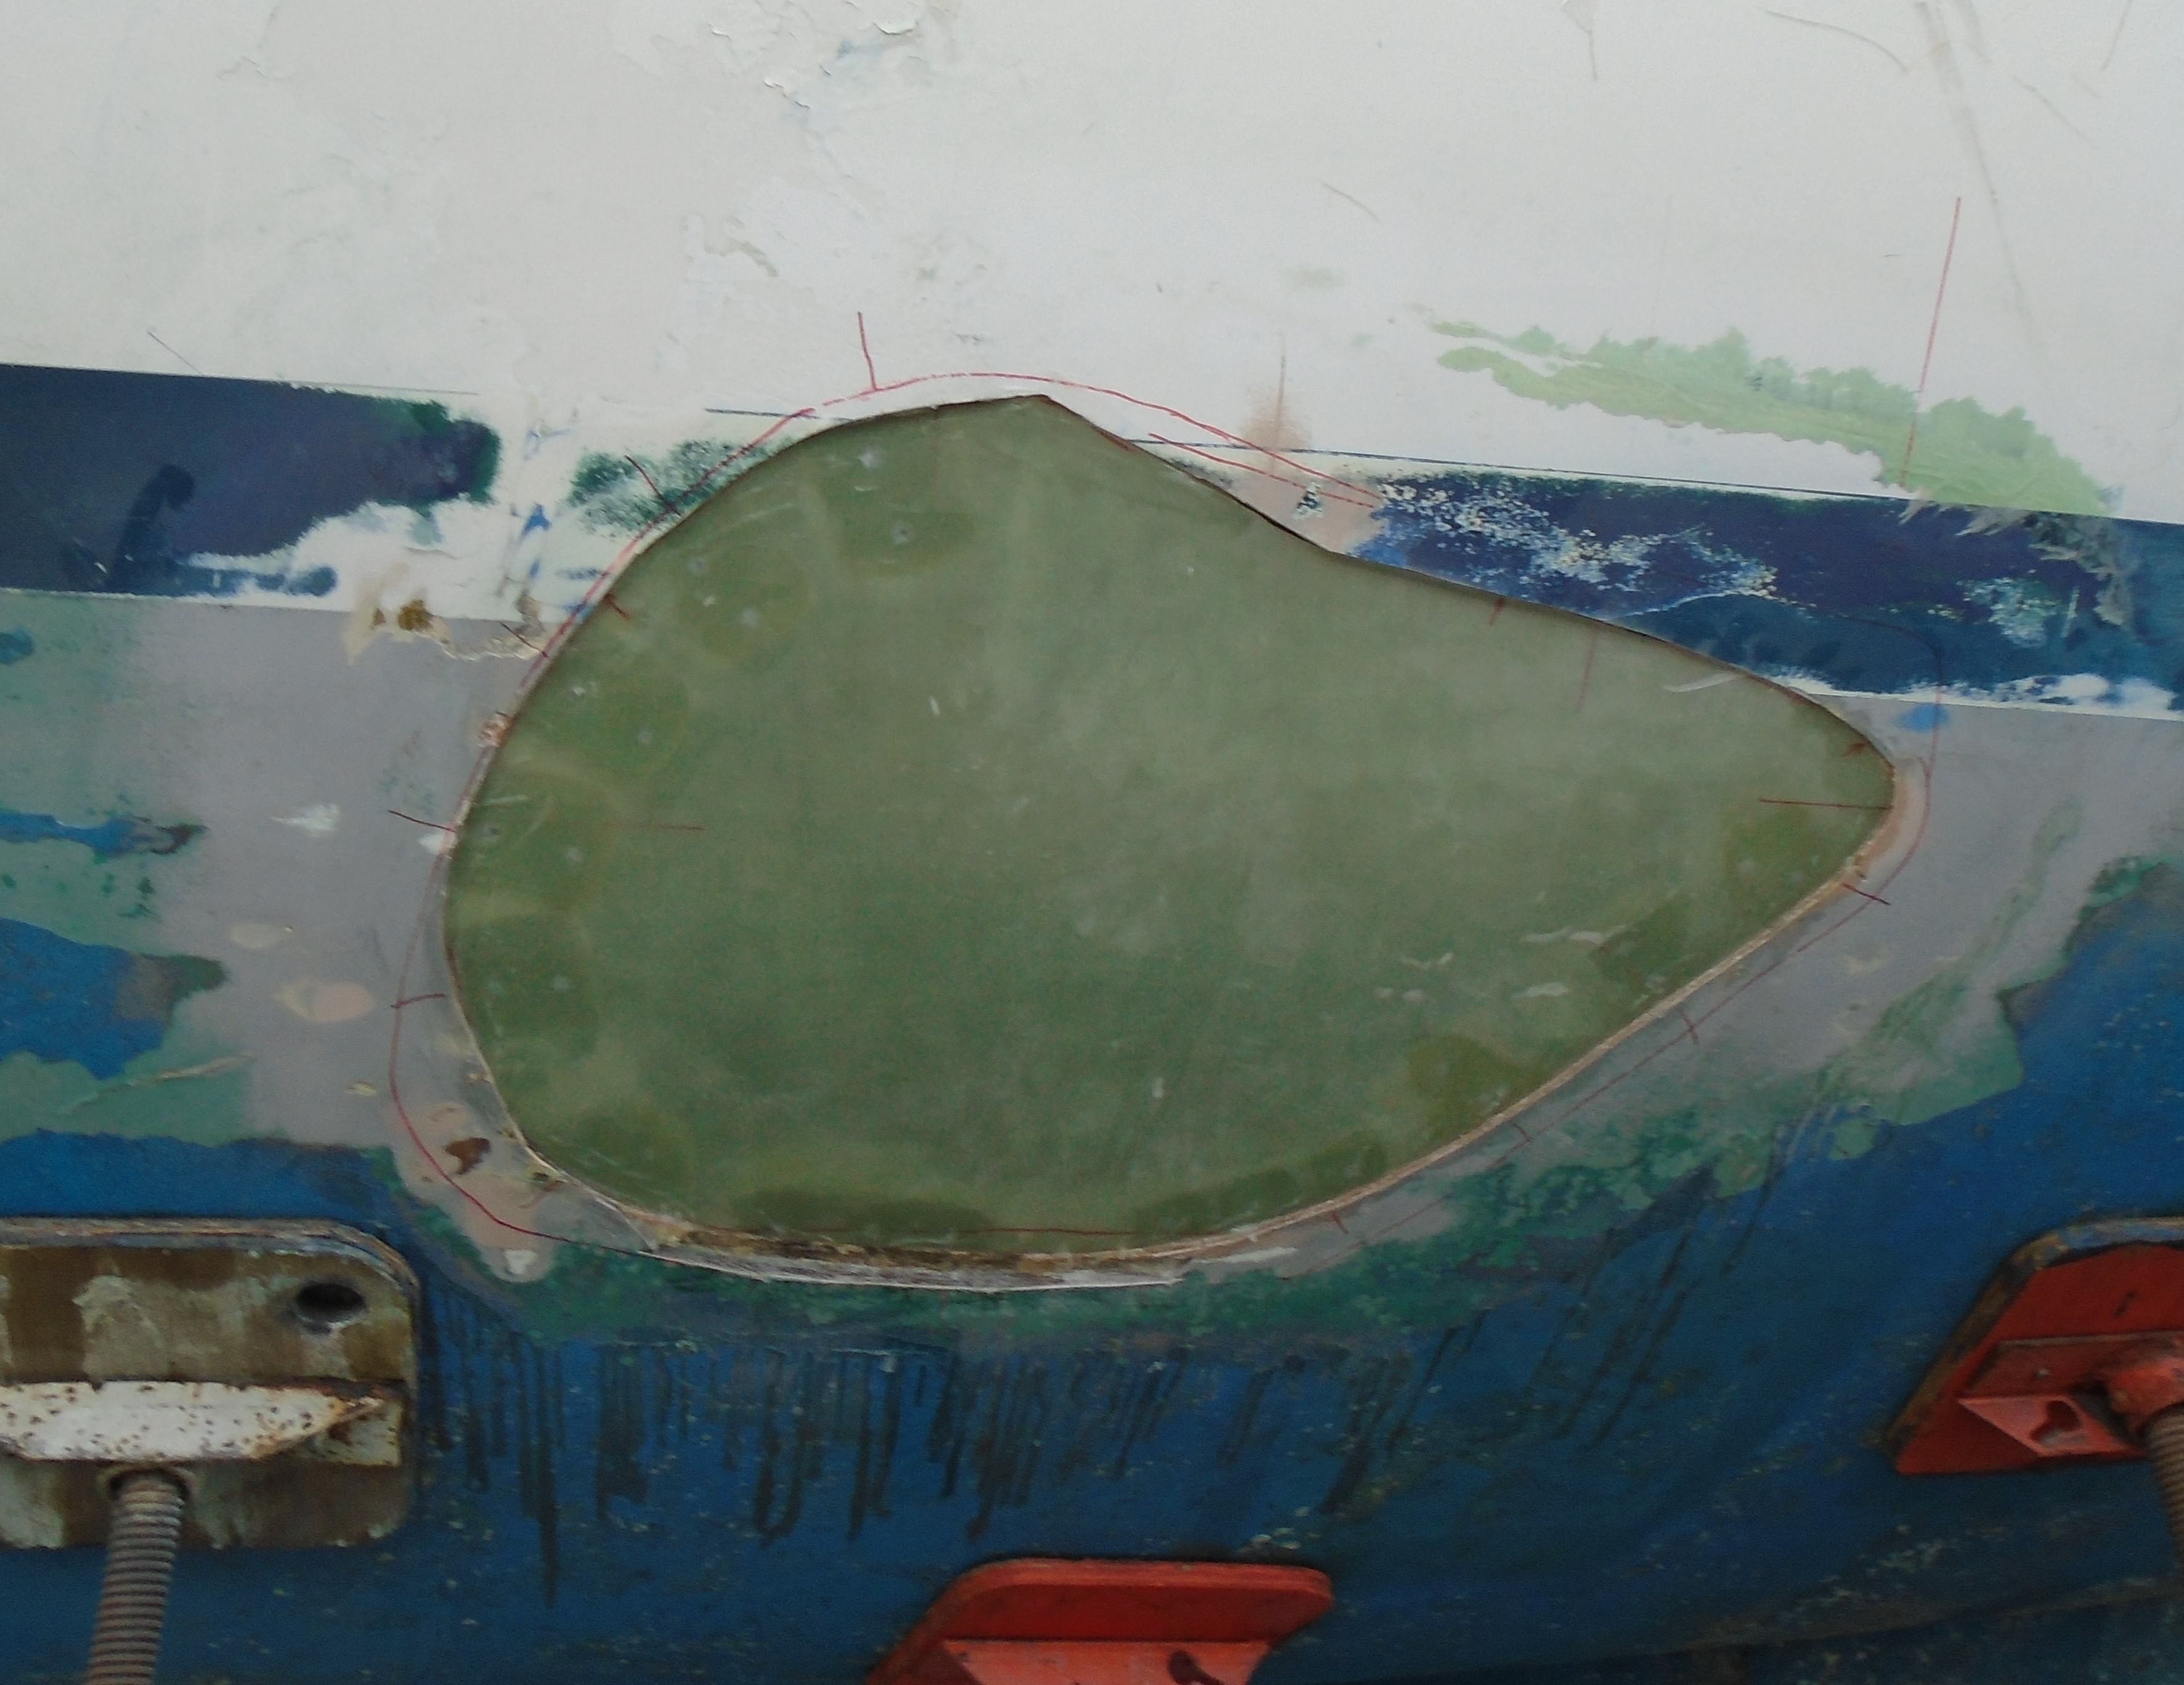
After letting the patch panel cure in pace for a few days it was time to remove it. The nice thing about PVA is that it's water soluble. I pried a corner of the panel up and let the water hose run into the gap. The PVA will slowly dissolve making part separation easier. Took a few minutes but off came the panel. Some of the bondo came with it but that was easily cleaned up:
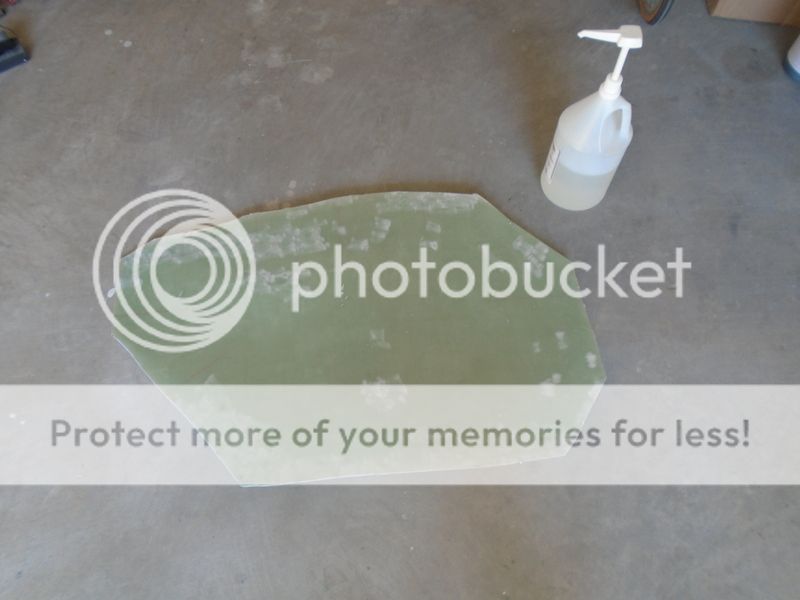
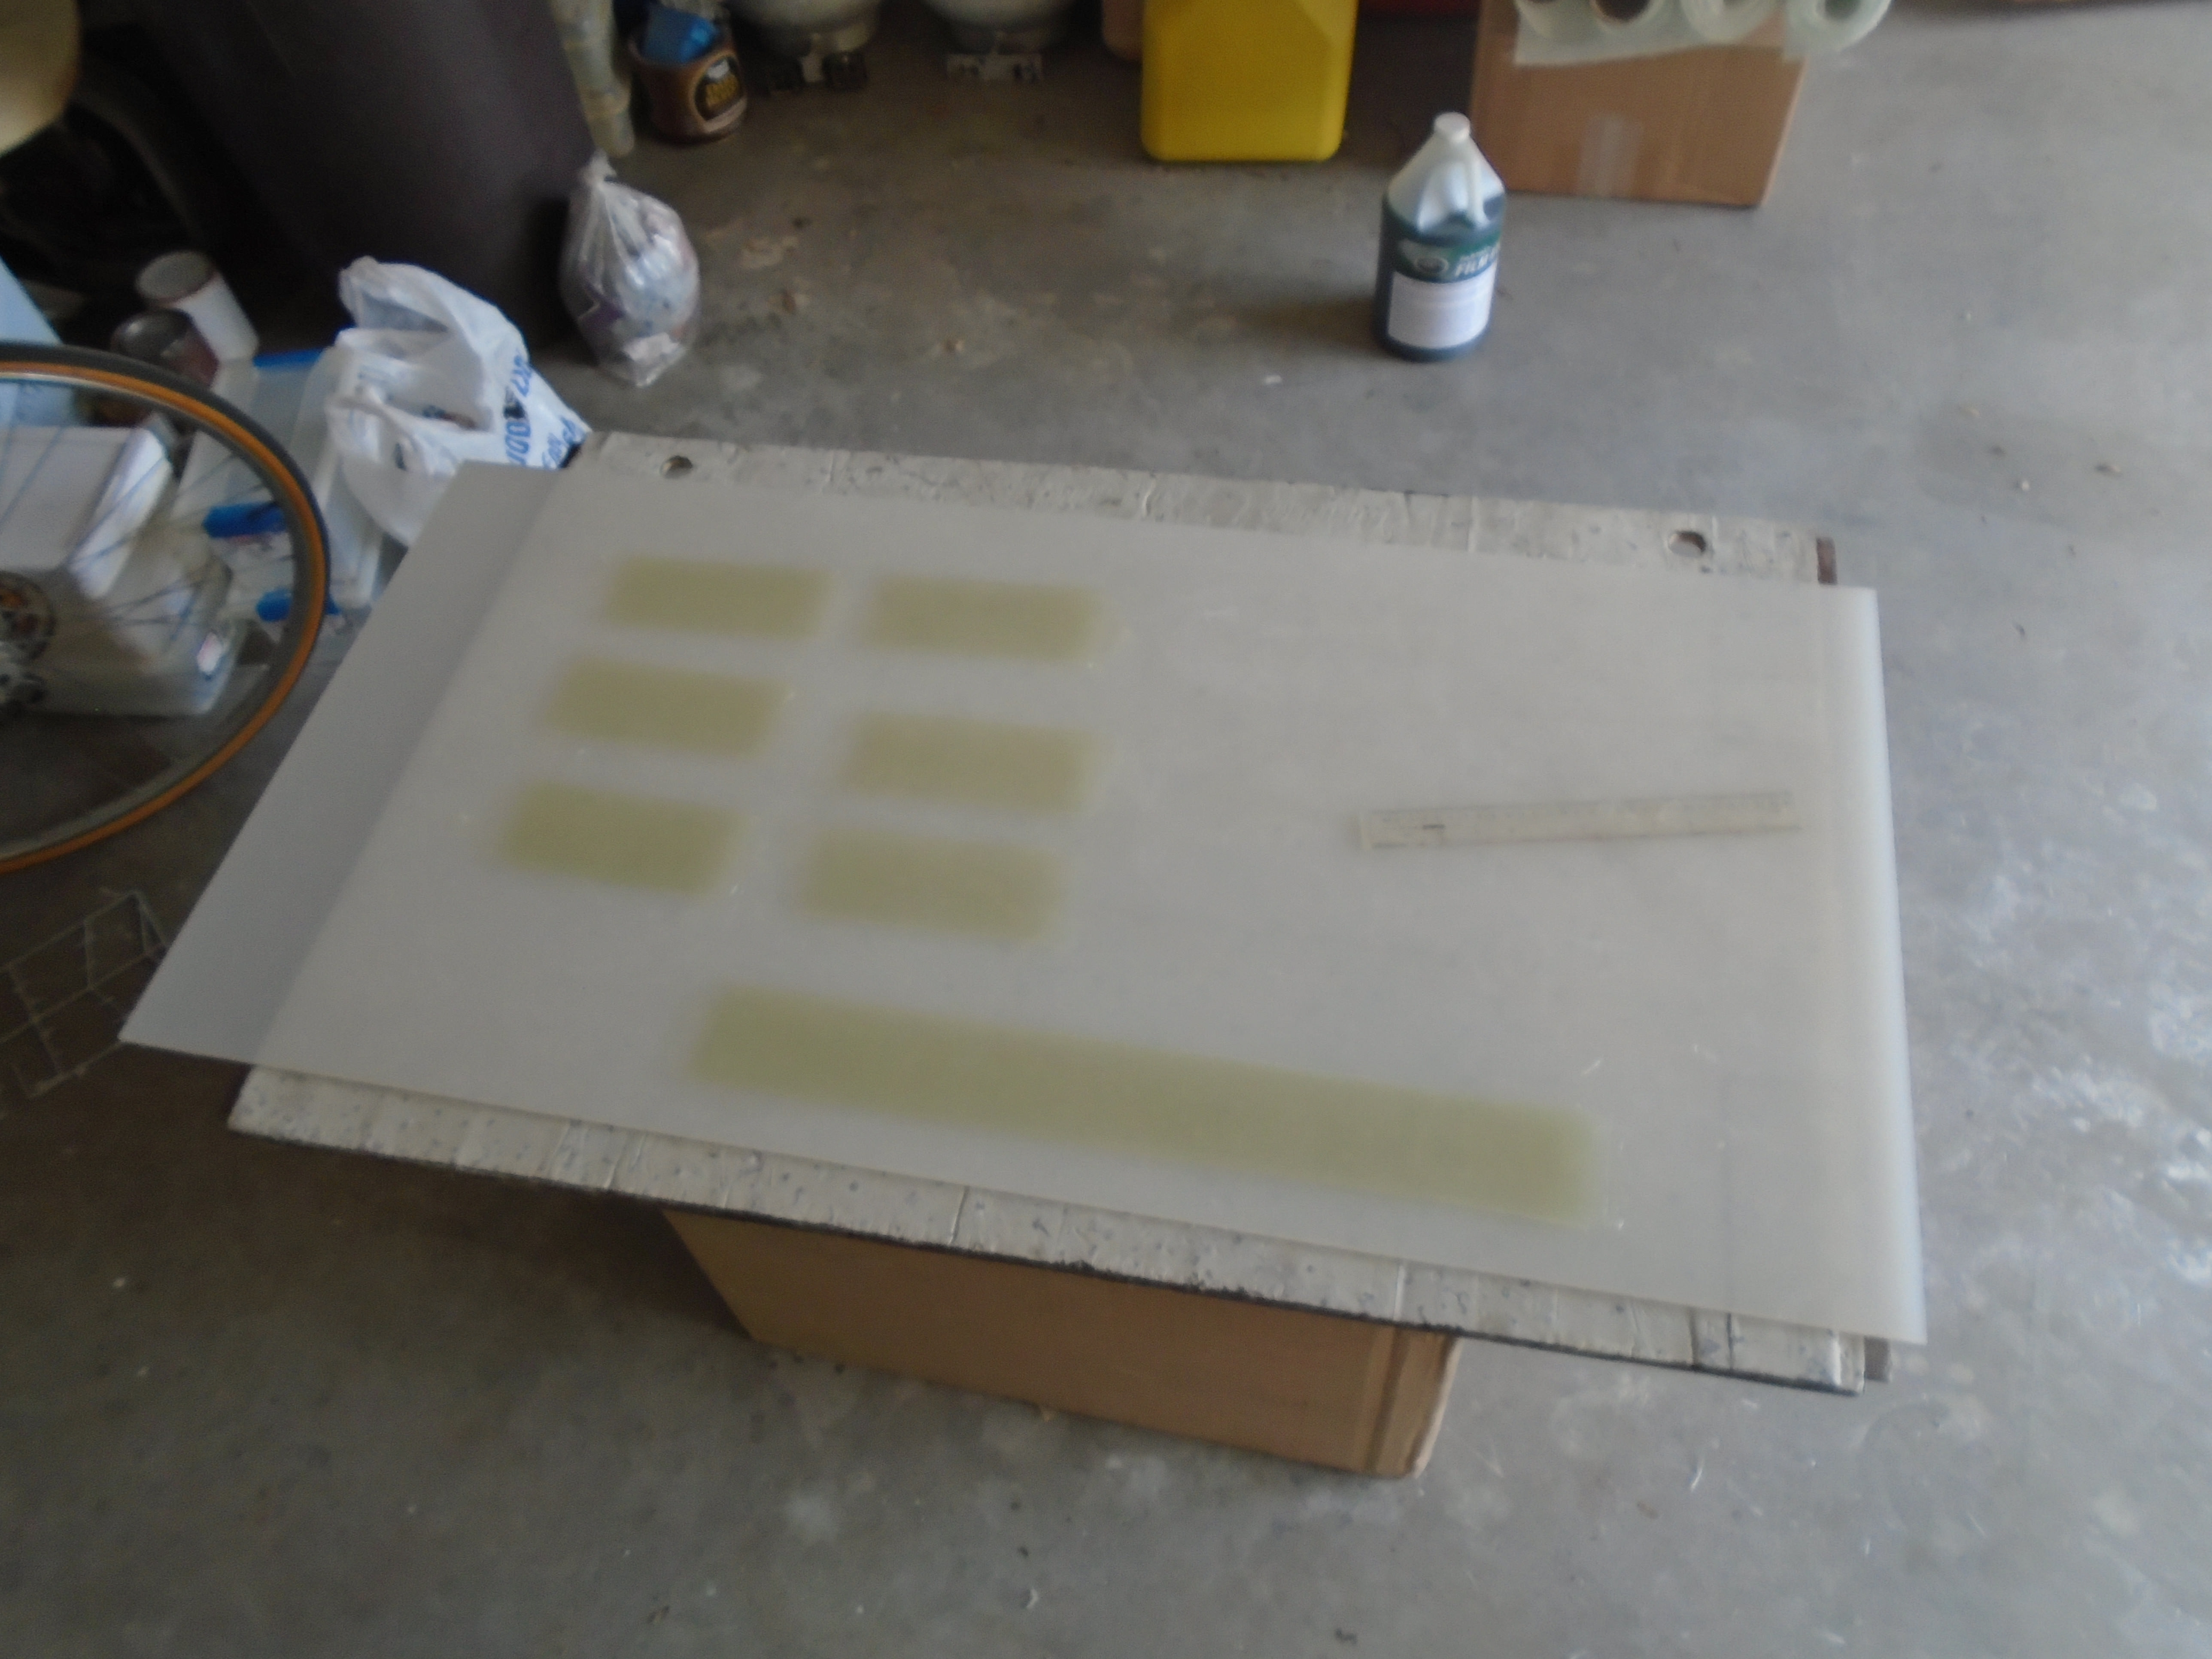
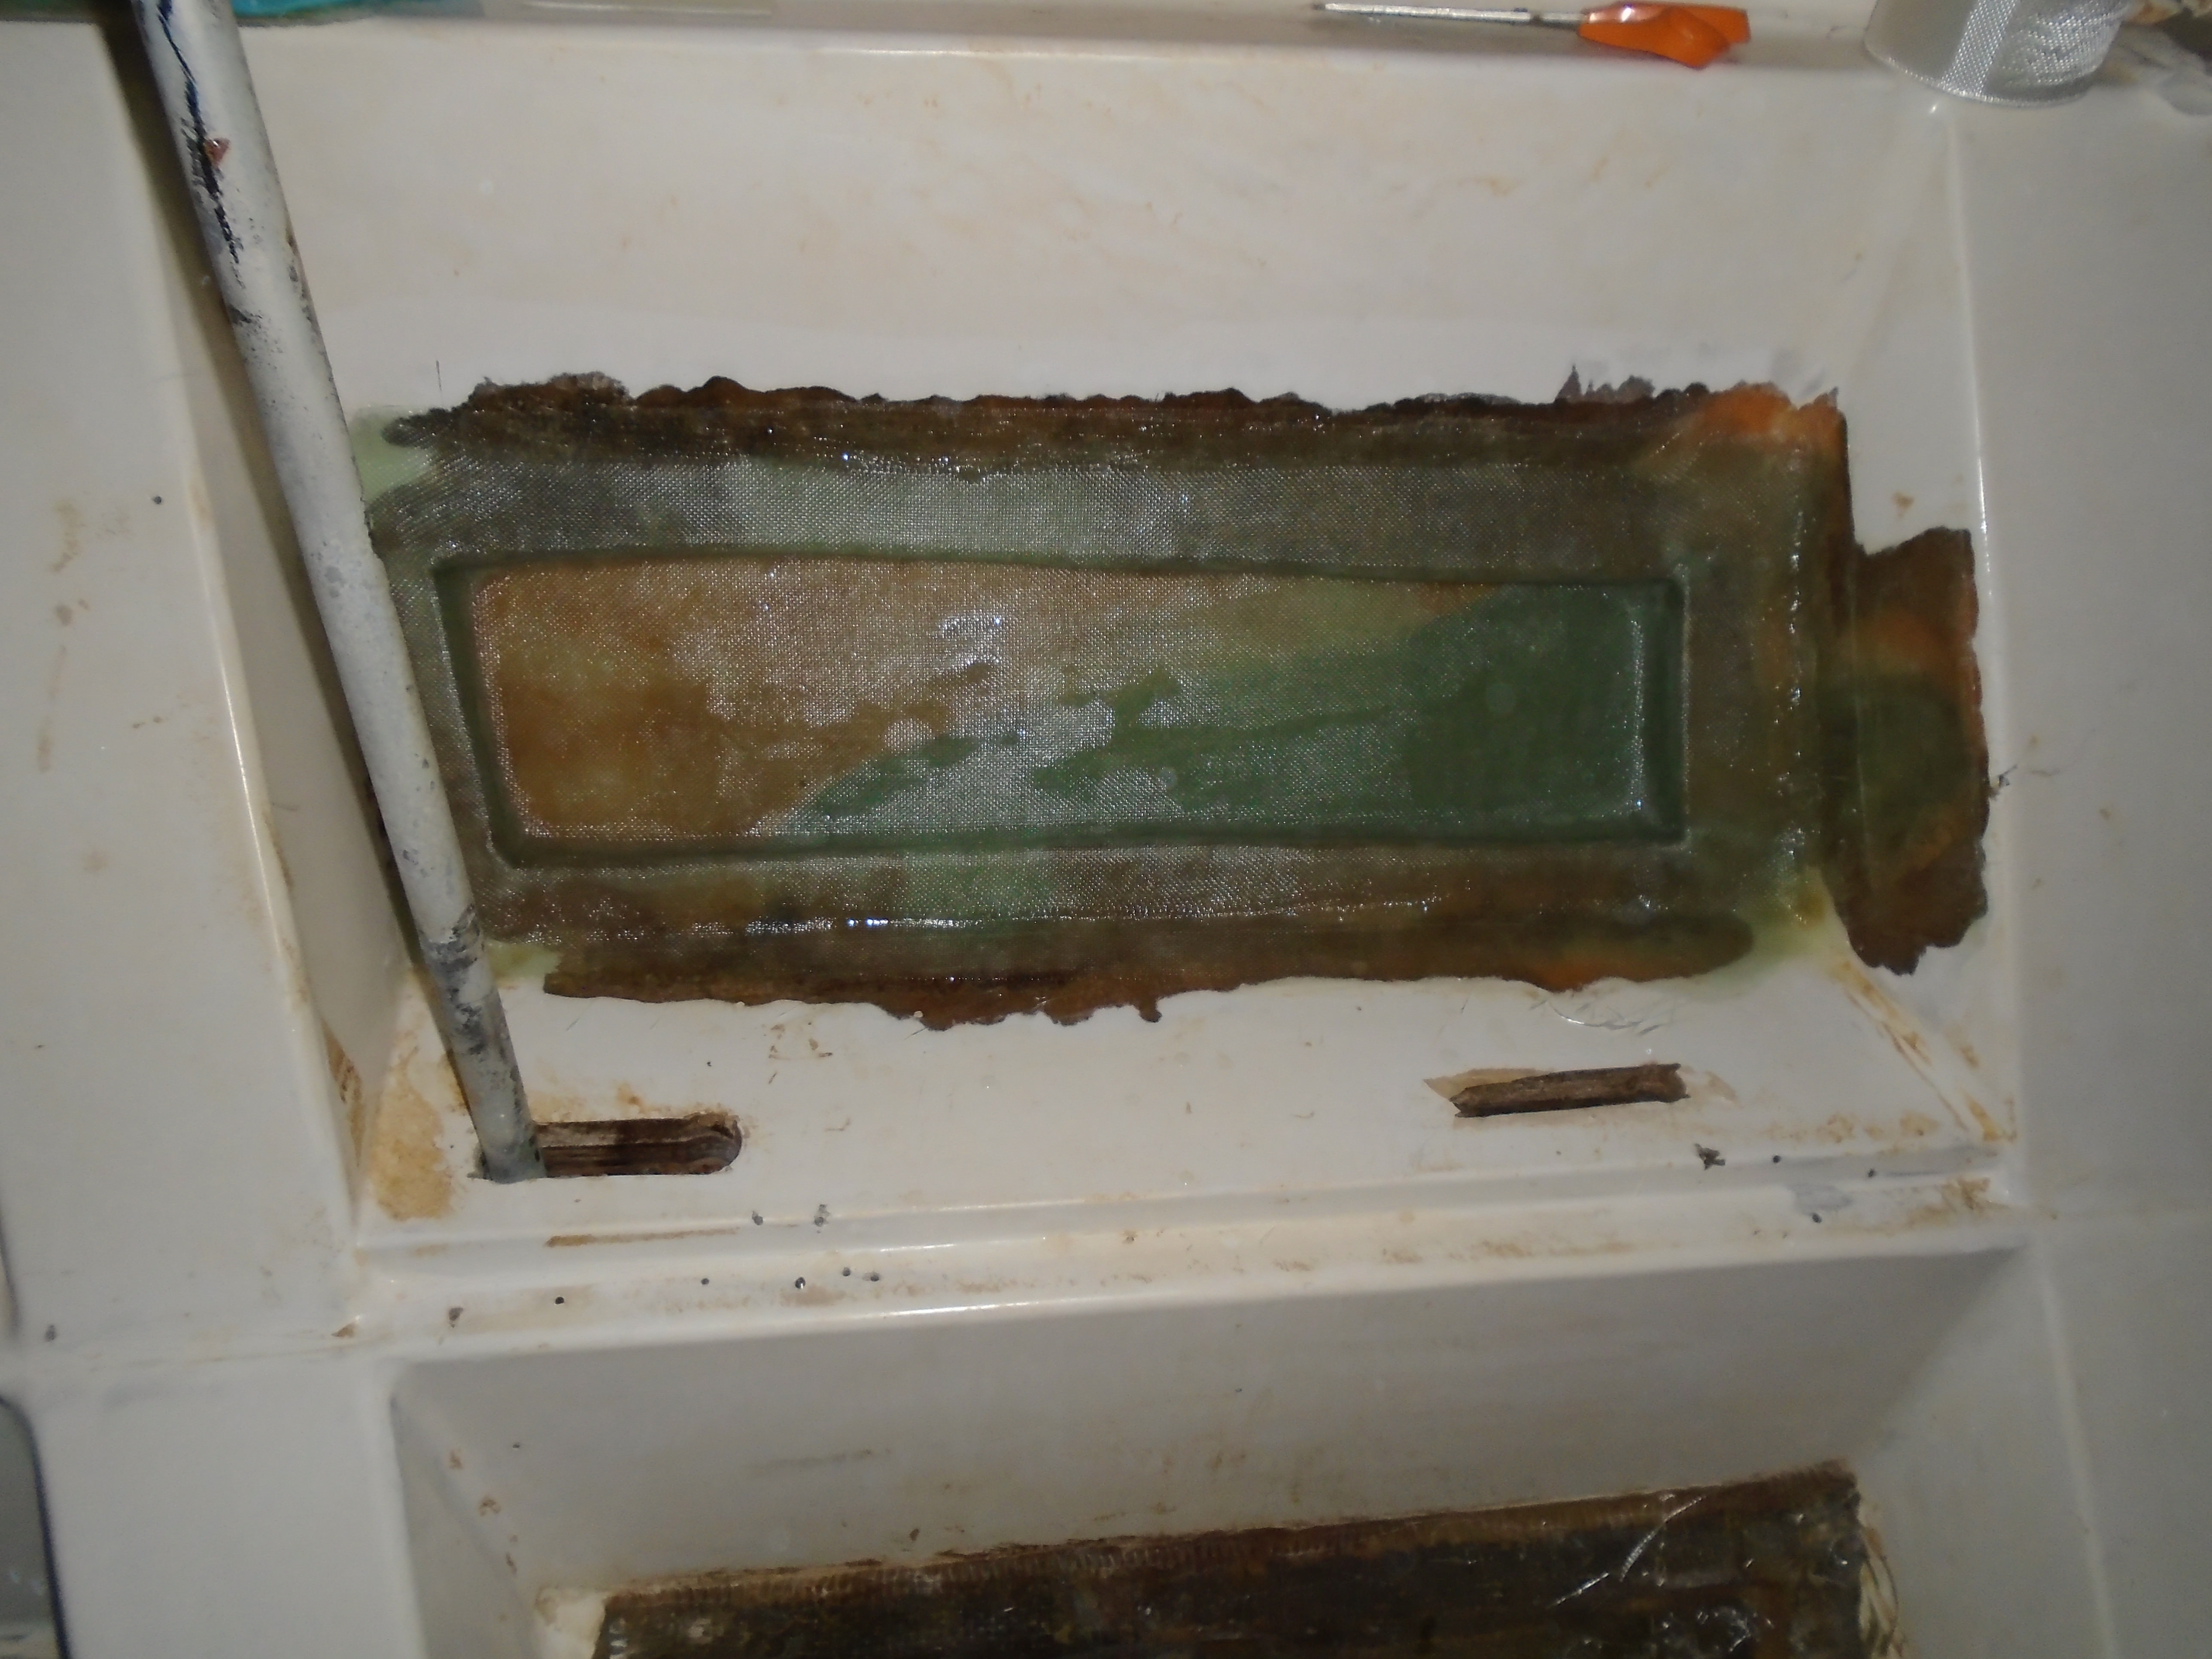
While I was waiting I made some backing plates from fiberglass:

The backing plates are molded directly onto a sheet of polypropelene. The epoxy won't stick to the PP and when the glass is dry you just have to flex the sheet a little and the pieces pop right off! I have the PP sheets for making water tanks. More on that in a future episode.
I needed the backing plates because unlike the first repair, I don't have full access to the backside of this hole. The plan was to epoxy the backing plates inside the edge of the hole to locate and reinforce the joint as much as possible.
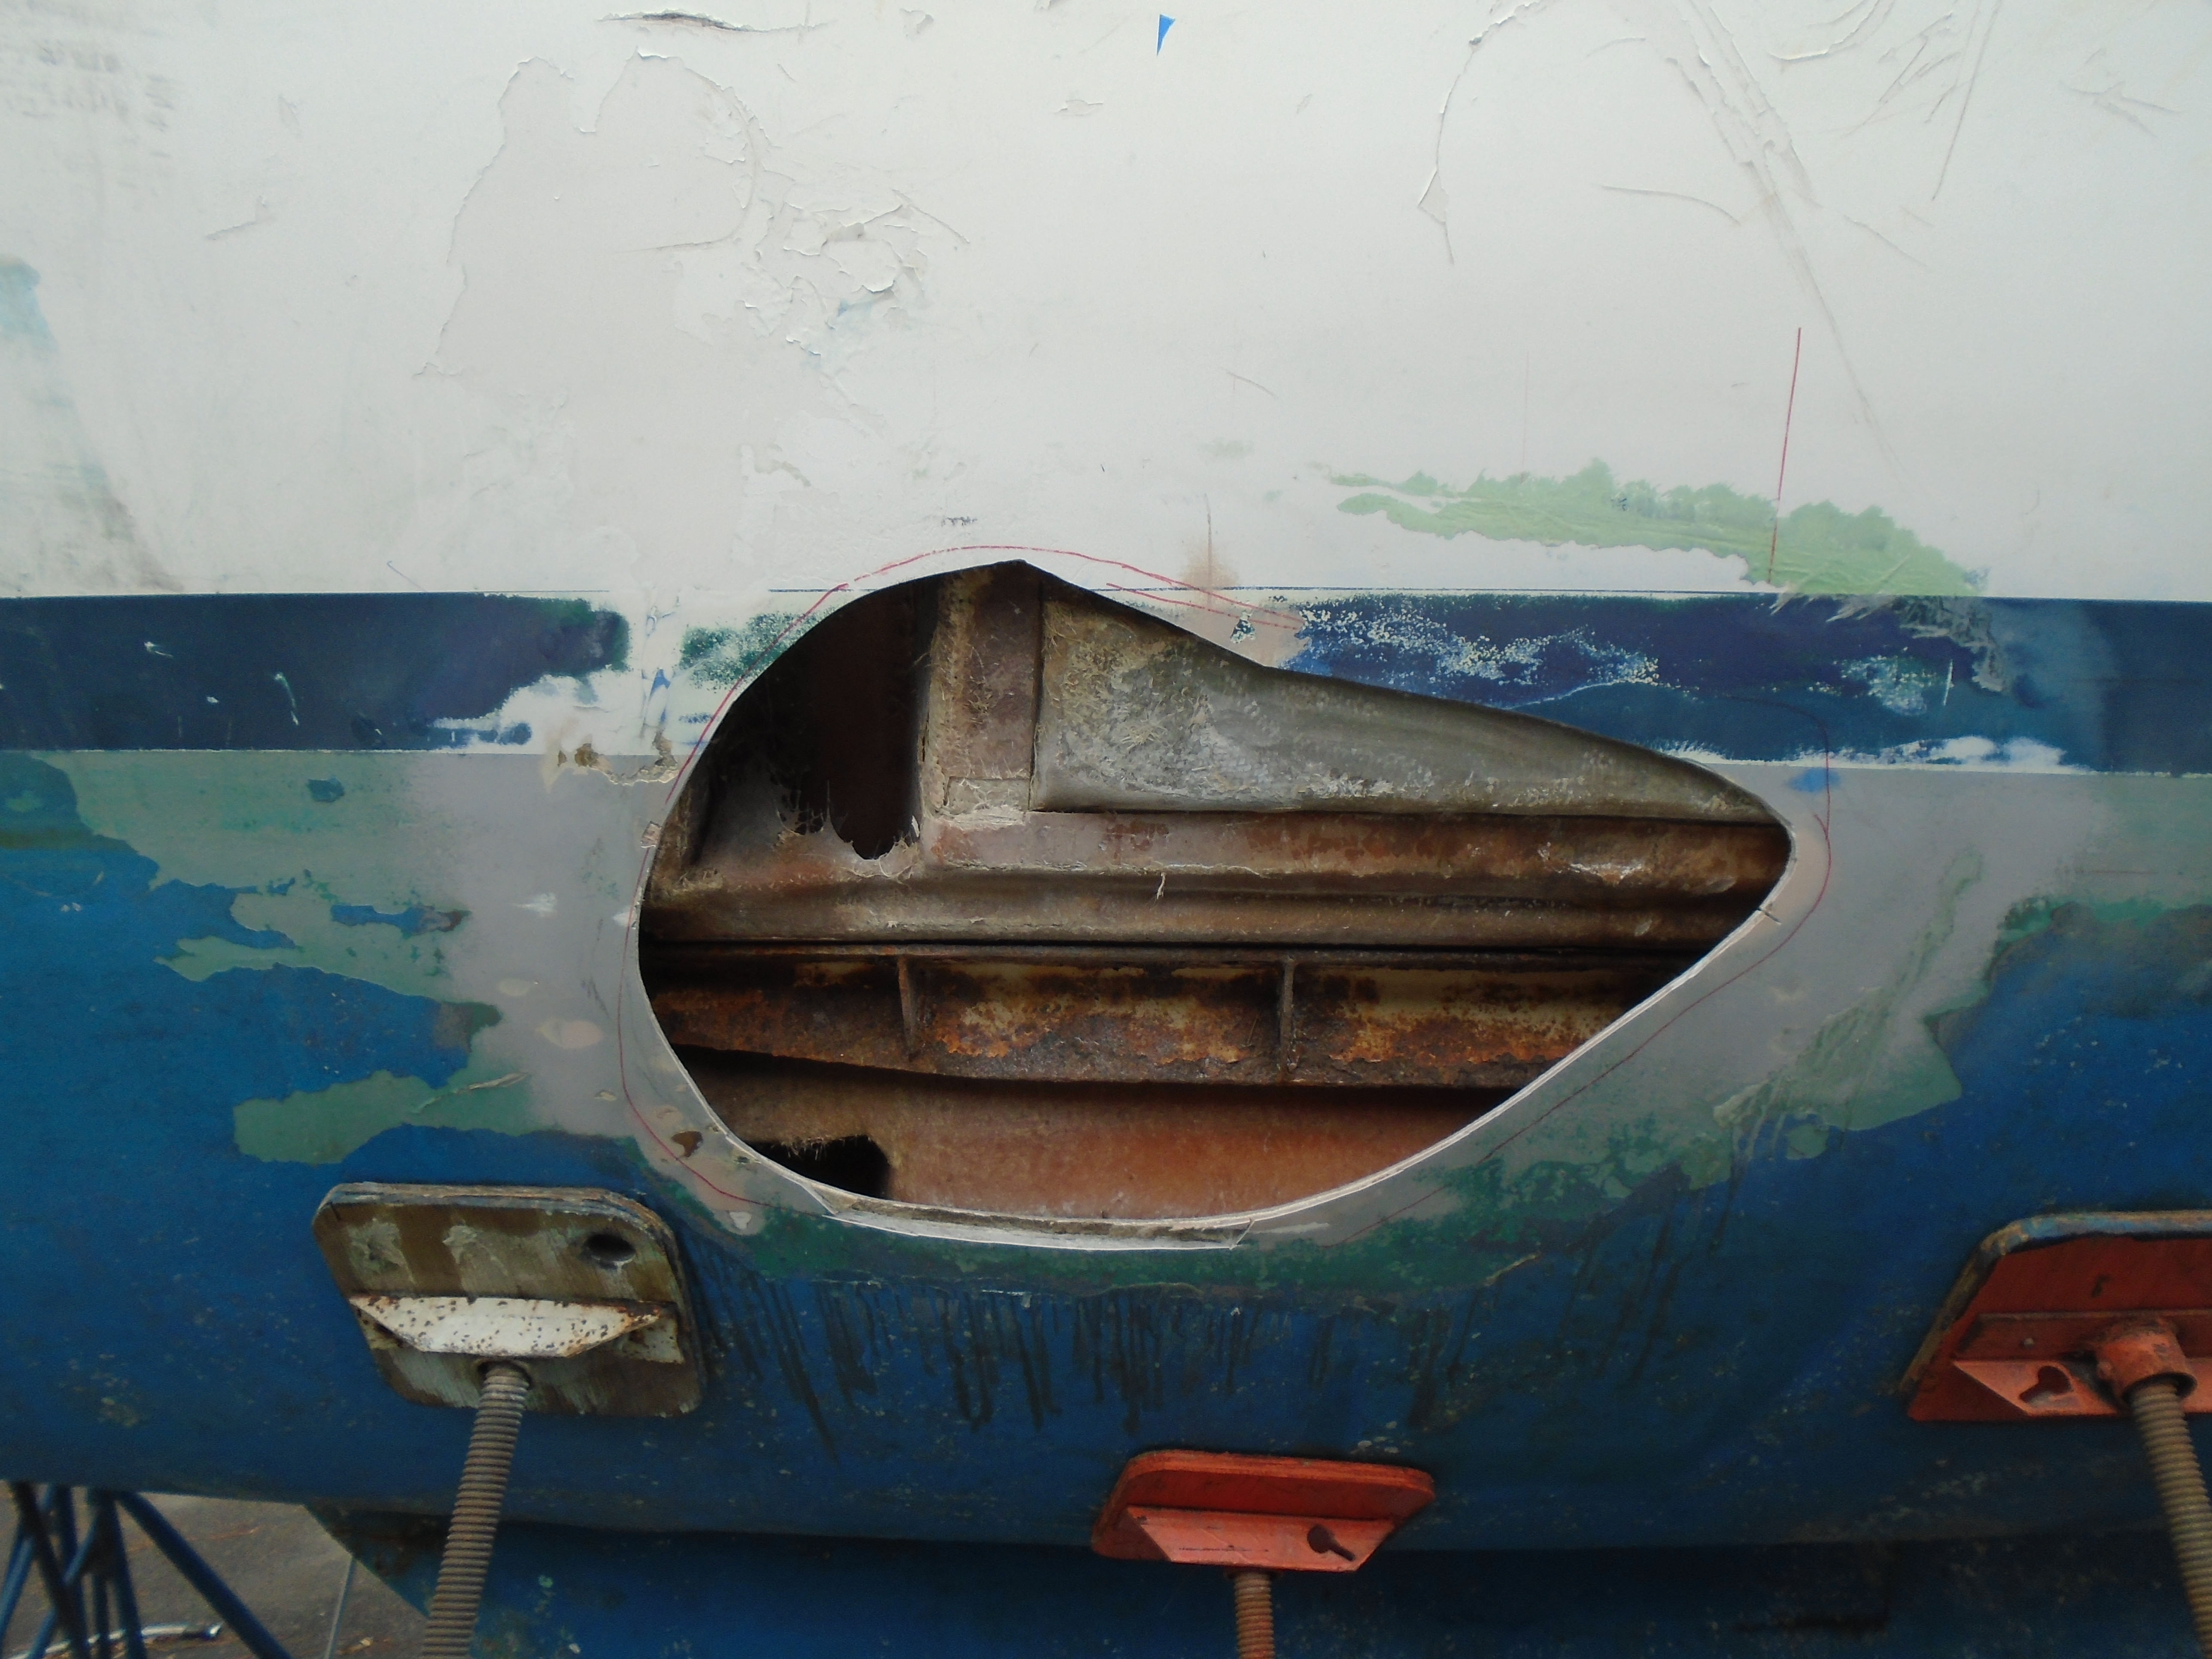
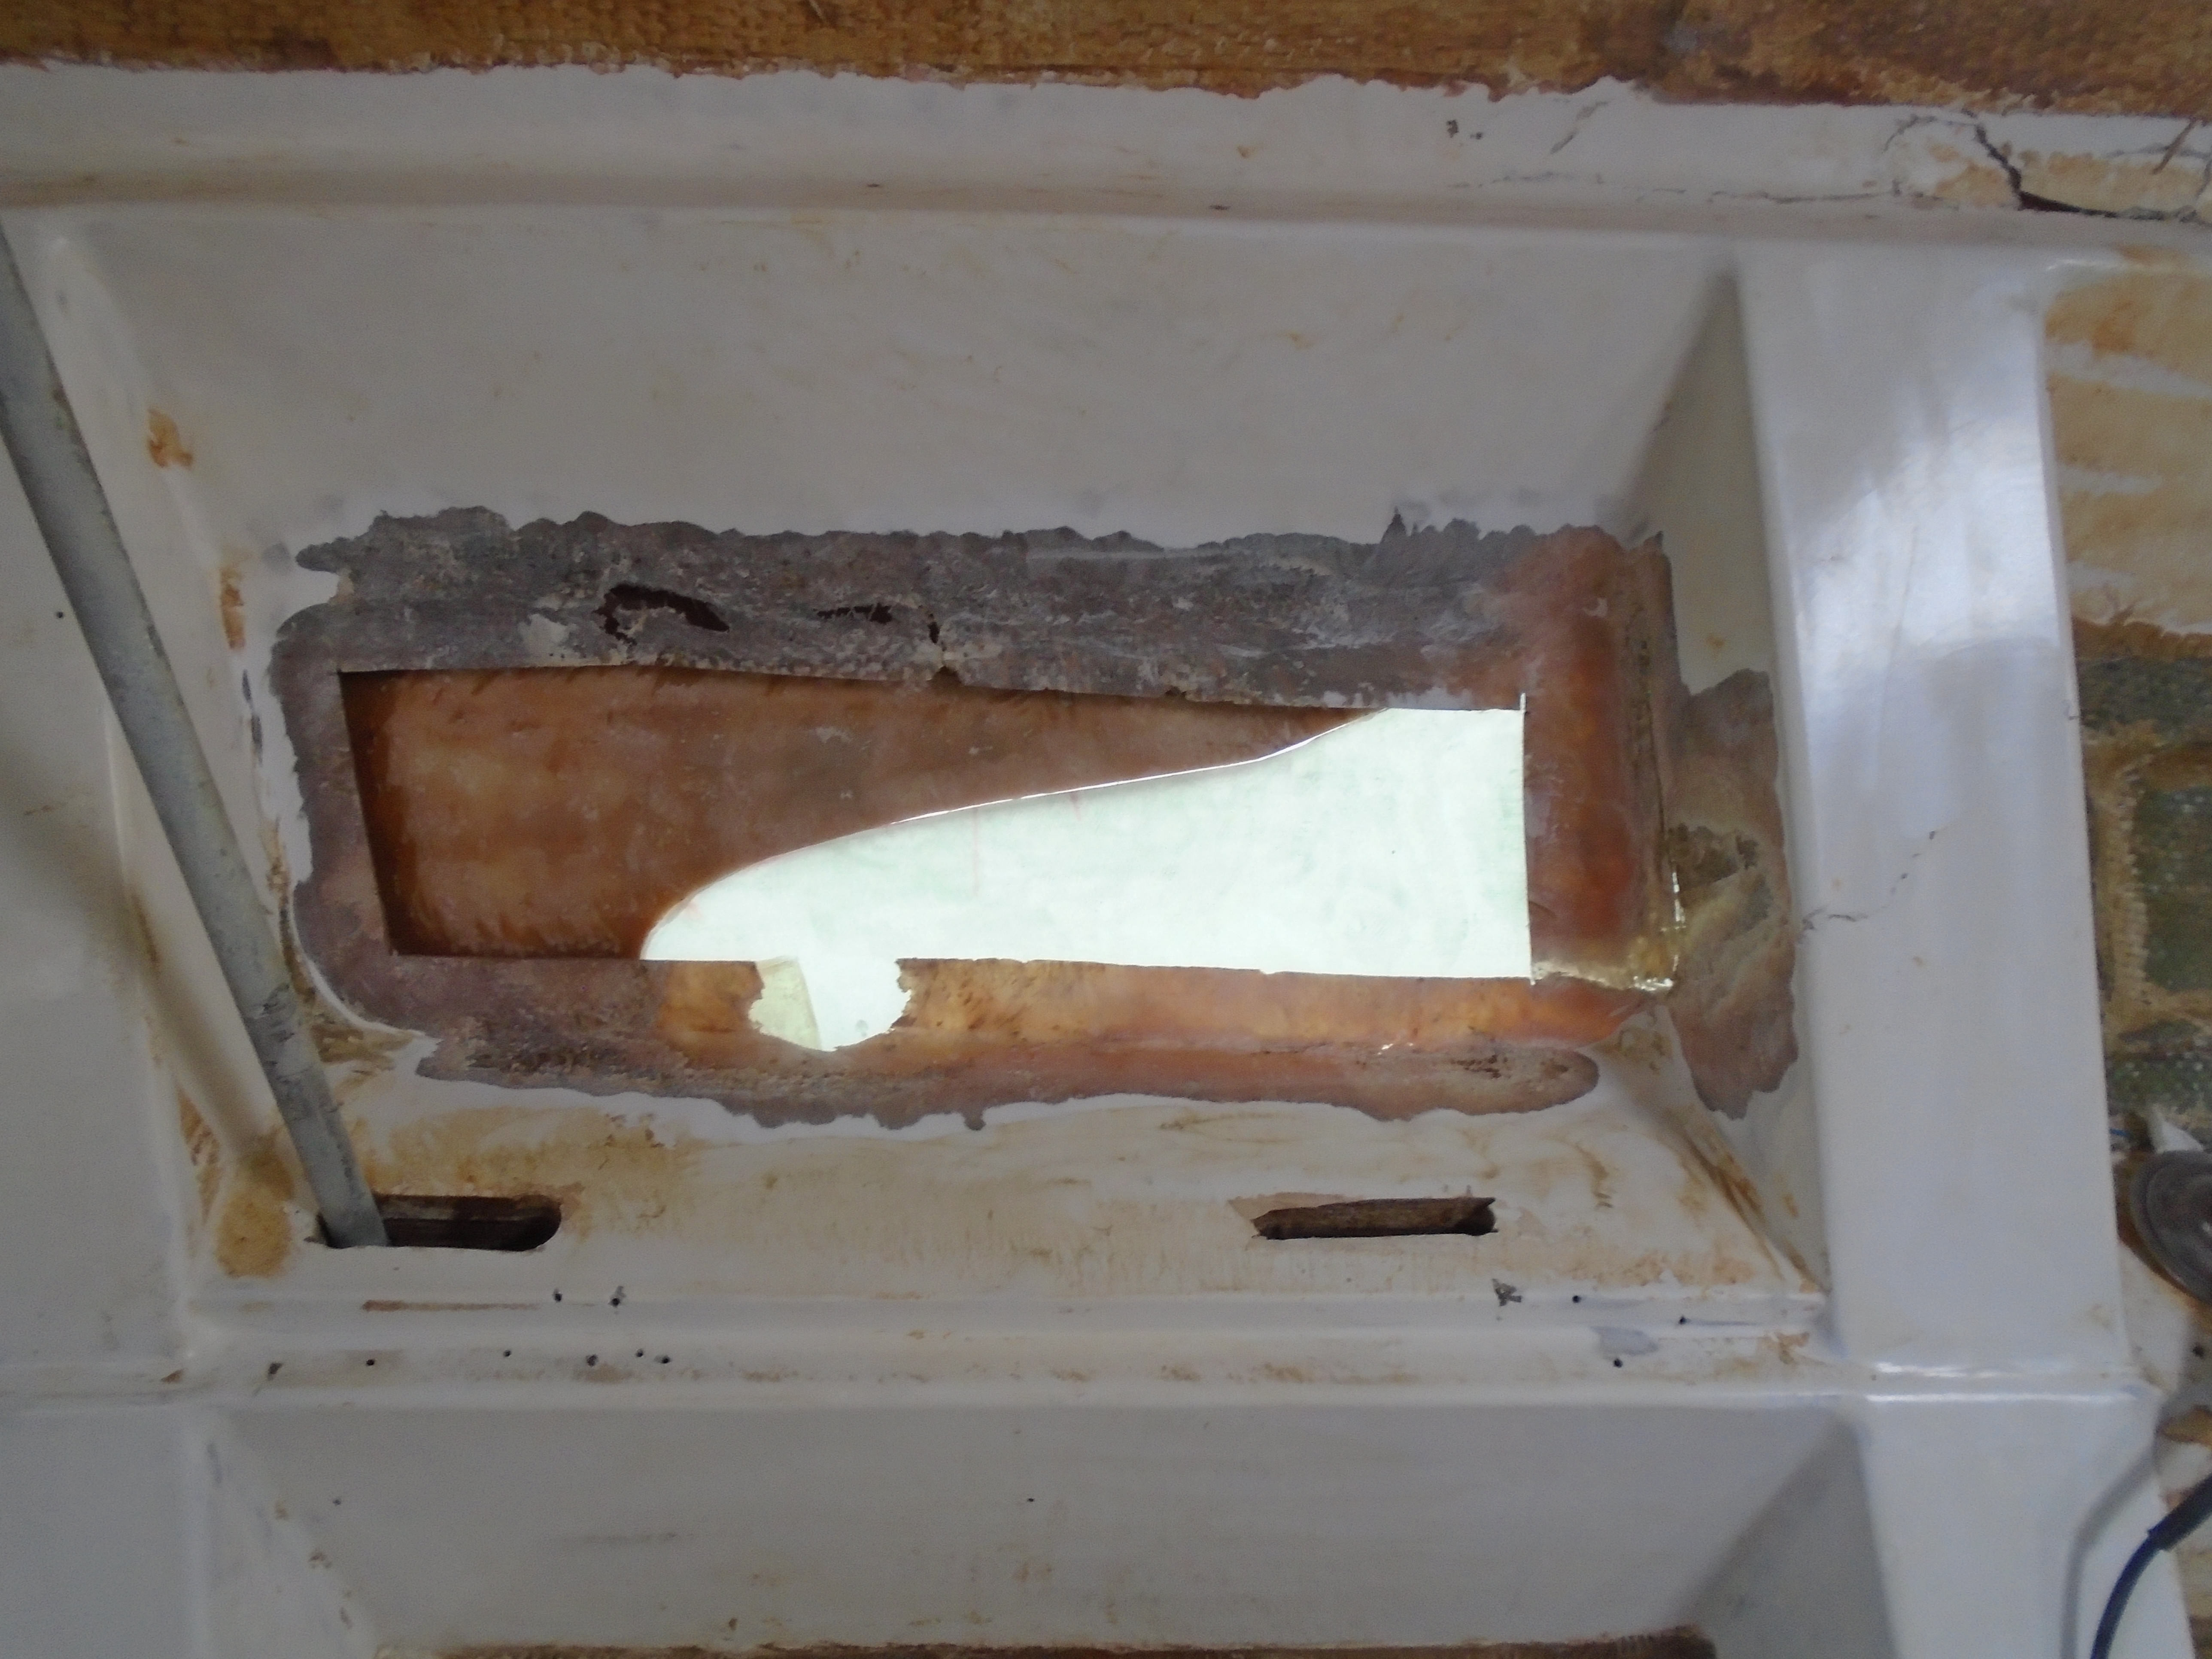
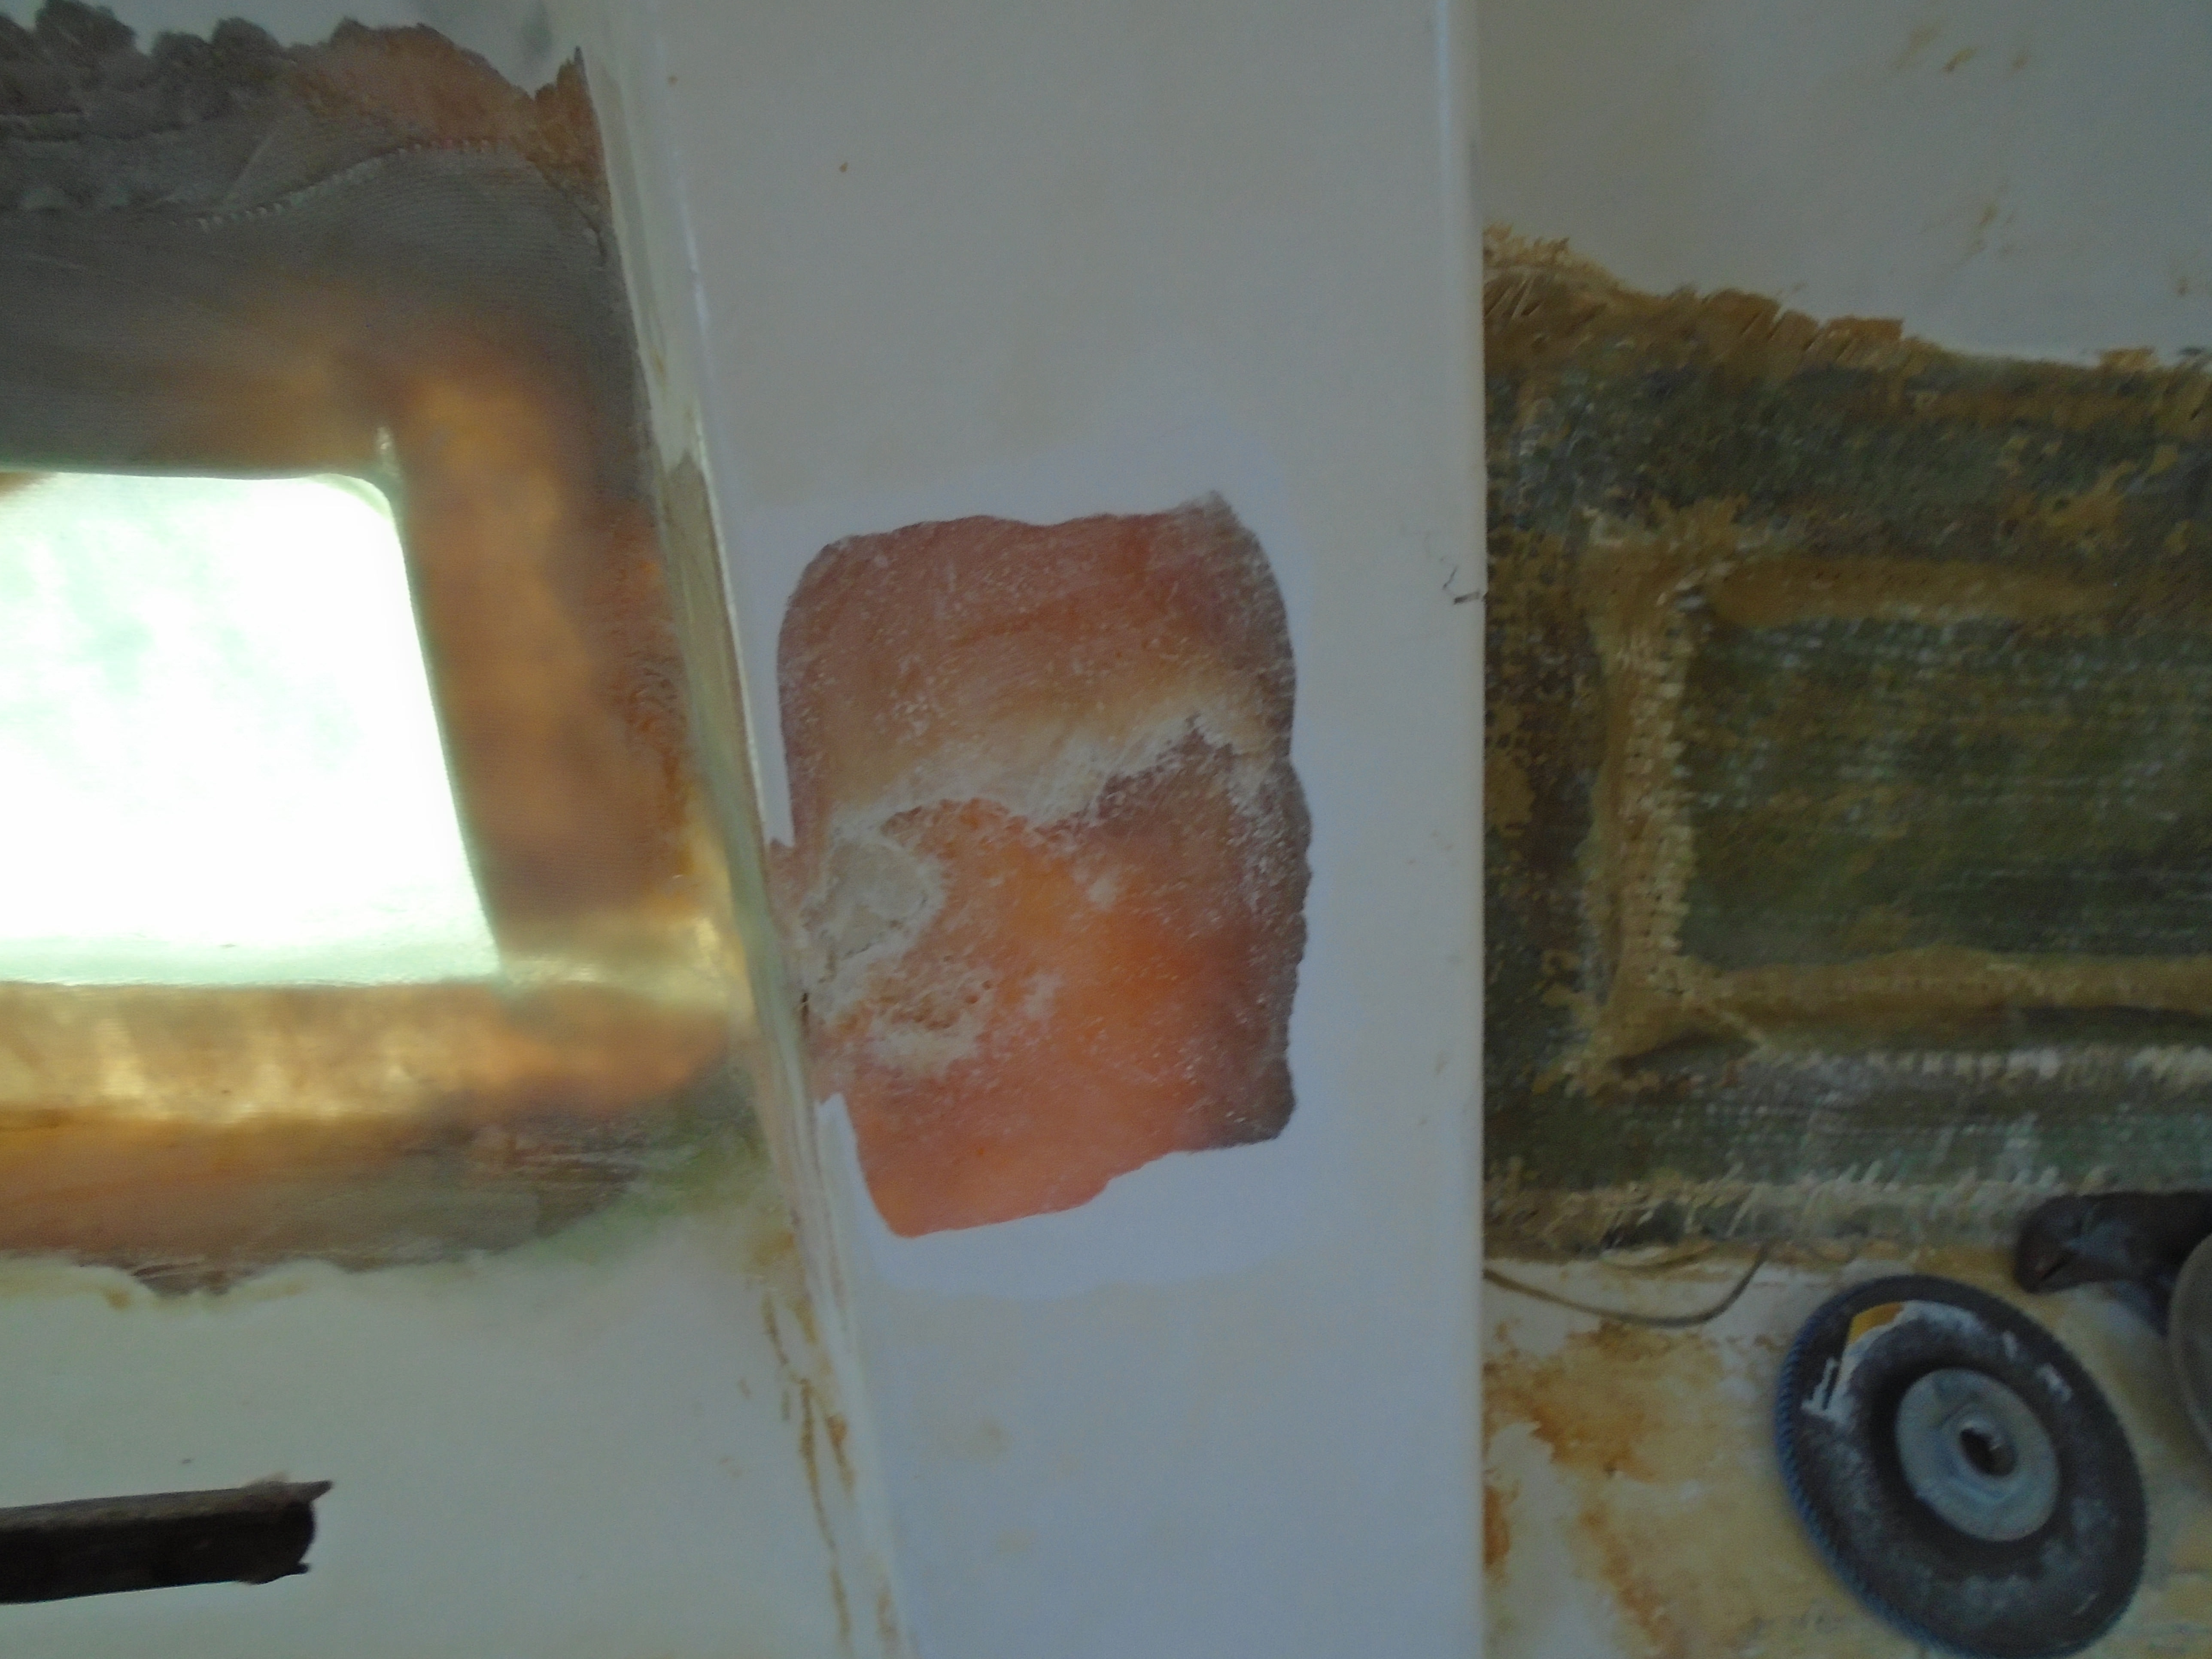
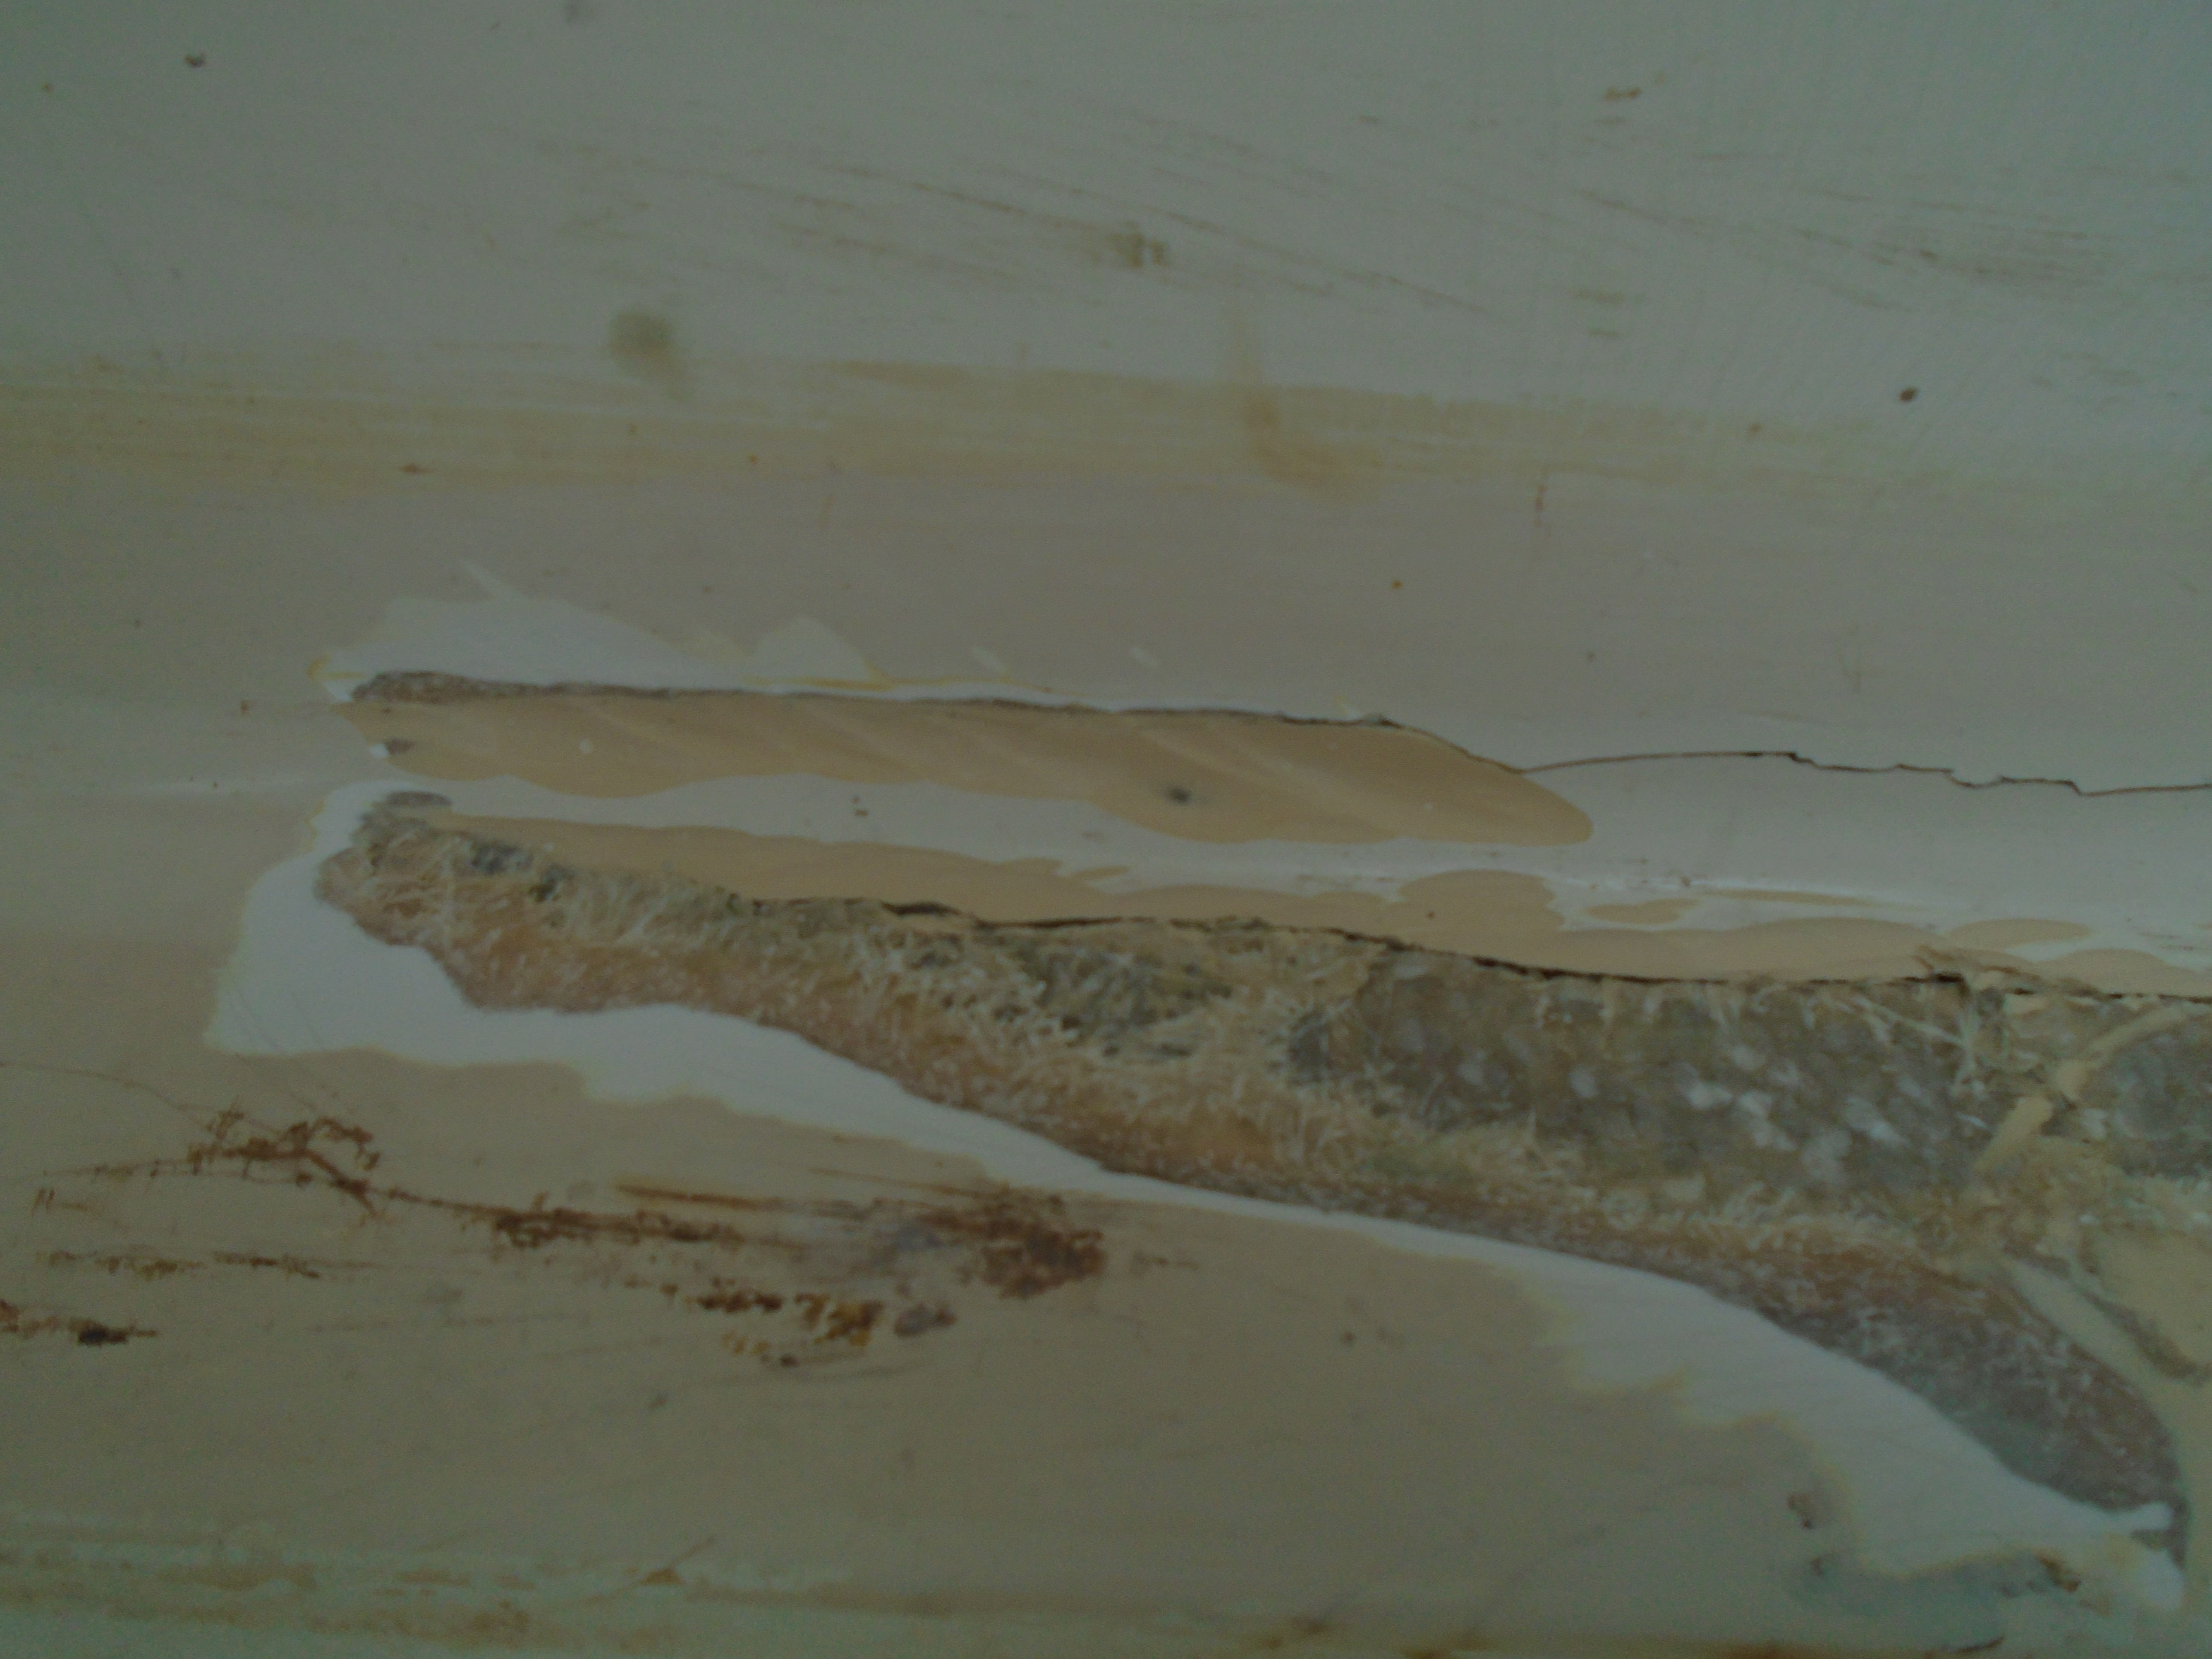
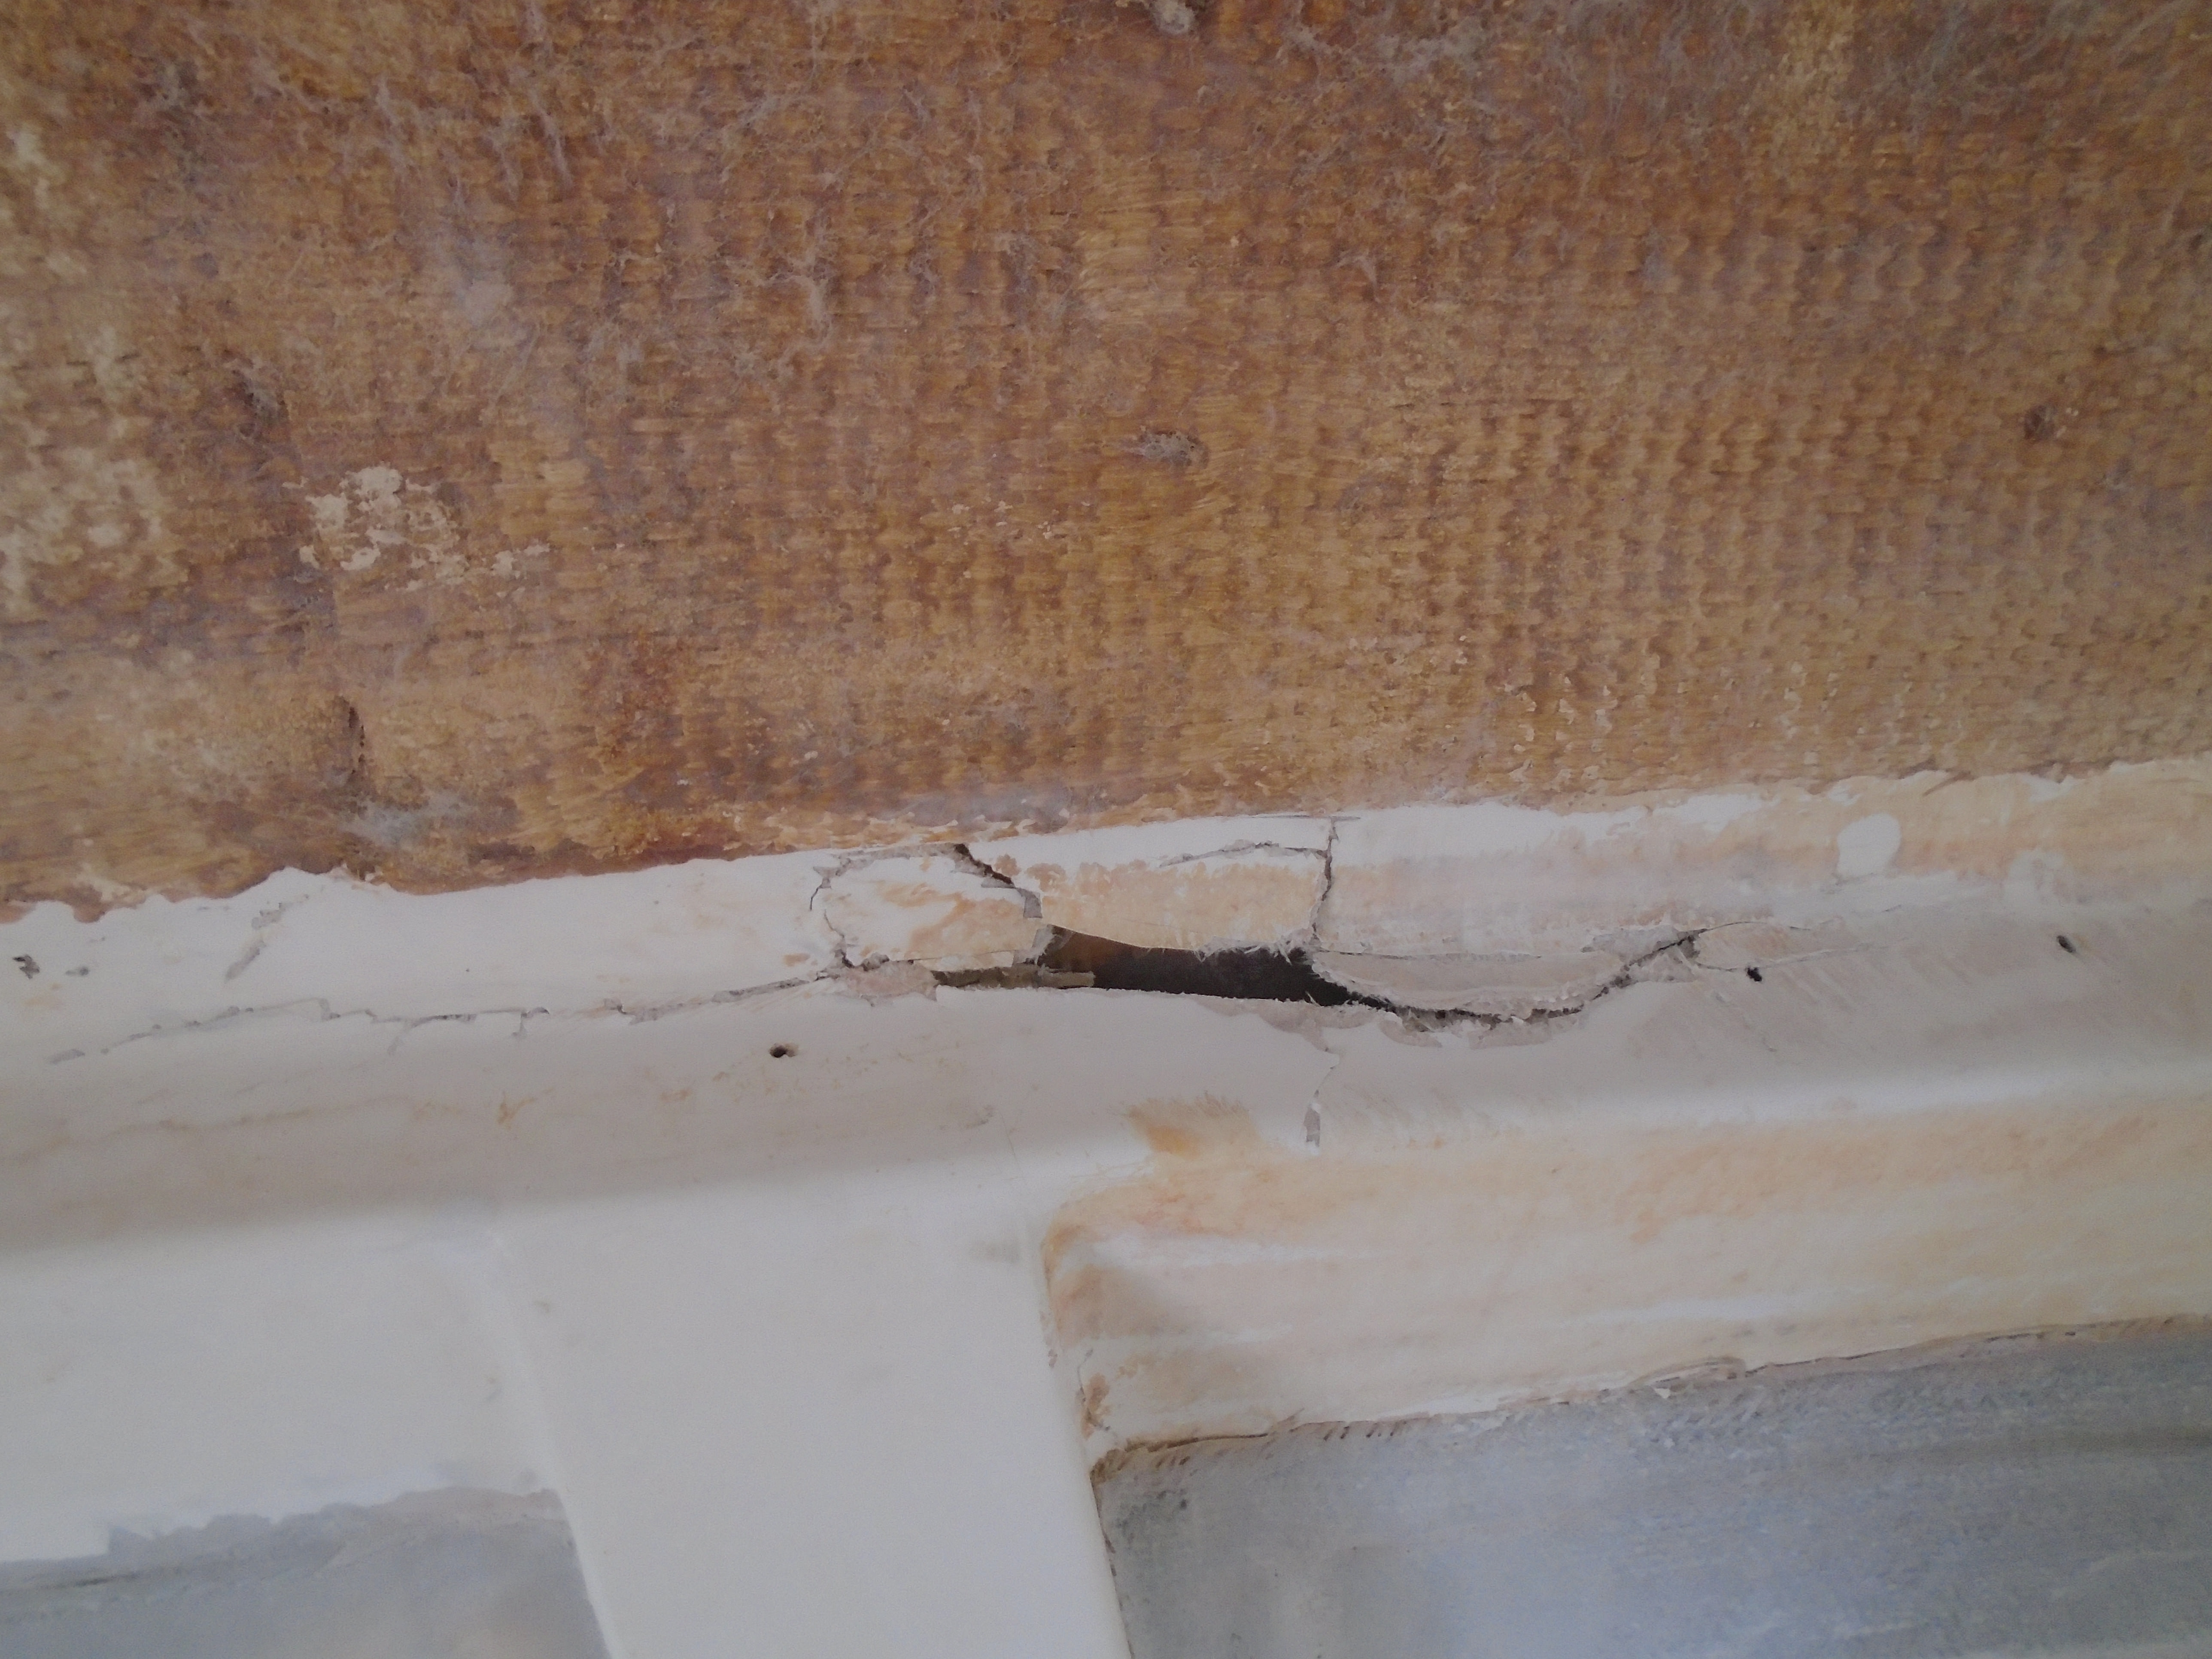
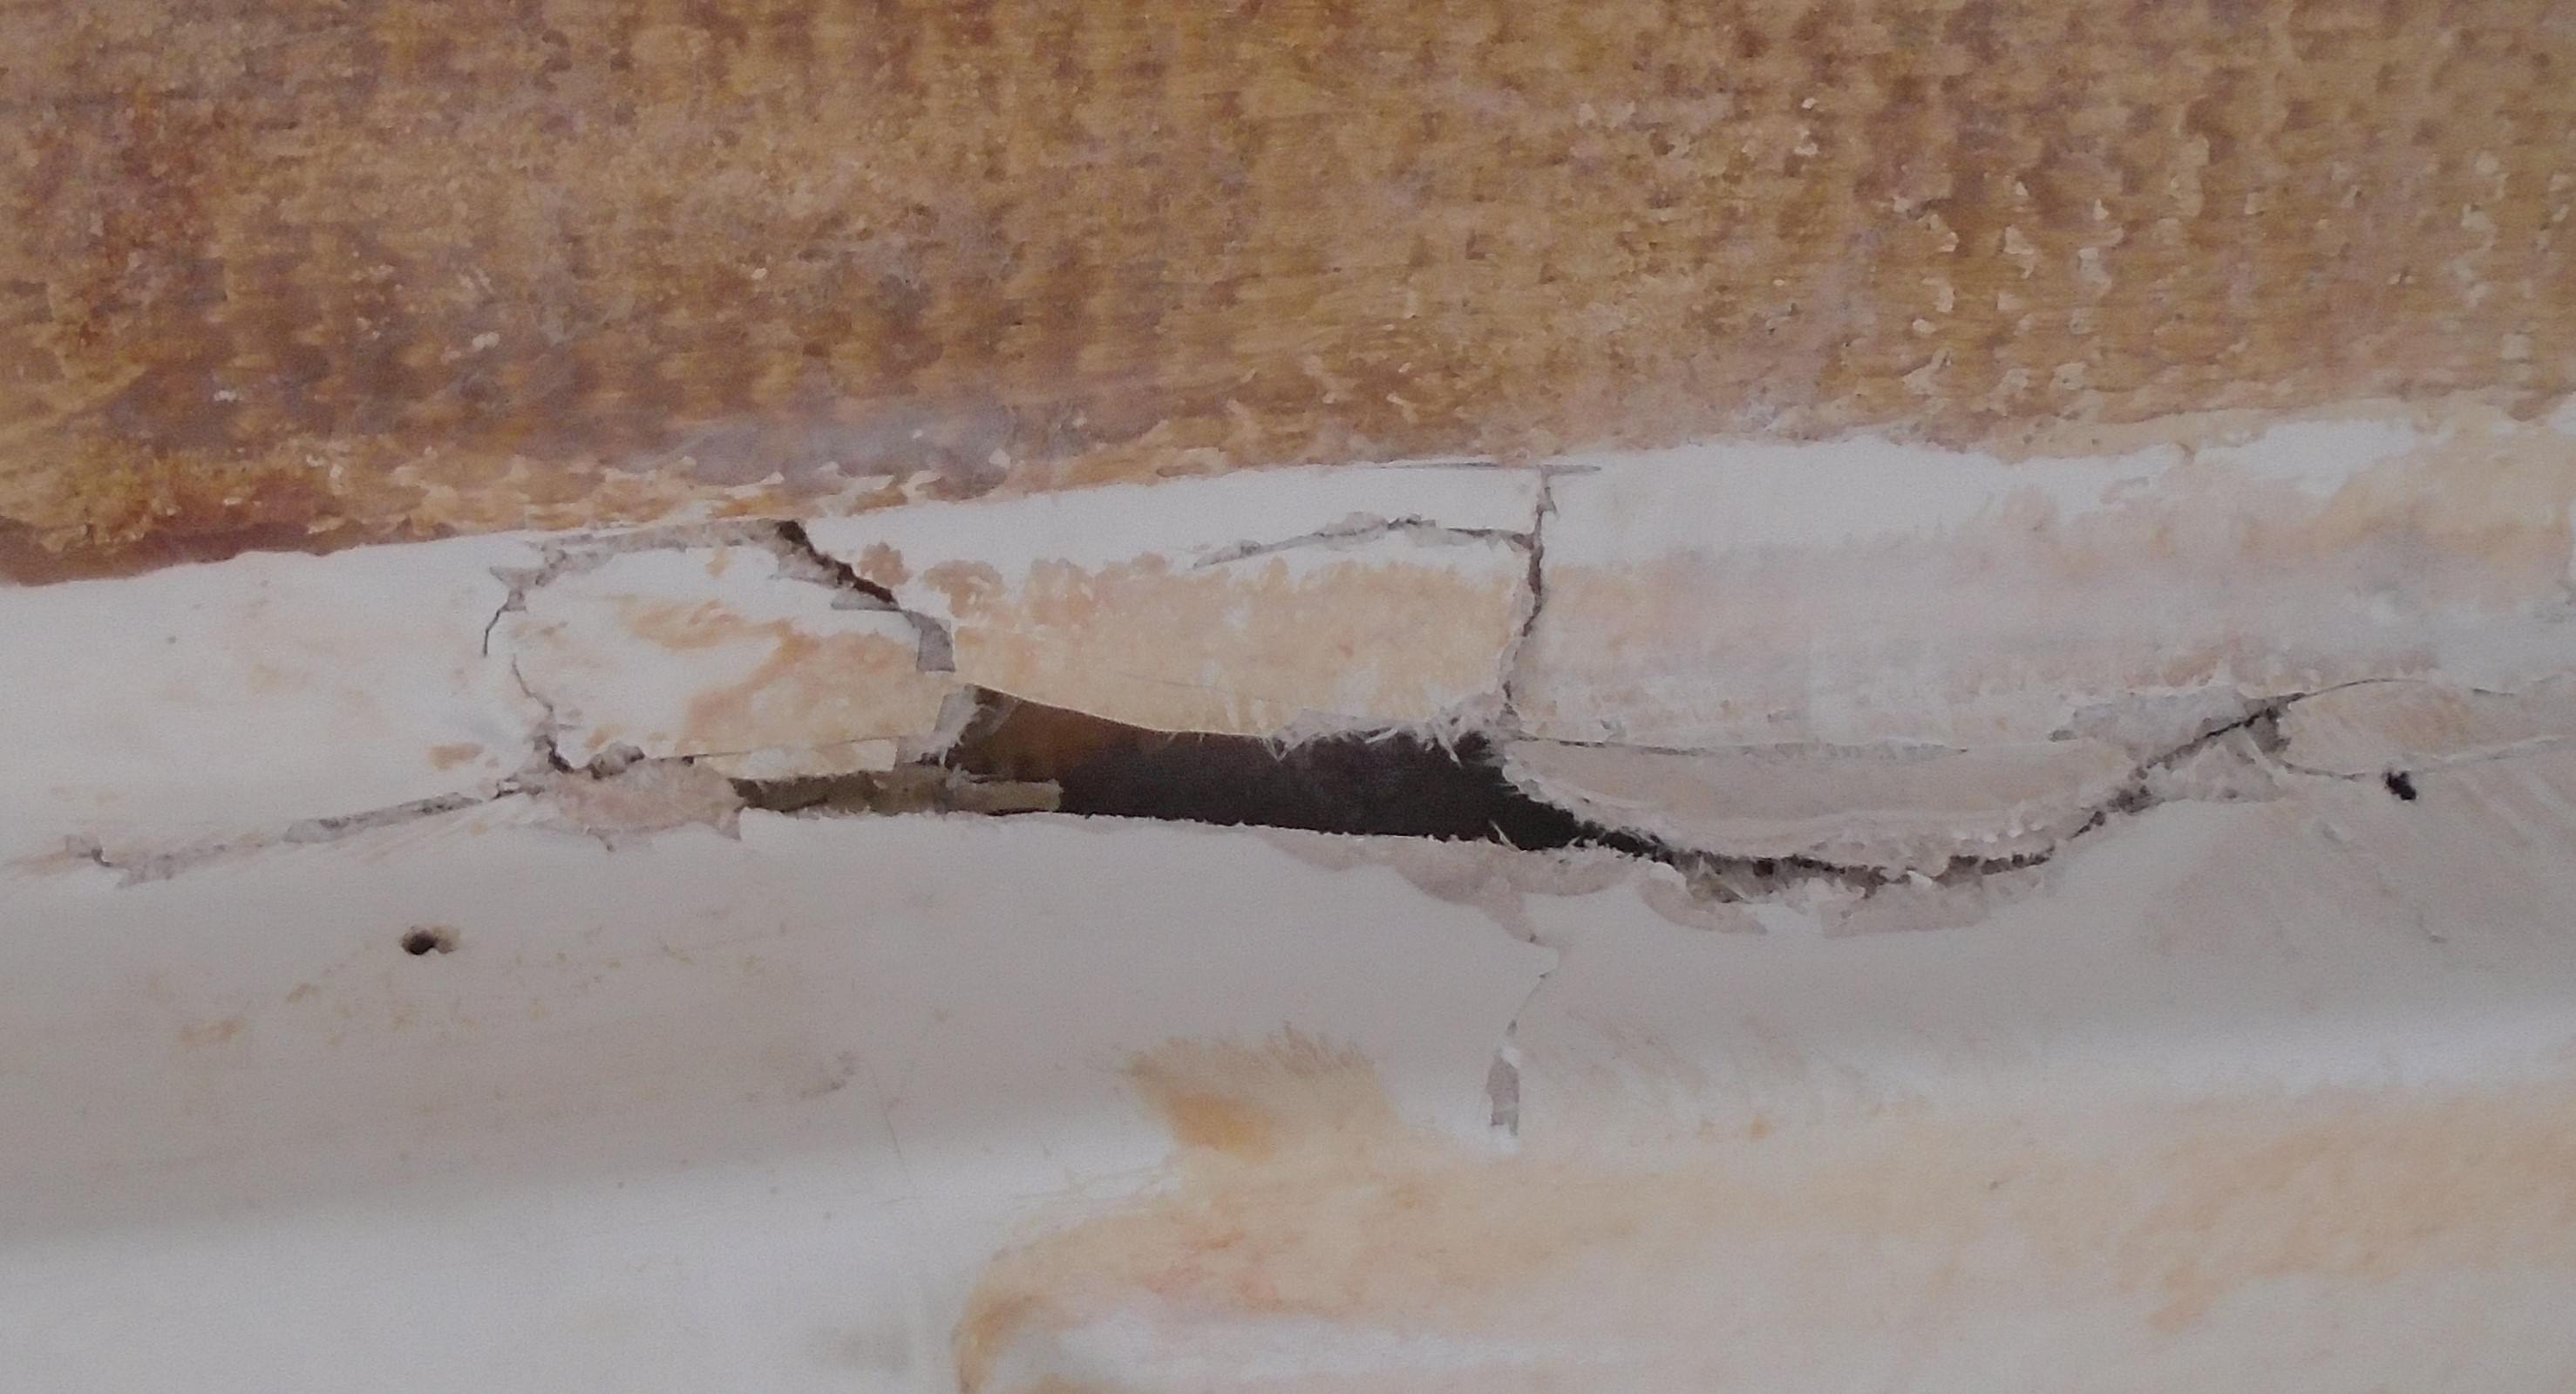
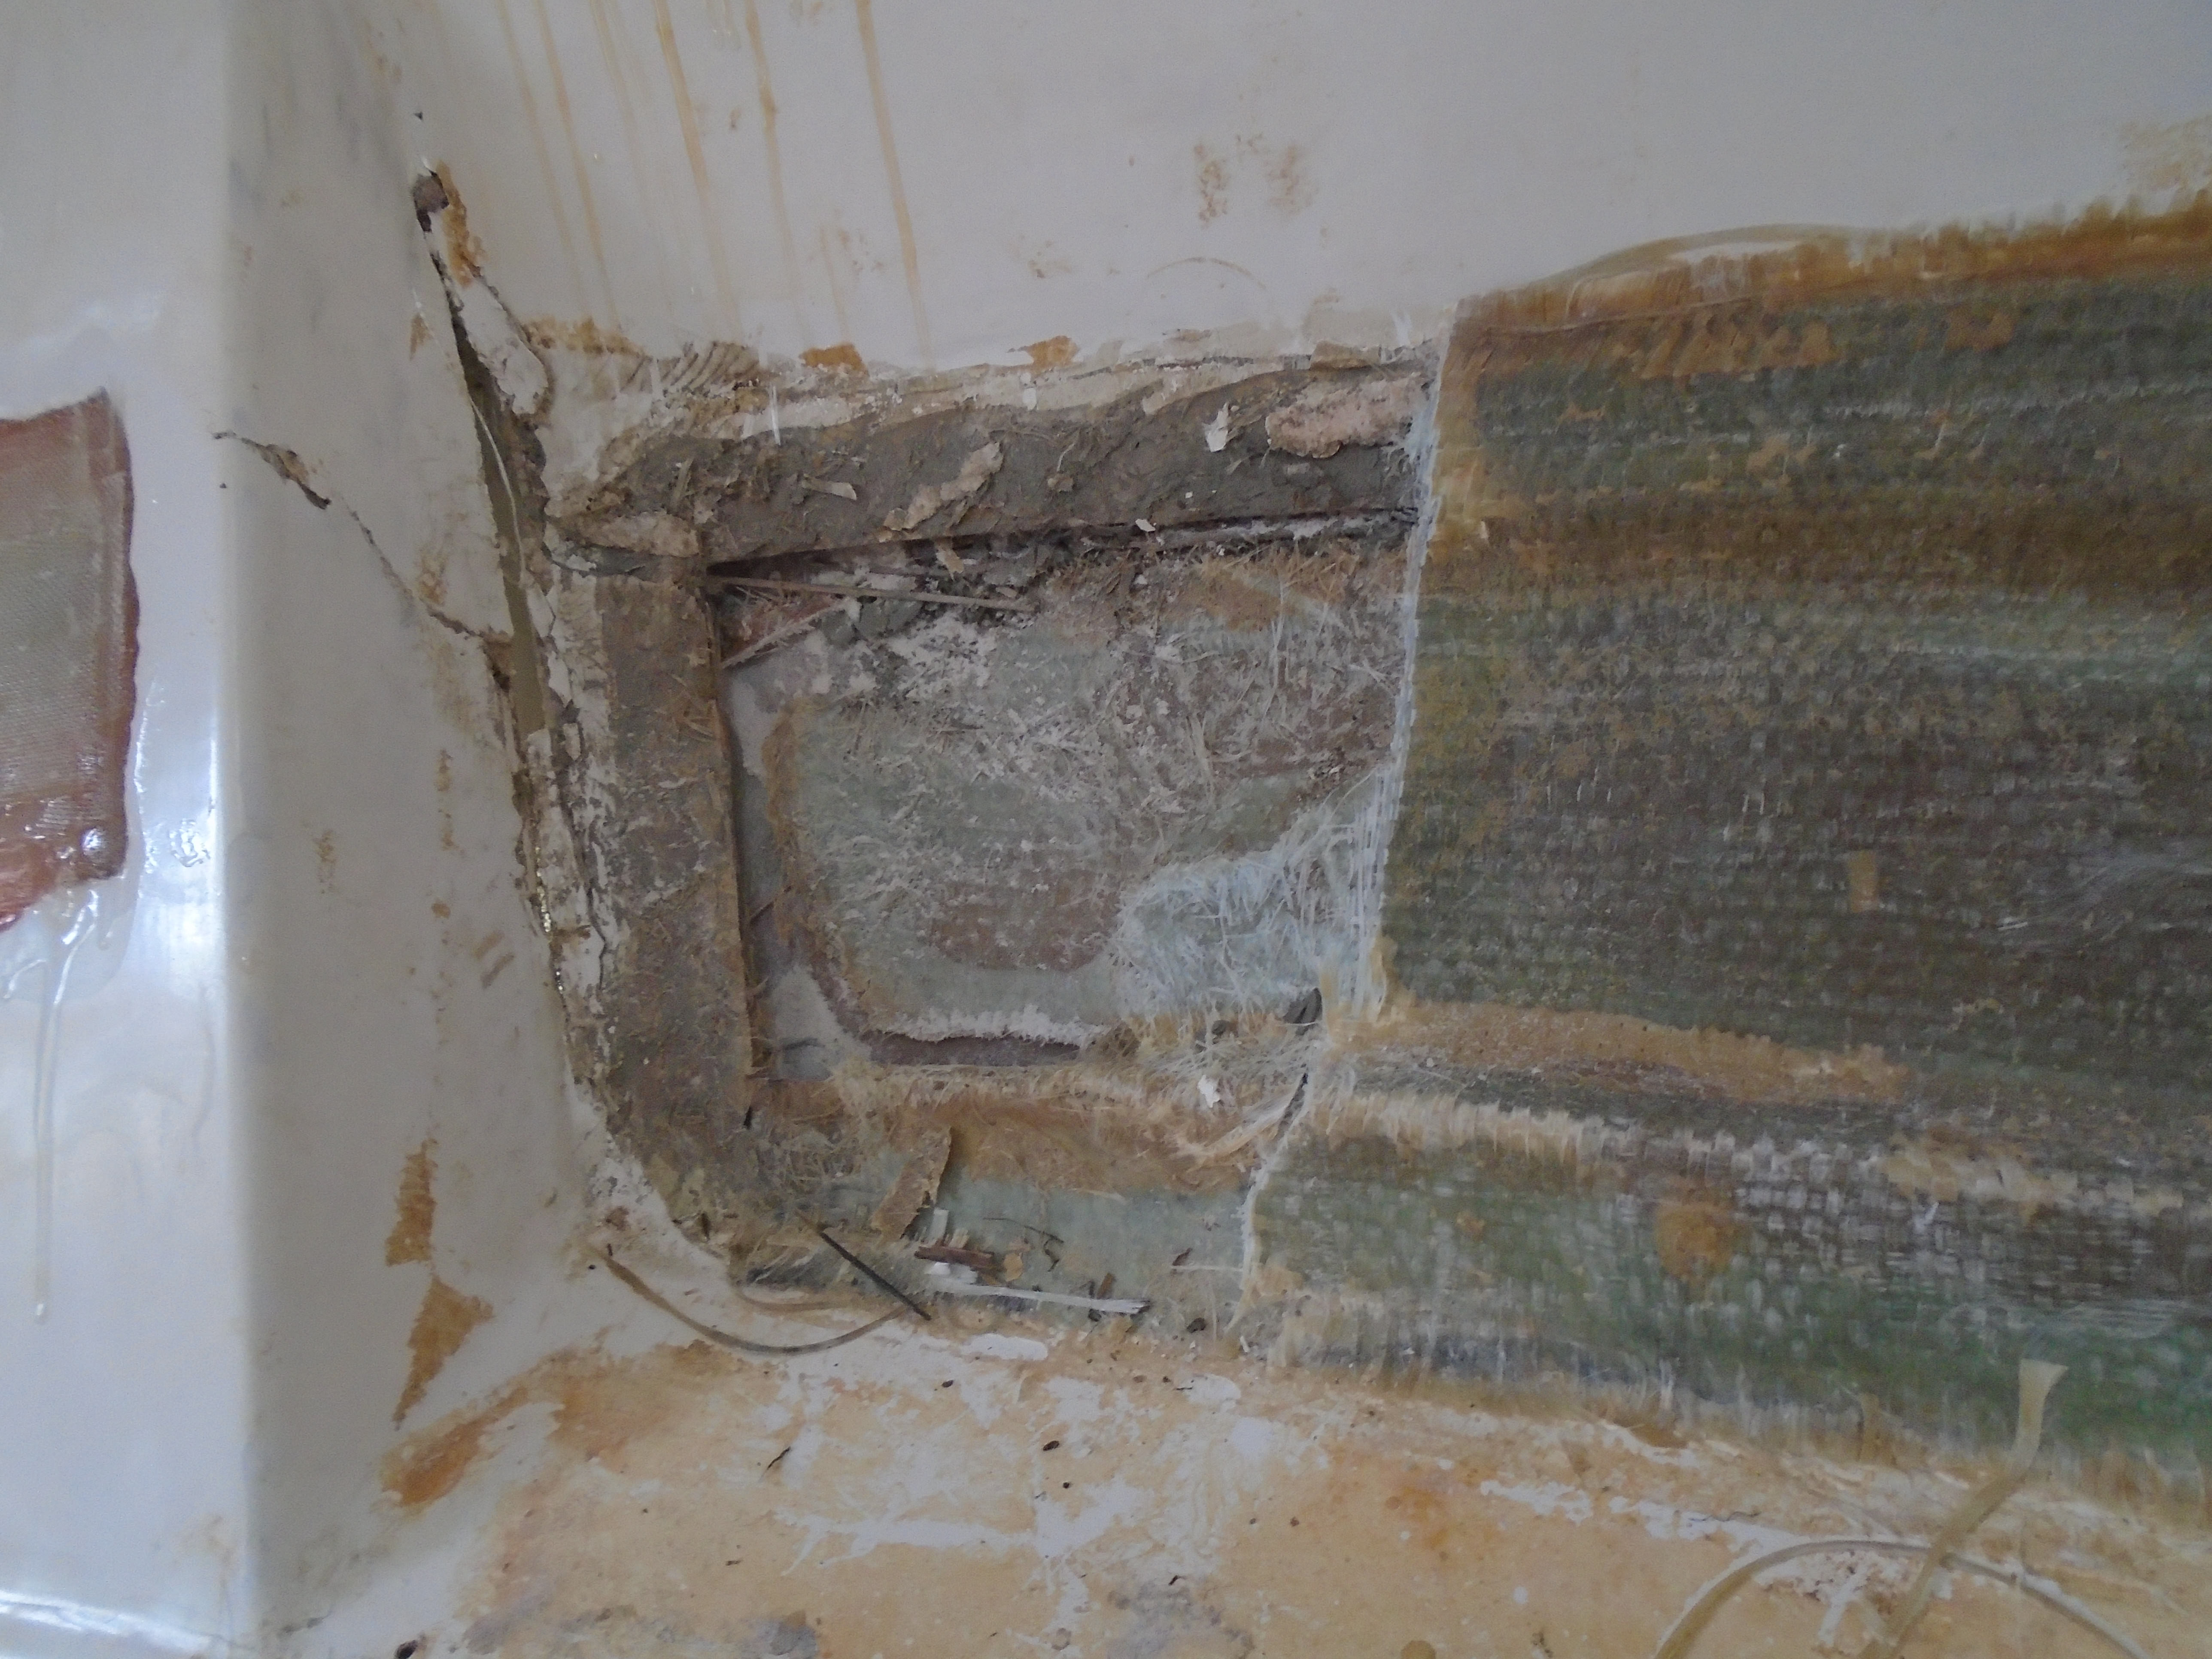
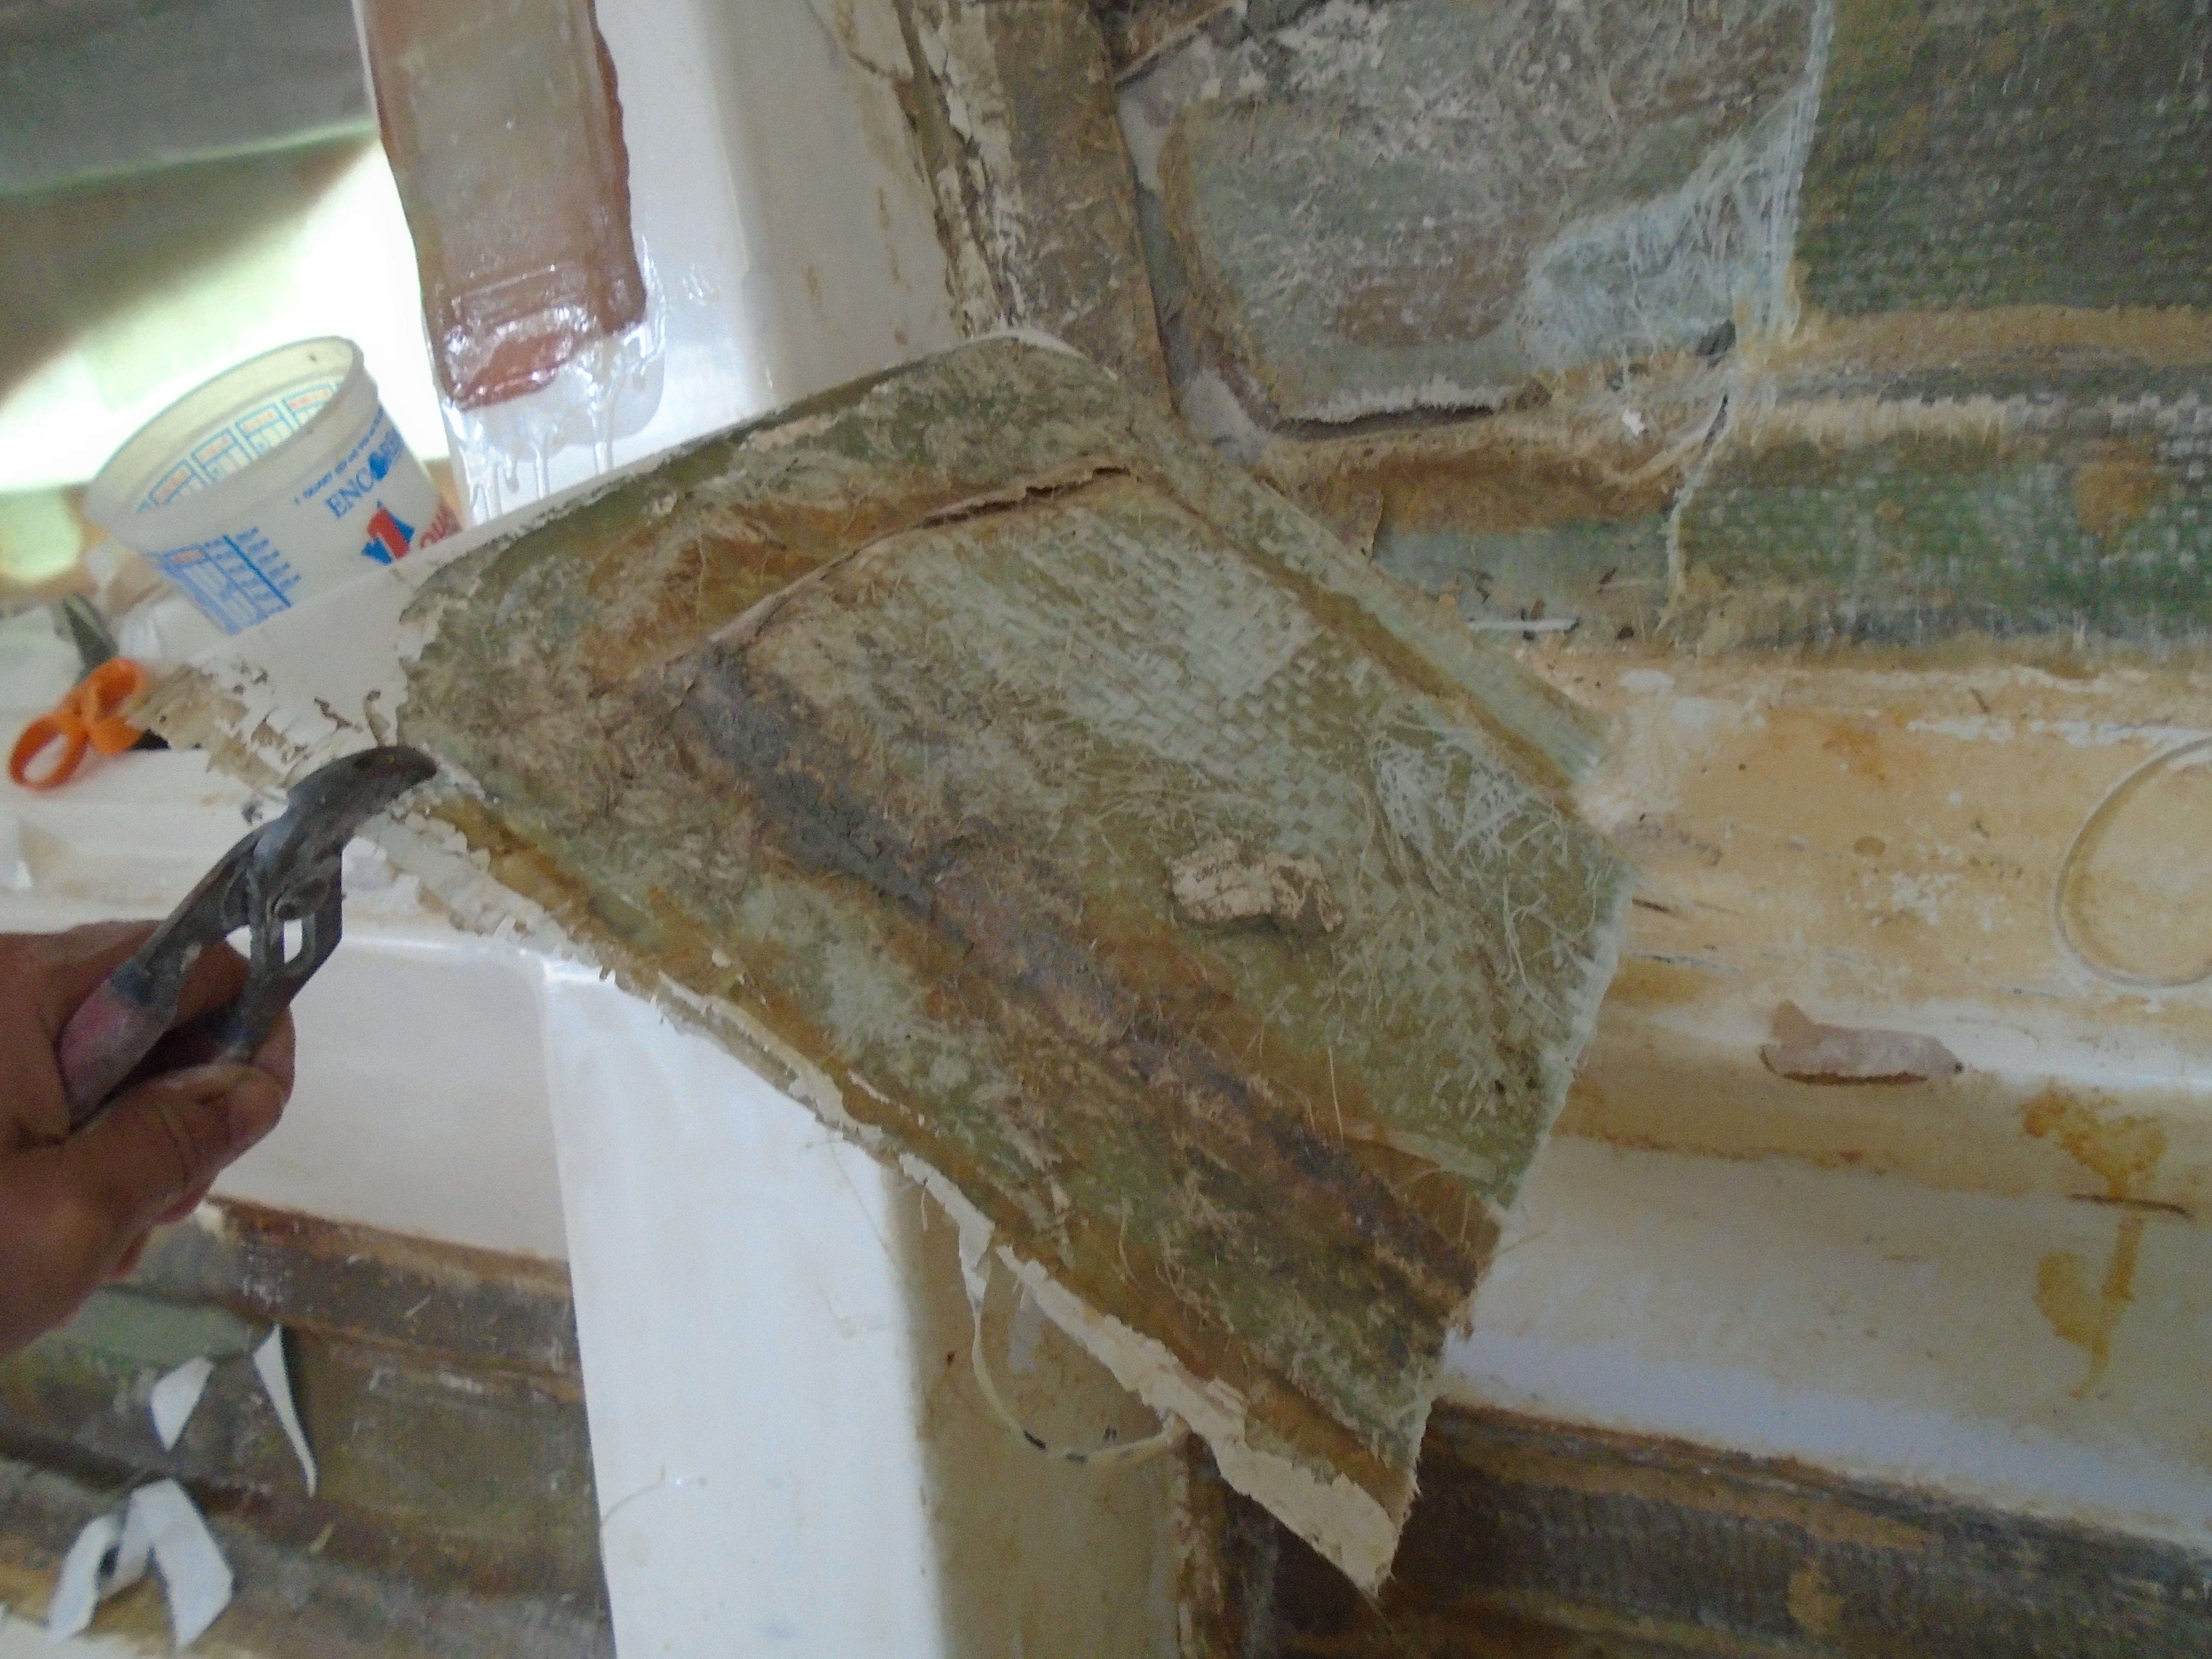
Time to cut the hole! Caution - not for the squeamish! From looking at the back of the damaged area with the borescope (available on Amazon, USB plug to the laptop, lighted tip, live video to a video program like VLC, what a fantastic tool!) I knew the glass between two of the holes was compromised, and I didn't trust the area between them and the third hole. So, I treated all the separate holes as one repair area. First up was the hole saw (remember I had temporarily patched everything up so I didn't want to accidentally cut into something important! Next up was the jig saw - I started cutting small sections, working from the center out. Finally I went with the grinder with a cutting disc, checking as I went to see when I reached non-compromised glass:
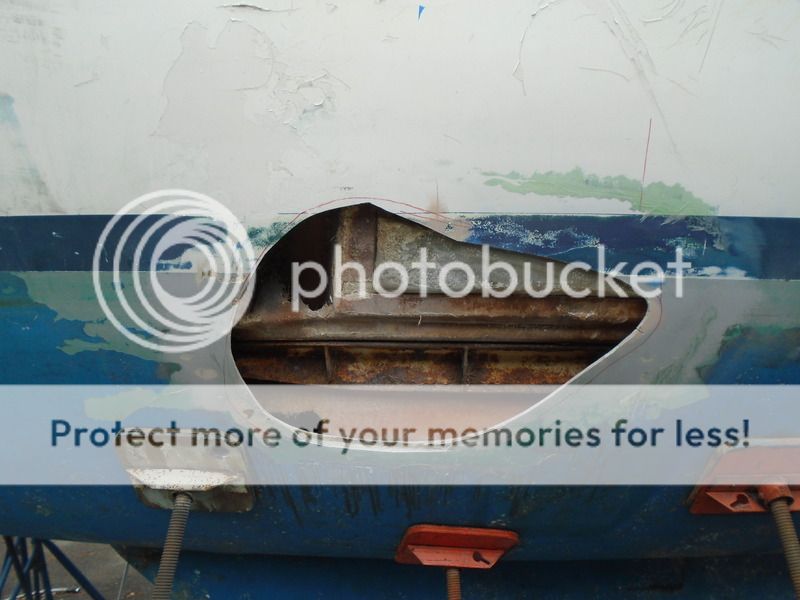
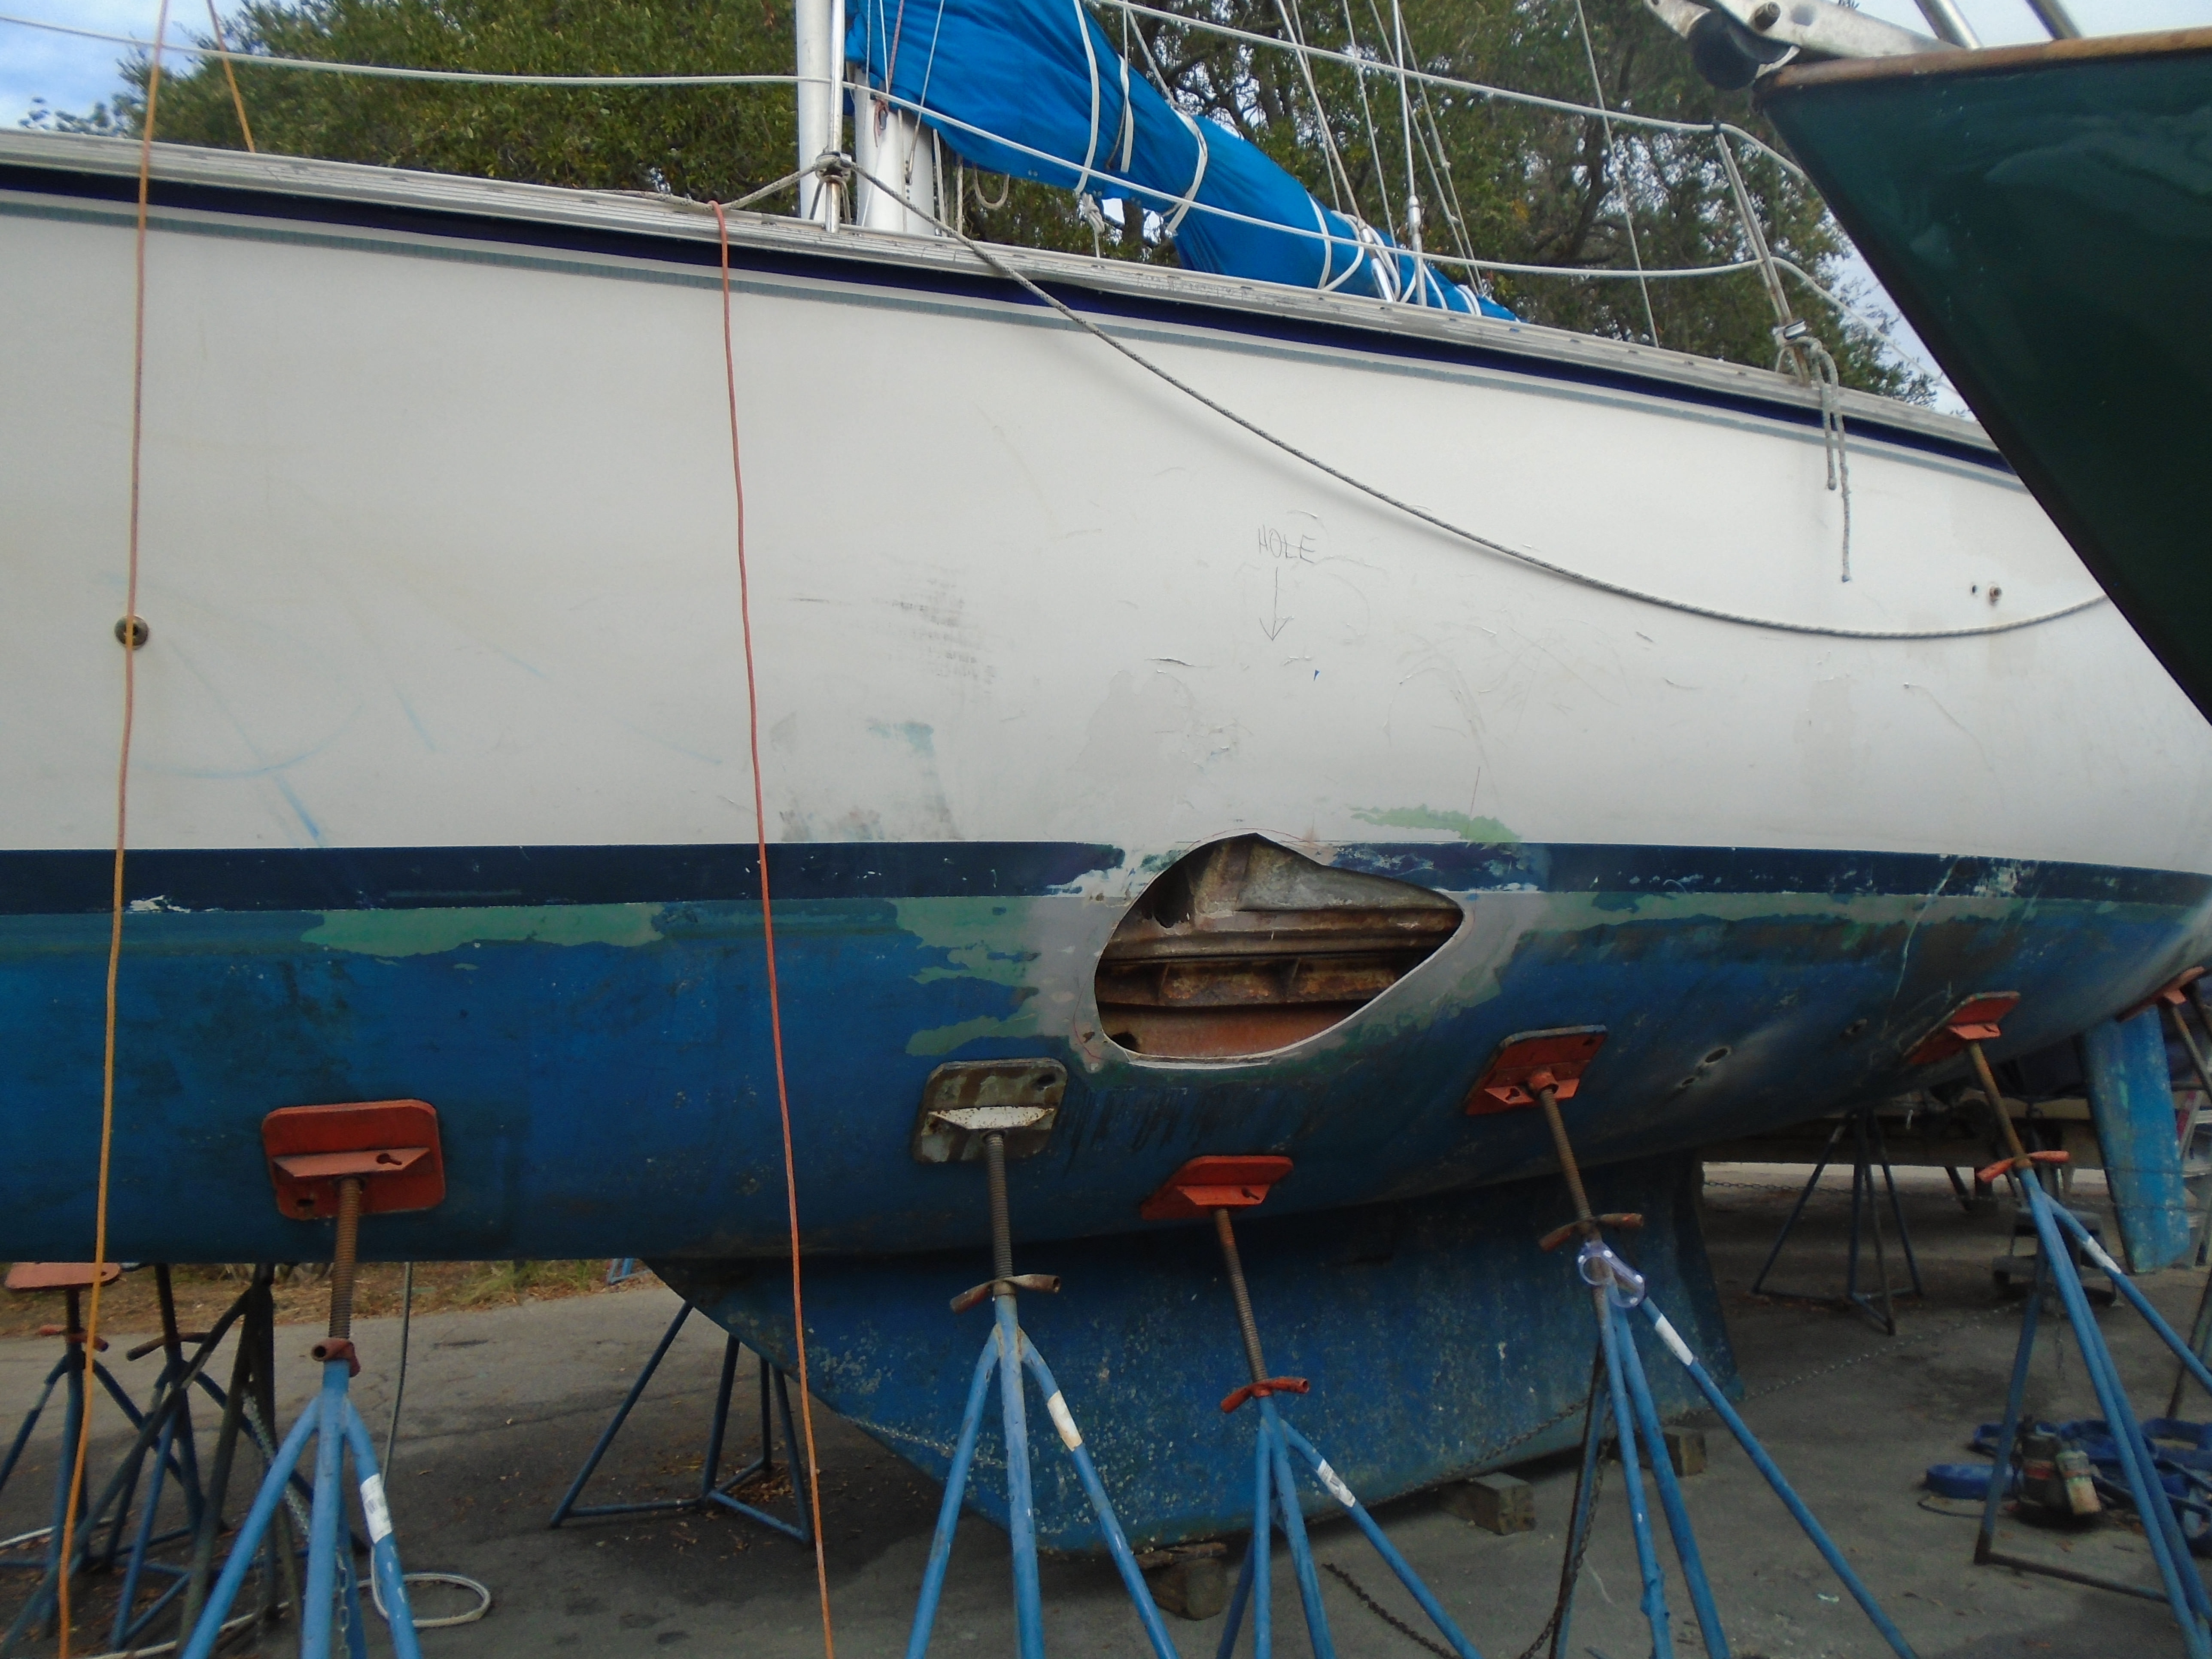
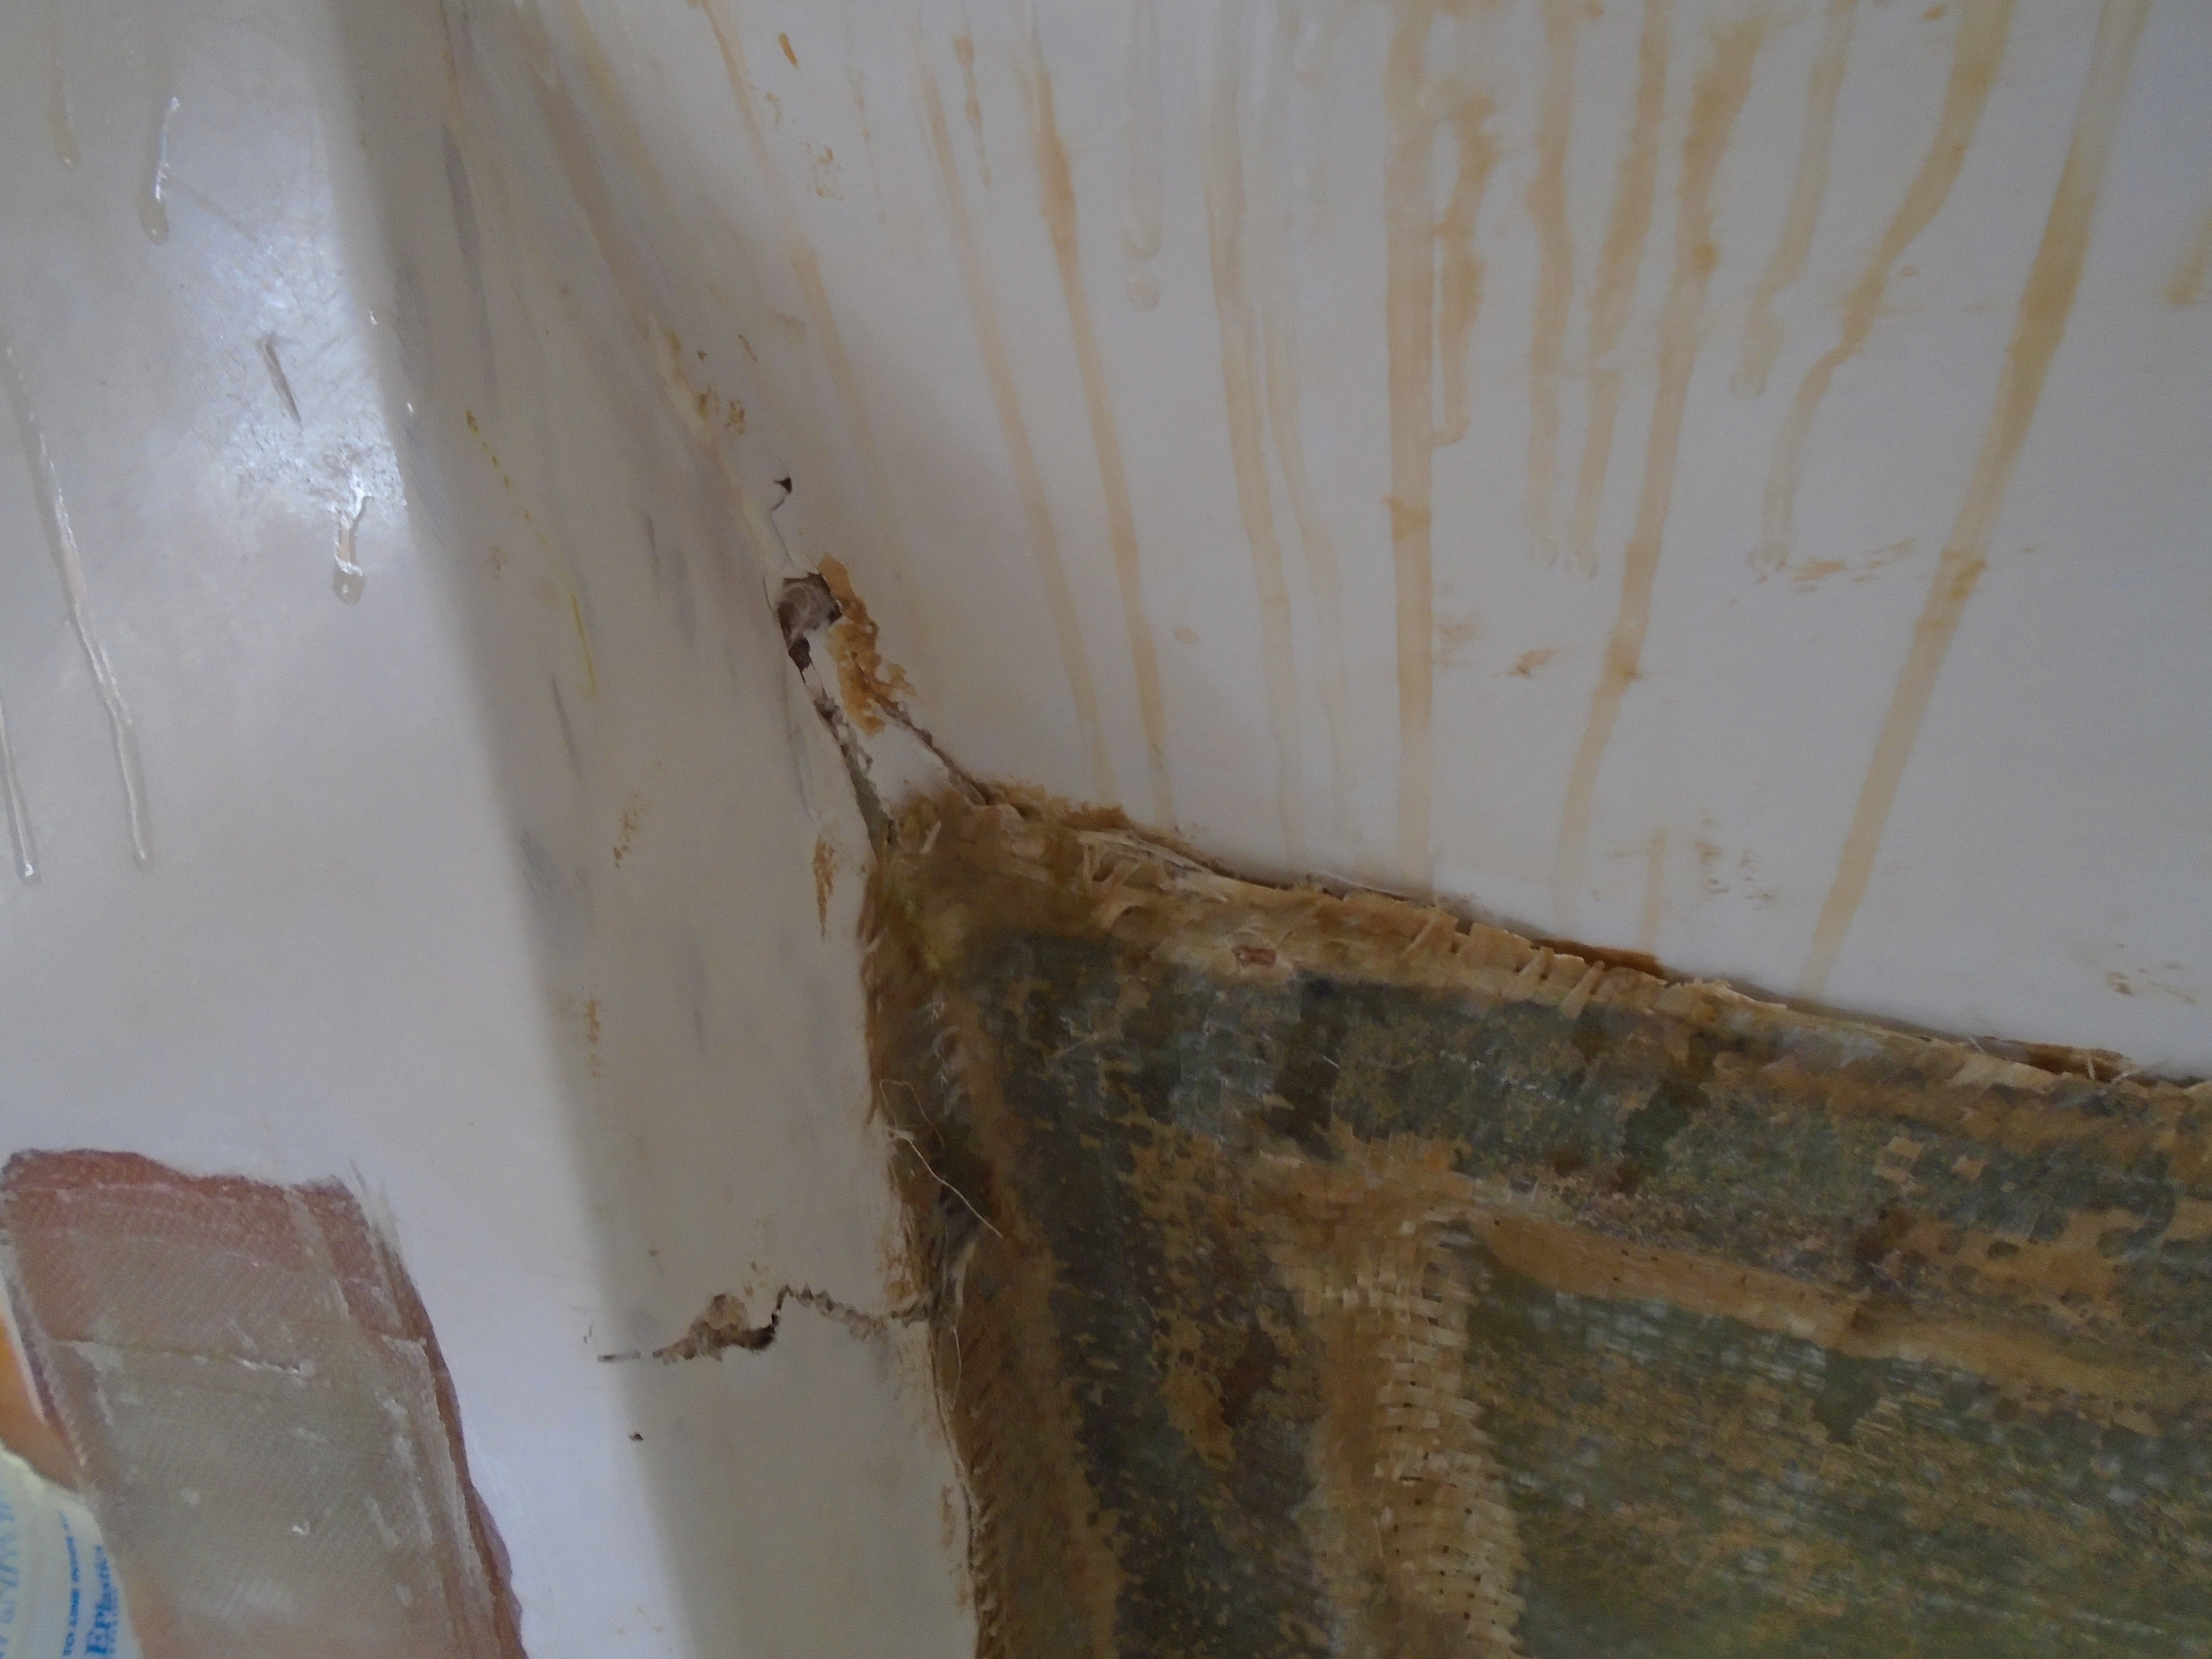
A view from a little farther away:

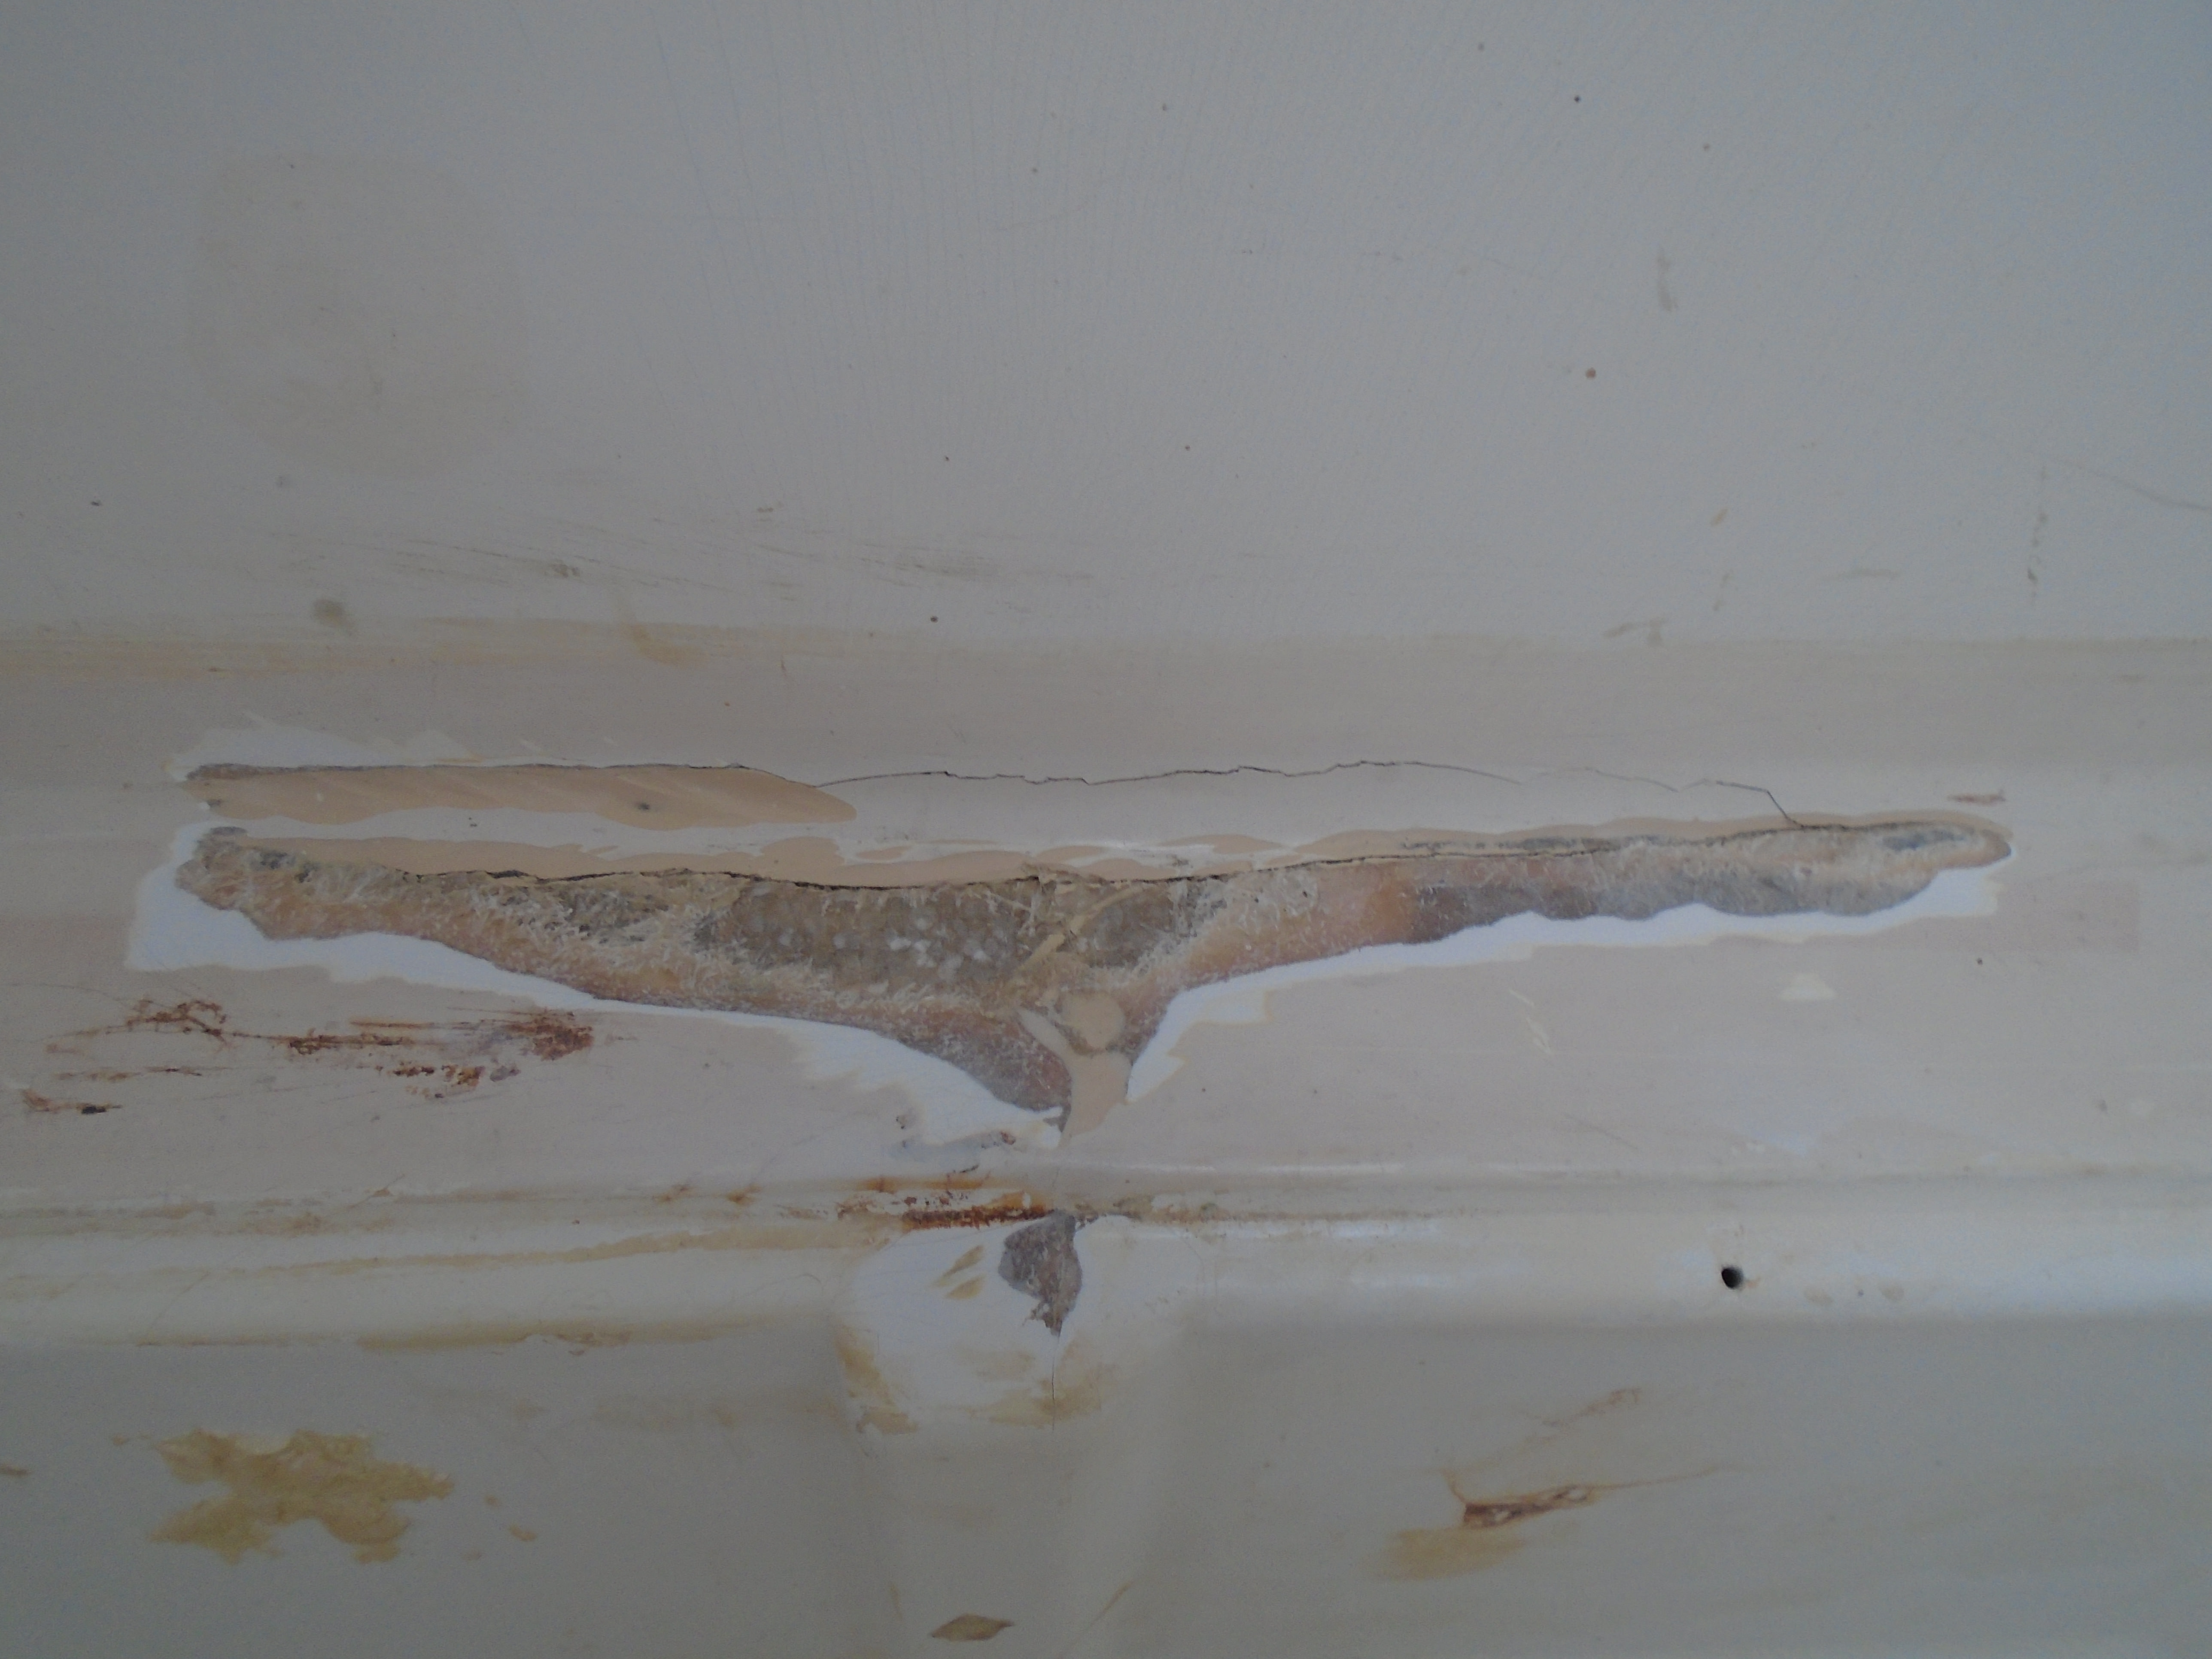
I think I got a little dizzy, said "holy crap!" and a few Hail Marys and then broke out the rum!
Lots of evidence of a really crappy previous repair! I have lost most of what little respect I had for repair yards after seeing these "repairs". I'll document some of it in the next installment. Granted, probably most yards are competent, but since the important parts of a repair are under the skin, how can you tell after the fact if it was a good repair? As a final rant, I have had the boat surveyed three times since I bought it (including the pre-purchase survey) and none of this damage and poor repairs was found by any of them - and some of it was visible (I know now) if you looked in the right places - which is why we hire surveyors!!
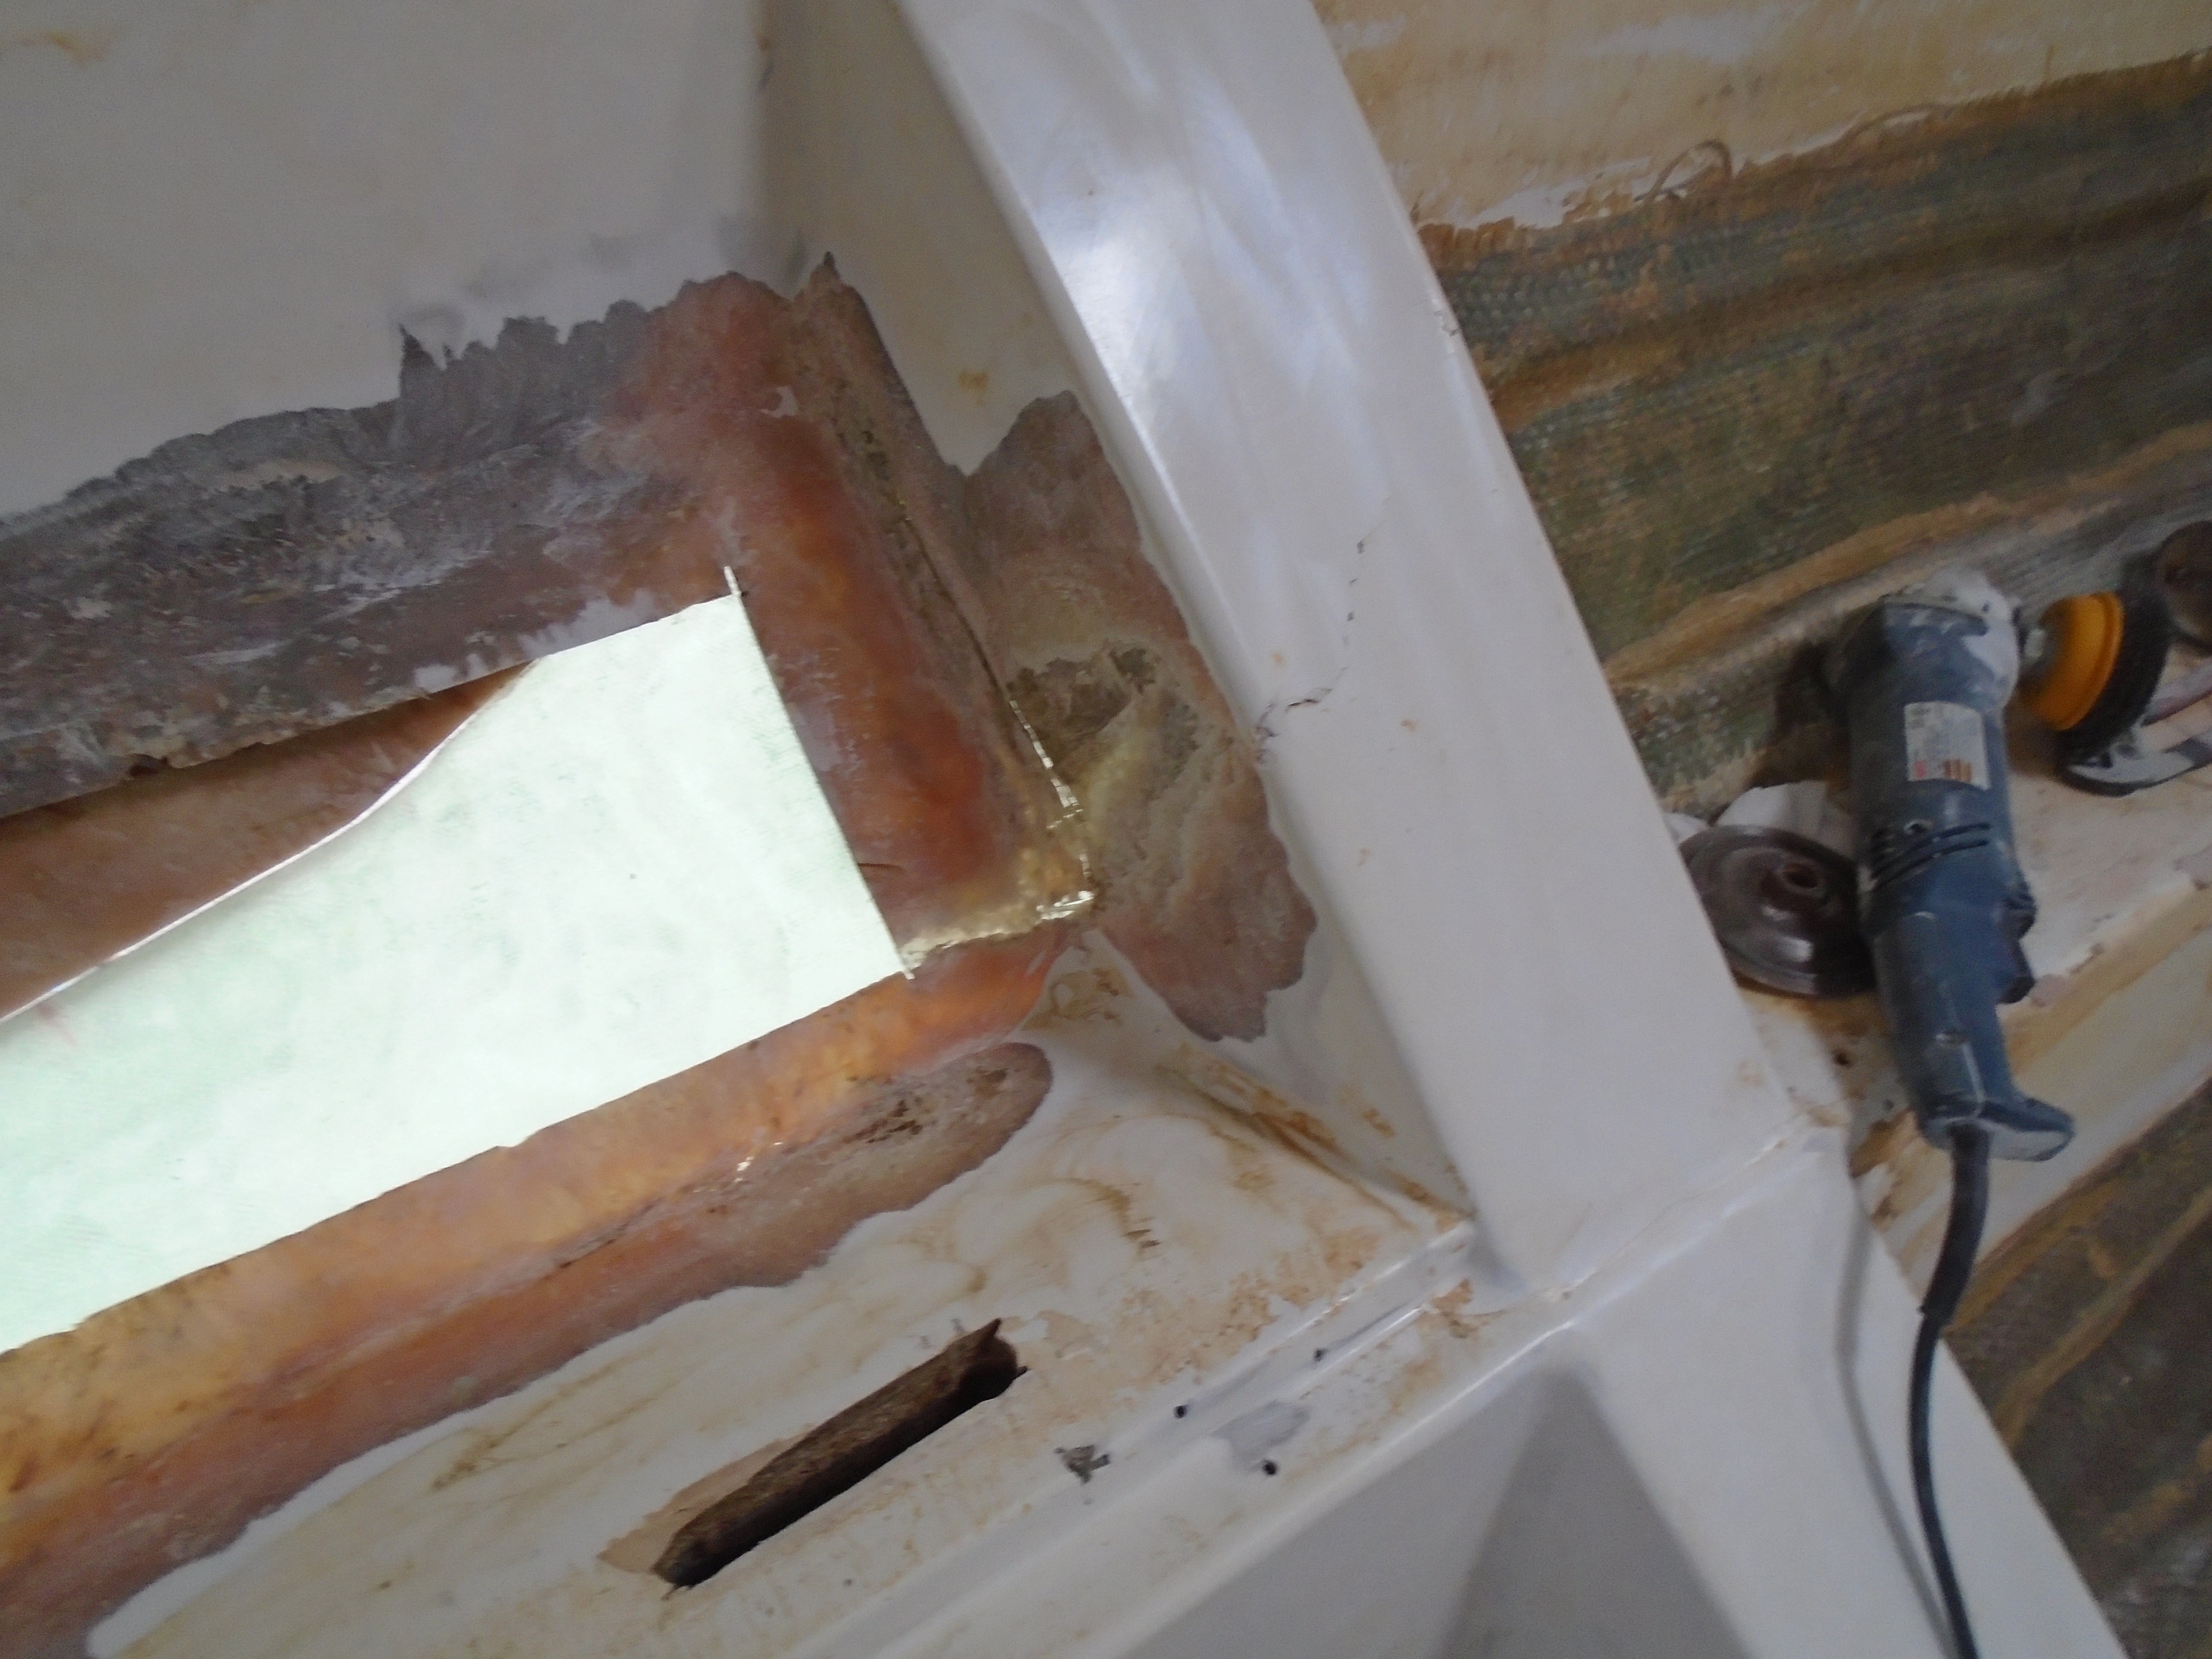
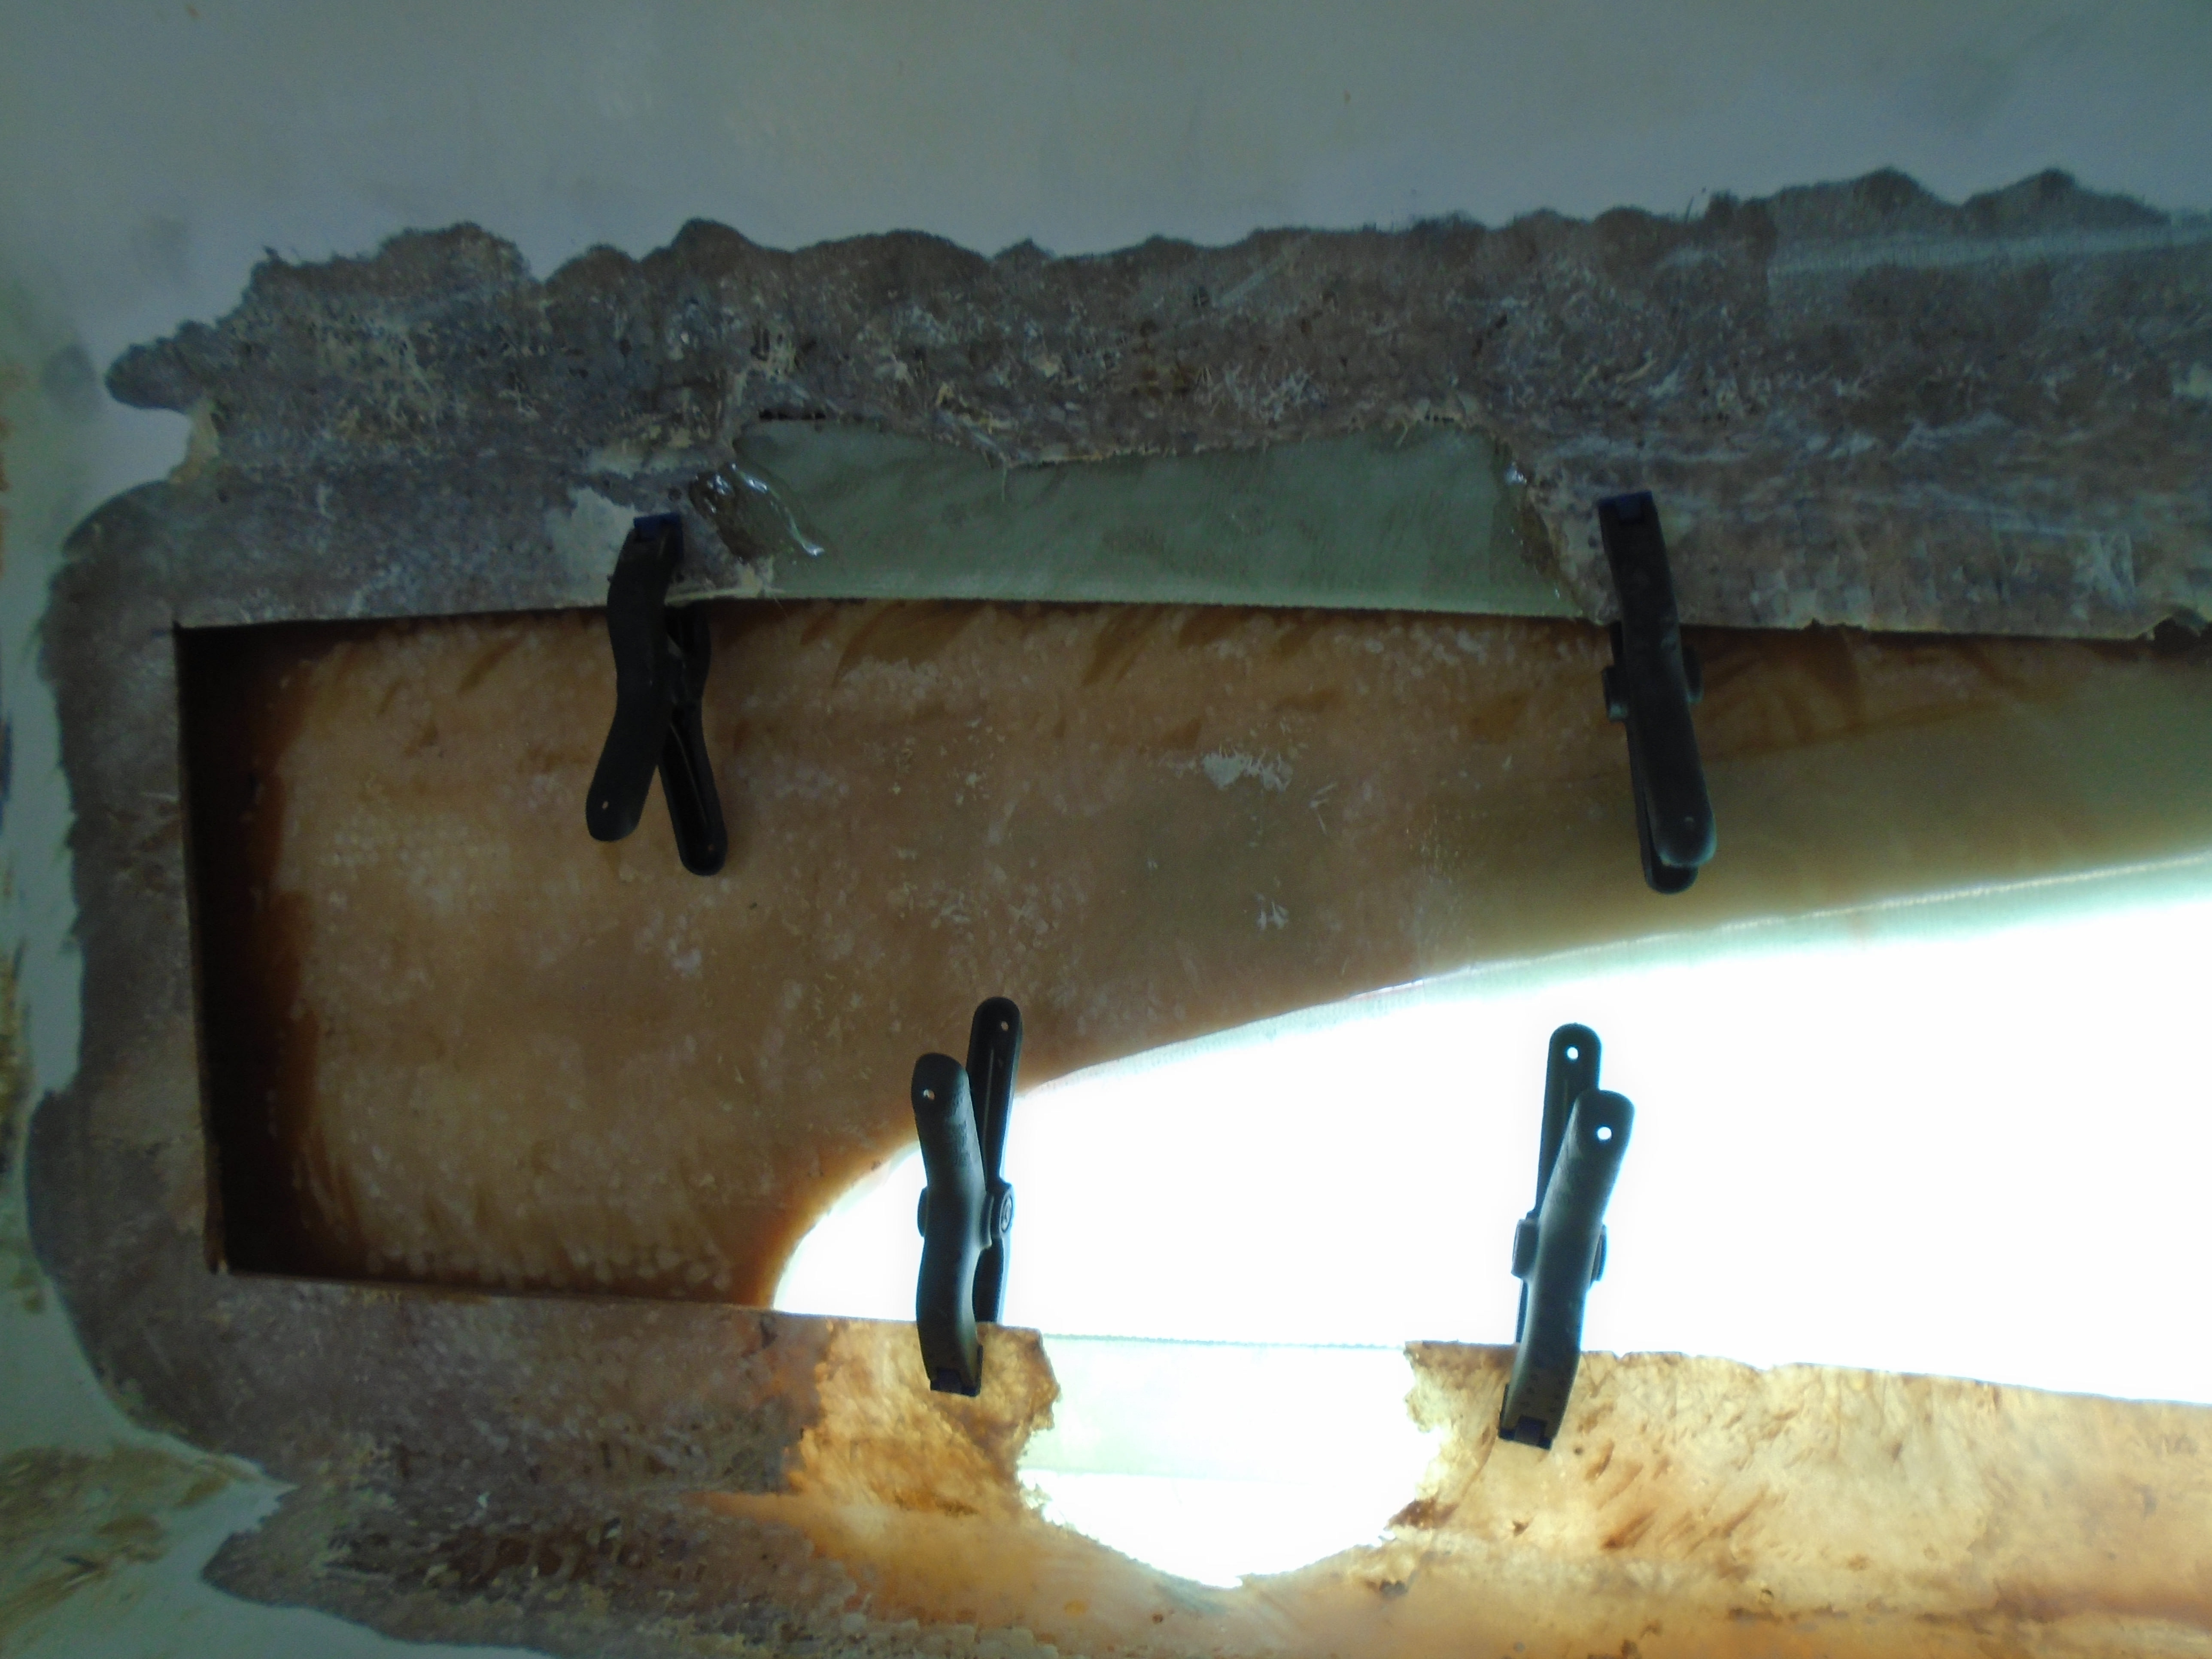
Next up was to sand and prep the inside of the edges for the backing plates. That done, the plates were prepped, slathered with West 6-10, and clamped in place. Note - not all the backing plates are mounted yet in the pic:
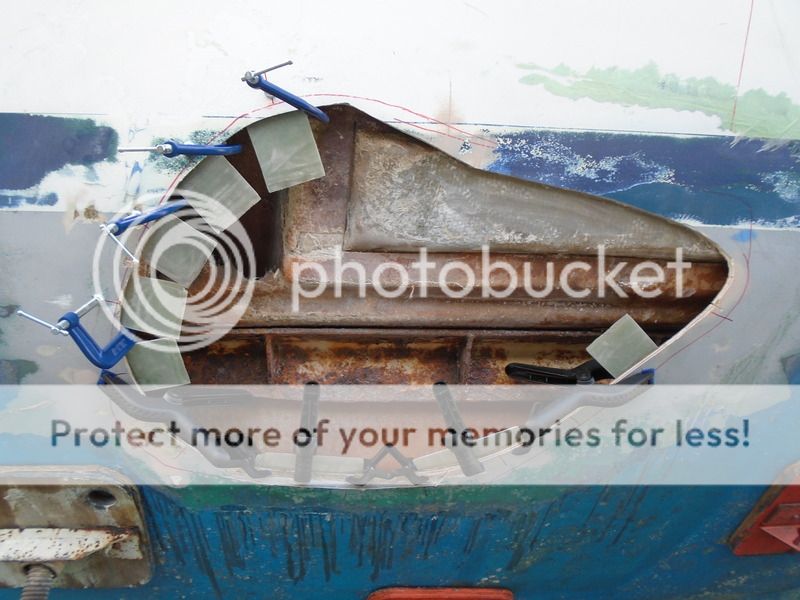
What looks like a piece of angle iron on the bottom of the stringer in the hole is just that - it's the support for the chain plates. It looked rusty but otherwise still plenty strong and I figured if it still looked this good after 30 years it should last as long as the rest of the boat. Having said that I coated it with a rust treatment anyway!
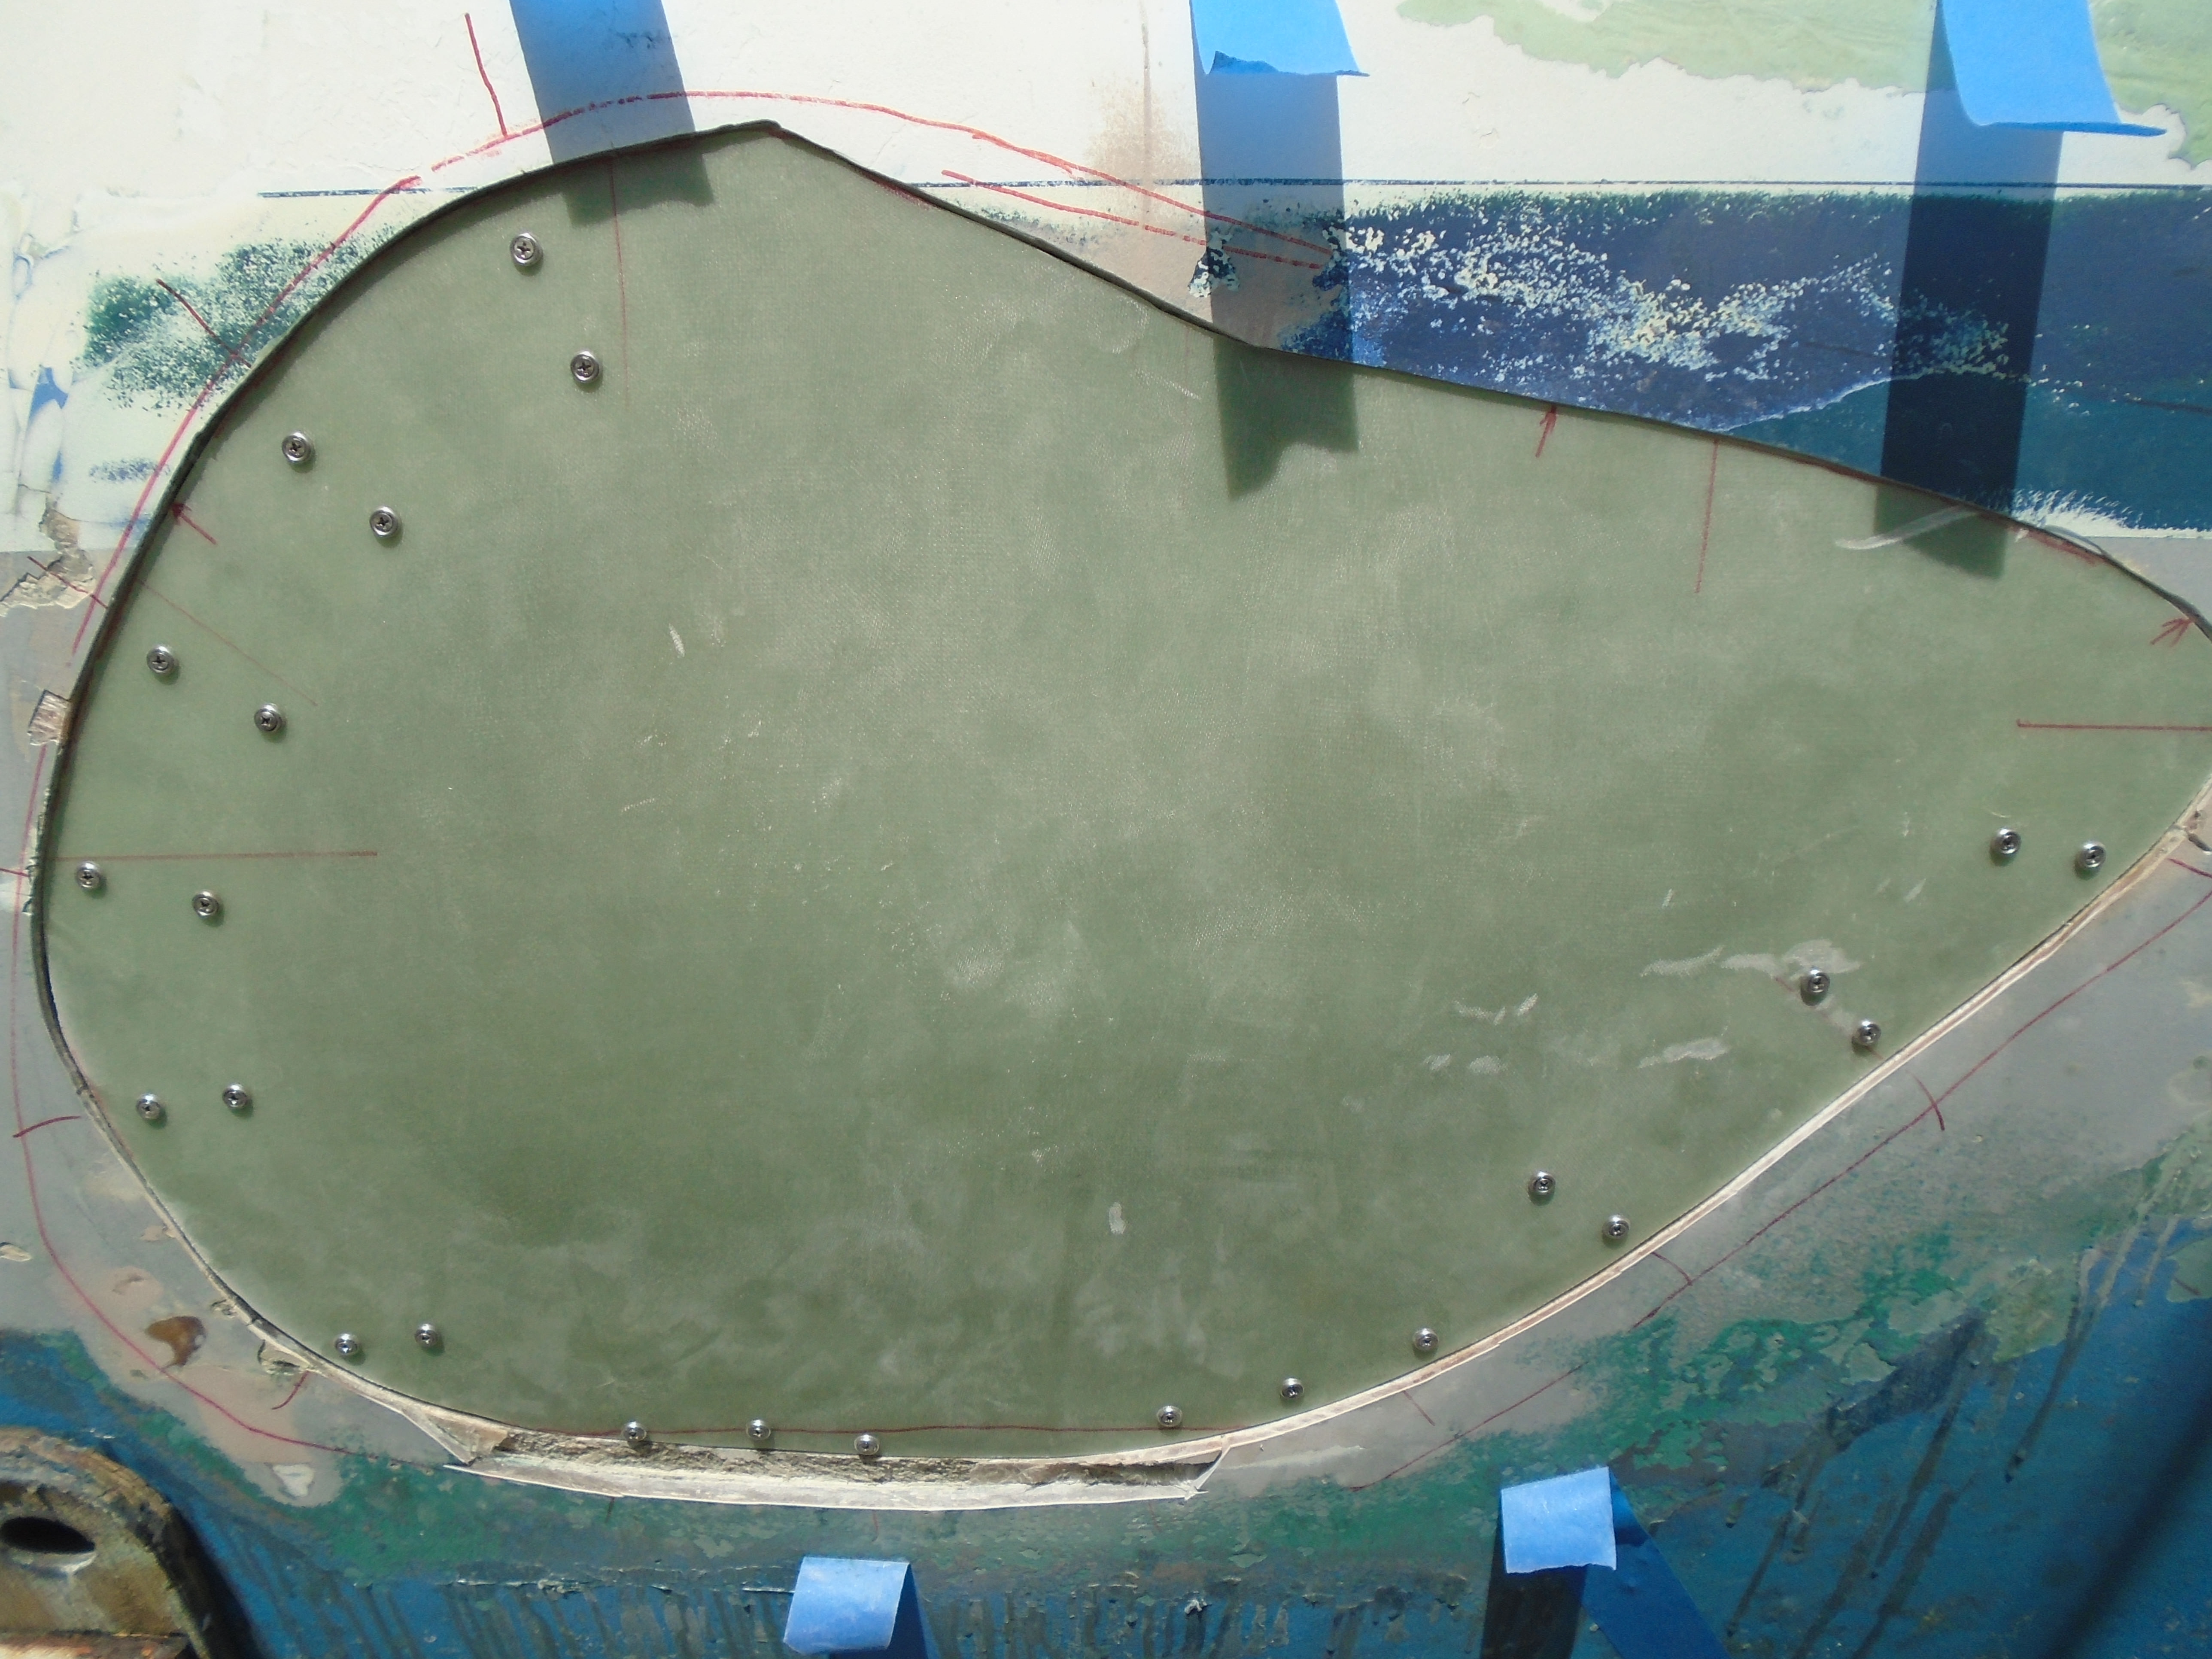
I had already marked the patch panel to match the hole but I left some extra material so I had to trim to fit. This took a while but when I was satisfied, I drilled holes through the panel and backing plates to hold it in place. I then gooped more 6-10 onto the backing plates and screwed the patch panel in place and let everything dry:

Lastly, after drying I removed the screws and mixed up some epoxy and cabosil and filled the holes and the joint edges:

Next up - repairing both new and old grid damage!
Mark