Starting repairs:
Just a note, I won't detail each repair by itself start to finish, rather as I do them - or parts of them. The nature if fiberglass repairs is such that sometimes a layup or patch panel should sit for a day or two to harden before working it further. This will be apparent as I fix the holes in the hull, the first areas I have worked on.
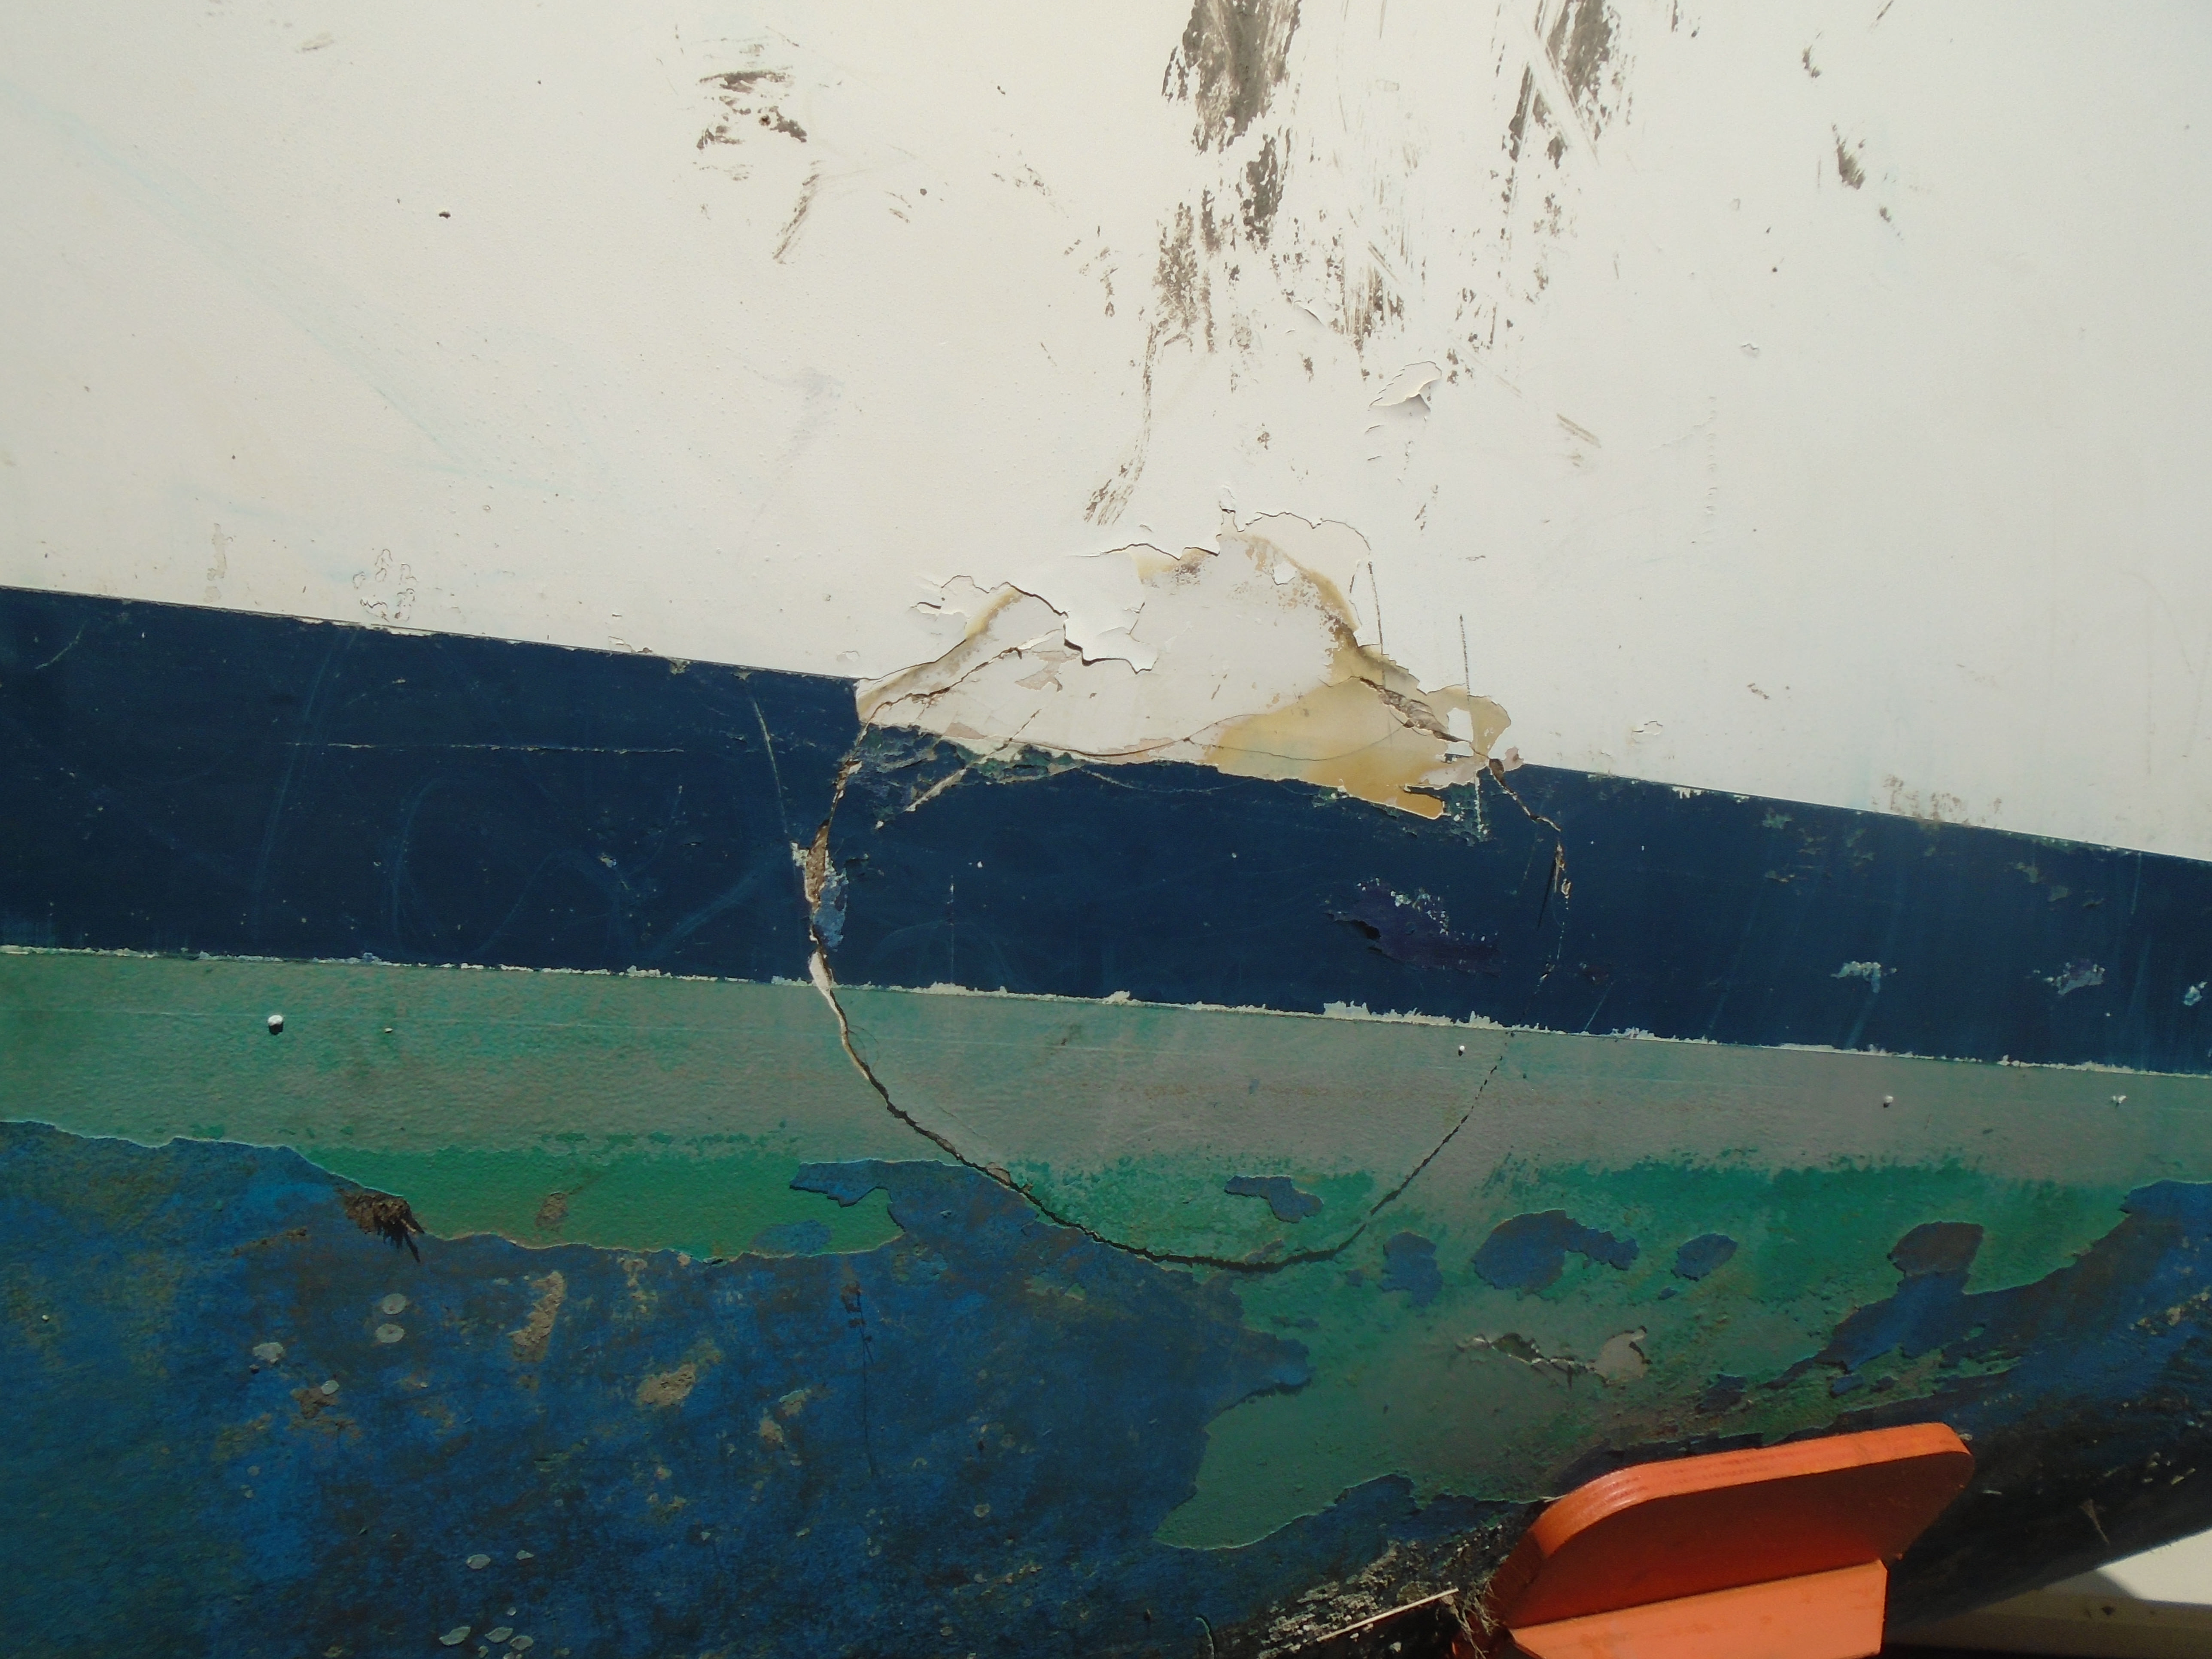
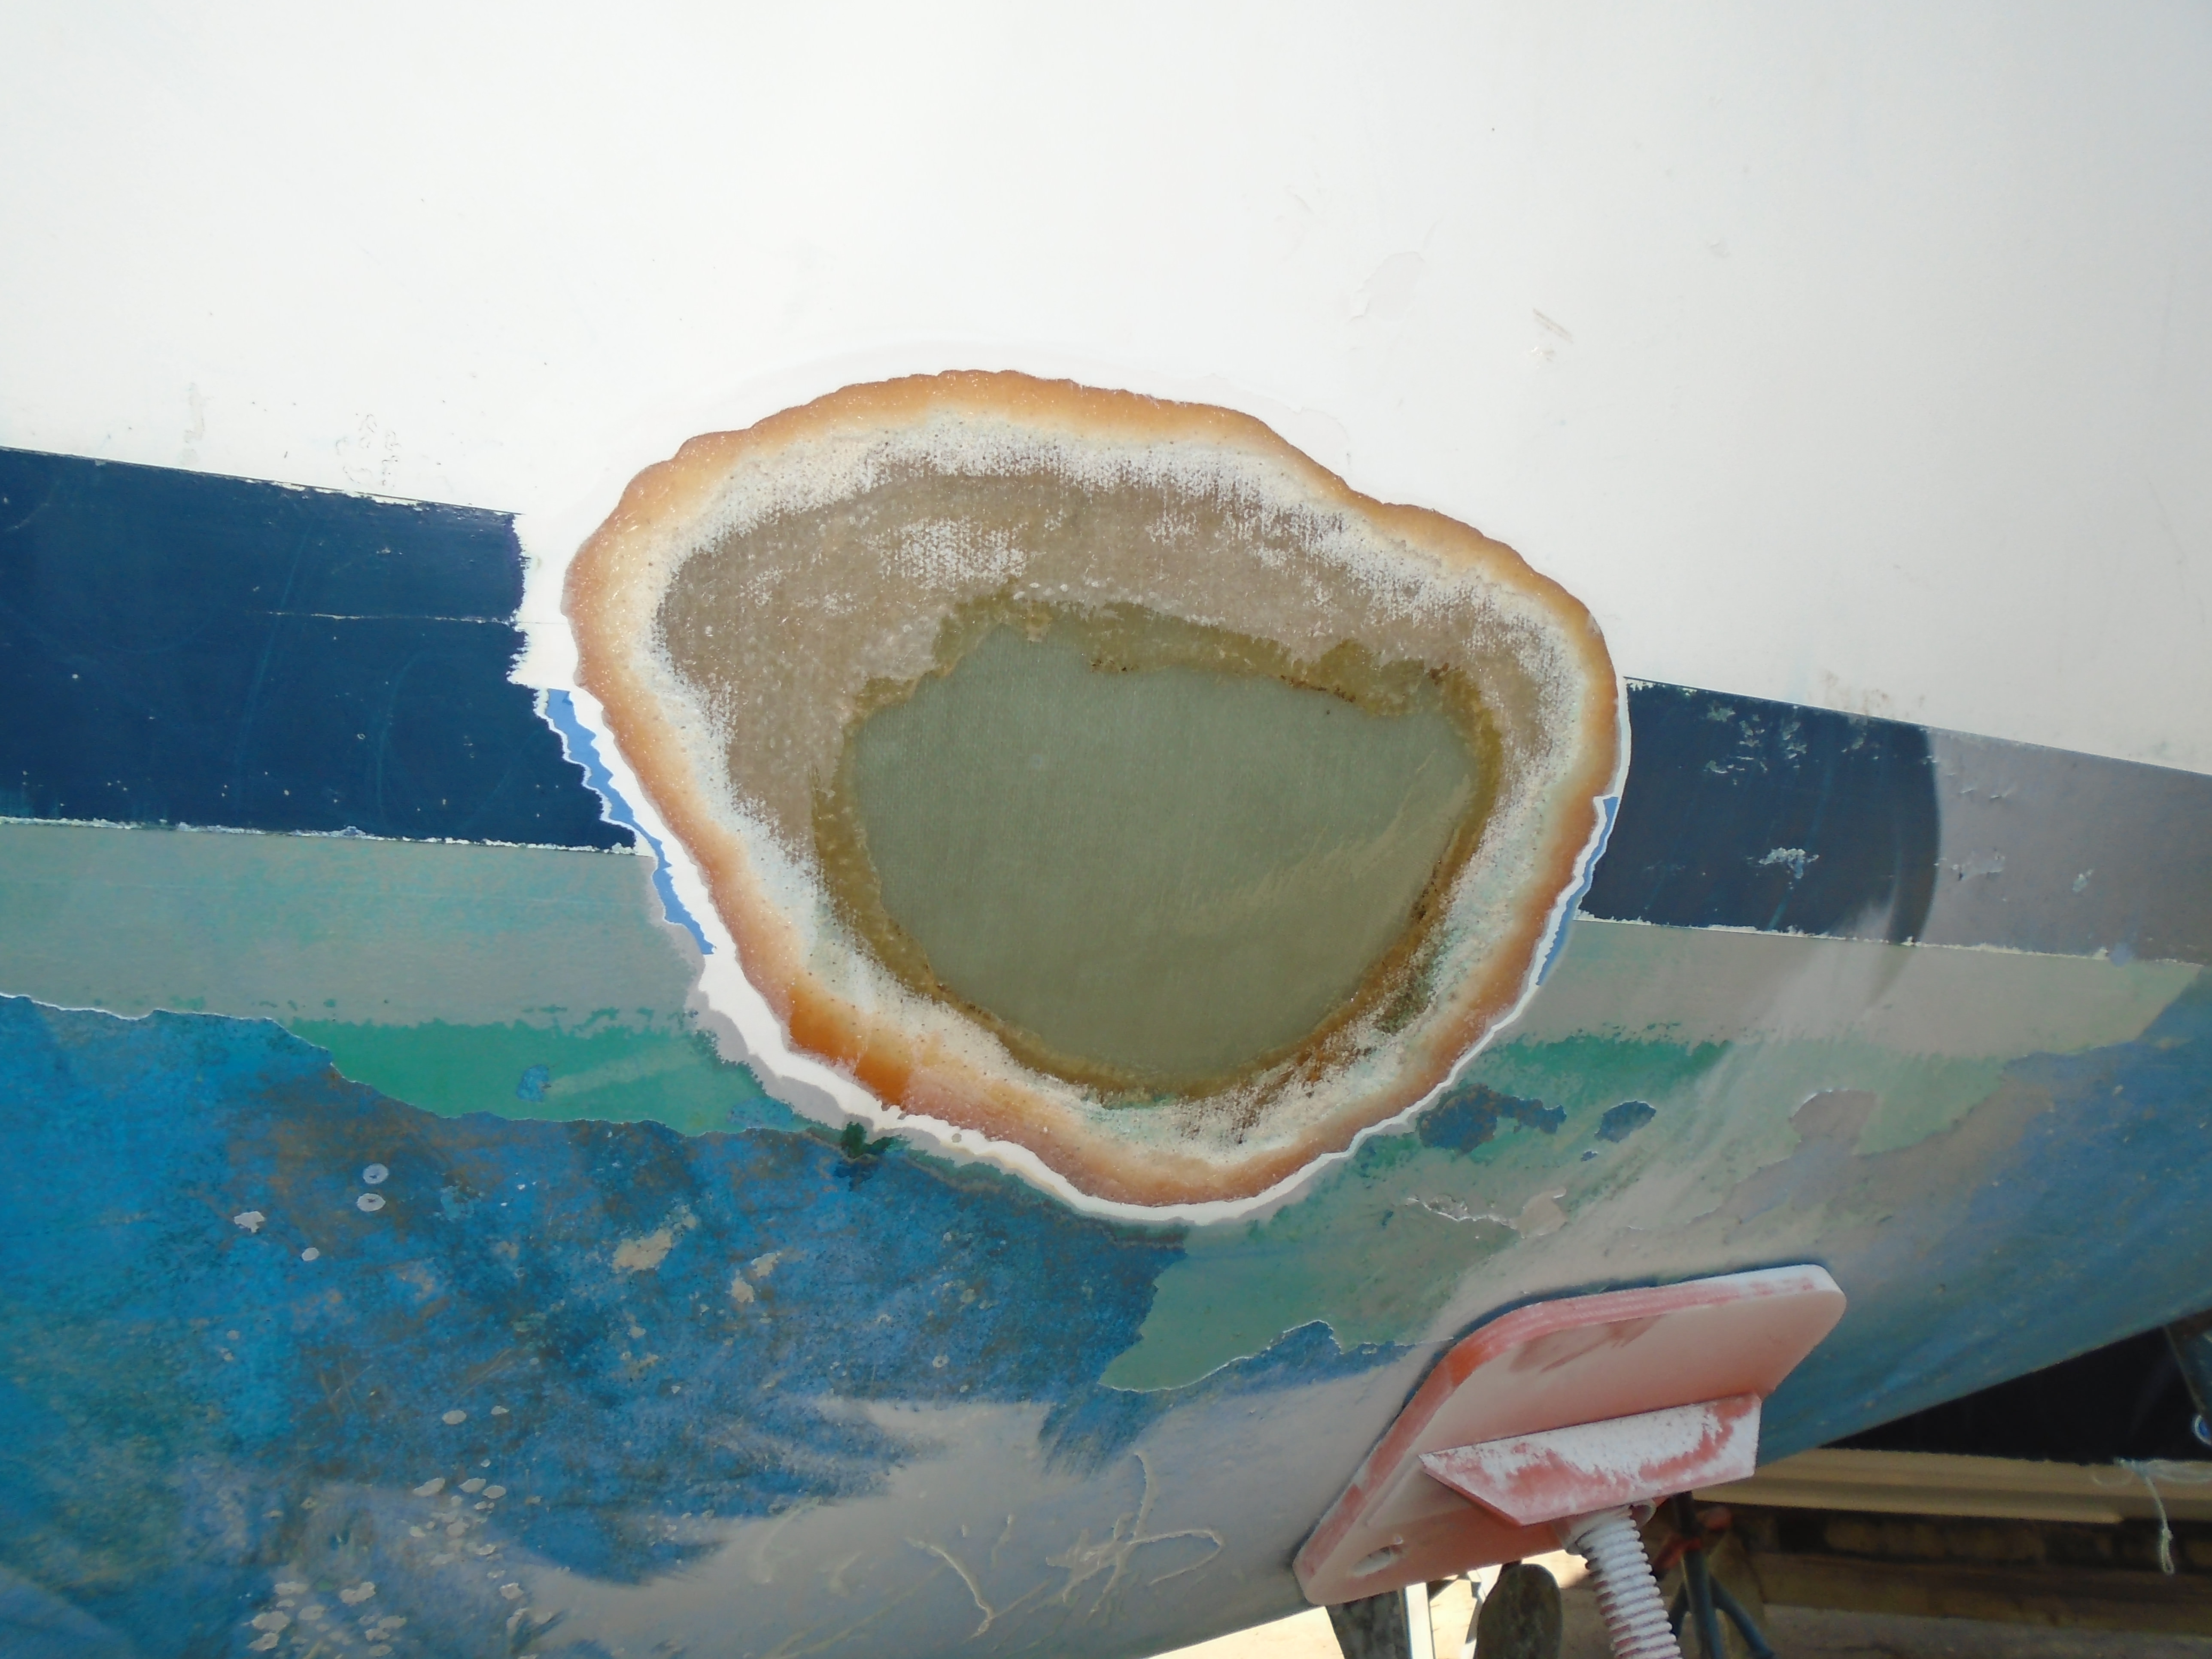
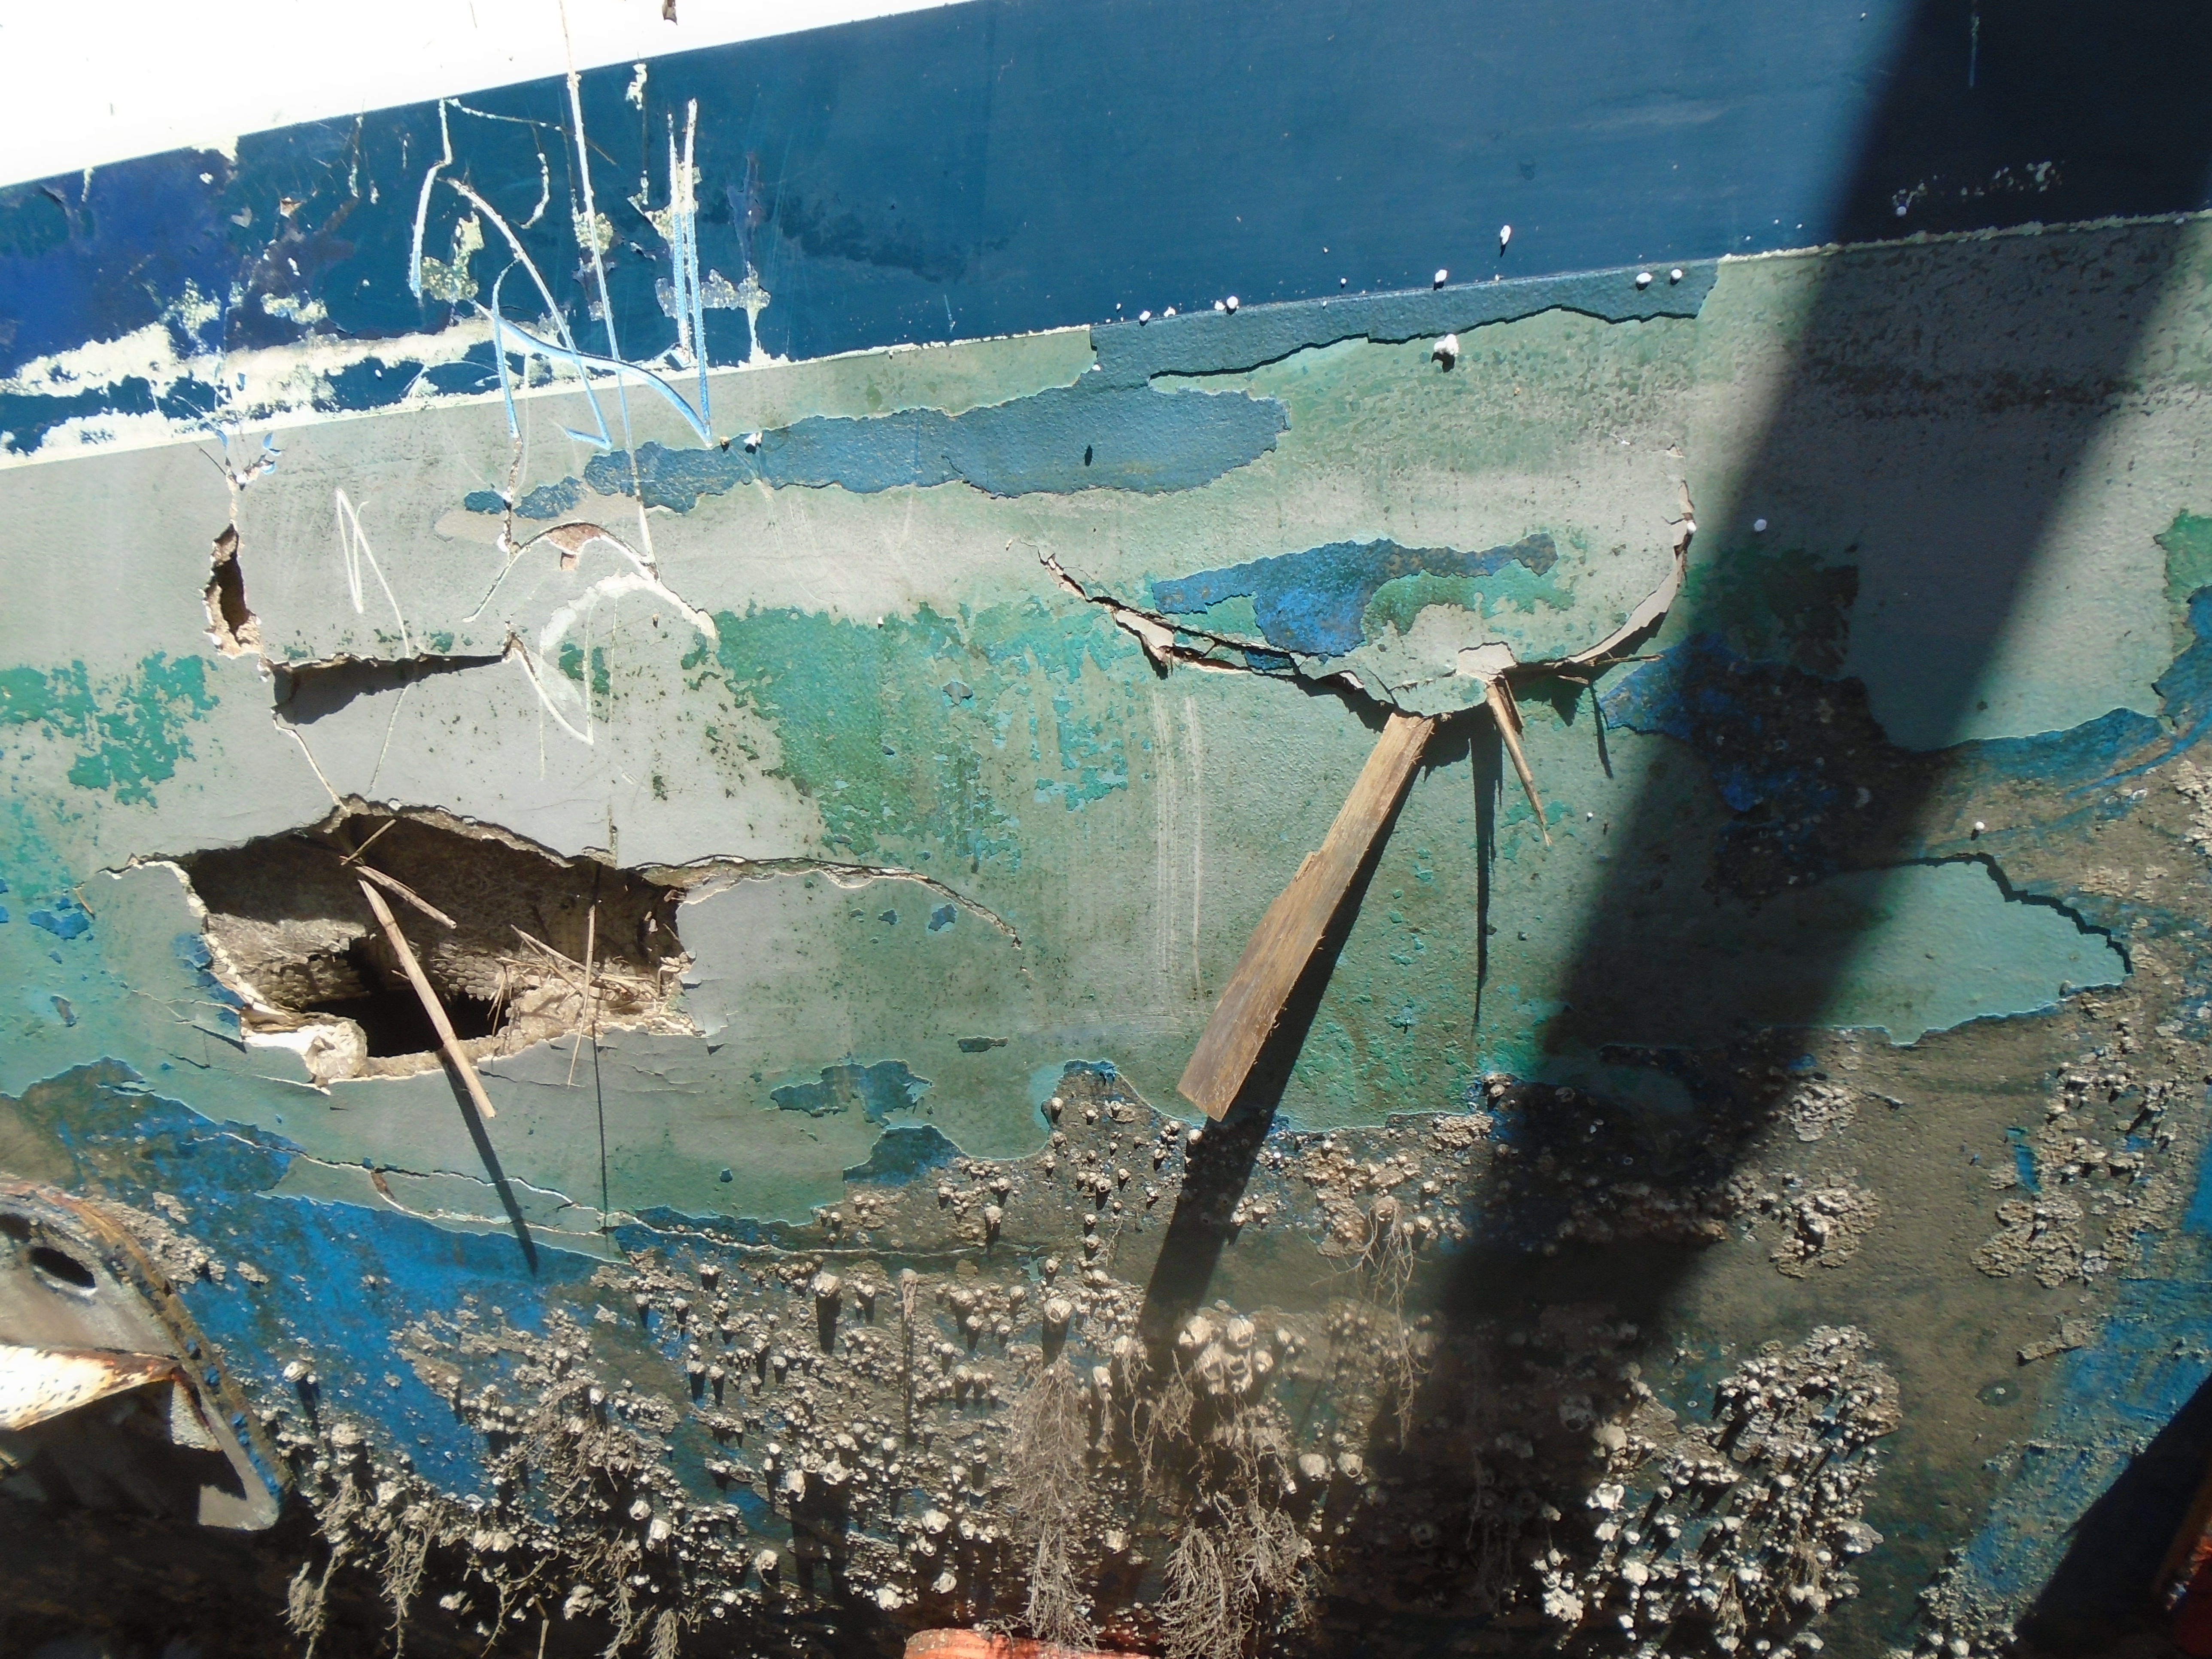
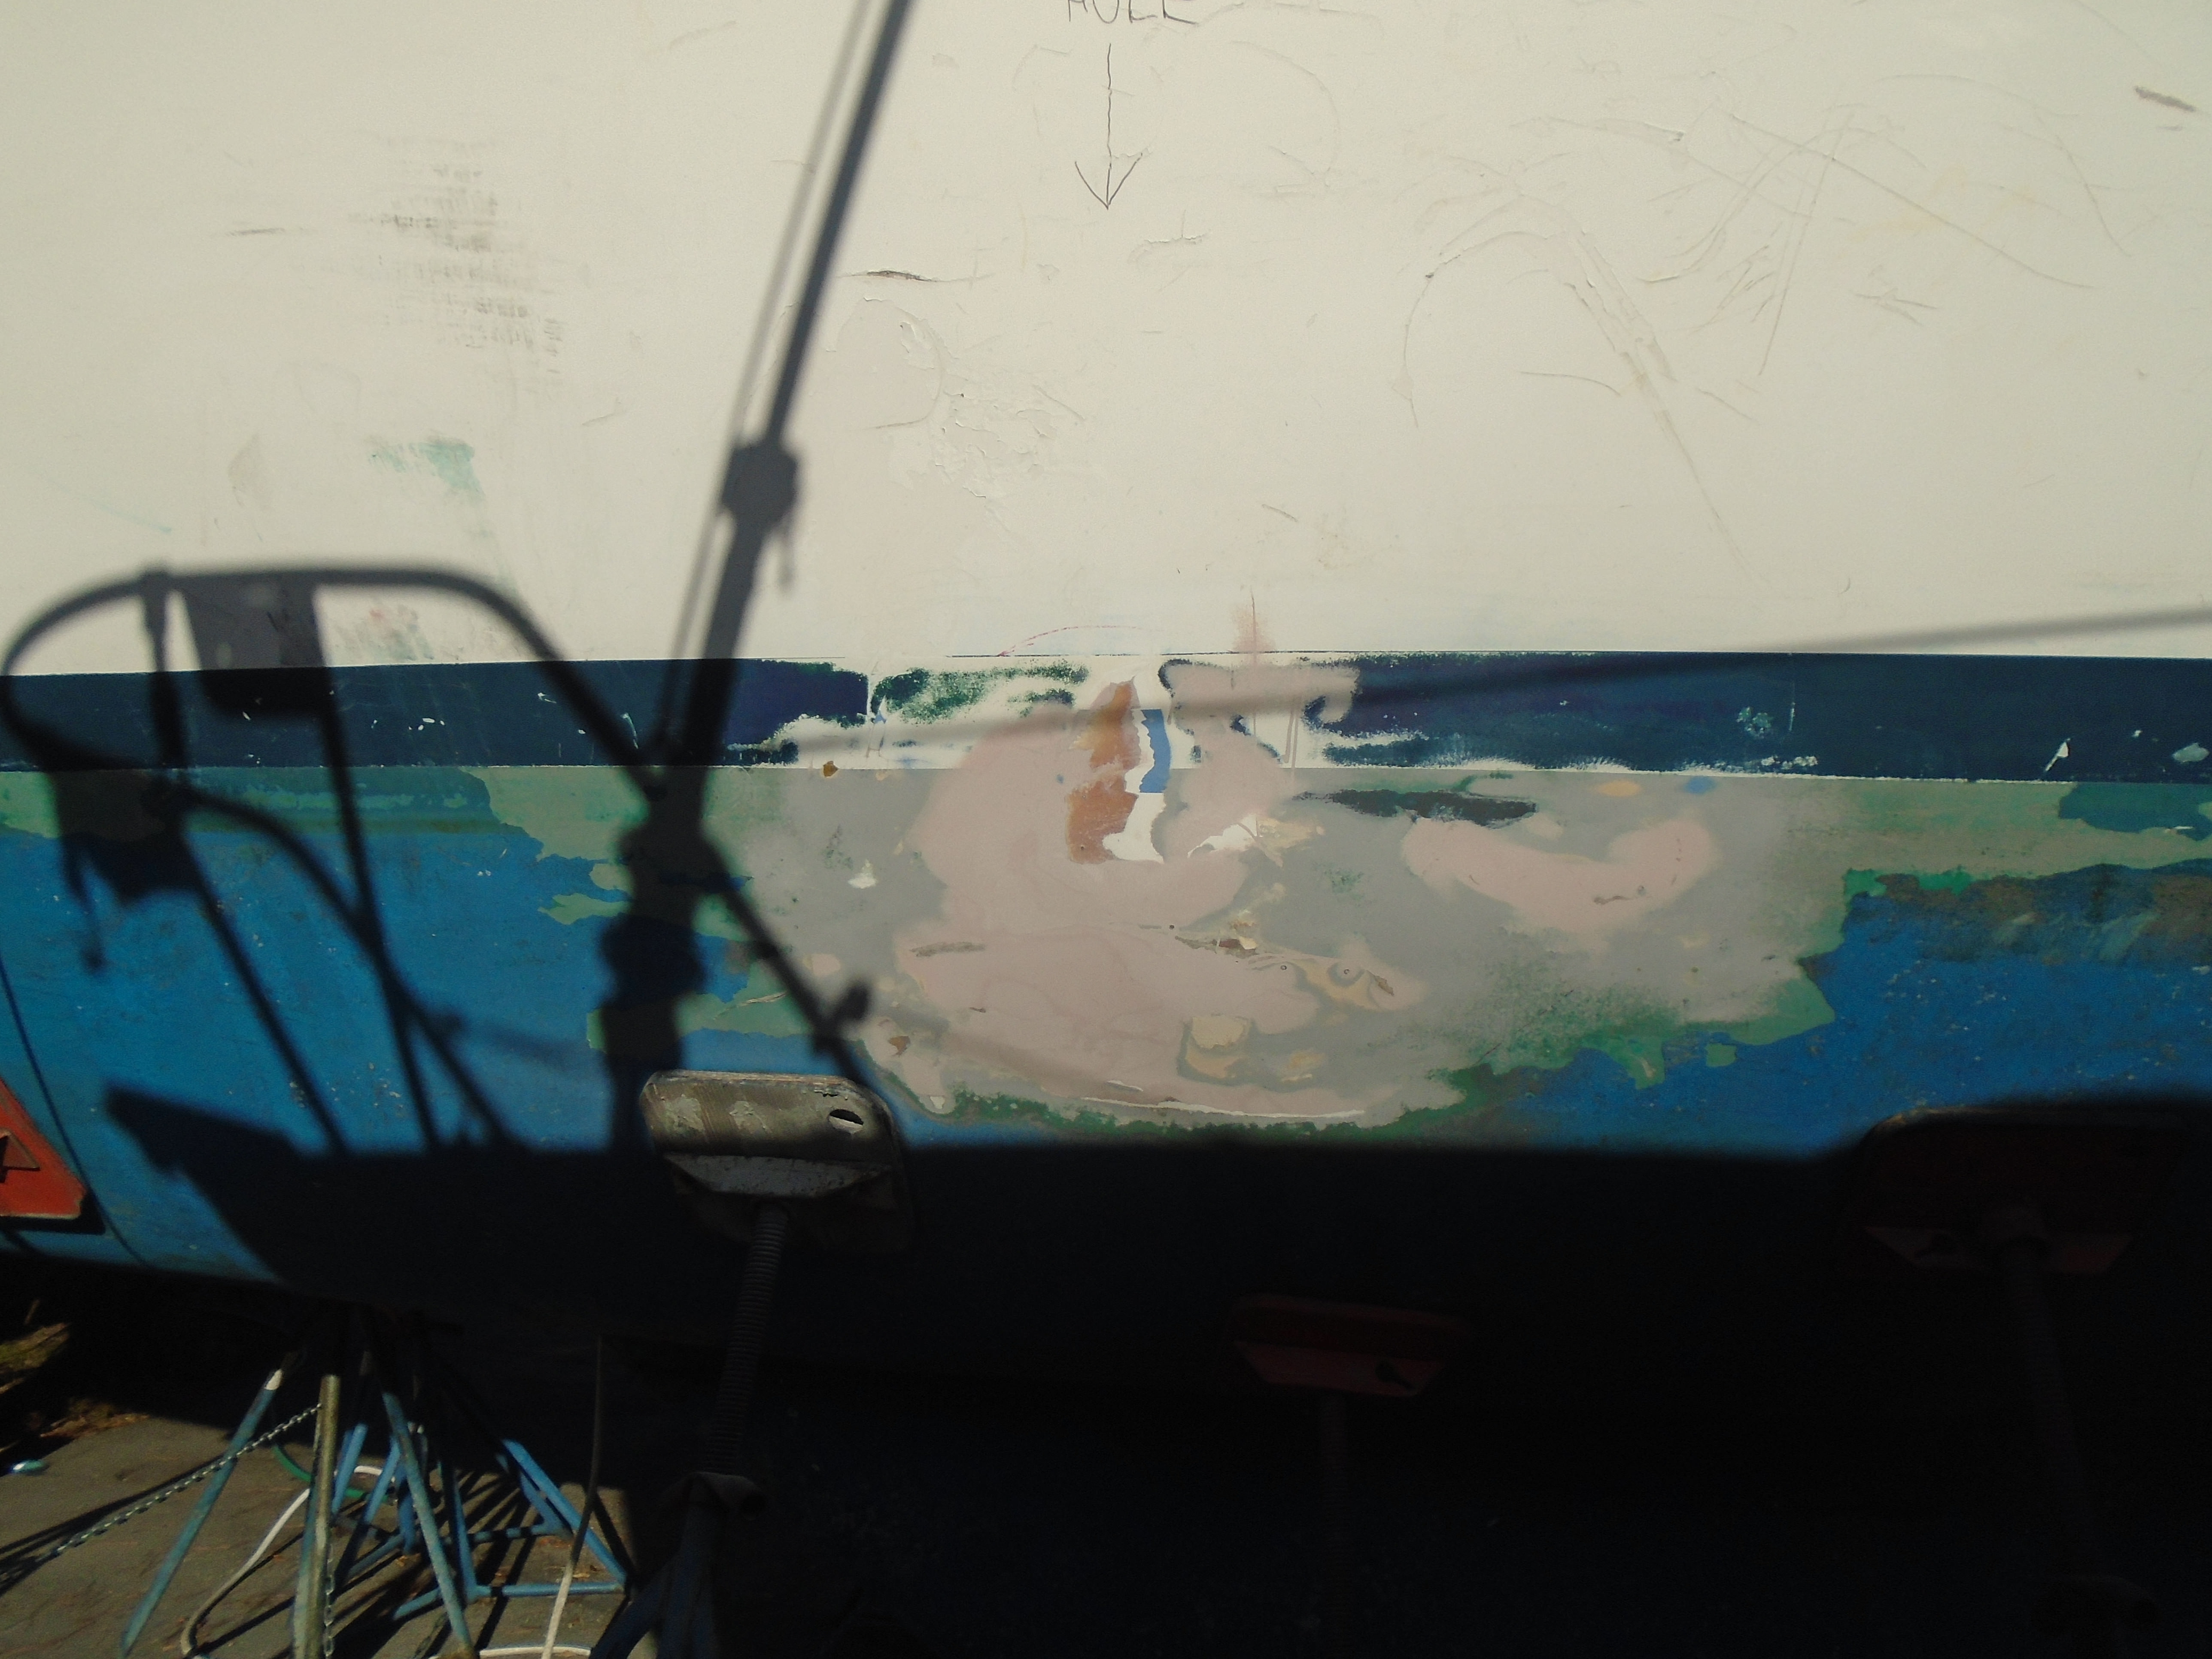
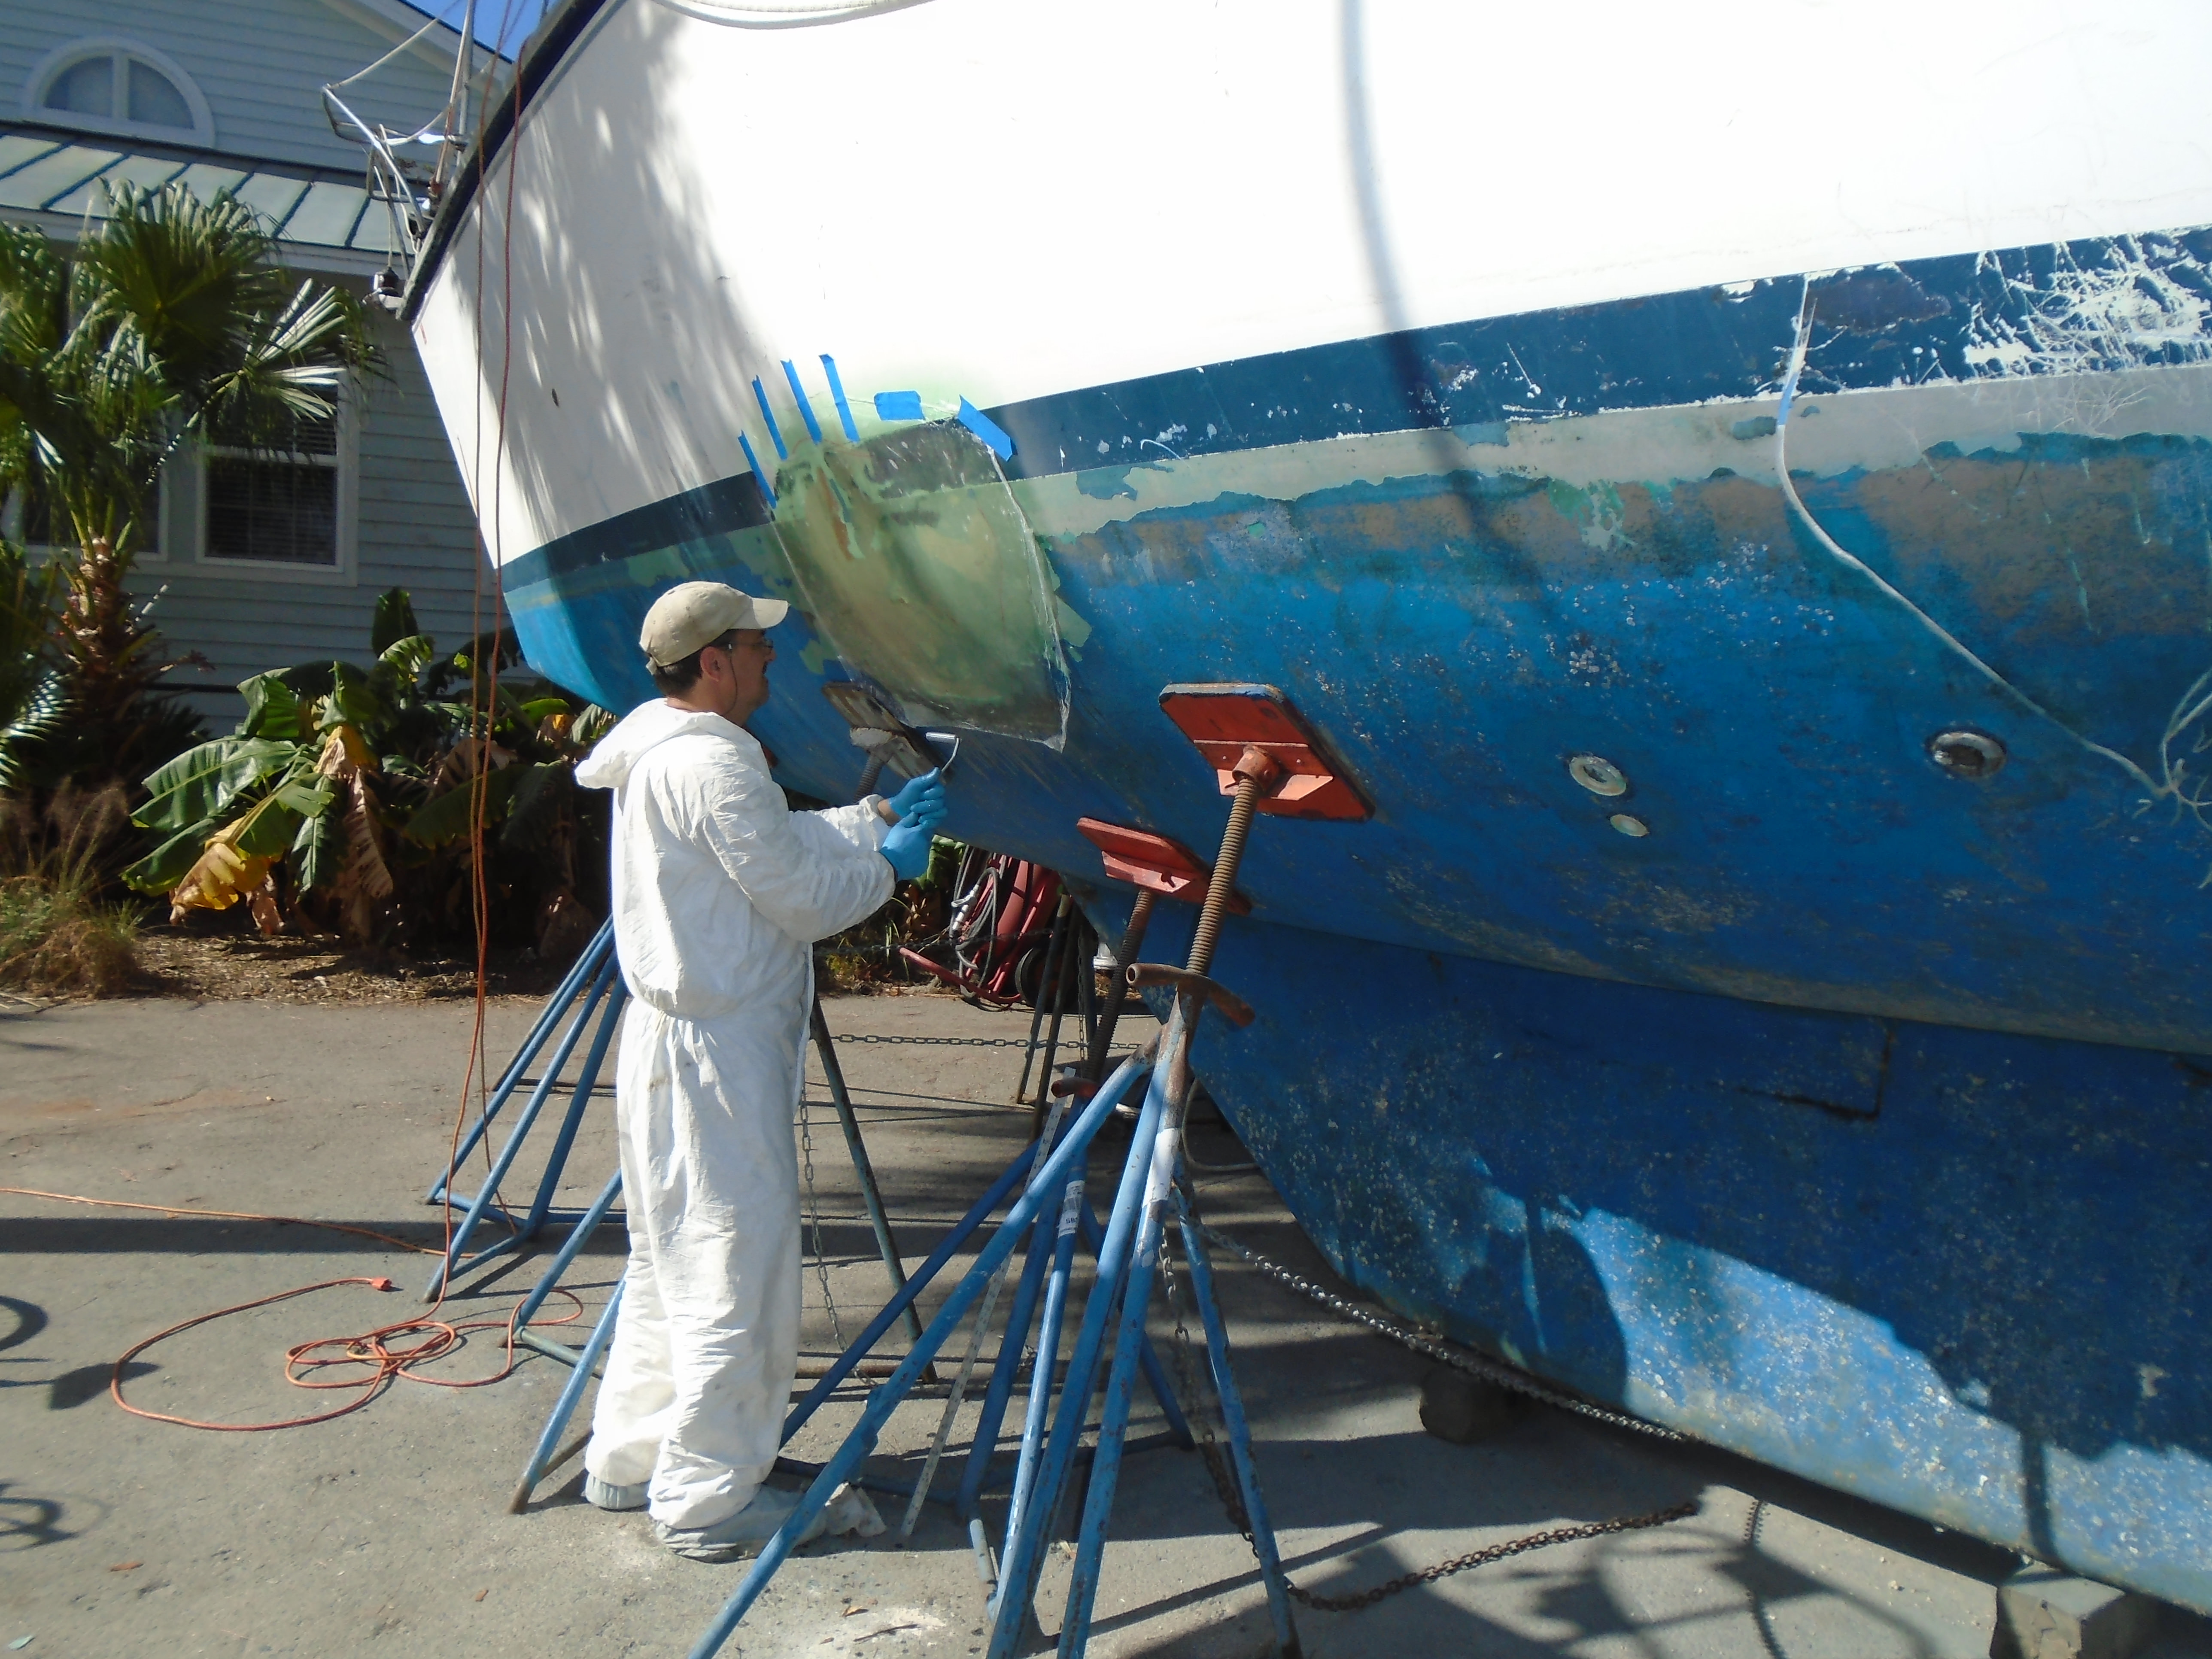
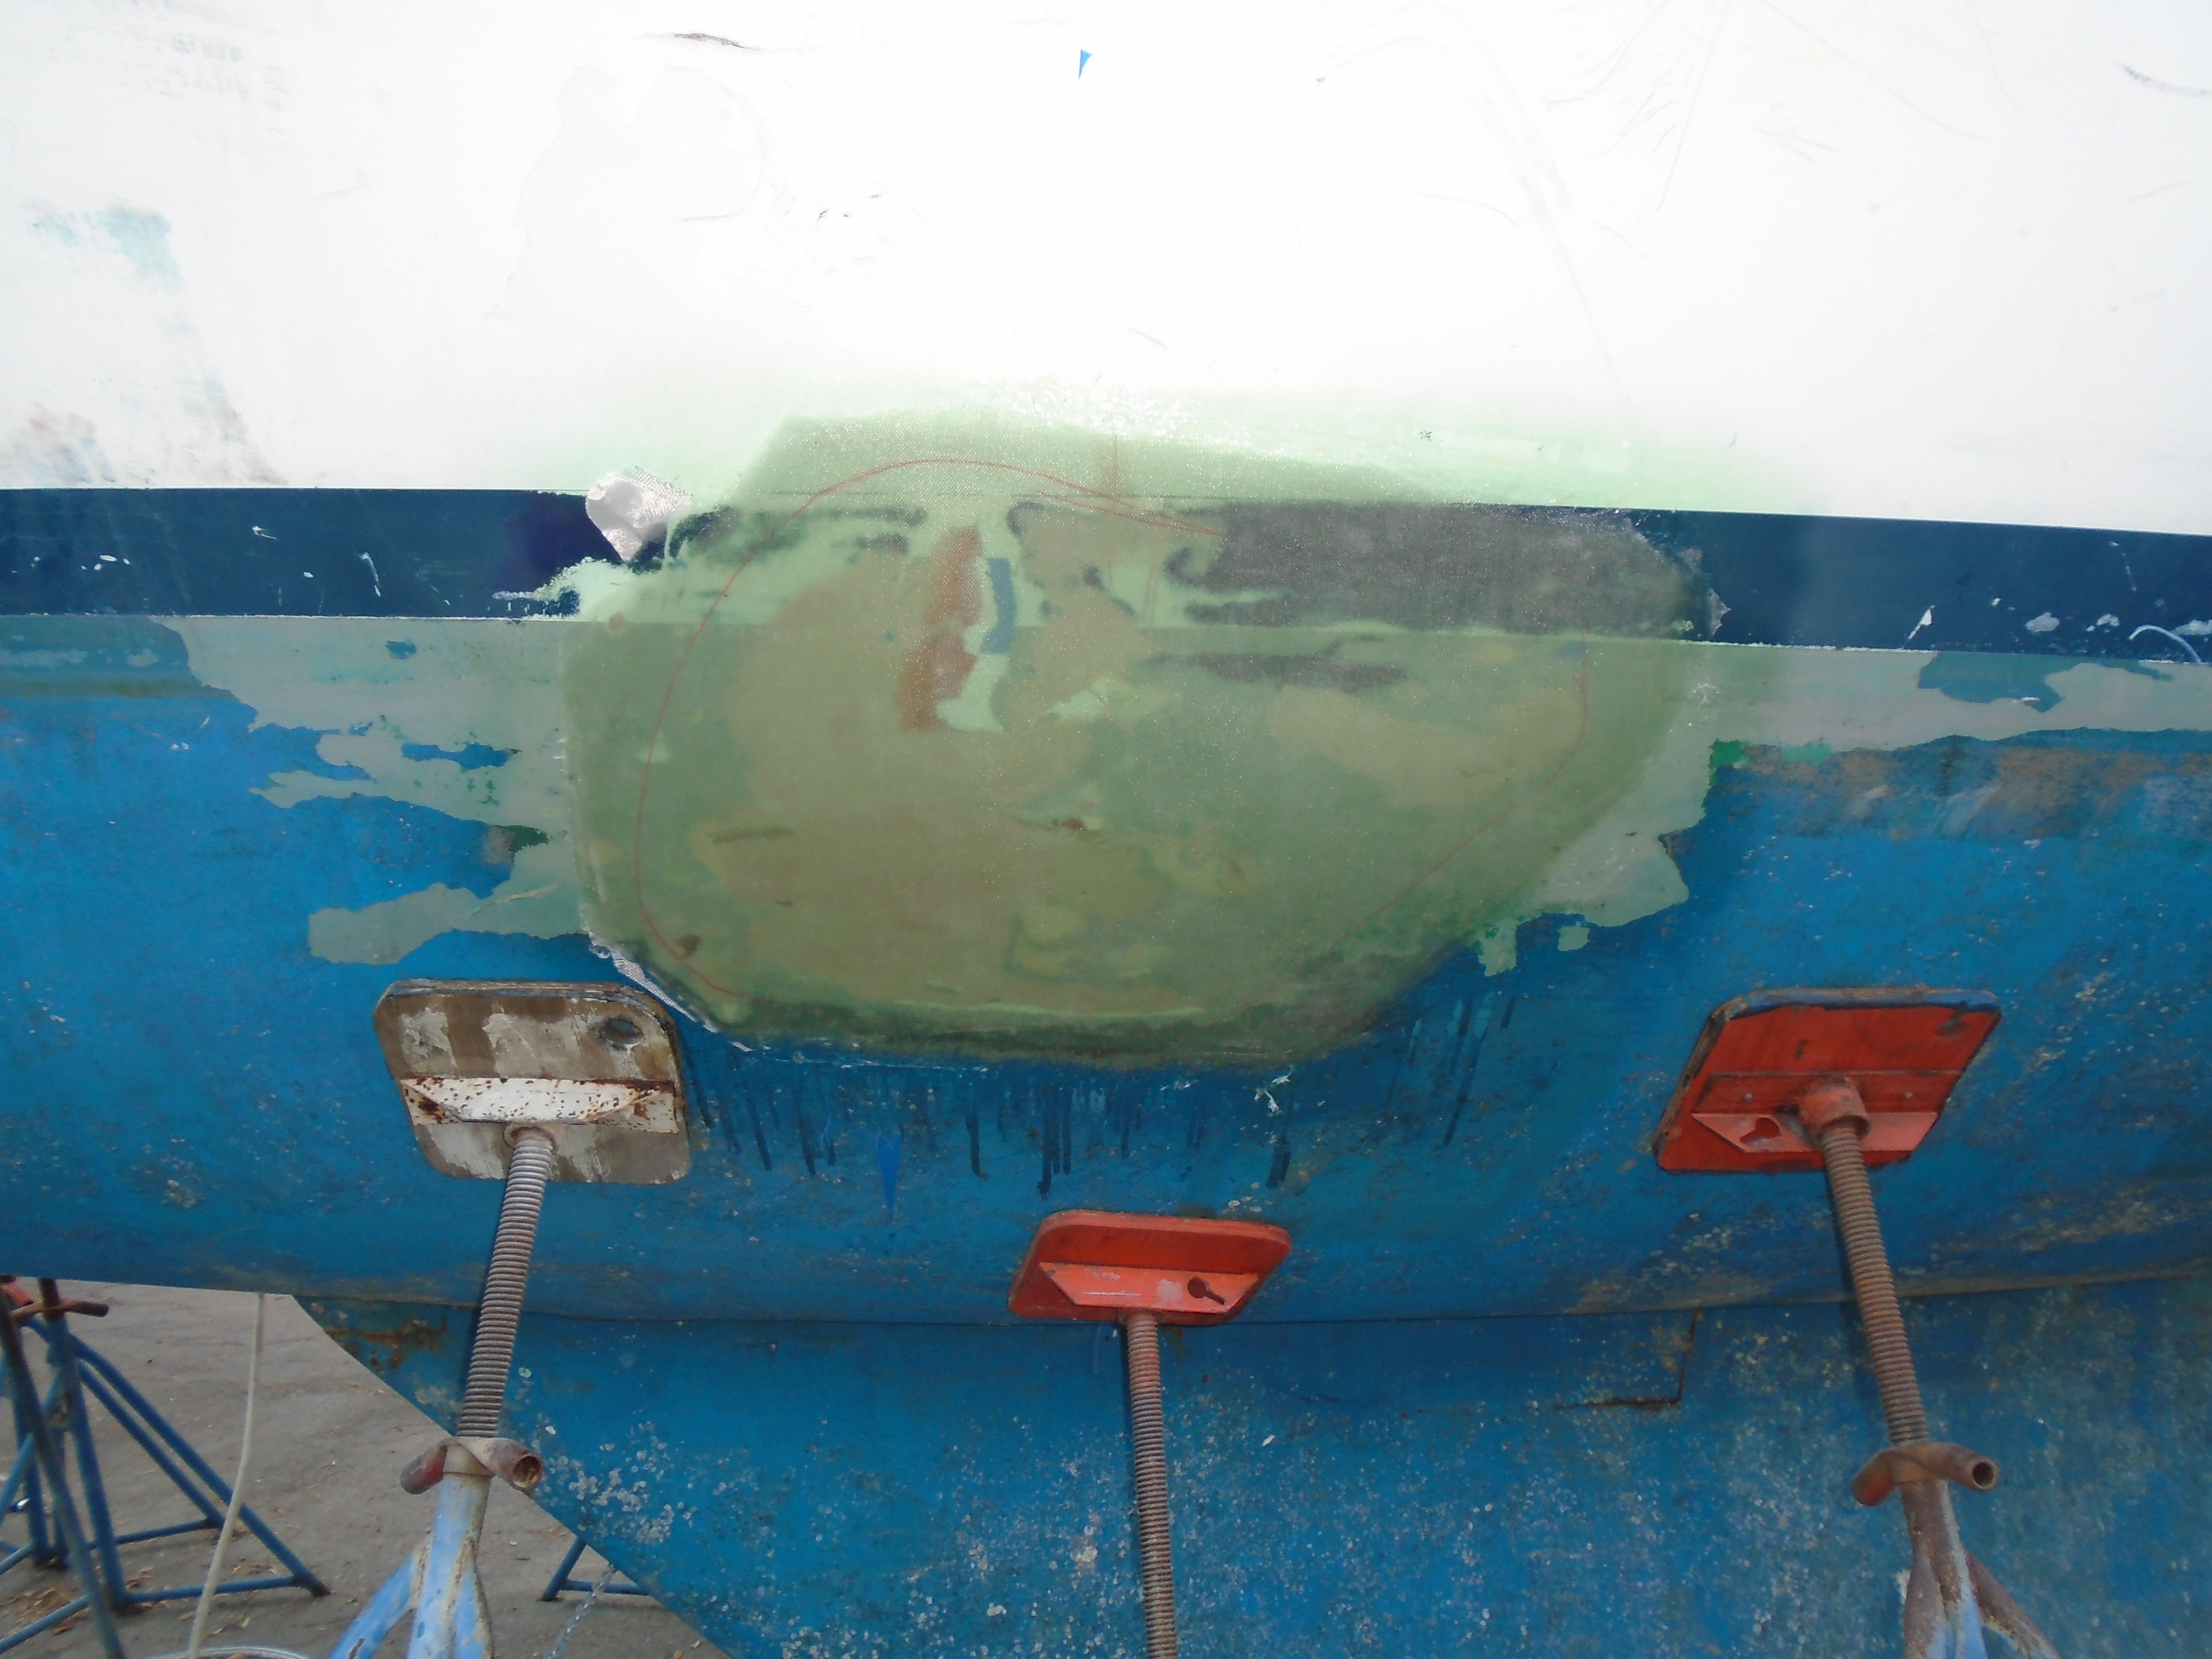
So first up, I was really curious just what was going on with this:
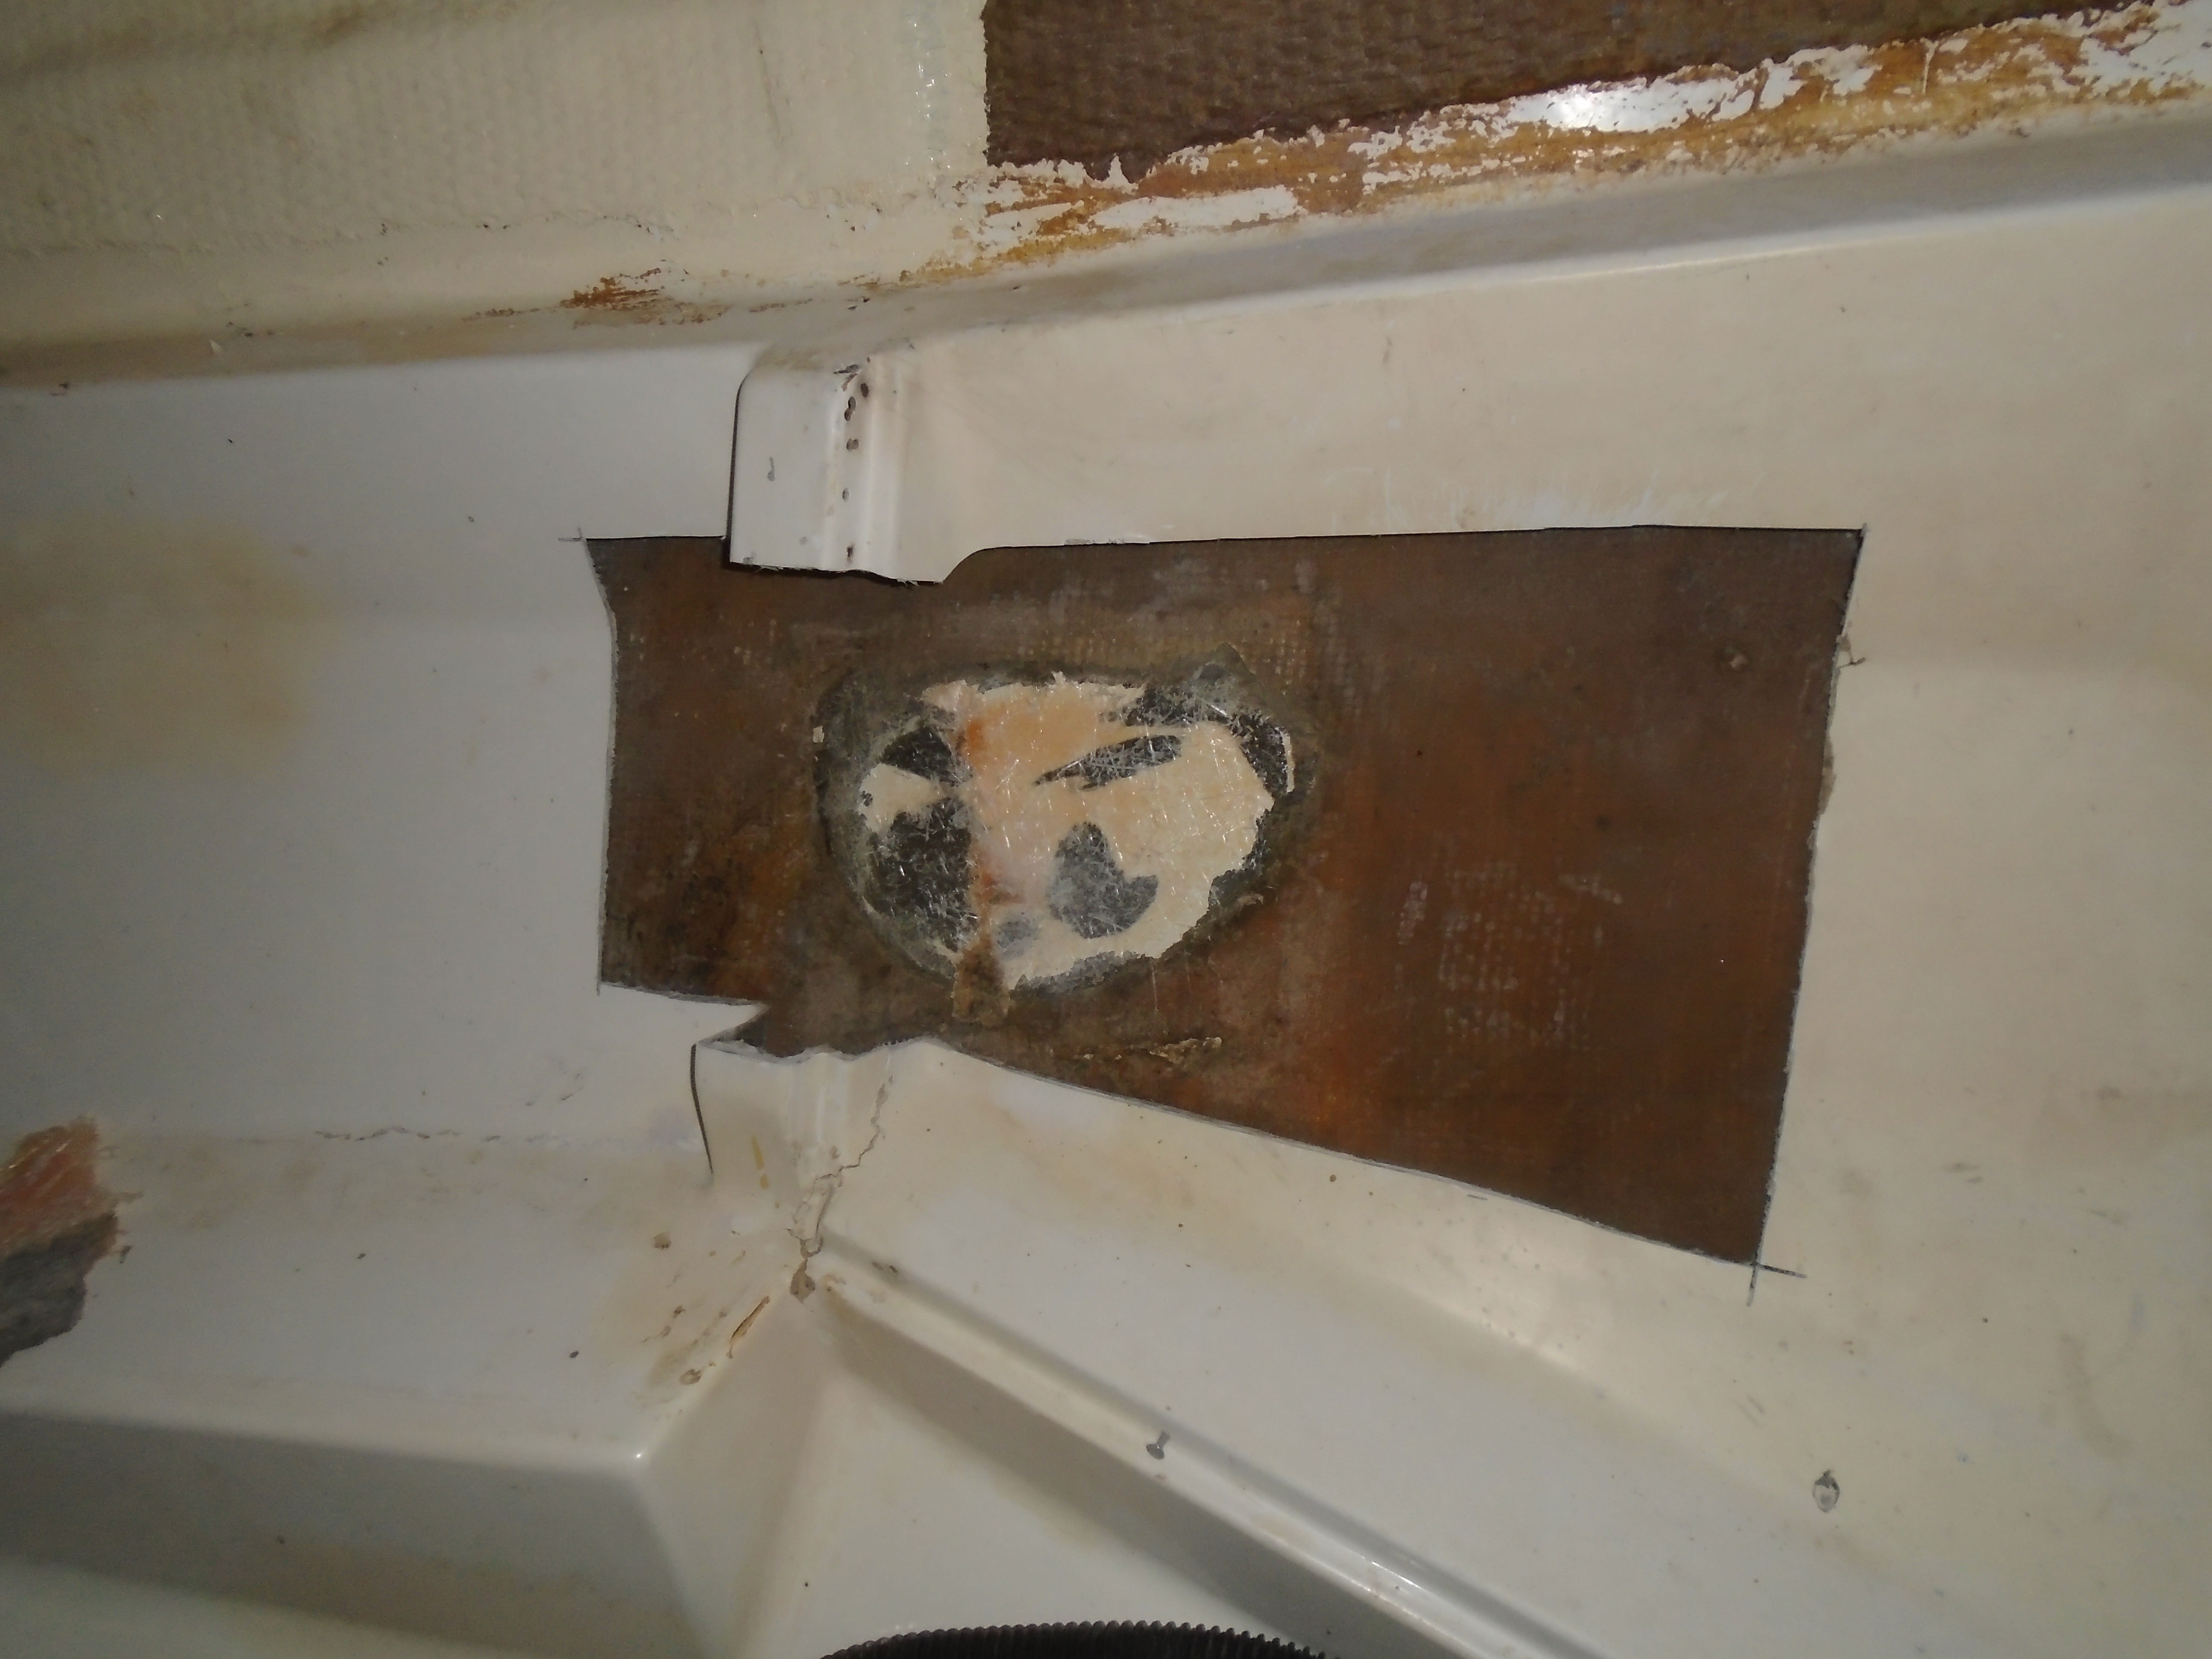
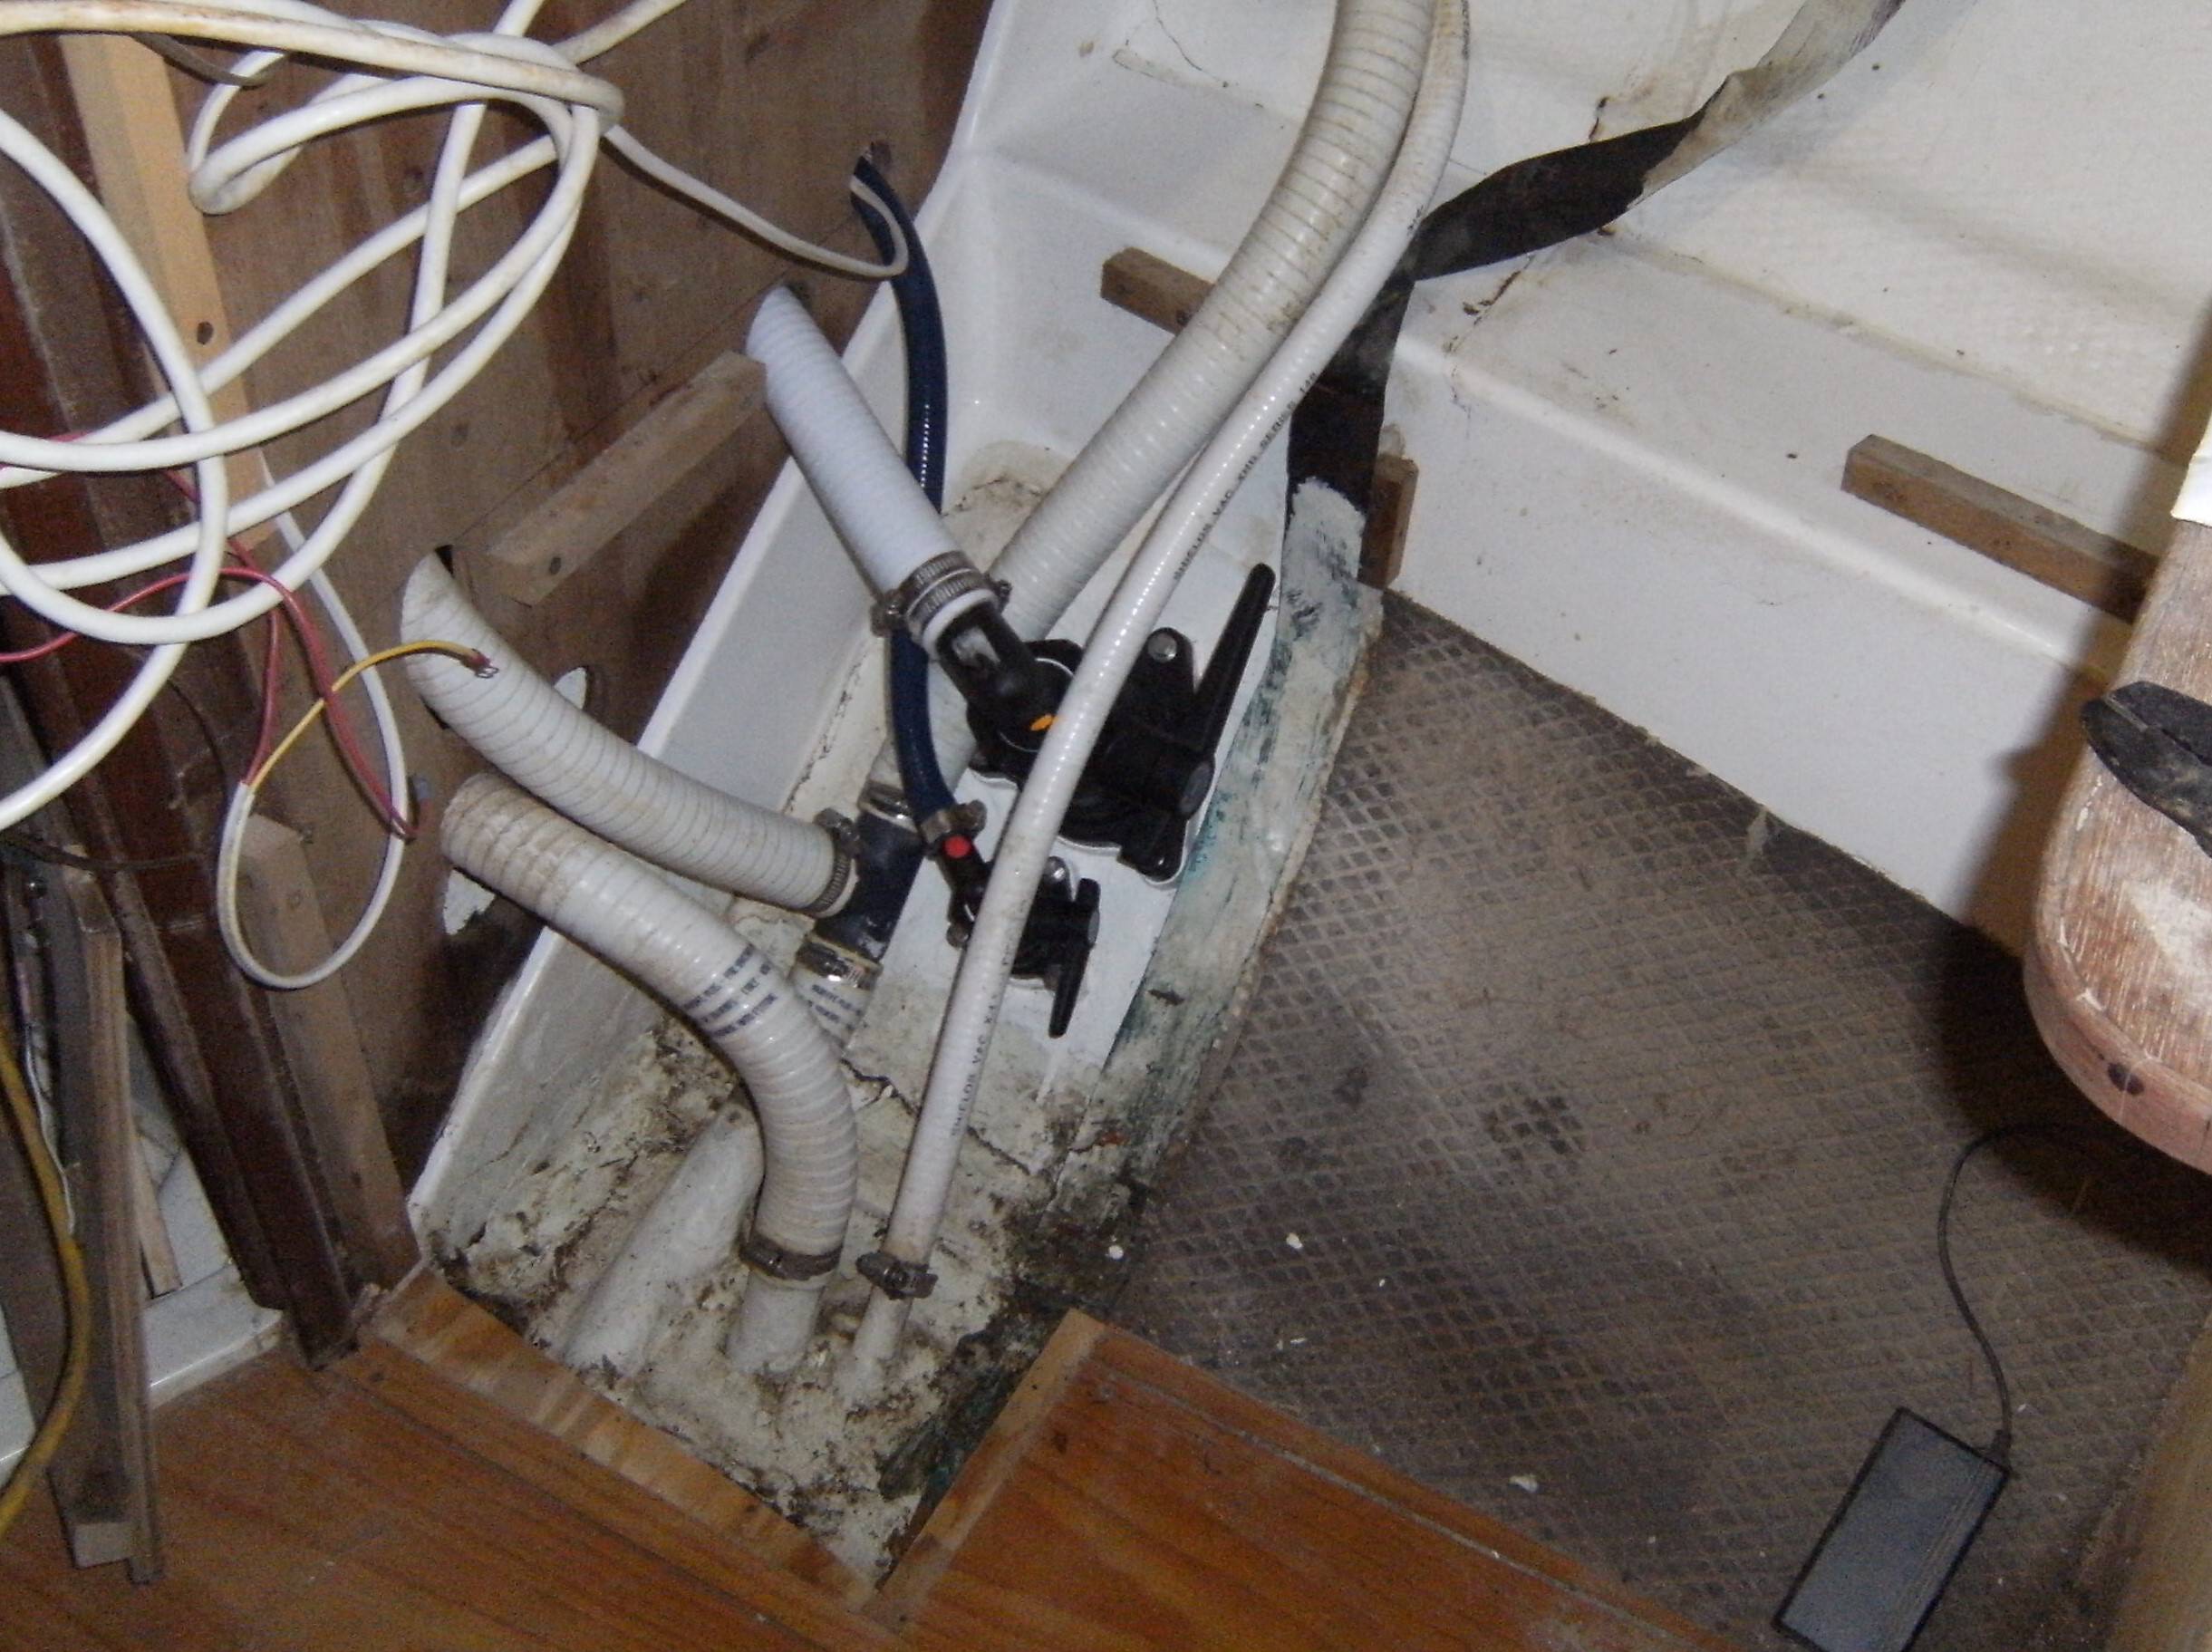
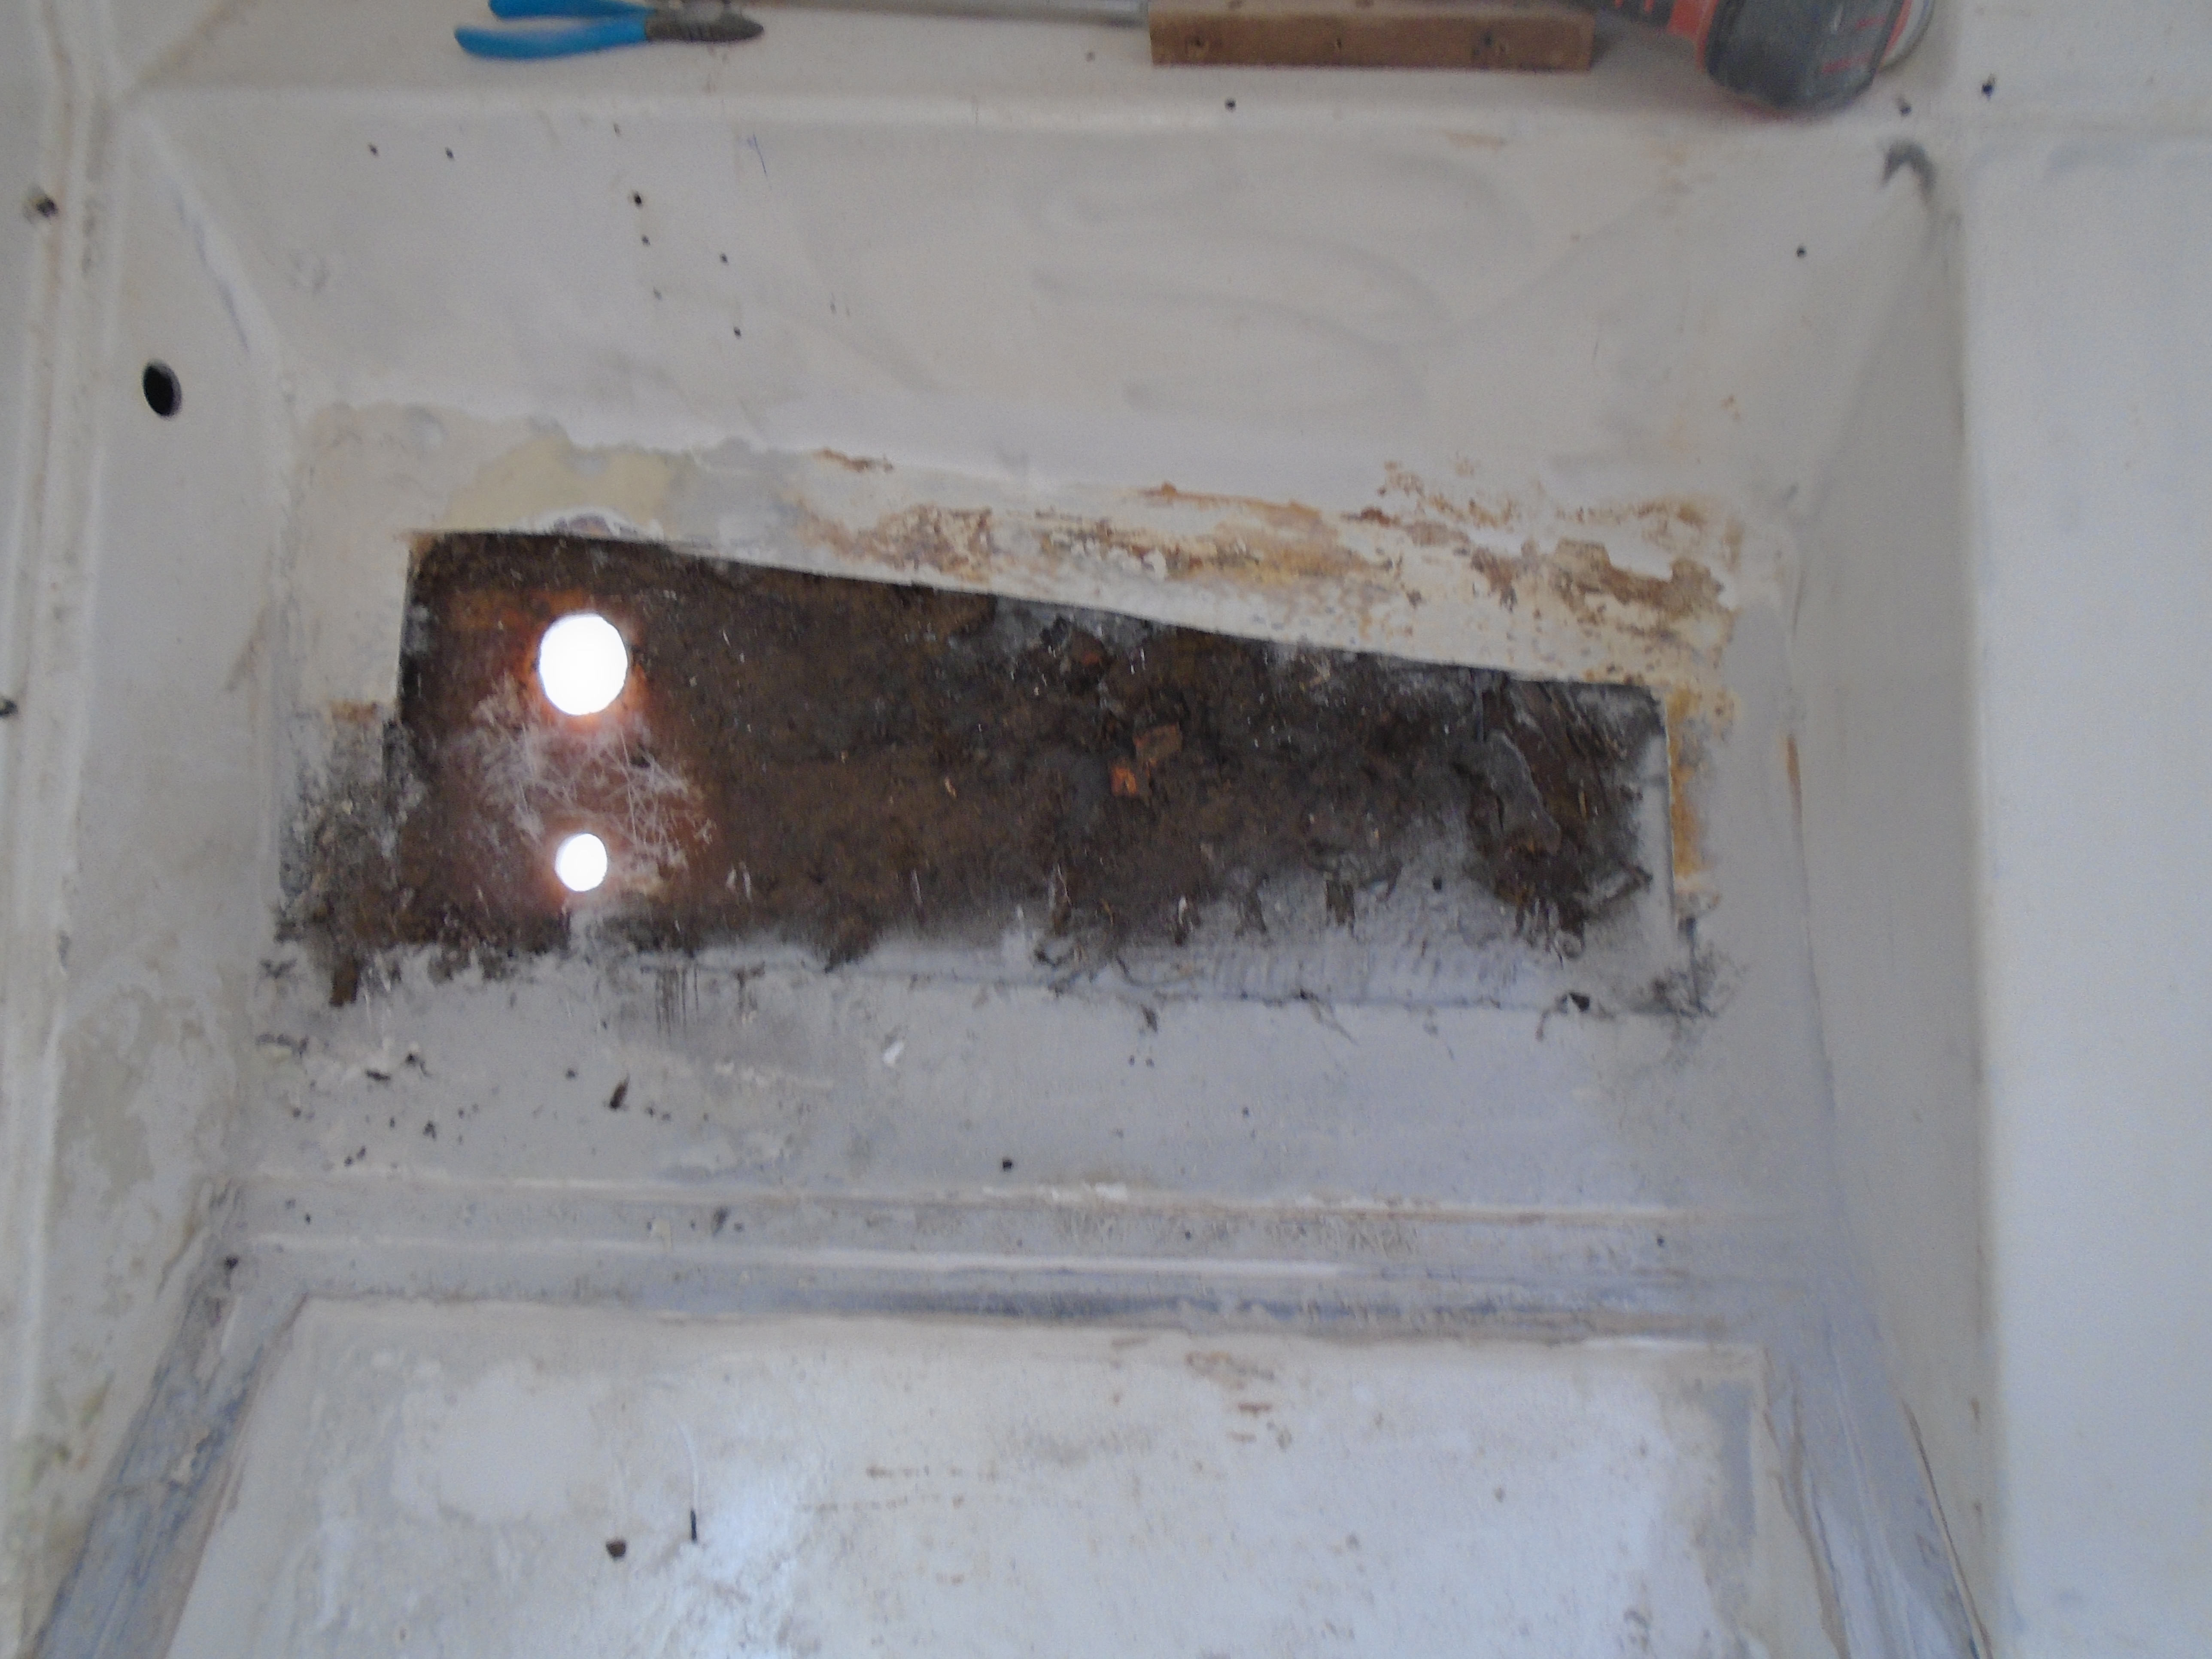
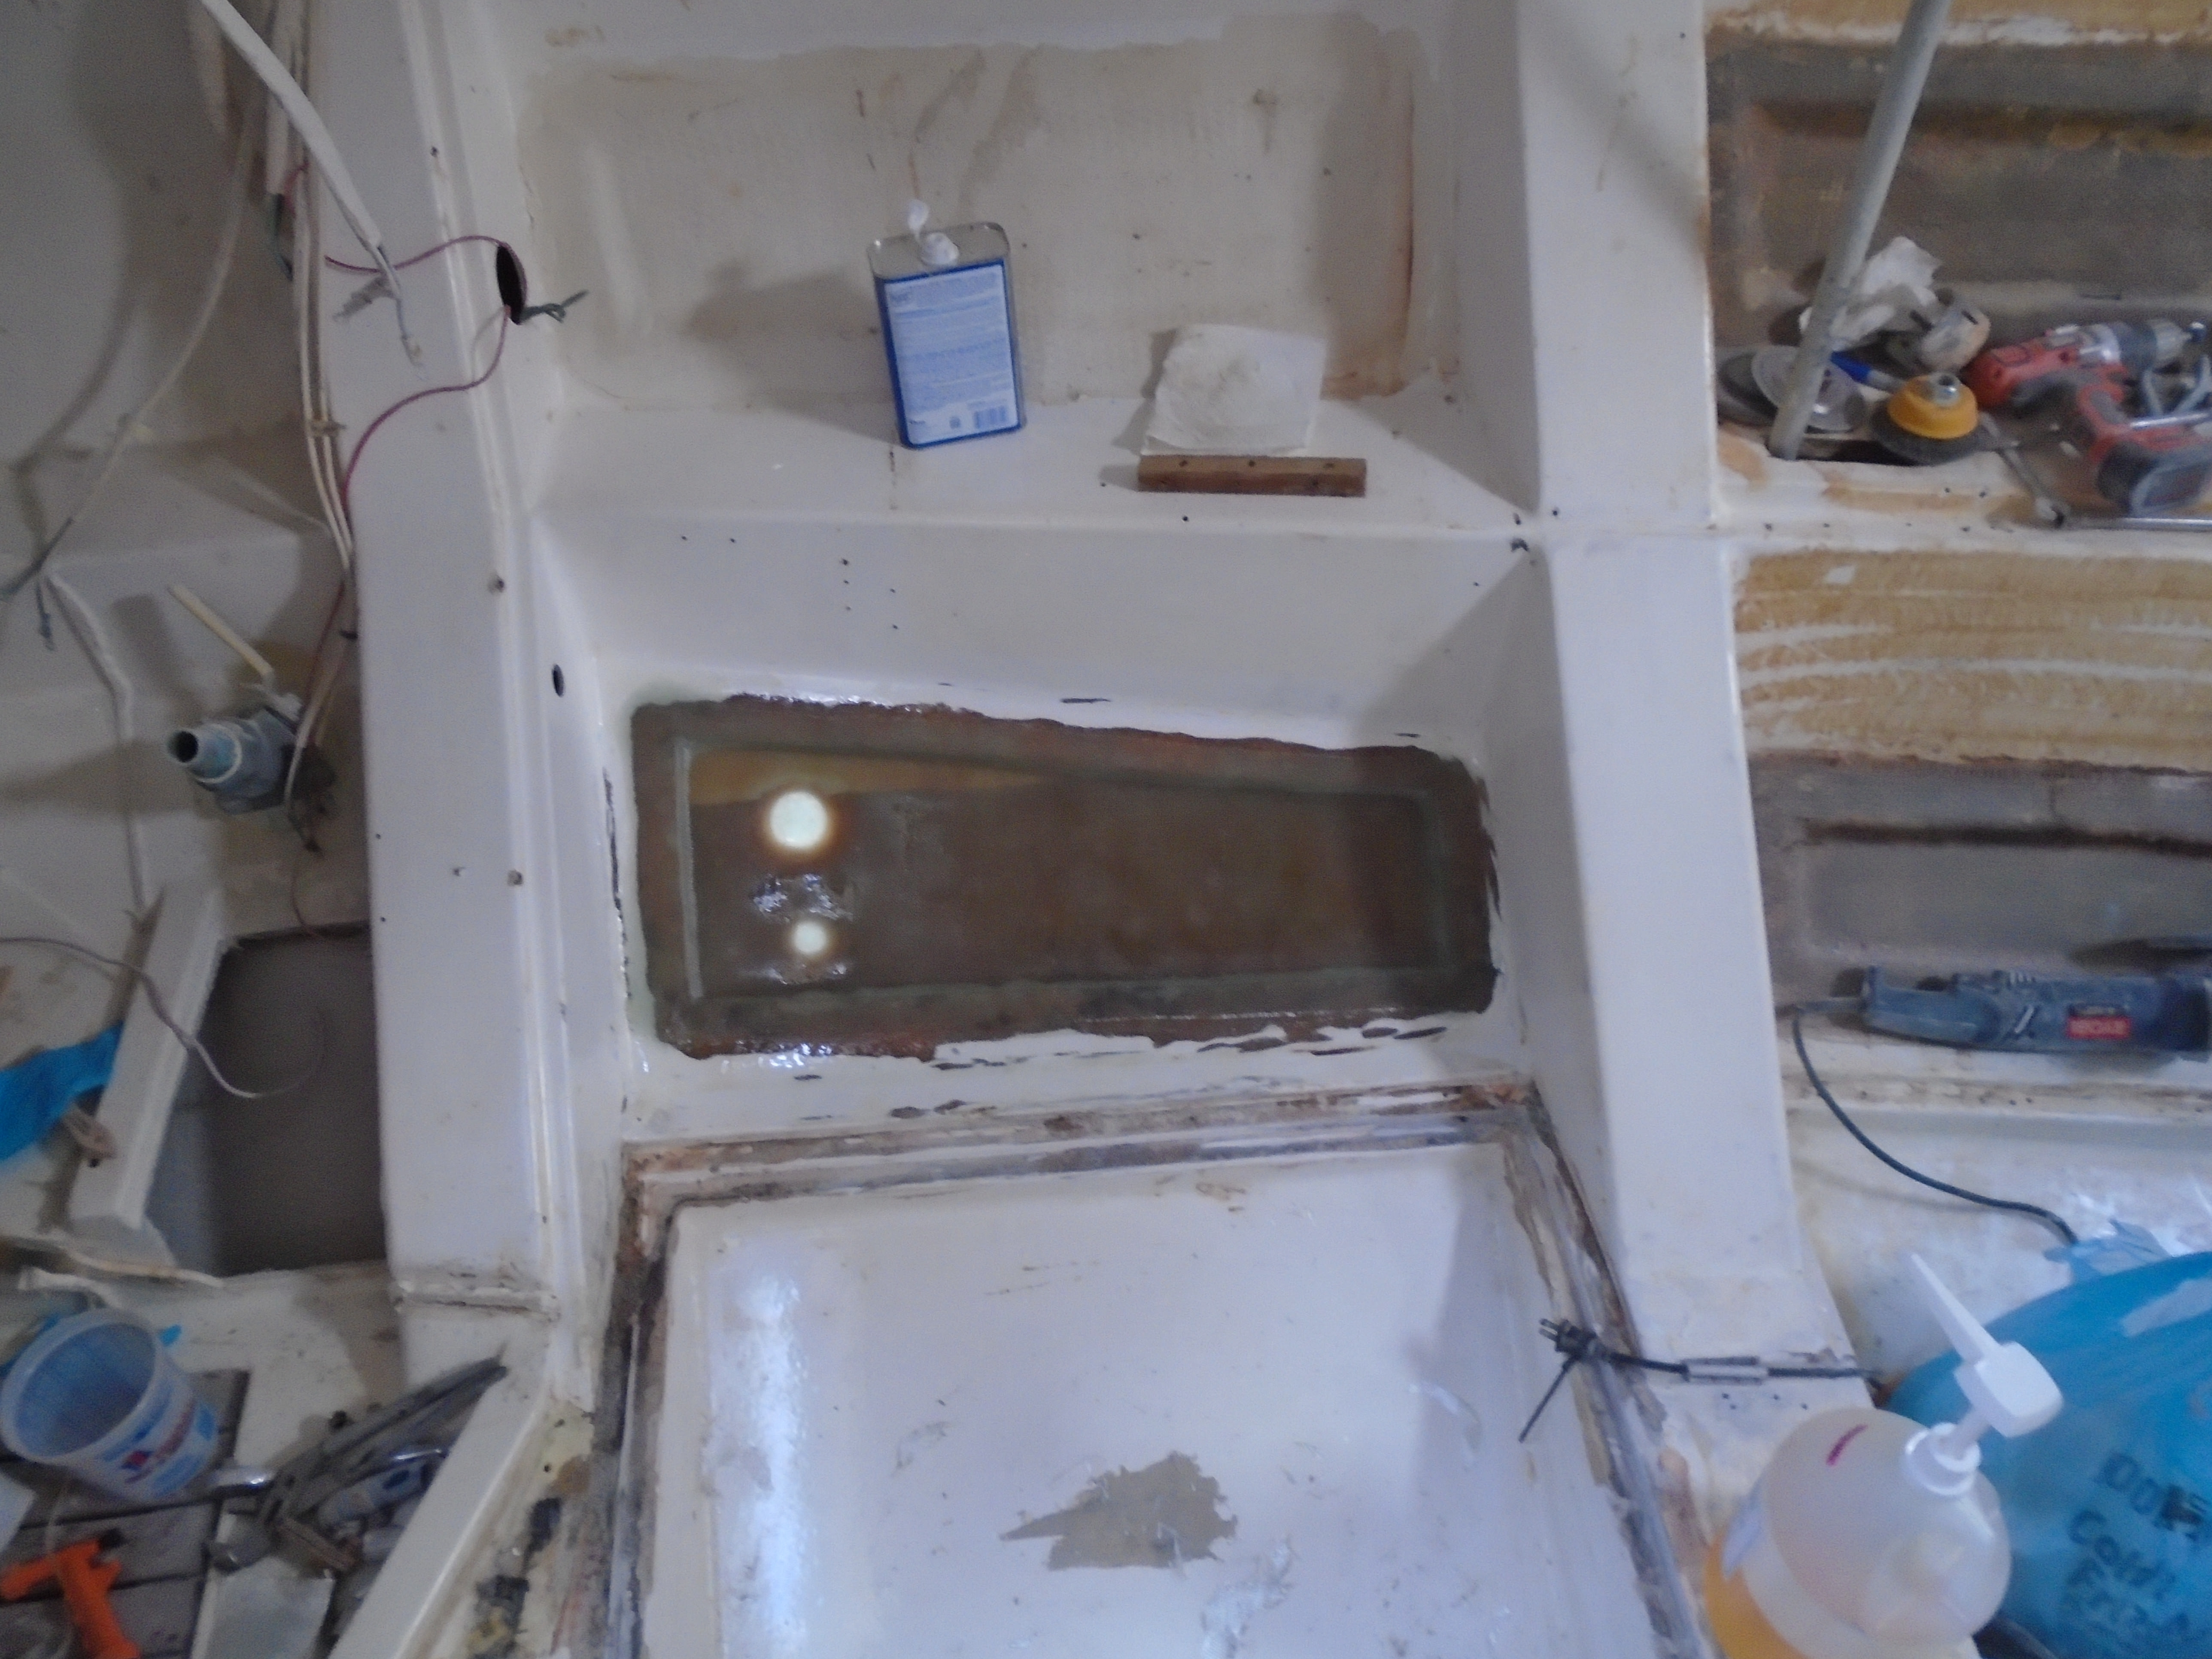
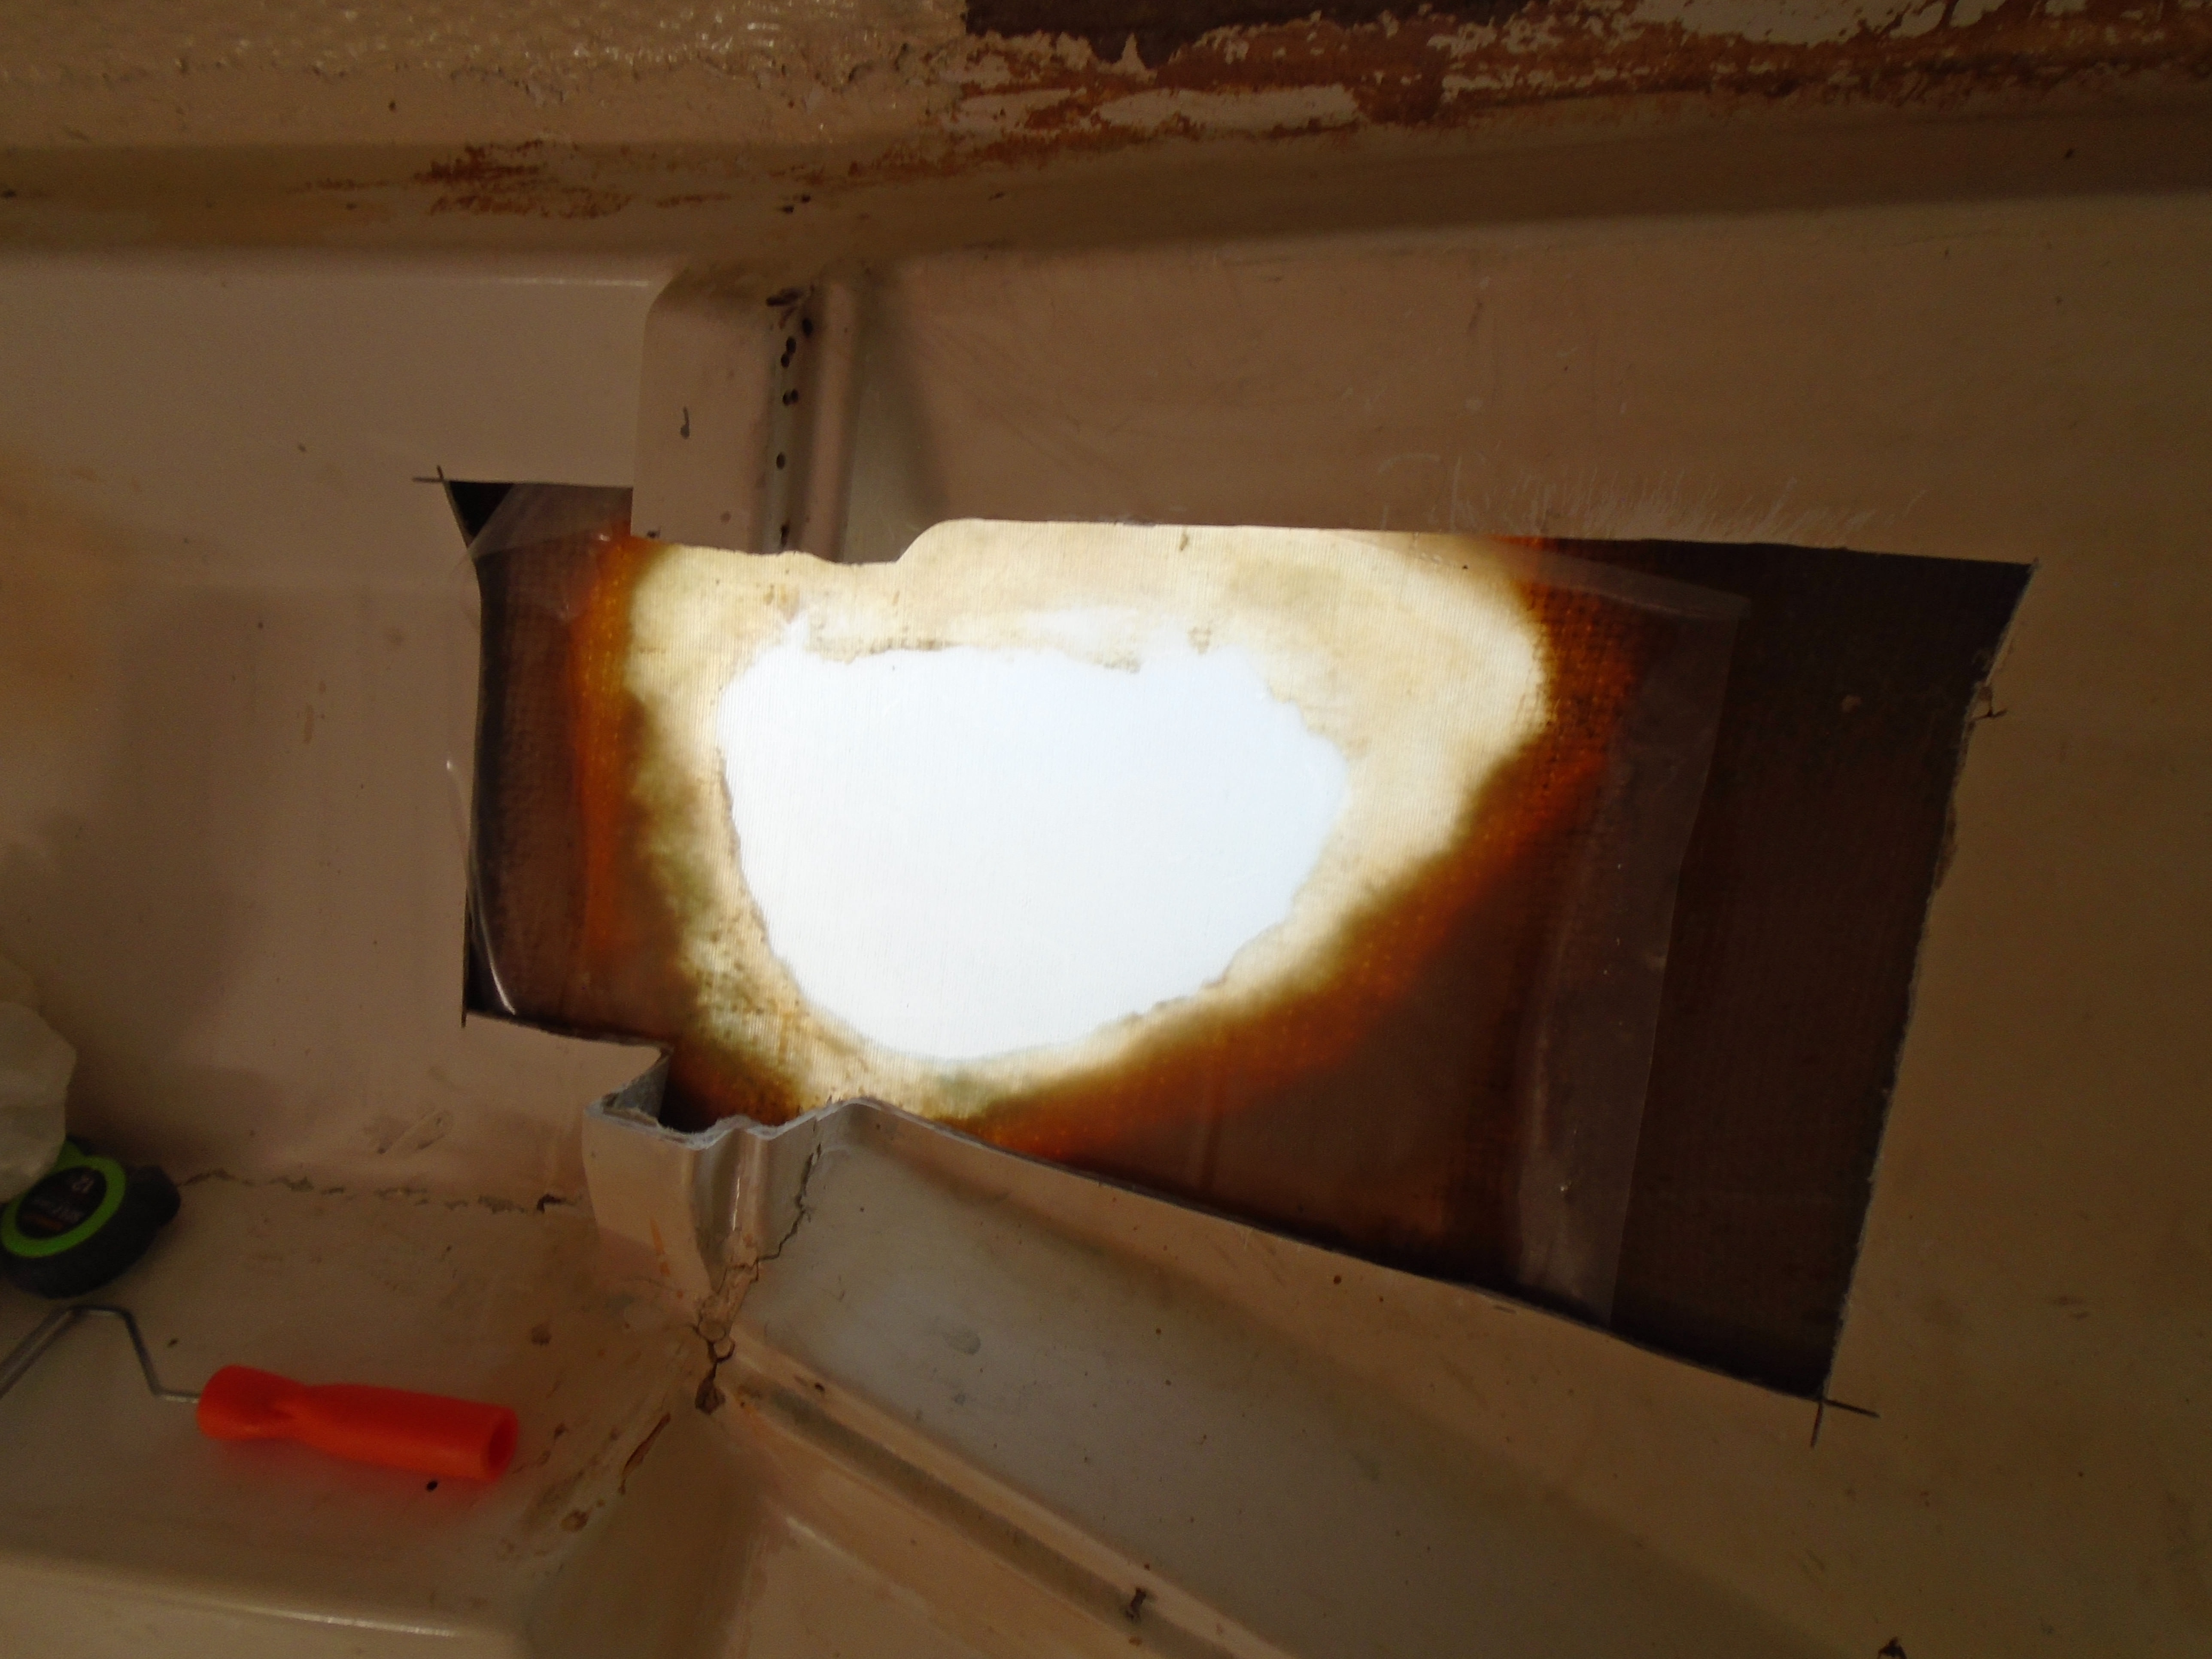
Port aft quarter, no apparent impact but obvious delamination of what was probably a previous repair. So first I needed to access the backside to see what I had. Part of the liner in the aft cabin had to be cut out:
Sure enough, a previous repair. And not a good one! I was able to pry off the backing patch panel by hand. It had already popped loose from the edge of the hull but was also not well bonded to the outer patch. This is the danger of using polyester resin to fix fiberglass.
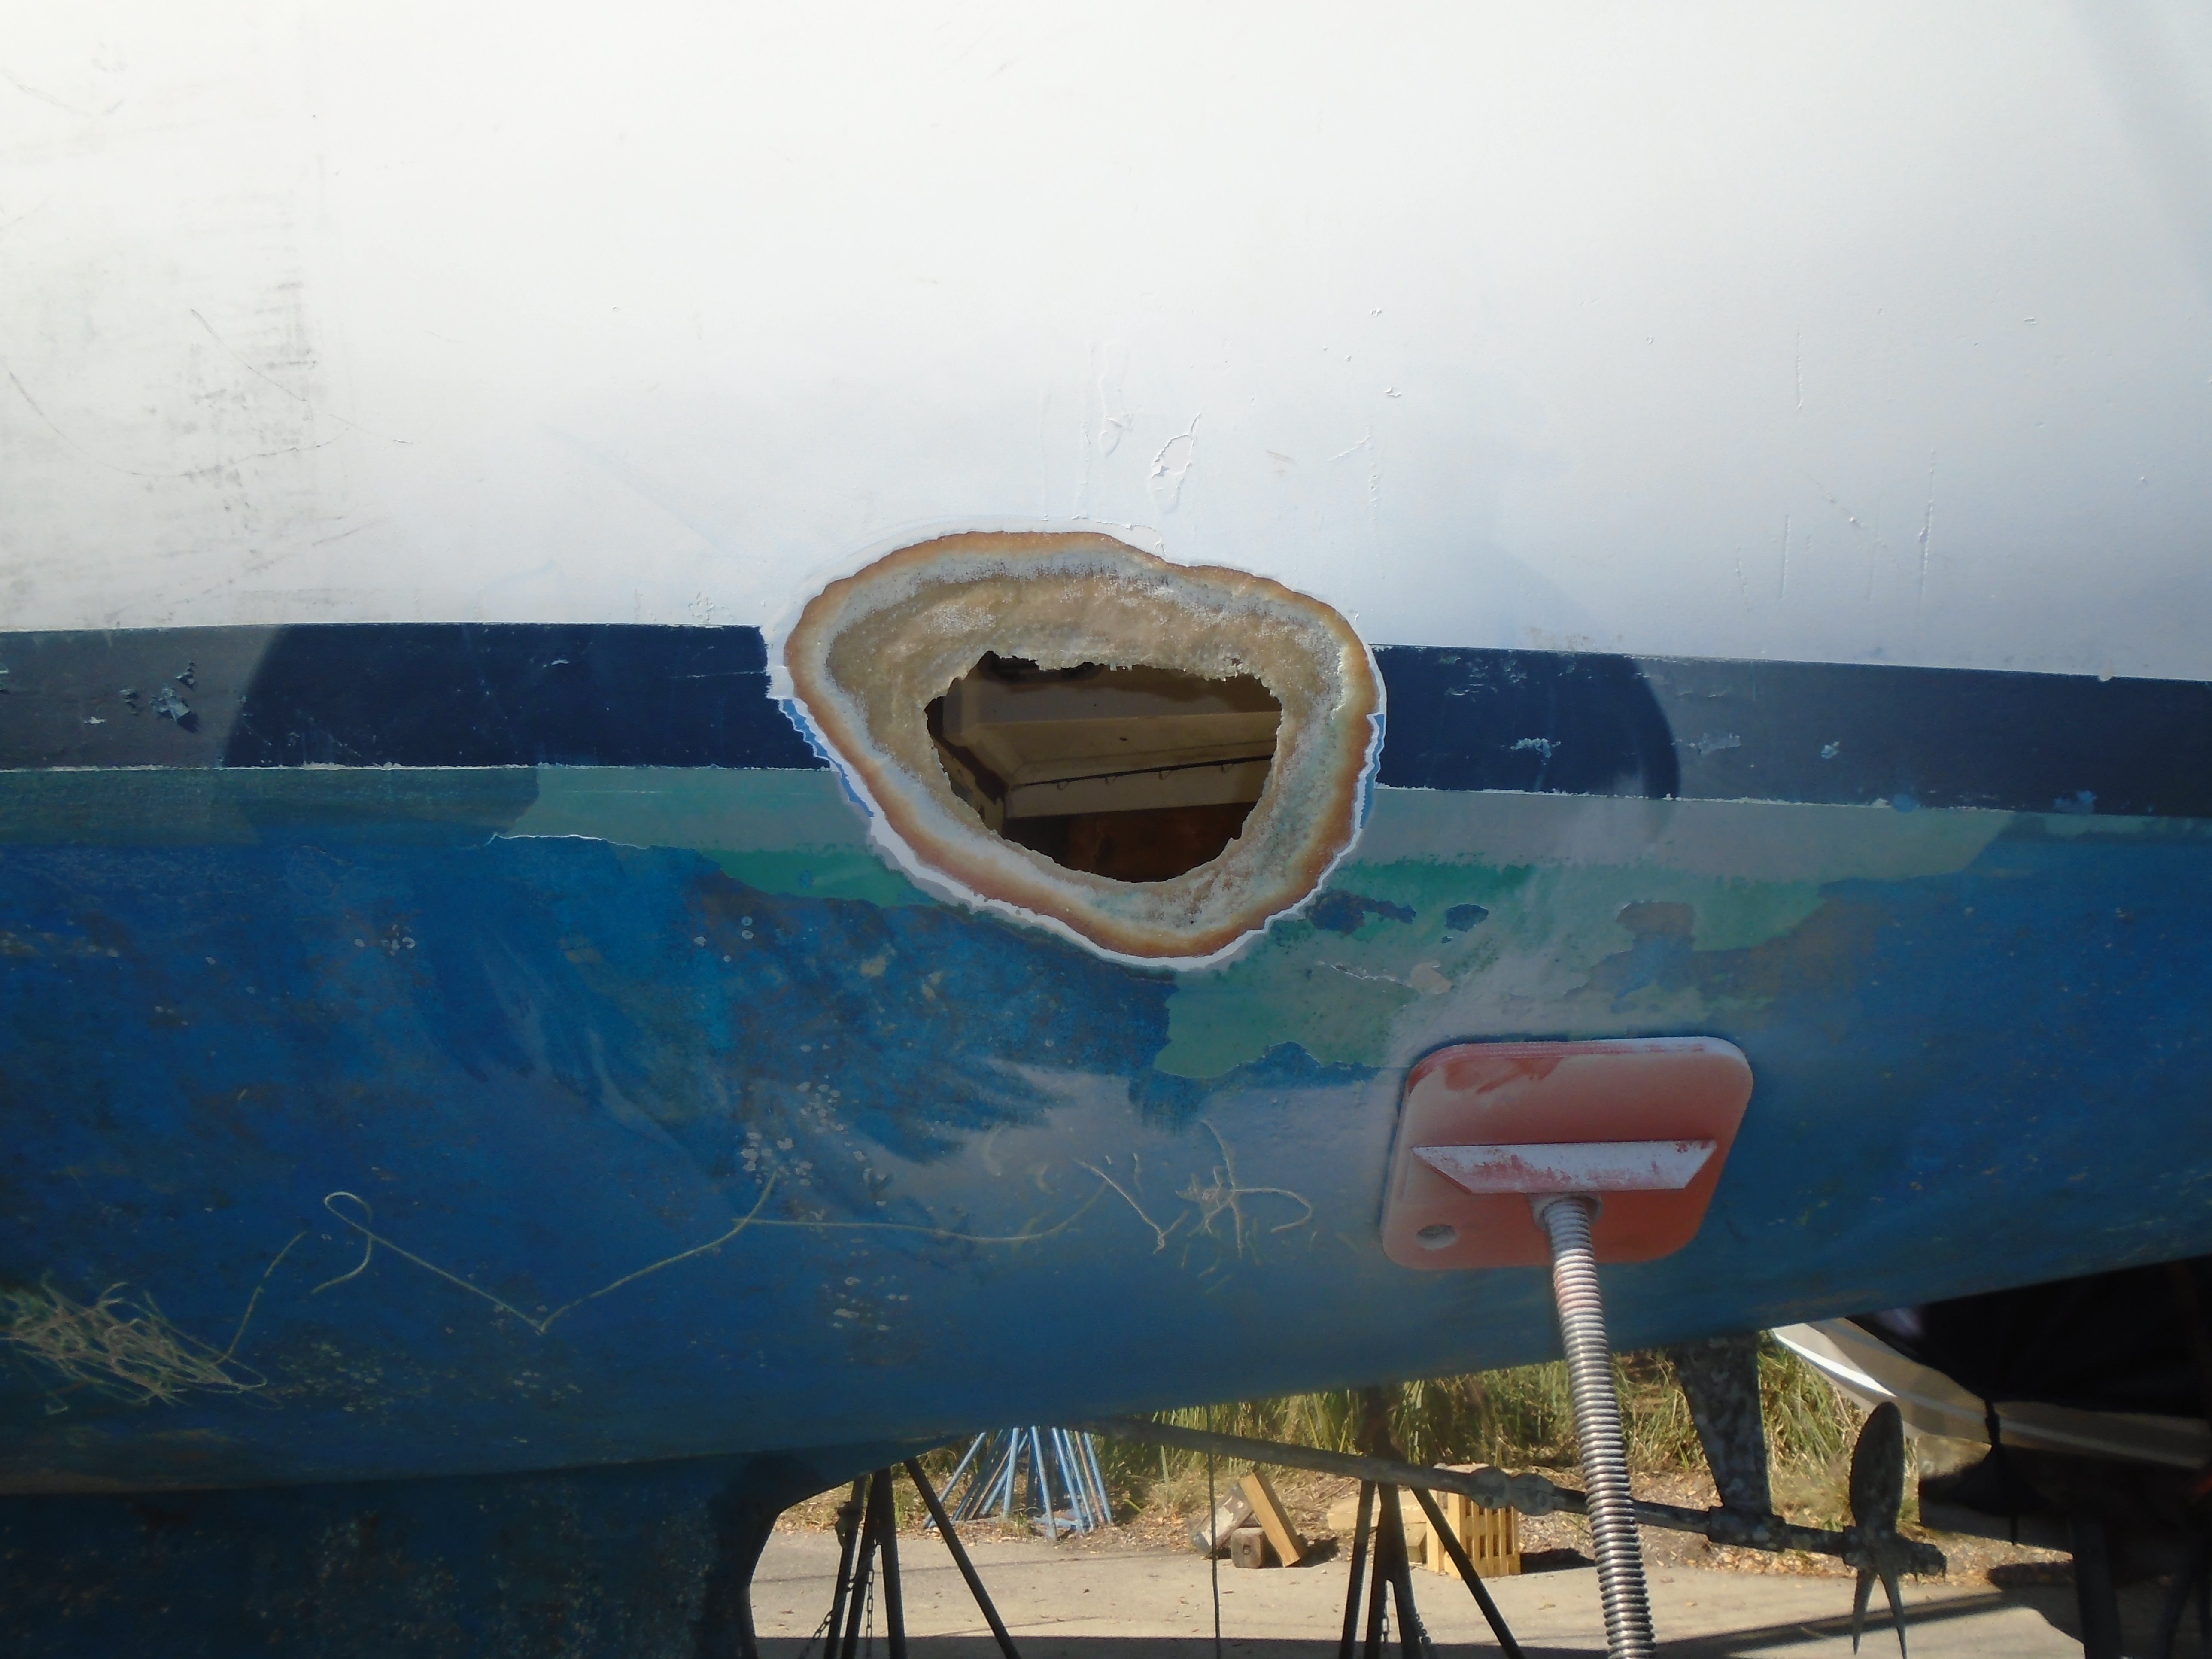
With the bad parts removed I had to grind the area a little farther due to some additional delamination at the edges. Then I started the bevel for the outer layers. Not ready to add them yet but for this hole it was better to do this first:
Next up is to prep the inside of the repair. First thoroughly clean (yep, always clean first. For outside gelcoat or paint, use wax & grease remover first, then acetone. If not an issue I wipe repeatedly with acetone) then I used the grinder with a sanding disc (I call it a flap-wheel but it may have another name) and ground thoroughly about 4 inches around the edges of the hole. I then traced this area onto some paper to cut the glass for the inside patch.
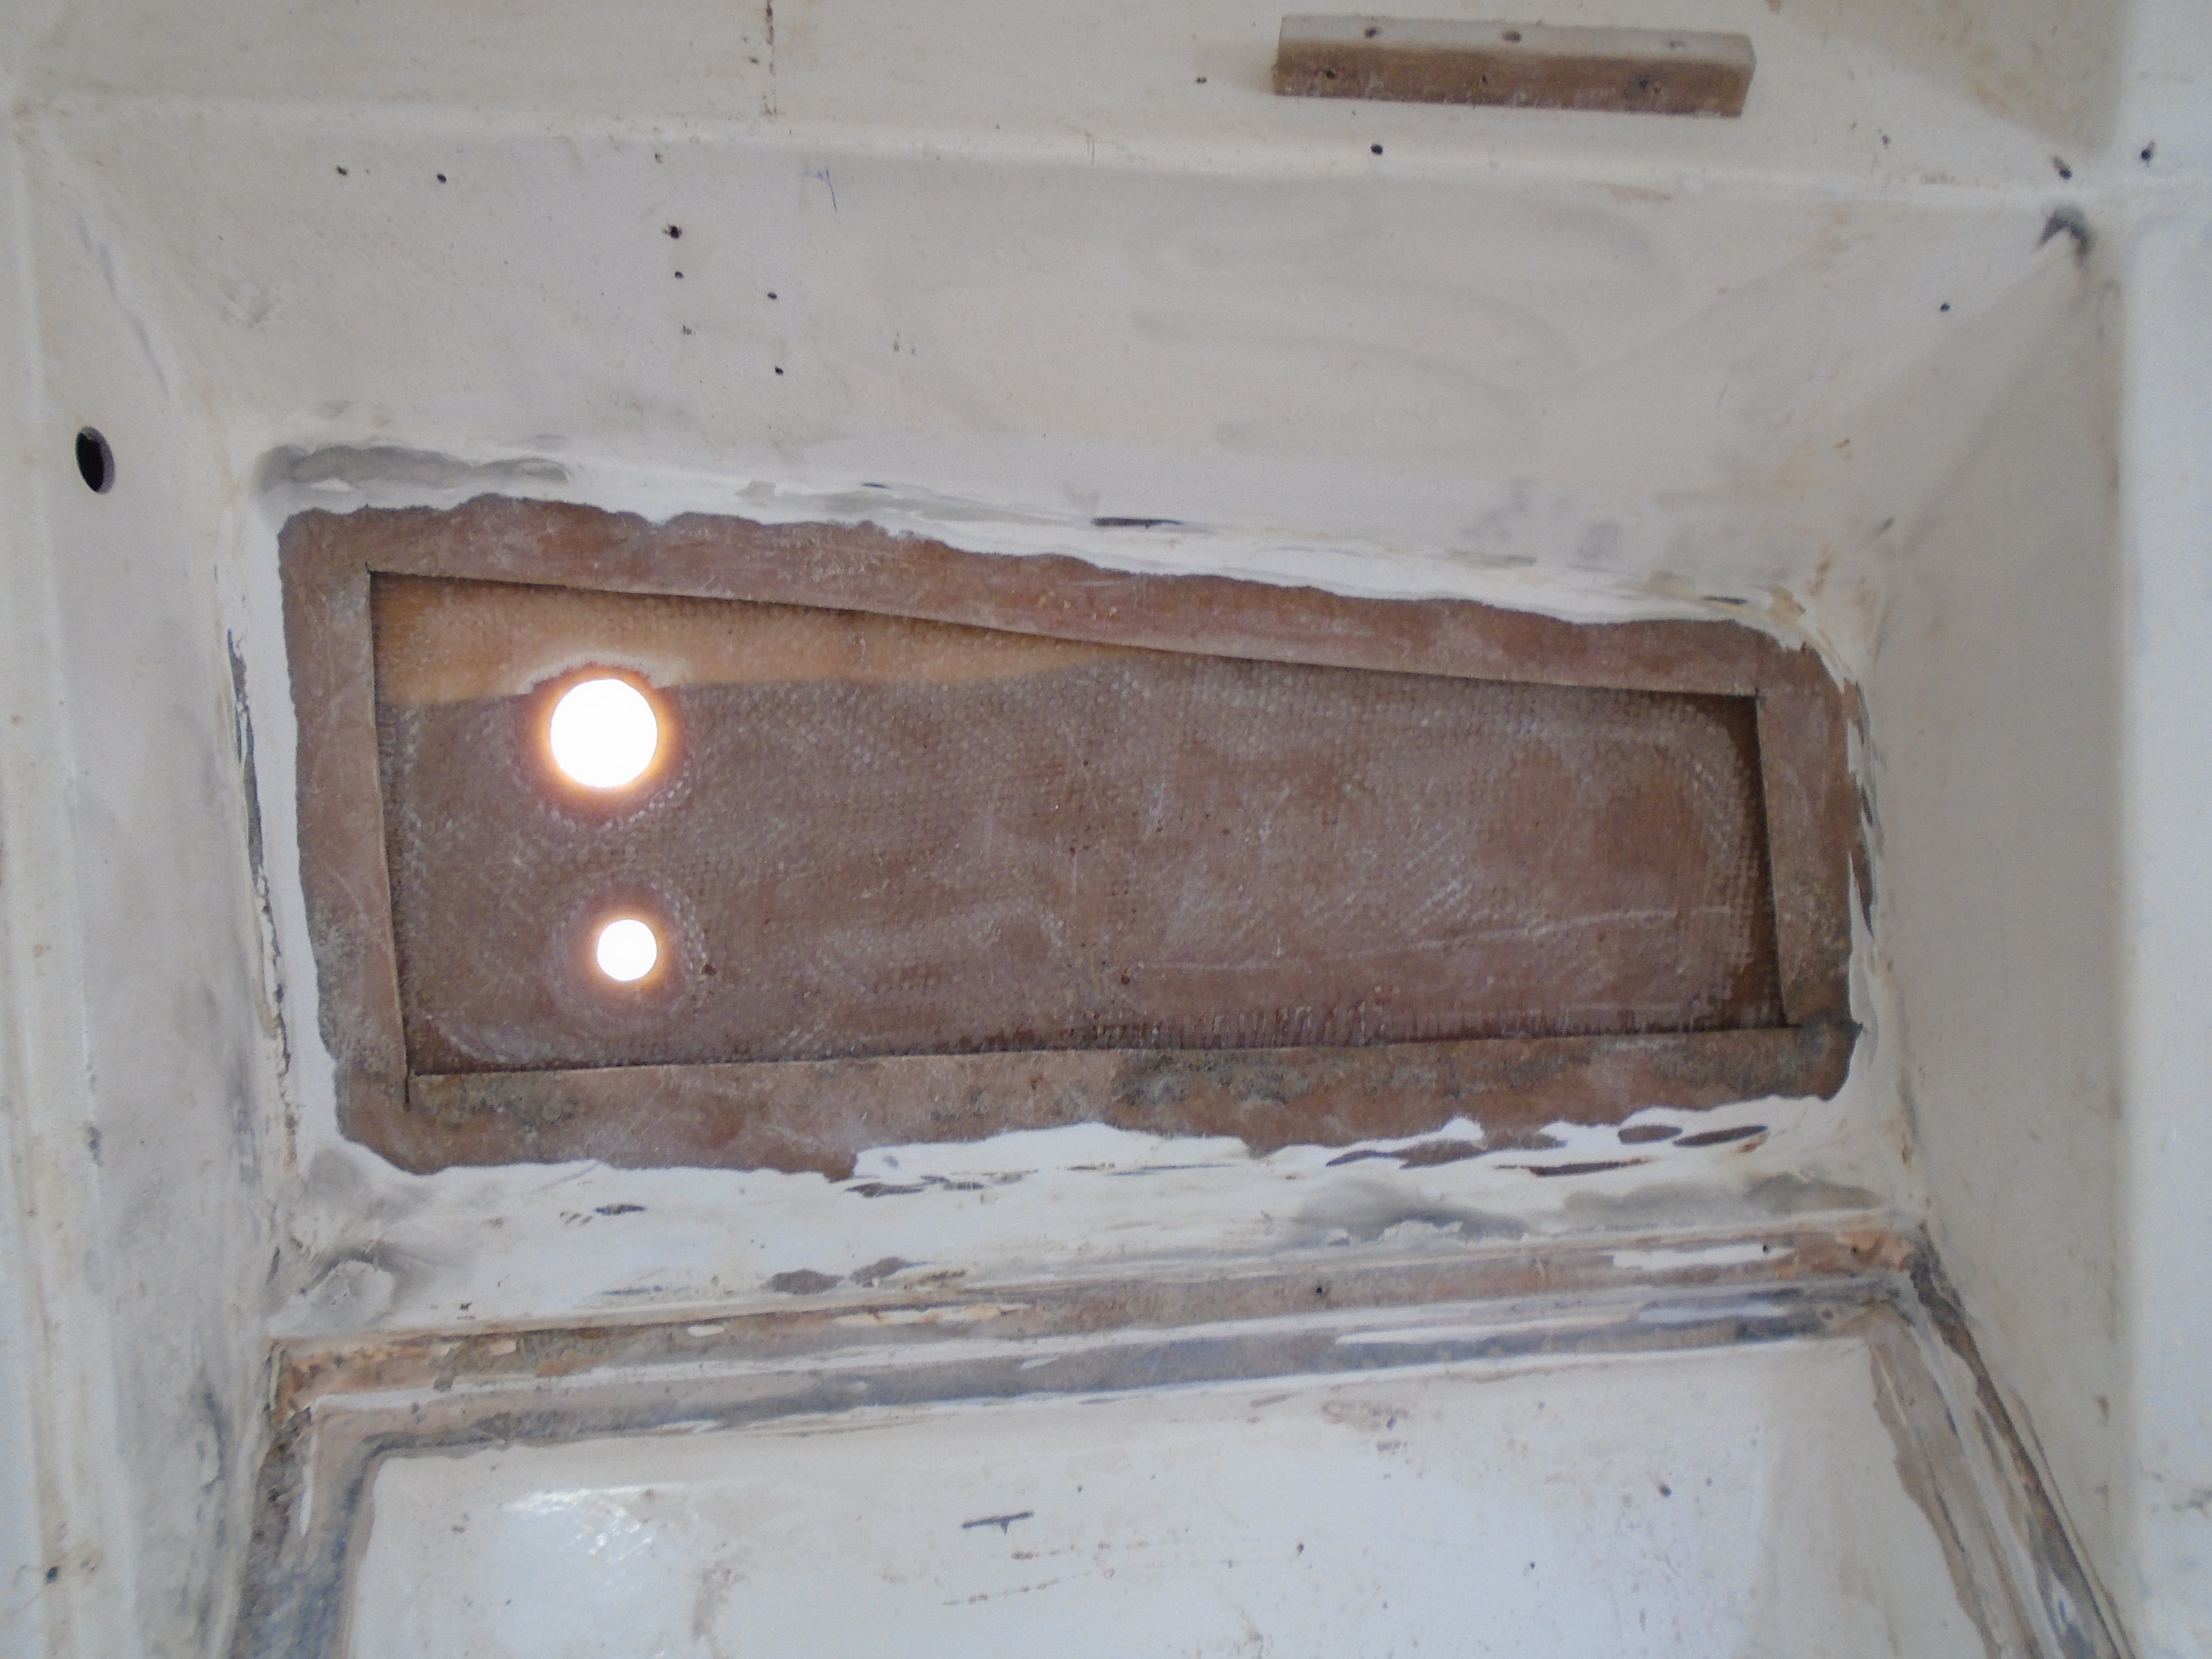
With a hole this size and orientation I couldn't lay a wet patch because gravity works! It would bulge out too much before hardening. I also couldn't make a hard patch due to the contour of the hull - the resultant repair would be too thick. So here's how I solved the problem: a trip to the hardware store to pick up some plastic painter's dropcloth. You can buy it in sheets of varying thickness from .4 mil all the way to 6 mil, maybe thicker. I have found that .4 mil is a little too flimsy but does allow for lots of flexibility for compound curves. 6 mil only works for flat surfaces. My go-to sizes are .8 mil and 2 mil. Cut a piece larger than the patch panel and lay on a flat surface. Then start the patch panel layup on the plastic. For this panel I used 6 layers of alternating 10 oz. E-glass cloth, 7.5 oz. E-glass cloth and 8.9 oz. S-glass cloth. Wet out the first three layers, roll the bubbles and excess resin out and walk away for about an hour (depending on temperature. It should be sticky but not wet, in cooler temps it may take up to 2 hours). I came back and added the next three layers and let it sit until this layer became sticky but not wet to the touch. I also brushed resin from this mix onto the hull around the hole. Then picked the patch up by the plastic and placed it in position. Use moderate pressure with a roller on the edges to stick the panel to the hull. Keep working with harder pressure against the plastic barrier but don't mess with the center. Then let it harden:
Patch panel from the outside:
After hardening I have a solid panel to work with on the outside. I will have to scrub the amine blush off and sand the patch to roughen the surface for a good mechanical adhesion of the outside layup. Once the patch hardens, the plastic can be easily peeled off the inside.
I couldn't use this technique for the other hole. More on that next time.
Cheers,
Mark

