Repairing Hunter 40 damage from Hurricane Matthew

May 8, 2013
629
Hunter 40 Dataw Island, SC
Making things easier climbing in & out:

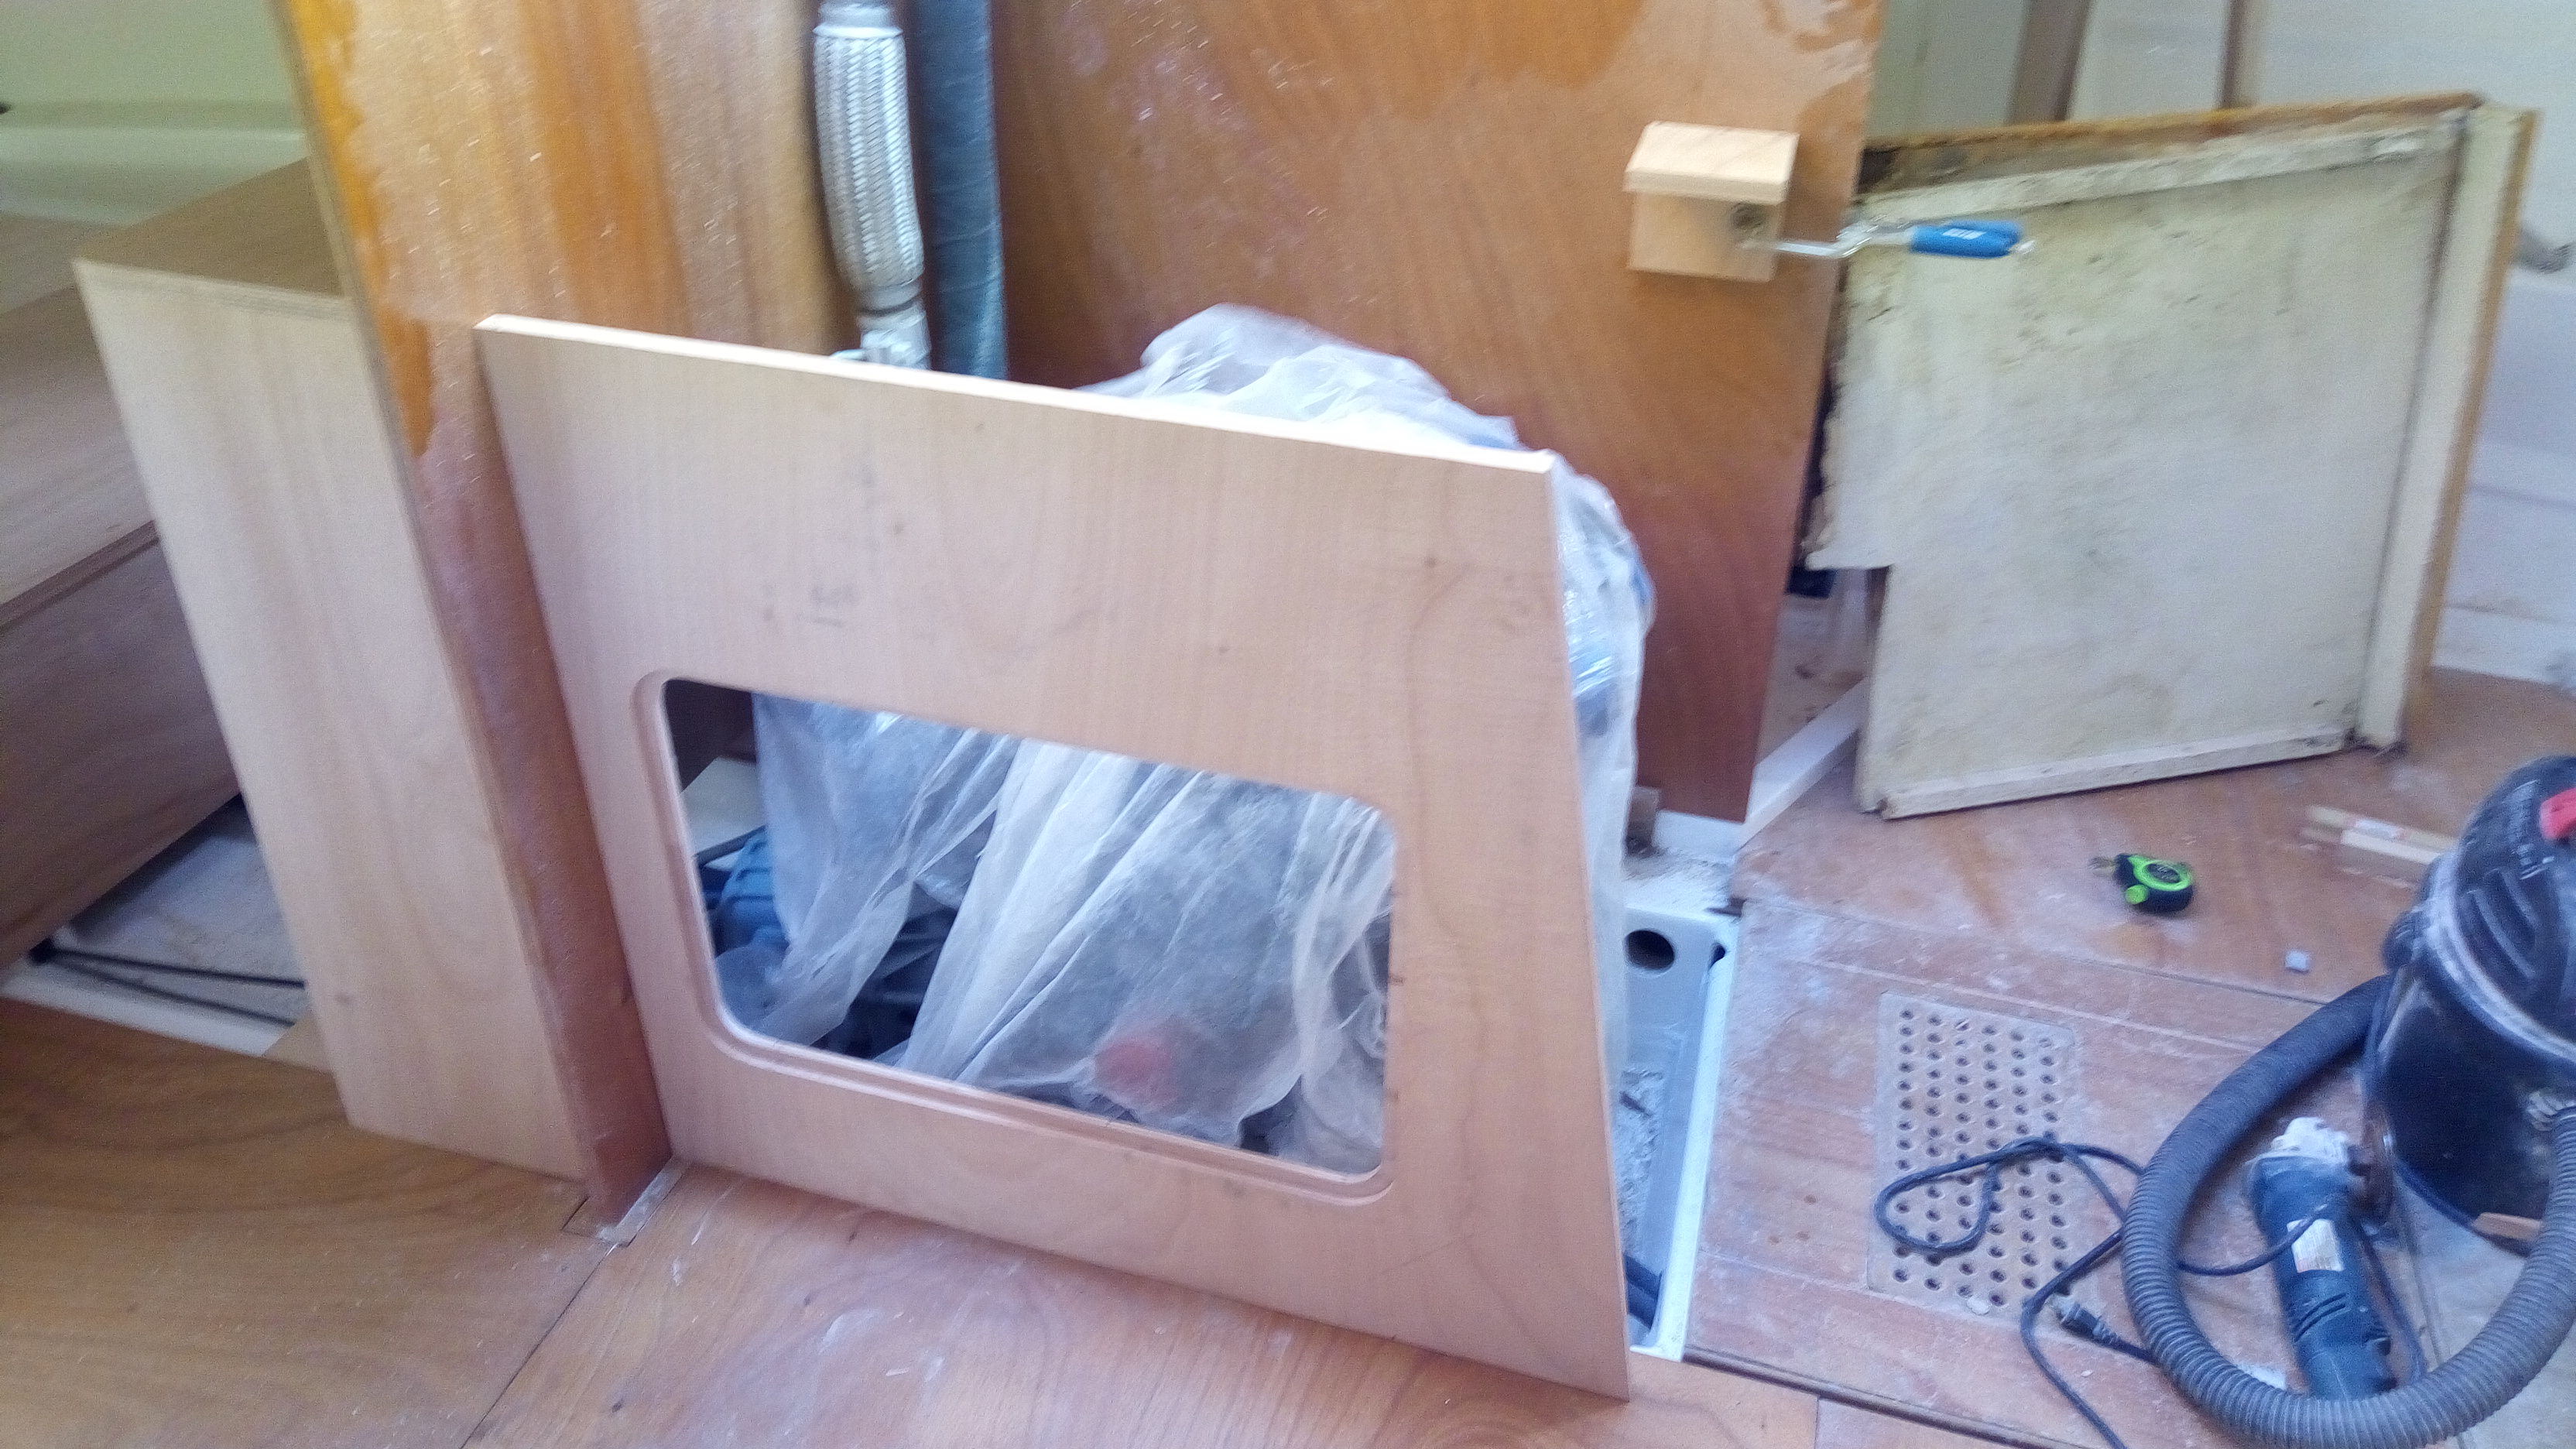
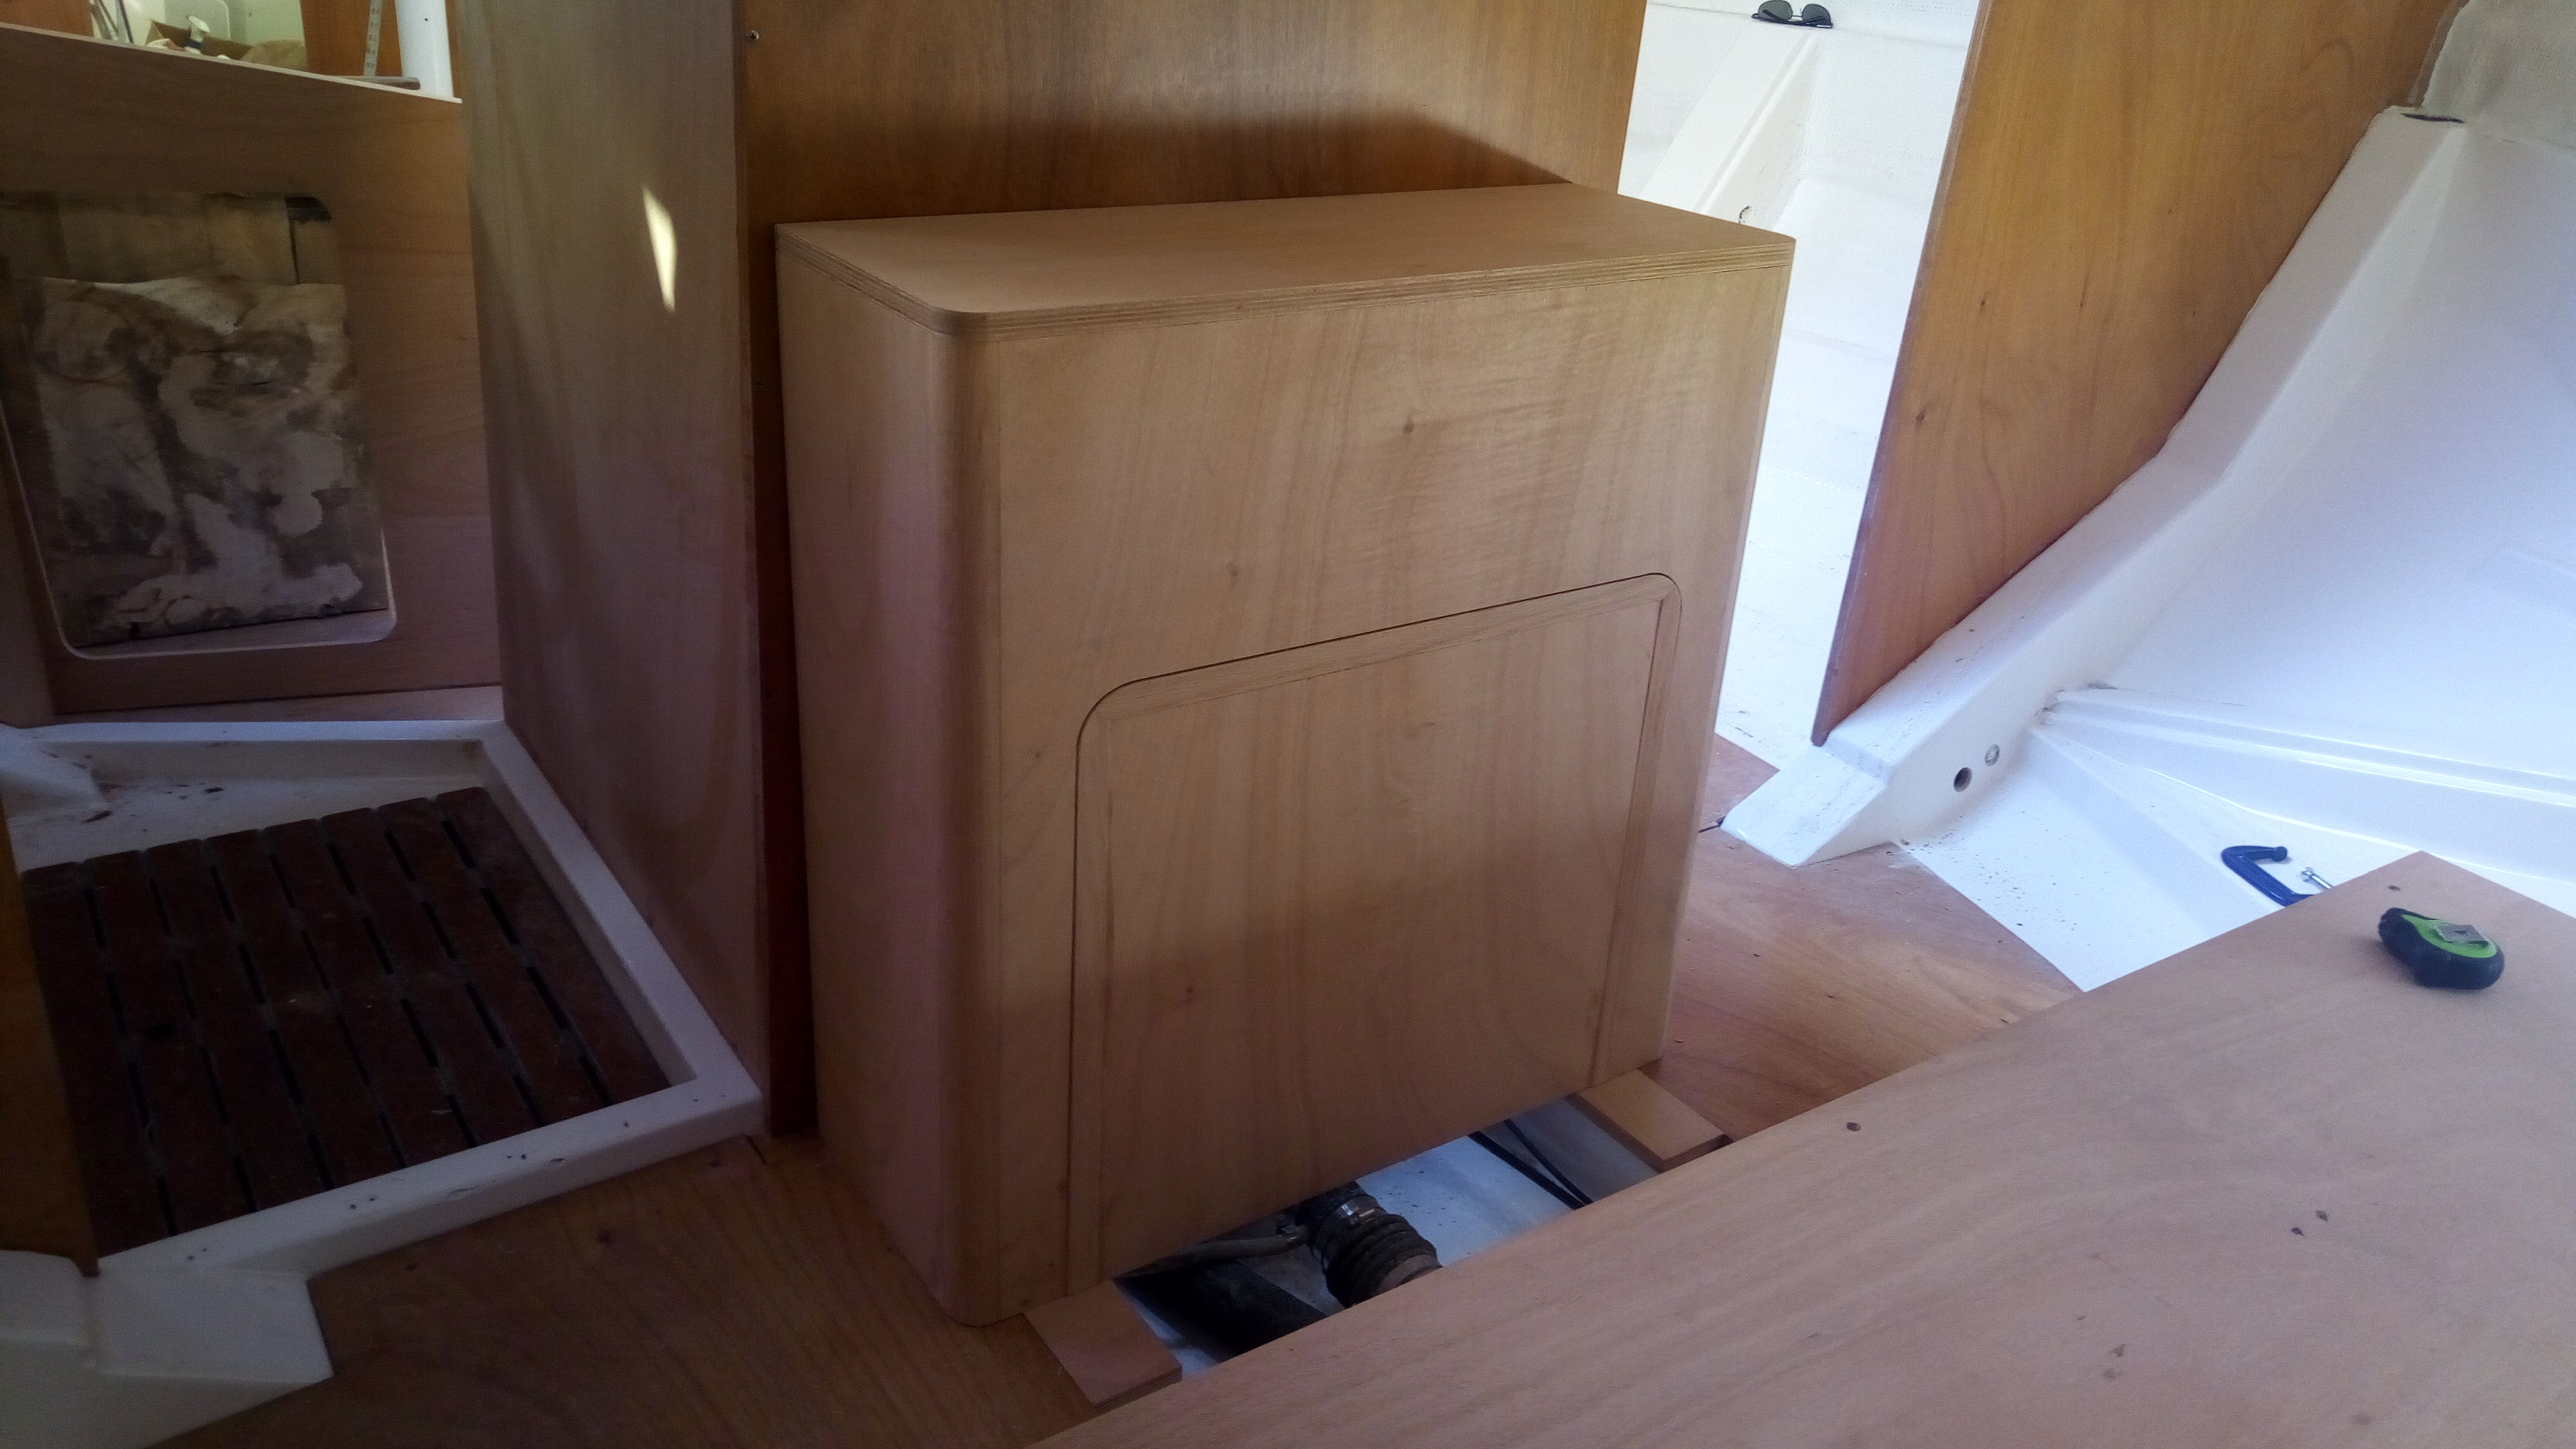
After finishing the aft engine compartment cover I did a test-fit:


It will need a little tweaking to level it but otherwise fits well.

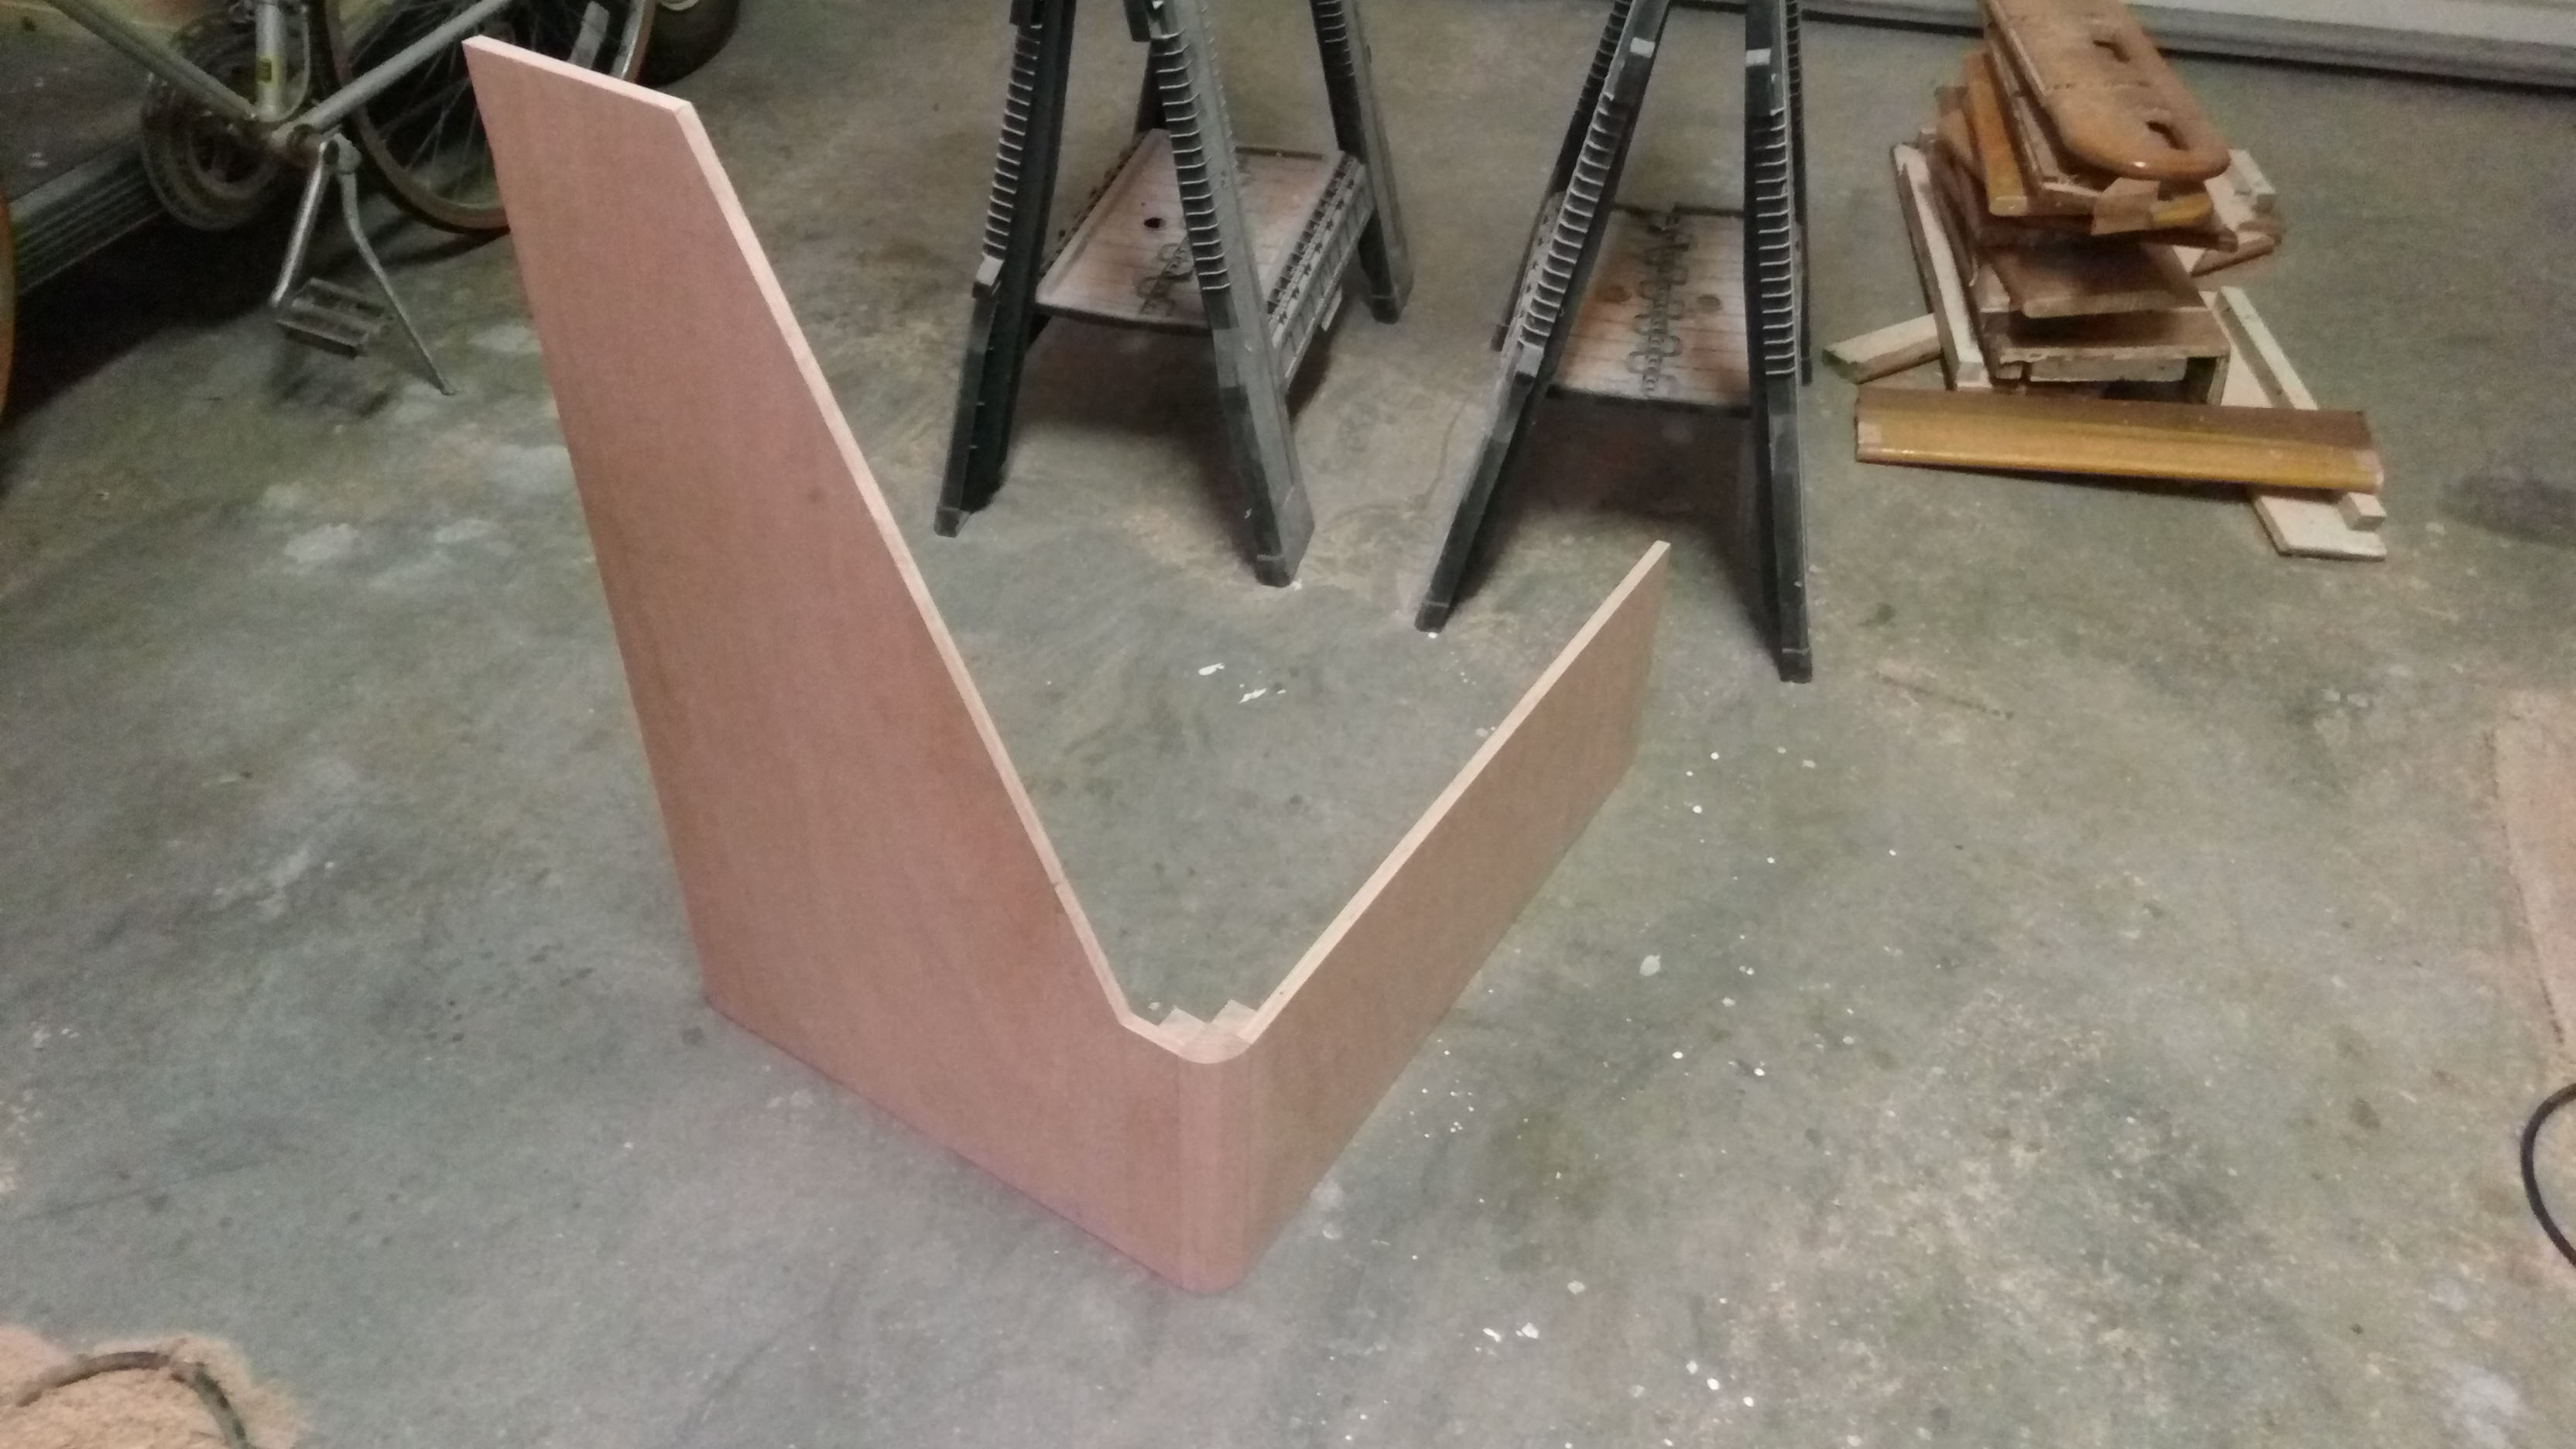
Next up was to start rebuilding the doghouse and companionway steps. First up is the side panel:


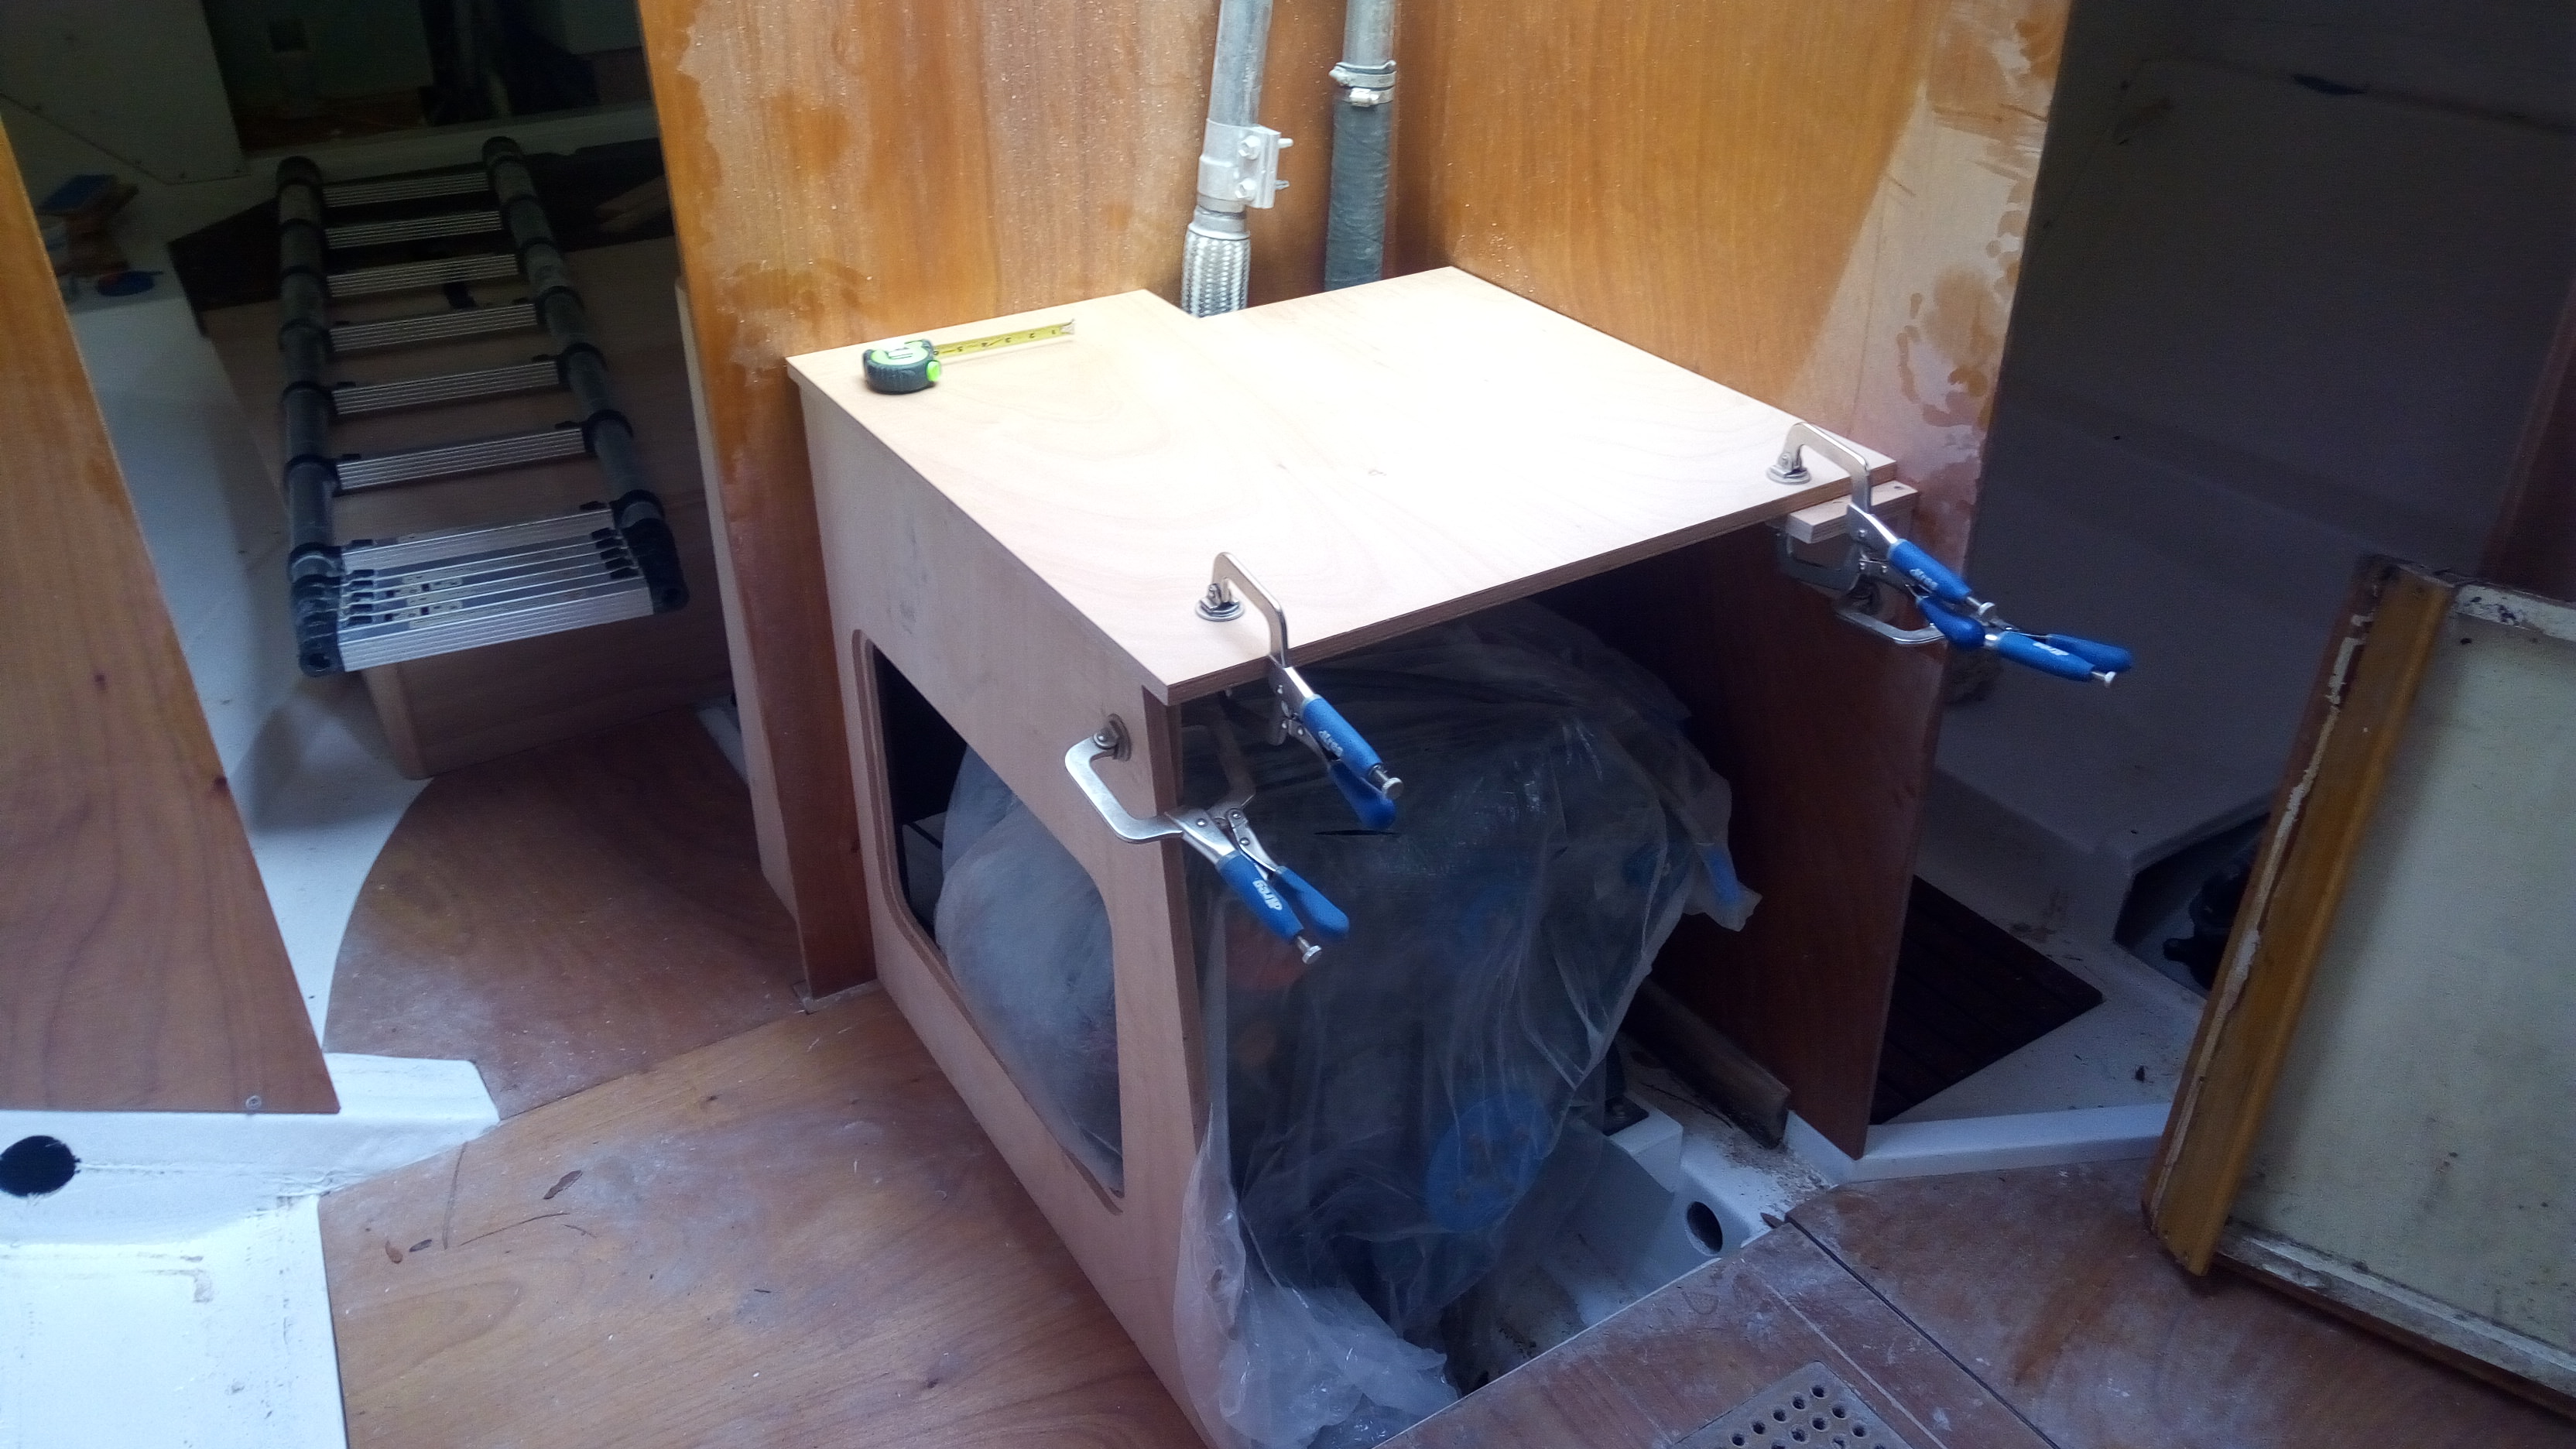
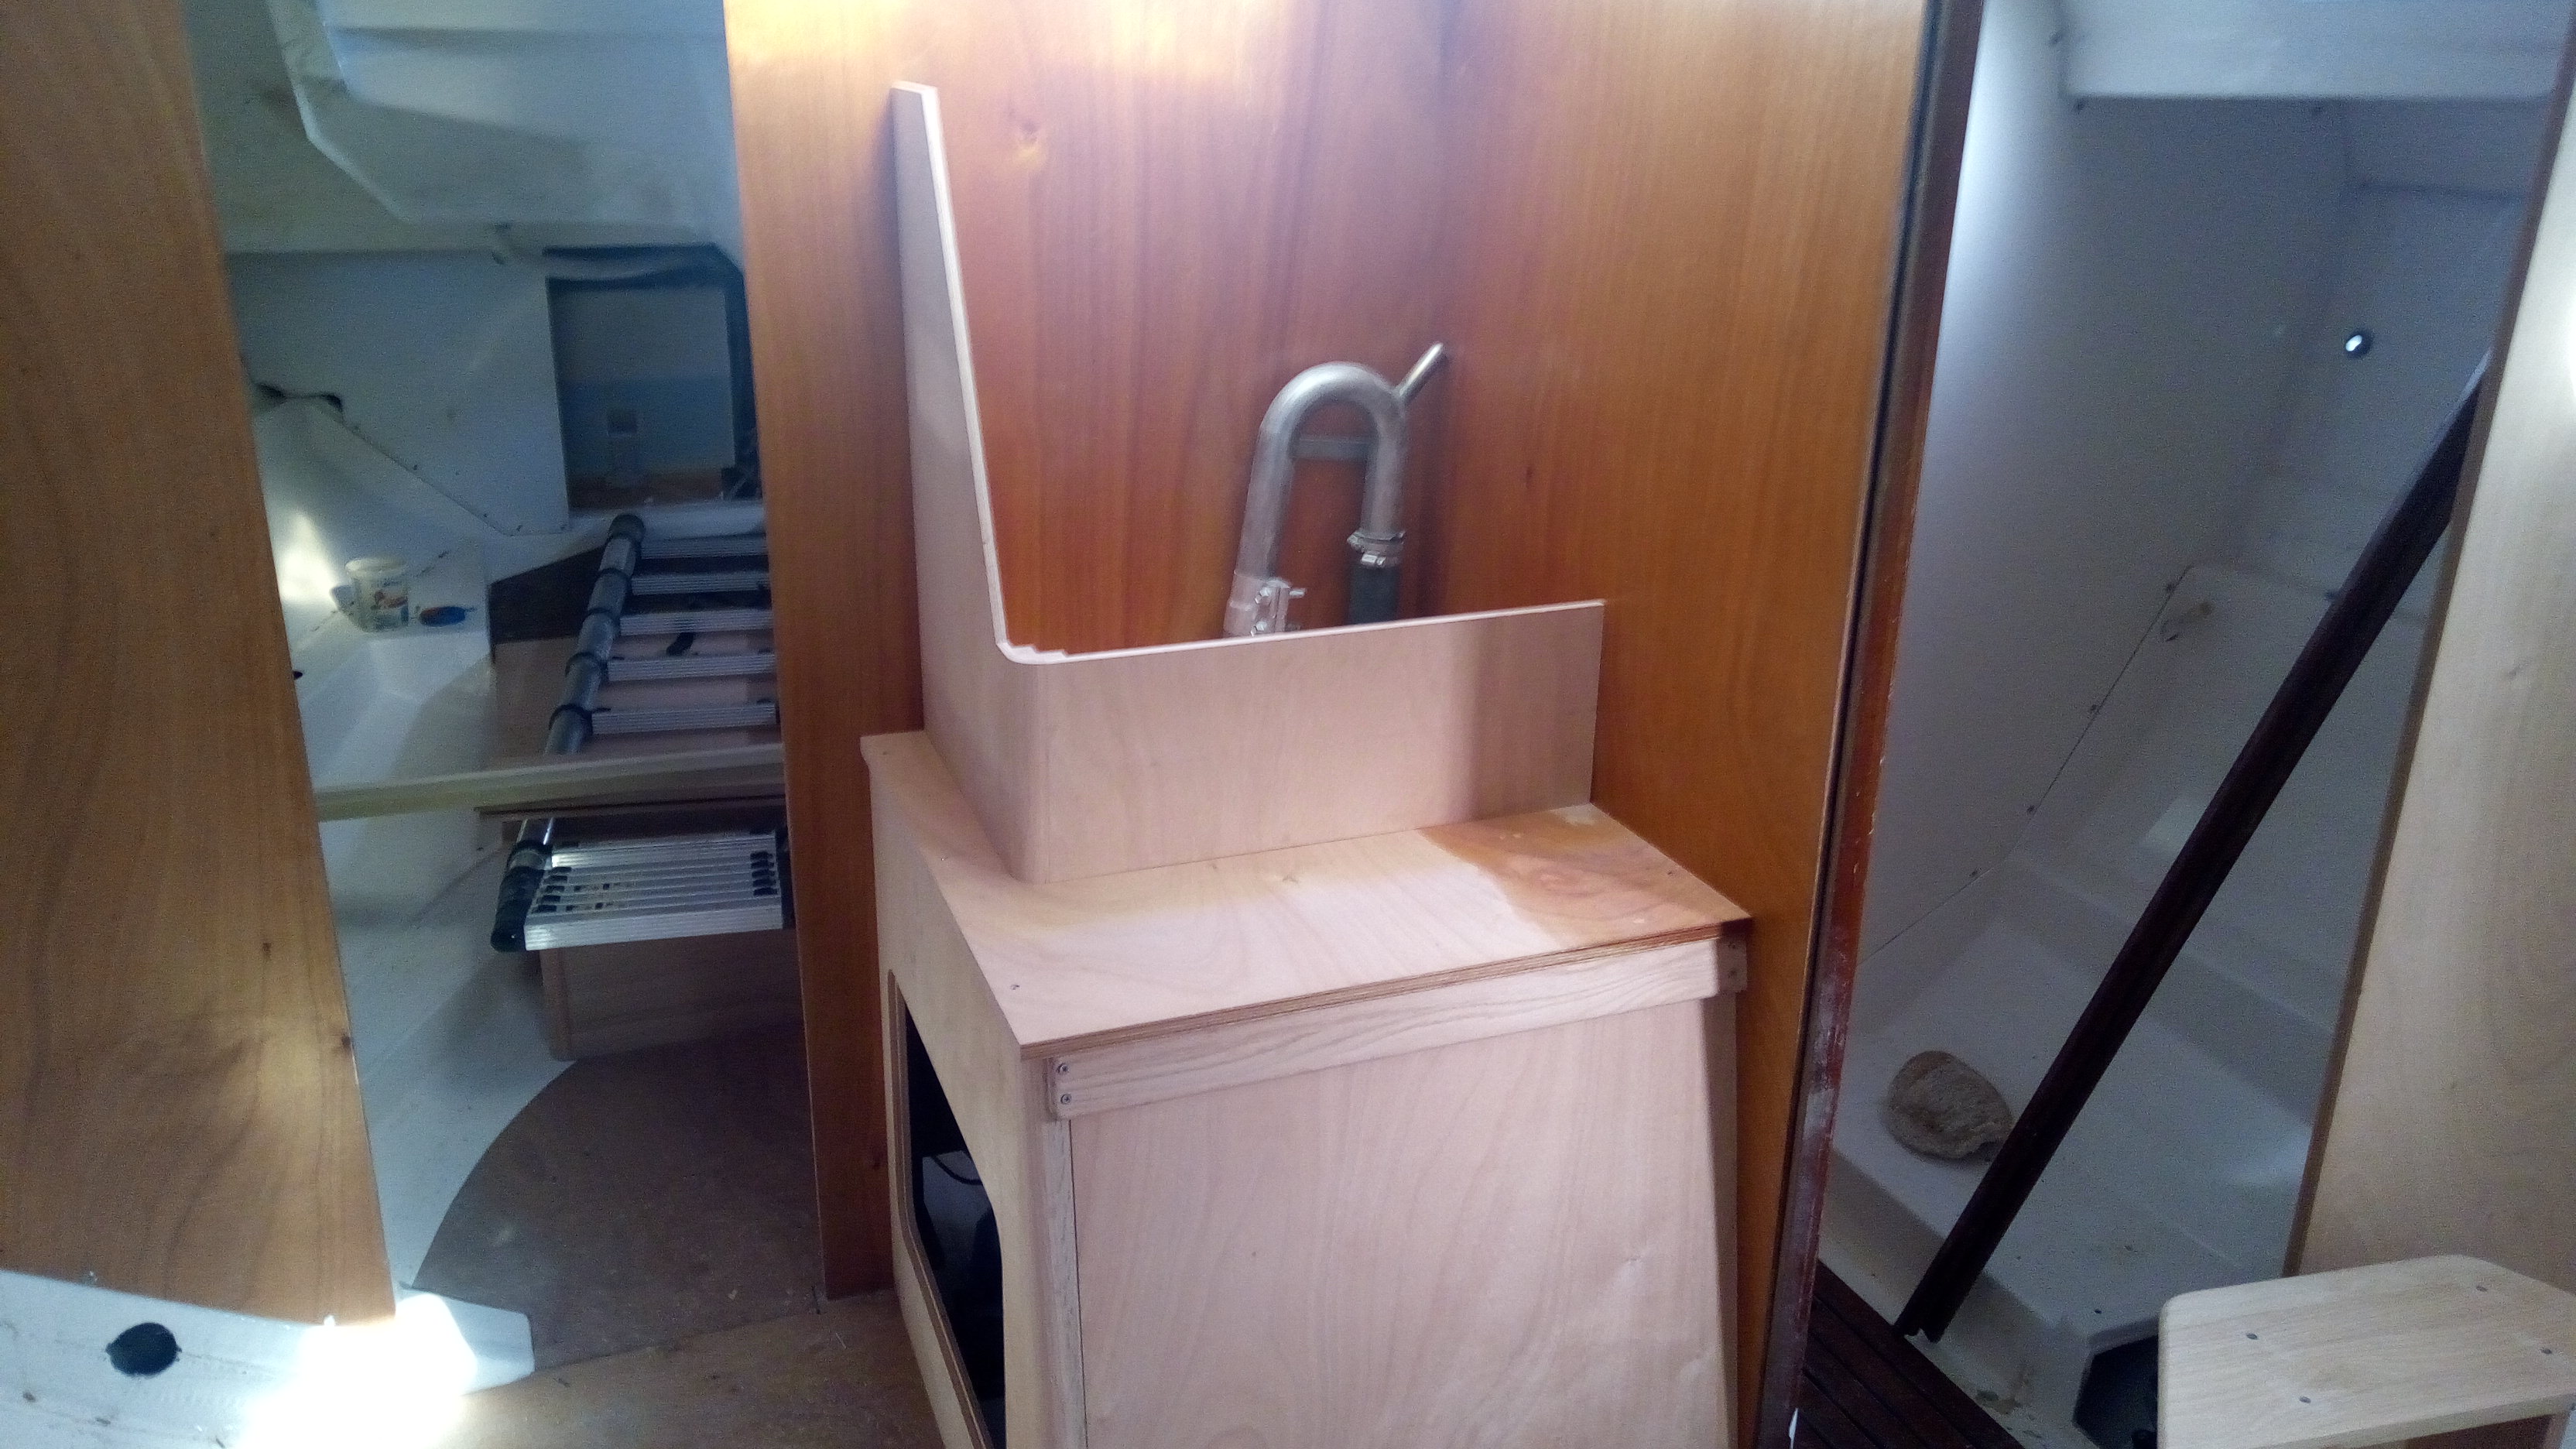
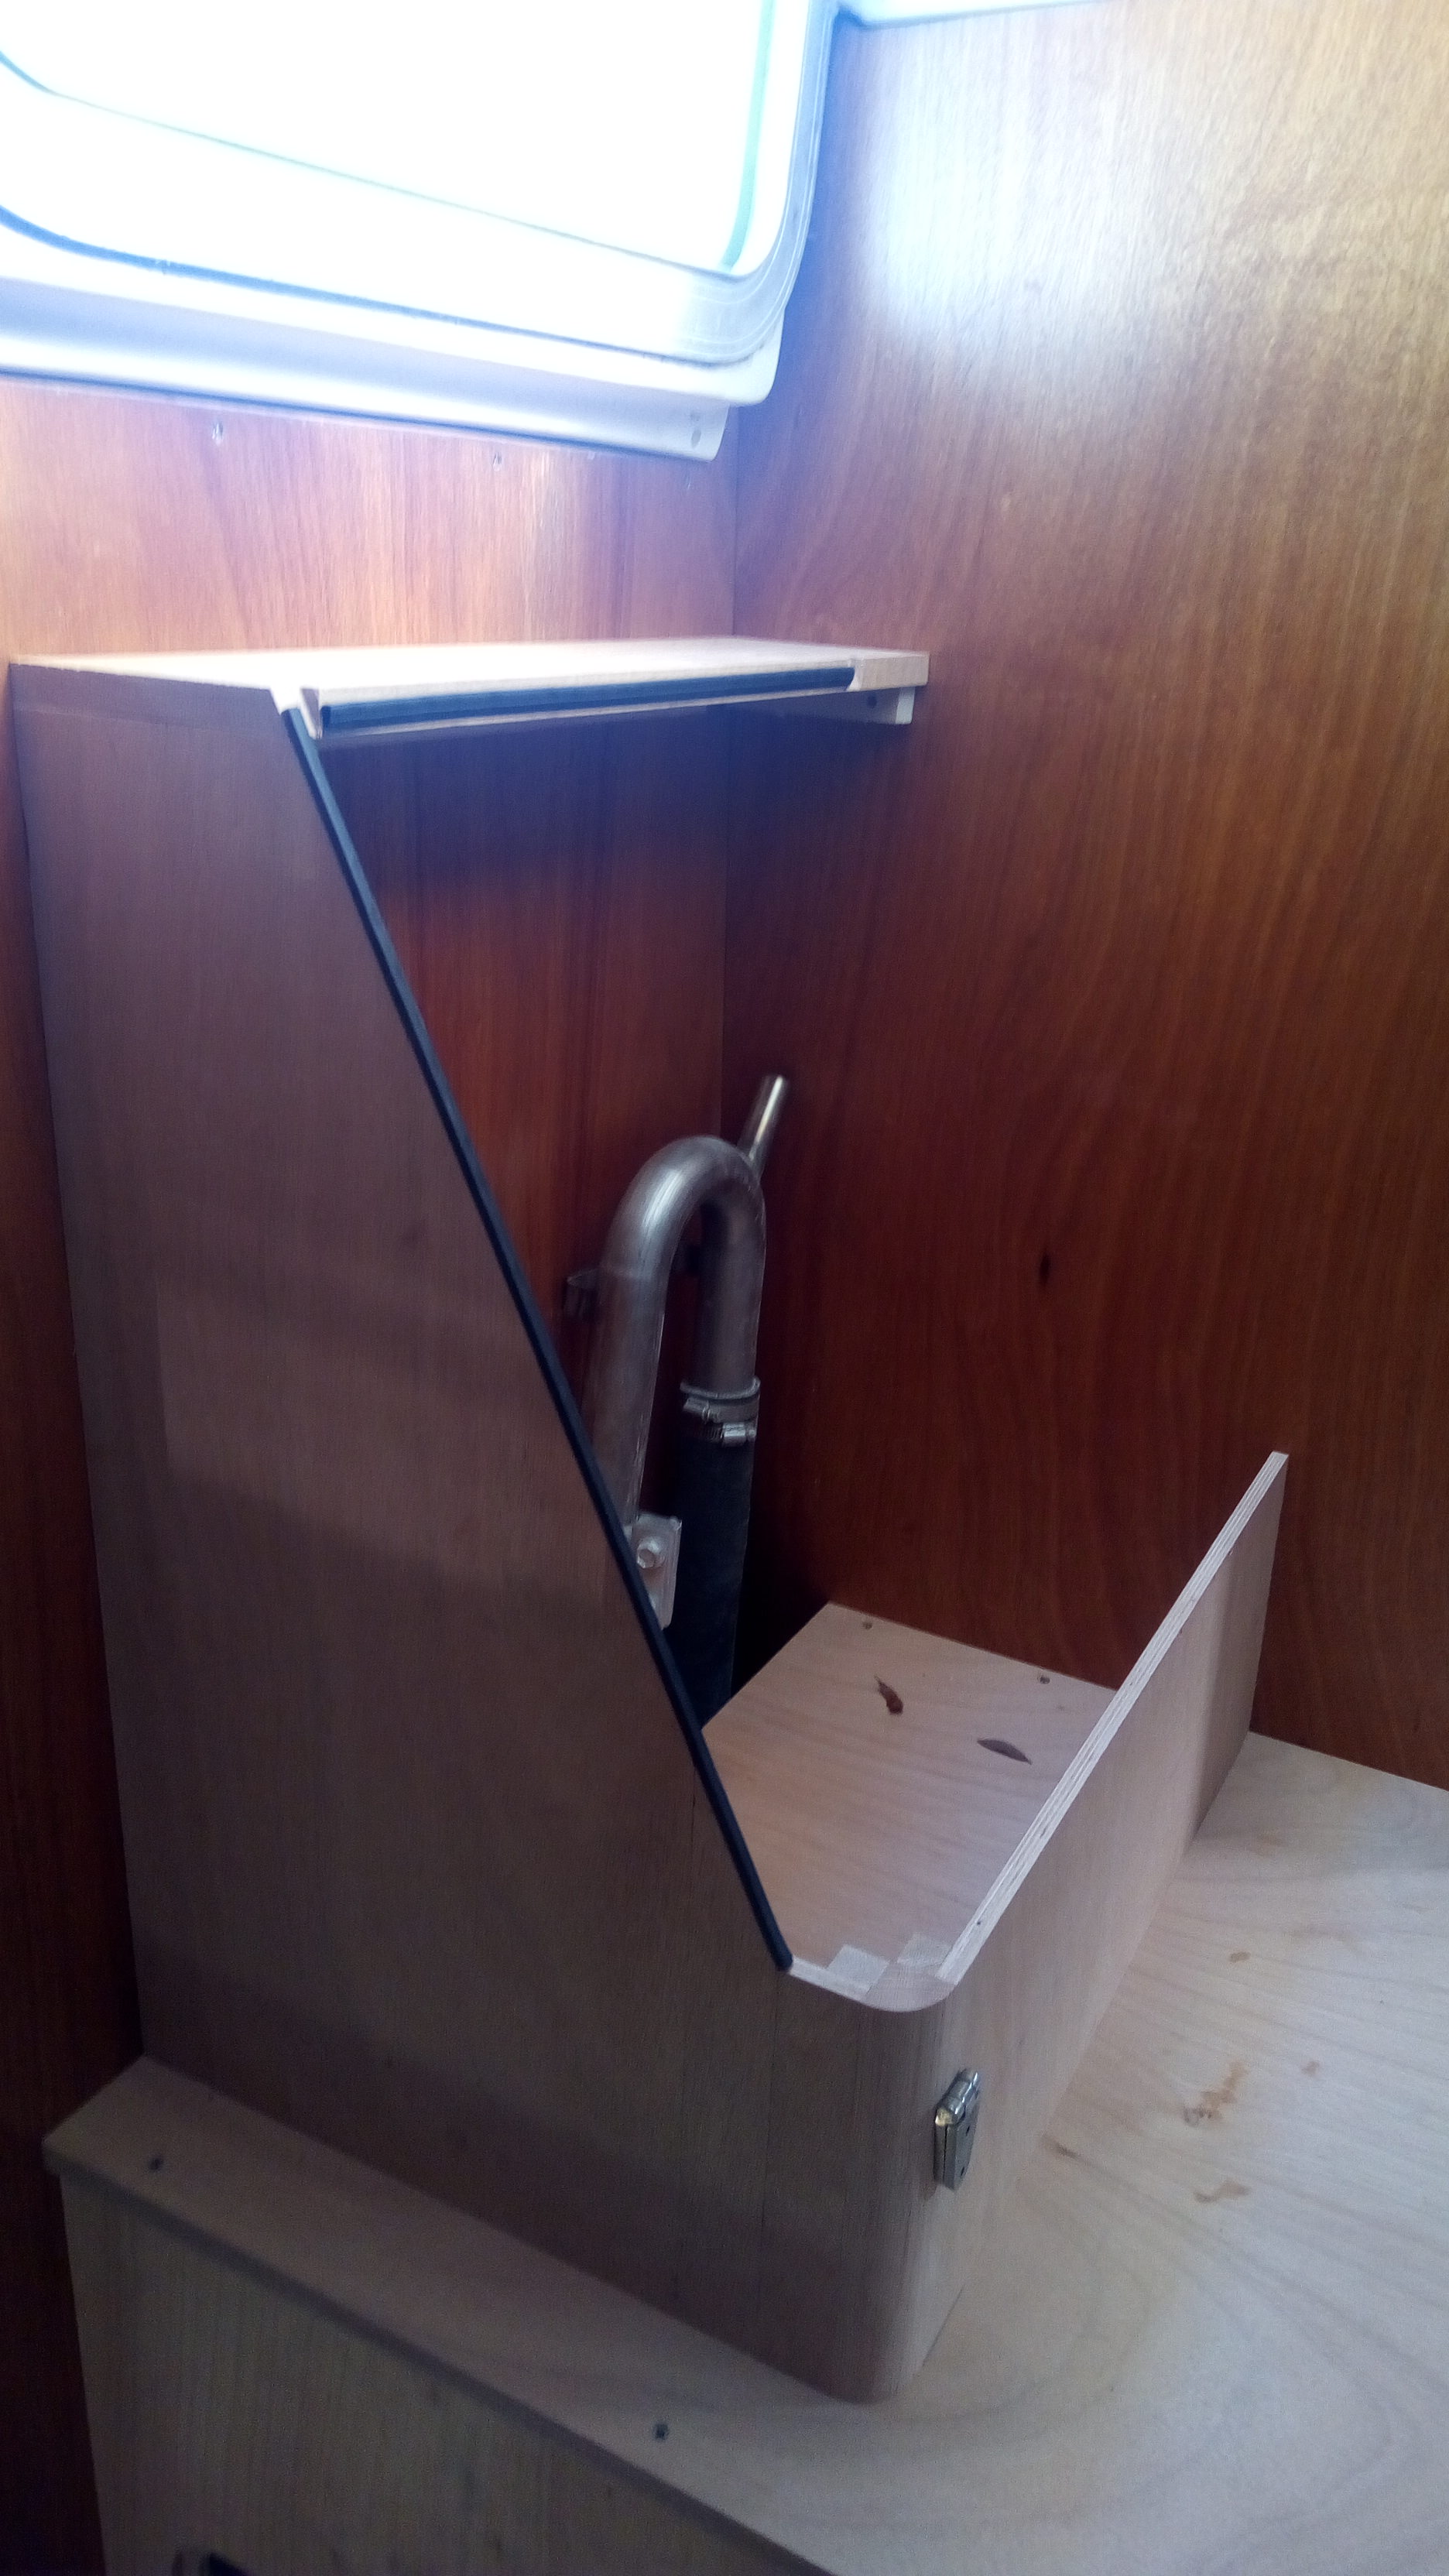
I swapped the old pieces back and forth with the new to check for placement and fit. Then the top was fitted and leveled:


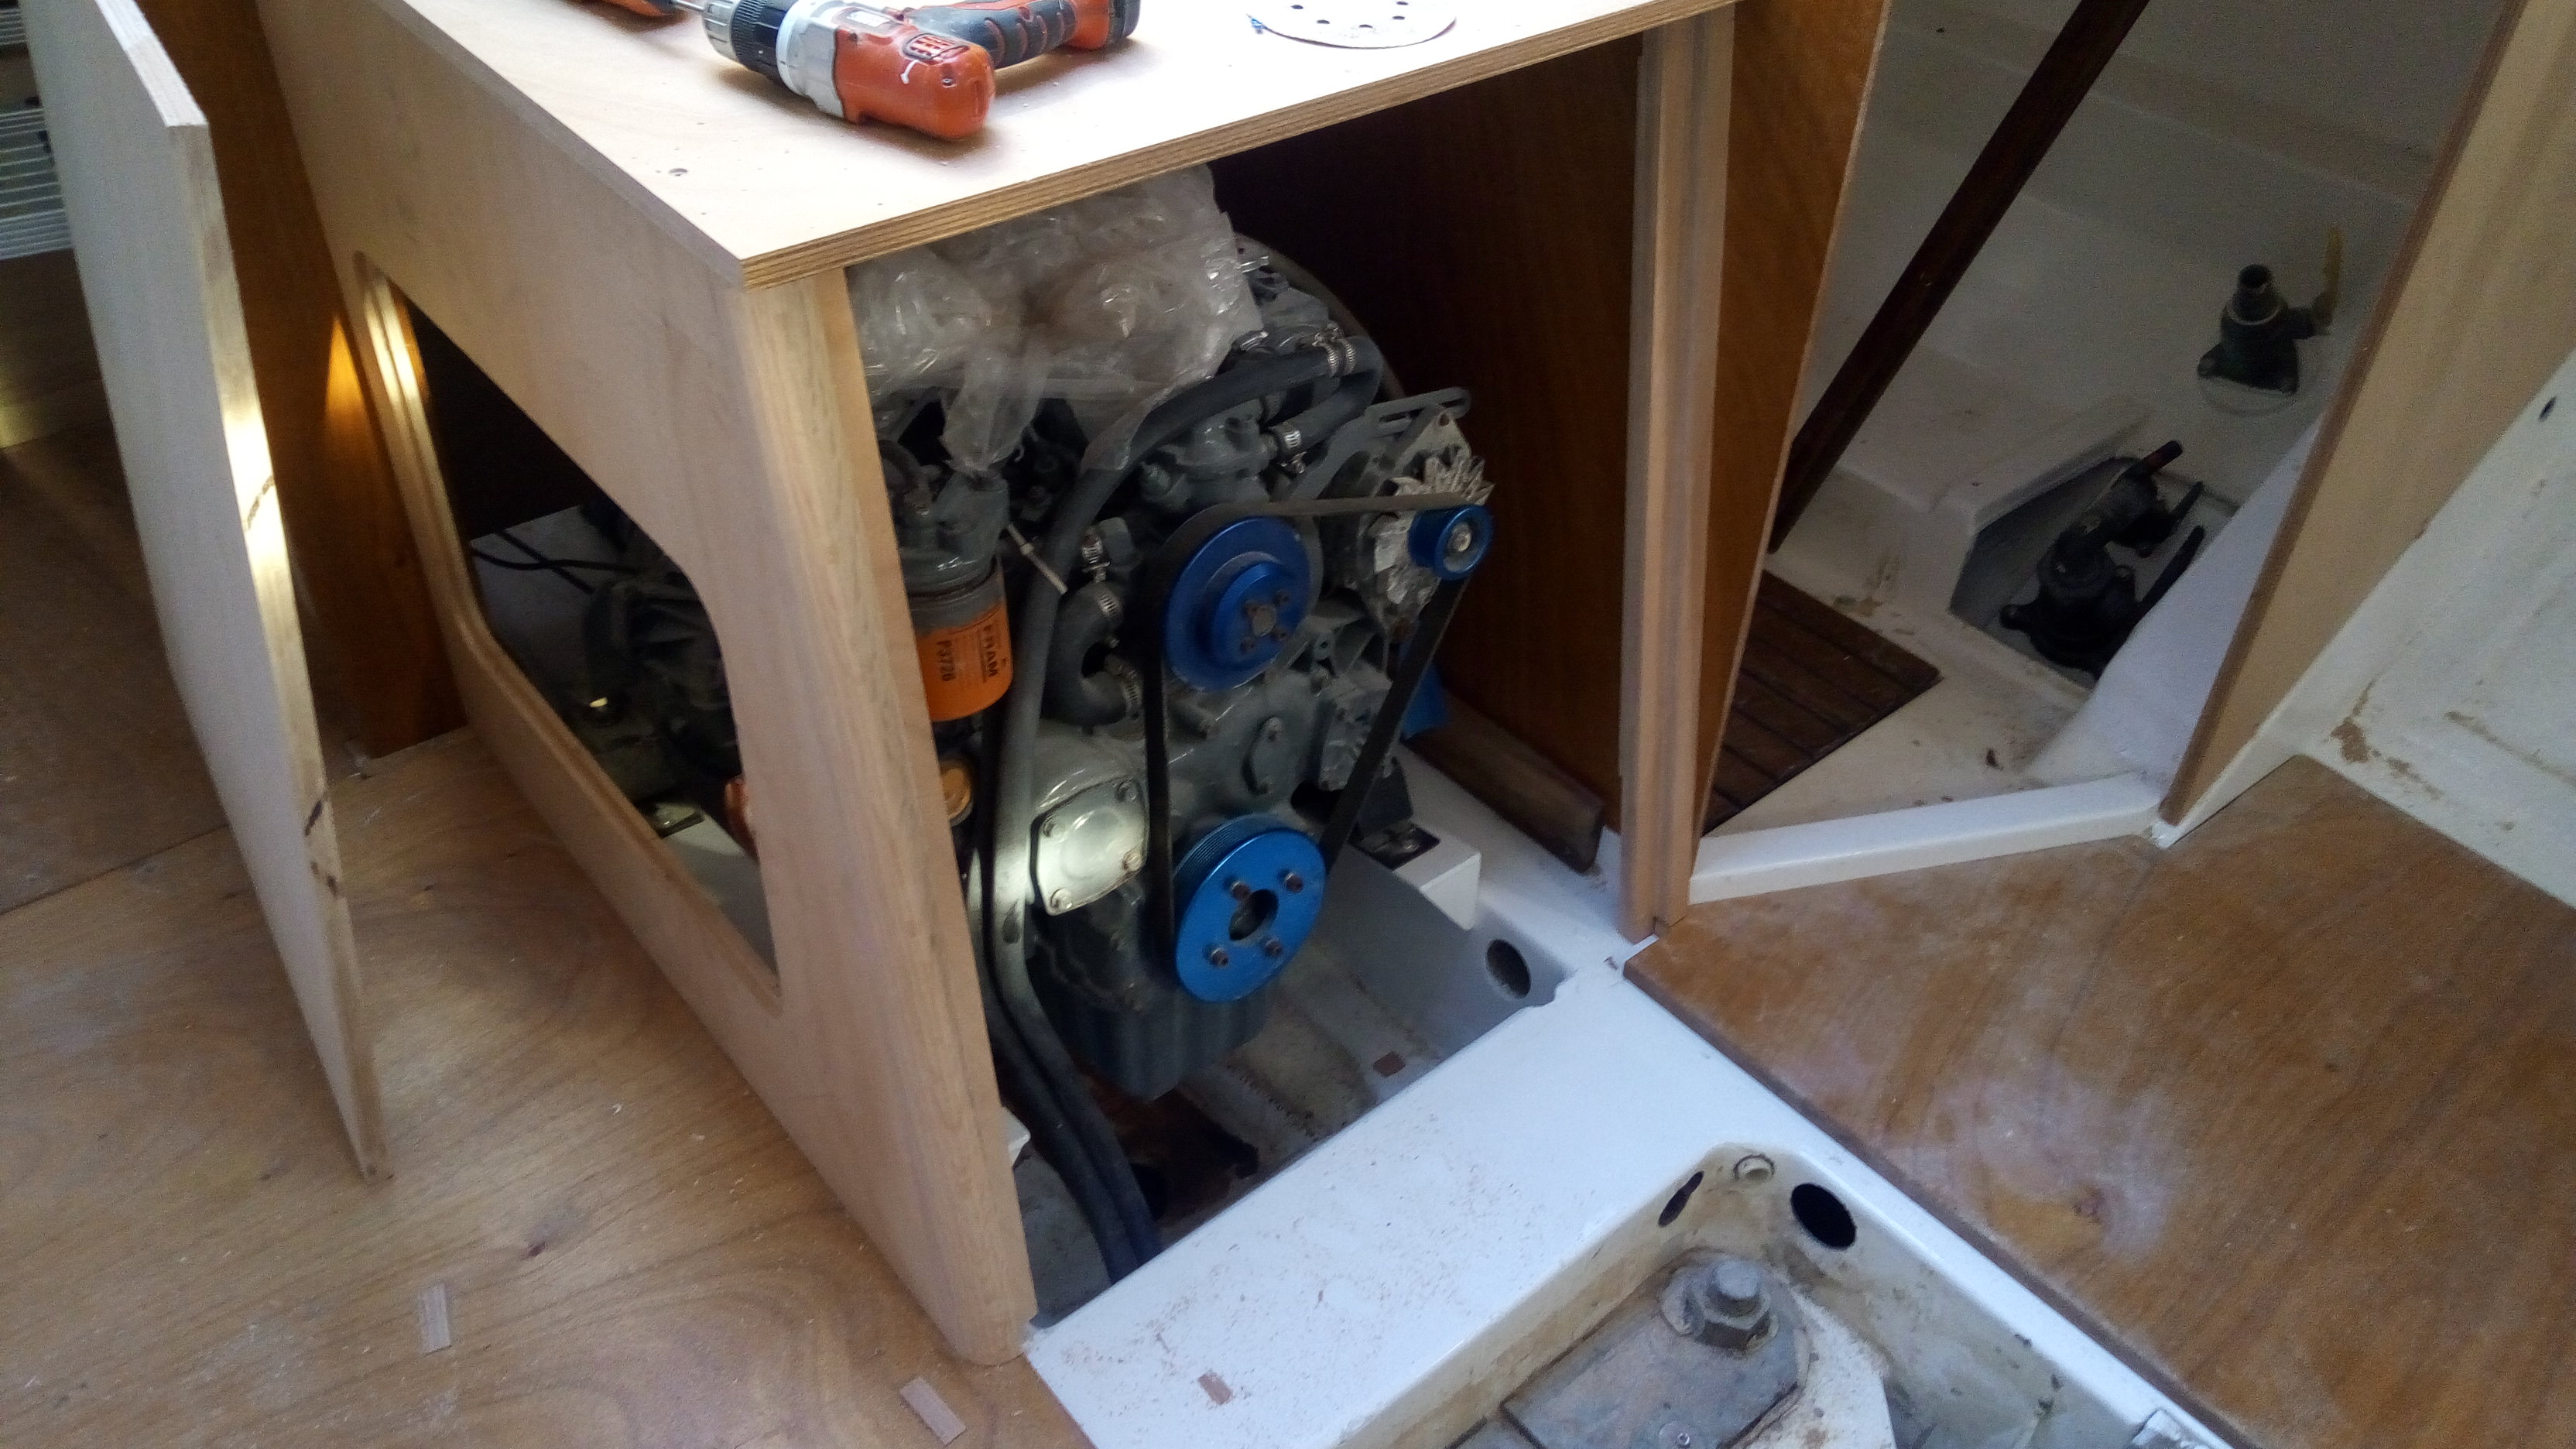
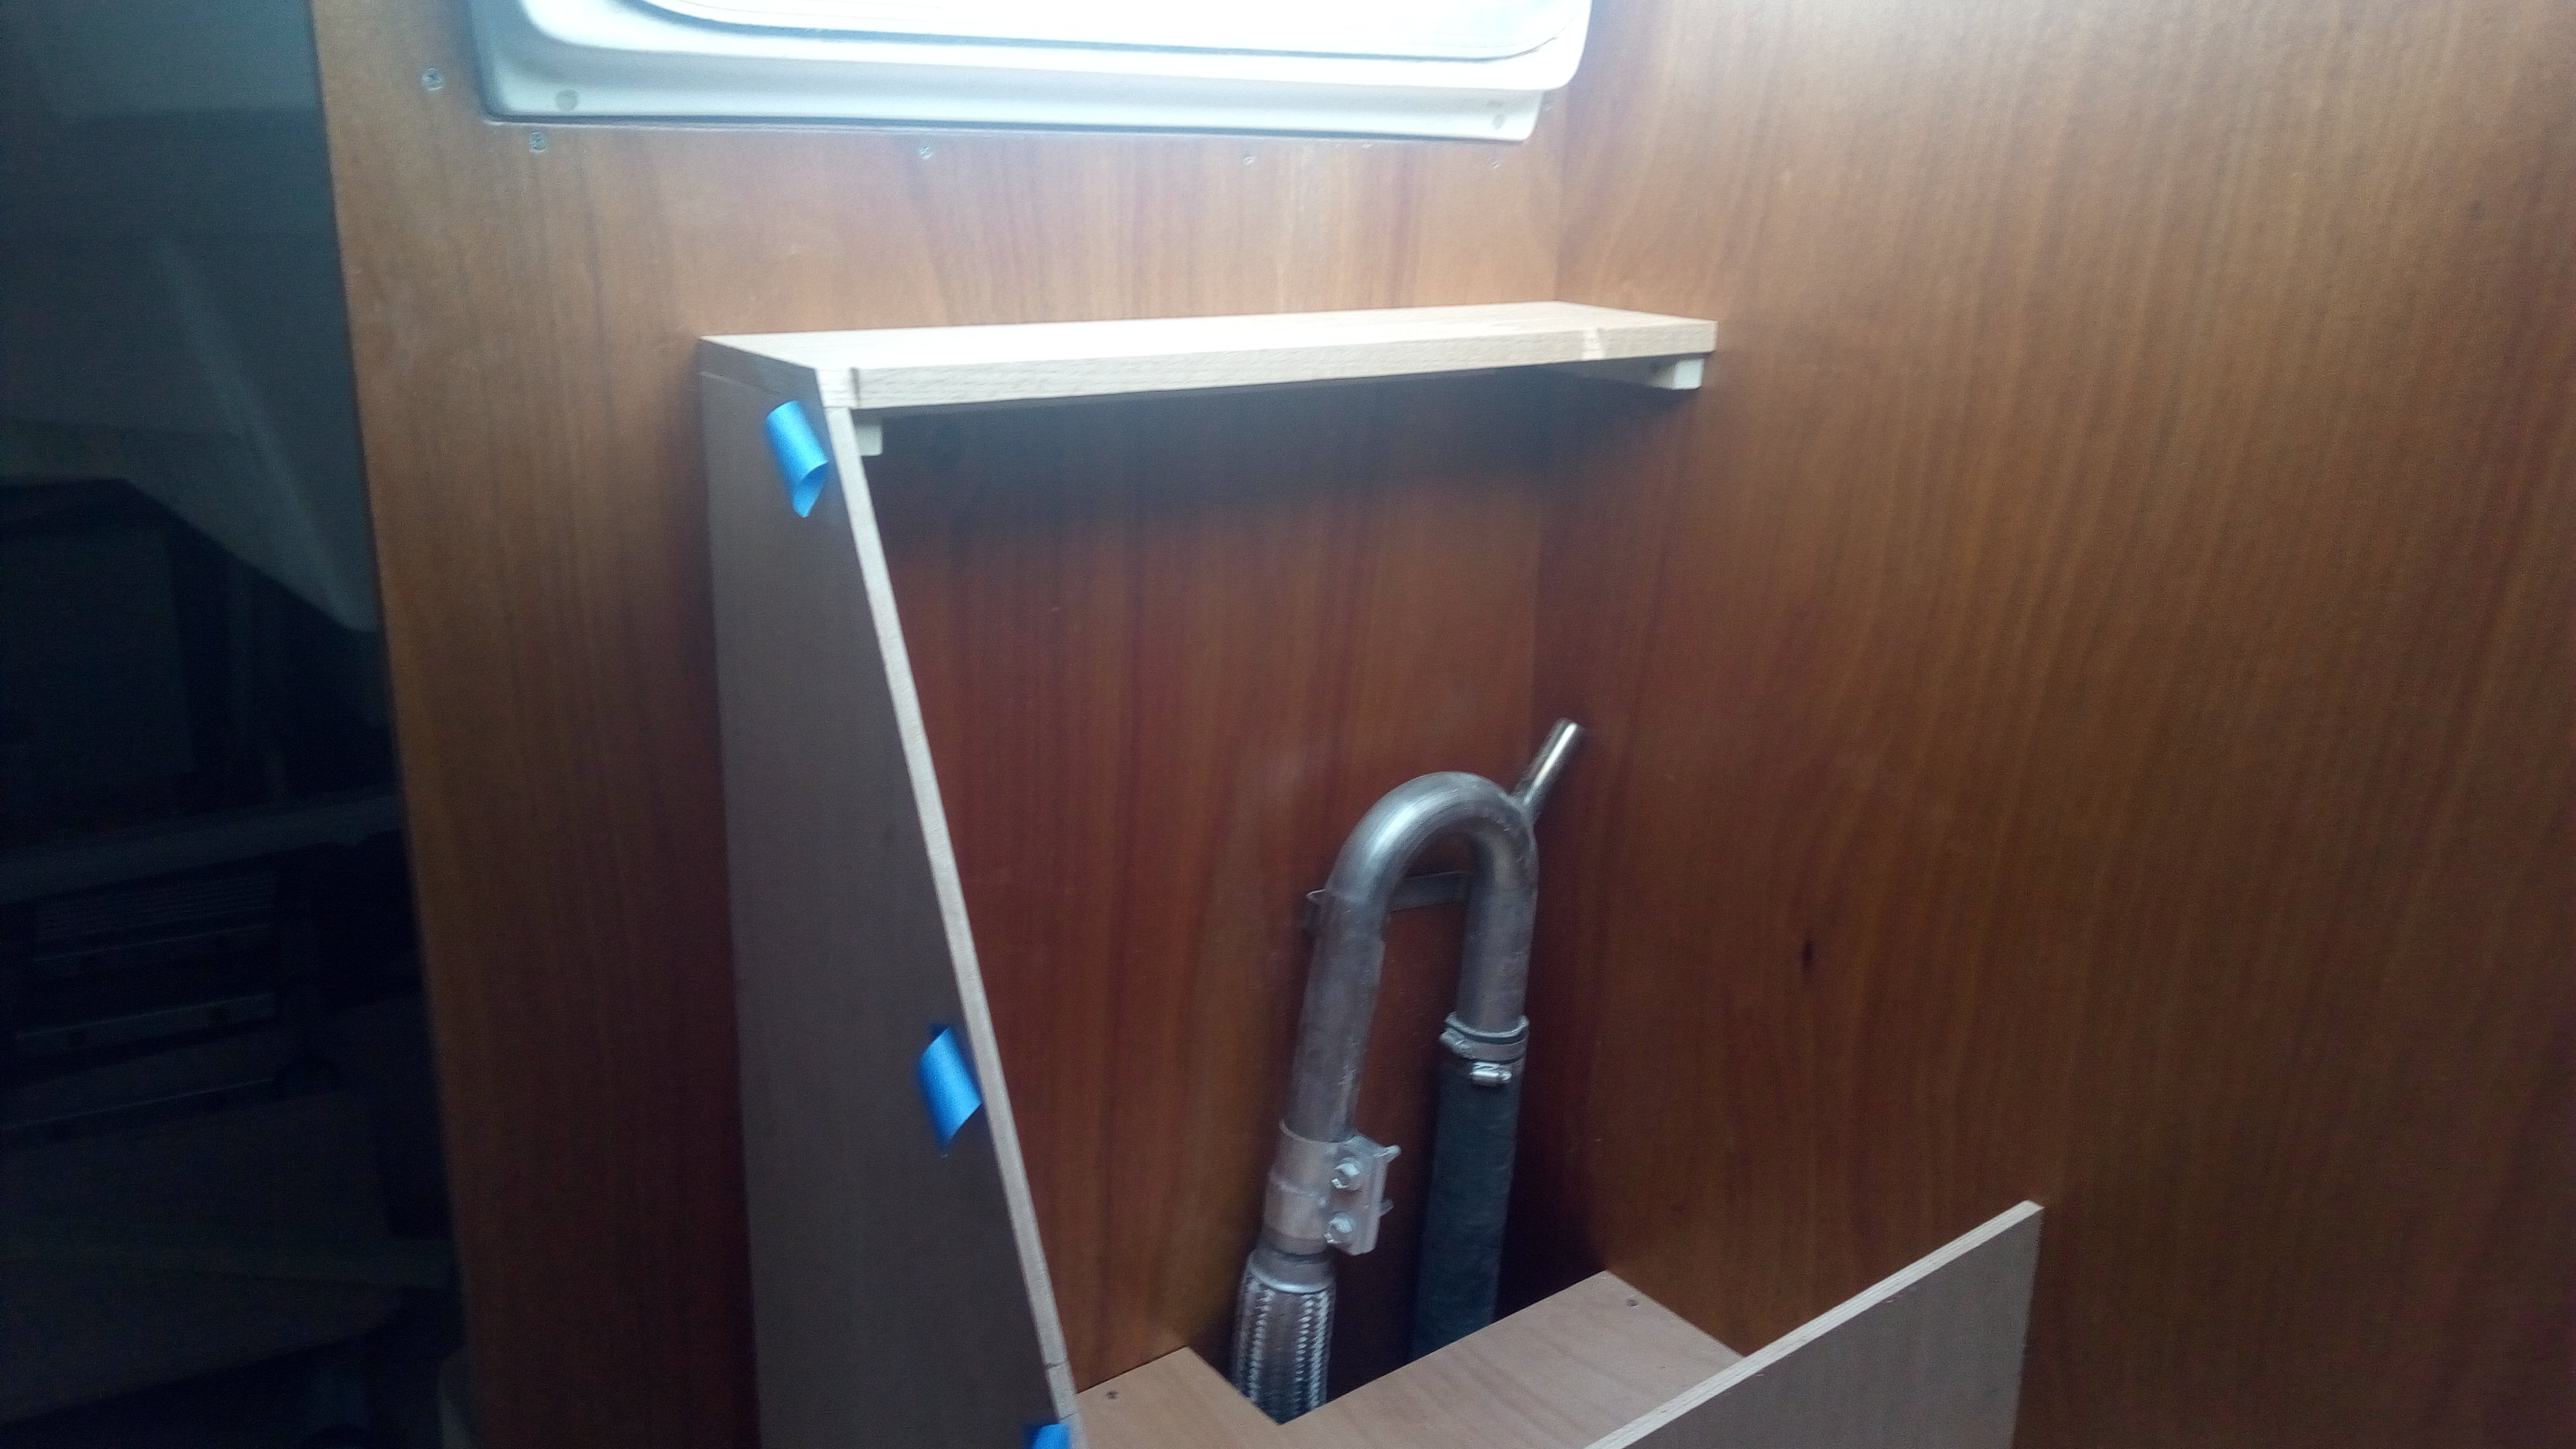
and a backing block screwed to the side bulkhead for support. Next was to cut, fit and place the off-side support brace for the front cover:


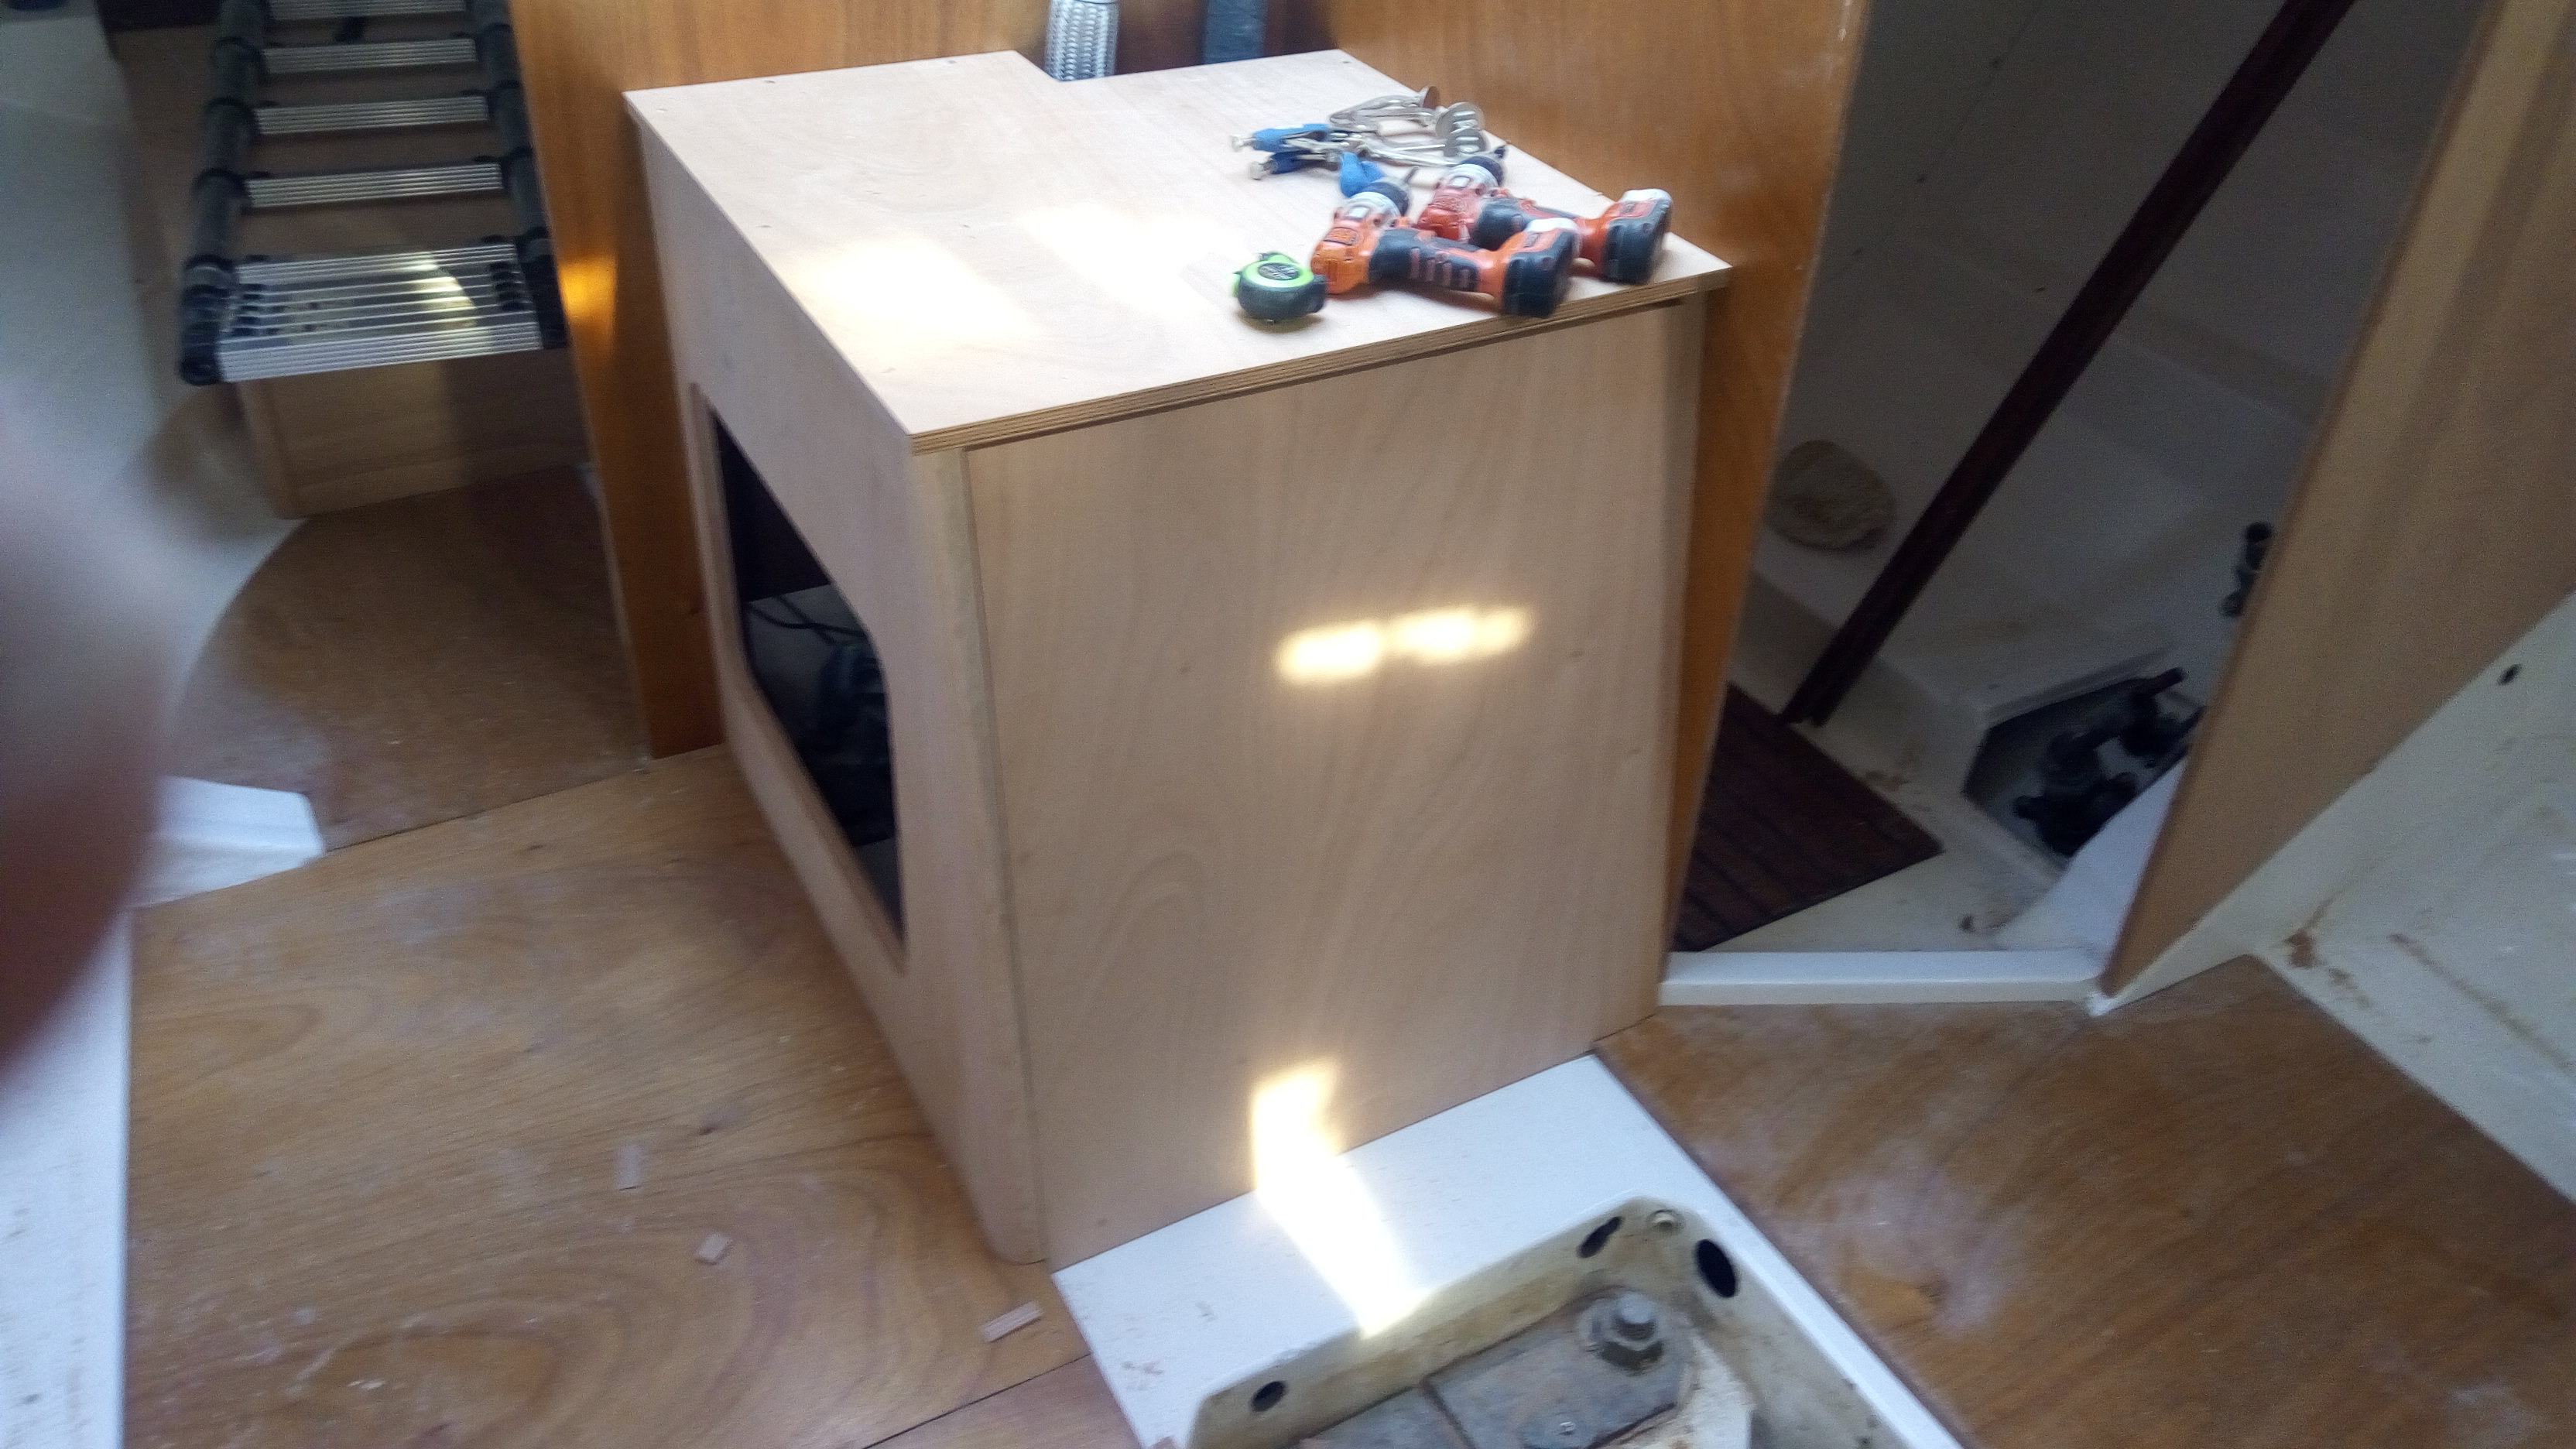
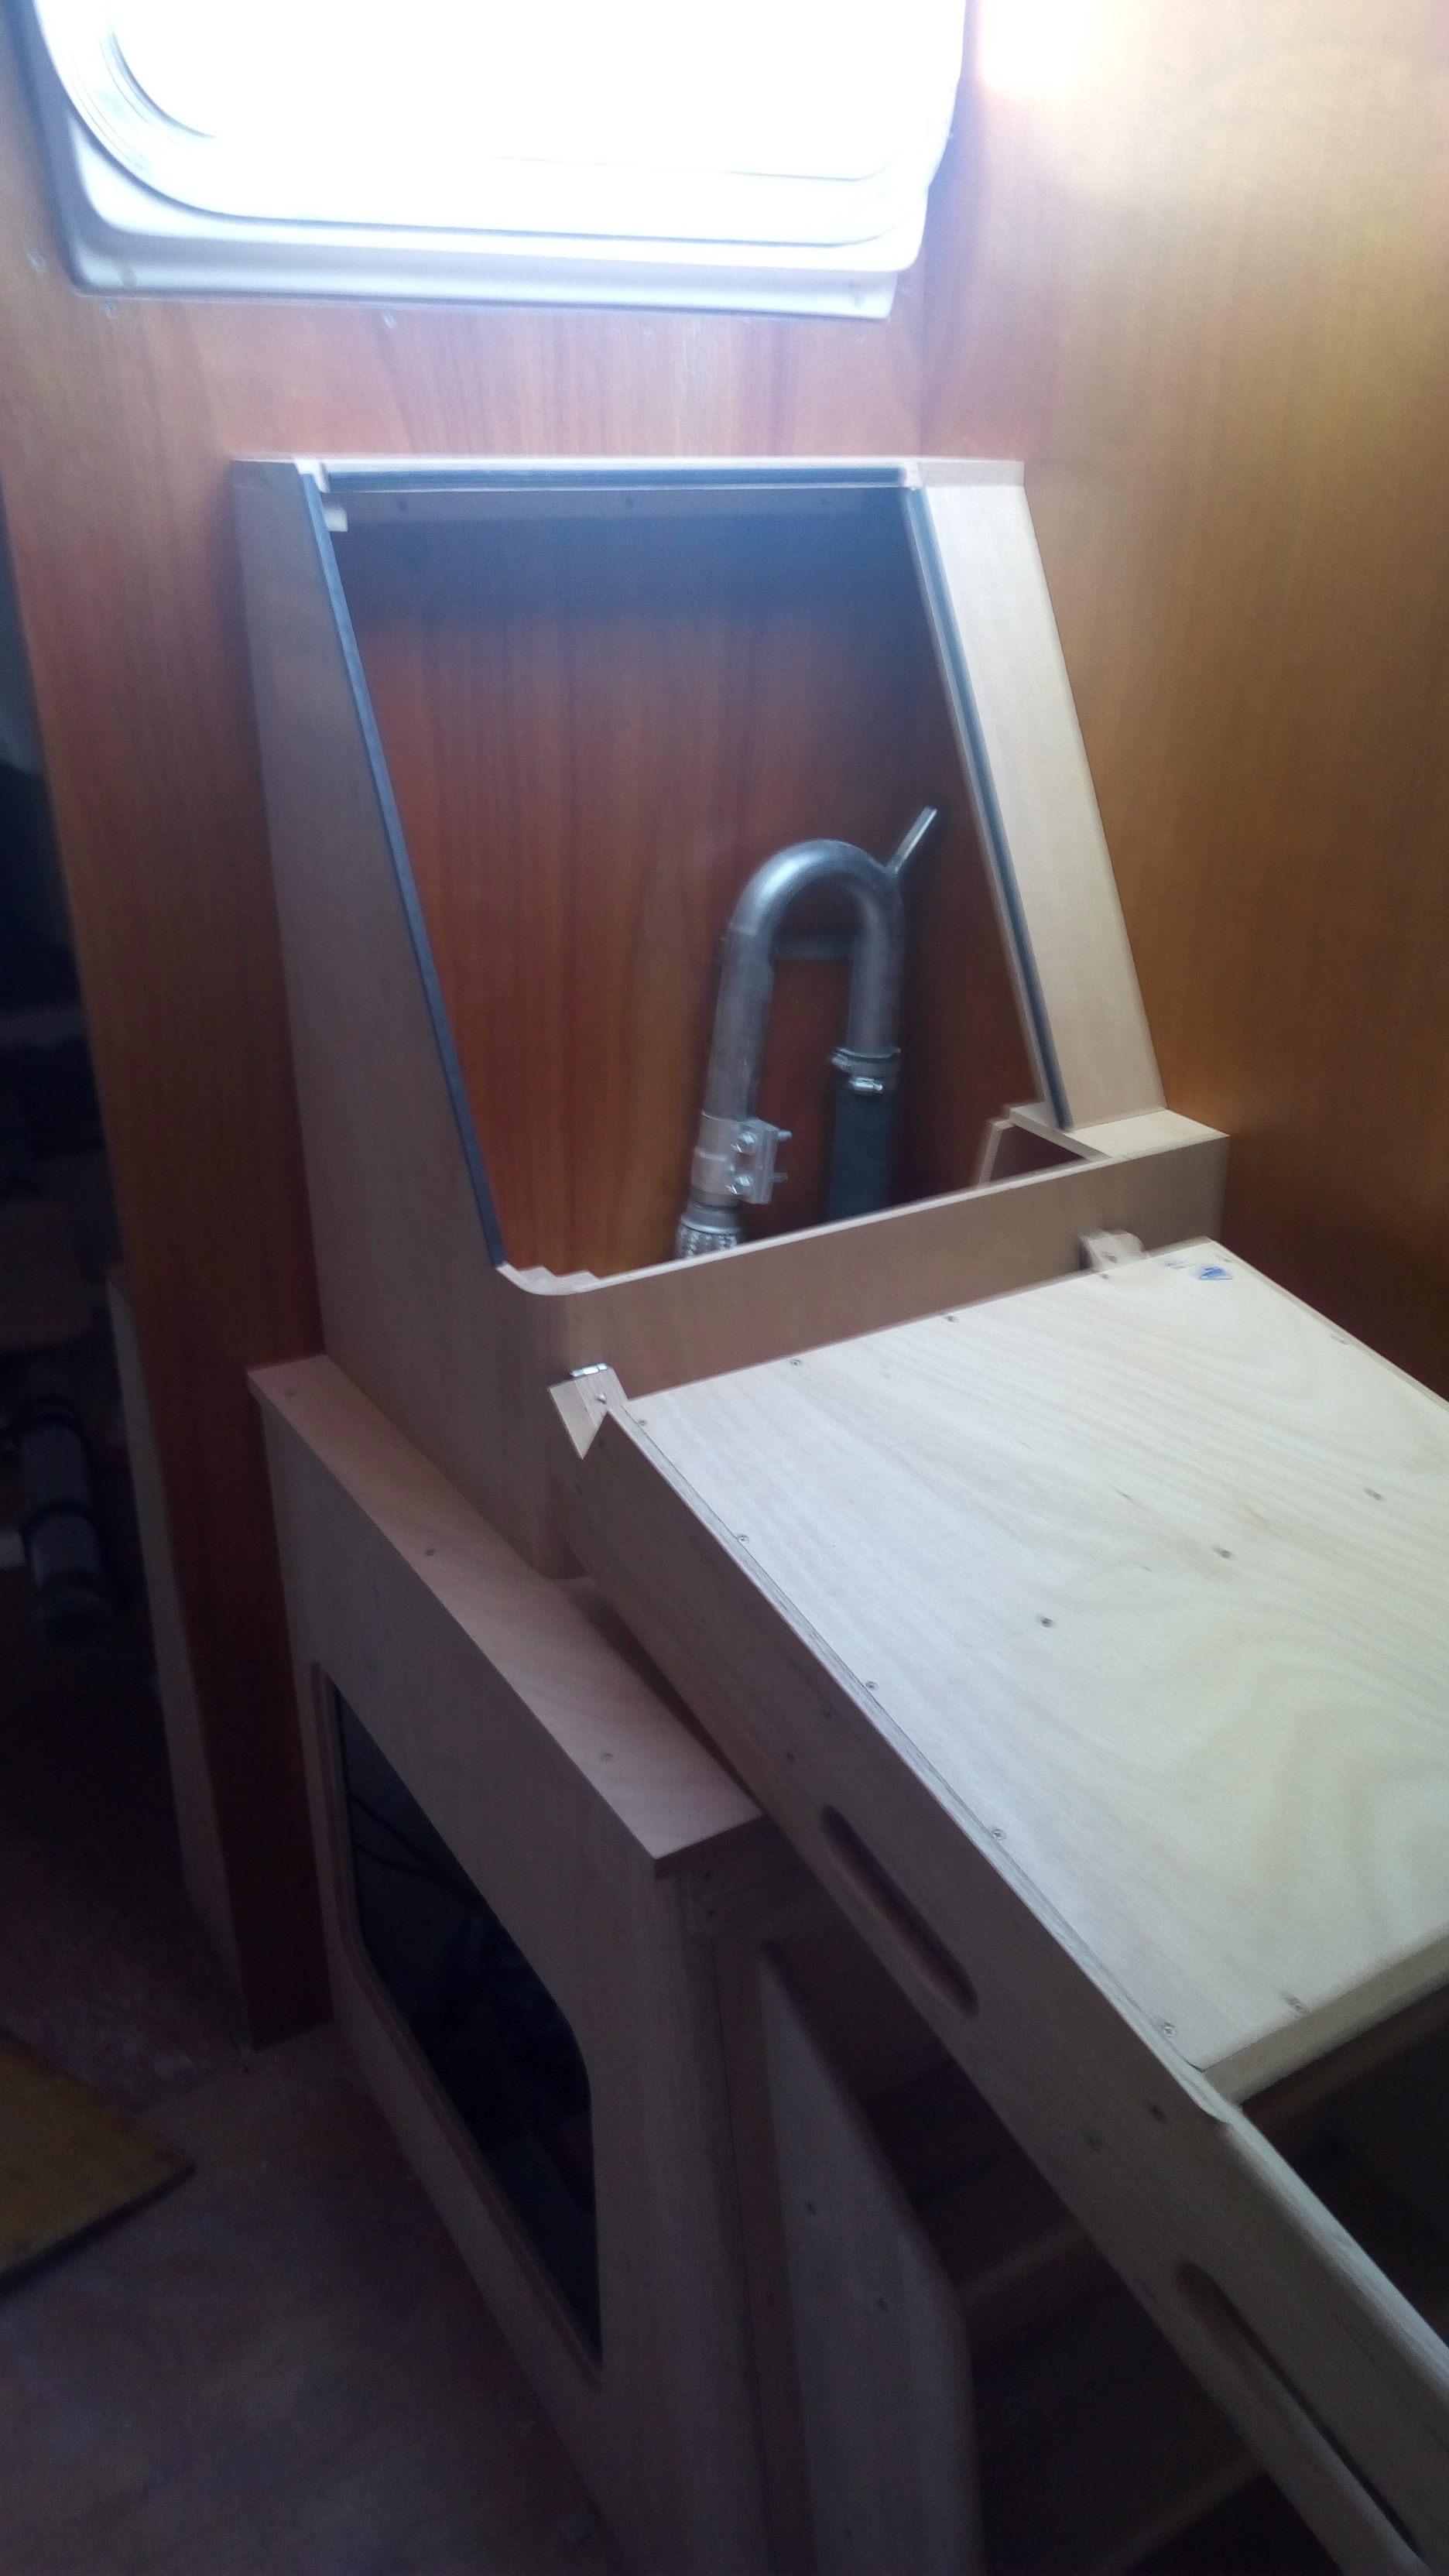
and the front cover fitted in place:


Next will be making replacement pieces for the companionway steps. I will soon be able to retire the rickety ladder I have been using!

Cheers,

Mark
 

Apex

.
Jun 19, 2013
1,209
C&C 30 Elk Rapids
outstanding Mark. I look forward to seeing updates on this thread.
 
Feb 11, 2012
271
C&C Mega 30 Long Point, Lake Erie
Having gone through this entire process, albeit a smaller boat, I can fully appreciate your fortitude to begin a seamingly endless project through to fruition.
The fact that you are documenting it for all of us deserves a huge Thank you, especially for those of us in the North who's beloved ride is curled up in storage, surely shivering, lol.

Keep up the fantastic work and thread!

Paul
 
  • Like
Likes: Timm R Oday25
May 8, 2013
629
Hunter 40 Dataw Island, SC
Thanks gents!!

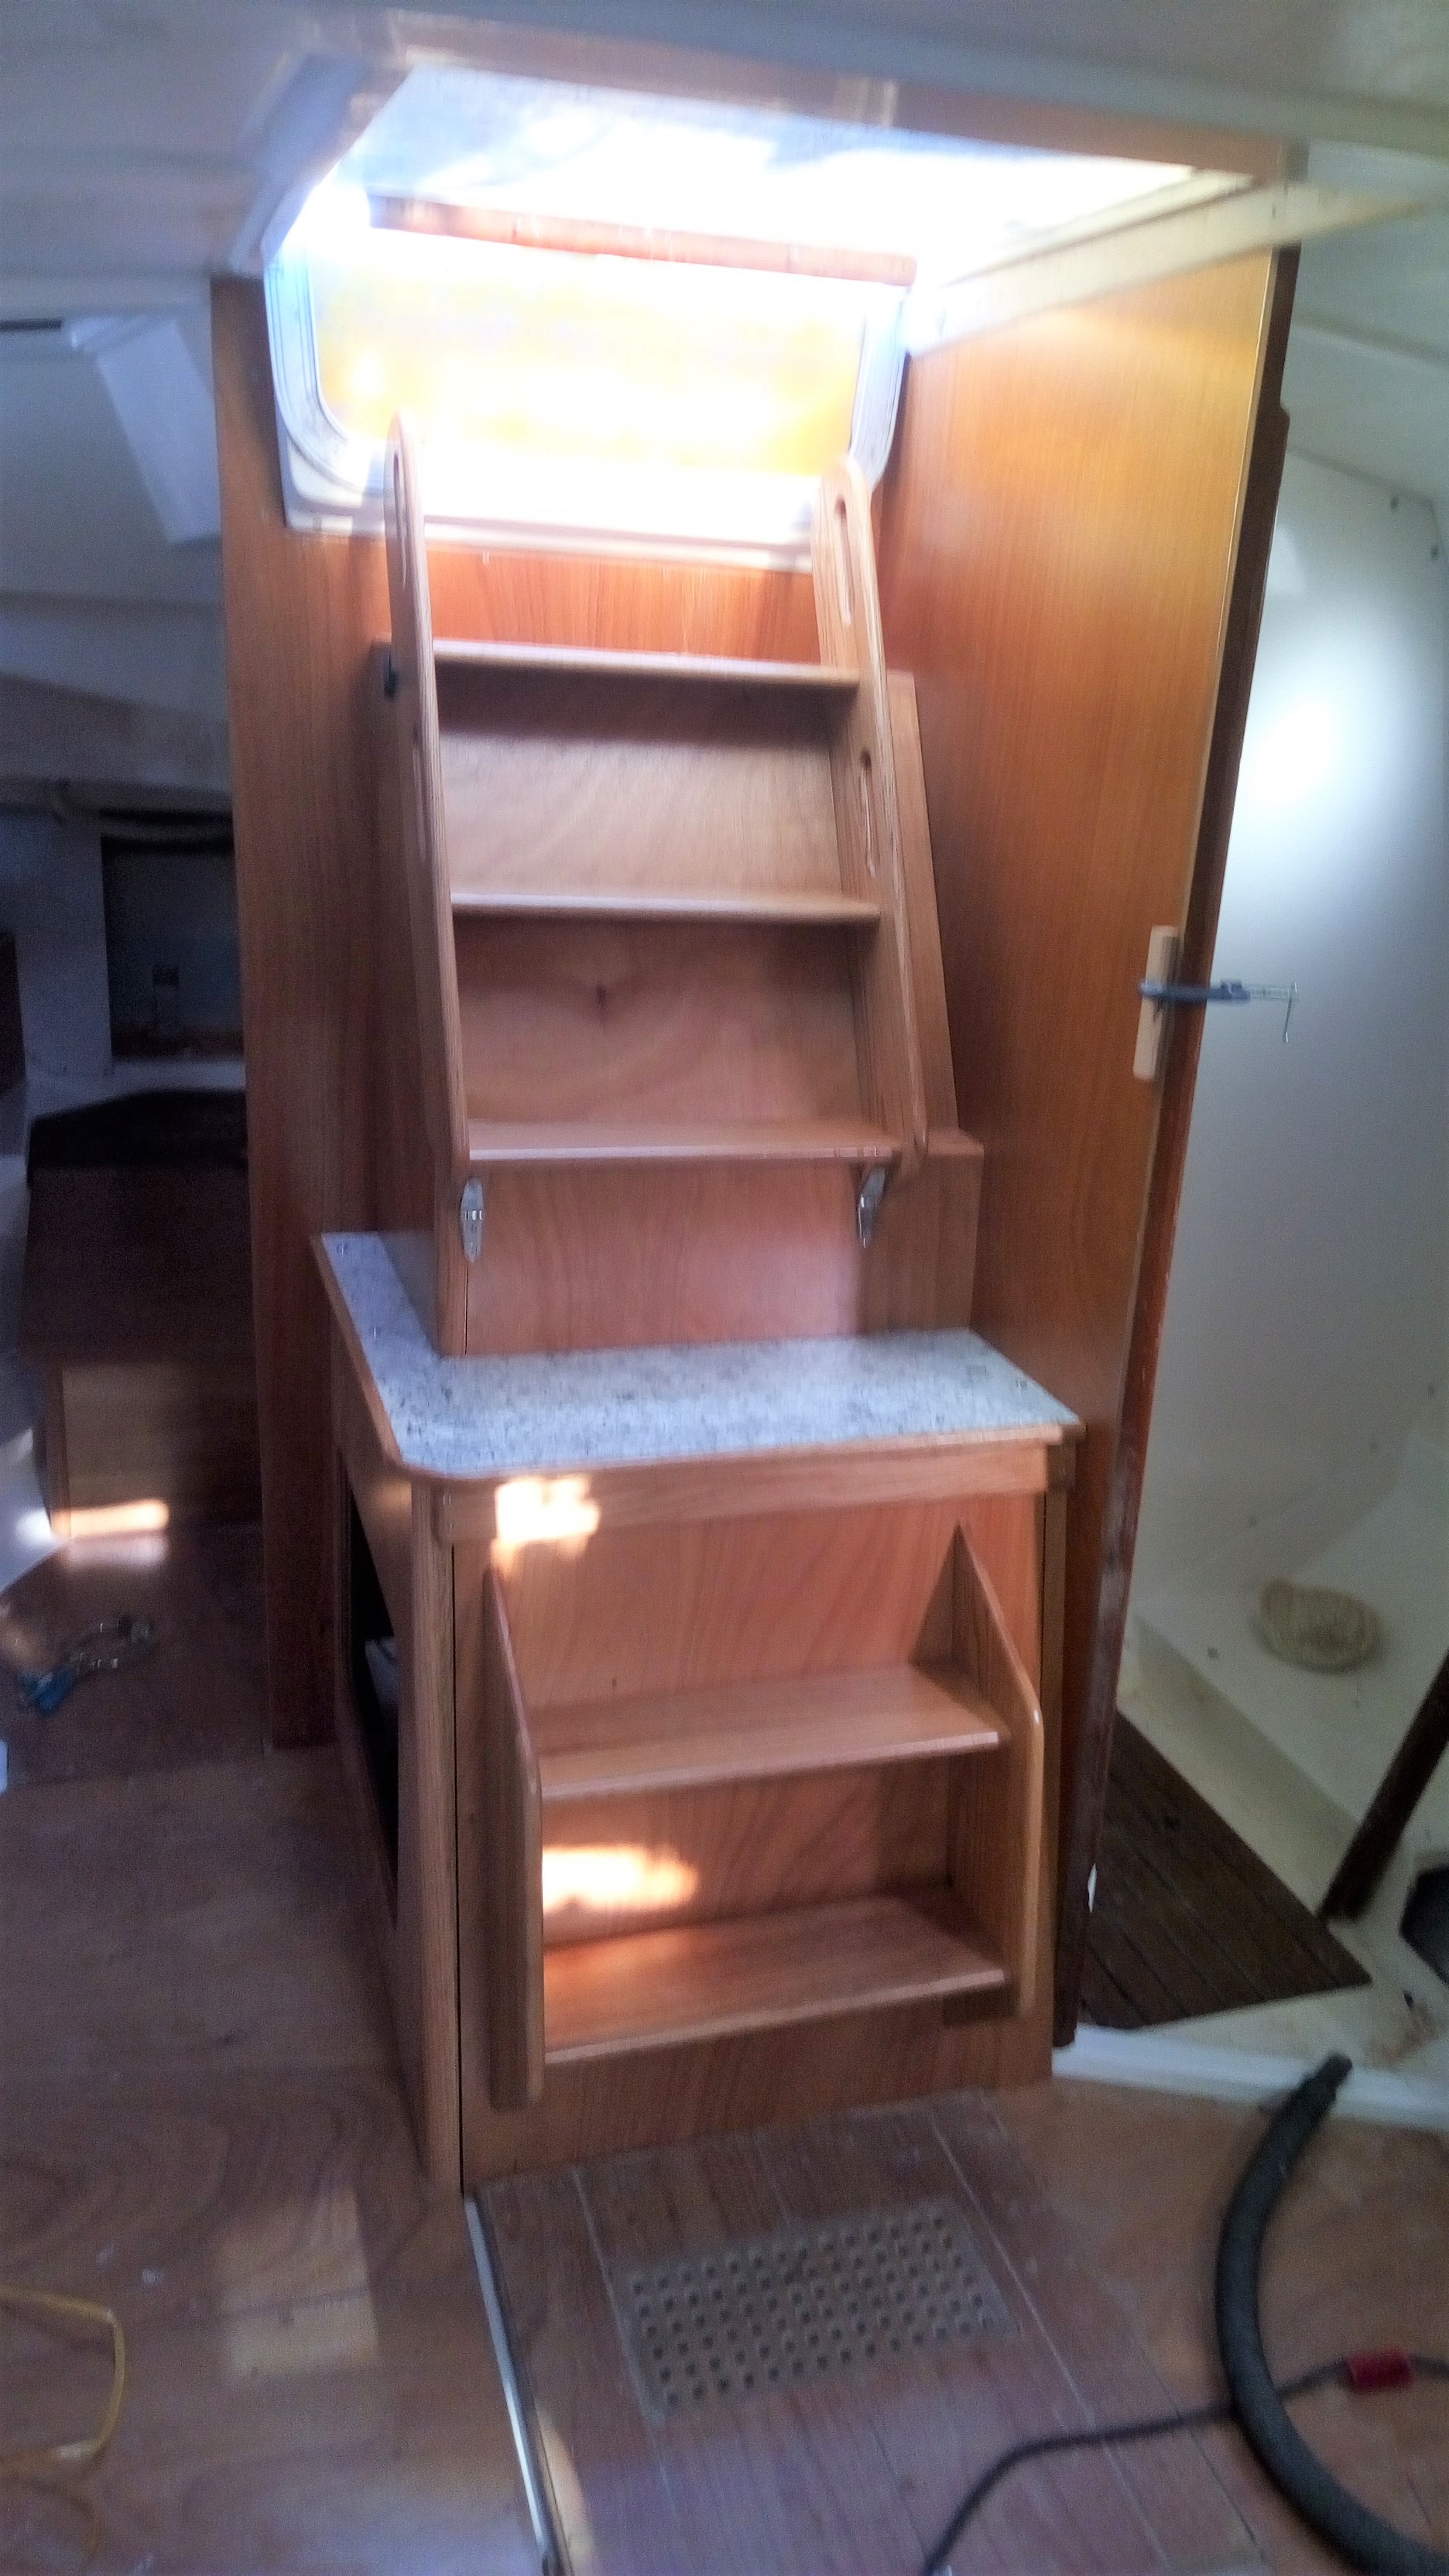
Onward - we have steps:

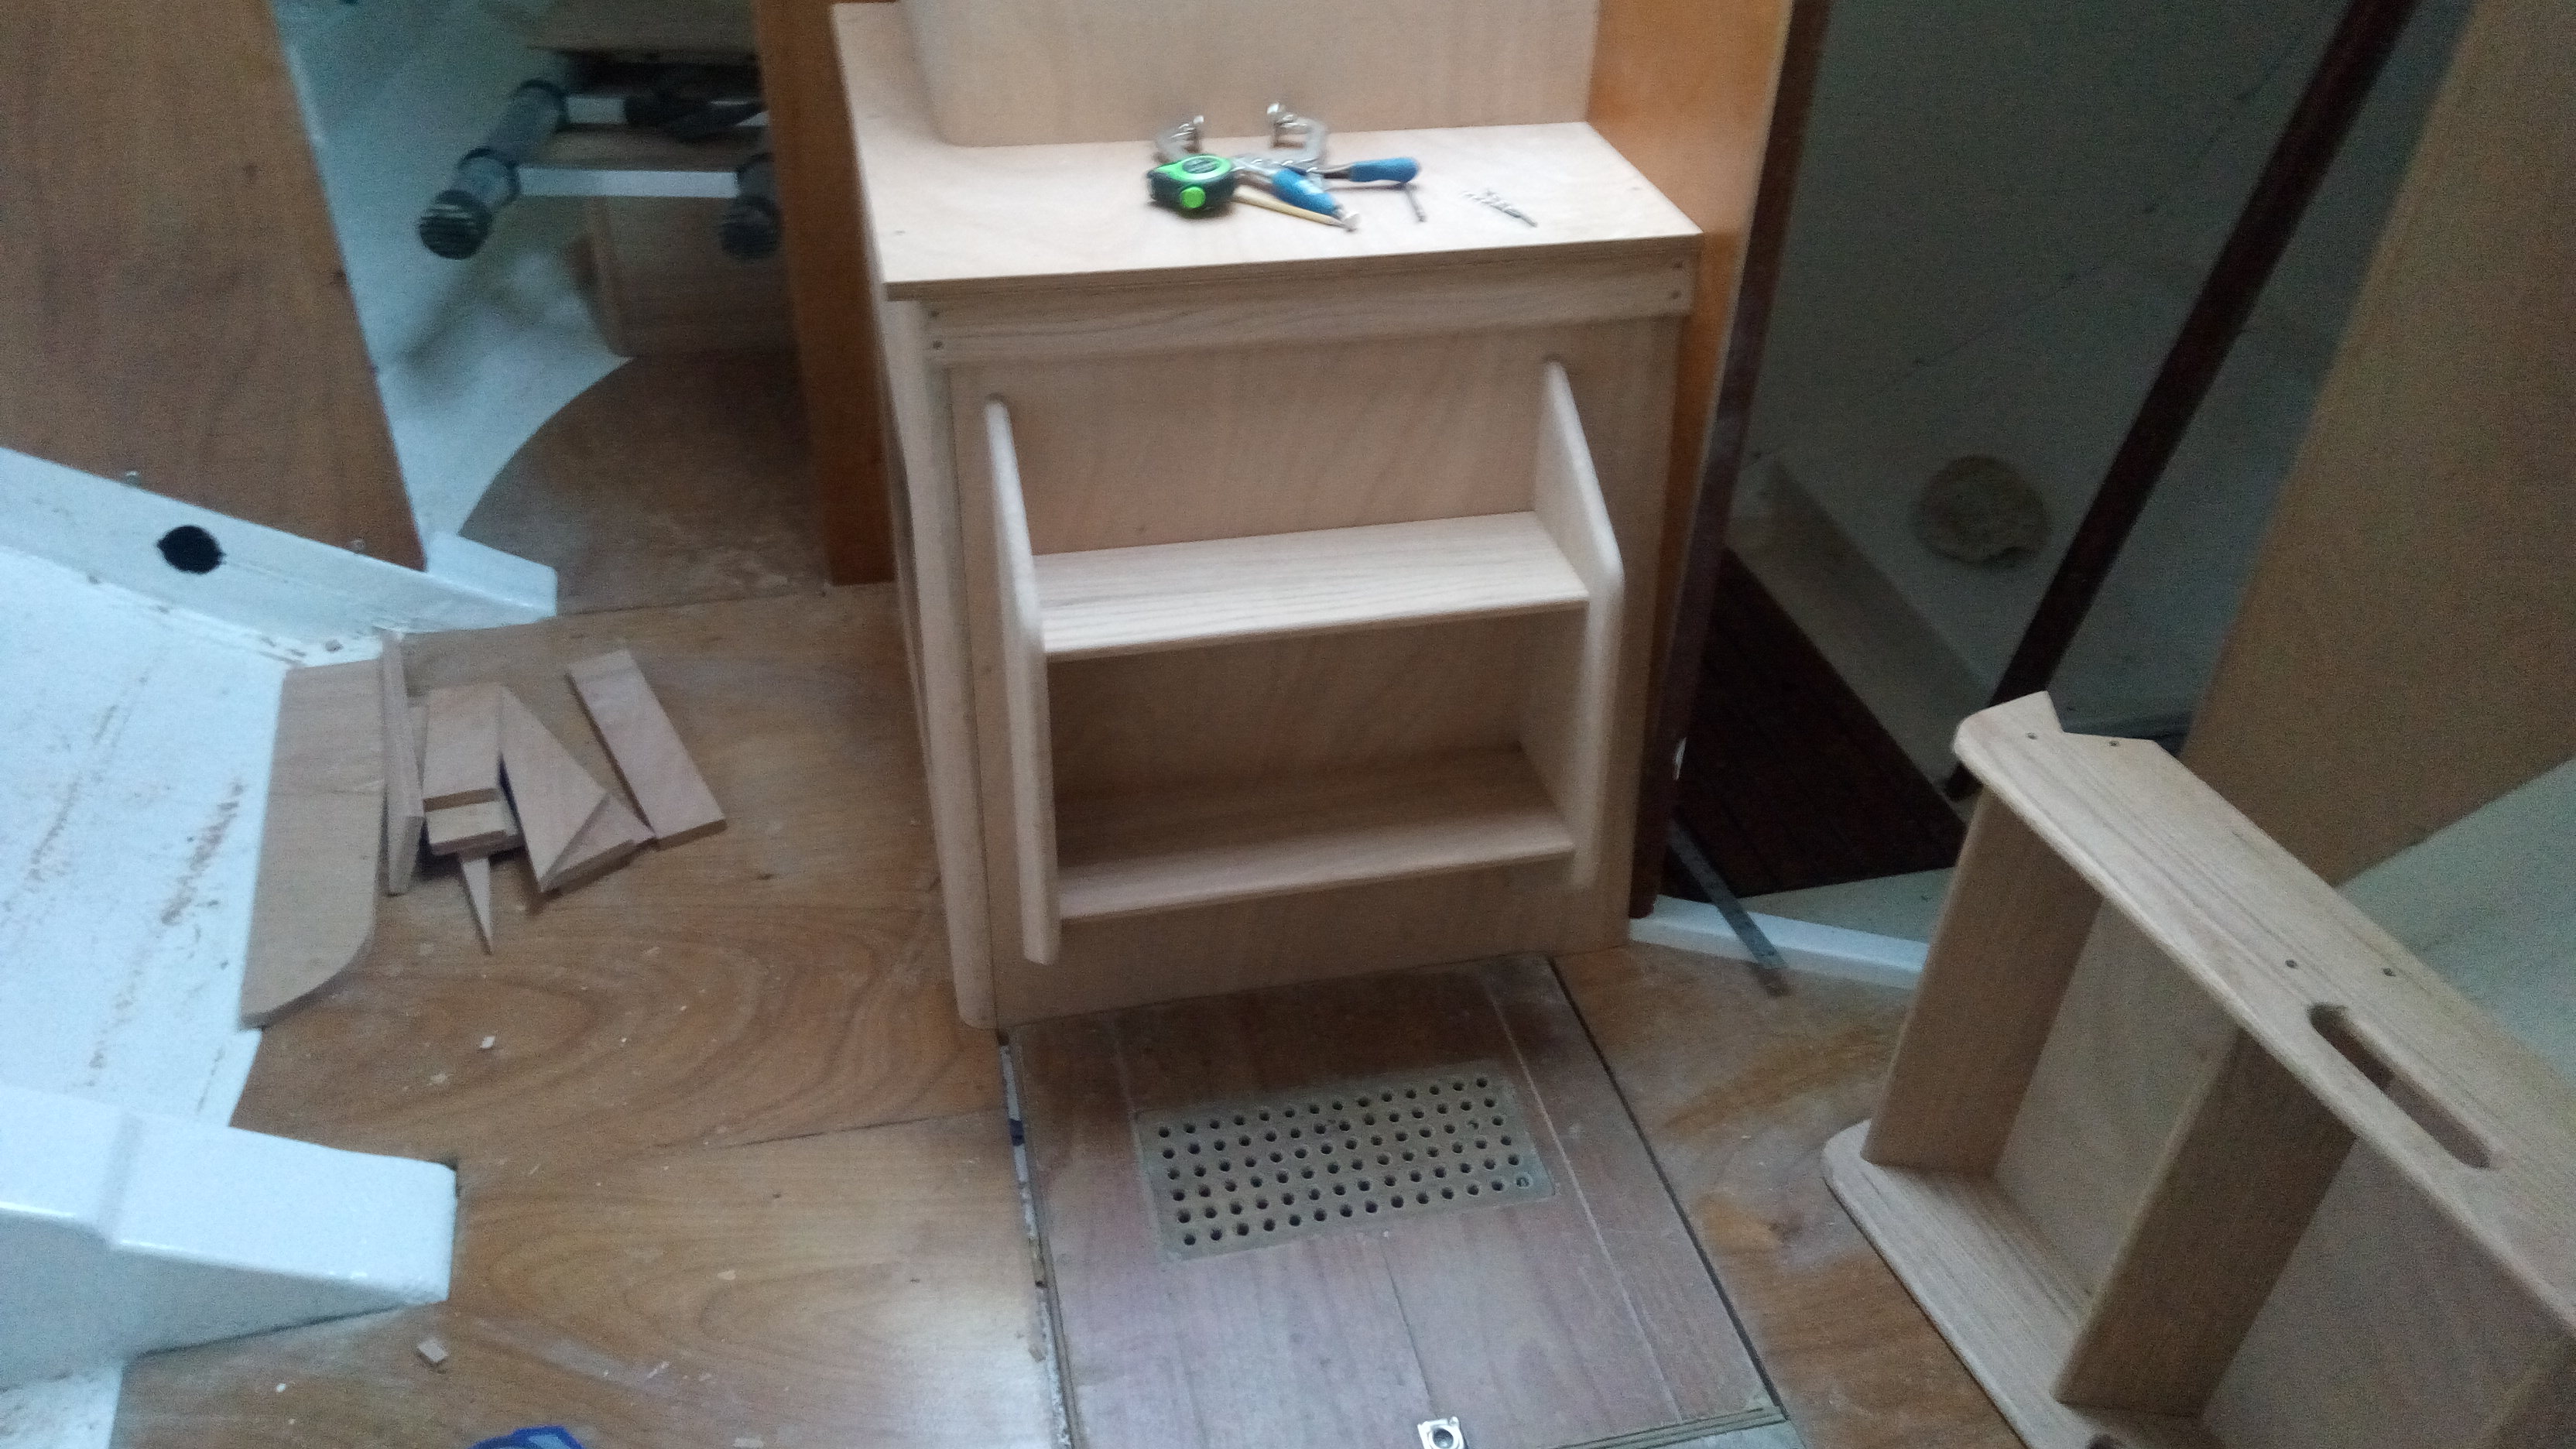
I positioned the old companionway steps for alignment:


Just a note - many years ago one of the steps on the original upper stairs broke. They were the stainless frames with teak inserts like most Hunters have, even the newer boats. The weld broke and my welder scratched his head and said the stairs were in such bad shape that it might be easier to make a complete new one. All the welds were cracked and the frame itself was in pretty poor shape. All you guys with this type of stairs setup might want to check this out for safety-sake.

So that was the impetus to rebuild the entire companionway. What I'm doing now is replicating my earlier setup but in fresh (and matching) wood, even though most of it could have been re-used. As it is, I did move the steps to starboard a little to align them better with the entryway.

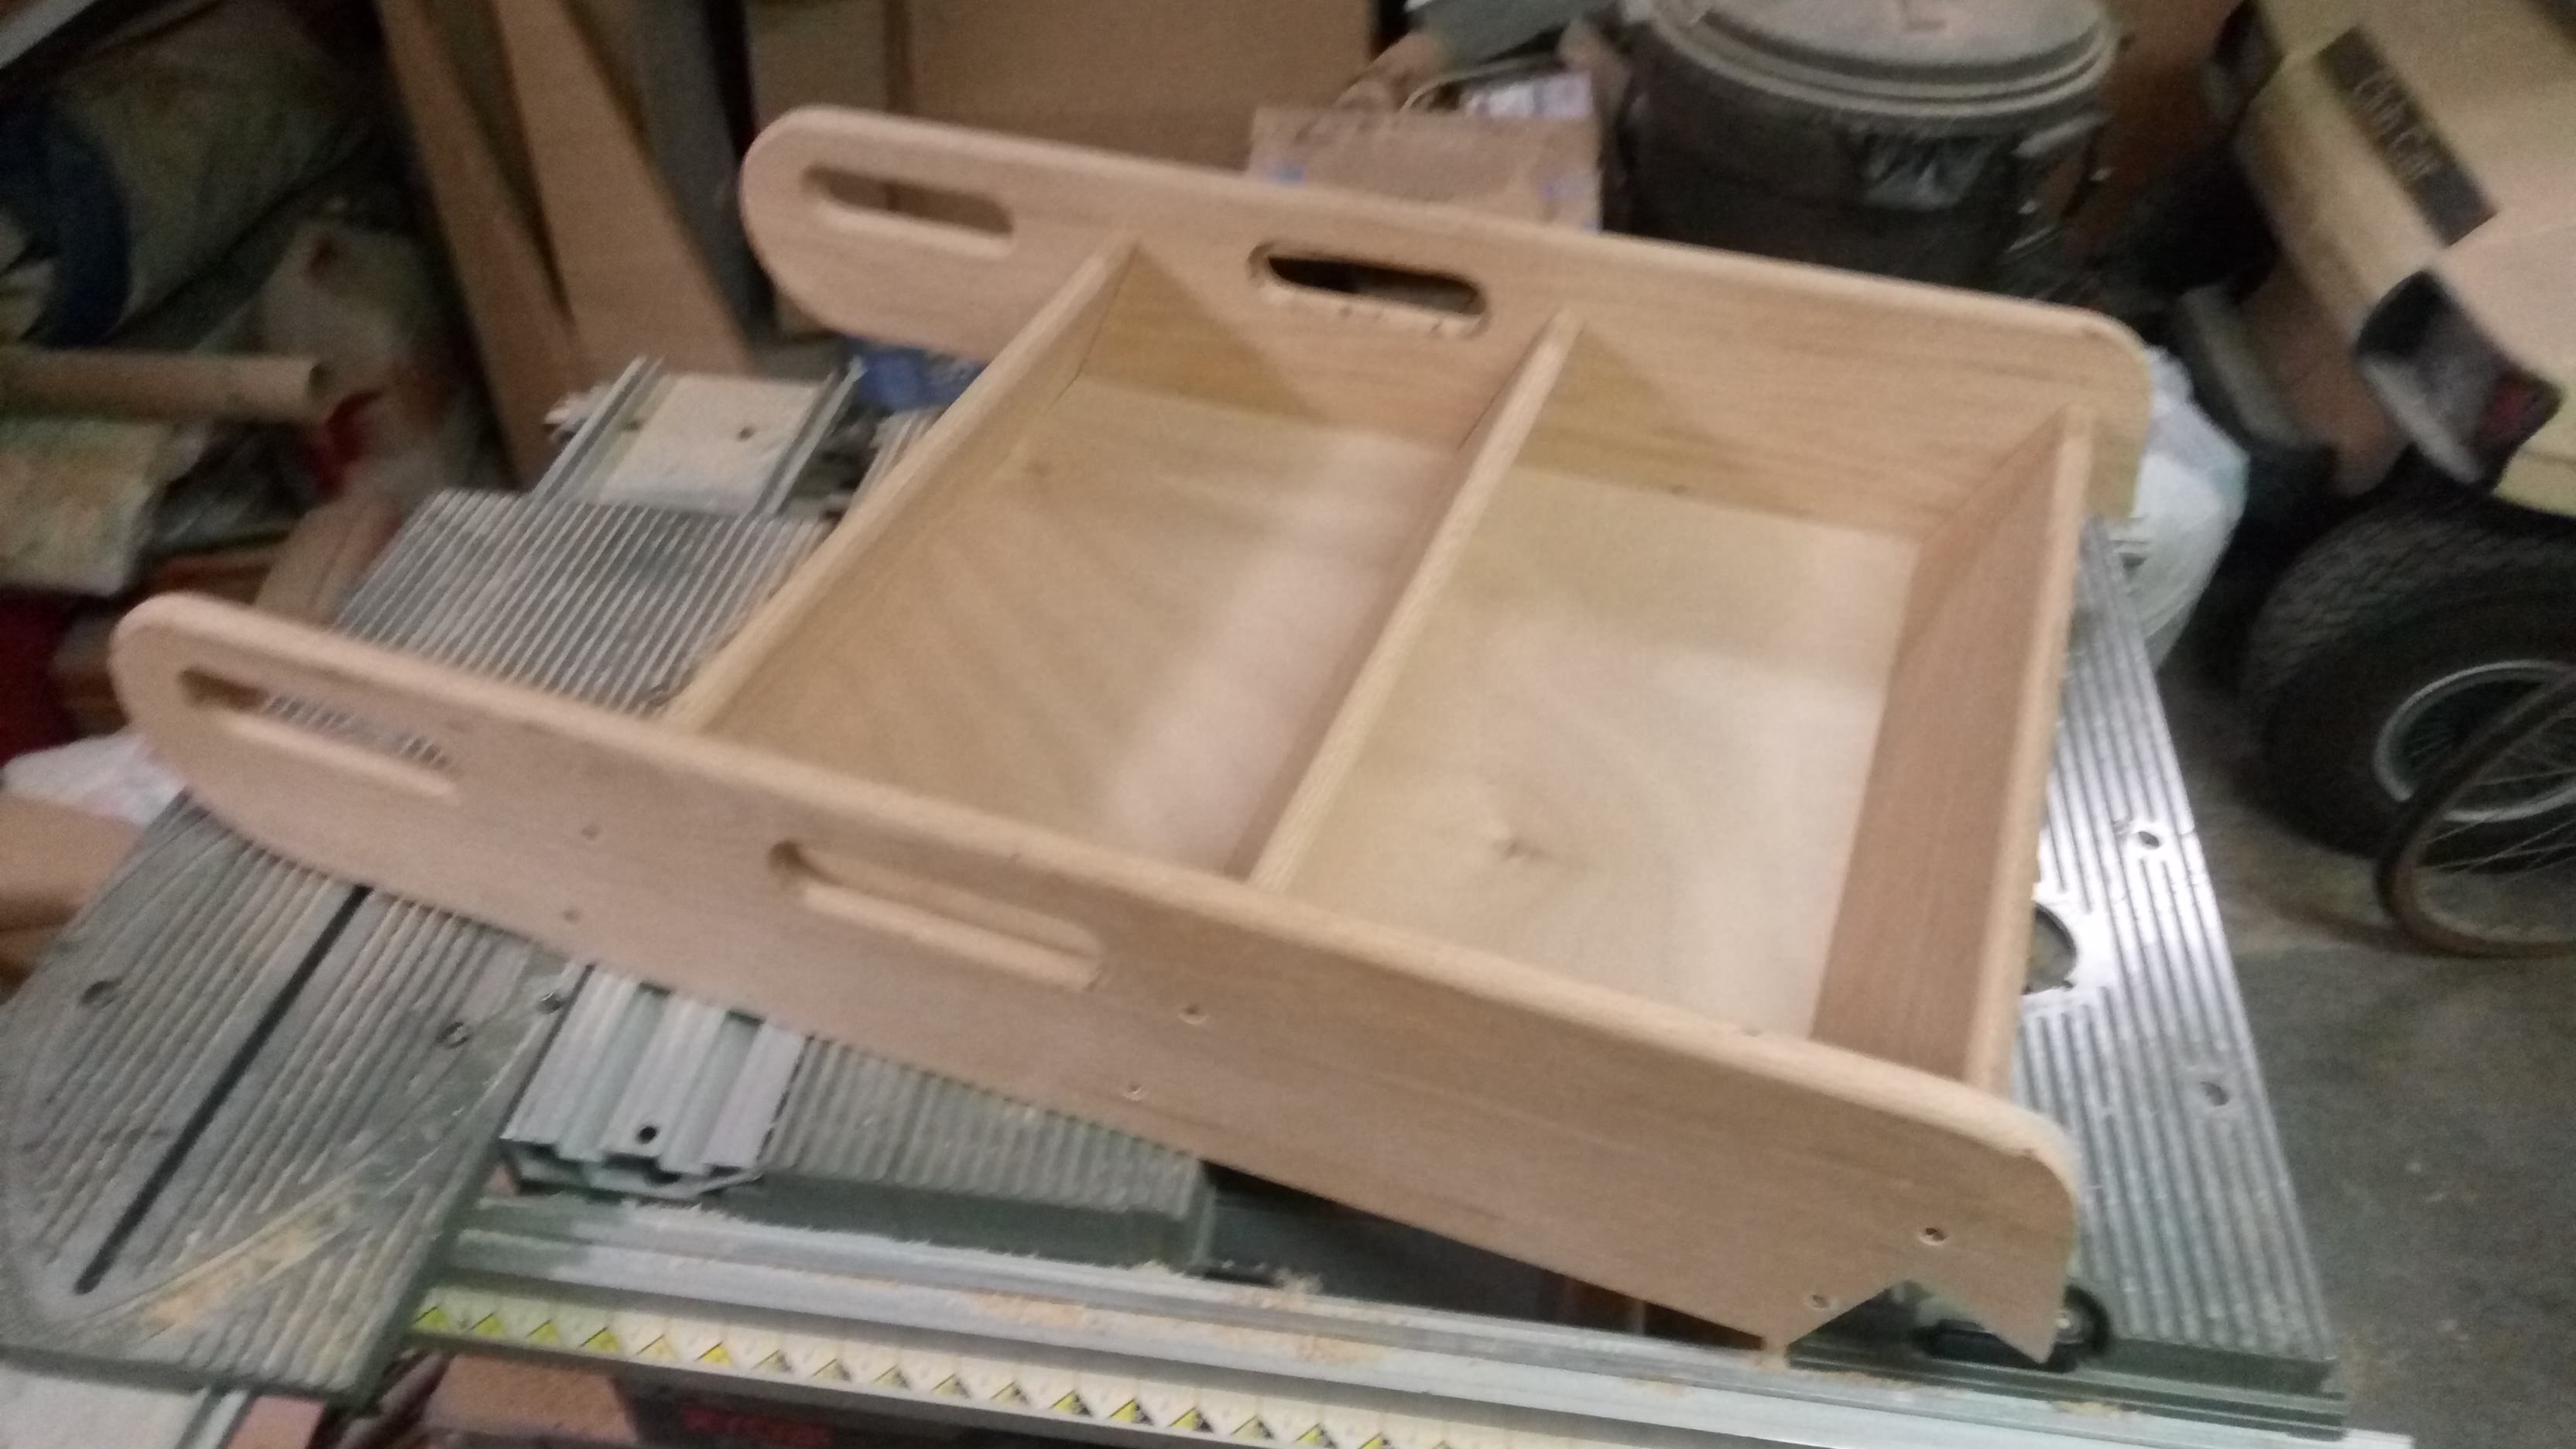
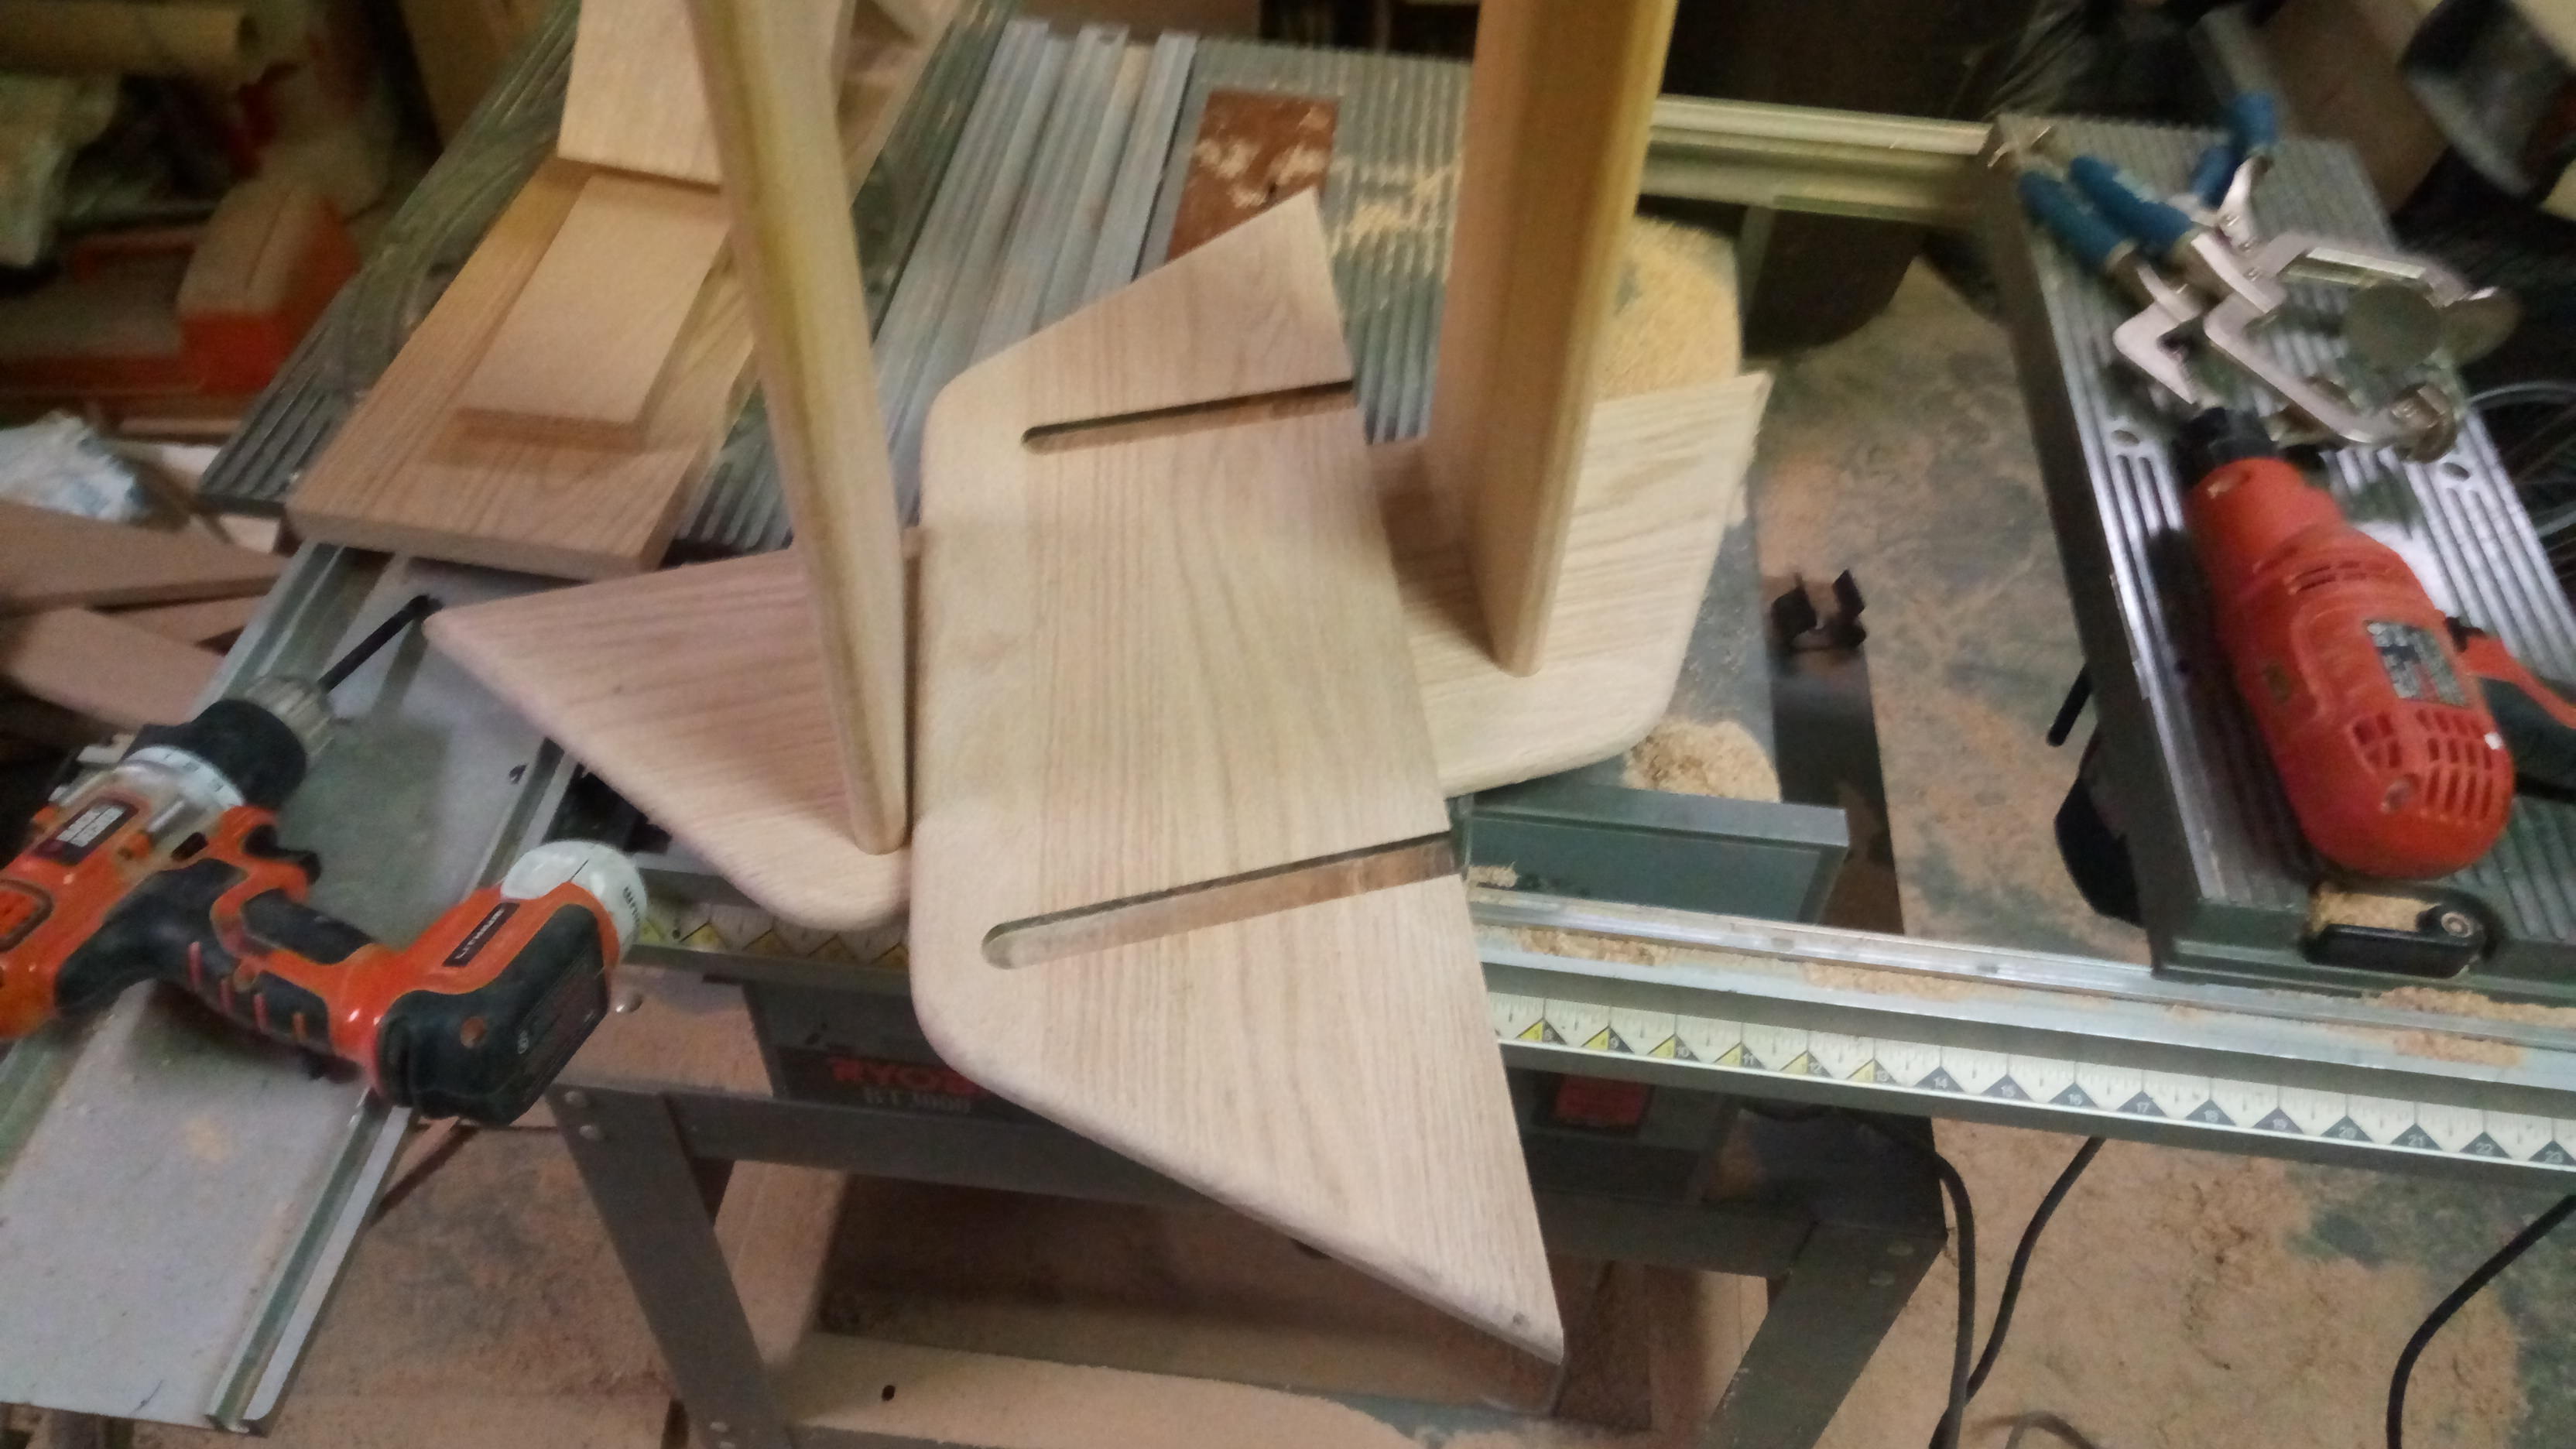
Using the old pieces as templates, new upper being cut:


and lower steps:


and the frame for the upper steps:


With everything mocked up in the garage, next will be test-fitting in the boat. Stay tuned!

Cheers,

Mark
 
  • Like
Likes: limbodog
Jul 1, 2017
64
Hunter 356 Brightlingsea
Hey Mark.....you are a fast worker!
Looking fantastic......your skills and the opportunity to build your own interior is a great moment.
Keep up the good work.
Neil
 
May 8, 2013
629
Hunter 40 Dataw Island, SC
Thanks Neil!

More companionway work:

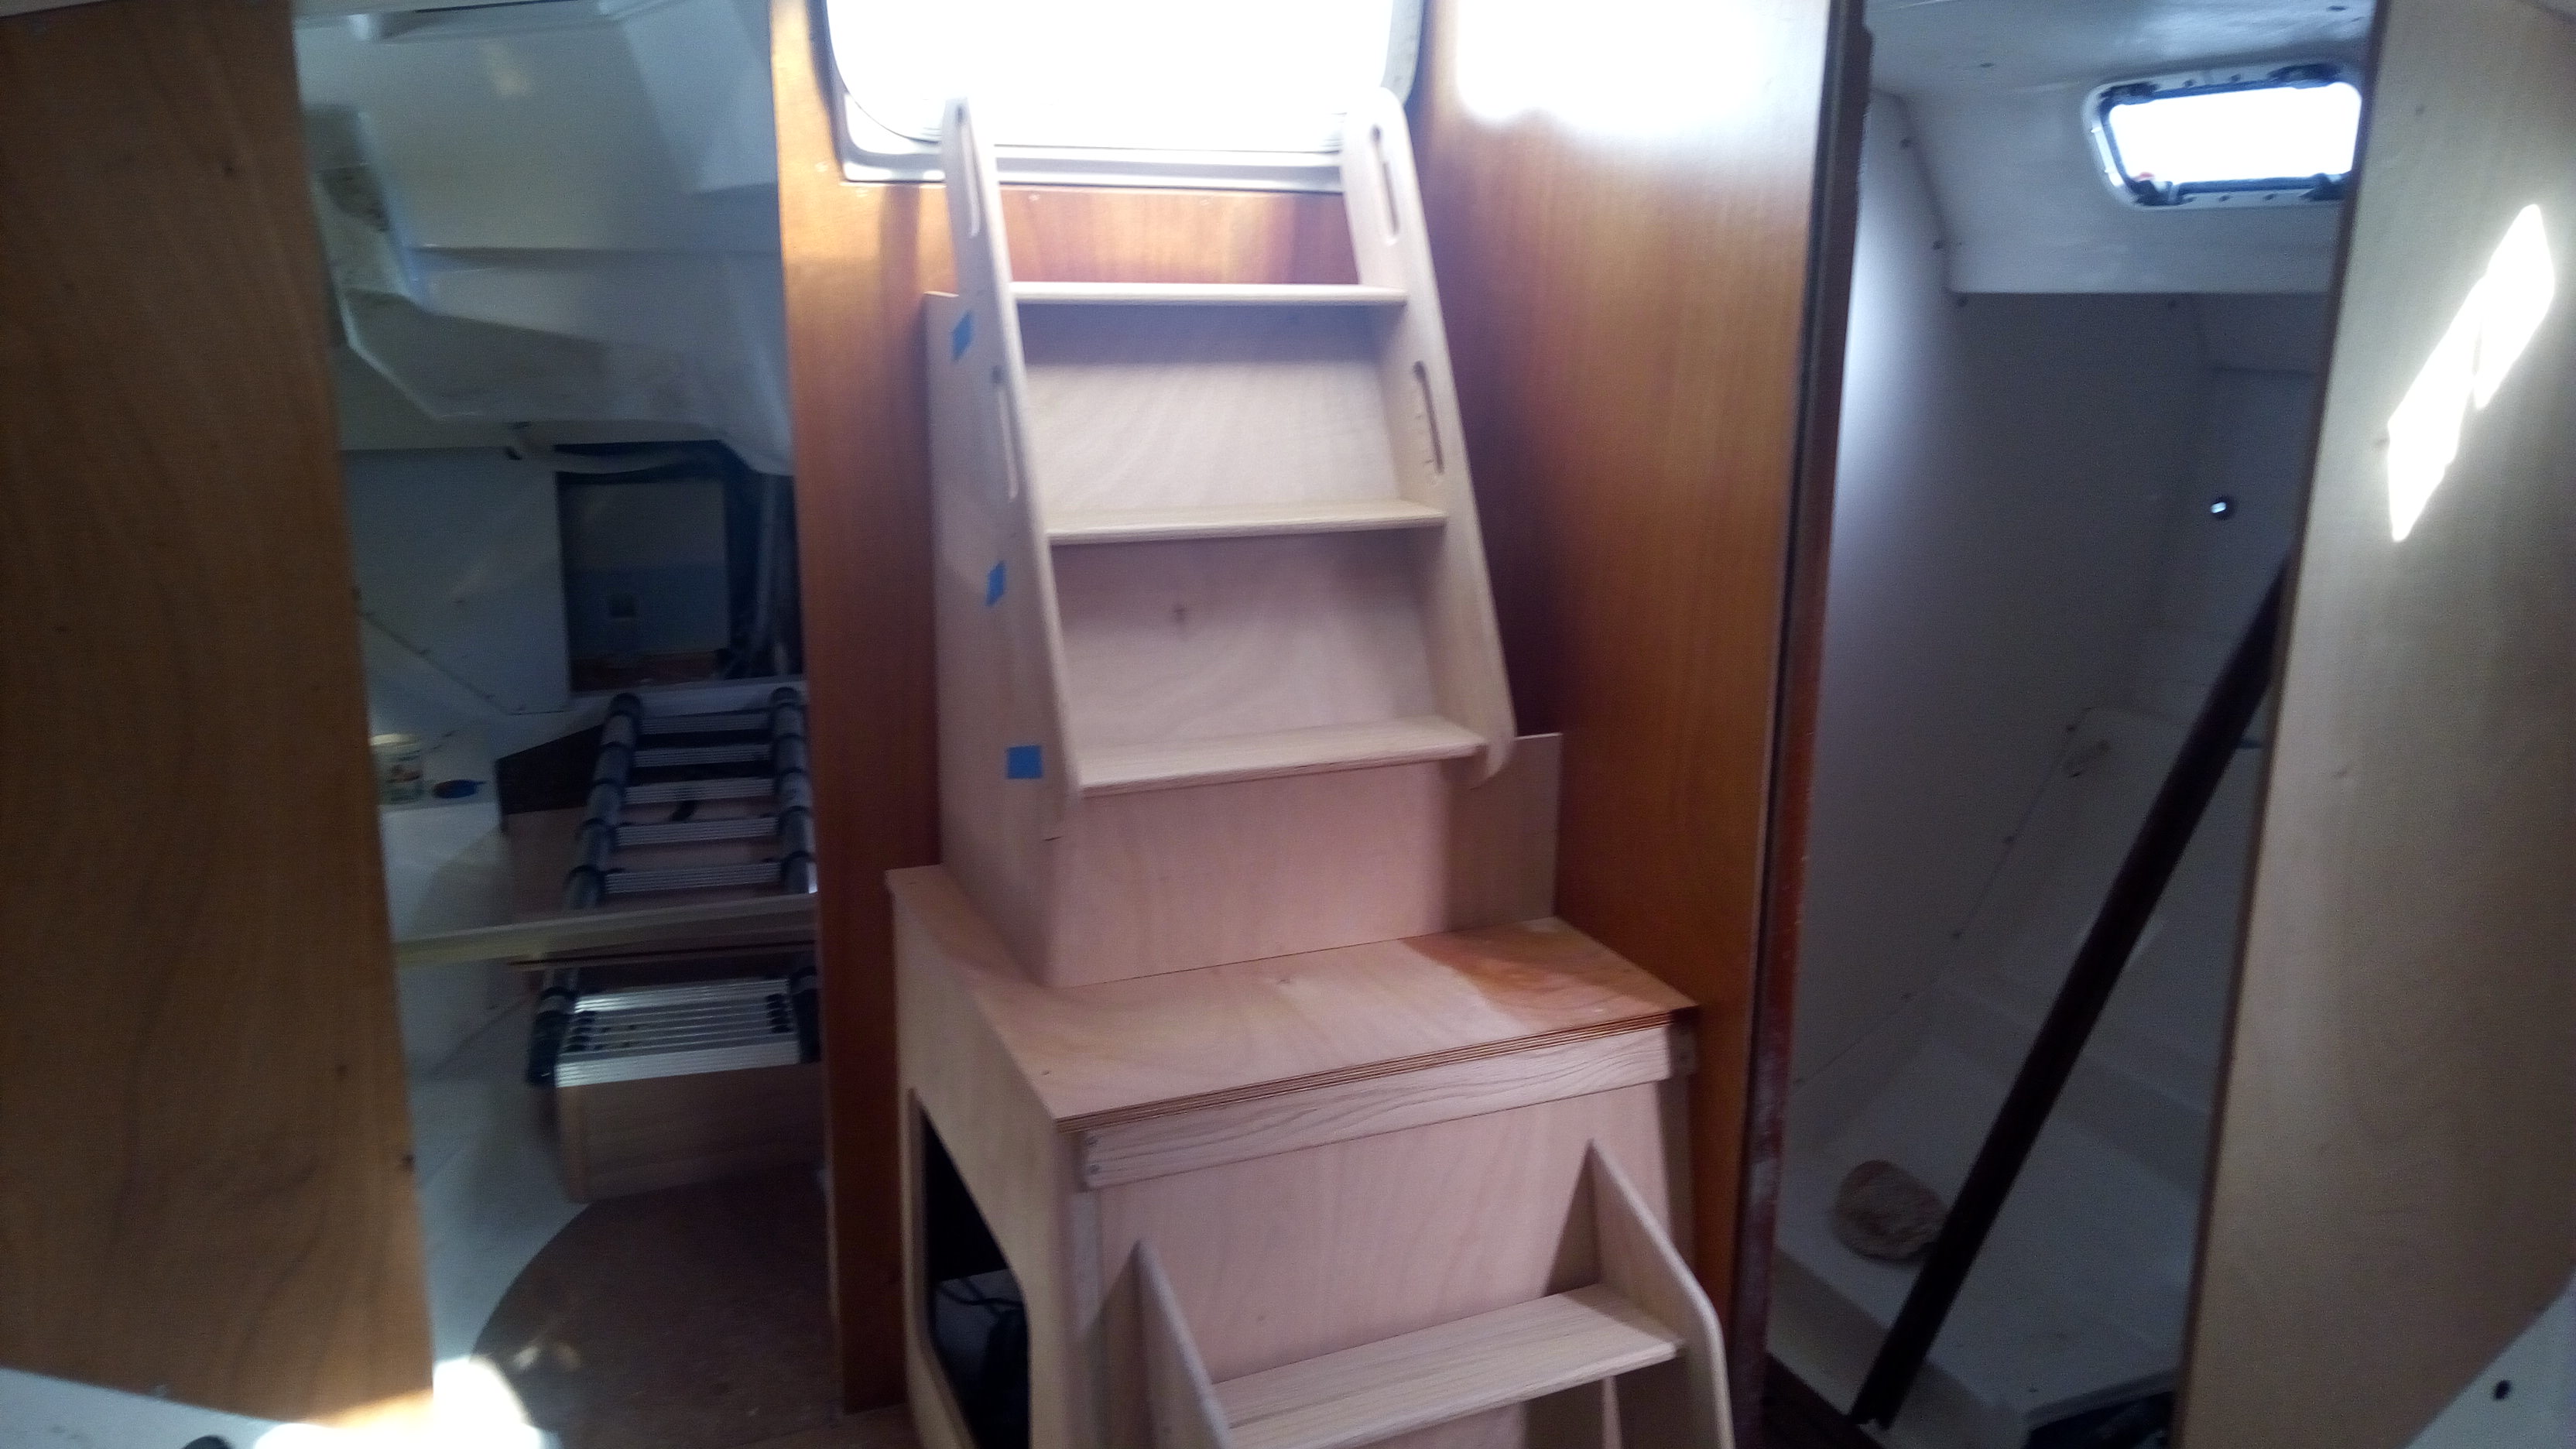
Test-fitting the upper frame:


and fitting the new steps in place:


With everything looking good, I secured the lower steps to the front cover:


The top step is more of a platform with a portion attached to the bulkhead:


Part of the fitting process has to allow for a gasket between the frame and the steps:


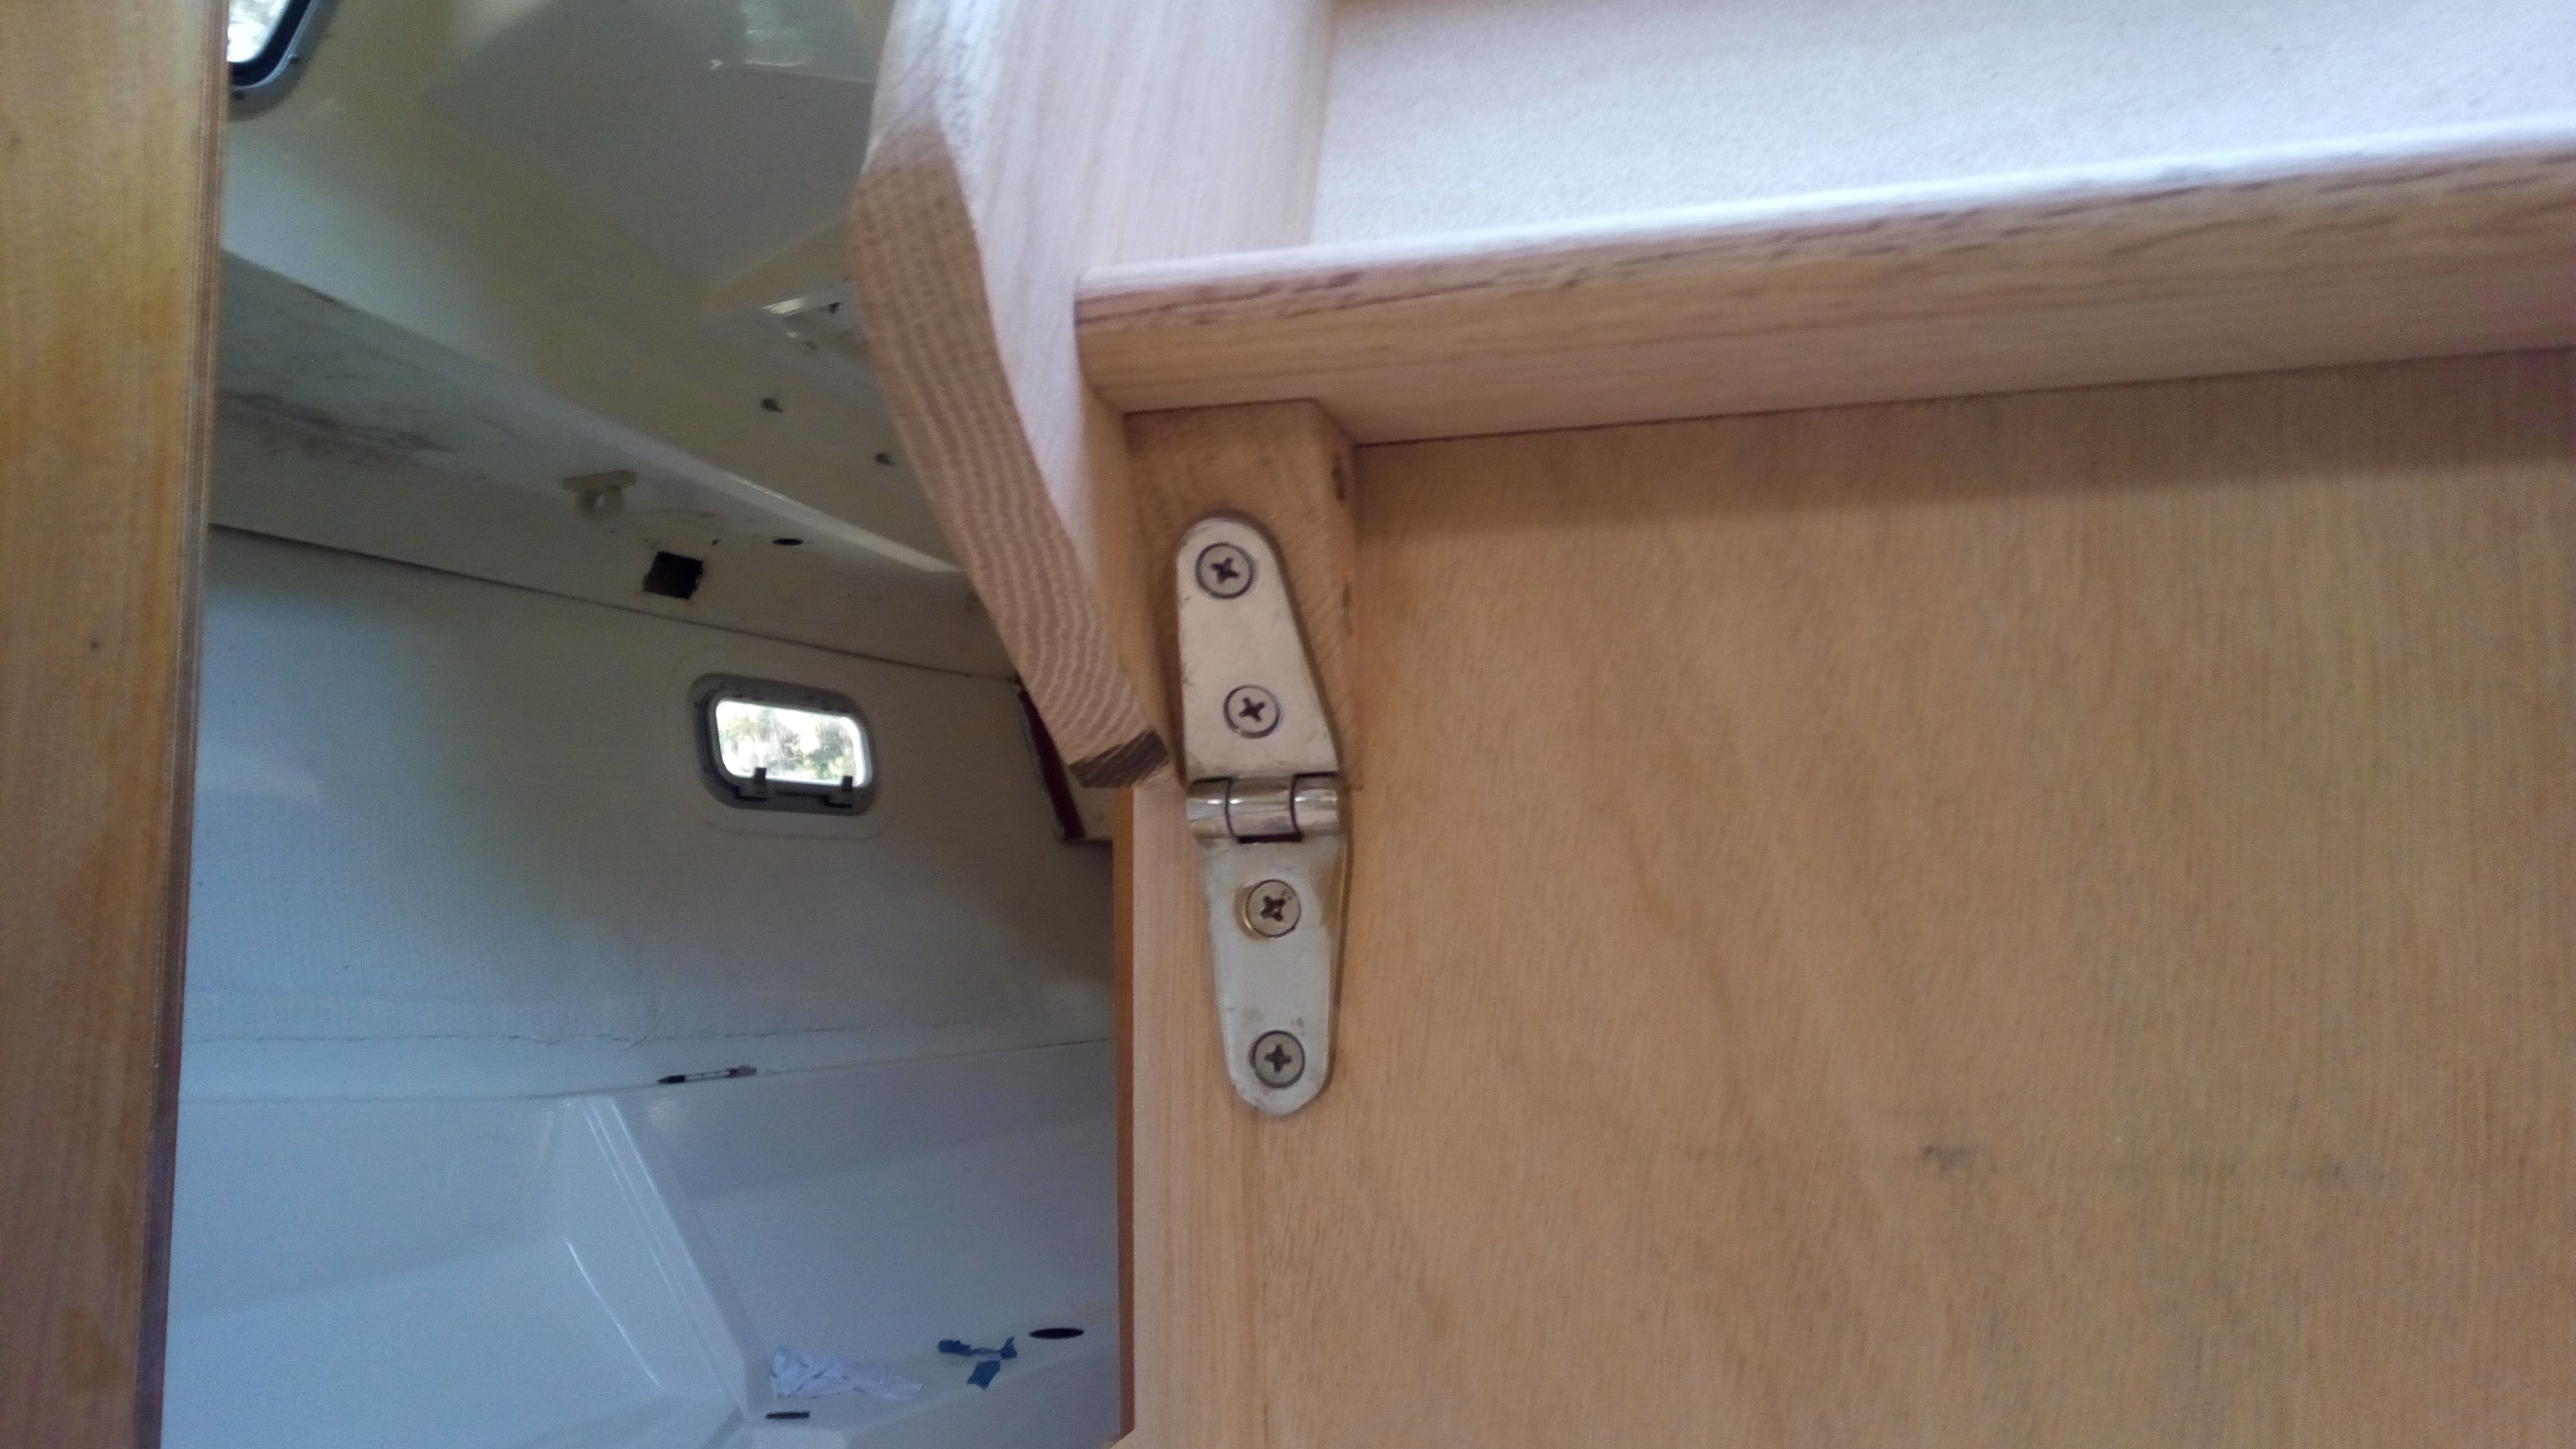
With the gasket in place and the upper steps fitted, the step hinges were marked and attached:


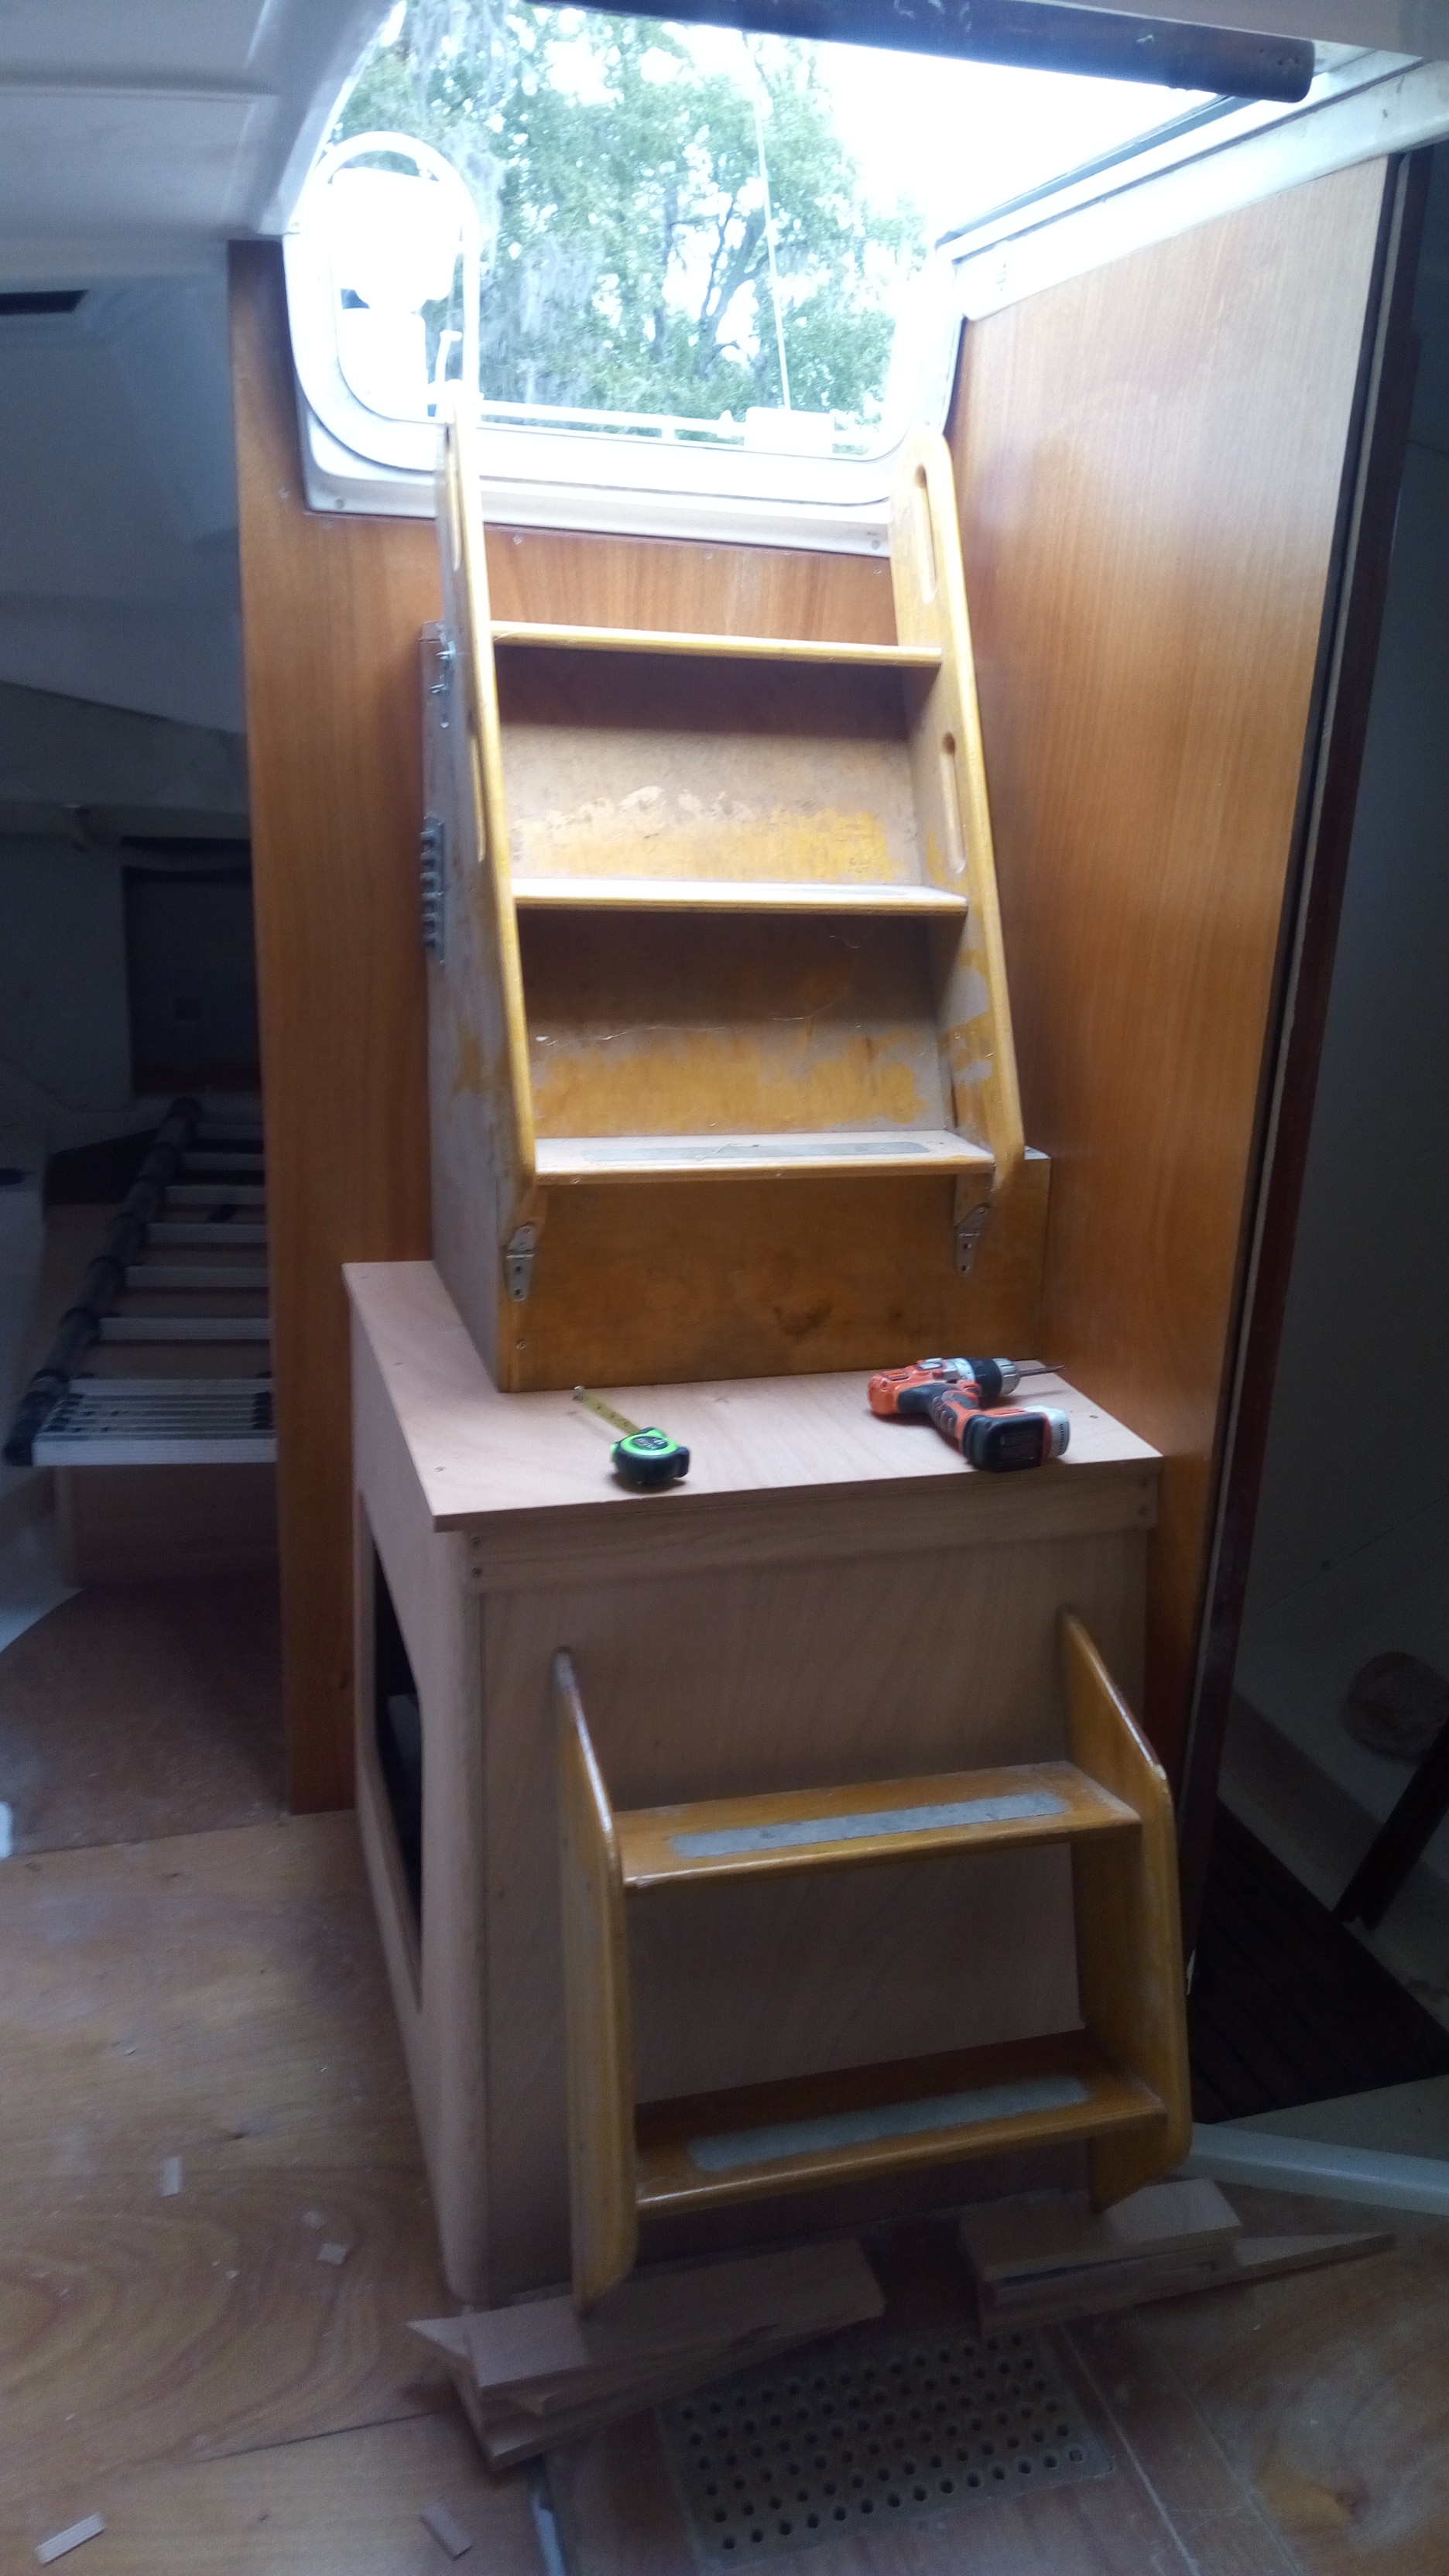
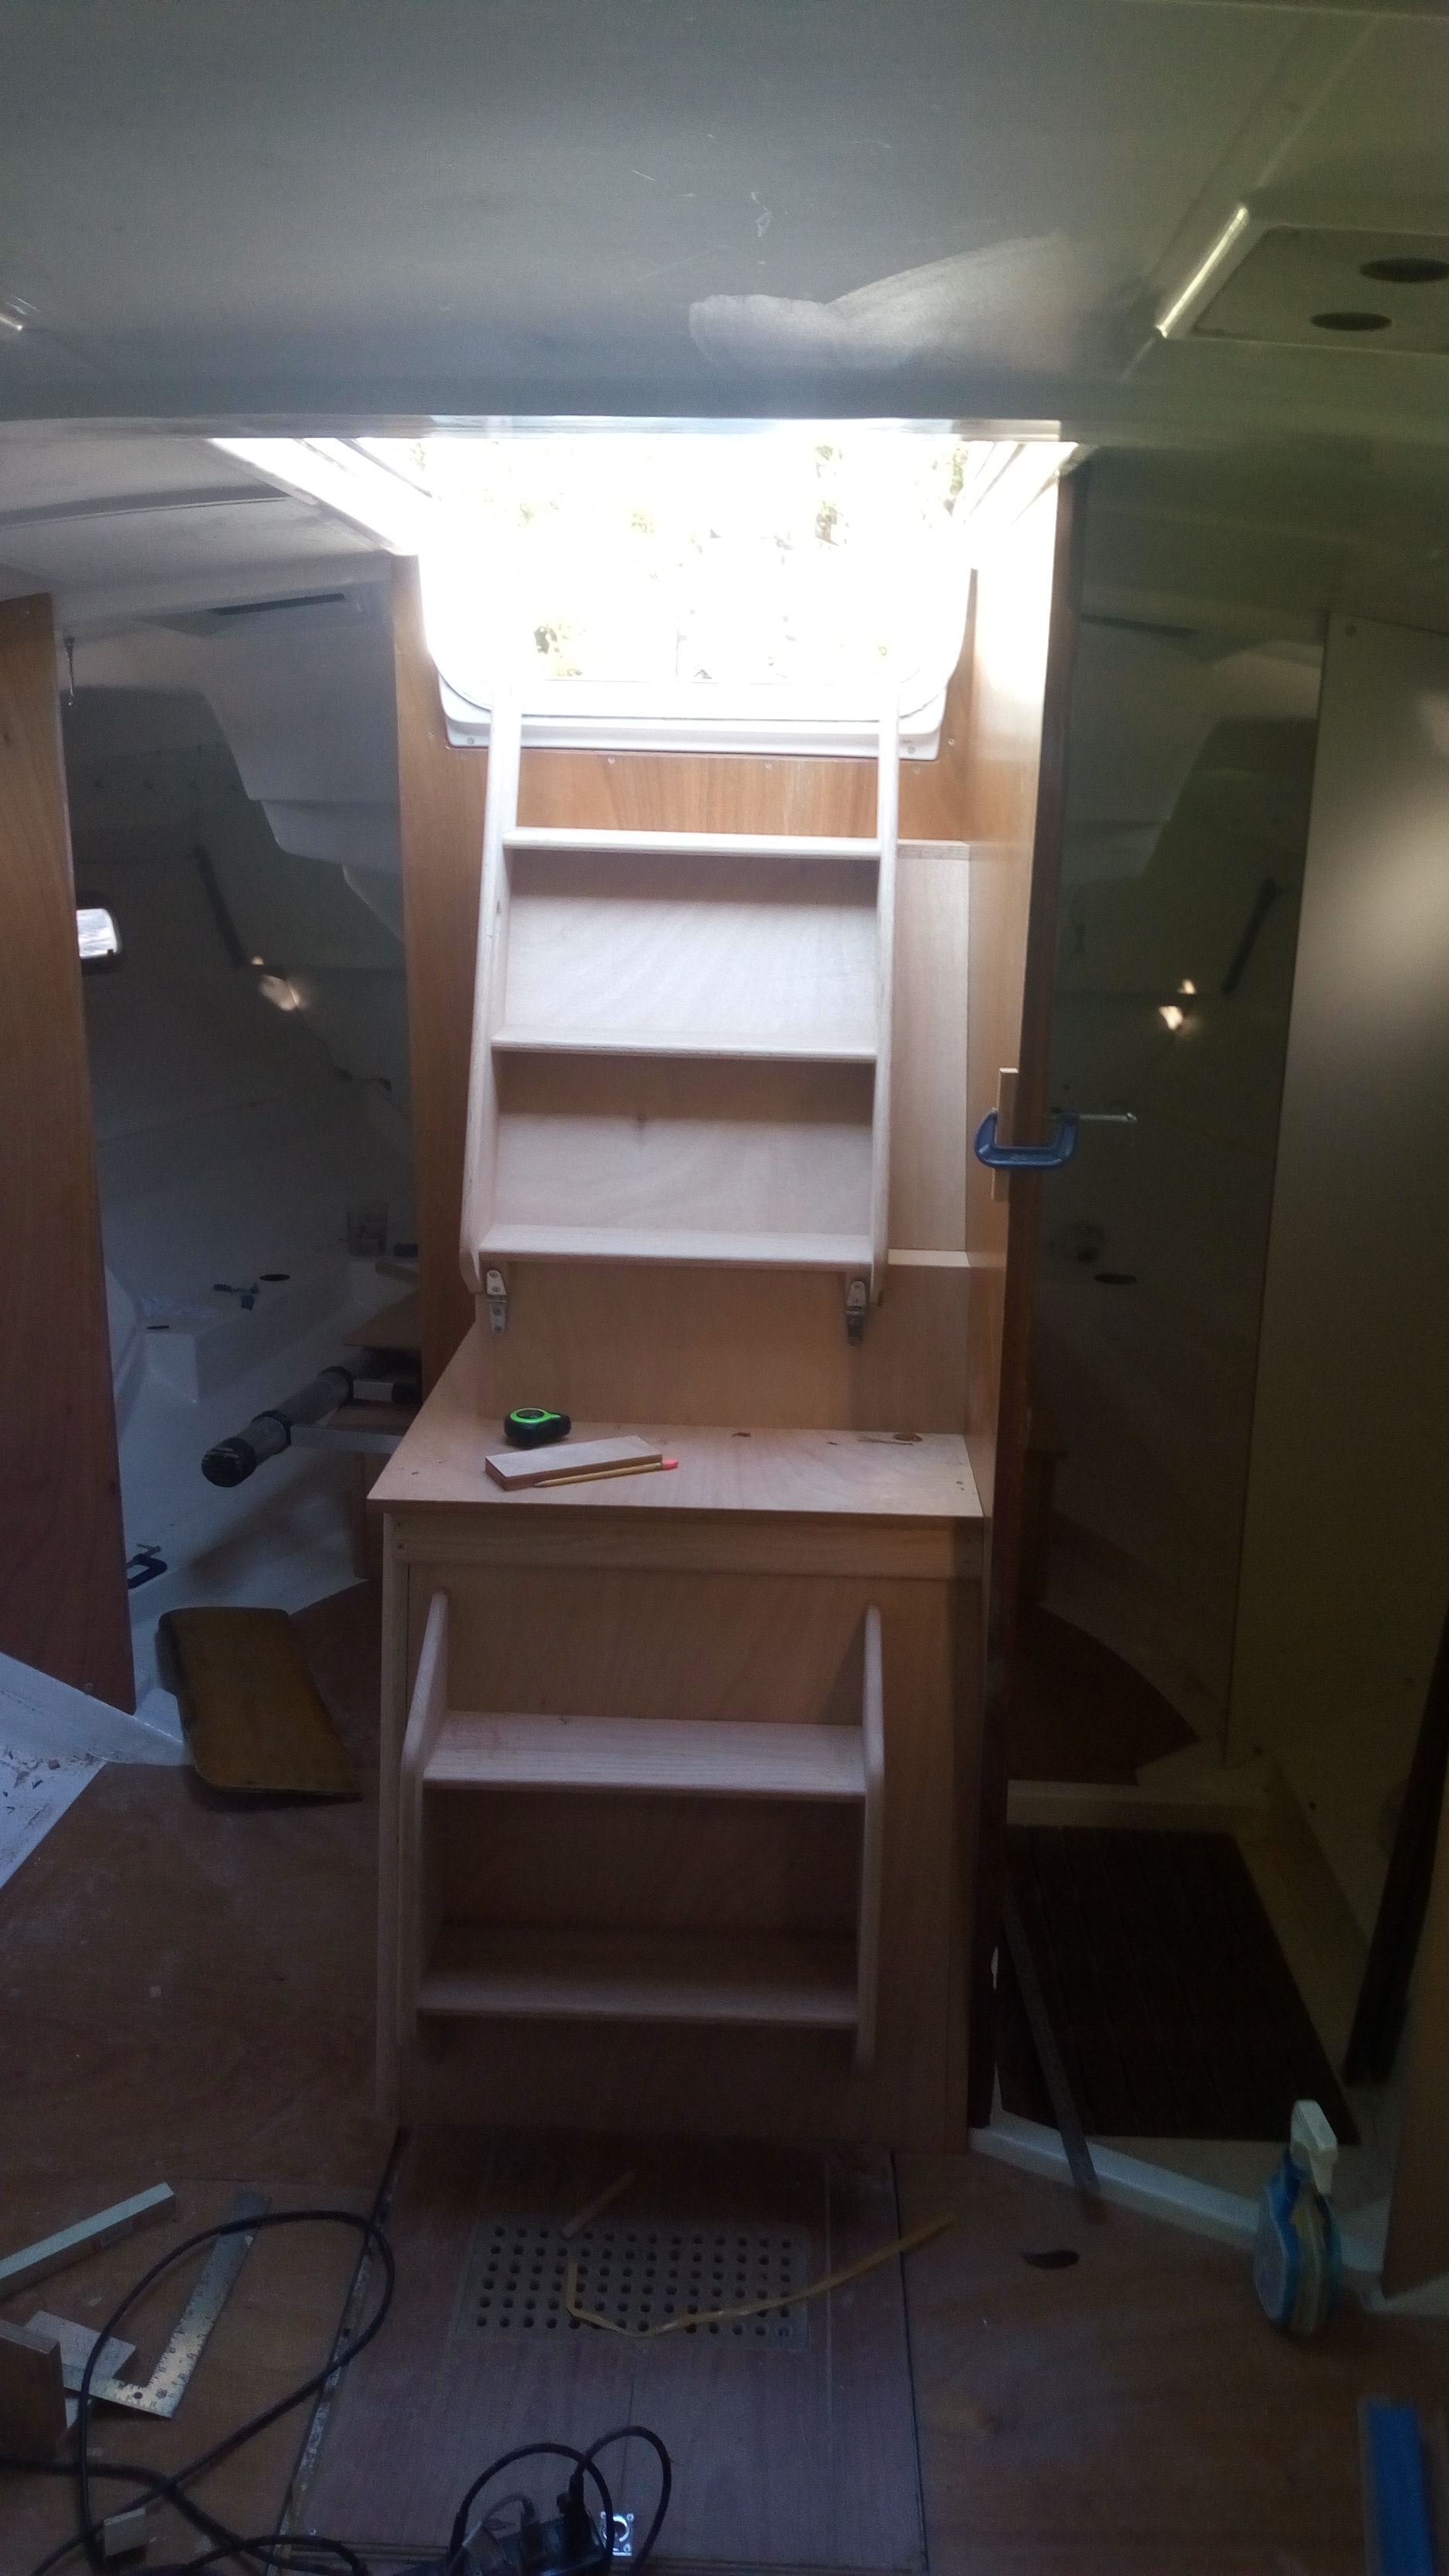
I added the filler panels between the steps and the side bulkhead. Here's everything in place:


And now for my genius in the design:


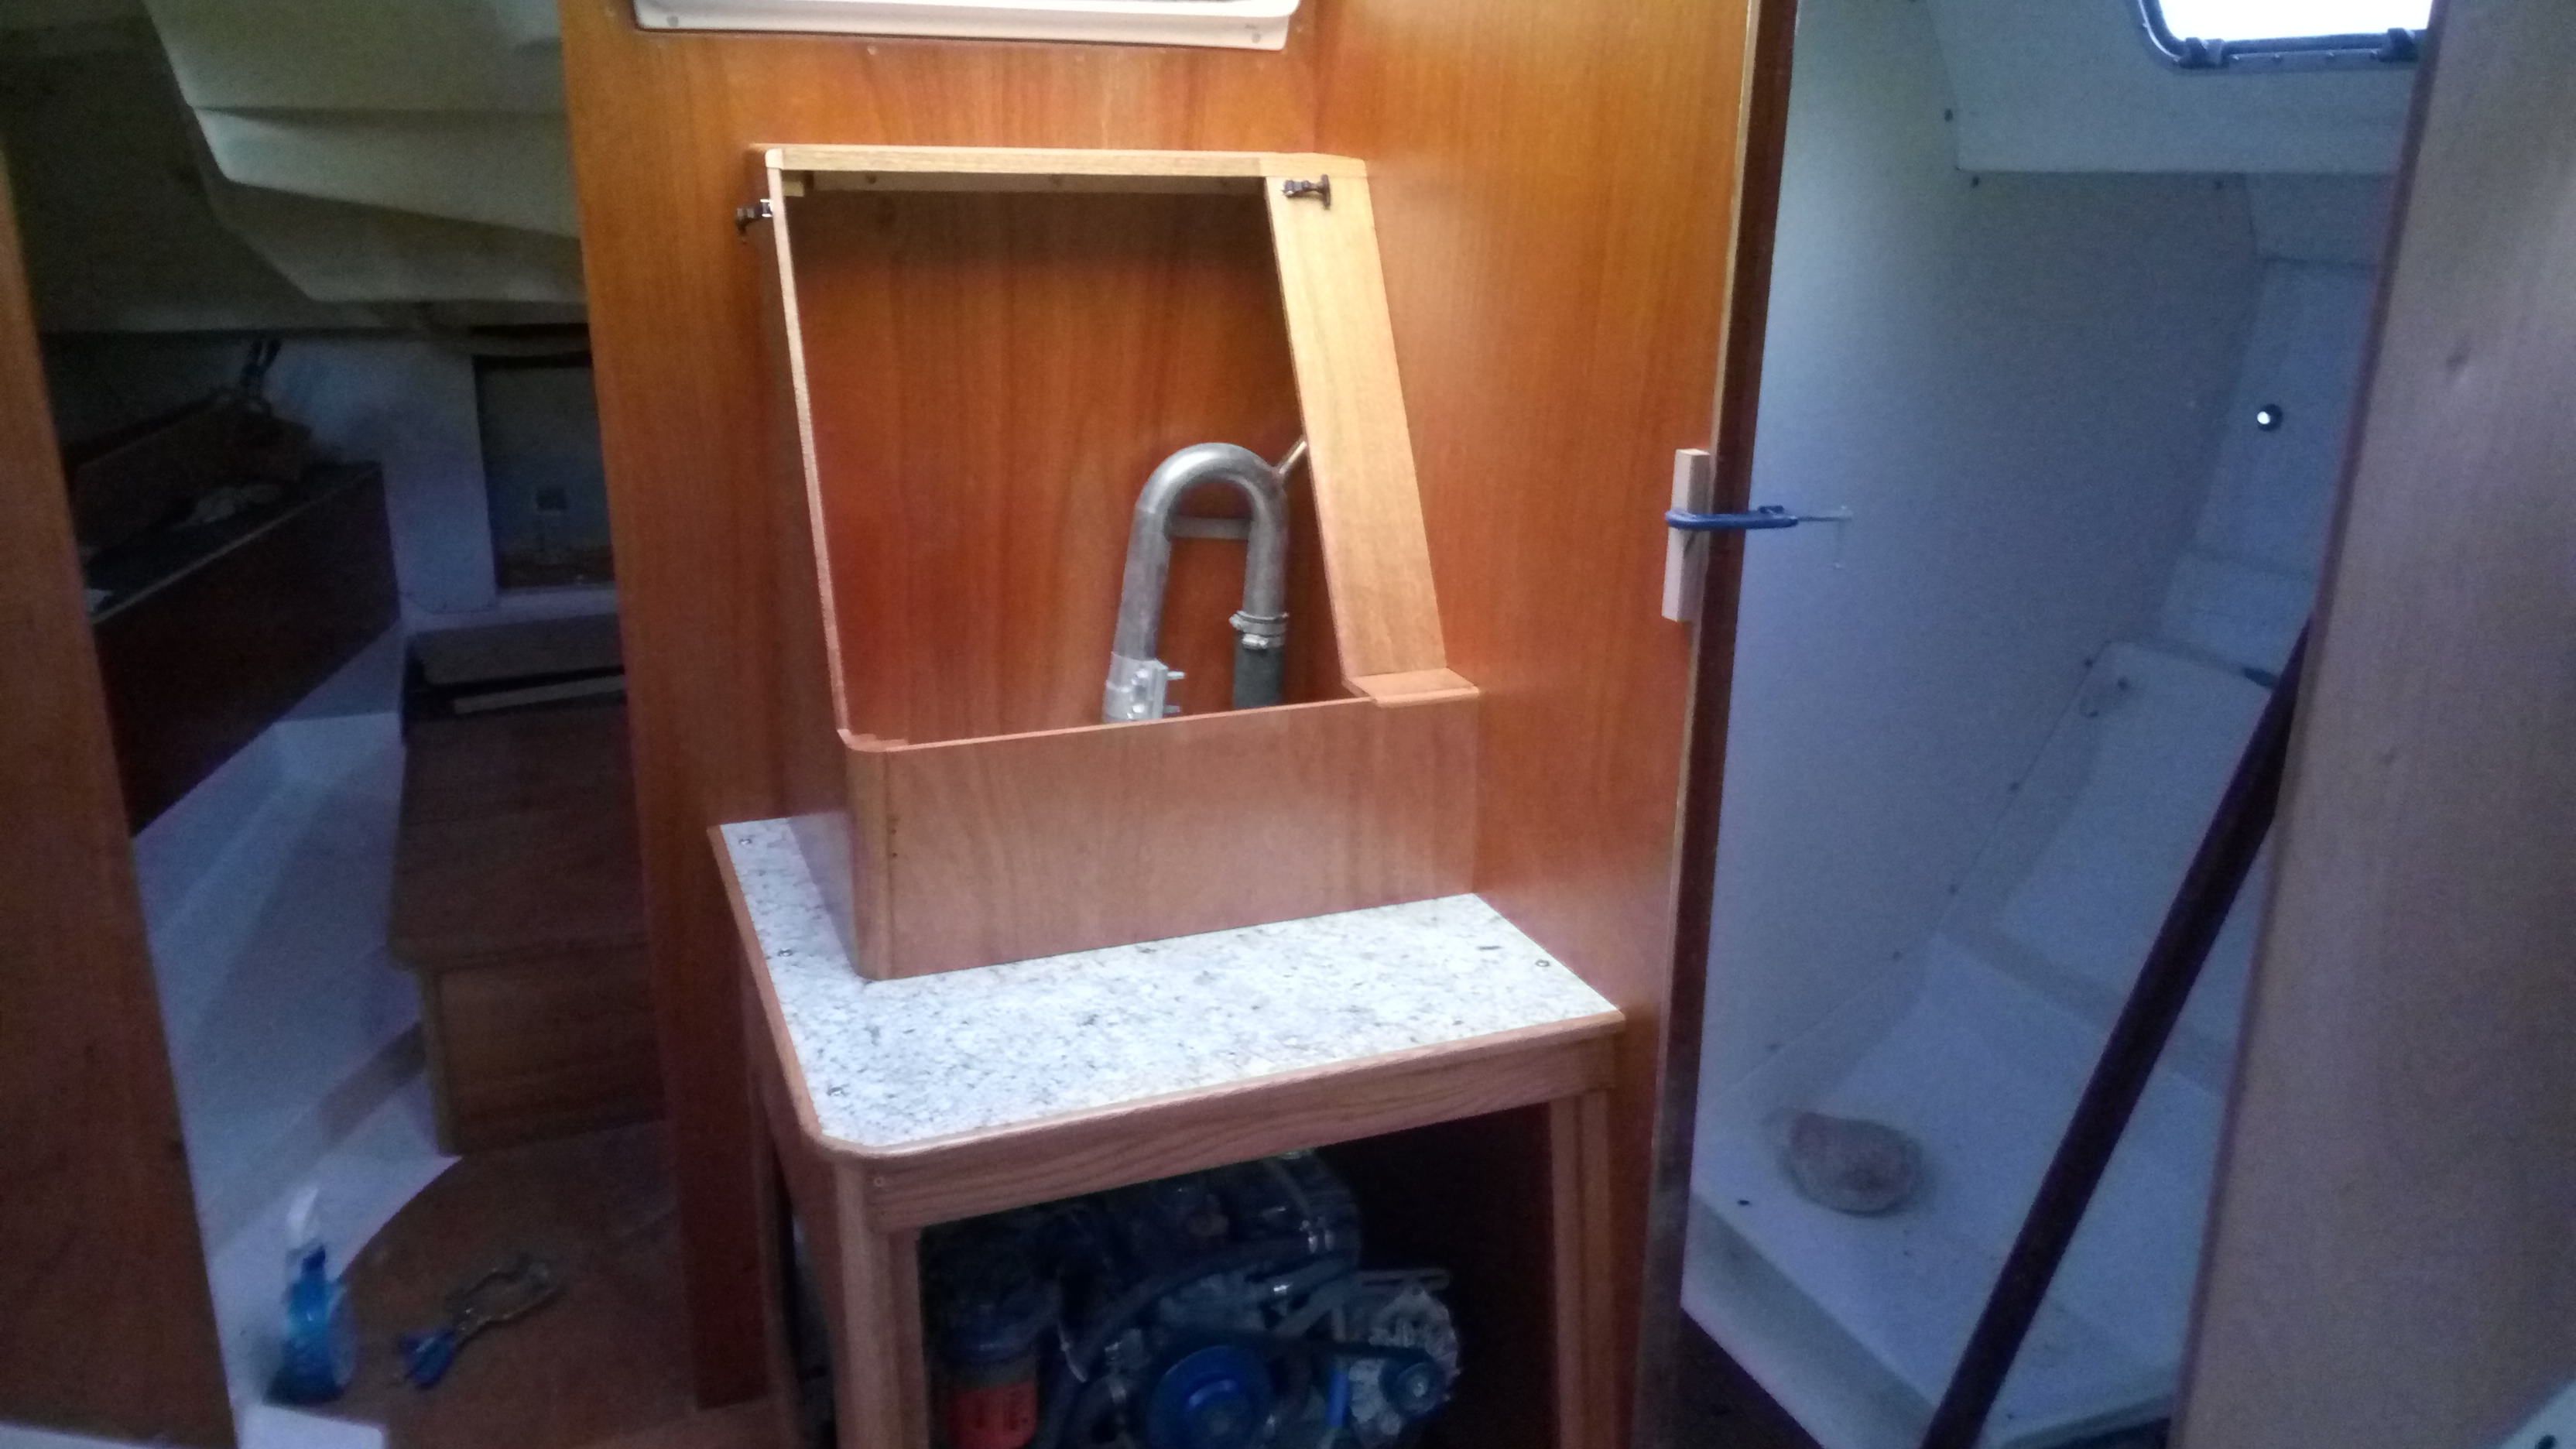
the upper steps will be latched to the frame for normal entry but when opened there is a substantial storage locker (bonus - waterproof) in an area that the factory interior utilized poorly. (I will build a cover for the exhaust)

Next task here is to remove it all and clear-coat everything. I have to leave for Japan in about ten days so now it's winding up some of the various things I've been doing lately. Stay tuned!

Cheers,

Mark
 
May 8, 2013
629
Hunter 40 Dataw Island, SC
Captain, any thoughts about the water tank yet
I will start on the water tanks next time I'm in the states - looking like April or May-ish. I wanted to get the companionway done first because I was both tired of using the rickety ladder for egress, plus with the wife doing weekly checks on the boat I wanted a better and sturdier platform for her.

Cheers,

Mark
 
May 8, 2013
629
Hunter 40 Dataw Island, SC
Stopping leaks:

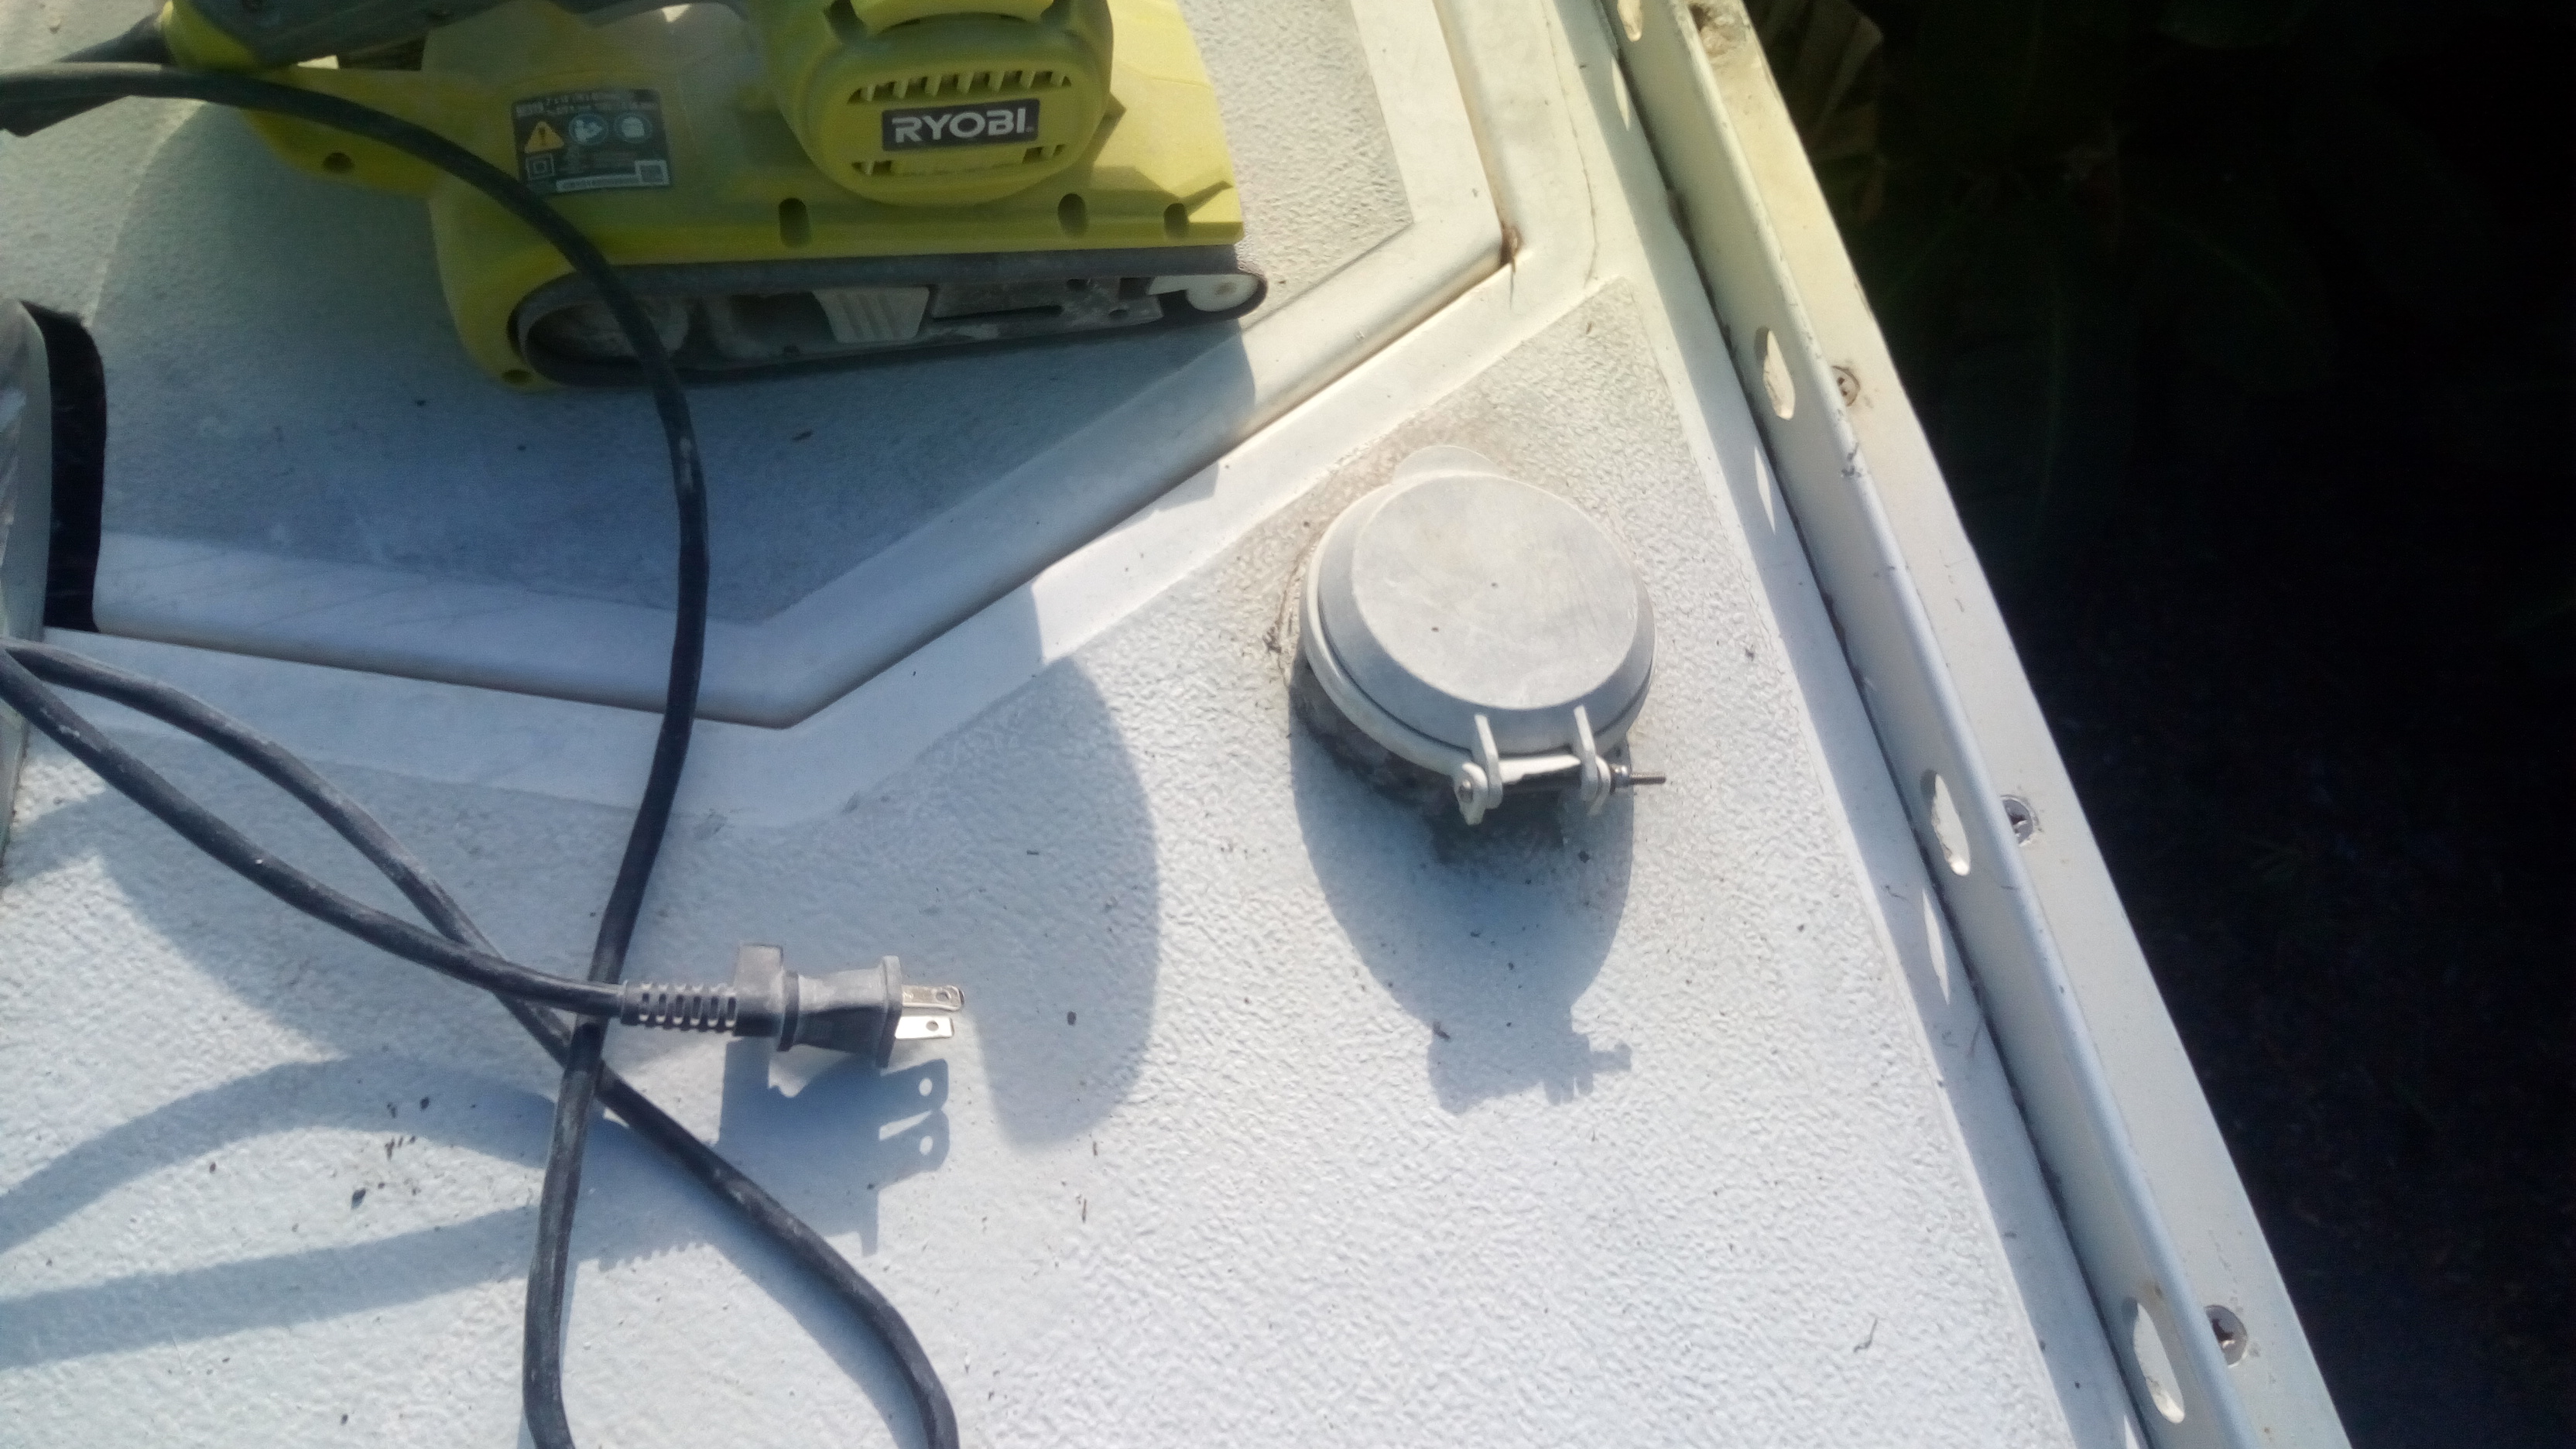
Last week we had some good weather so I tackled a long-standing issue - the foot switches for the windlass. What a horrible idea!! These things never worked properly, the contacts corroded continuously, and to clean the contacts you had to disassemble the switch, breaking the seal with the deck - thus the constant leaks. Time for a better solution!

I will replace the separate switches with a hand-held that will stow in the anchor locker. Maybe a repeater control at the helm, not sure about that yet. So, first thing is to remove the old switches:


I sanded the non-skid around one of the holes:


That's a big-a**ed hole for a switch!

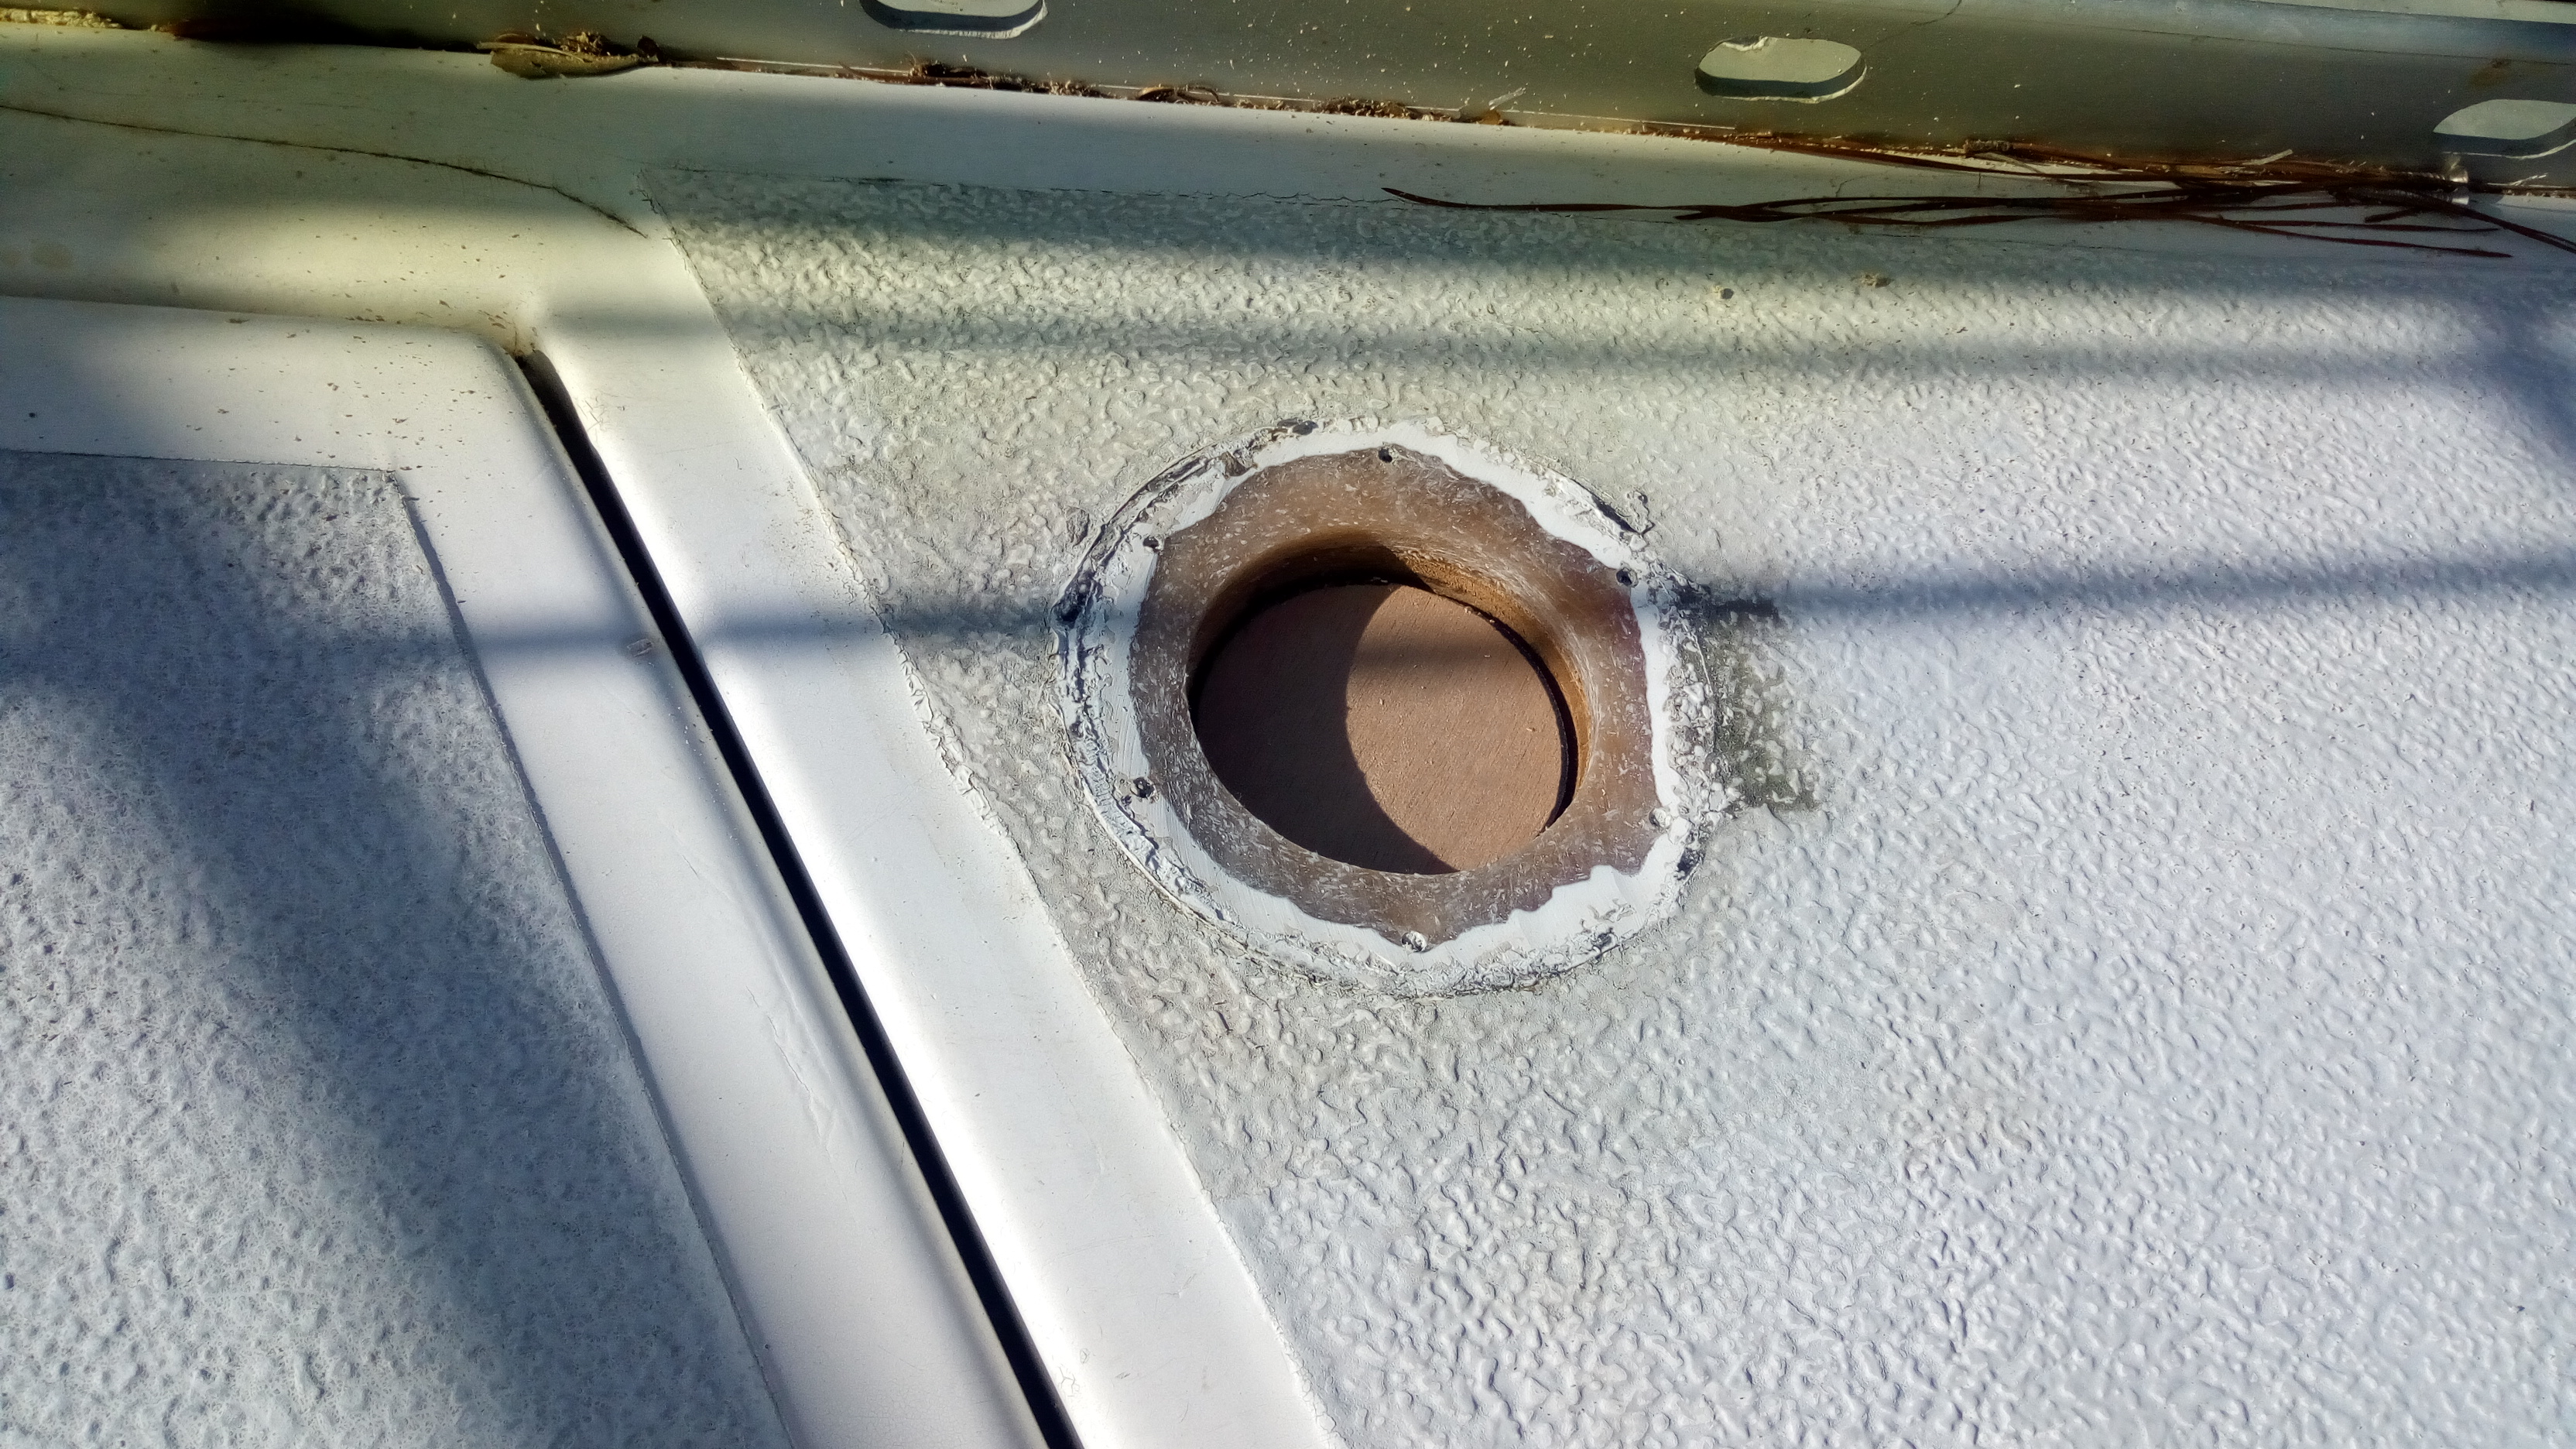
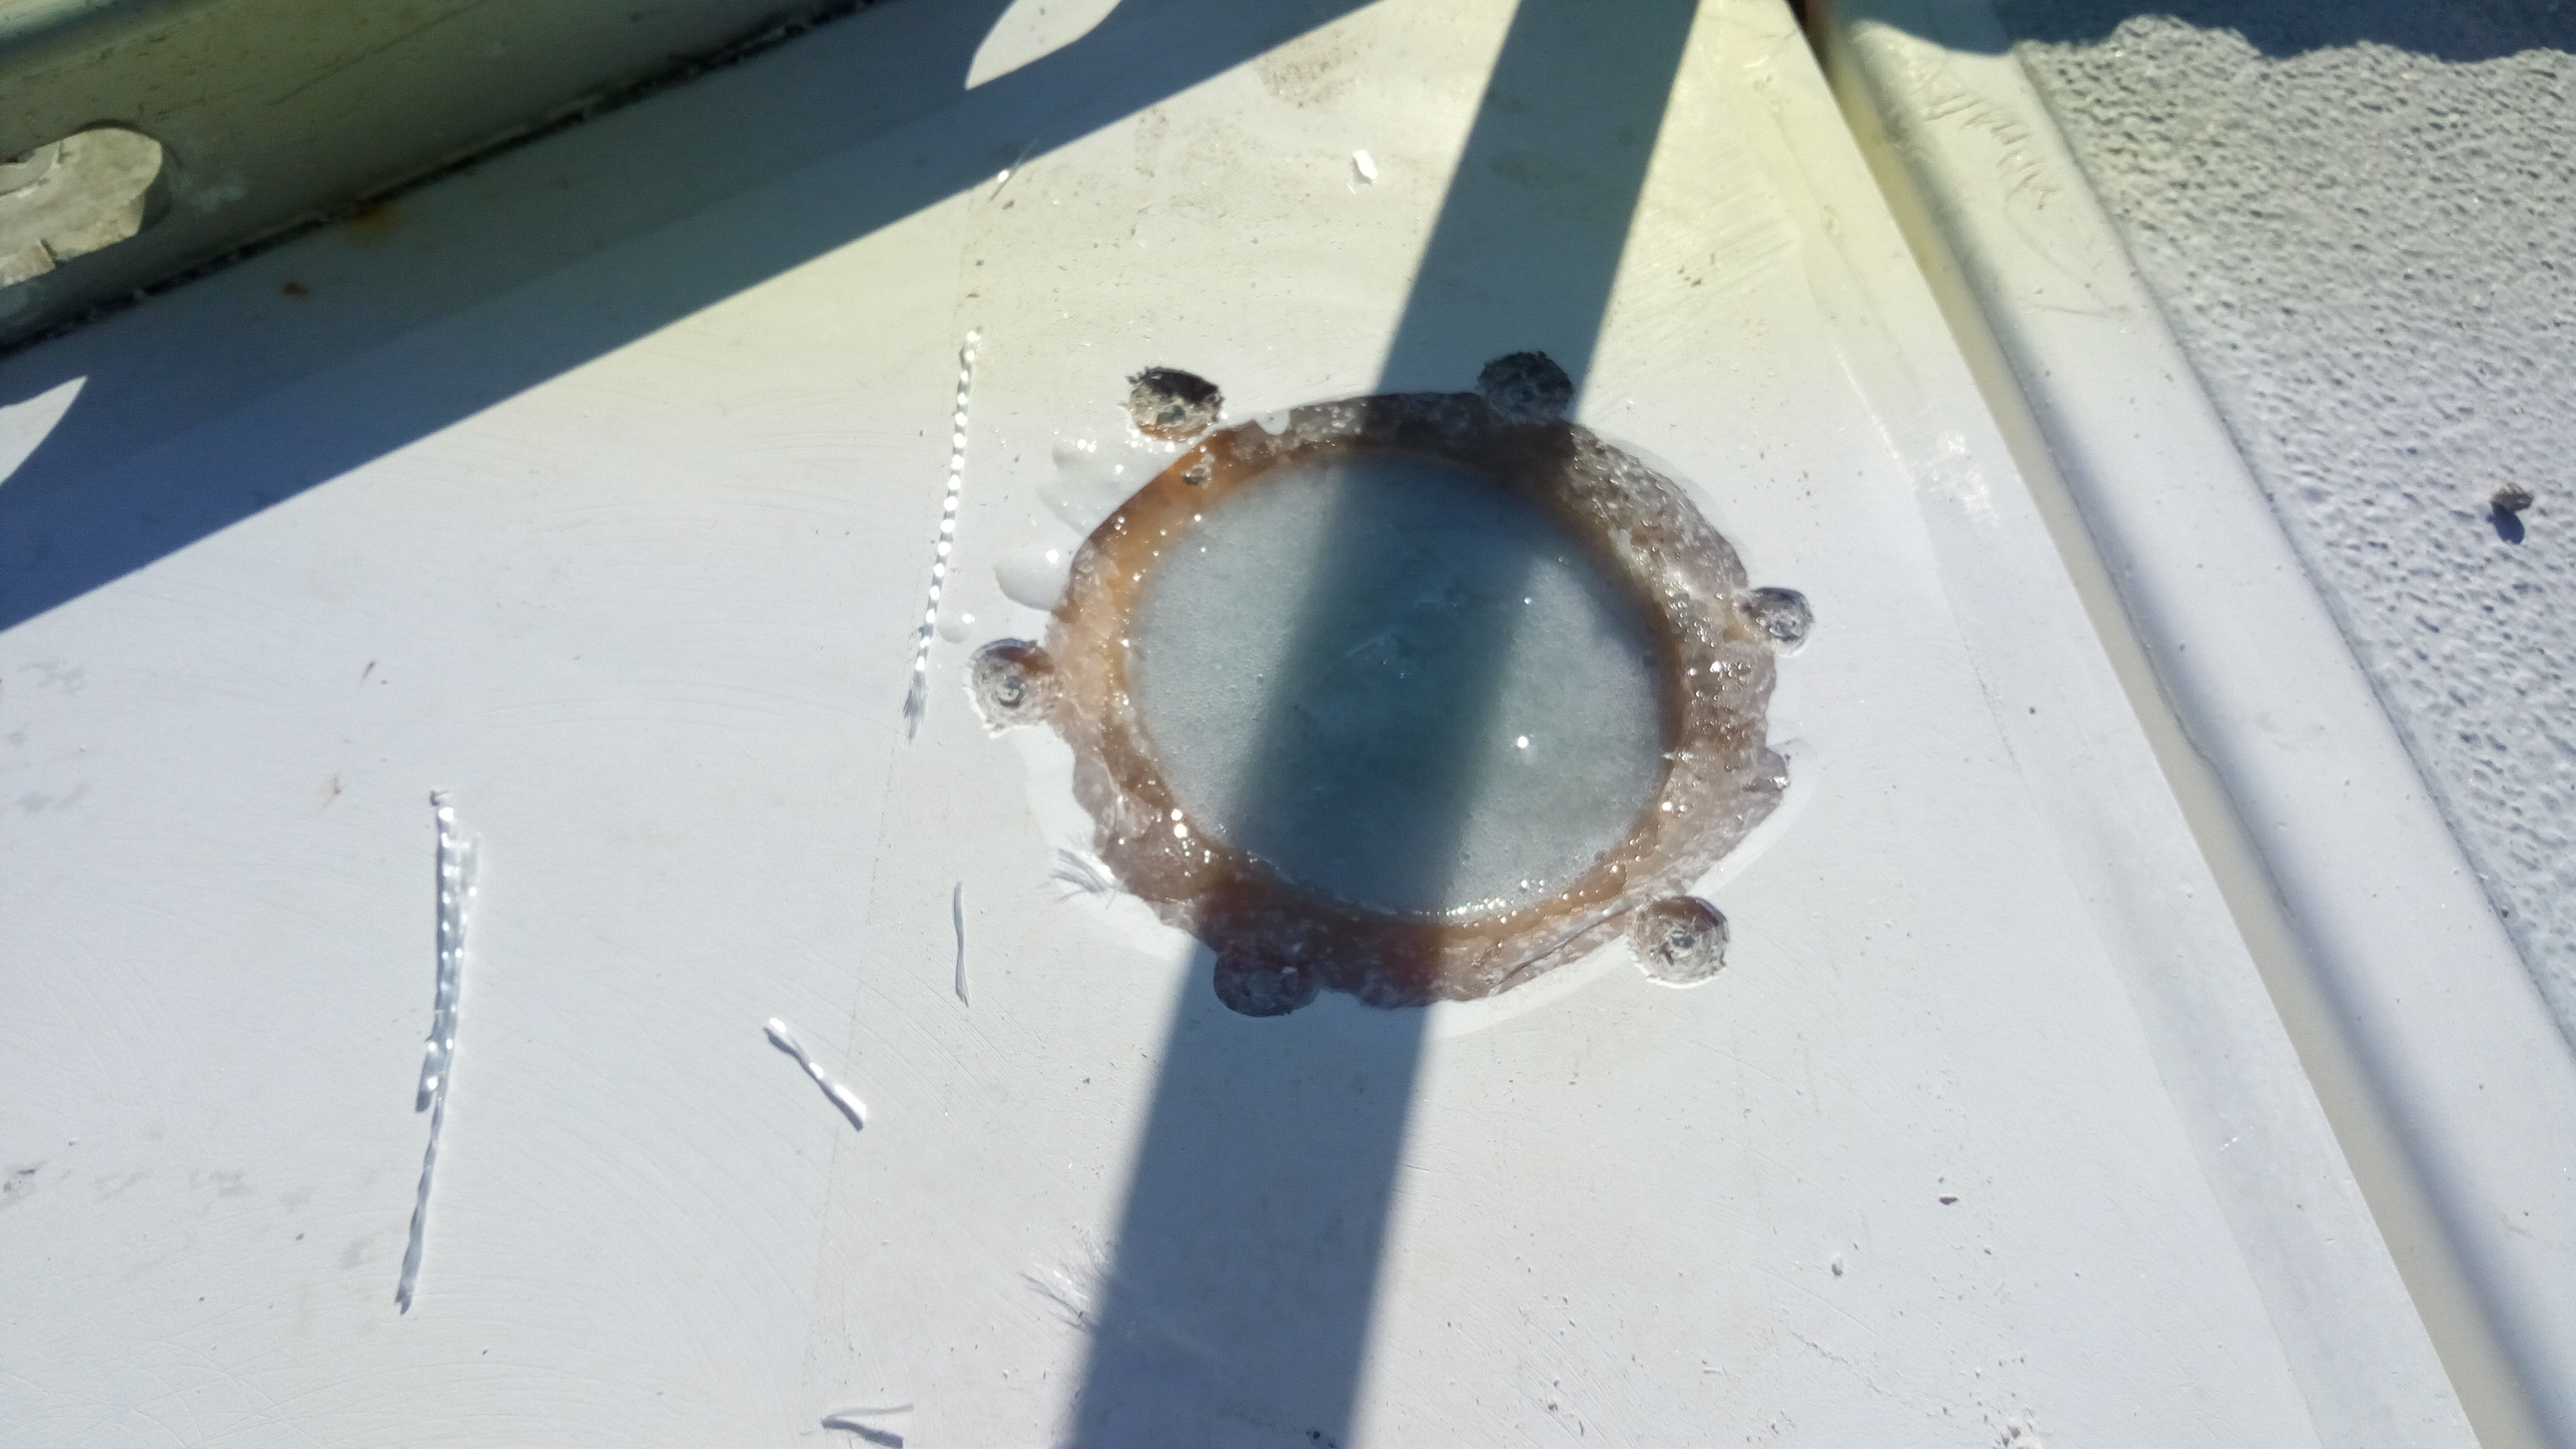
After cleaning out years and years of sealer from the hole, I cut and fitted some ply inserts and epoxied them in to seal the bottom:


It dawned on me that I didn't need to sand the non-skid first - it will get sanded off in the process of levelling the filler.

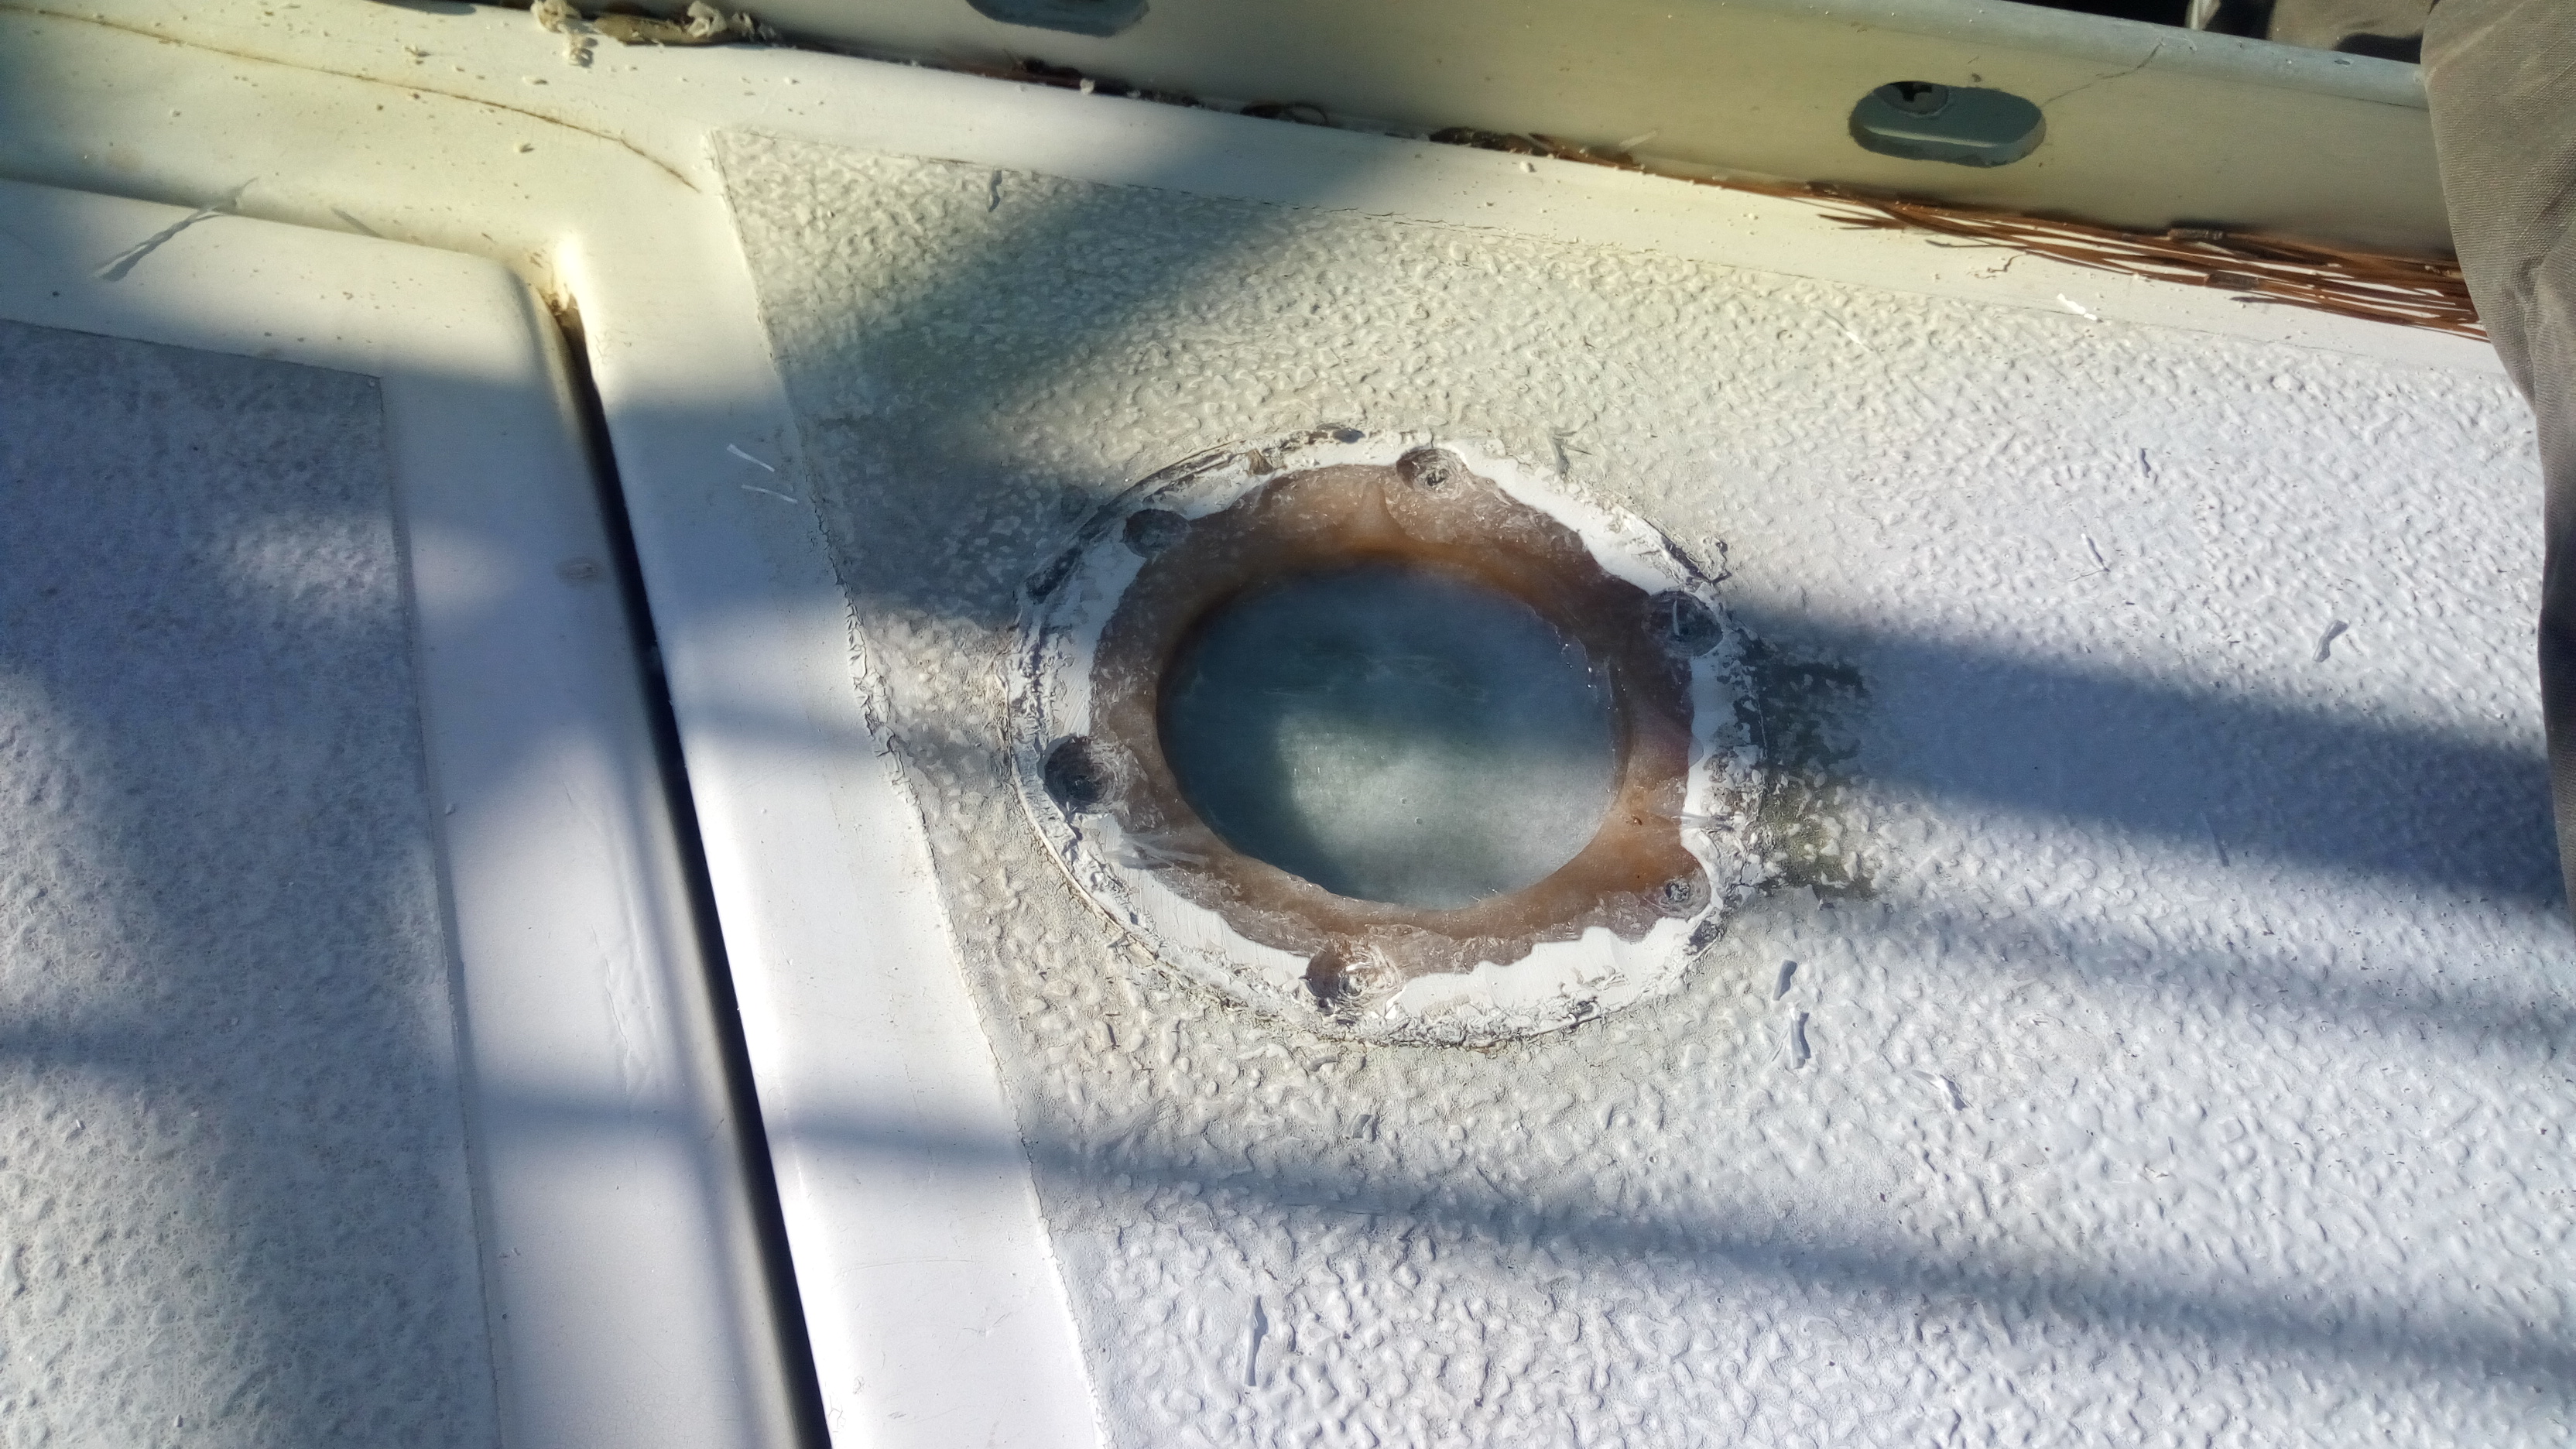
Next is cutting small pieces of glass cloth and fill and build up with epoxy:


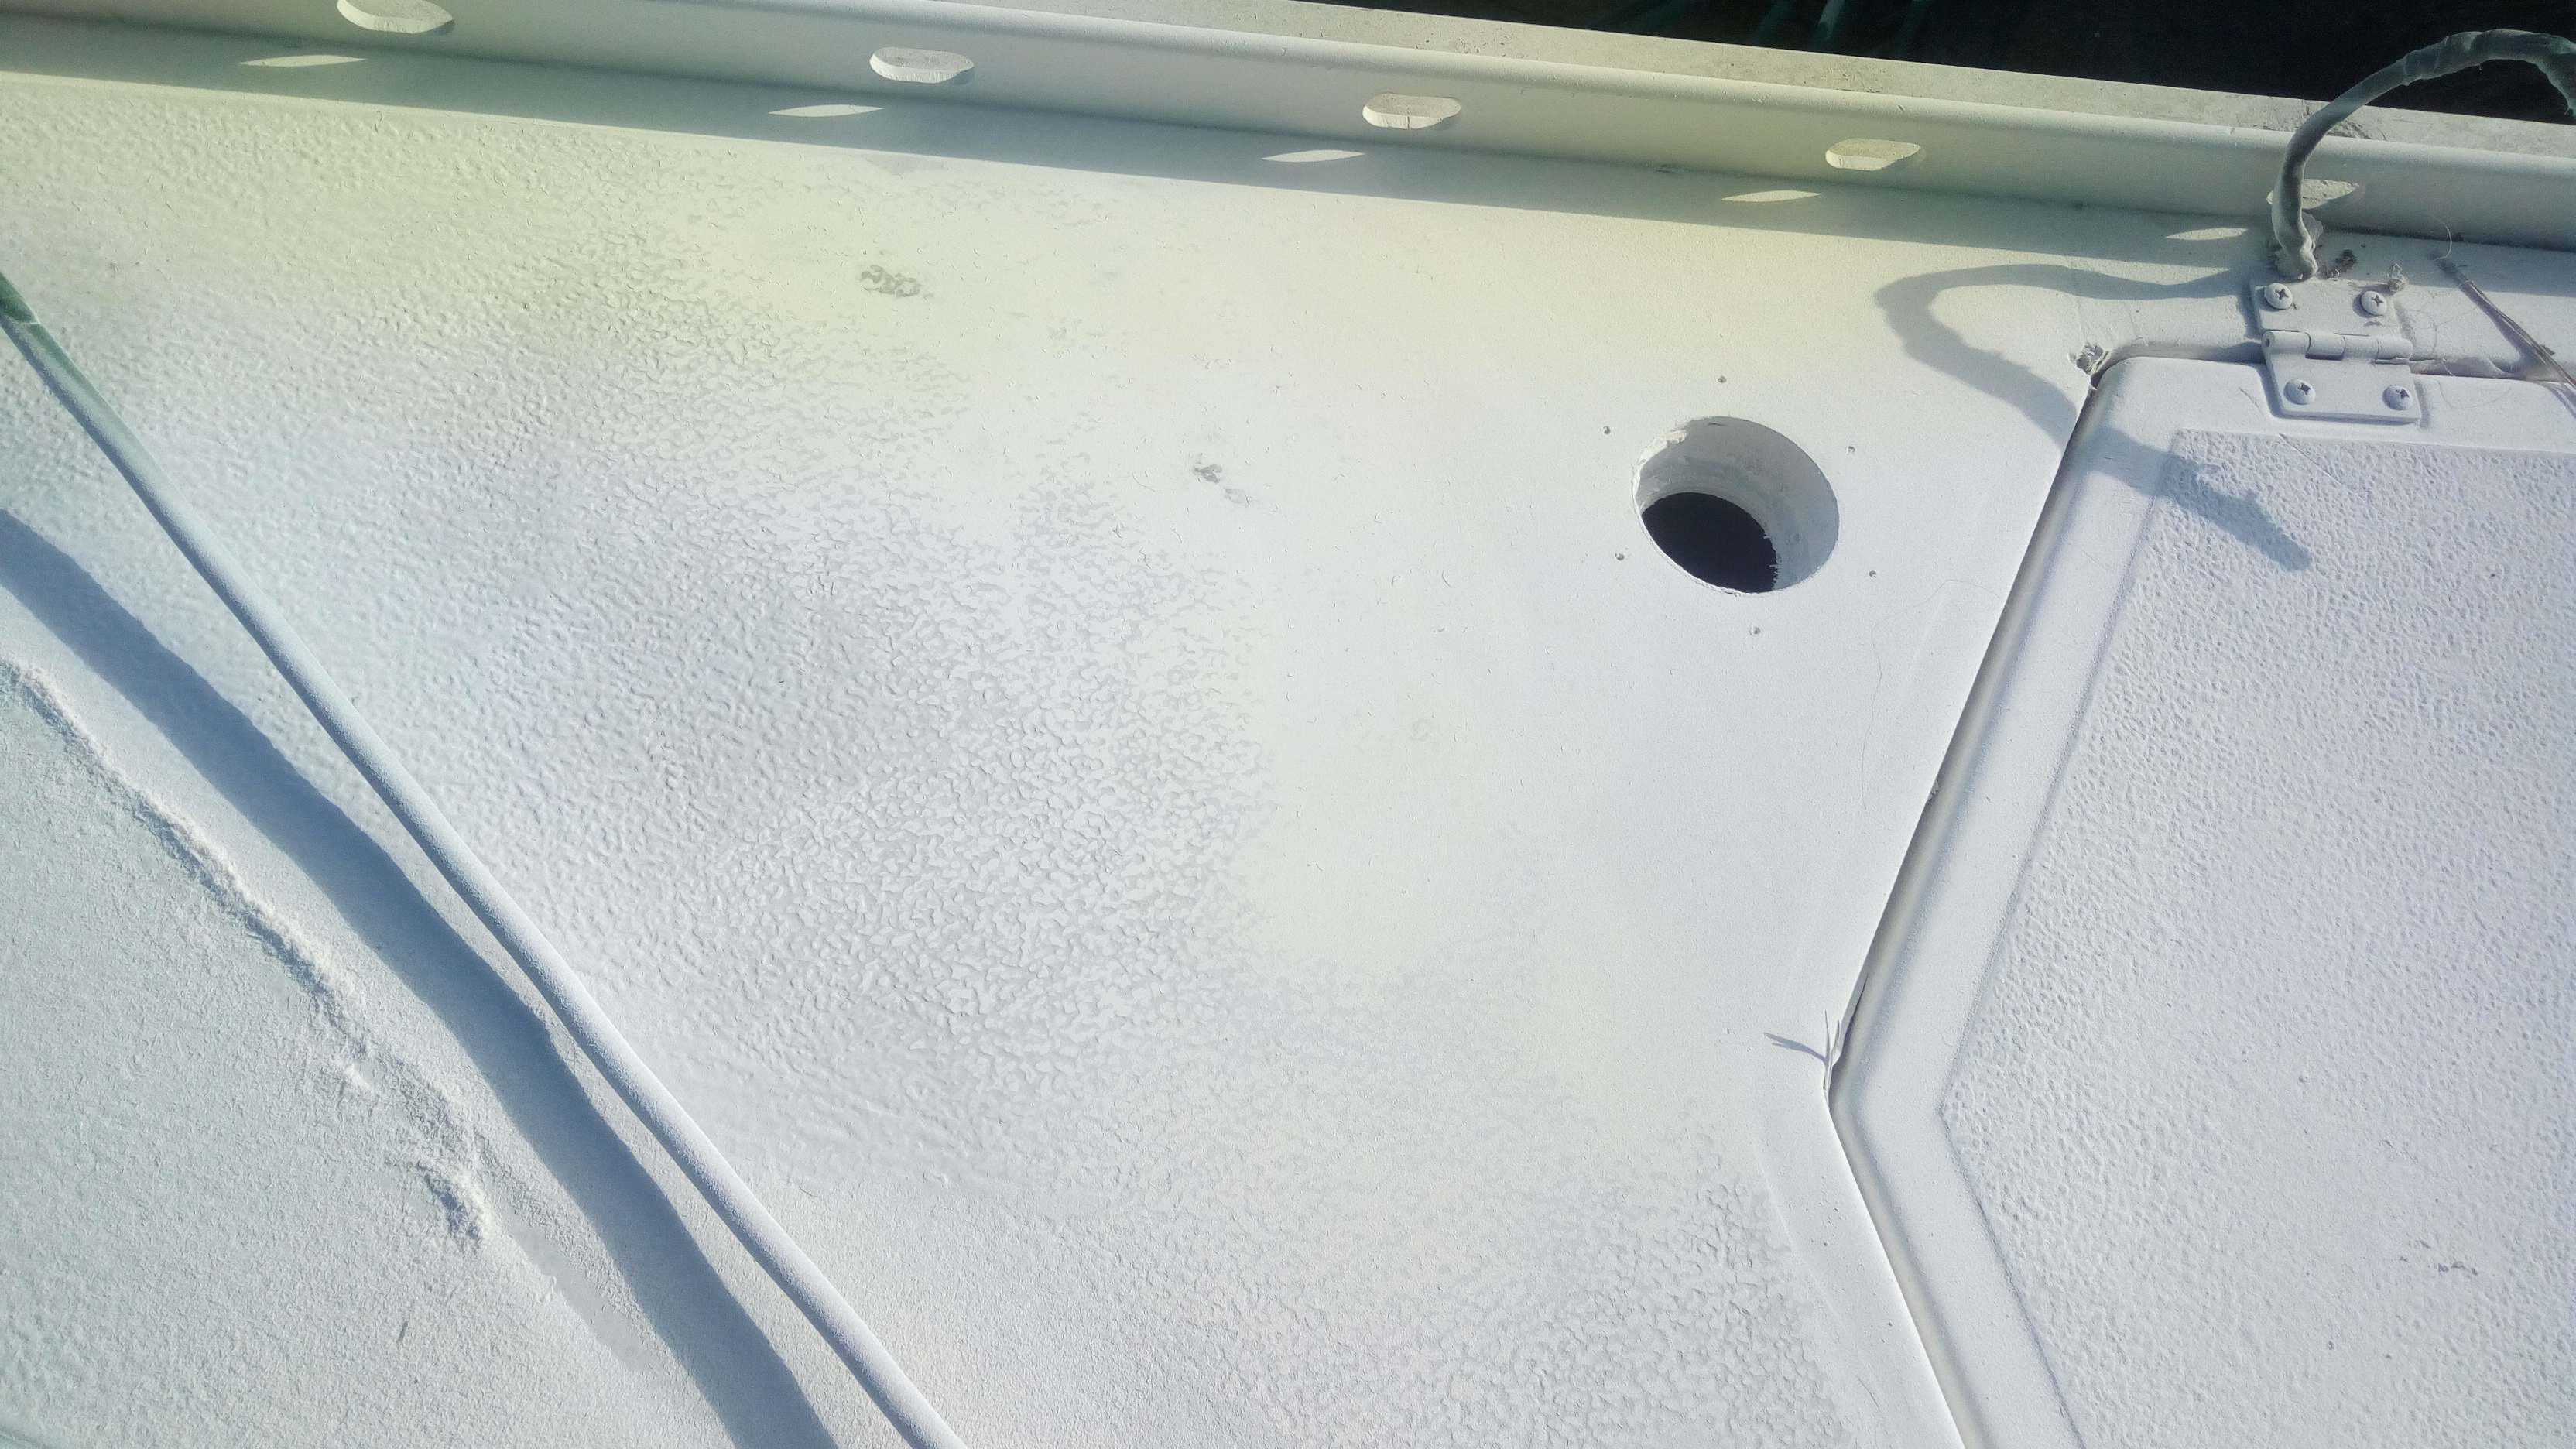
Additional filler is epoxy/cabosil mix:


I've got both holes filled but not sanded yet - ran out of time trying to get other projects wrapped up too. I broke down the aft bunk and companionway into component pieces and have had them in the garage applying clearcoat. Next up - reassembly, snow and cold weather!

Cheers,

Mark
 
Jun 1, 2009
1,813
Hunter 49 toronto
Stopping leaks:

Last week we had some good weather so I tackled a long-standing issue - the foot switches for the windlass. What a horrible idea!! These things never worked properly, the contacts corroded continuously, and to clean the contacts you had to disassemble the switch, breaking the seal with the deck - thus the constant leaks. Time for a better solution!

I will replace the separate switches with a hand-held that will stow in the anchor locker. Maybe a repeater control at the helm, not sure about that yet. So, first thing is to remove the old switches:


I sanded the non-skid around one of the holes:


That's a big-a**ed hole for a switch!

After cleaning out years and years of sealer from the hole, I cut and fitted some ply inserts and epoxied them in to seal the bottom:


It dawned on me that I didn't need to sand the non-skid first - it will get sanded off in the process of levelling the filler.

Next is cutting small pieces of glass cloth and fill and build up with epoxy:


Additional filler is epoxy/cabosil mix:


I've got both holes filled but not sanded yet - ran out of time trying to get other projects wrapped up too. I broke down the aft bunk and companionway into component pieces and have had them in the garage applying clearcoat. Next up - reassembly, snow and cold weather!

Cheers,

Mark
Regarding the windlass control, I would recommend going wireless, and not bothering with plugs, etc.
You can find a ton of wireless winch controllers on eBay for less than $25. The receivers have relay outputs which are rated at minimally 3 amps, which is more than enough to drive the windlass solenoid.
Bonus....
By going wireless you can drop anchor from the helm. Although it is possible, i wouldn't recccomended raising anchor from the helm, as you need to know when it's broken the surface.
If you are inclined, you could install a chain counter which will allow you to raise and drop from the helm, but this costs way more than 25 bucks.
There are lots of remotes that are specified as waterproof, come with neck lanyards, etc. So, this is by far your cheapest & easiest solution.
 
Sep 20, 2014
1,325
Rob Legg RL24 Chain O'Lakes
Bonus....
By going wireless you can drop anchor from the helm. Although it is possible, i wouldn't recommended raising anchor from the helm, as you need to know when it's broken the surface.
Easy problem to solve for a lot of reasons. I have often considered installing a camera on the front of my boat so I can see around the jib and better see around the cabin. Sailing in close quarters, I have almost run into swimmers blocked from my view. He may not have that specific issue, but still nice to see around the jib or around the front of the boat when docking. If aimed well, he could easily see the anchor line.
 
  • Like
Likes: limbodog

Sailm8

.
Feb 21, 2008
1,748
Hunter 29.5 Punta Gorda
A friend of mine mounted a backup camera on his trawler to aid backing into his slip. He also didn't like boats sneaking up behind him.
 
  • Like
Likes: limbodog
May 8, 2013
629
Hunter 40 Dataw Island, SC
Regarding the windlass control, I would recommend going wireless, and not bothering with plugs, etc.
You can find a ton of wireless winch controllers on eBay for less than $25. The receivers have relay outputs which are rated at minimally 3 amps, which is more than enough to drive the windlass solenoid.
Bonus....
By going wireless you can drop anchor from the helm. Although it is possible, i wouldn't recccomended raising anchor from the helm, as you need to know when it's broken the surface.
If you are inclined, you could install a chain counter which will allow you to raise and drop from the helm, but this costs way more than 25 bucks.
There are lots of remotes that are specified as waterproof, come with neck lanyards, etc. So, this is by far your cheapest & easiest solution.
I've been looking at some options and though there's plenty of time before installing anything I do have to plan for any wiring, etc. beforehand. I am leaning towards a wired handheld forward that will stow in the anchor locker plus a wireless remote that can be used anywhere so I could operate from the helm if I wanted to. I do like redundancy! I'm not sold yet on going totally wireless.
 
May 8, 2013
629
Hunter 40 Dataw Island, SC
Easy problem to solve for a lot of reasons. I have often considered installing a camera on the front of my boat so I can see around the jib and better see around the cabin. Sailing in close quarters, I have almost run into swimmers blocked from my view. He may not have that specific issue, but still nice to see around the jib or around the front of the boat when docking. If aimed well, he could easily see the anchor line.
I have considered a camera on the masthead, with controls at the helm feeding to the MFD. I've read from guys in the tropics that it really helps maneuvering around coral heads and such. Plus it should provide a nice view from any angle!
 
  • Like
Likes: limbodog
May 8, 2013
629
Hunter 40 Dataw Island, SC
Finishing the companionway steps:

Greetings from Japan!

The time had to come - finally back to work so this will be my last repair/construction update for a while, though I will always be looking in on the thread to for Q & A. On another note, it's warmer here than SC and no snow! That snowstorm we got just before leaving put a major dent in my last few days' plans. Believe me, one more snowstorm and I'm moving farther south!

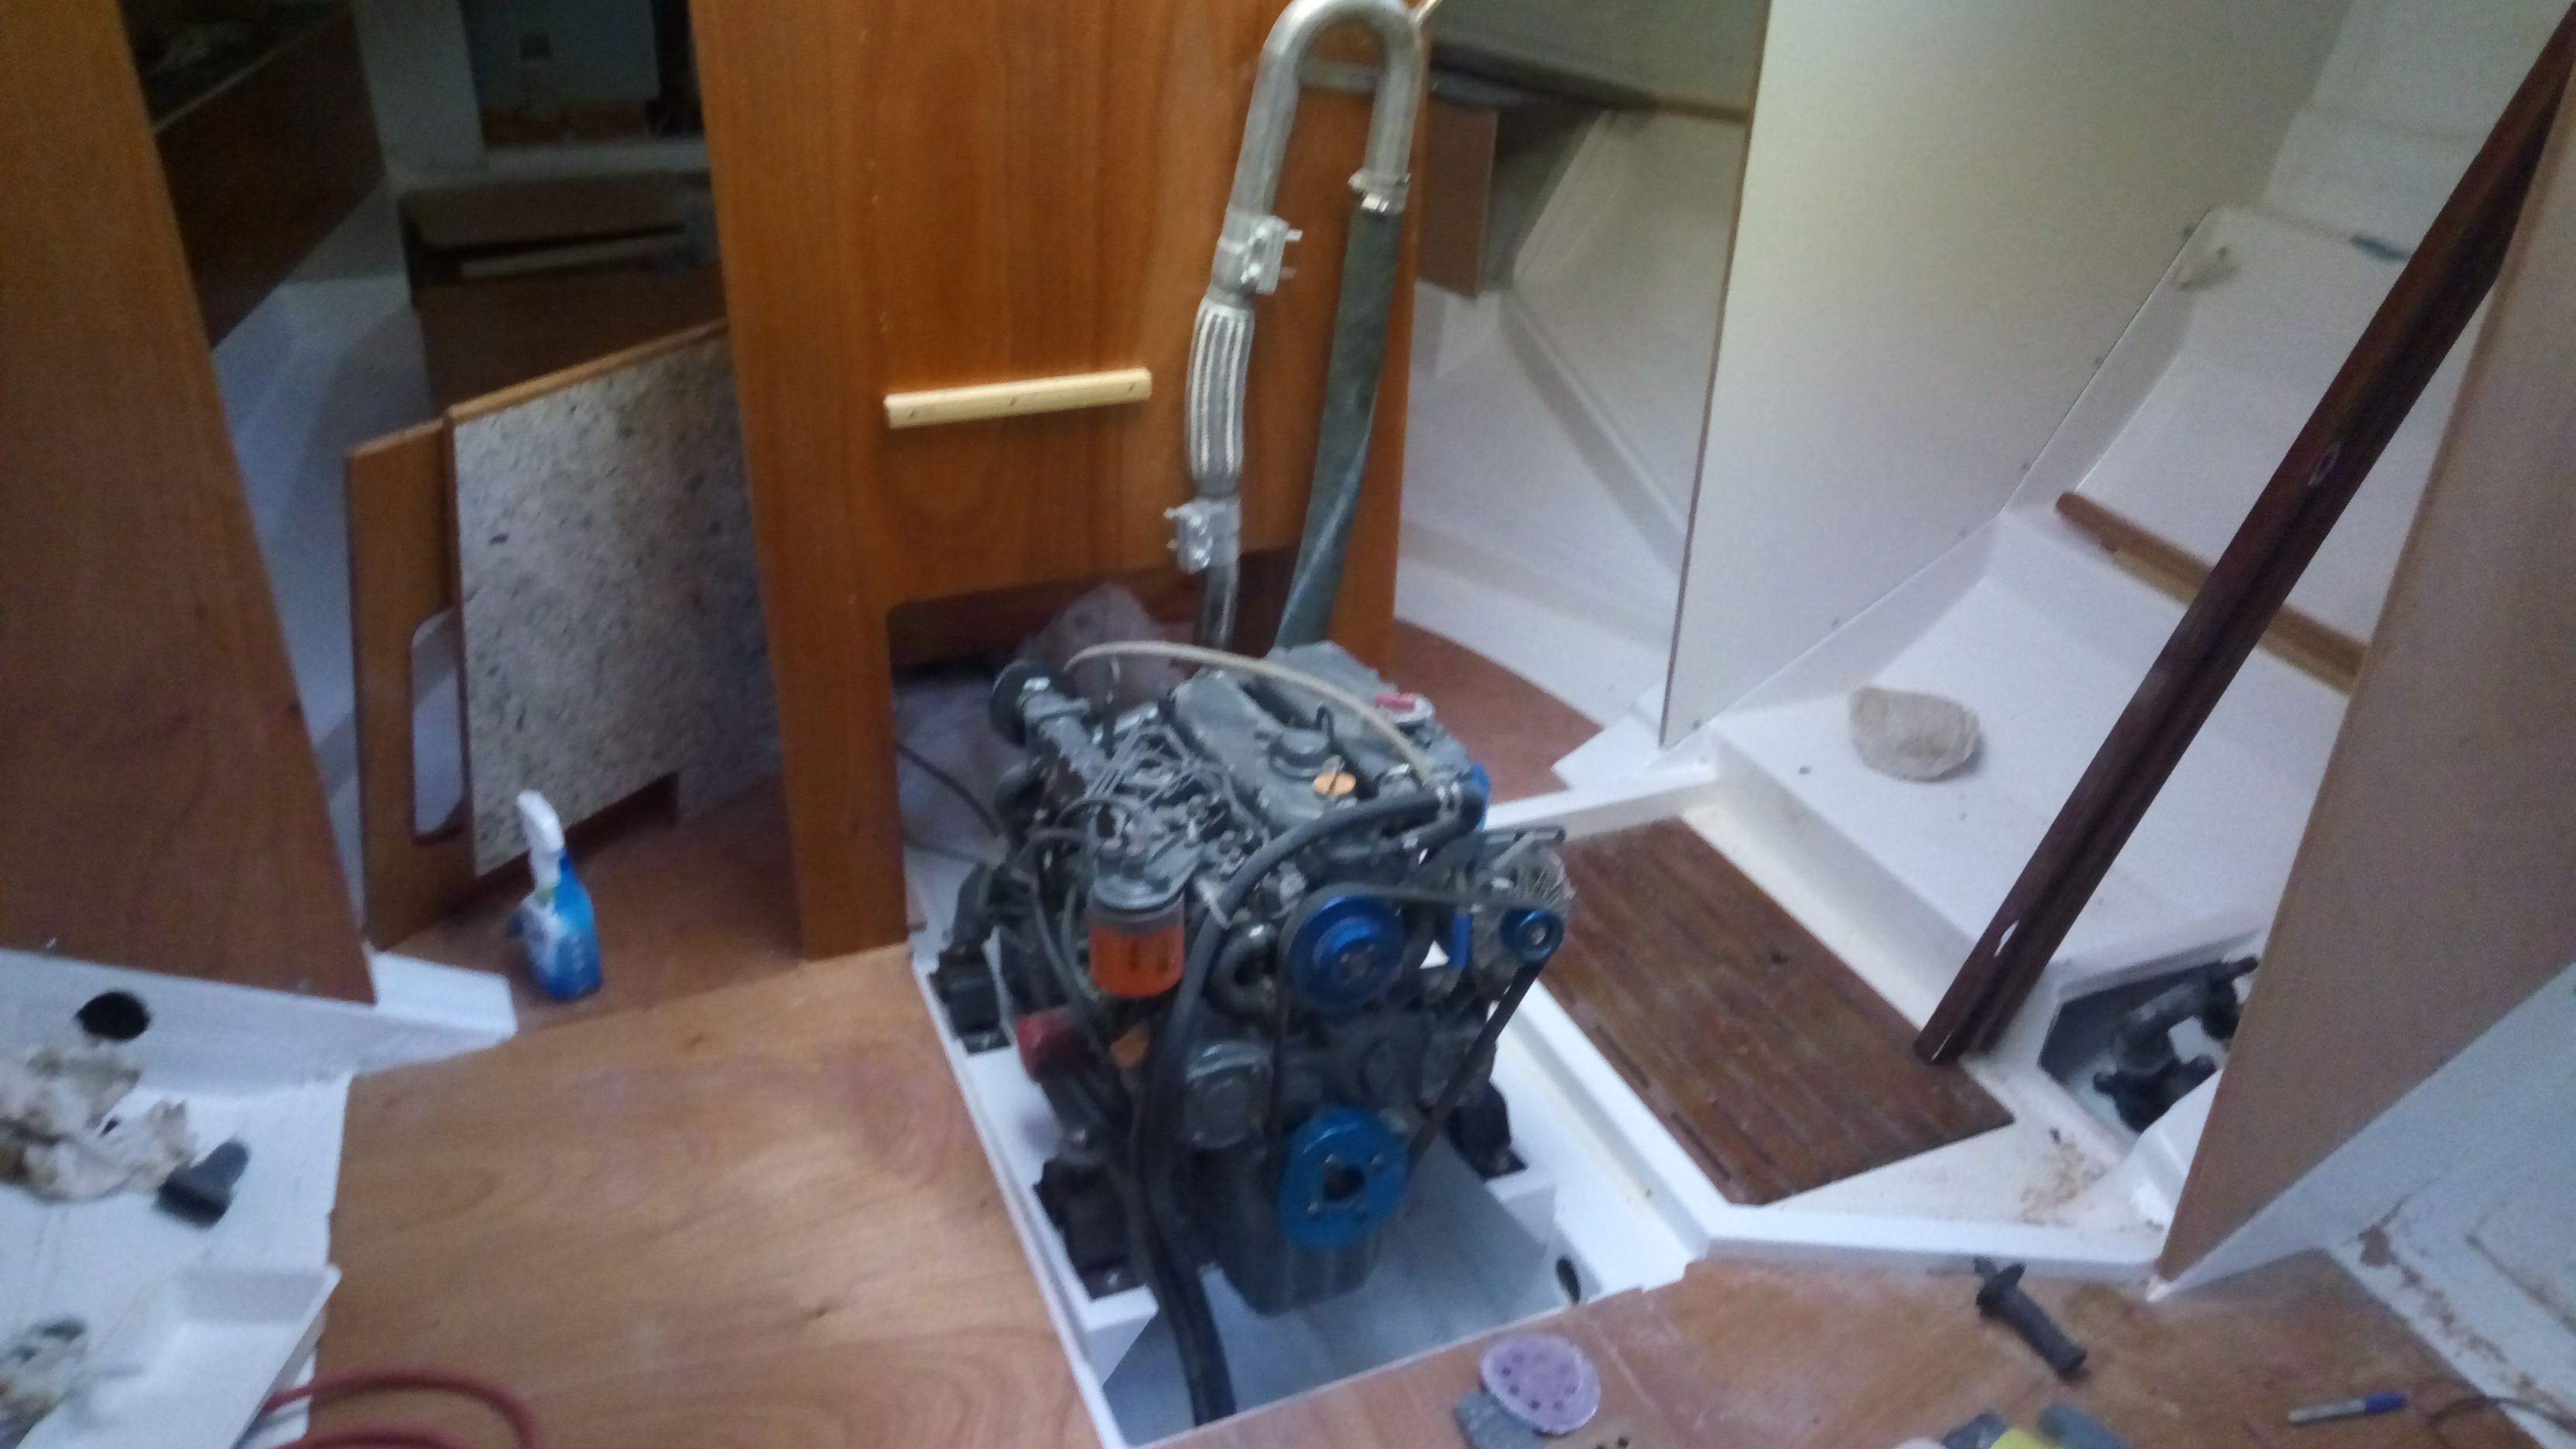
So as I tried to wind down some of the project areas I had quite a bit of cabinetry built in the aft cabin and the companionway but I didn't want to leave it unprotected for several months (even though it's marine ply it can still get stains, etc.). I broke down the aft bunk into pieces and hauled them to the garage for clearcoat. Upon finishing that, next up was to remove the companionway for the same. While all that was out I took the time to clean the engine and engine bay again:


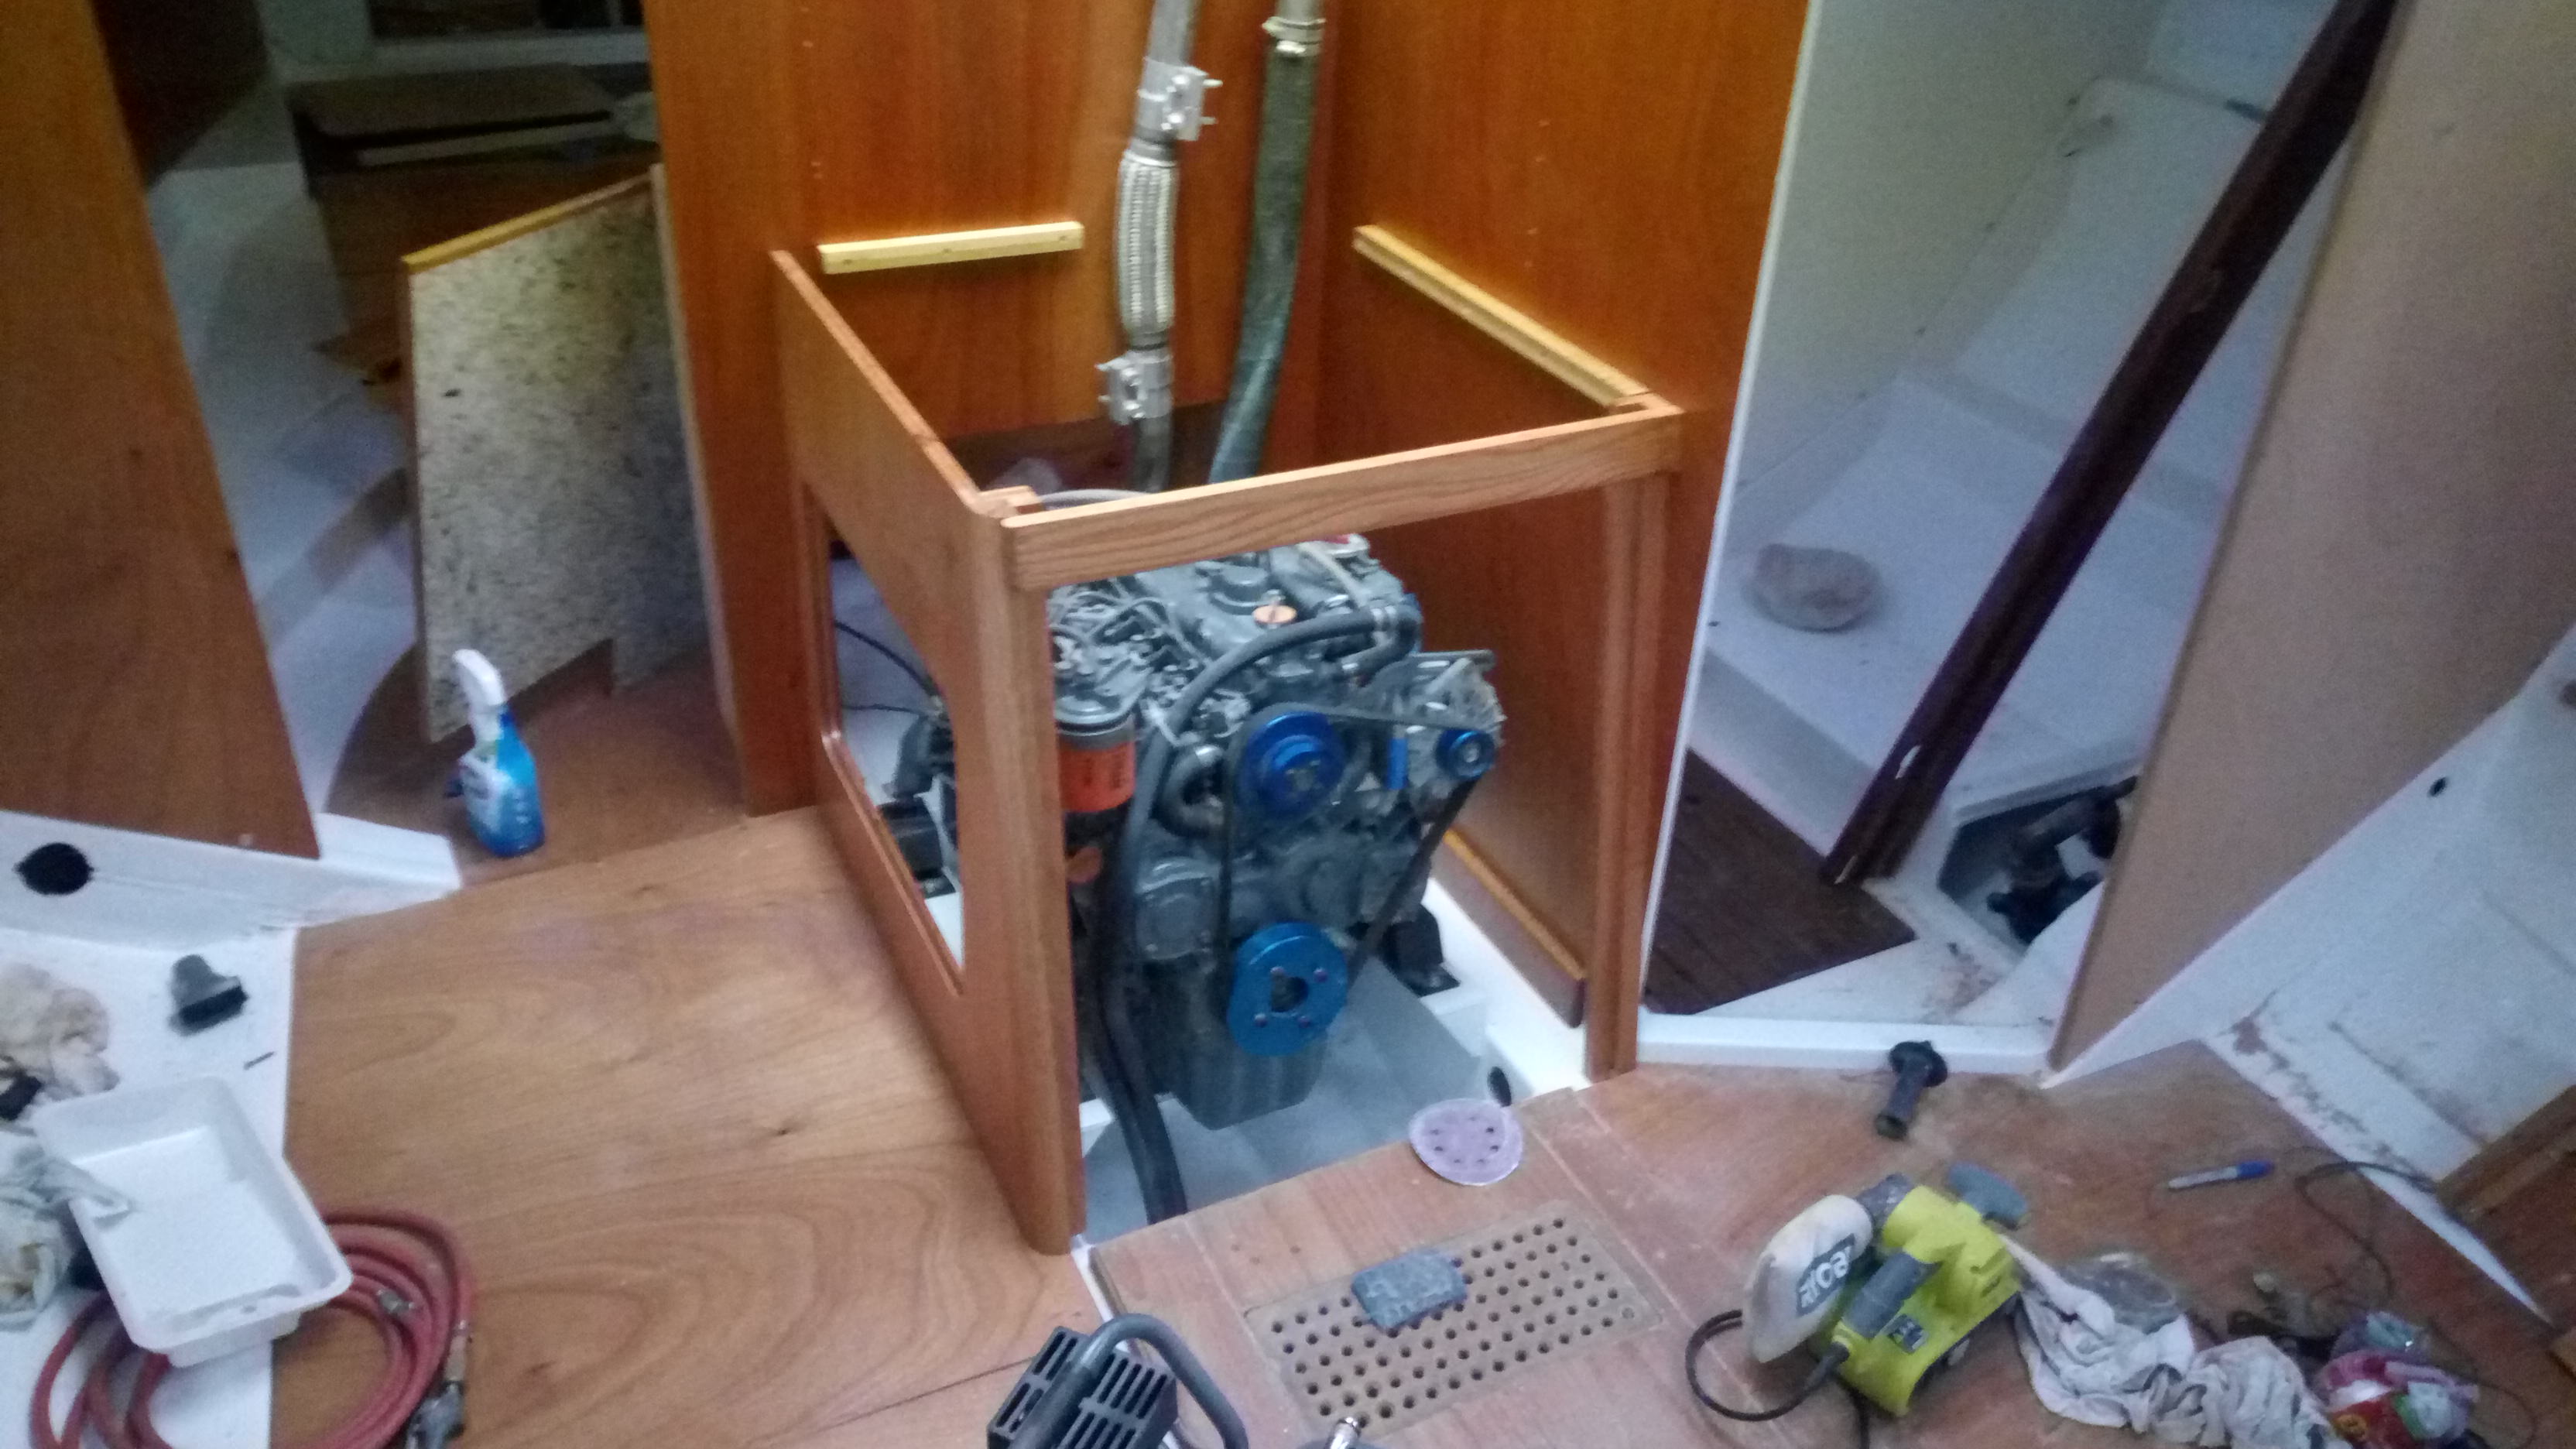
I had not yet painted the side bulkhead (on the head side) so I did that and reinstalled it. Since the companionway breaks down into a dozen or so pieces I tried to clearcoat them in order of installation. First to be done and back in is the doghouse components:


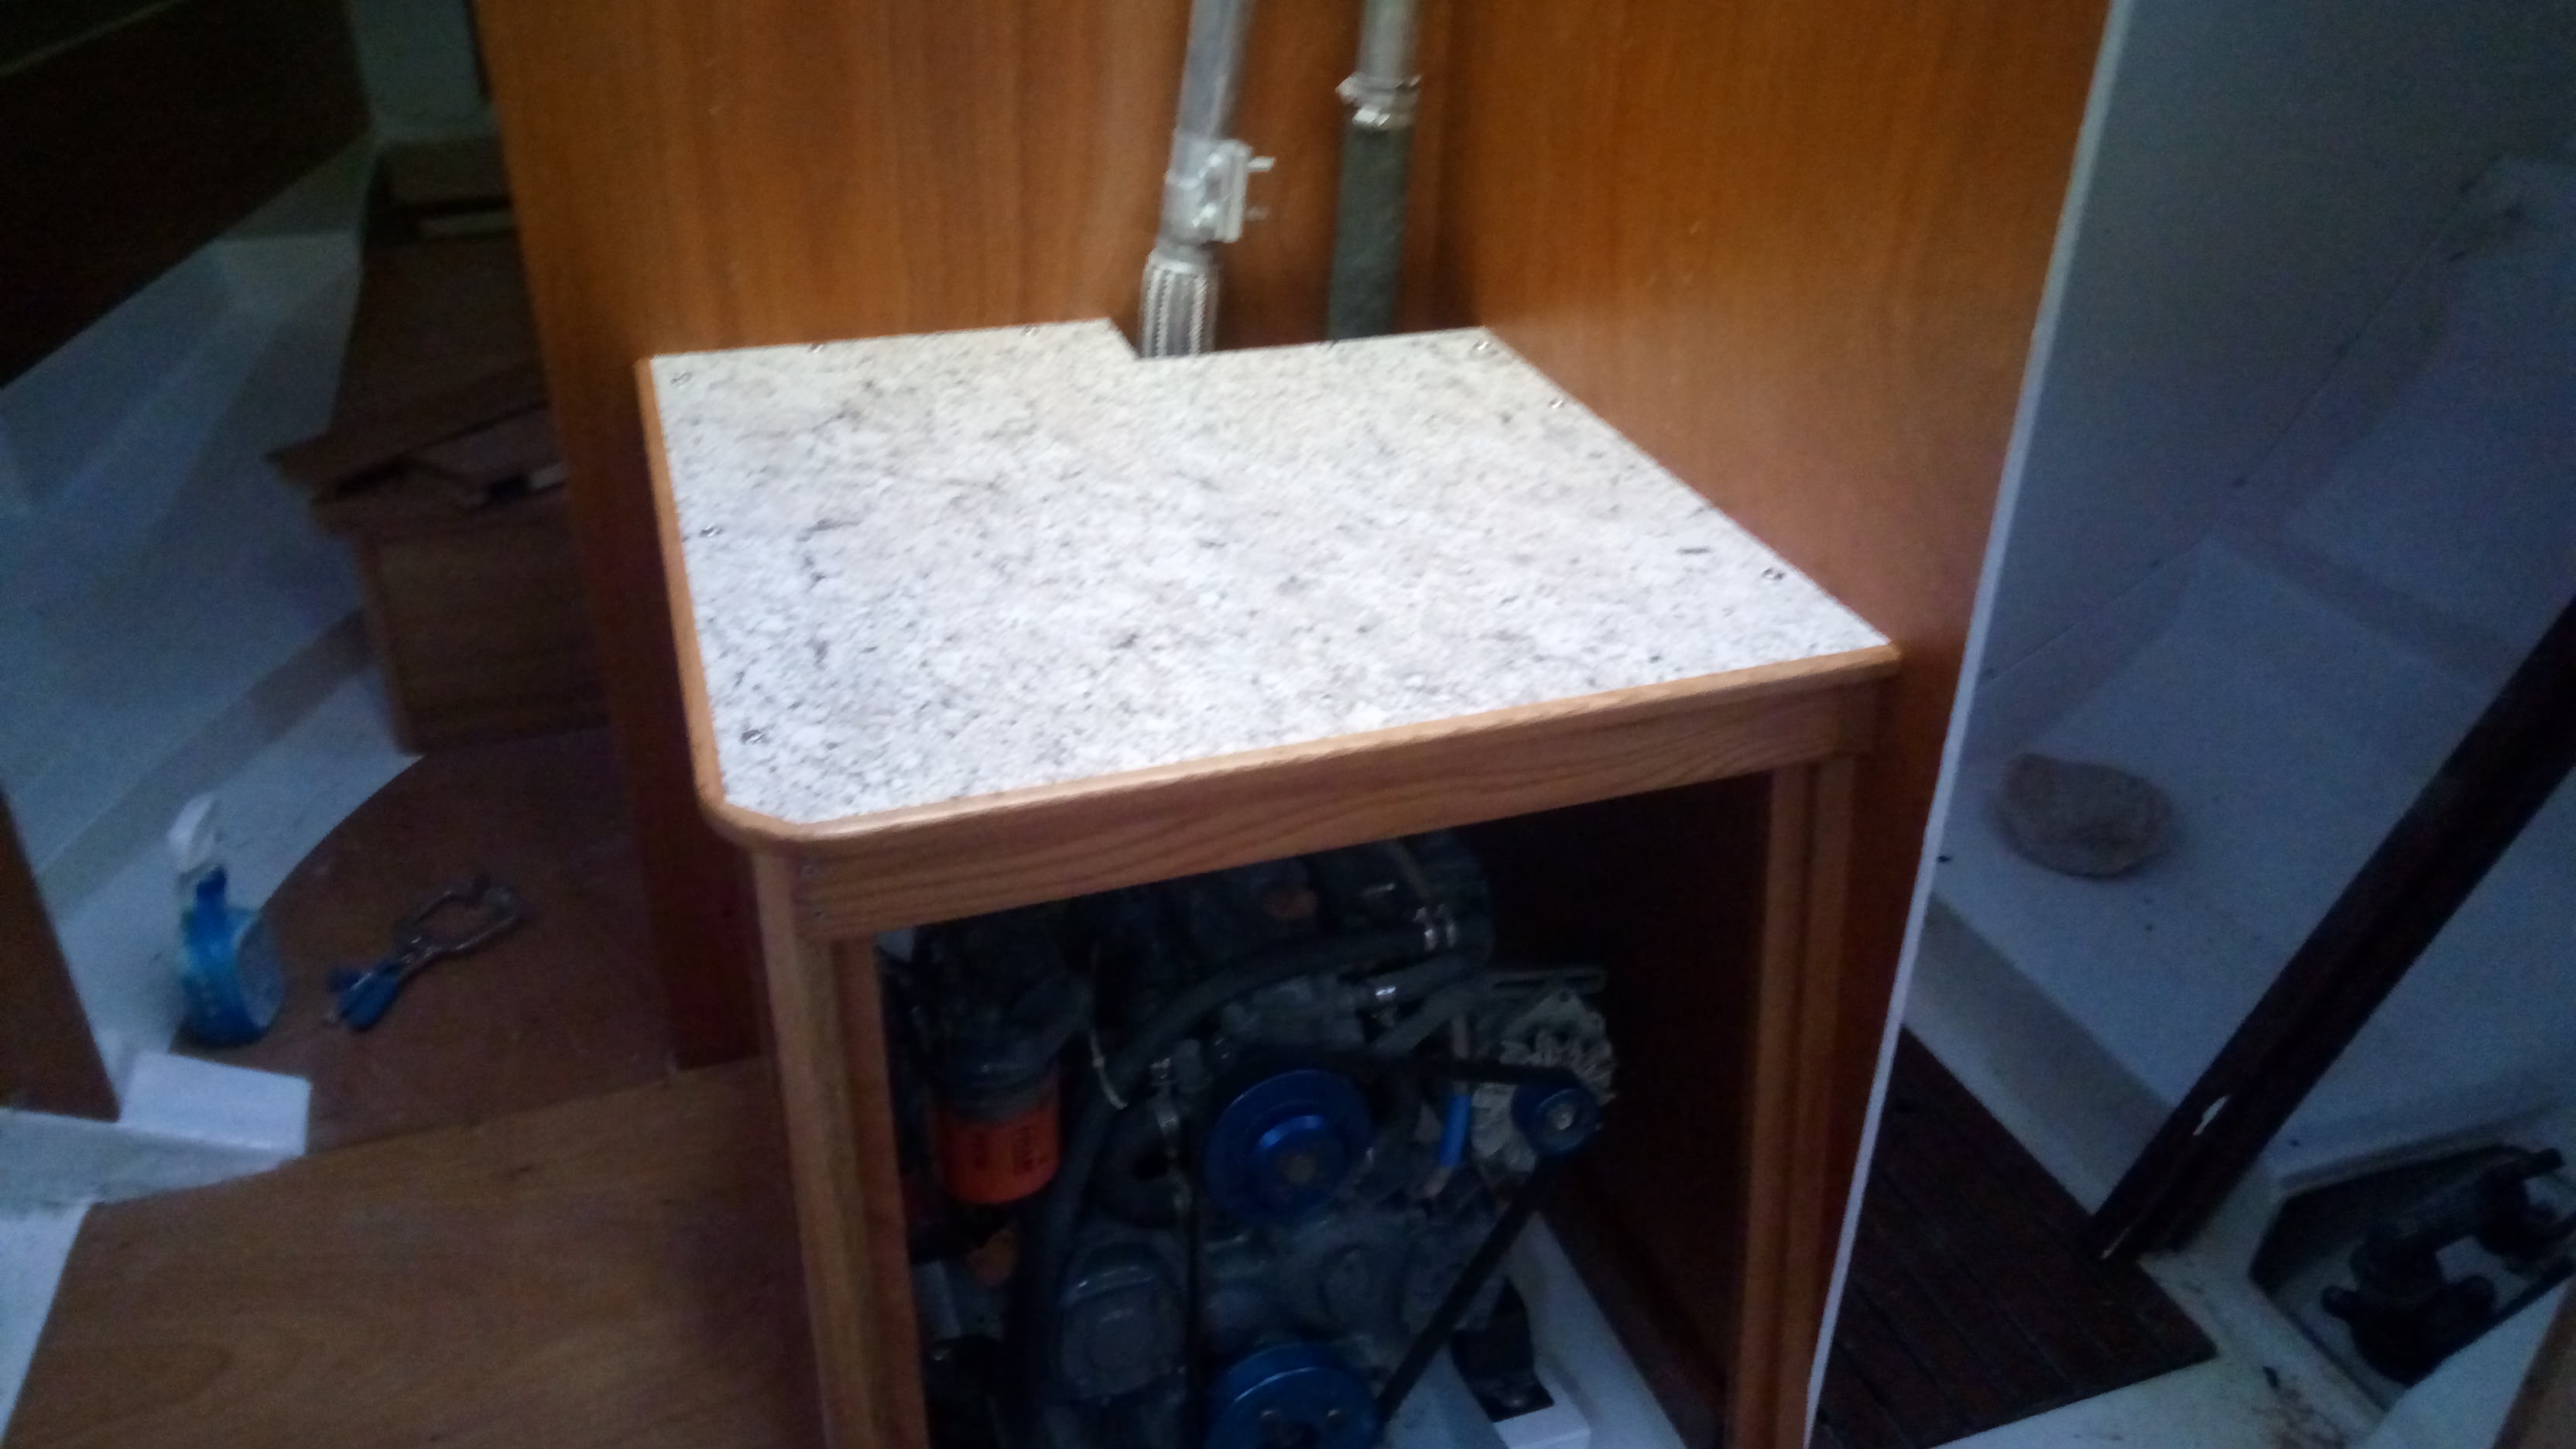
Spoiler alert! - I'm covering most of the horizontal surfaces with formica - galley countertops, table tops, etc., so I had to decide on a color. I'm no interior decorator but I tried to imagine the flooring, wood tones, cushion colors and overall light levels in the main cabin so as to balance the interior. This is what I came up with:


More of the companionway finished:


And everything back in:


This is not the final install. I will break it all down one more time before mounting everything permanently. I will have wire runs, some plumbing, insulation, engine exhaust and raw water system to install yet. I also haven't addressed adding drawers in the base of the aft bunk, aft engine cover and doghouse yet. When all that is done I'll also seal the edges with marine silicone to keep moisture out.

As of now I have no idea when I will be back in the states but the plan for the next set of projects is to start on the fresh water tanks, finish the fuel tanks and get them plumbed, and start on the house battery system - at least get the battery boxes roughed in.

Cheers,

Mark
 
  • Like
Likes: pateco

Gunni

.
Mar 16, 2010
5,937
Beneteau 411 Oceanis Annapolis
Suggestion: Seal your ply ends with marine epoxy. Also a great waterproof base coat for any wood that see regular water.