Replace acrylic portlights
- Thread starter kbgunn
- Start date
I bought 1/2" VHBkbgunn,
Thanks for posting the pics; very helpful, and thanks to everybody else for the helpful hints. Kbbunn ... what width VHB tape will you use. Looks like the inset is about 1/2" on the catalina 22's?
https://www.amazon.com/3M-Scotch-59...8&qid=1508429085&sr=8-8&keywords=vhb+tape+0.5
This roll is 5 yds. 2 rolls for the whole job.
I was leaning towards not painting, this settles the internal debate. Thanks for the help!I considered that when I did my Albin Vega's windows: https://forums.sailboatowners.com/index.php?threads/plexiglass-window-thickness.182638/
I elected not to, based on lack of 100% faith in the three different bonds involved. You'd have to absolutely trust the spray paint to bond to the gel coat, and you'd have to equally trust the VHB and DC795 to bond to the spray paint. I personally do not trust any of the three.
As it turned out, you can't see the tape through the 1/4" smoked plexi anyway.
One thing you will find with the 795, it skins over very quickly, and you should remove any painters tape shortly after applying.
Well...there was some drama with the plastics fab shop. They were taking forever. Promising they would be done on Monday. When I called on Wednesday they would give an excuse......after several iteration of this I just told them forget it. My little window job didn't have enough margin for them I'm guessing. I found shops on Amazon and Ebay selling plexiglas cutoffs, so I gave that a try. You just have to look for the dimension that will accommodate the most finished product.
https://www.amazon.com/SIBE-R-PLAST...&keywords=Plexiglass+#2074+-+1/8"+-+24"+x+36"
https://www.ebay.com/itm/smoked-tin...762092?hash=item28242f282c:g:maIAAOxySy9SRbsj
The shipment arrived well protected. Frah-geeee-lay.
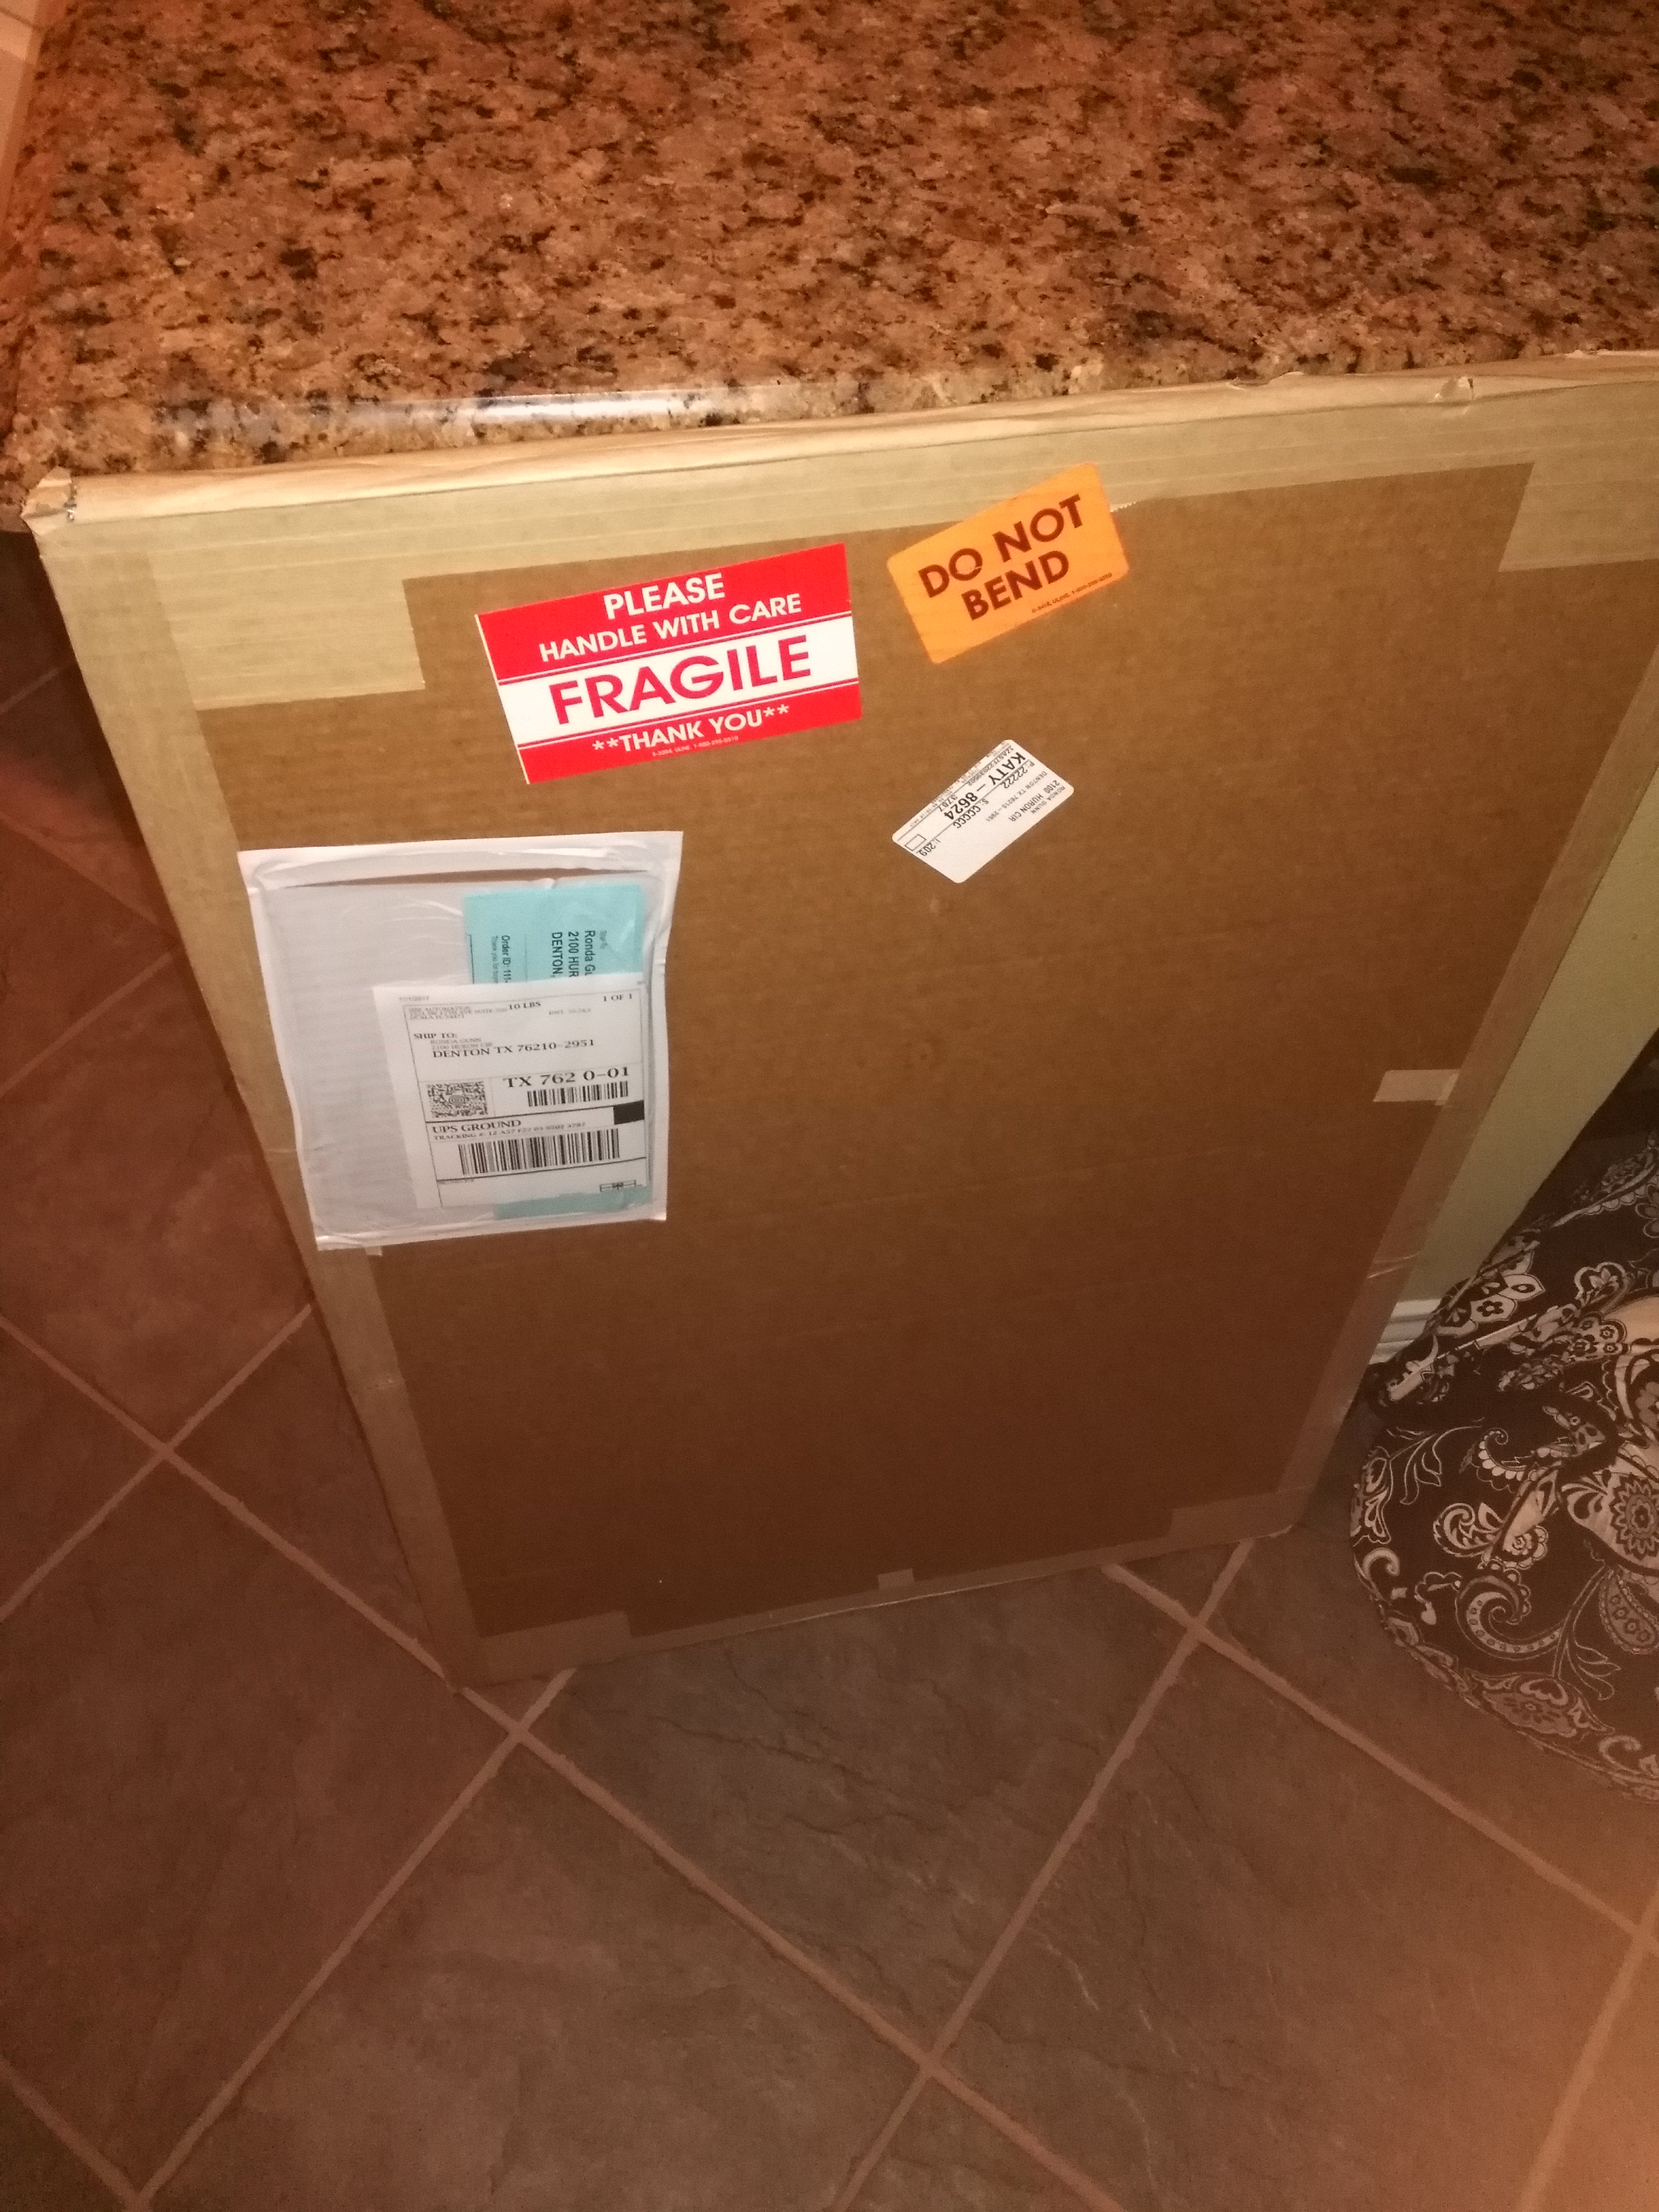
Cutting to rough dimension was easy enough with power tools. The plastic made a mess with the shavings though.
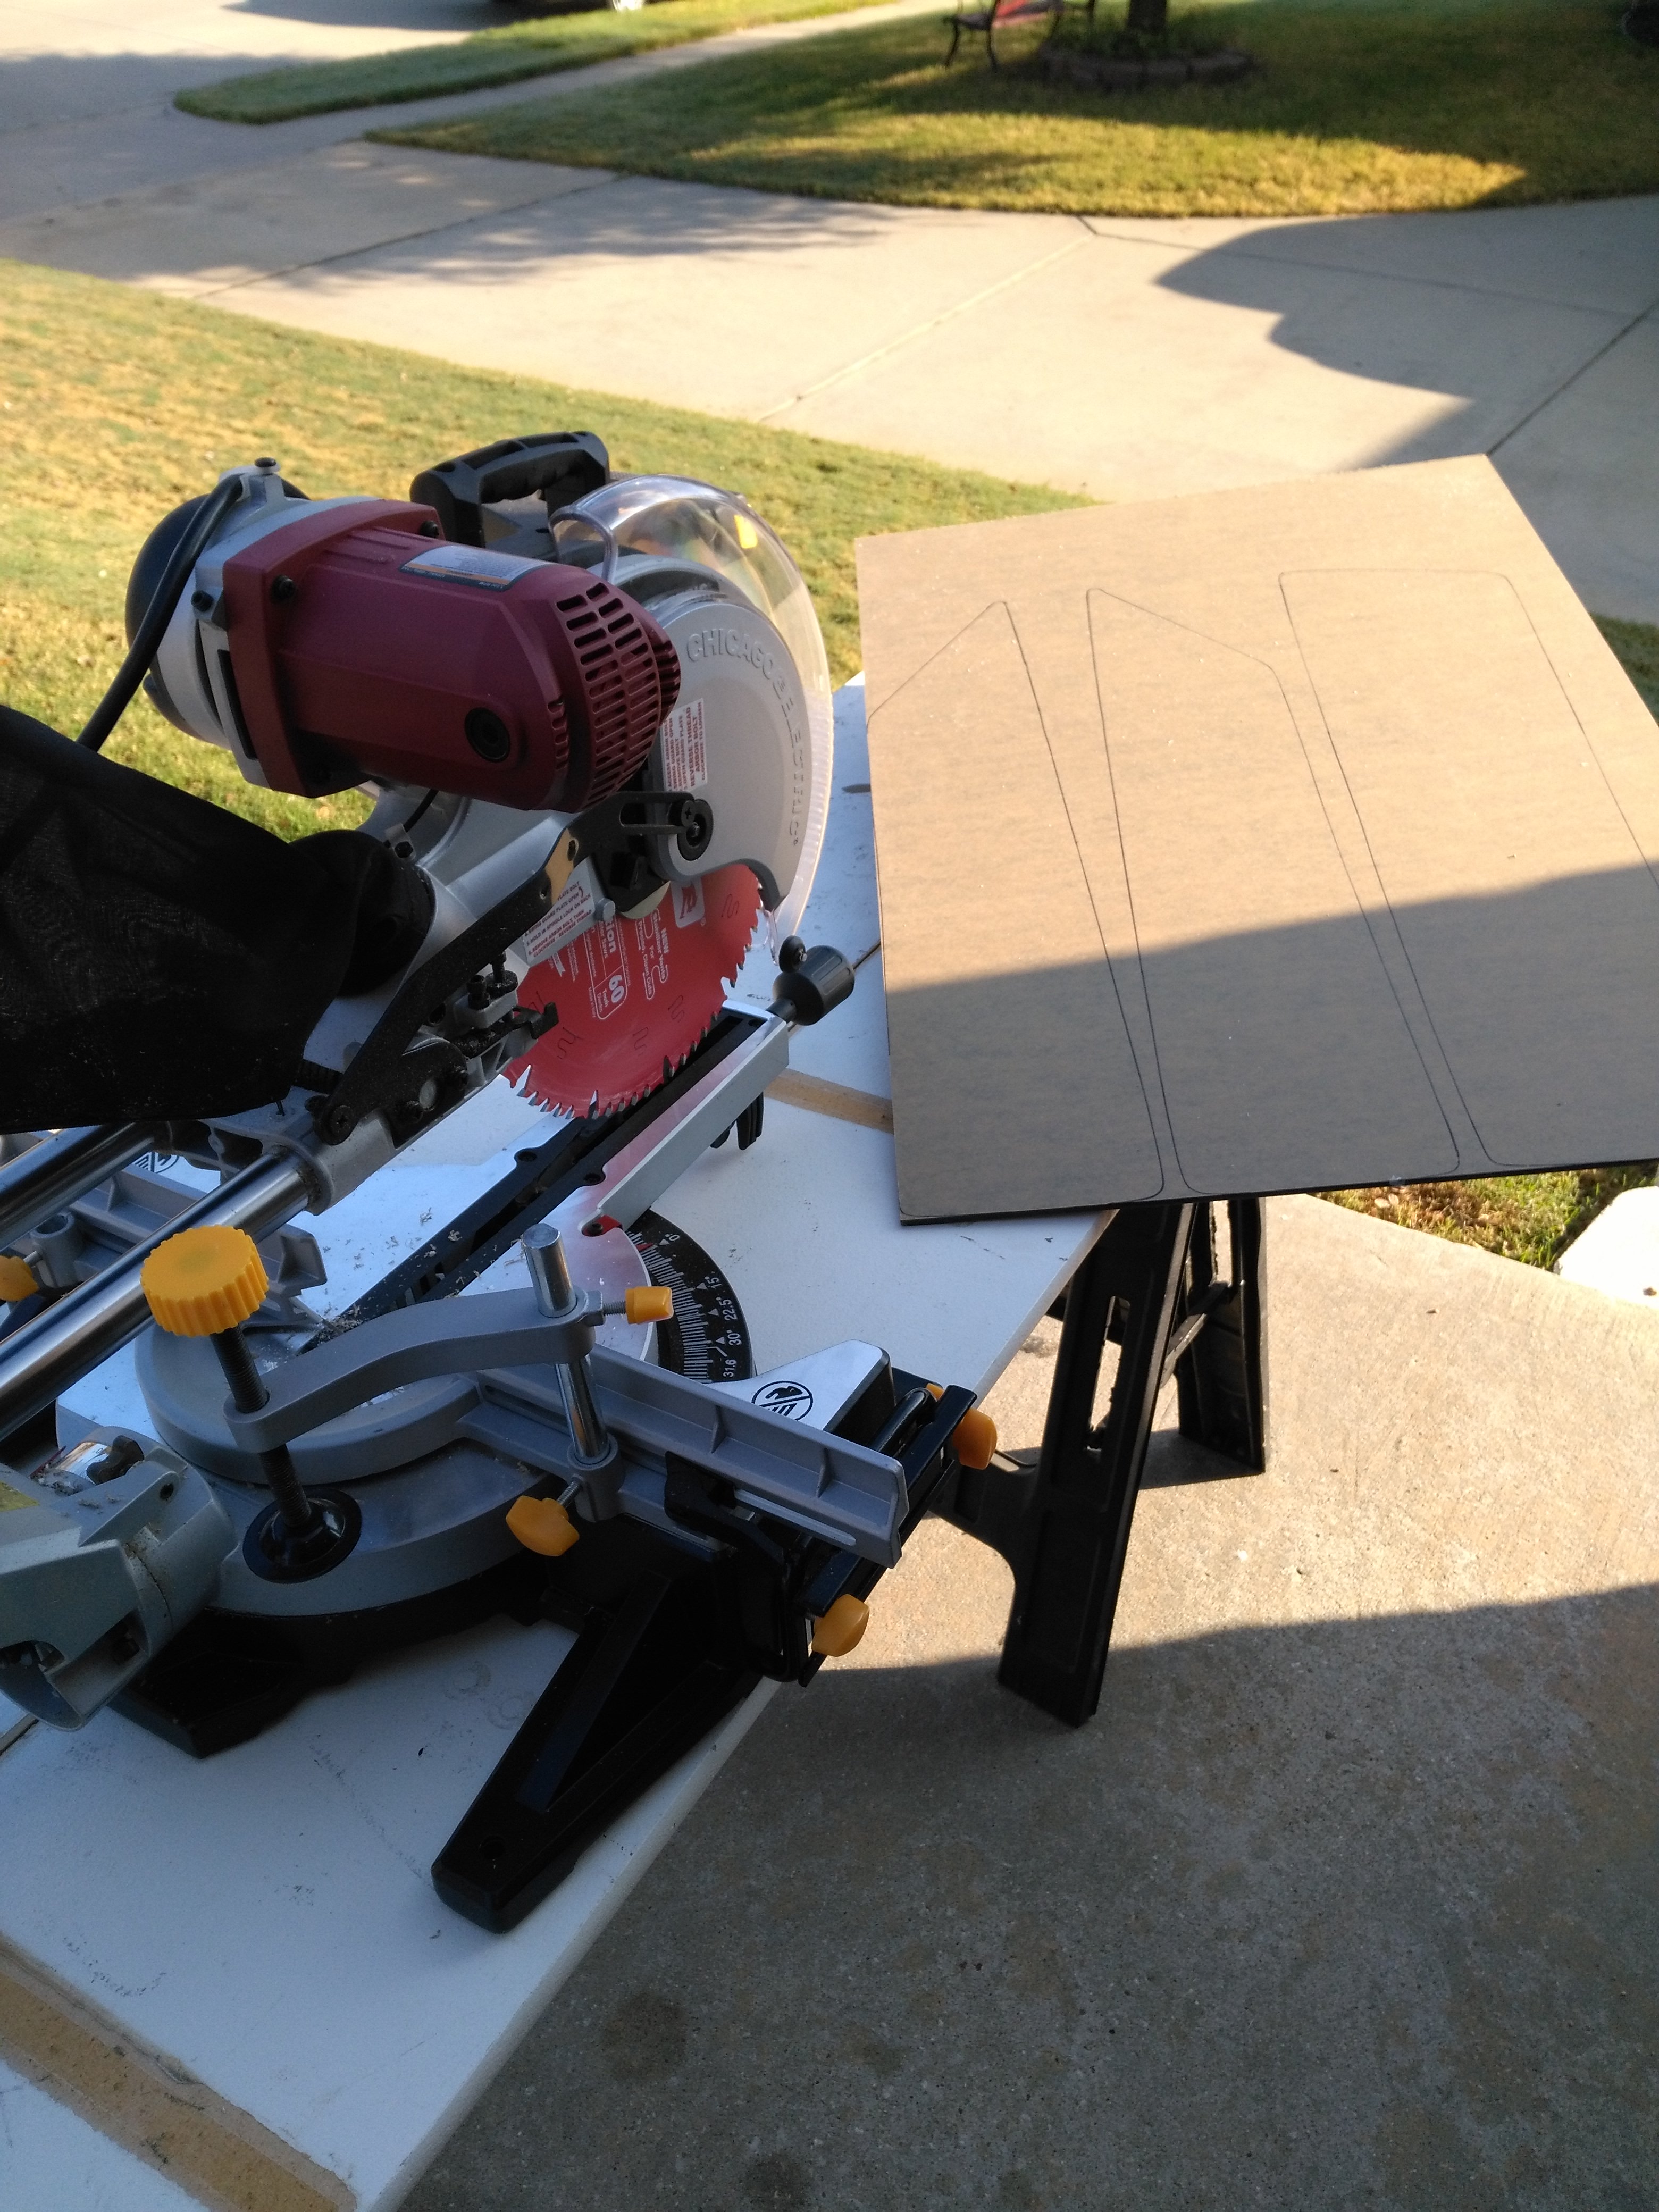
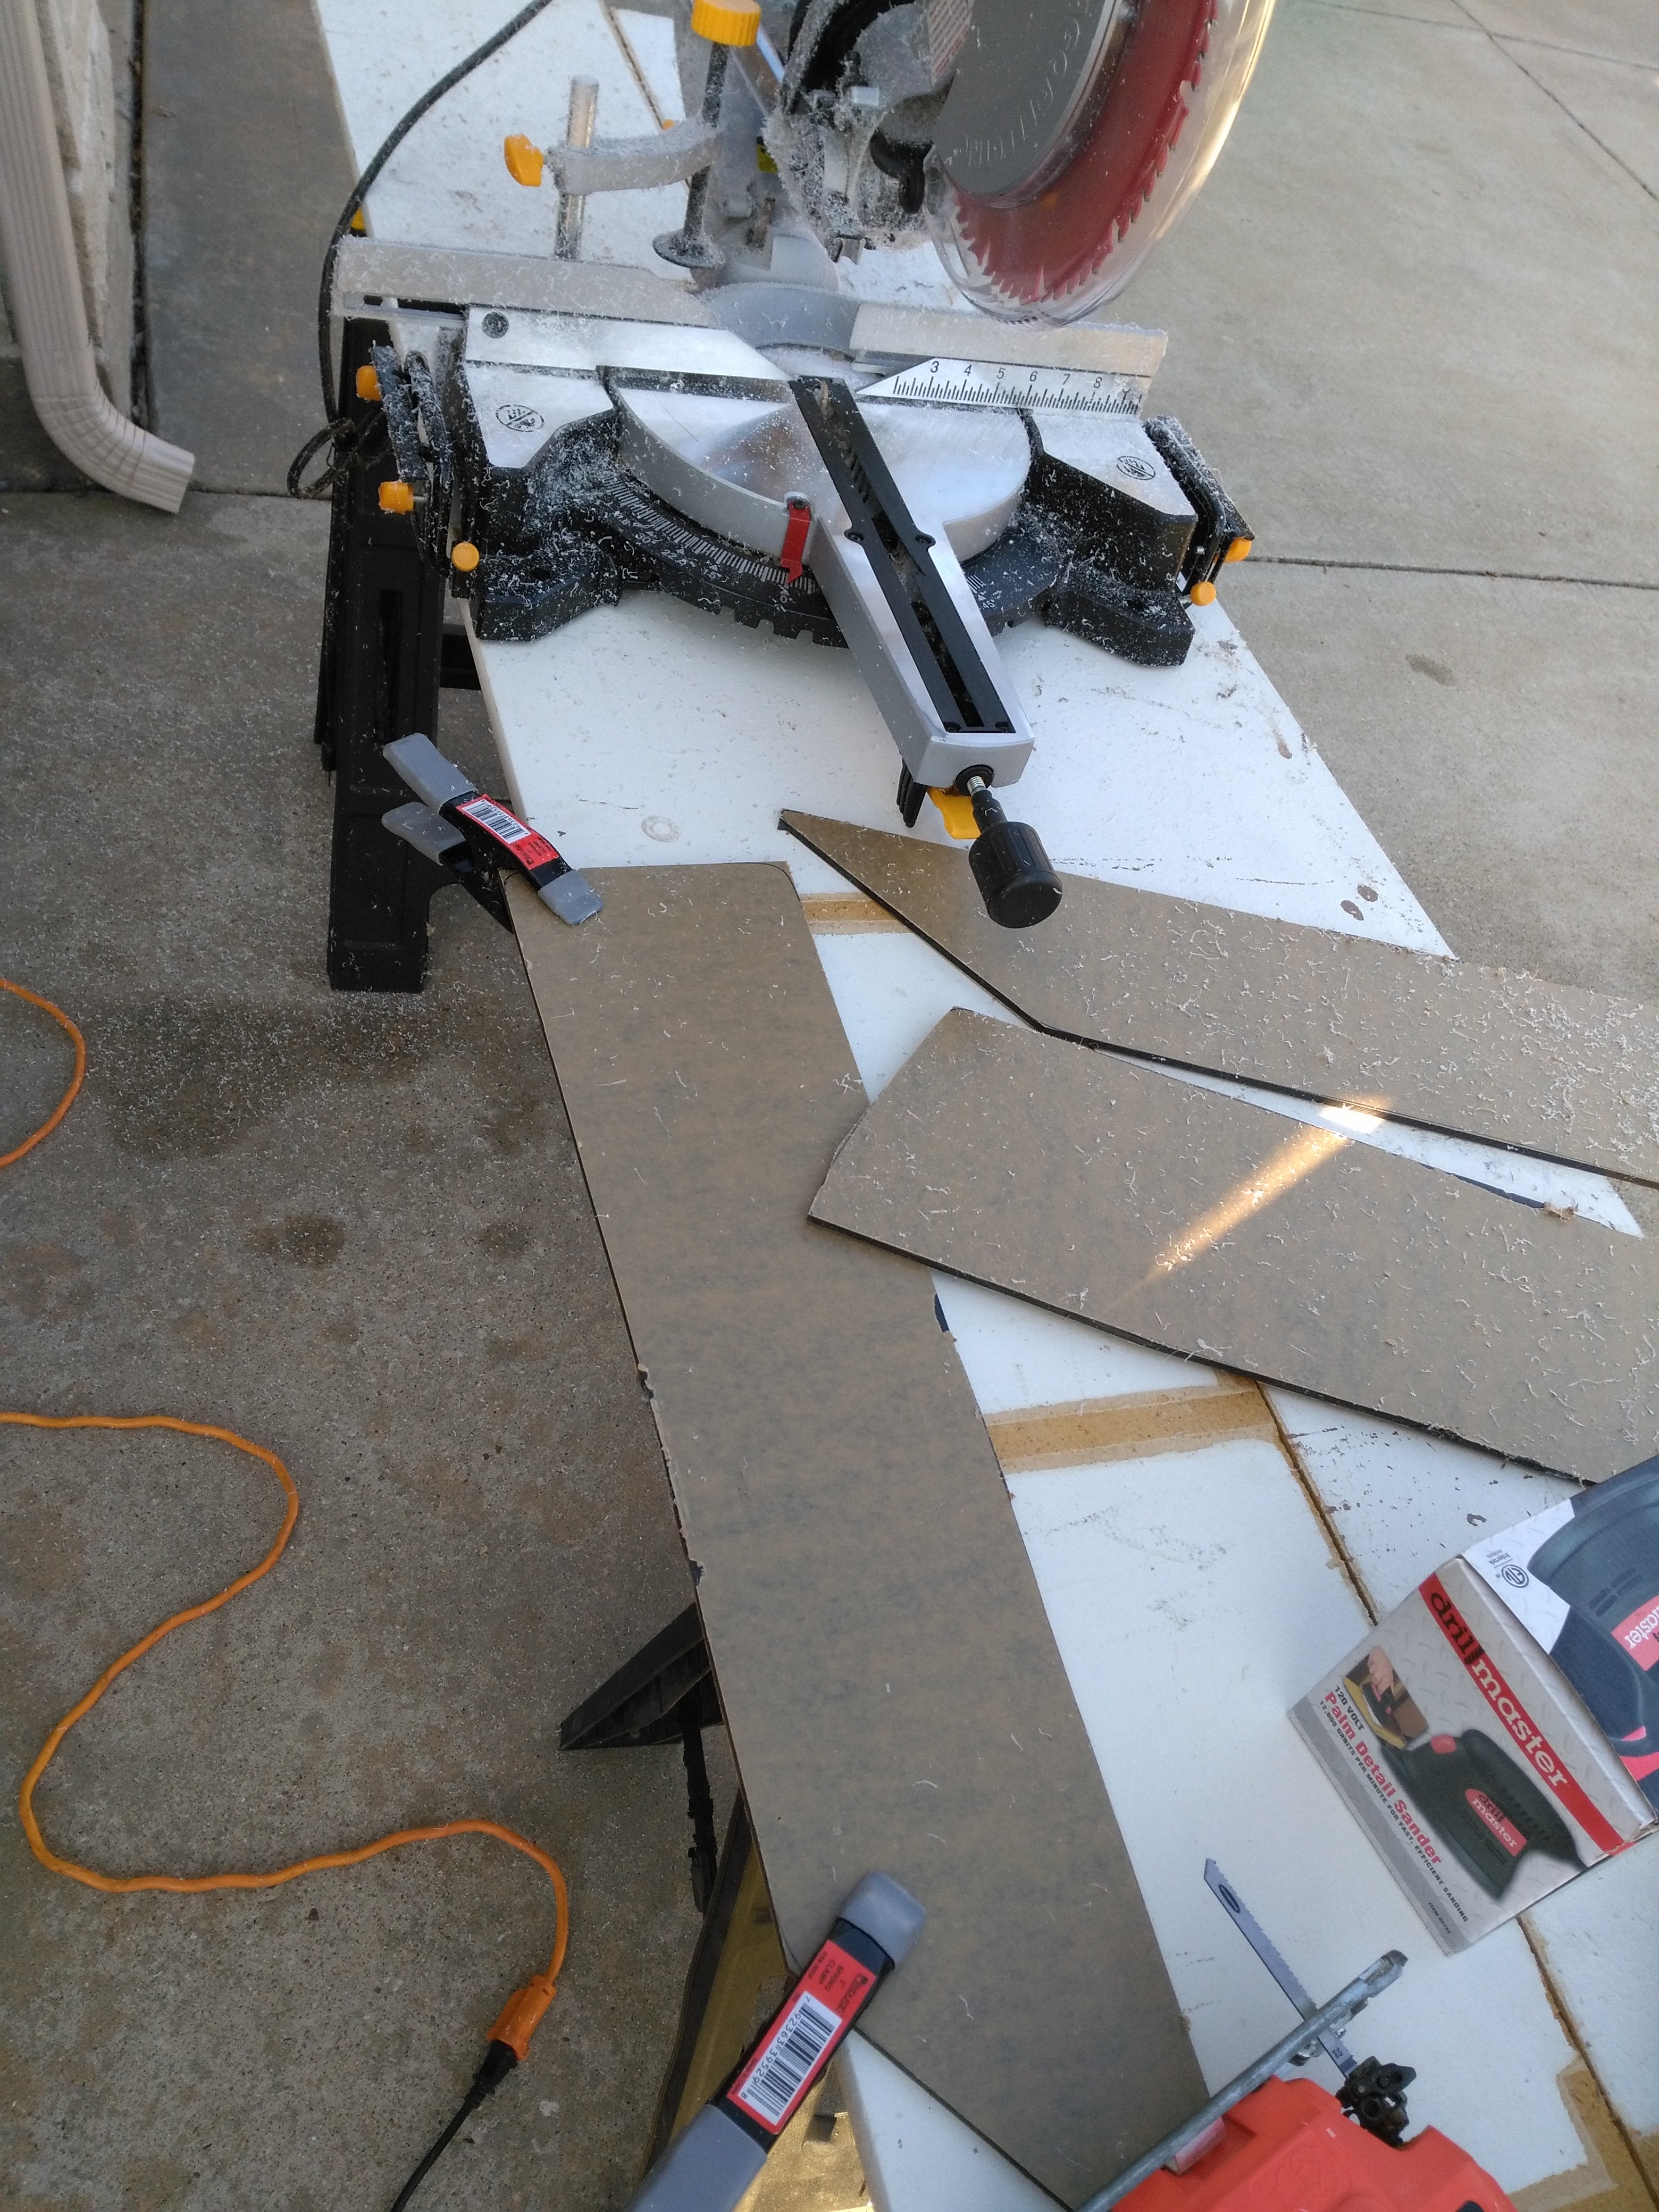
80 Grit in the palm sander cleaned up the rough cut edge. I didn't get pics of the install process due to a phone hiccup. But, the process was easy.
1. Wiped the opening with isopropyl alcohol to clean it.
2. Ran the 3M VHB tape around the opening right along the inside edge.
3. Press the acrylic in place and hold for 30-40 second until set. Only remove the inside protective paper liner.
4. Mask the outside edge of the opening with blue painters tape.
5. Run a liberal bead of Dow 795 in the gap between acrylic and fiberglass.
6. Wipe excess off with the appropriate tool. (Index finger. A glass guy taught me a trick of spraying windex on the finger before wiping to keep silicone from sticking and coating the finger.)
6. Allow to cure for 5 mins or so, then pull the blue painters tape and the outside paper liner to leave a clean edge to the 795.
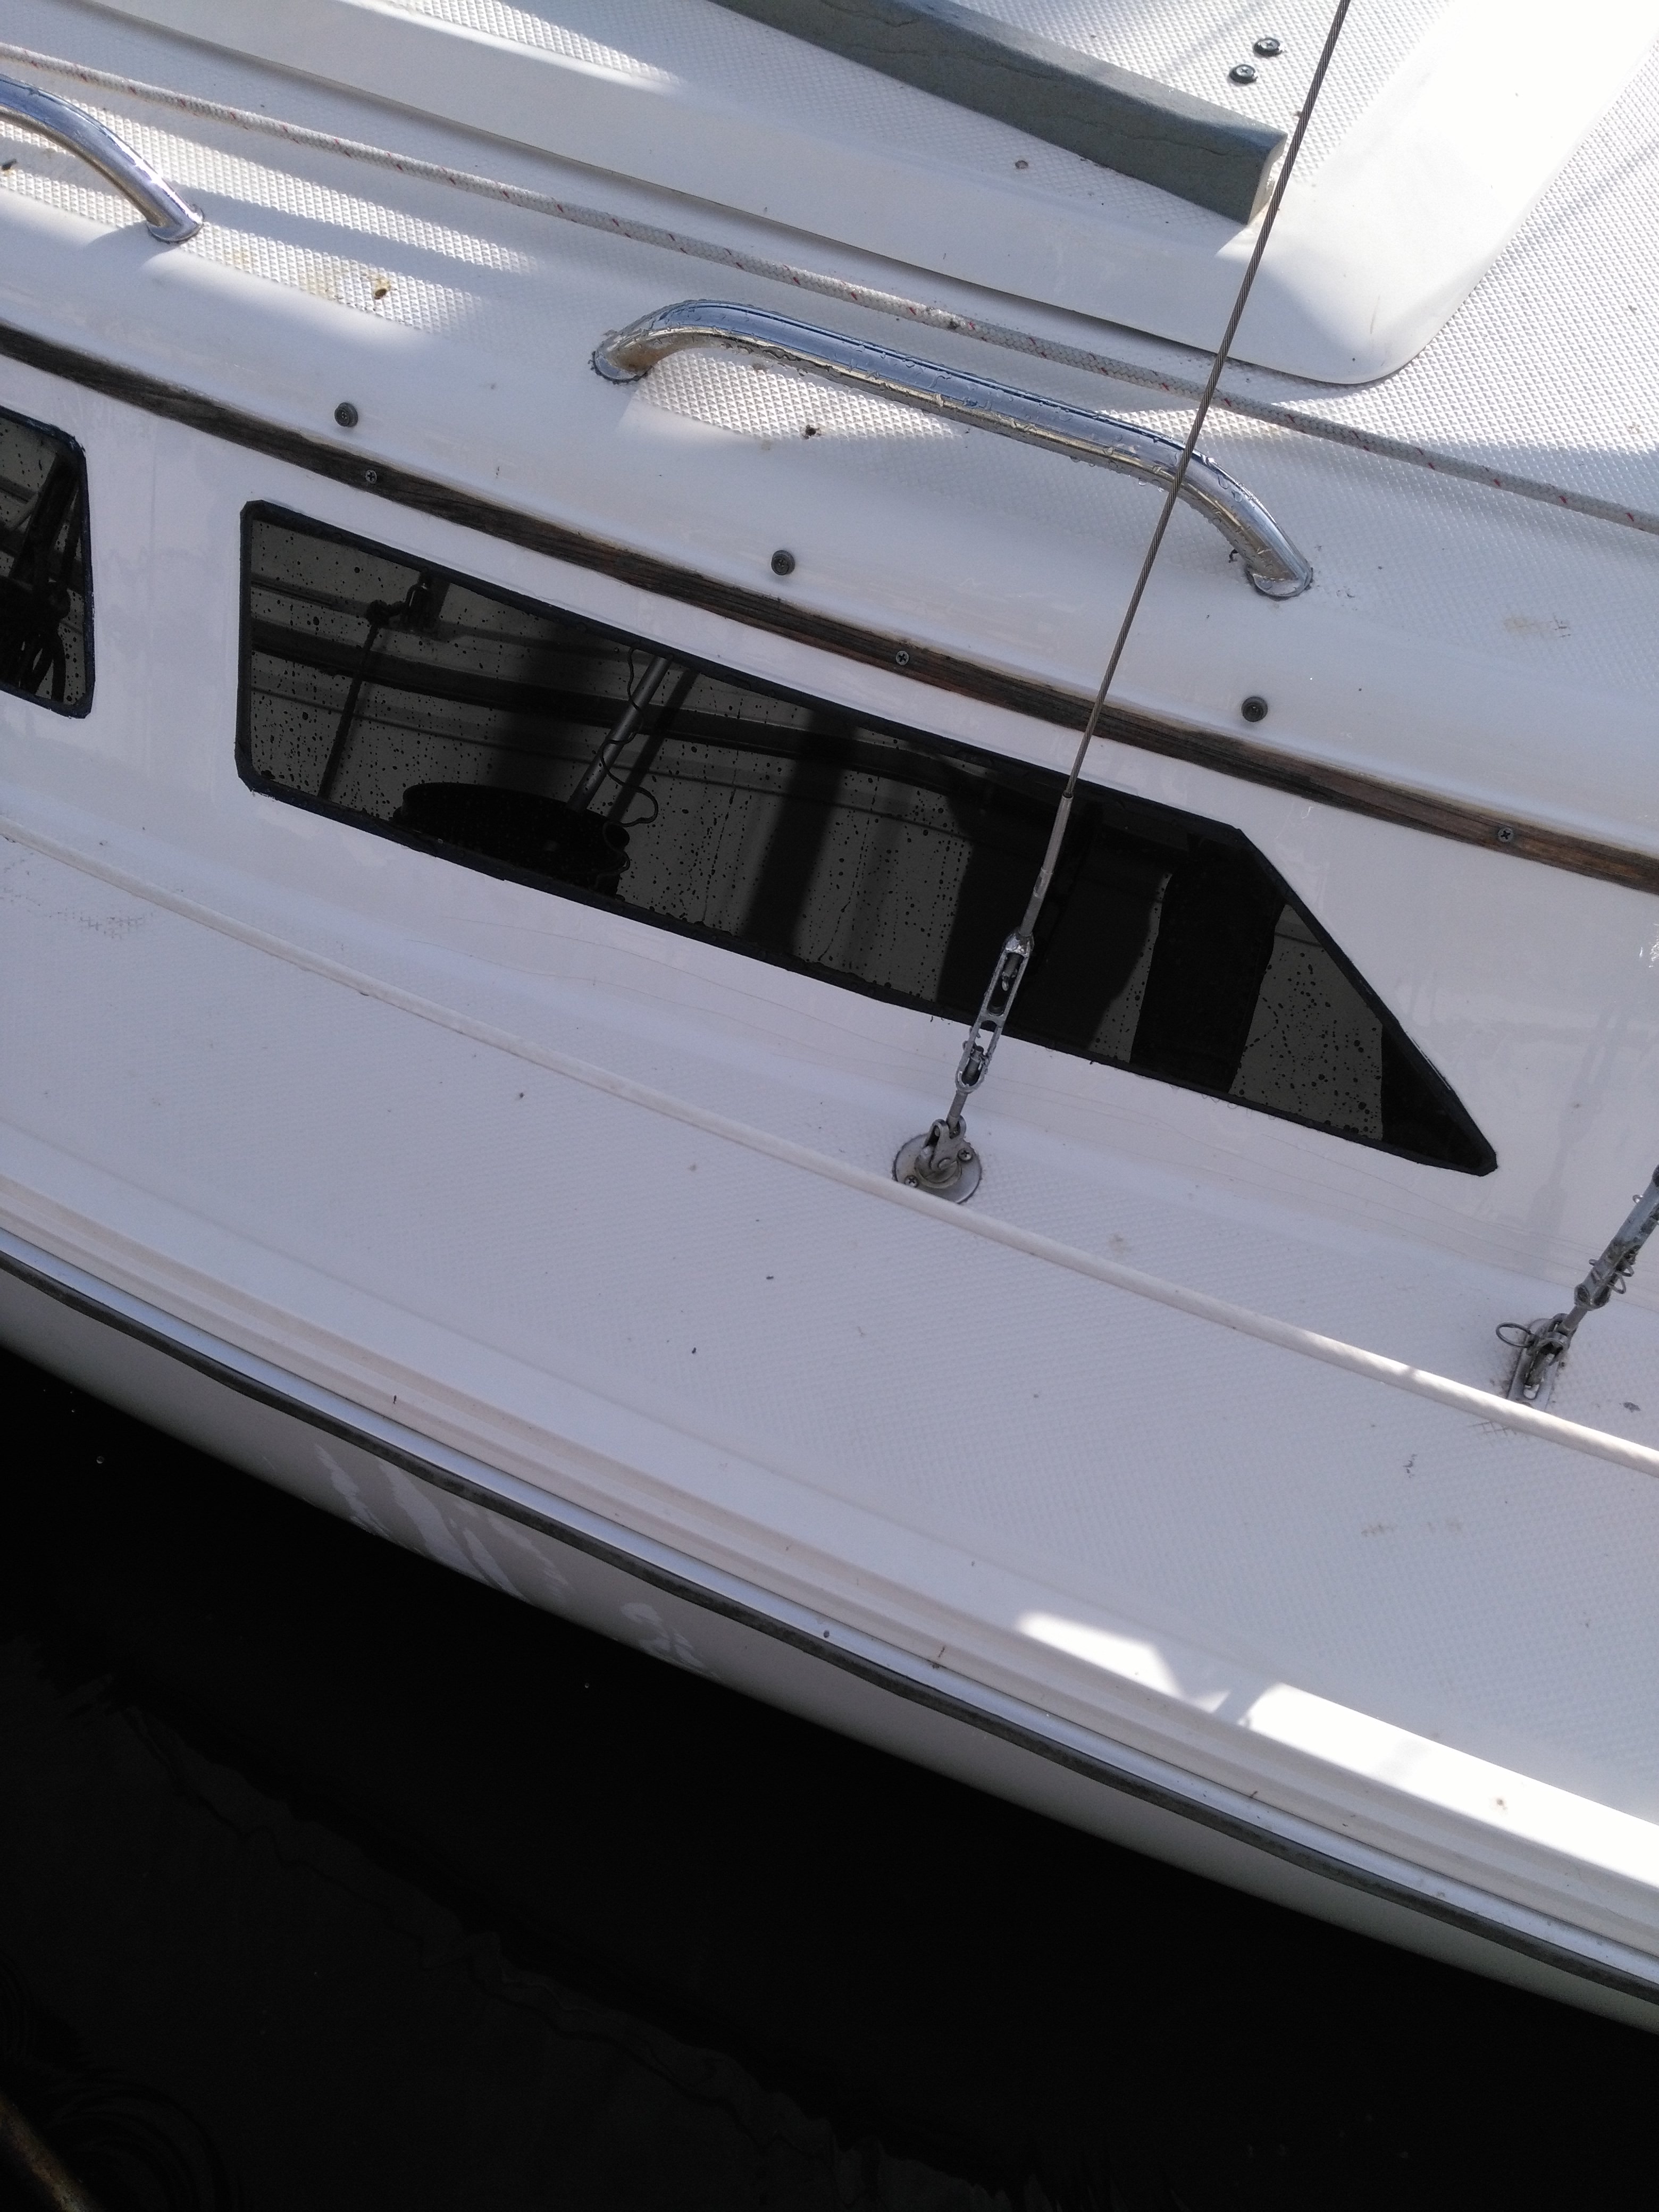
Results turned out not too bad.
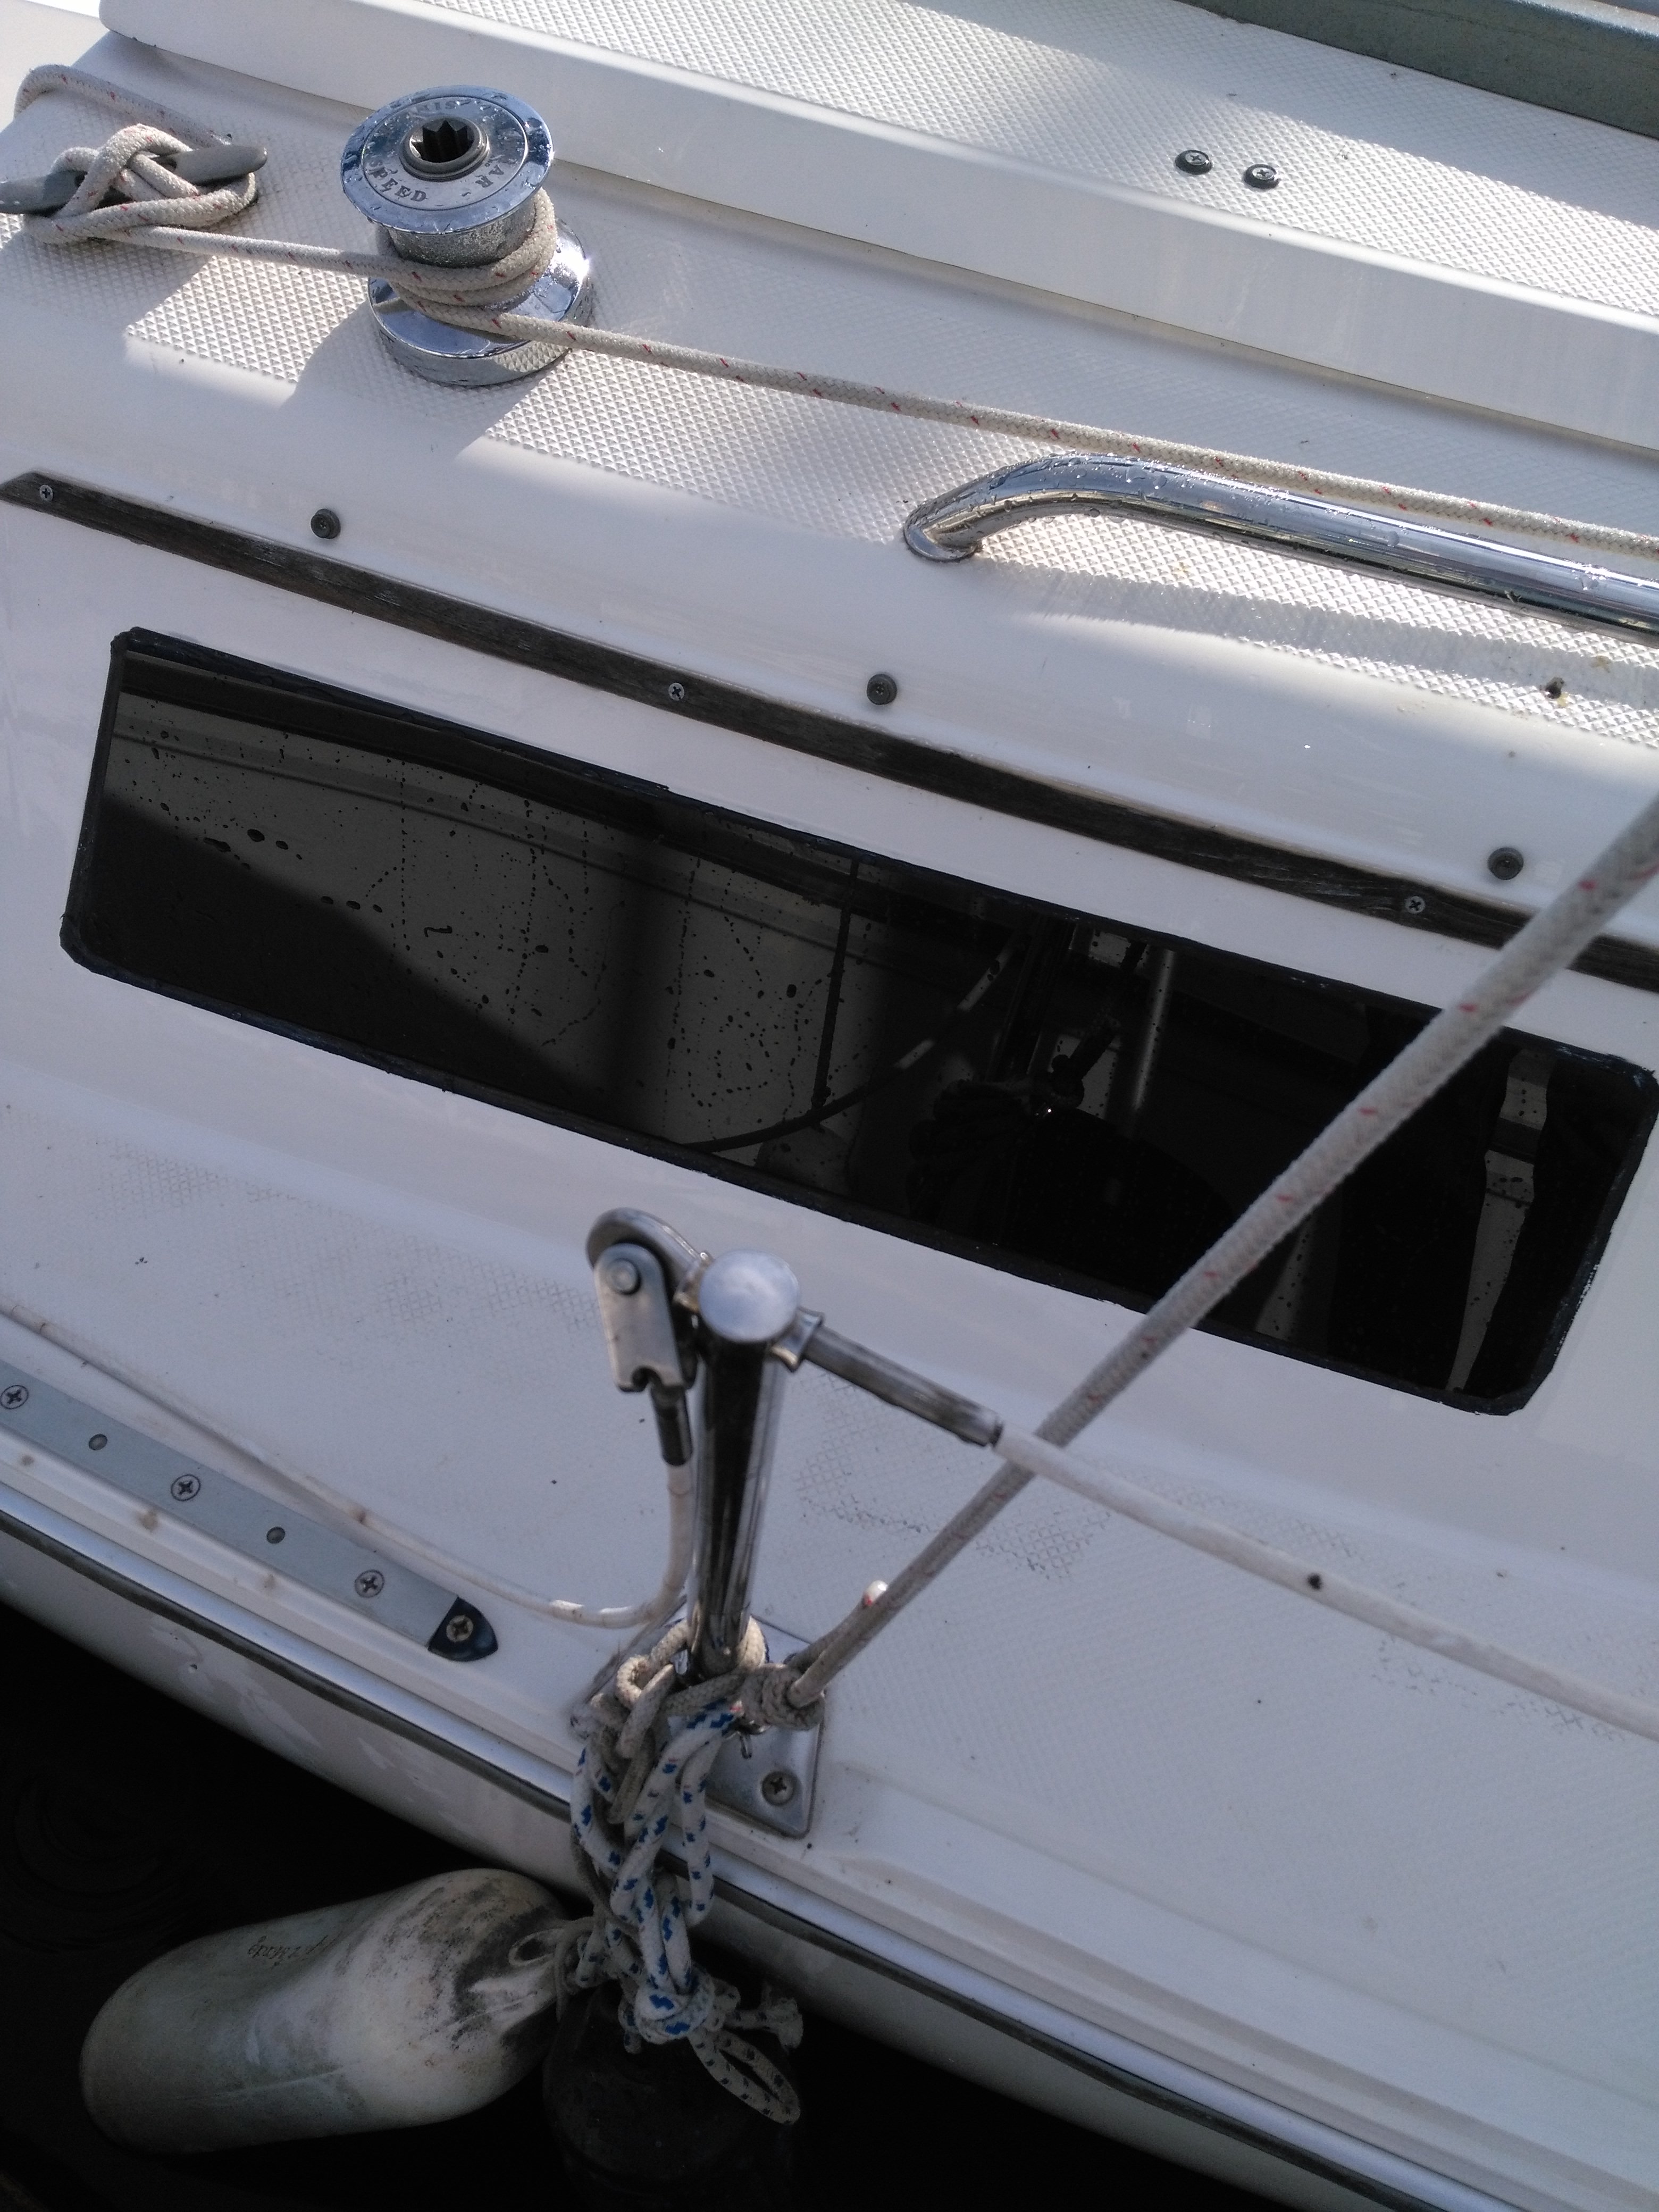
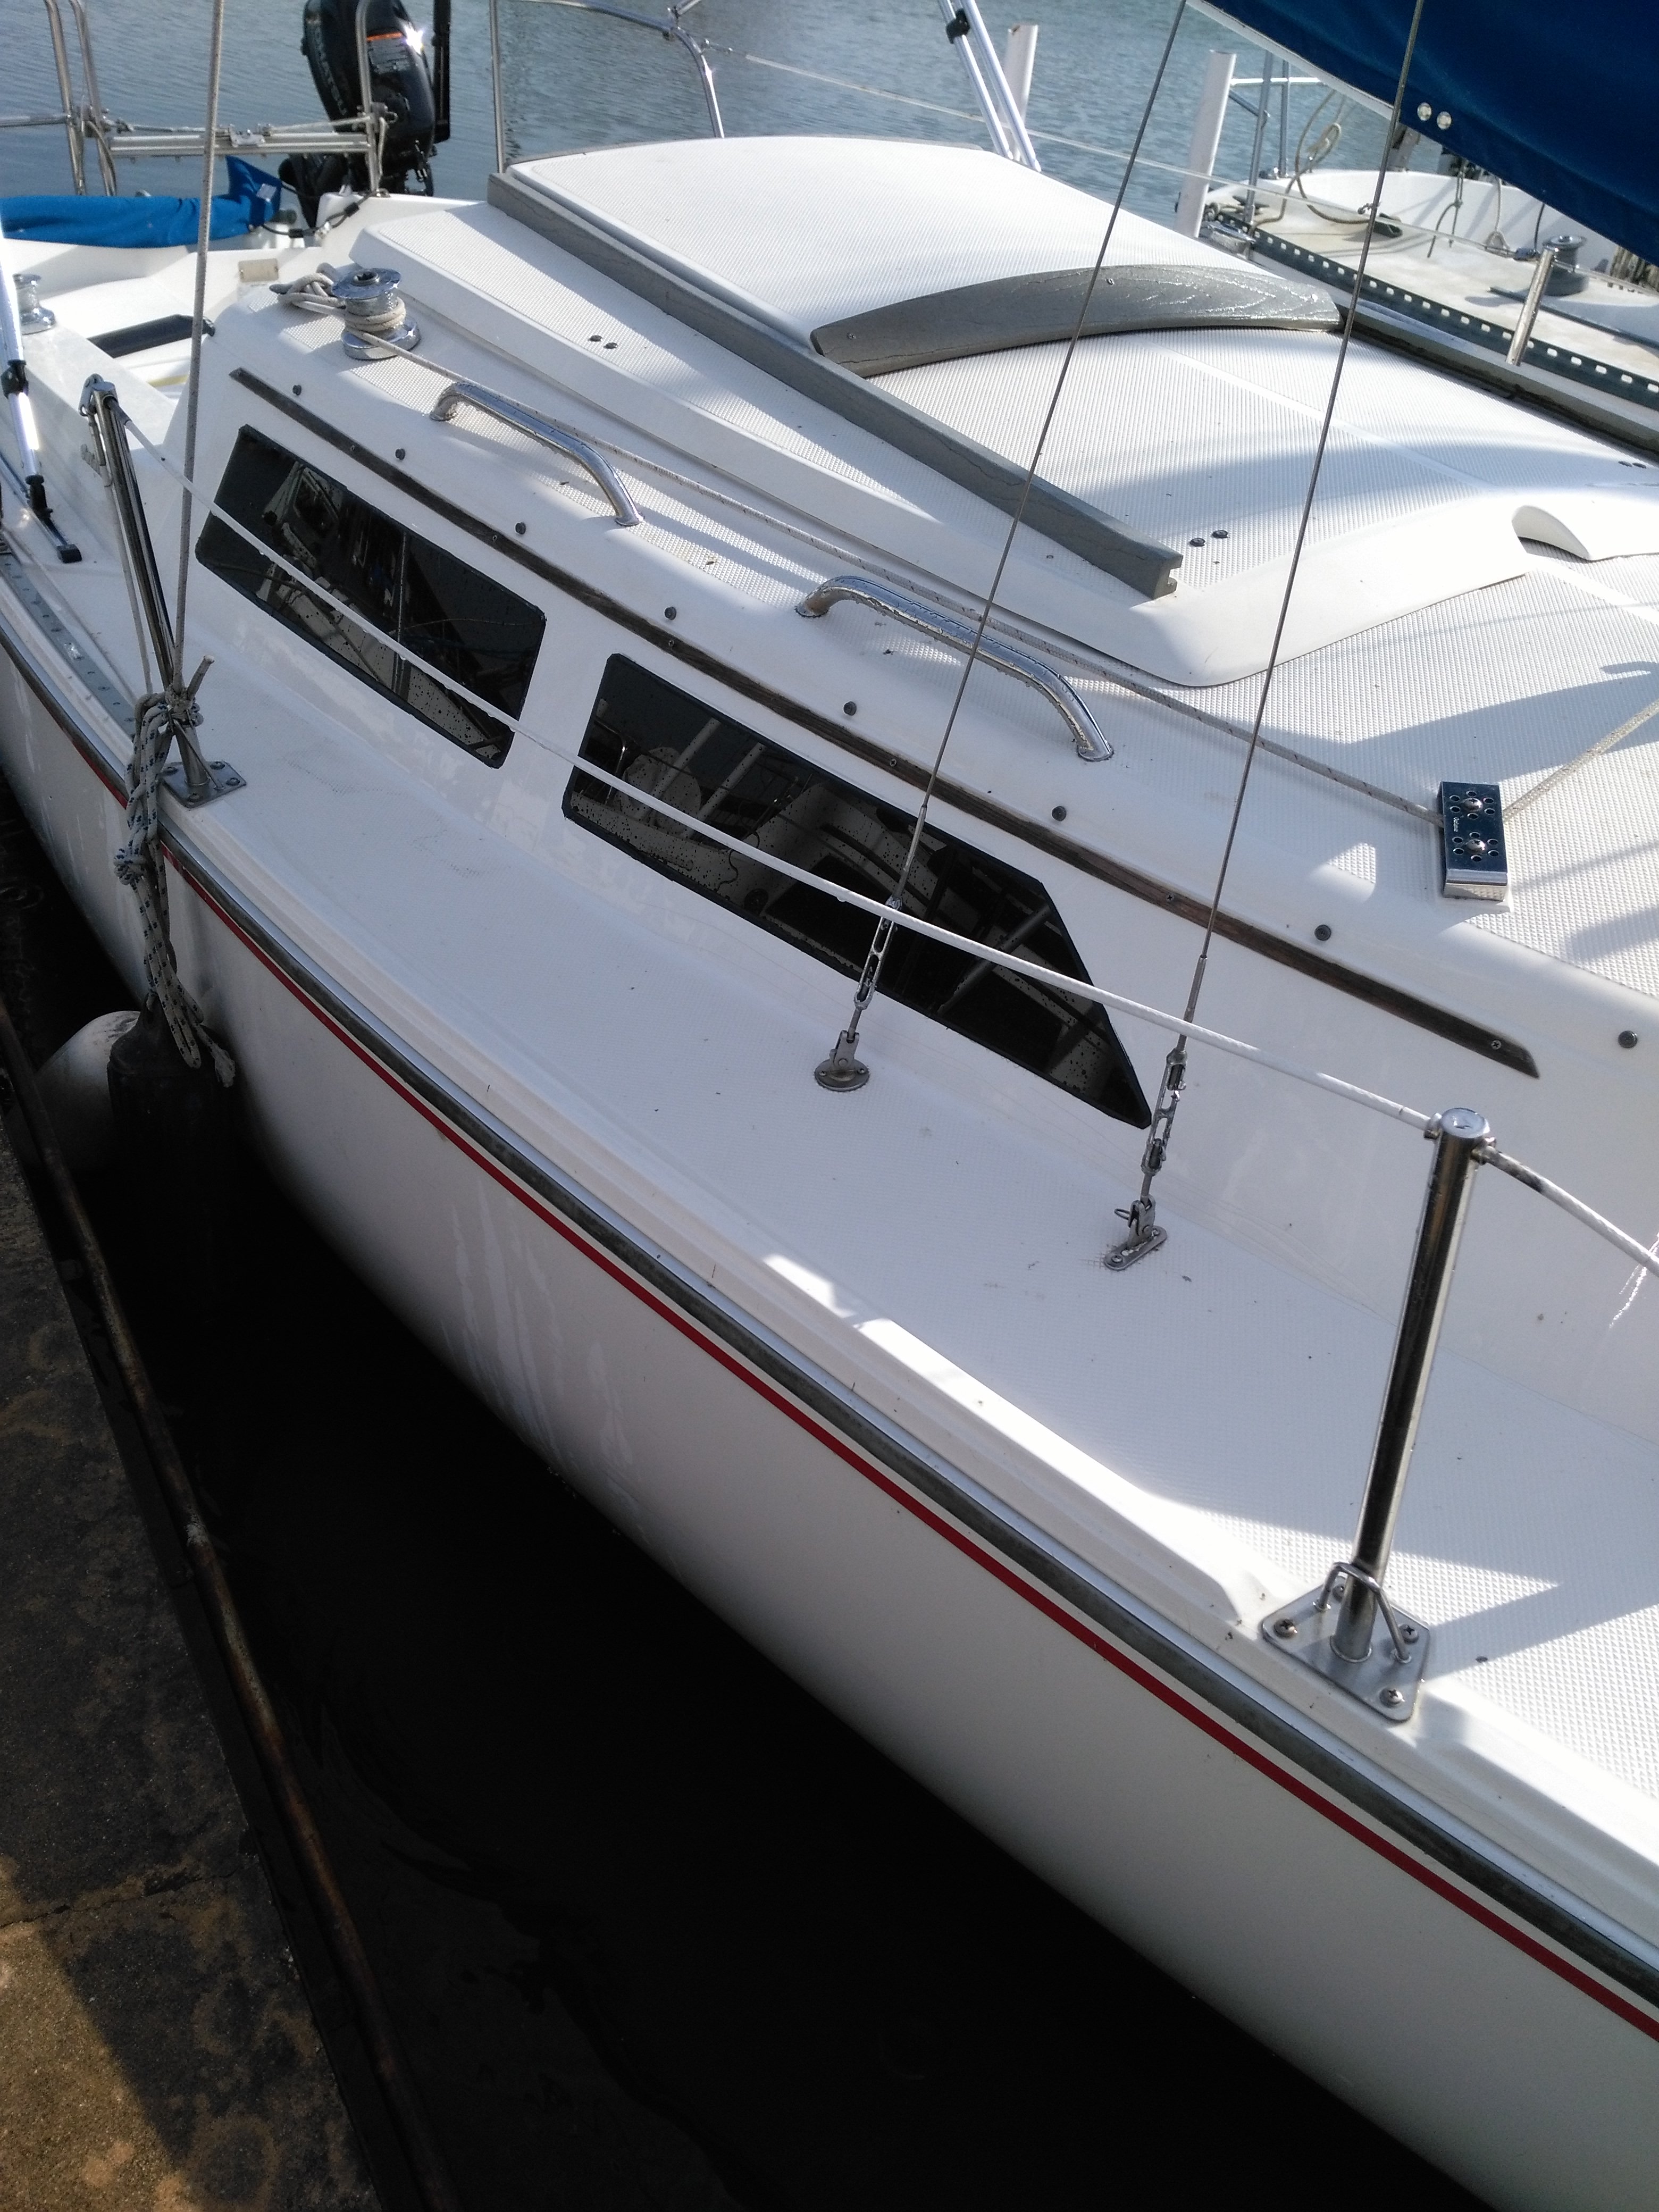
https://www.amazon.com/SIBE-R-PLAST...&keywords=Plexiglass+#2074+-+1/8"+-+24"+x+36"
https://www.ebay.com/itm/smoked-tin...762092?hash=item28242f282c:g:maIAAOxySy9SRbsj
The shipment arrived well protected. Frah-geeee-lay.

Cutting to rough dimension was easy enough with power tools. The plastic made a mess with the shavings though.


80 Grit in the palm sander cleaned up the rough cut edge. I didn't get pics of the install process due to a phone hiccup. But, the process was easy.
1. Wiped the opening with isopropyl alcohol to clean it.
2. Ran the 3M VHB tape around the opening right along the inside edge.
3. Press the acrylic in place and hold for 30-40 second until set. Only remove the inside protective paper liner.
4. Mask the outside edge of the opening with blue painters tape.
5. Run a liberal bead of Dow 795 in the gap between acrylic and fiberglass.
6. Wipe excess off with the appropriate tool. (Index finger. A glass guy taught me a trick of spraying windex on the finger before wiping to keep silicone from sticking and coating the finger.)
6. Allow to cure for 5 mins or so, then pull the blue painters tape and the outside paper liner to leave a clean edge to the 795.
Results turned out not too bad.


Beautiful!! As a fellow New Model owner, I gotta say I really like that trim piece on the forward edge of your sliding hatch. Did you do that or did it come with the boat when you got her?
Thanks greg_m. I've seen your refurb thread. You are doing a heckuva job yourself. My cosmetic projects aren't anywhere close to the amount of effort you are putting into your Cat!G'job!
Thanks for the compliment 'Slim. I fabricated the forward weatherboard on the sliding hatch when I replaced the teak with a composite material. I put the details in this thread:Beautiful!! As a fellow New Model owner, I gotta say I really like that trim piece on the forward edge of your sliding hatch. Did you do that or did it come with the boat when you got her?
https://forums.sailboatowners.com/index.php?threads/low-maintenance-exterior-trim.187587/
I ripped the length from the textured face of the composite lumber on the table saw. Cut to shape with the jigsaw. Palm sander rounded the rough cut edge. The material flexed to the curved profile of the hatch much easier than wood. The three stainless screws hold it in place. Super easy job.
I'm probably biased, but I really like the way it turned out too.
Hi,I did this job on my C22, it only cost me $100 to buy the plastic and I cut myself. I did use 3M VHB tape but I shot myself in the foot with the process I used; The pro's will paint the inside edge of the window black because usually VHB tape is grey and you would see the grey tape through the plastic. Mine is as dark of a tint as they have available in Lexan but you can still see through it. The black VHB tape Andy uses in the Boatworks Today video is only available in 3/4" or 1 inch, mine was only 3/8 wide and Grey. Anyway, I wasn't sure about what kind of paint to use and I wan't confident the paint would stick to the smooth Lexan. So I though I was smart and I knifed a very thin coat of the Dow 795 to the bonding lip of the window. This seemed like it was going to work great until I discovered that the 3M tape will not fully stick to the cured DOW 795! I had to think fast so I ended up using just a few screws that firmly held the window in place (still using the 3M VHB tape as a gasket to maintain spacing) and I caulked in the 795 around the outside edge and then also on the inside. When it was cured I took the screws out and put just a dot of 795 in to fill the holes, it came out fine and the 795 is doing all the work. Note, my 'bonding edge' or perimeter of surface contact was 1.25 inch all the way around. Kinda overkill, I should have done it only 1 inch, but it still looks good.
Manually scrape off all the old silicone adhesive with a SHARP scraper, then sand. There are no common solvents that will dissolve cured silicone... not Acetone, not MEK, not Toluene, trust me. There is some stuff out there for that that DOW makes but its nasty and expensive plus I have no idea how it will react with gelcoat. A very thorough scraping followed by 80 grit sanding should get plenty clean for the VHB tape to stick very well. Don't worry about the 795, that stuff will stick to anything as long as its clean and dust free.
View attachment 141828
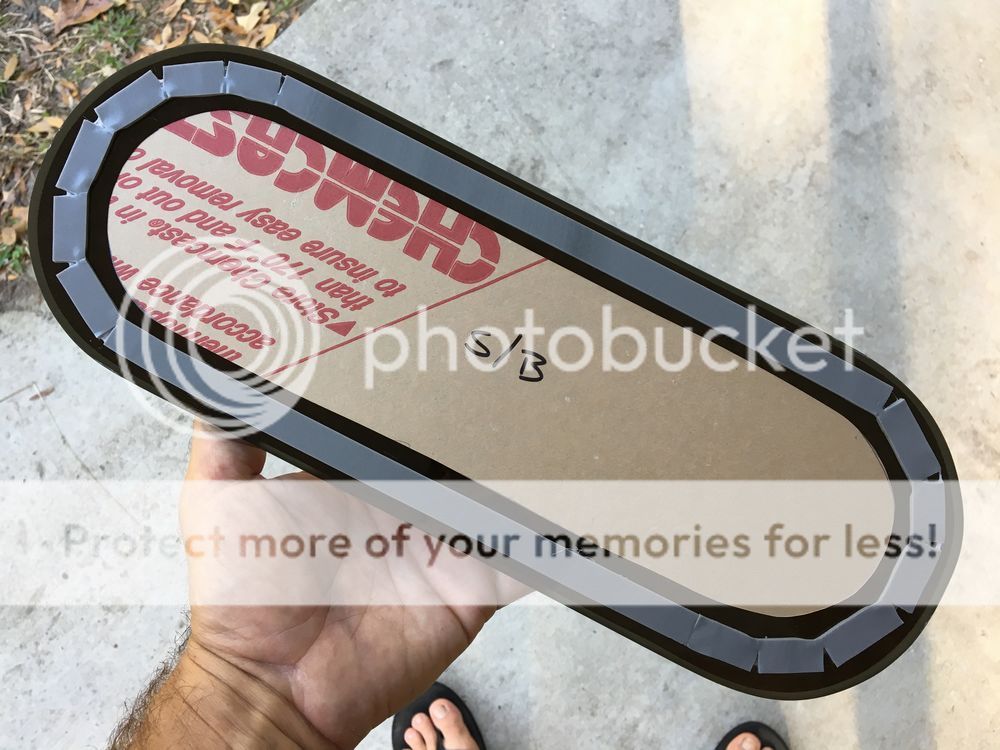
I just received an order for acrylis cut-outs to replace my old portlights on my '78 Chrysler 26. I traced the old window frame as a template for the acrylic. The lip I have around the "window hole" is approx. 1", maybe even 3/4." Could I get away with 1/2" VHB tape, or even 1/4" and get the job done well? I guess the real question is how much of a lip should be left for the Dow Corning 795 silicone caulking after the acrylic is place over the VHB tape?
I'd probably use 1/4", if your lip is 1" or less. One of my smaller windows, ready to be put in place:The lip I have around the "window hole" is approx. 1", maybe even 3/4." Could I get away with 1/2" VHB tape, or even 1/4" and get the job done well? I guess the real question is how much of a lip should be left for the Dow Corning 795 silicone caulking after the acrylic is place over the VHB tape?
I have a question. I have a 1978 Chrysler 26.
I just replaced all eight of the port lights. I used quarter inch tinted acrylic and attach them to the boat using very high bonding tape. I used the old port lights as a template to have the acrylic custom cut. The new acrylic windows are a half an inch bigger than the port light holes on the boat haul all around. I originally was going to use 1/2 inch wide very high bonding tape but realized that I did not have much room for sealant around the tape. So, i use 1/4 inch very high bonding tape. I guess I just want some reassurance that the 1/4 inch very high binding tape will work OK.
thanks!

