Motor mounts:
When dealing with replacing the motor mounts I found an odd thing. The rear mount brackets were both bent like this:

I noticed it because this was the cause of the rear mounts being deformed. The bracket foot is supposed to be 90 degrees but somebody had bent both of them. Here is where it gets strange - they were both bolted into the original holes in the engine bearers, but new holes had been drilled about 3/4 inch aft of the originals for the front mounts! Hmmm. All I can figure is that at some point someone decided the engine had to be moved 3/4" rearward and they decided this was the easiest way to do it.
So what to do. No way am I going to reinstall the new mounts like this. So I tackled it in two directions. I figured that I needed to keep the engine in the altered location but I should straighten the bracket. I measured the current setup and checked it against the dimensions in the Yanmar manual and sure enough, 3/4" short with the brackets bent.
First, I got out the BFH and hammered the brackets back to the proper shape:
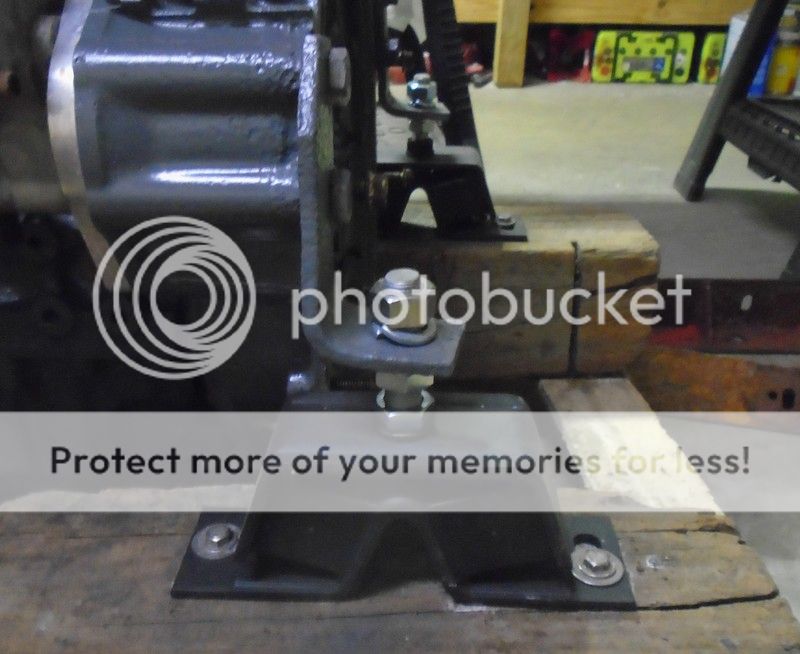
Next I did some measuring of the new vs. old engine bearers. If I kept the engine bearers in the original location but moved the rear holes back, there was not enough room for the rearmost hole. So I measured and marked the holes for bearer/grid location 3/8" forward, which moved the bearers aft by 3/8". Then, using the altered front mount hole location as a guide, I marked them on the new bearers and measured from them for the rear mount holes. The new mount locations are 3/8" aft on the bearers compared to the old ones but I got the room I needed for the rearmost bolt and the engine will be back in the same location it came out from.
I drilled all the holes to mount the bearers and mounted them to mock up the engine location. I cut a piece of ply to simulate the mount locations and started aligning the bearers. After checking proper bearer angle and matching both sides I ran a string from the strut pad outside then through the shaft log to a marked centerline. I had drawn a centerline on the ply so I could line everything up and drilled the rest of the holes. Looks good so far except I broke the tip of my step drill bit in one of the holes. What a PITA to fix that!

I also cleaned up and rebed the rear keel bolt. The bearers are back off and in the garage for a coating of OSPHO then paint, the engine bilge is ready for primer and paint, and tomorrow I'll fit the center bulkheads and get them ready for finishing.
Cheers,
Mark


