Rudder repairs

Mar 16, 2021
29
O'Day 25 eagle mountain lake
I pulled my rudder off my oday 25 this week. The seam that faces the boat seems to be split, this is a lake boat and still feels solid through out.
i also need to fix the area by the lower pin that shows wear.
Is there a guide or any suggestions to repair? I couldn’t find anything like this with a quick search
8F913799-6148-4AF9-8F37-719789ED34C8.jpeg
1FA8CCD9-A429-4CB2-AF83-28887E38E4CA.jpeg
1FA8CCD9-A429-4CB2-AF83-28887E38E4CA.jpegF277D383-45D5-4ABA-9476-B273855E917E.jpeg48AD954A-3C82-436D-BA1C-AC335D18AD5D.jpeg8F913799-6148-4AF9-8F37-719789ED34C8.jpeg
 
Sep 24, 2018
2,549
O'Day 25 Chicago
The basic approach would be to grind out the bad material and fill it back in. Personally, I'd start by widening the crack so I could see if it is a wood core inside. If it's a wood core, then you'll need to make sure it's not waterlogged. I'm sure someone with a bit more fiberglass knowledge will chime in

Be sure to check the 1ft wide strip of wood in the center of the transom. I found that my gudeons had no sealant on them. This resulted in them absorbing a lot of water. You might be able to see the condition by drilling from inside the boat but I was able to get a much better idea of the condition by cutting away a small portion of the fiberglass from the inside. Remember, you can manage without sails or a motor but you don't want to lose your rudder
 
  • Like
Likes: Ward H
Mar 16, 2021
29
O'Day 25 eagle mountain lake
Sorry for the delay in response. Been hiding from the tough Texas winter...LOL.
I finally got to break down the rudder and tiller this weekend. The tiller sanded up really nice and it's waiting for about 10 coats of finish.

The rudder itself, on the other hand, it's going to need some work. I pulled off all the stainless and sanded the outside just a bit, I realized that I'm going to have to replace about half of the fiberglass above the waterline on this thing. where the lower strap connects you can see that the fiberglass has broken and worn through. It's definitely going to be replaced.
IMG_4784.JPG

The upper strap isn't quite nearly as bad, but since the crack goes all the way up, this will be replaced as well.
IMG_4785.JPG


Since I'm planning on getting into it this much, I plan on getting stainless steel spacers and epoxy them in to seal off the holes.
 
Mar 16, 2021
29
O'Day 25 eagle mountain lake
We turned the rudder on it's side and started digging at the lower mount with the cracked glass. Although it looks to be cracked into the first hole, but yet to be determined, at least the inner portion of the wood is dry. Along the major portion of the left side of the crack, it appears that the center portion of it is still sealed, so it's still in pretty good shape. Now to find a good guide on fiberglassing a rudder. There is also some damage along the trailing edge of the rudder, so I need to sand it down and repair as well.
IMG_4788.JPG
 
Sep 24, 2018
2,549
O'Day 25 Chicago
The pic with the two holes in it looks good. The gelcoat has some spider cracks in it. Not a big deal but if you want to take care of it I would take a countersink bit, drill until the cracks disappear, crumple up a piece of paper or tape and shove it halfway down the hole, fill in with epoxy and 404 mixture (a syringe makes this easier), filler then redrill the hole from the opposite side. Do one side at a time so you dont lose the hole position and angle. This of course just gets rid of the spider cracks which are most likely just cosmetic. If you want to seal the core overdrill the hole, fill in and redrill the hole. regardless of what you do, you'll want use a countersink bit to bevel the edges. It helps prevent spider cracks in the future
1643749653493.png


For this repair you'll want to cut or carve out a rut in the area below until you get to good material (ie no more cracks). The edges should be tapered so the fiberglass that you add back has enough surface area to bond to. Most people will recommend a 12:1 taper although that isn't always possible. I'm guessing that the core is wood, followed by some filler, then some fiberglass cloth and finally gelcote.
1643749054409.png


Is that rotting wood? Try to make an indentation with your fingernail or screwdriver. It's not likely you'll be able to make any mark if its fiberglass
1643749080266.png


That's a high level overview of the repairs. Look up BoatWorksToday and the West Systems Manual. Both are excellent resources
 
Mar 16, 2021
29
O'Day 25 eagle mountain lake
Thanks Calif. Ted, but the entire point of buying this boat was to (1) Learn to sail and (2) Learn how to fix it.
 
Mar 16, 2021
29
O'Day 25 eagle mountain lake
Is that rotting wood? Try to make an indentation with your fingernail or screwdriver. It's not likely you'll be able to make any mark if its fiberglass
View attachment 202247

That's a high level overview of the repairs. Look up BoatWorksToday and the West Systems Manual. Both are excellent resources
Project Mayhem,
Thanks for all the advise above. I really appreciate it.
As for the above picture, that under fiberglass where we chipped it out and it's still hard. Now that it's warming up, I'm going to grind it down and check it out further.

I've been looking into the types of resin and material to use. I've read that epoxy and chopped strand don't work well together, but then I've seen videos where people use it vs using a polyester resin to rebuild the repair. I've been watching videos from both boatworks and west systems. I'm more confused now than ever. LOL!

Ray
 

dmax

.
Jul 29, 2018
971
O'Day 35 Buzzards Bay
The core may very well be foam (hard to tell) - my O'Day 35 rudder was filled with a very thick foam, when I opened it up, it was like concrete requiring a chisel to dig it out.
 
Mar 27, 2021
132
Hunter 306 Lake Pepin
...
I've read that epoxy and chopped strand don't work well together, but then I've seen videos where people use it vs using a polyester resin to rebuild the repair. I've been watching videos from both boatworks and west systems. I'm more confused now than ever. LOL!

Ray
Yeah, I'm in the same boat and have some rudder repair work to do and am just starting to learn about fiberglass. From what I understand, epoxy is better for fiberglass repair as it is essentially stickier. Commonly available CSM in the US uses a styrene binder which is soluble in polyester resin, but not epoxy. So if you use styrene infused CSM with epoxy, the resin just sort of sits on top of/around the glass instead of being fully absorbed by it. However, I did find a place called FiberglassSite that offers an epoxy compatible CSM without styrene. Regardless, I ended up ordering some 1708 biaxial cloth which stitches a layer of CSM to a layer of biaxial cloth without using styrene. So I'll sidestep the whole issue and use epoxy with 1708 to fix my rudder once the weather allows. Seems like that should work, right? ... Right?!
 
May 17, 2004
5,031
Beneteau Oceanis 37 Havre de Grace
Yeah, I'm in the same boat and have some rudder repair work to do and am just starting to learn about fiberglass. From what I understand, epoxy is better for fiberglass repair as it is essentially stickier. Commonly available CSM in the US uses a styrene binder which is soluble in polyester resin, but not epoxy. So if you use styrene infused CSM with epoxy, the resin just sort of sits on top of/around the glass instead of being fully absorbed by it. However, I did find a place called FiberglassSite that offers an epoxy compatible CSM without styrene. Regardless, I ended up ordering some 1708 biaxial cloth which stitches a layer of CSM to a layer of biaxial cloth without using styrene. So I'll sidestep the whole issue and use epoxy with 1708 to fix my rudder once the weather allows. Seems like that should work, right? ... Right?!
That would be my preference, and it’s what Andy at Boatworks Today used for the rudder he did. 1708 let you use epoxy, so you get the extra mechanical adhesion and waterproof qualities it provides. It doesn’t have the styrene binder, so no problems with epoxy resin.
 
  • Like
Likes: jdrutten
Sep 24, 2018
2,549
O'Day 25 Chicago
Stick with epoxy based resin since it's easier to work with. The most commonly used materials for me are
  • Epoxy with fast cure hardener (slow is better for beginners and certain applications)
  • 1708 cloth
  • Finishing cloth
  • 404 filler
Prep materials and tools
  • 1" chip brushes
  • Epoxy rollers
  • Paper bowls/trays for mixing (allows resin to be spread out to reduce air bubles and temperature)
  • Masking tape
  • Paper or plastic as a "drop cloth"
  • Plastic spreader
  • large surface such as a plate or paint tray for wetting out 1708
While I've been told a few times that my method of wetting out 1708 is technically incorrect because I wet it out before laying it on top of previous layers. I find that I get better results with my method. Now finishing cloth on the other hand I apply to previous layers dry. Then I'll squeegy it with a spreader or roller to spread out the resin and then do any touch ups with a chip brush as needed. There's usually more than one method that'll work for most fiberglass projects
 
  • Like
Likes: jdrutten
Mar 16, 2021
29
O'Day 25 eagle mountain lake
I watched Andy's (boatworks) series yesterday and west systems fix a big ding, I have both issues with this rudder. started the scrubbing and sanding down yesterday and found a delaminated/cracked fiberglass that I'll need to cut out and prep it for repair.

Thanks for the supply list.
I'll be posting some more pictures throughout.
 
Sep 24, 2018
2,549
O'Day 25 Chicago
I just found a crack in my rudder so I might be doing nearly the same repair while it's in storage. Feel free to ask any questions you might have
 
Mar 16, 2021
29
O'Day 25 eagle mountain lake
Oh snap! best to find it now I guess.

Found some more work on the rudder over the weekend. I started cleaning it up by scrubbing off the lake scum which took a little more time than I thought, but it was good. Found some more immediate issues. I have some delaminating along the trailing edge and a chunk that looks like it's about where the outboard propeller has eaten it away. Best I can tell is that it goes out to about even with the end of the crack the putty knife is in and deep as the eaten away part. After that it sounds solid. Probably about 2" wide by 6" long total. The yellow material is still enclosed in fiberglass and solid so so hopefully it's just some cutting, grinding and filling to make whole again.
IMG_4861.JPG
 
Sep 24, 2018
2,549
O'Day 25 Chicago
To clarify, the metal frame is called a cassette. I assume that your referring to the bolt hole on the cassette that the tiller bolt goes through. It's been a few years since I removed my tiller but I do not recall the hole being elongated. Check the pics on D and R Marine's website to verify. A few ideas for repair:
  • Drill the holes out and use a larger bolt
  • Fasten some sheet metal to the outside of the cassette and drill the proper sized holes
  • Use a sleeve over the bolt to enlarge it where it's elongated. You can also put the sleeve in a vice to make it more oval shaped
  • Take it to a welder
 
Mar 16, 2021
29
O'Day 25 eagle mountain lake
No. I may have not been clear. The cassette is fine 1/4" stainless and all. The elongated hole is in the rudder itself. Anyway, you answered the question for me. I'll be drilling it out and filling it with epoxy and redrilling, like all the others. I did see where I'm going to add some teflon washers to it too.
 
Mar 16, 2021
29
O'Day 25 eagle mountain lake
So I finally got back to working on the rudder this week. I ordered some epoxy from US Composites out of West Palm. They had the best price shipped to me, and answered a bunch of my questions.

I started by filling some random holes in a scrap board to make sure I had a clue with the epoxy. Actually, it's pretty easy to work with, and I have much more working time than I thought I did. Then I got to work.

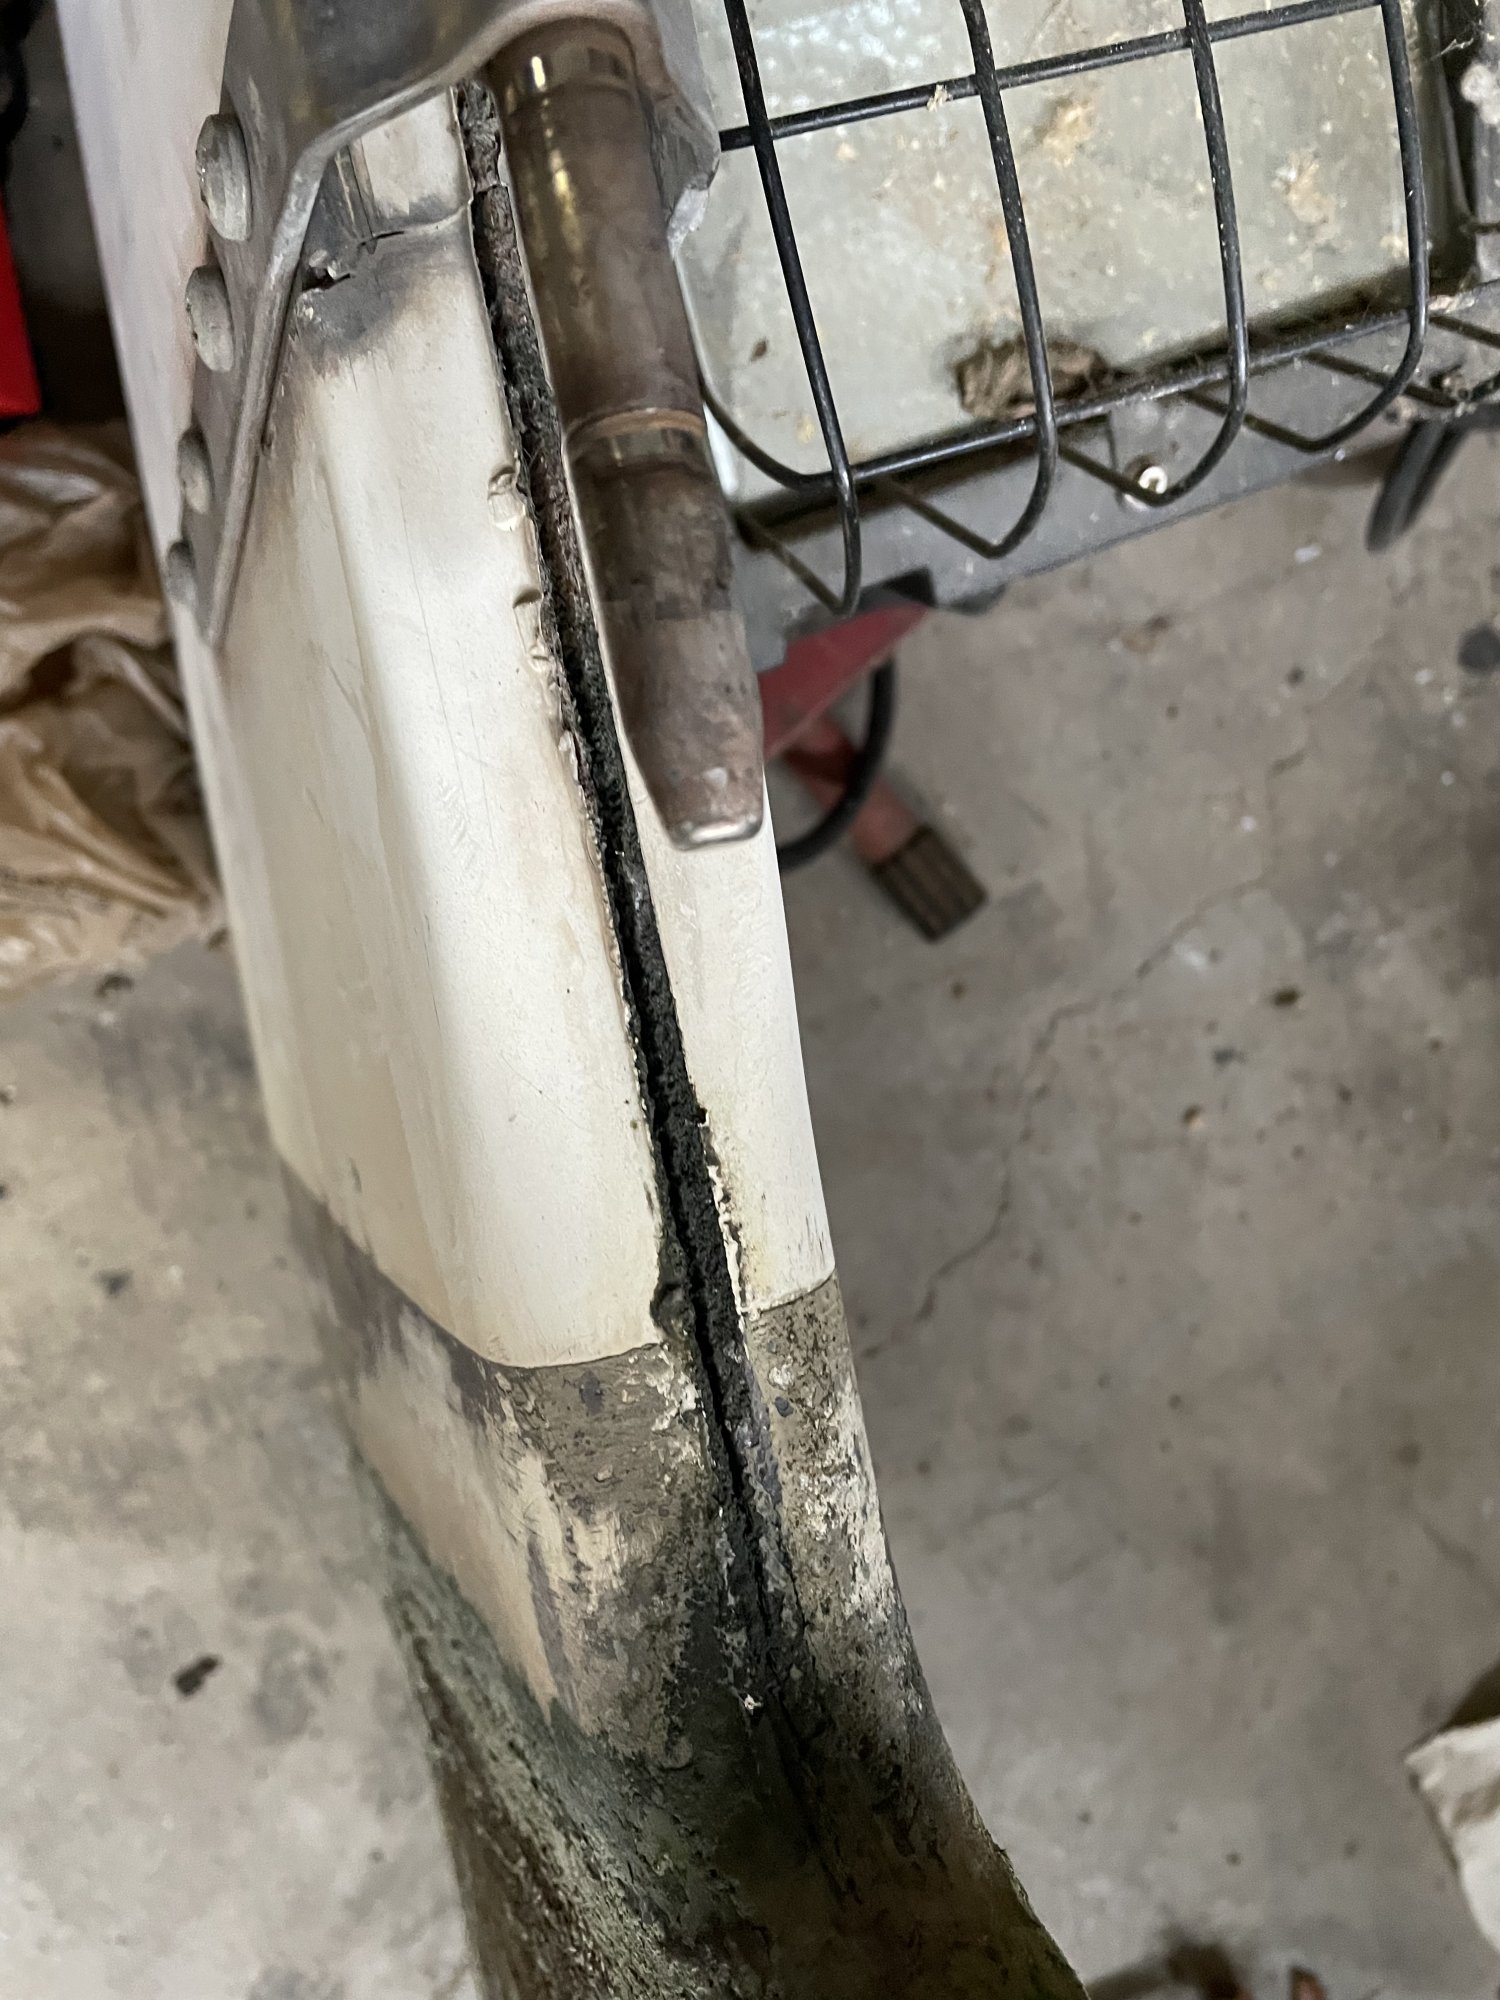
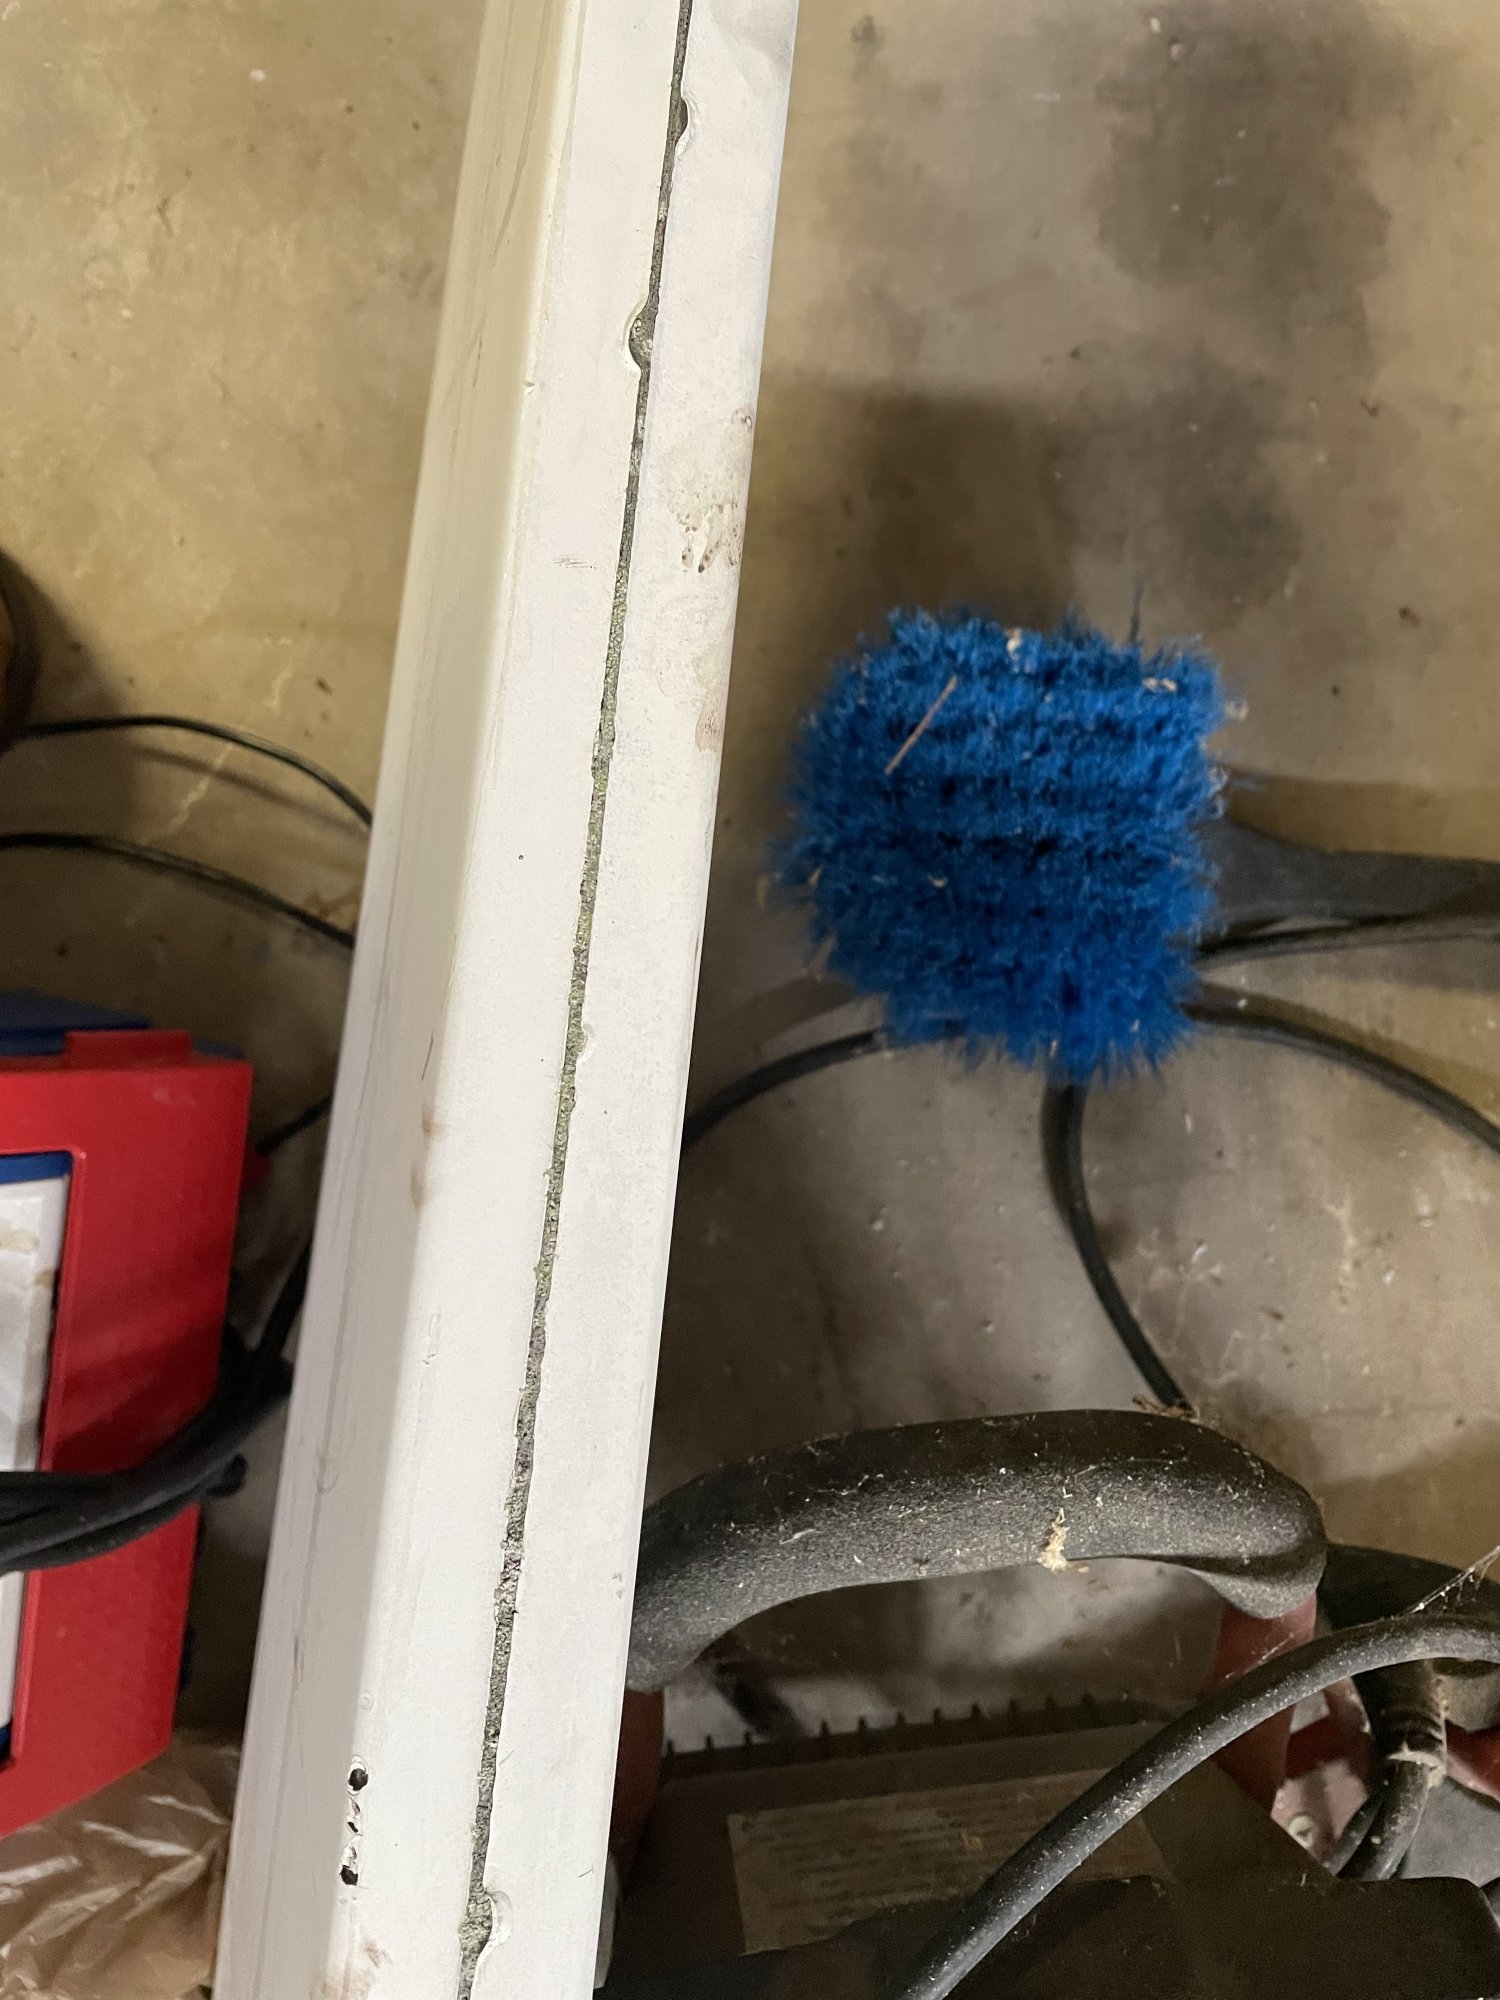
FIrst, I sanded the rudder a little bit. Then I marked a bunch of lines so that I could line the rudder pintle when I re-drilled the holes in the epoxy.
IMG_4935.JPG

I found that between the two holes closest to the edge that the foam had cracked through. I dug out a little bit between the holes both top and bottom to have a place to add epoxy and strengthen this area.
IMG_4935.JPG


After that, I mixed some epoxy up and used a paintbrush to coat everything and let it set for a couple minutes while I taped the bottom side of the holes. AND THAT'S WHERE THE PROBLEMS HAPPENED!

After coating with the straight epoxy, I mixed in some thickener that I would syringe into the bolt holes. Then I put it in the first hole and as I watched it settle, it leaked out the bottom and onto the garage floor! What fun.
IMG_4938.JPG
IMG_4939.JPG


Remembering what @Project_Mayhem said, I tore some paper towel out and shoved it in the bottom half of the holes and taped it up again. This time when I filled it, it stayed in the holes.
IMG_4942.JPG


During the past month or so, I've also sanded down the area that was lifting by where the outboard chipped away the rudder. I have it sanded out and ready for me to start laying in the chopped strand and 1708 to bring it back to the correct thickness.

IMG_4943.JPG


Hopefully, within 2 weeks, all these repairs will be completed and I'll be painting it.
 
Sep 24, 2018
2,549
O'Day 25 Chicago
You found foam inside the rudder? If so, I'm surprised. It seems so solid

As for the filler/thickener, don't be afraid to add too much. Just when you don't think the resin could absorb anymore, add another scoop. Experiment with it. It might surprise you.

For deck holes I've been taping the underside and then injecting thickened epoxy. I was pleasantly surprised at how flush the resin was to the surface.

The cheapest epoxy I've found in recent months was from a company called E-Bond. Cost was about $160 for three gallons. They did not return my email full of questions but then again, it looks like they focus more on large commercial projects such as municipal water supply and treatment

As for working time, sometimes it's advantageous to let the resin kick a little so it sticks to your work piece a bit better

Don't forget to taper the fiberglass skin on the rudder. So far it's looking great!