Replacement of soles in a 1983 H31
- Thread starter SFS
- Start date
Ray,
When you did the galley sole you mentioned that you did it in two pieces and did not fit the new pieces under the verticle end piece of the forward cabinet. I am wondering why in your photo there does not appear to be a gap under the end piece? Did you leave that little bit in there and just chisel around it? I'm sure glad you guys are doing all this first and making it easy for me. If the new plywood I get matches reasonably well I won't have to do the v-berth or the galley. Reg
When you did the galley sole you mentioned that you did it in two pieces and did not fit the new pieces under the verticle end piece of the forward cabinet. I am wondering why in your photo there does not appear to be a gap under the end piece? Did you leave that little bit in there and just chisel around it? I'm sure glad you guys are doing all this first and making it easy for me. If the new plywood I get matches reasonably well I won't have to do the v-berth or the galley. Reg
Reg - You can't see a gap because from the angle the picture was taken, the "cut line" is under the aft lower frame (stile) of the galley cabinet (the one that runs port and starboard across the new sole). Once I had a template I liked (several versions were used, as I changed my mind on some things), I cut the forward-most 7.5" off the forward end of the sole, then epoxied and finished each piece separately. That put the cut under that cabinet stile. The Admiral and I debated quite a while on where to put that cut.
My comment about not running the sole under the "vertical piece" of the cabinet refers to the panel on the midship end of the galley cabinet. In other words, I chose NOT to extend the sole in the midship direction all the way to the teak grating that sits under the companionway stairs. I hope I said that well. Maybe this will help. If you go back to the original post and look at the bottom of the 3rd picture, you will see that the teak grating bumps up against the galley cabinet. That is the "proper" location of that grating - it has been slid as far to starboard as it can go. Now look at the bottom of the 4th picture. The grating is missing, but you can see I could have made the sole about 1.5" wider, so it would have come out to that grating. I elected not to do that, for a variety of reasons, one of which is discussed below.
Important note: That piece of cabinet frame (I think it is called a stile) that hides my cut has a piece of teak plywood cleated to it, running port and starboard, and that ply drops down to the sole. If you uninstall it (it's just one cleat on the interior of the cabinet at the back of the stile, with 2 or 3 screws), you will have a MUCH easier time of things. If you want to run the galley sole all the way out to the teak grating that is at the bottom of the companionway steps, you can remove another cleat on the interior of the galley cabinet at the bottom of that midship panel discussed earlier. That cleat has two screws into the panel, and 2 or three into the sole. Once those two obstacles are removed, a piece of 3/4" ply will then slide fully under the cabinet. However, for reasons of geometry, you can only get the sole in if you take my approach and make it two pieces. Of course, reinstalling that second cleat will mean fasteners through your sole, and I didn't want that.
If you are set on a one piece galley sole, you will have to do what HMT2 did: partly disassemble the galley cabinet by removing the aft panel and the side panel (amidship) to which it is connected. Then the sole will (mainly) just drop in from above (after angling the aft end under the OTHER galley cabinet, under the sink). I didn't want to go through all that, so I struck what I thought was a reasonable compromise.
Sorry I can't help you with the idea of how well the new T&H ply will match the old, I'm working with plain fir. However, from what I've read, I would think that the way they are topcoated will make some difference, so even if they don't match at first, when the older sections need refinishing, you could switch to whatever varnish and gloss level you put on the new ones. Maybe someone else will weigh in on that.
Edited: If you read this before 0900 EDT on the day it was posted, significant content has been added.
Last edited:
Ray,
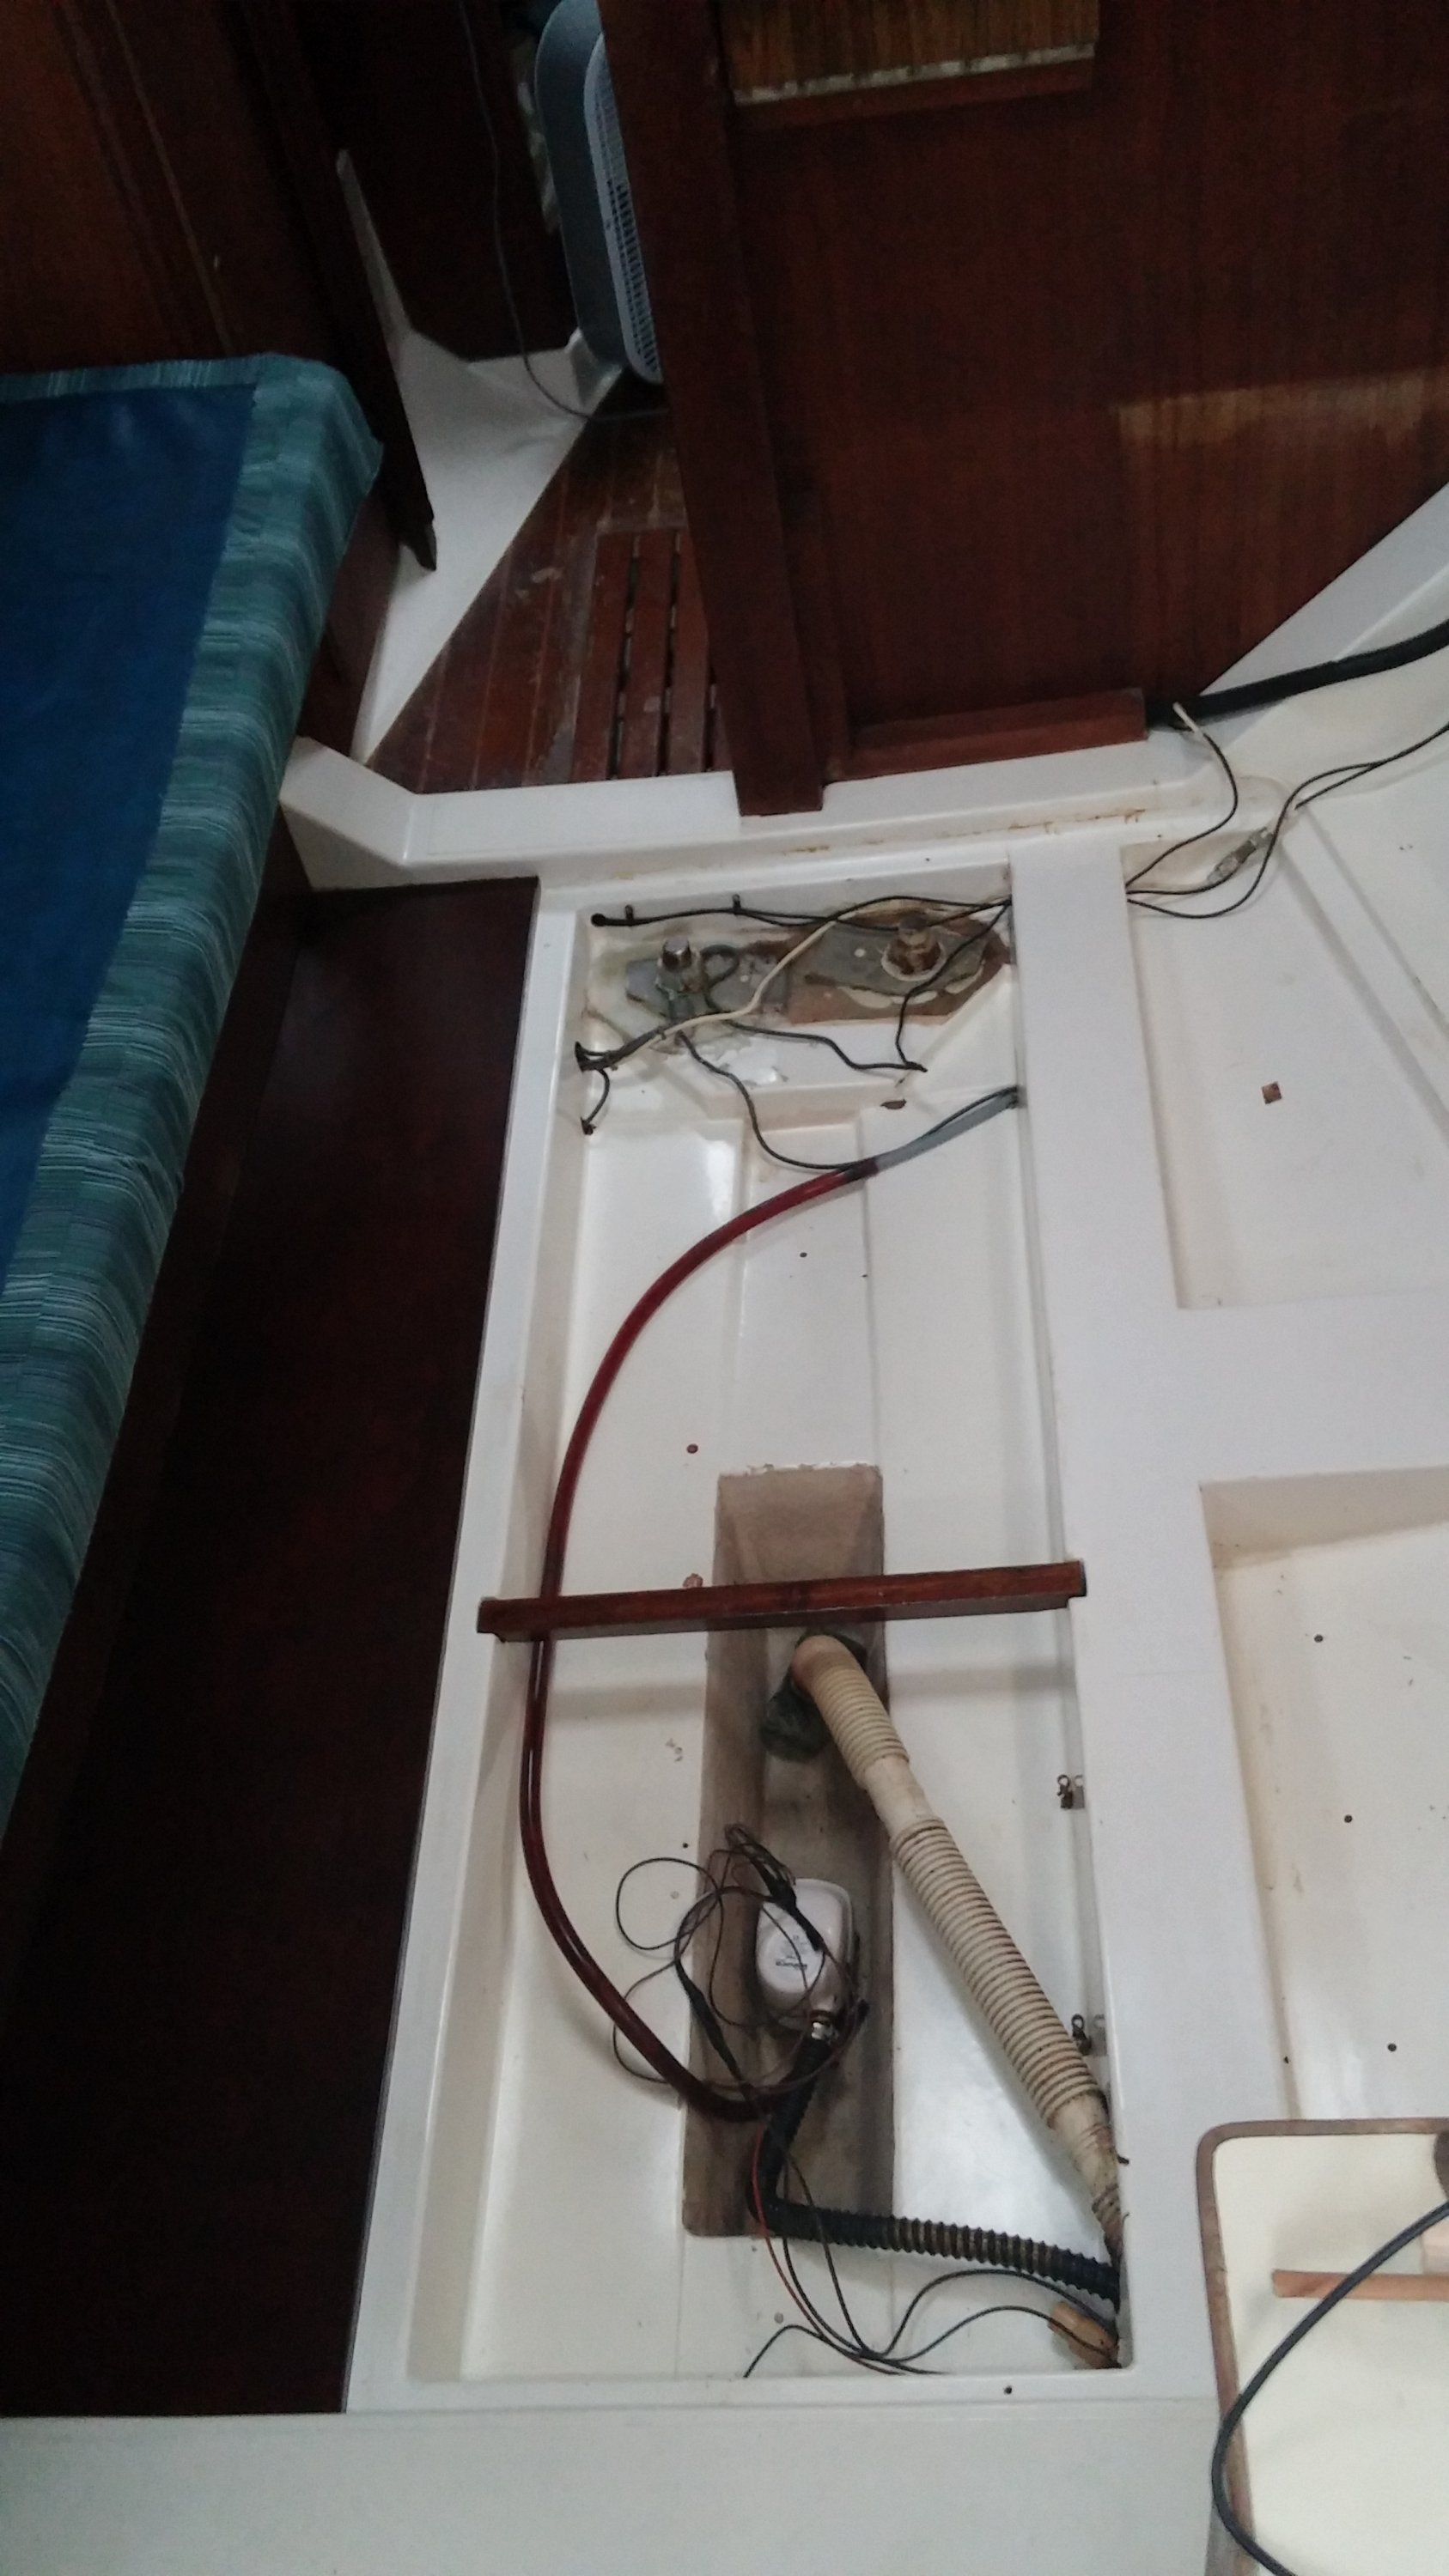
I not iced in your photo that you appear to have a second bilge pump suction for what I suspect is a manual pump. Mine only has the one electric bilge pump. Where is your manual bilge pump actually located? I have always preferred to have a manual pump in addition to the electric one but the configuration of the H31 does not make that easy.
I not iced in your photo that you appear to have a second bilge pump suction for what I suspect is a manual pump. Mine only has the one electric bilge pump. Where is your manual bilge pump actually located? I have always preferred to have a manual pump in addition to the electric one but the configuration of the H31 does not make that easy.
HMT2
Do you have any photos of your galley forward cabinet in the "uninstalled" state? Also, can you tell me is it just a matter of removing the interior cleats in order to remove that midships vertical panel? Same for the aft part of this cabinet? Thanks. Reg
Do you have any photos of your galley forward cabinet in the "uninstalled" state? Also, can you tell me is it just a matter of removing the interior cleats in order to remove that midships vertical panel? Same for the aft part of this cabinet? Thanks. Reg
Reg,
Unfortunately, that this the one I failed to take a photo of. But here is what I did. I did nothing to the aft galley cabinet.That does not have sole under there. I did have to remove a portion of the forward galley cabinet. I started by removing the door from the forward galley, then remove the front piece by removing the cleats, you may have some screws to remove on the corners. Also, there was one really though screw to find in that front panel that came in from inside the cabinet under the cook top. I then removed the side panel at the port side of the cabinet. I left the countertop resting on the the back part of the cabinet. To remove the galley sole I unscrews the four or so screws holding it down then lifted up the back of the galley cabinet to slide out the sole, sideways toward midship. Then did the same to slide in the new sole. The reason I had to do this is that the laminate for the countertop was all one piece around to where the cook top was.
I'm not sure what you are referring to the midships vertical panel. If it is the back of the forward galley cabinet it was as above.
Sorry no pictures on that. My bad. Hope this helps.
Mike, by midships vertical panel I think he means what you called the side panel.
Reg, the manual bilge pump on my boat is under the aft cockpit coaming (the one that runs parallels the transom). The tab onto which you place a pump handle is under a cap of sorts that lifts out of the coaming. I'll try to remember to get a set of pictures when I'm on the boat today and add them to this post. My "handle" is a short piece of aluminum tubing with a grip on the end, kind of like the grips that go on the end of bicycle handlebars. I found the handle somewhere in the boat, and only later figured it out. I found a second one as well. One now stays in a laz in the cockpit, and the other in the storage box at the top of the companionway stairs, where we keep a collection of "absolutely-must-know-where-it-is-all-the-time" items.
Moral to the story: If you find ANY parts or items while you are exploring your new-to-you boat, do not get rid of them until you know what they are.
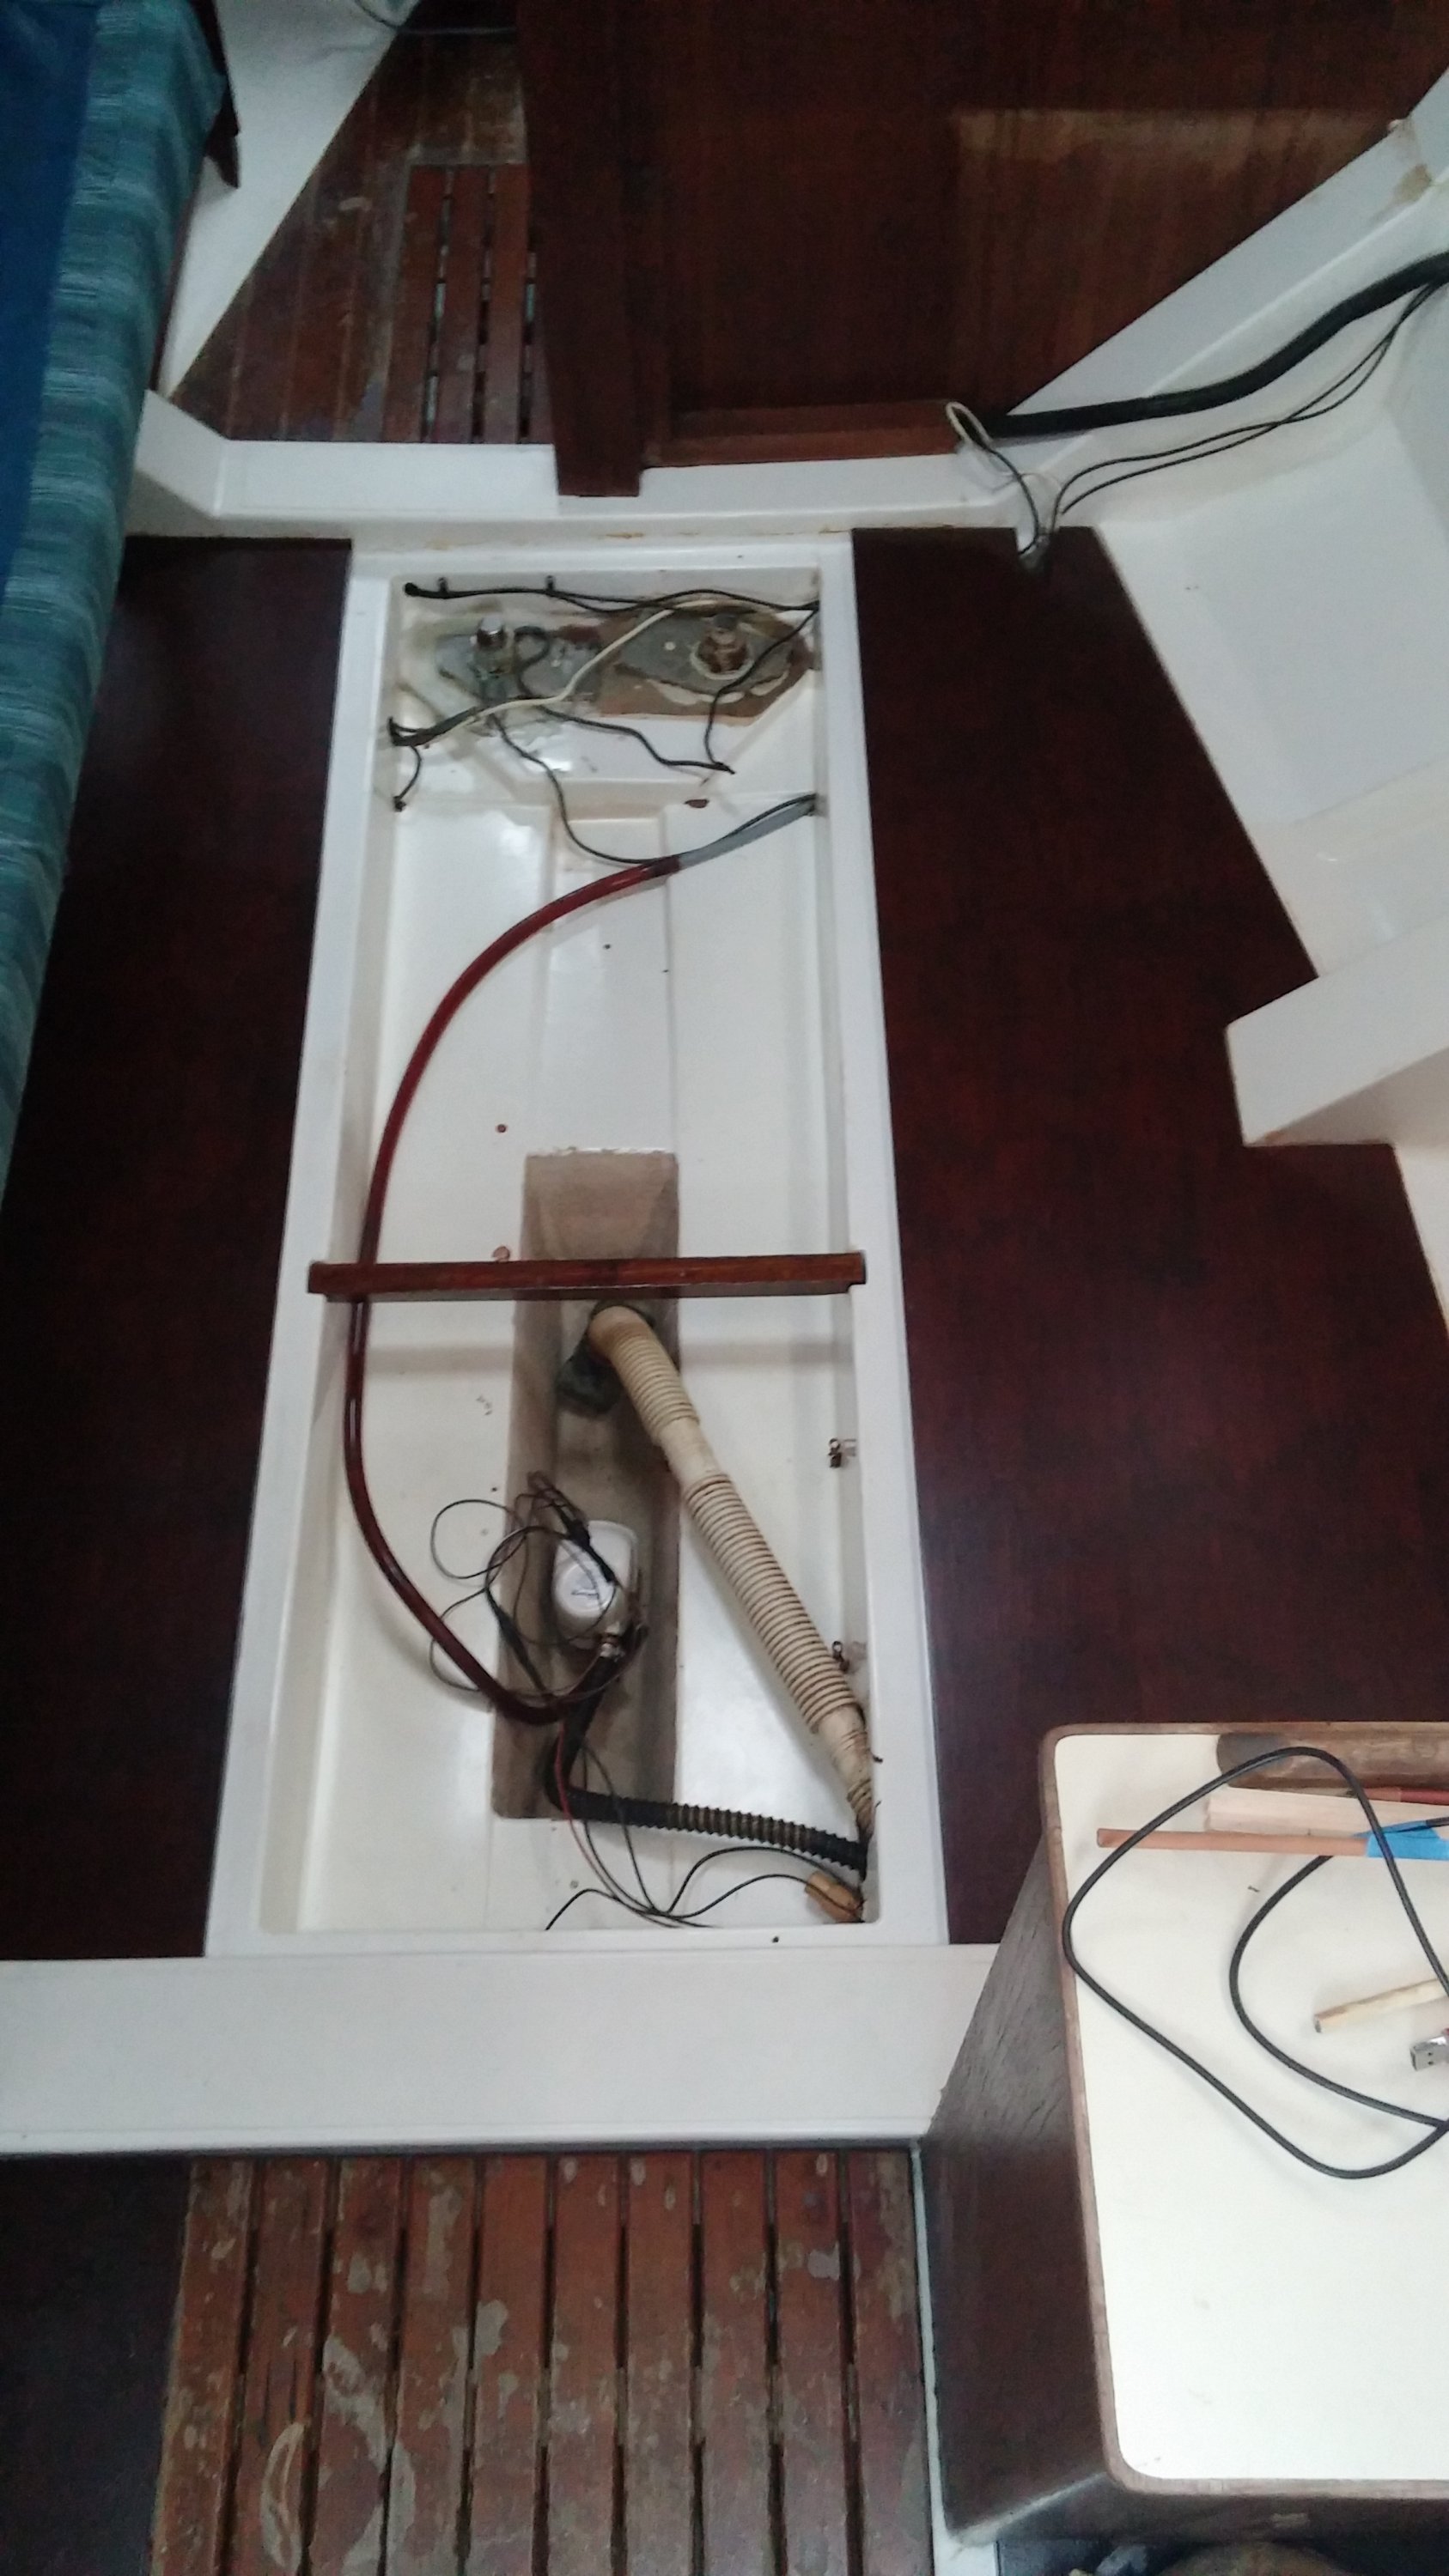
It is 3/4" everywhere but the area at the vberth which is 1/2". IMO the 1/2" will not work in the galley or nav station area because there is a significant span that needs the thickness of the 3/4" also the wood would sit below the edge of the fiberglass inset and be a toe grabber. Here is a picture of the nav station while open. I paid $200 for 3/4" full sheet and $170 for 1/2" full sheet.SFS/HTM2,
What thickness was the galley and nav station sole?.
I found 1/2" teak and holly at a place in Miami for $199 /4x8 sheet, and was wondering if this thickness will work?
Thanks for the info.It is 3/4" everywhere but the area at the vberth which is 1/2". IMO the 1/2" will not work in the galley or nav station area because there is a significant span that needs the thickness of the 3/4" also the wood would sit below the edge of the fiberglass inset and be a toe grabber. Here is a picture of the nav station while open. I paid $200 for 3/4" full sheet and $170 for 1/2" full sheet.
I concur with the 3/4" on the galley sole, quarterberth/nav station sole, and the main sole in the salon. In fact, after we took out the main sole and I got it up to the condo, I started looking at it and was worried it was 1". Then I remembered that all of the layers were swollen. I took a scrap of the new ply down to the boat to check the fit under the port settee, it was perfect. 3/4" is definitely what you need for those three soles.
I have not pulled up the v-berth floor so cannot confirm that mine is 1/2", but HMT2 has, so there you go.
I have not pulled up the v-berth floor so cannot confirm that mine is 1/2", but HMT2 has, so there you go.
Just to confirm - You were able to do the complete H31 sole replacement with one sheet of 3/4 and one sheet of 1/2"? I will be tackling this project over the winter and wanted to verify before I ordered the materials. Thank youIt is 3/4" everywhere but the area at the vberth which is 1/2". IMO the 1/2" will not work in the galley or nav station area because there is a significant span that needs the thickness of the 3/4" also the wood would sit below the edge of the fiberglass inset and be a toe grabber. Here is a picture of the nav station while open. I paid $200 for 3/4" full sheet and $170 for 1/2" full sheet. View attachment 127247
If that is addressed to me, then my answer is no. To be precise, I needed two sheets of 3/4". One of the 4' by 8' panels was ripped lengthwise. One of those 2' by 8' panels then became two pieces, one for the galley sole, and one for the quarter berth sole. That left me with one full panel, and one half panel (the long way). Out of the 2' by 8' panel, I shaped the piece that runs under my starboard settee. The full panel was shaped/cut into one piece than spanned the distance from just under the port settee to the midship edge of the starboard settee piece. Once I knew the fit was perfect, I made one more cut lengthwise cut to create the removable cover for the bilge. That cover runs the full length of the salon, so when you lift it you not only get to the (false) bilge, but you uncover the forward keel bolts. I'll be posting pics in the next two days. The last coat of urethane went on the last piece an hour ago, so the whole thing will be installed tomorrow night when the Admiral can give me a hand.
As for the v-berth sole, I suspect you will need a whole sheet. My notes here say the dimensions would be a rough triangle cut from a rectangle that measures roughly 54" by 36". I have not done that sole yet, and may not for some time.
Important note: I do NOT have the salon layout most folks do. My starboard settee runs fore and aft. It is not U-shaped with the table taking up the middle space. (See the first picture in post #16 above, where just the seatpan of the starboard settee has been removed. You can see the bulkhead for the head at the left of the picture, and the forward side of the forward galley cabinet at the right of the picture.) HMT2 might have been able to to his main salon sole with one sheet (cut into pieces where seams wouldn't show), leaving a possibility of the galley and quarterberth to be done with 1/2 sheet (the long way).
Last edited:
To be clear I did not replace my entire sole. I replaced the piece by the quarter berth/nav table, the galley, the piece by the vberth and a small piece under the aft starboard setee (see posts 13 and 16). To do the whole sole I think will take two and a half sheets of 3/4" (maybe three) and one sheet of 1/2". The dimensions are sort of awkward. In the main salon it is too wide for a single sheet and too long for a half sheet, as I recall the vberth is just too wide at the top for a 1/2 sheet of the 1/2 inch, you might be able to do that in two pieces if you wanted to do that. As Ray mentioned, you will need to cut a hole in one to get too the bilge. I hope that helps.Just to confirm - You were able to do the complete H31 sole replacement with one sheet of 3/4 and one sheet of 1/2"? I will be tackling this project over the winter and wanted to verify before I ordered the materials. Thank you
Celebration time! The soles are in! Here is the hole I was filling (sorry for the autofocus snafu):
The first piece went under the port settee:
Second piece runs way under the starboard settee, which will be reinstalled after some work is done:
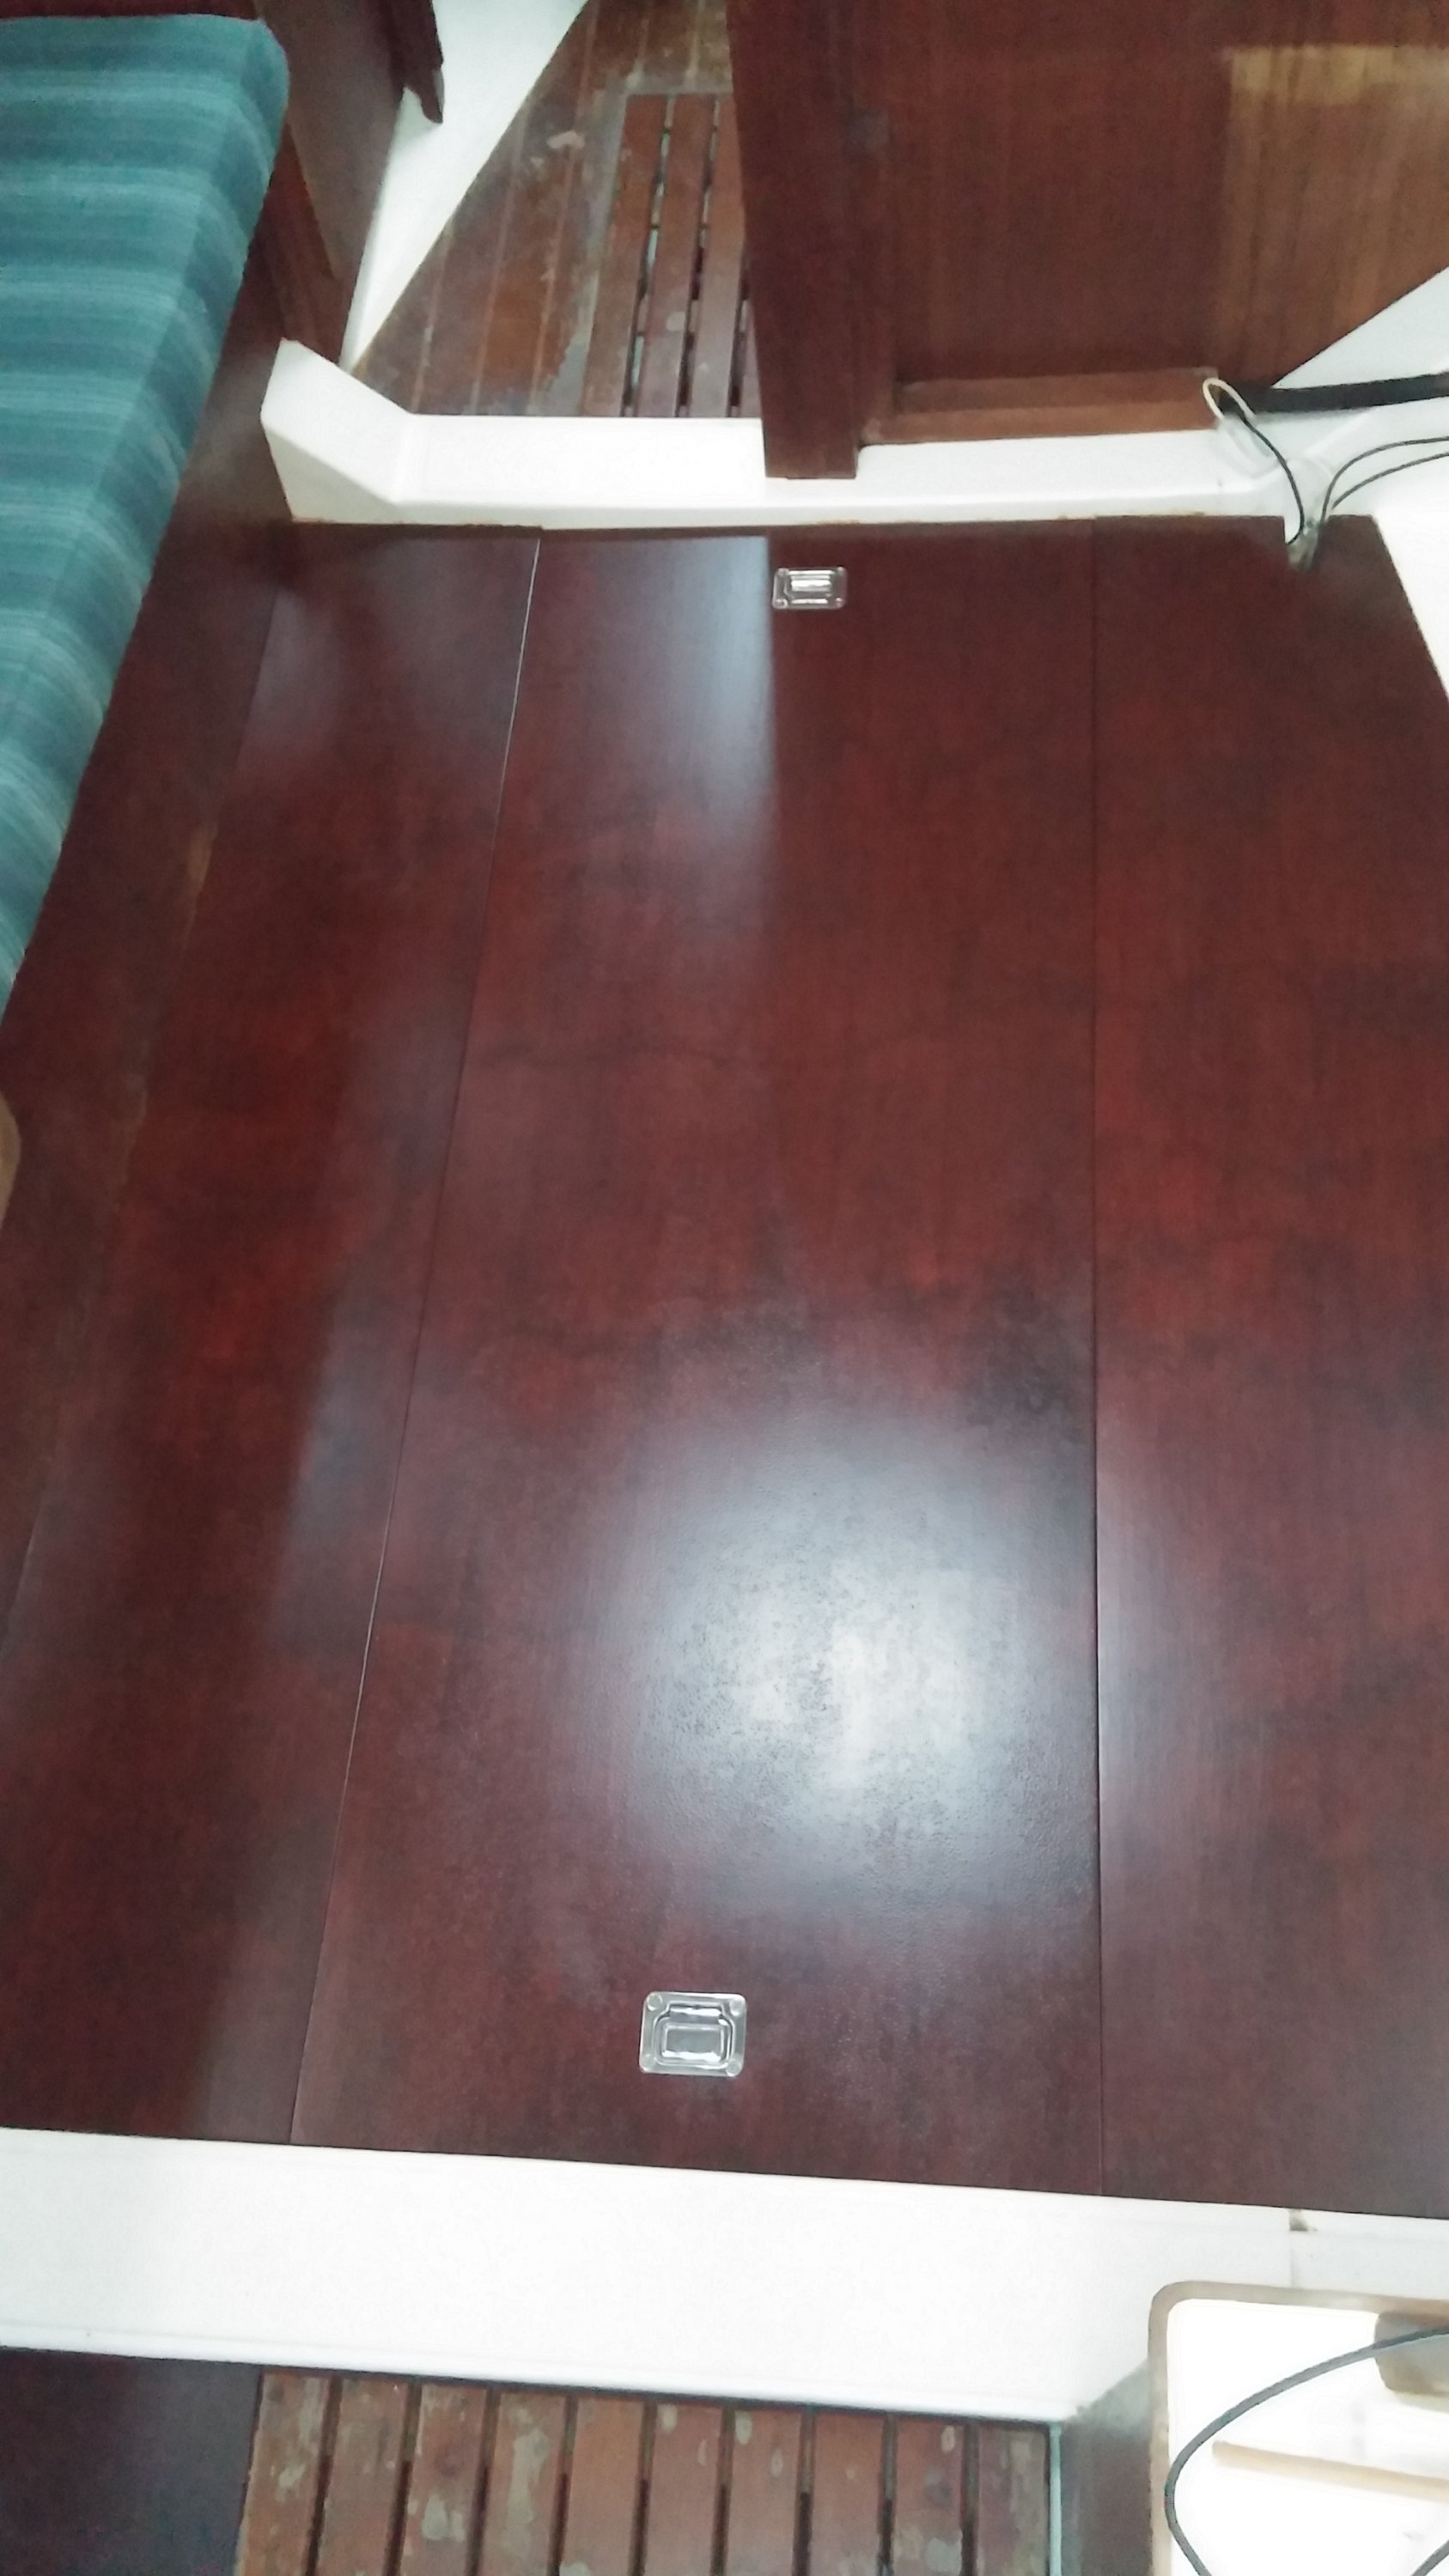
And then the full length bilge cover:
I'm really glad it's over, and I learned a lot. Many thanks to HMT2 for all of the time he spent on the phone with me, and the encouragement. Also many thanks to all the people who responded to at least two previous threads on soles, one about non-skid options and topcoats, and the other about why Starboard would not have worked.
The first piece went under the port settee:
Second piece runs way under the starboard settee, which will be reinstalled after some work is done:
And then the full length bilge cover:
I'm really glad it's over, and I learned a lot. Many thanks to HMT2 for all of the time he spent on the phone with me, and the encouragement. Also many thanks to all the people who responded to at least two previous threads on soles, one about non-skid options and topcoats, and the other about why Starboard would not have worked.
Thanks man. We like it, even with the many flaws. Grates are next, as soon as settee goes back in. I think I will strip them, rather than sand. They look like they are put together with brads (short, small nails). Was that true of yours? Was there any adhesive involved? Some slats on mine are coming loose.
No sir no adhesive. They are brads, I had two boards that were loose and I reattached them with brads. I sanded with 80 grit then 150 then 220 it took about an hour for the big grate and an hour for the grates by the head. You will have to sand anyway when you strip. Mine were solid teak, generally if its solid I sand and if its veneer I use stripper, but I hate using stripper. They are pretty easy to do. Your sole is looking good! BTW you are most welcome for the consultation I am sure I will need your help sometime soon!
How did you get in between the slats to sand, without destroying the radius on the "shoulder" of each slat? Also, did you hand sand, or use a random orbital sander, or oscillating multitool? Mine look like teak also, and I have found that sanding teak really tends to close down the grain, perhaps more than any other wood I've ever worked with. That's why I was headed to stripper.