Rebedding deck handholds on an H36

Sep 22, 2009
134
Hunter 36 Seattle, WA
I suspect that one or more of our port side deck handholds are the source of an interior leak we are experiencing on our 2009 Hunter 36.
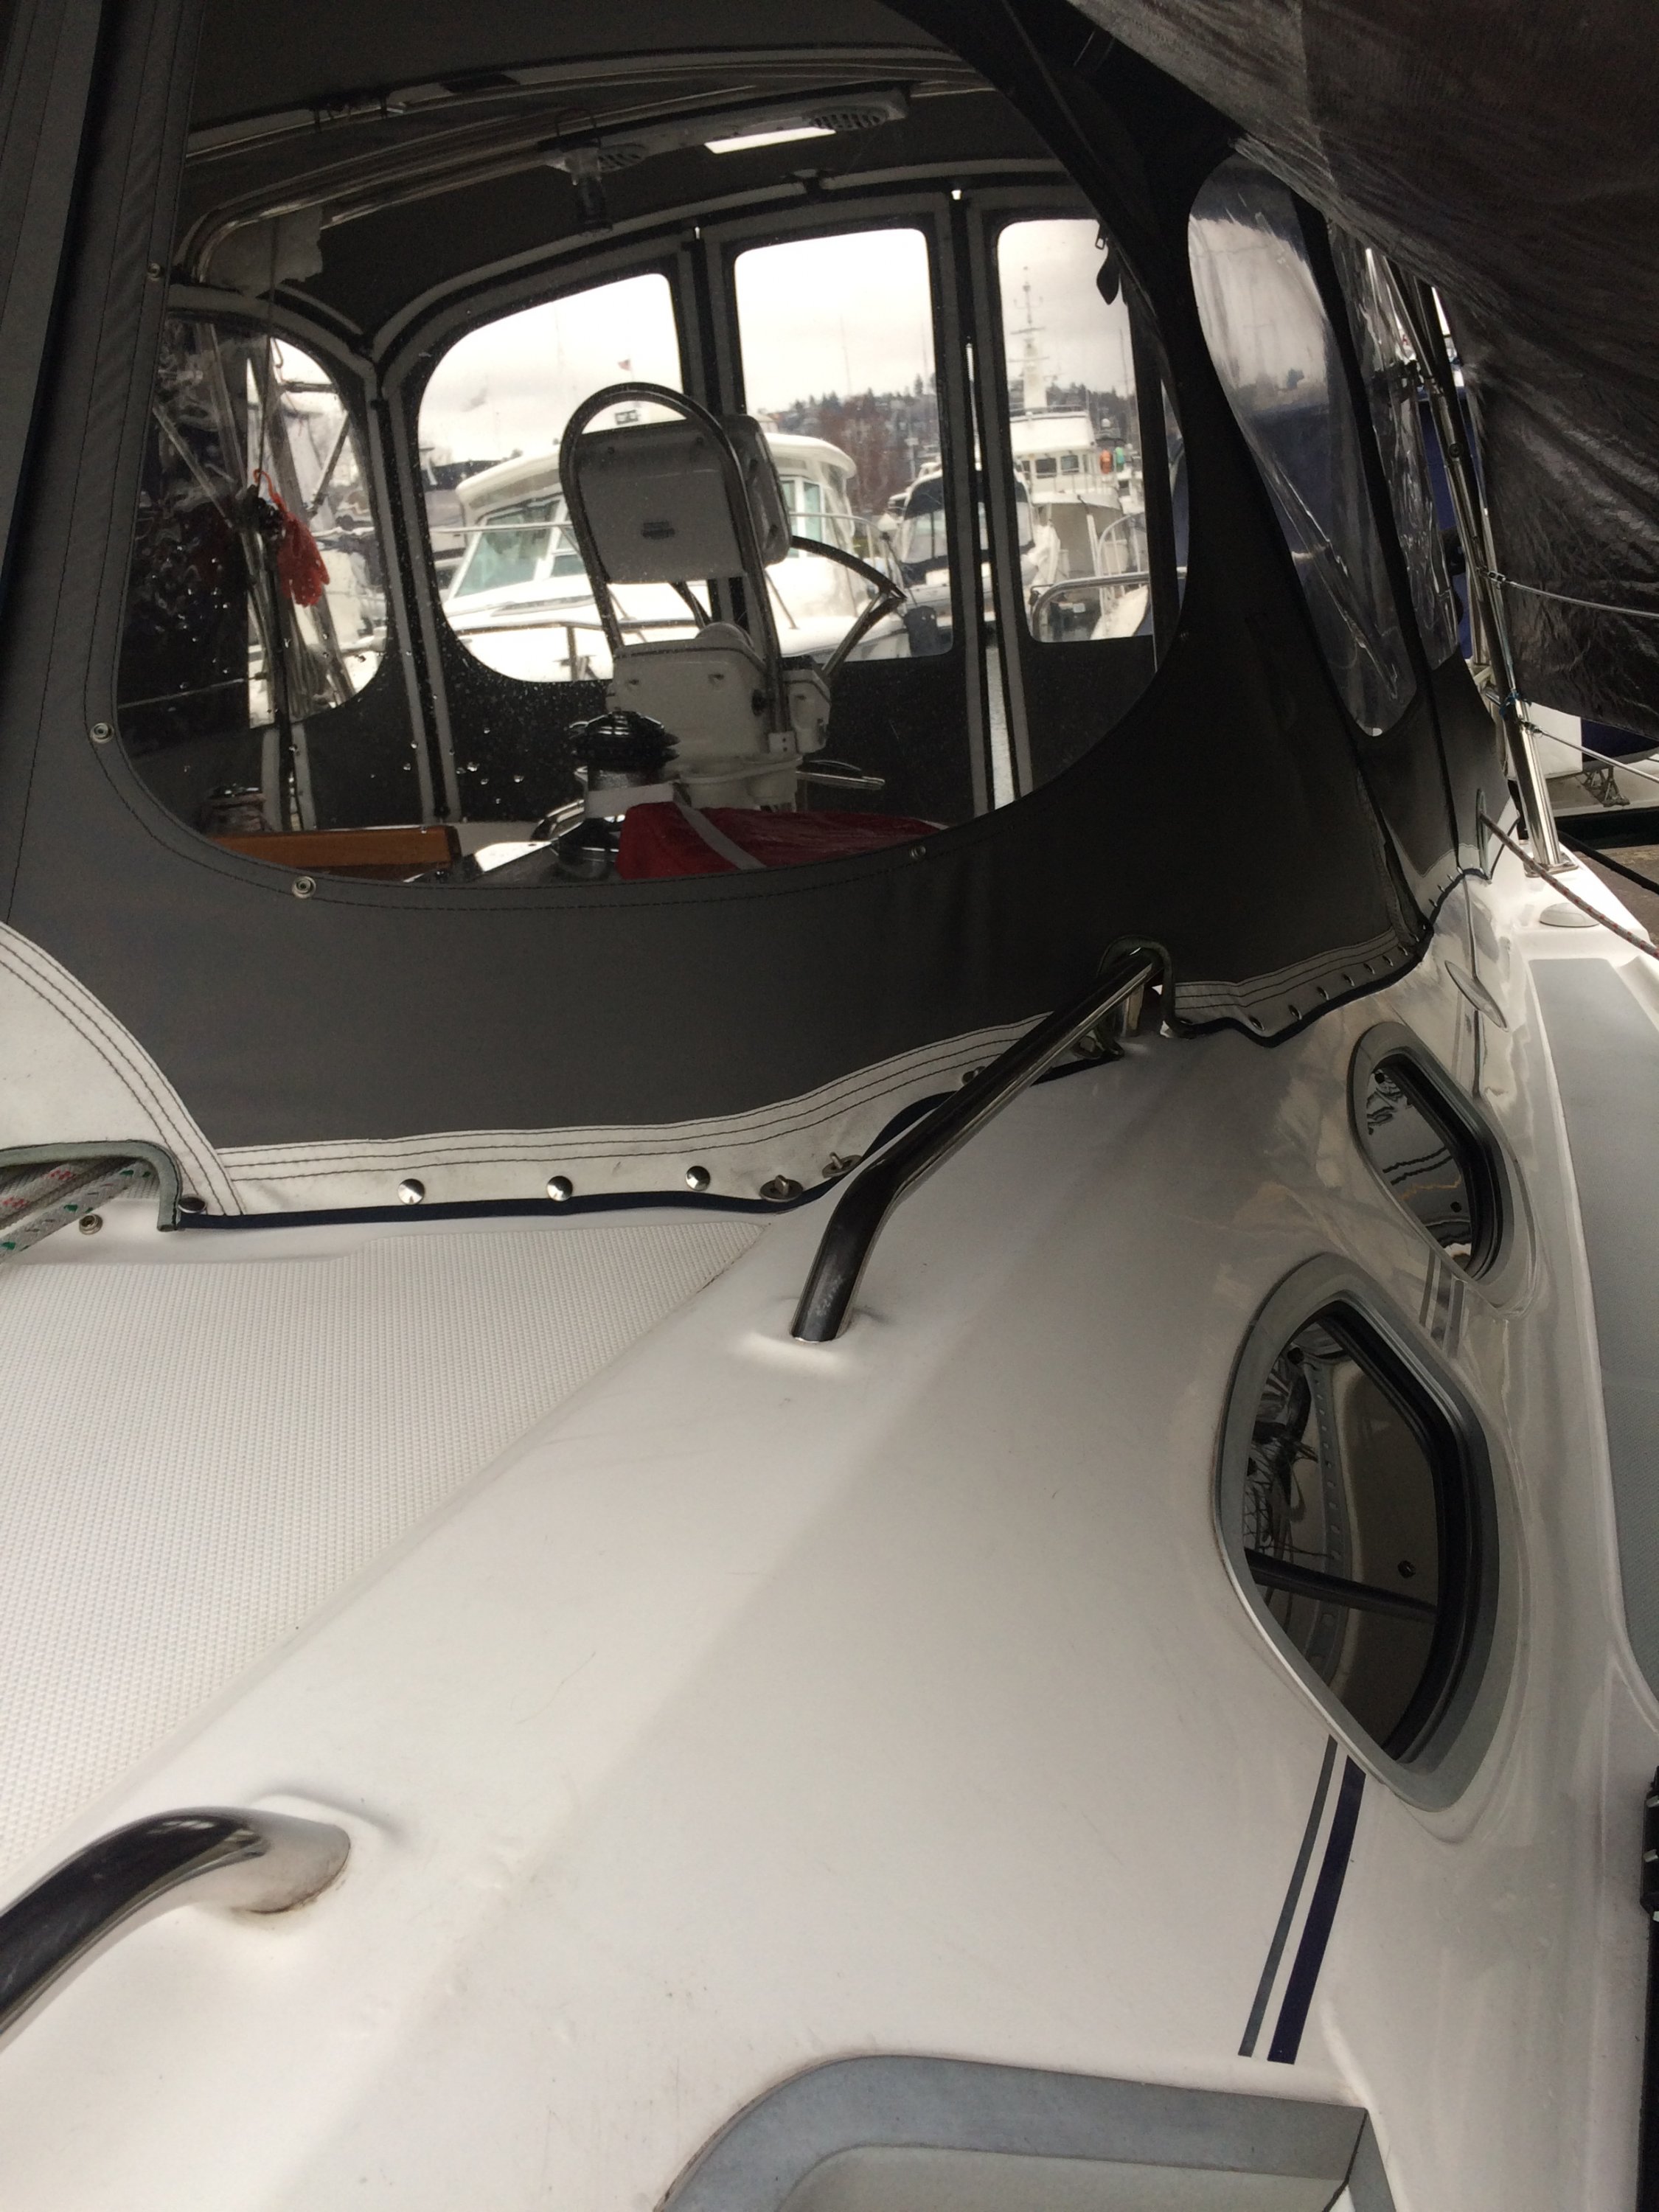
Does anyone have experience with removing an re-bedding these? There are no visible attachment points on the deck side, which leads me to believe that I need to remove the laminate header material above the shelves and find the attachment point on the underside of the coach roof. Is that true? How is that best done?
I have attached a picture of the handholds in question.
IMG_5770.JPG
 
Sep 8, 2014
2,551
Catalina 22 Swing Keel San Diego
I have the same handholds that I purchased aftermarket and installed on my C-22. They have 5/16"-18 studs welded into the ends. You are correct, you'll have to remove your headliner to get the nuts. I can't tell you how to do that because I don't know what kind of headliner you have. Another owner may know, but you should be able to carefully remove it, but once you do it will be simple to get the nuts off for the hand-rails.
Back to the hand-rails, I know exactly why they leak... The tube is hollow and the studs are tack welded into them with a small washer set into the tube, but there still a big hollow space. So when bedding compound goes in there is a huge hollow space that it pushes into and basically it becomes less than effective. I solved this by taping off the threaded stud and mixing up some Interlux Water-tite epoxy filler and pressing it into the void with a small spatula, just filling the end of the hollow tube. When cure I used my oscillating tool with the small triangle head sanding pad to sand the filler flat to the tube end. I put a little paint on the filler to seal it, but probably not needed. Anyway, all the filler does is to act as block so the bedding compound does its job rather than just push up into the tube. When you go to reinstall them, use a counter-sink bit to put a slight taper on the mounting holes, I can almost promise the factory didn't do that. Re-bed with butyl tape or 3M 4200, your leak should be solved.
(P.S., I have no idea what, if any, core material was used on your boat... When you pull those handles inspect the mounting holes to see if the leak caused any damage to the core material... let dry out.)
 

Dan_Y

.
Oct 13, 2008
514
Hunter 36 Hampton
While its possible the grab rails leak, On our '08 the deck/hull seam leaks in several places that I have found and repaired. Water runs down the inside of the hull into the bilge and is difficult to track the source as we all know. Do you see stains in the whisper liner? A mechanic at our former hunter dealer said you can take that hard area outboard of the whisper liner down to get at the stanchions, and maybe that grab rail. In fact, I ordered the new screw covers from SBO since it's a task for this year. One seam leak was by a chain plate, one in the seam running through the port cockpit locker, and the other is in the aft starboard seam, behind the LP locker. To repair that one I'm going to have to remove the LP buckets from the locker to gain access from the top. Impossible thru the transom area on the '08 unless you are the size of a 5 year old. It seems the 5200 or whatever adhesive was poured on was thin in some areas that now leak. I cleaned the seam from the inside and calked in some 5200. The leak by the chain plate was just accessible thru the inspection area and also had an uncalked screw that holds the rub rail over the seam to the hull. It really leaked.

Our salon ceiling has the removable fluorescent lights. If you carefully remove one by pulling the trim ring down (its on springs), you can see thru the fixture and above the headliner with a bore scope camera from a bigbox store... you might see evidence of the leak. I take paper towels or tissues and stuff them on the suspected leak, or just below where the leak might run down the hull as a tattletale. That inspection camera is one of the best tools on board!
 
  • Like
Likes: stuartsw