Hunter 22 Build: LIL' Nellie

Apr 5, 2018
95
Catalina Capri 25 Jackson
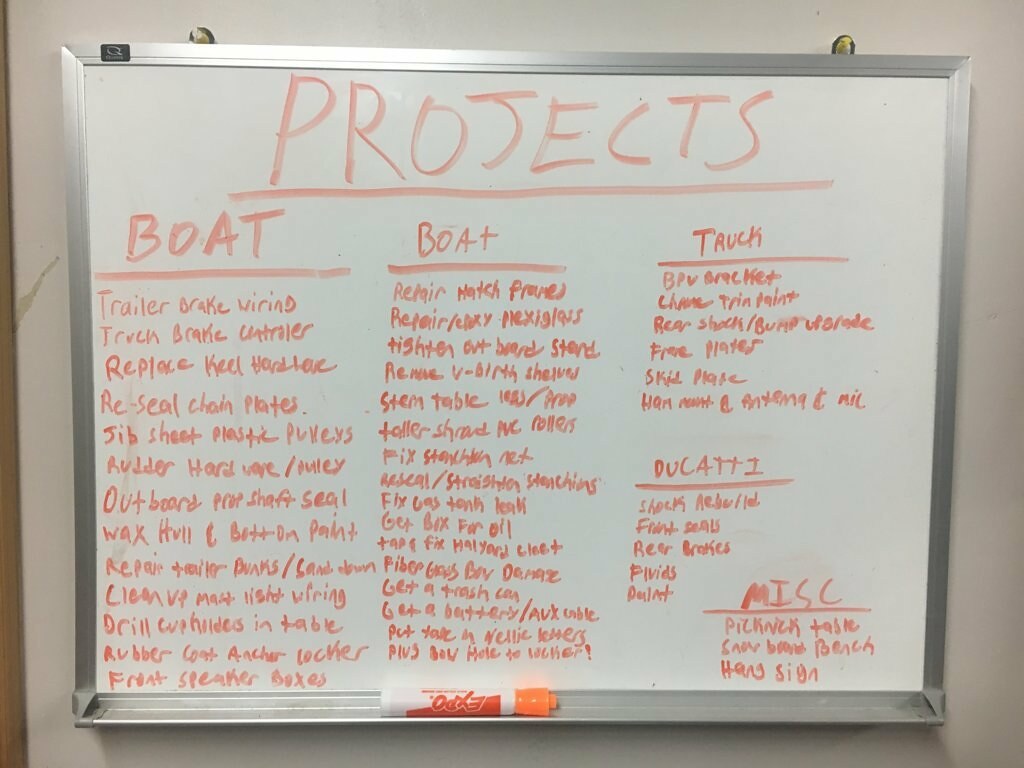
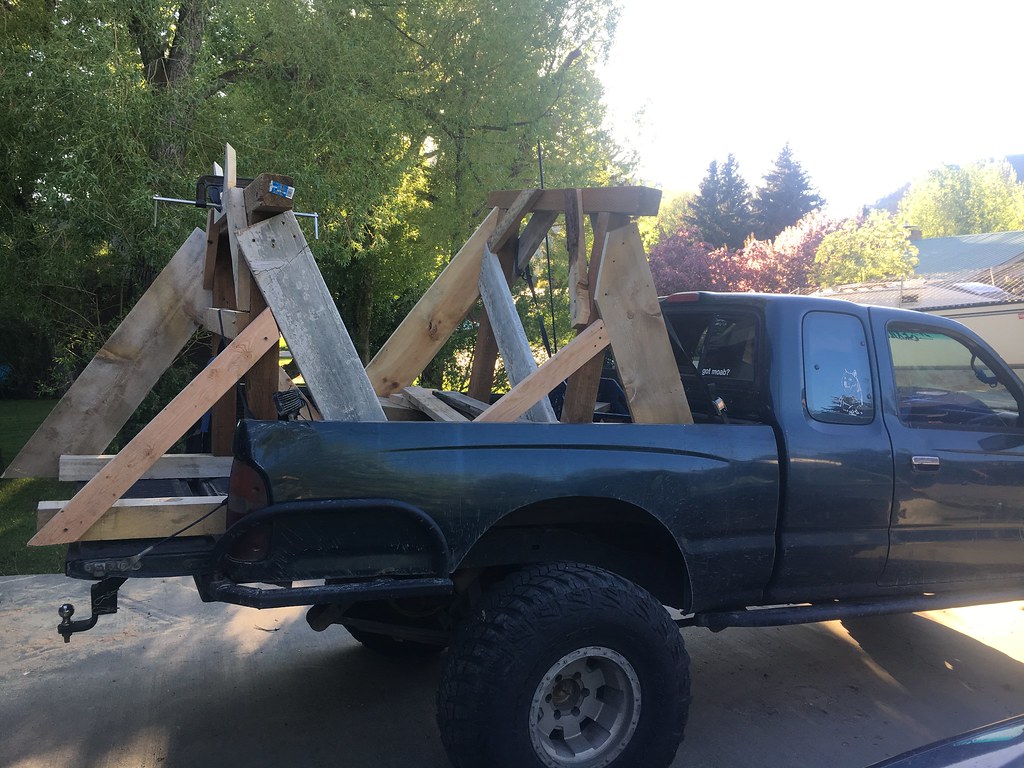
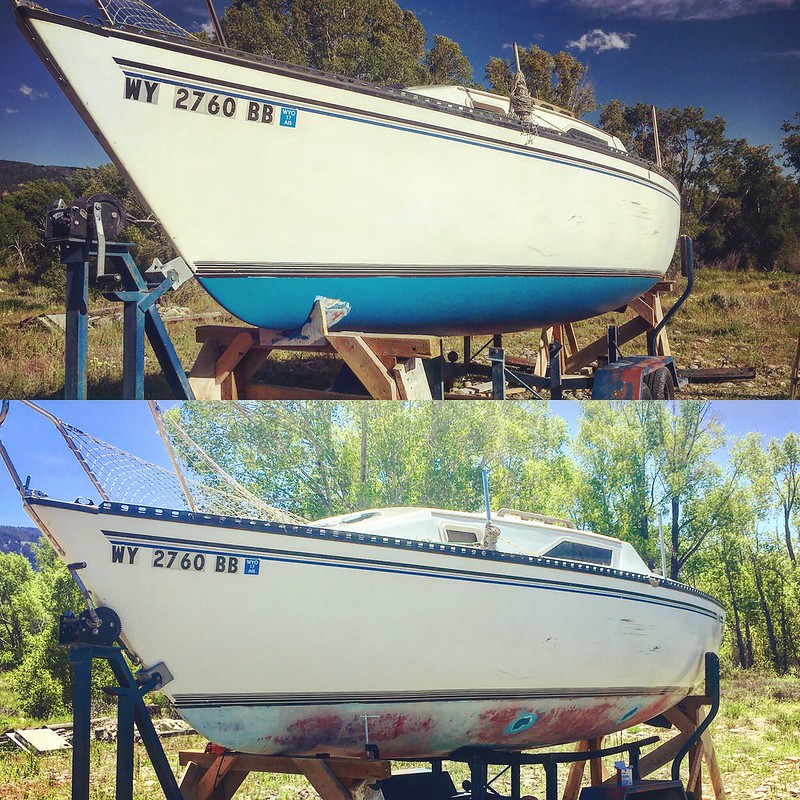
With my 2 month marathon of spring repairs coming to an end I am slowly getting it compiled into a build thread for others to reference, and for public ridicule of my own repair methods ha!

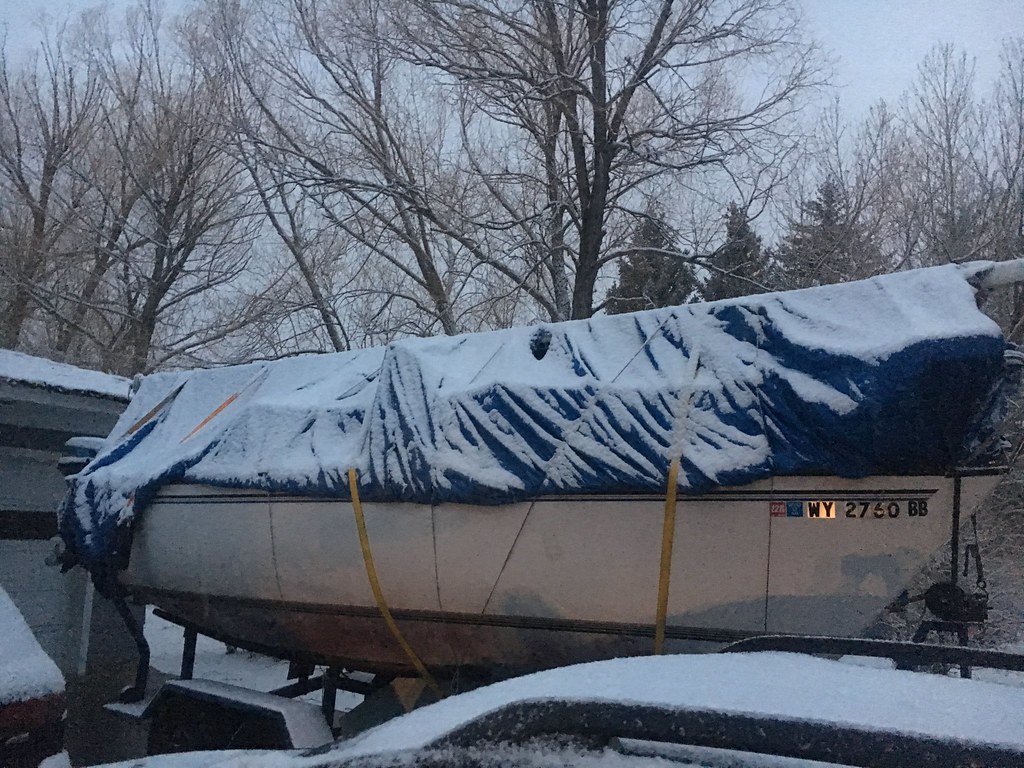
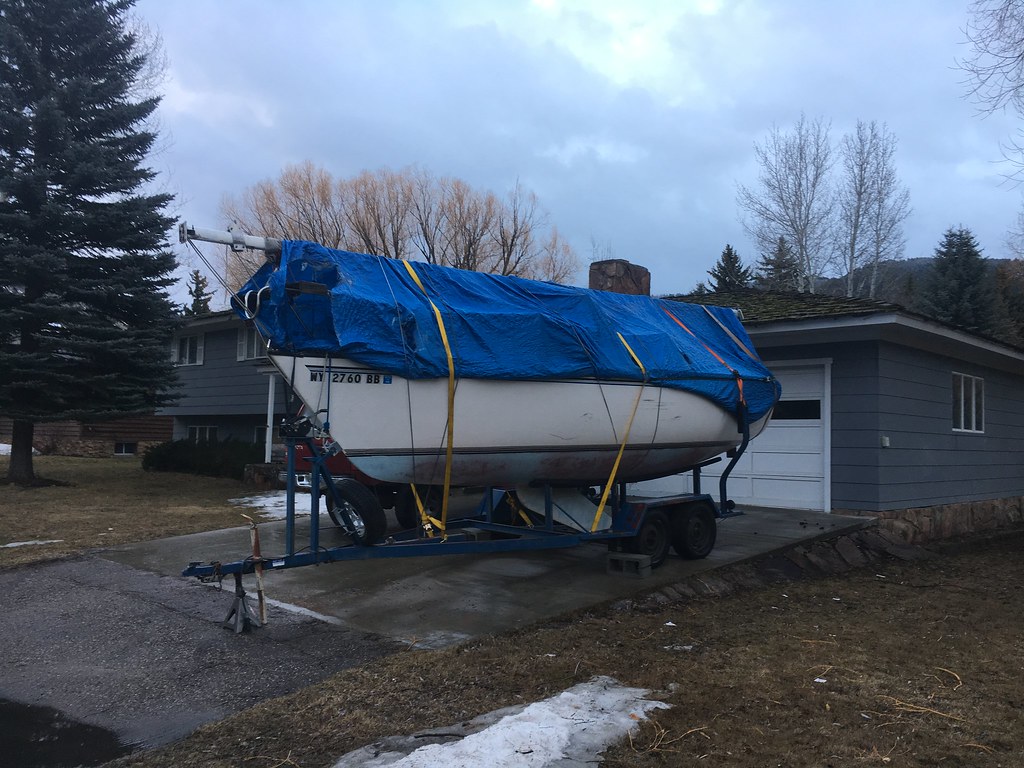
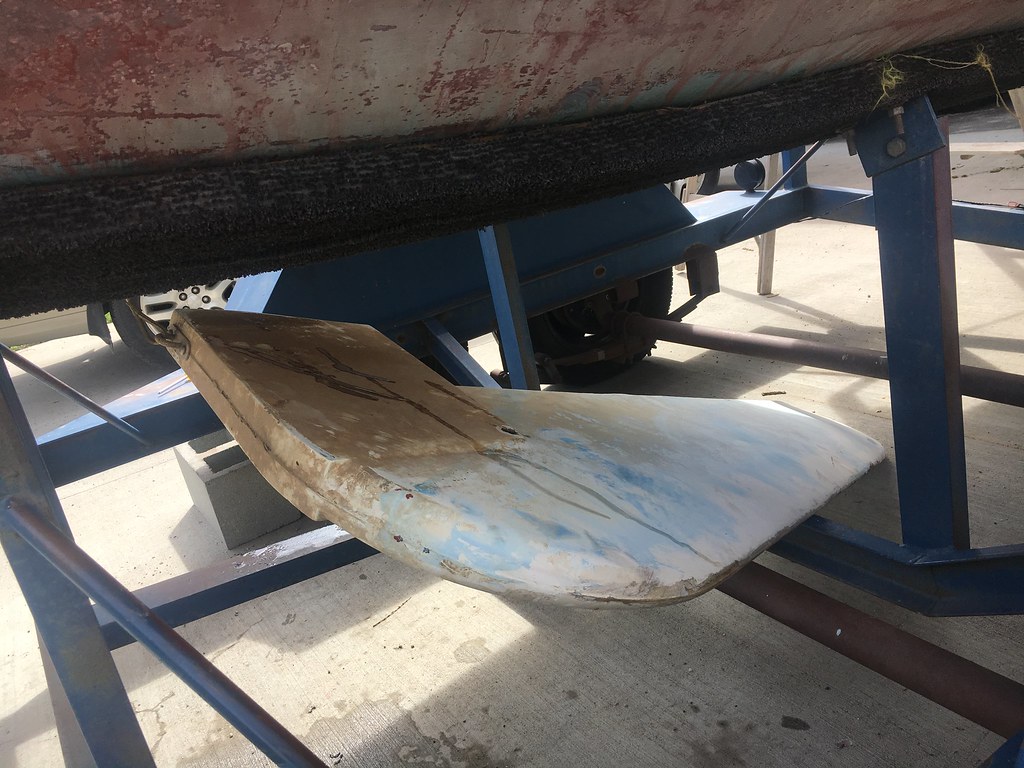
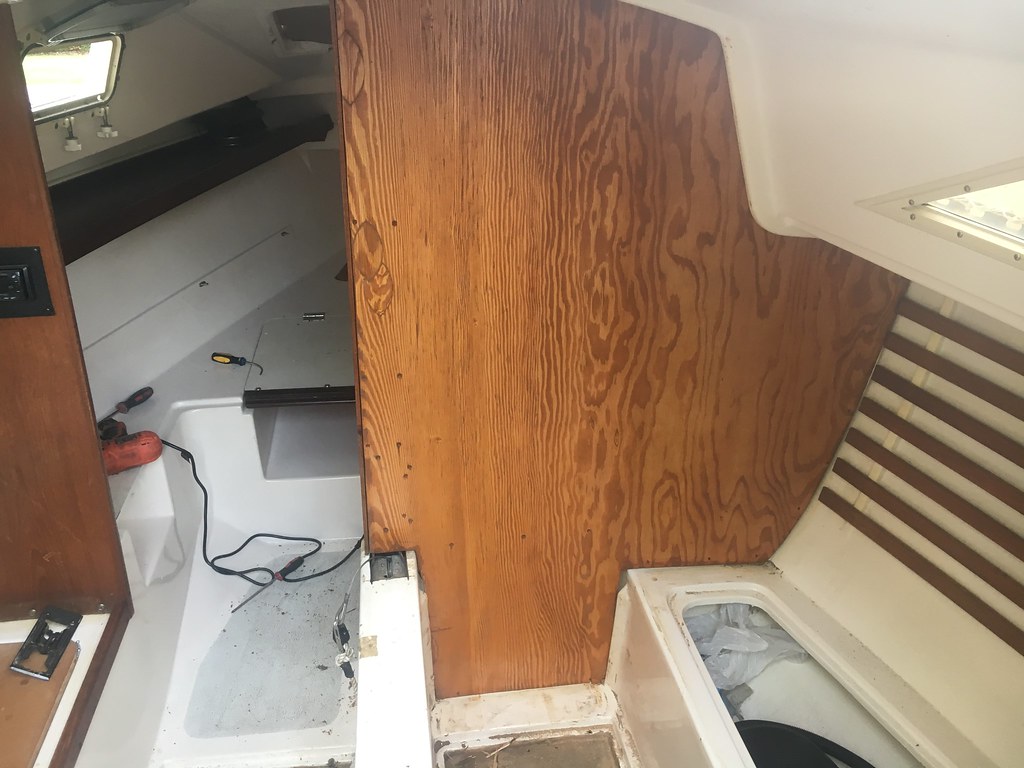
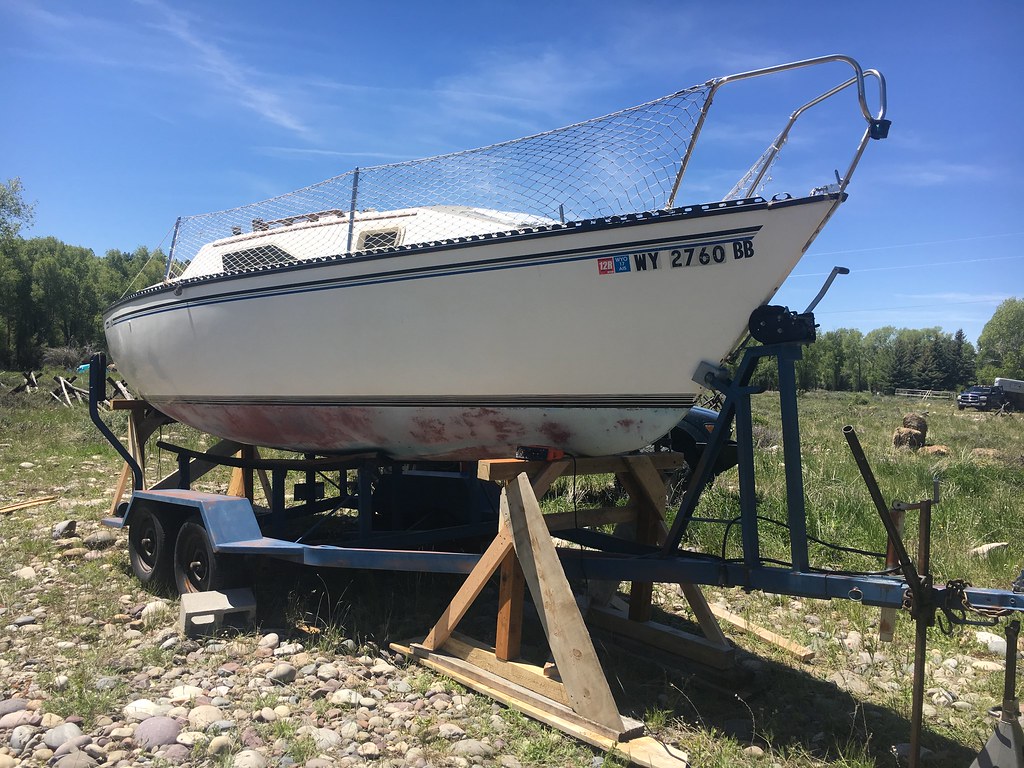
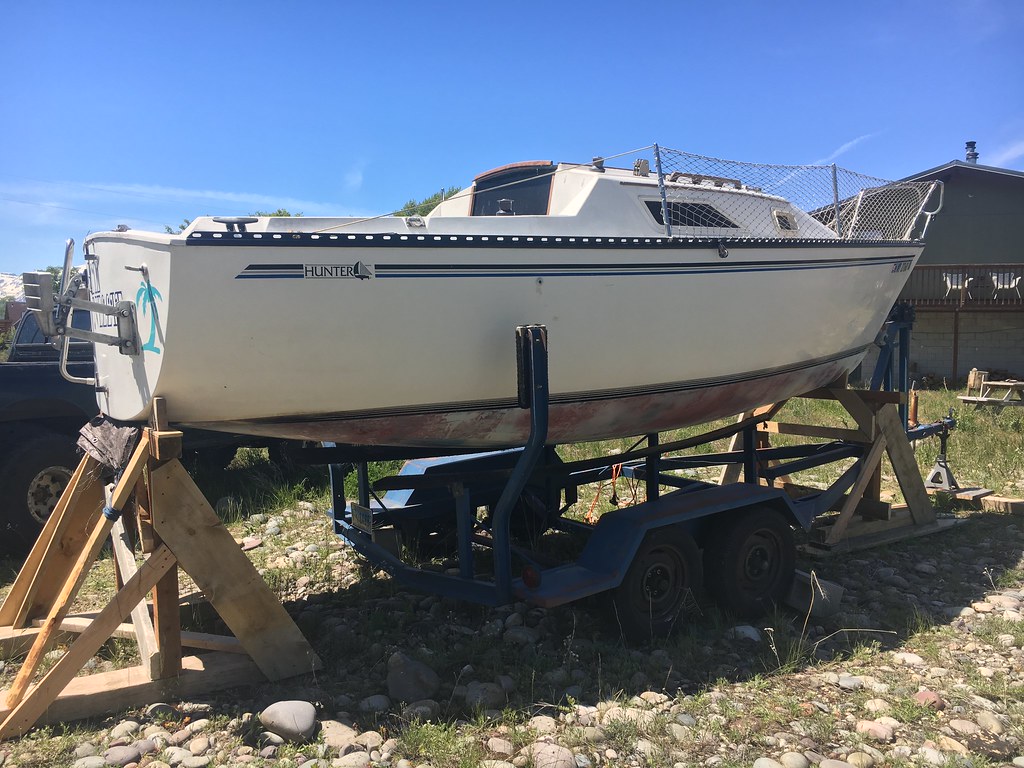
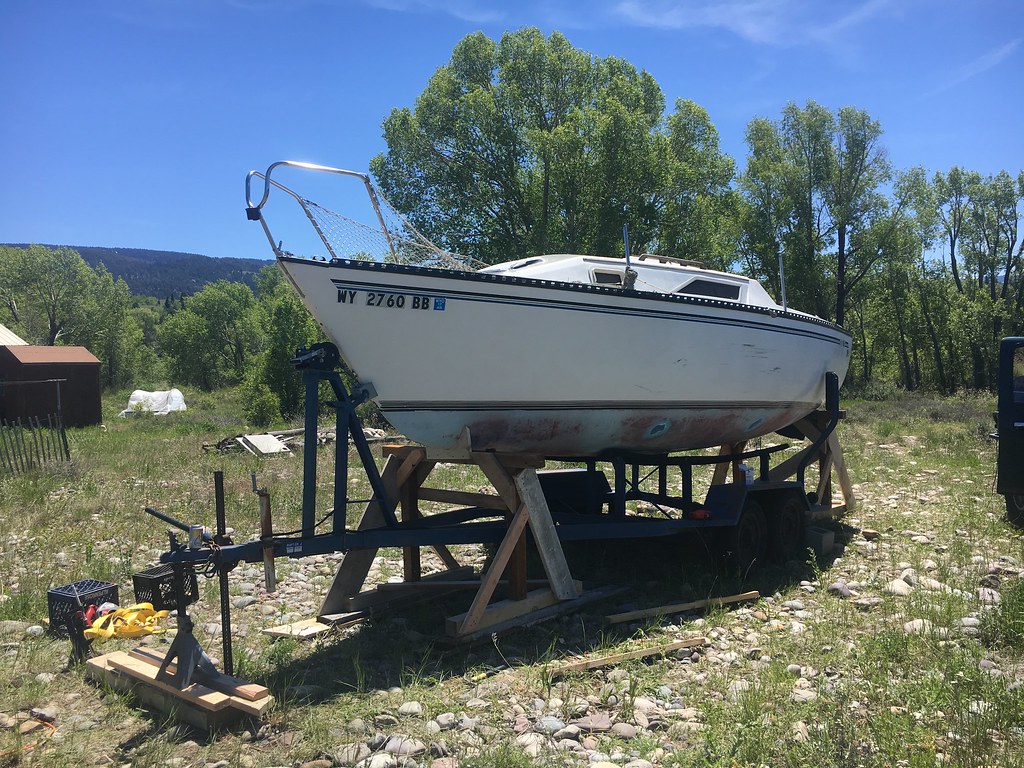
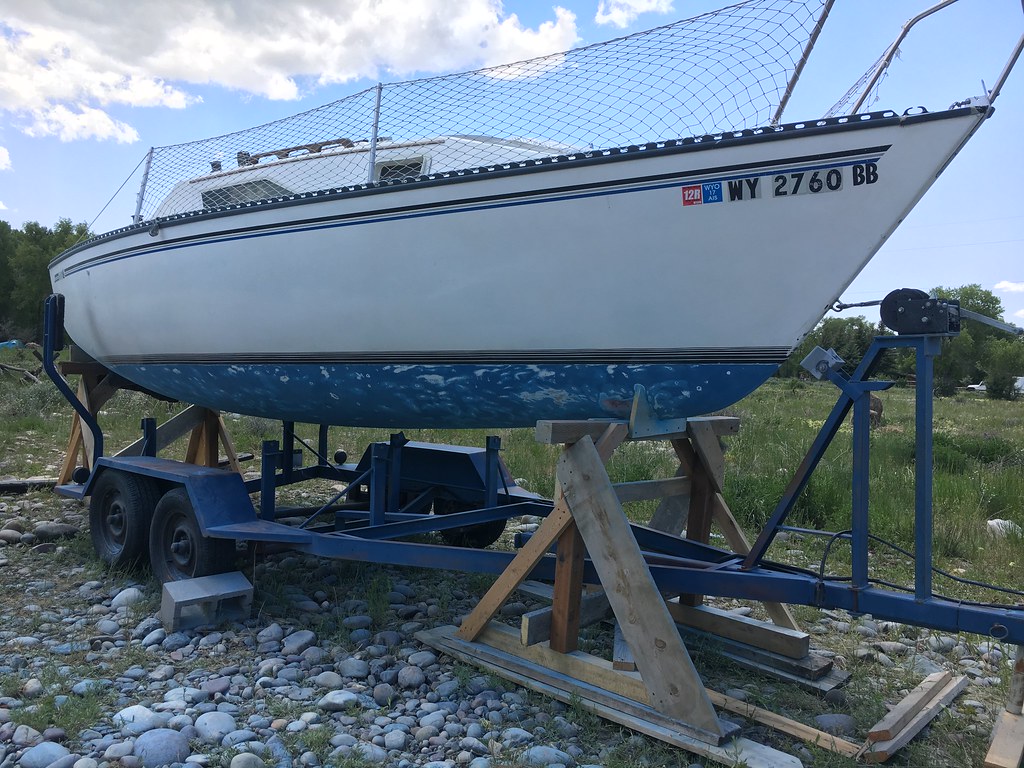
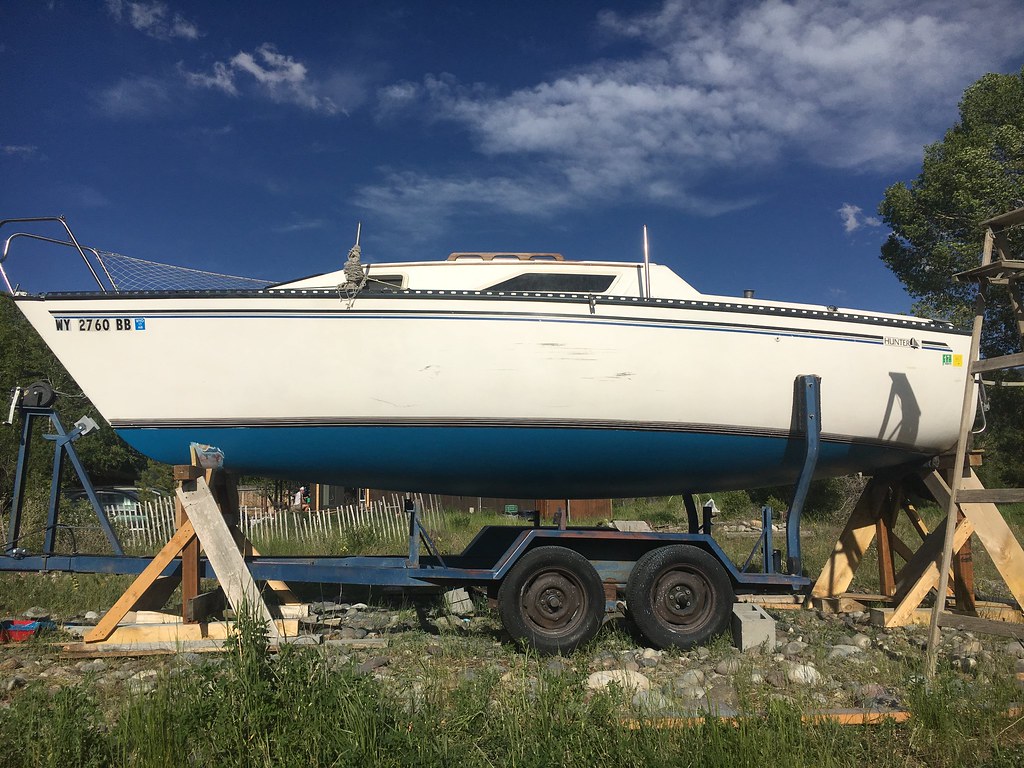
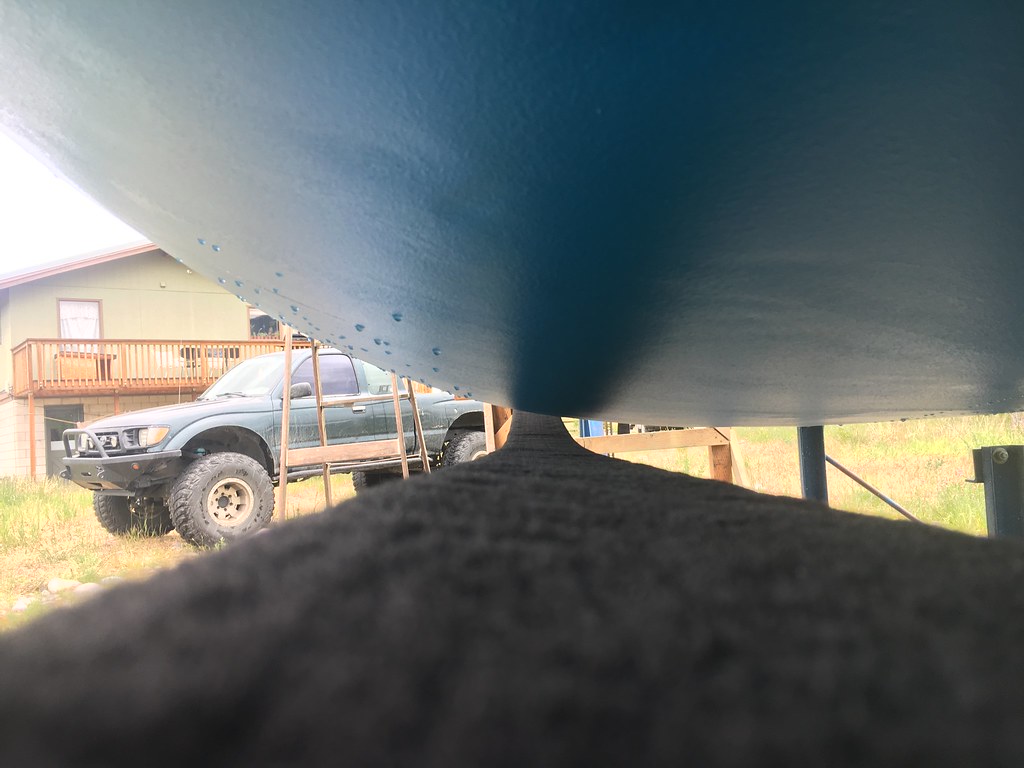
Back story: I moved to Jackson after a summer of working on Tall Ship schooners in the Keys (and a trip to Europe), and just so I had a toy to play with on the lakes in the summer, planned to bring out an old Prindle 18' my dad and I had drug out of a field and fixed a few years back. In the process of working out when to make the drive to get the cat, i was at work listening to Trash and Treasure, a local call in radio show where people sell things. This dude phoned in and said he had a Hunter 22 for $500. I called bull ****, and assumed it was in half or something. After much deliberation on weather or not i should try and buy it, i just went and looked for the hell of it. The guy selling it was classic looking guy in his 60s, Hawaiian shirt, boat shoes and cargo shorts. He was moving to FL (in like a month) to buy a catamaran because he was tired of winters, and just needed this boat out of his storage space so he could cancel the lease. First off, this thing was huge. Way bigger than I expected, especially sitting up on this tall trailer. I got the tour...the interior was pretty clean (ya know, except for the rotten bulkhead) the deck had its fair share of gelcoat cracks but it was all firm and only aesthetic, the sails were there, and the motor was tucked away in a van. It hadn't been in the water for a few years and there was, as i got digging closer the following summer, a bit of disrepair hidden away.

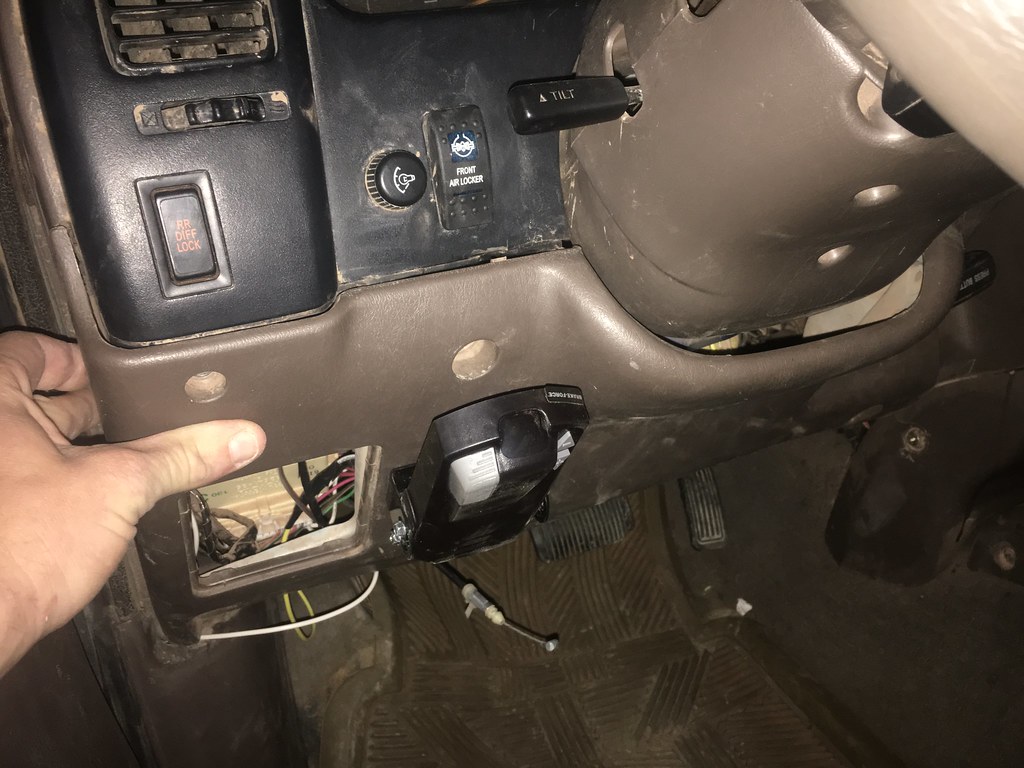
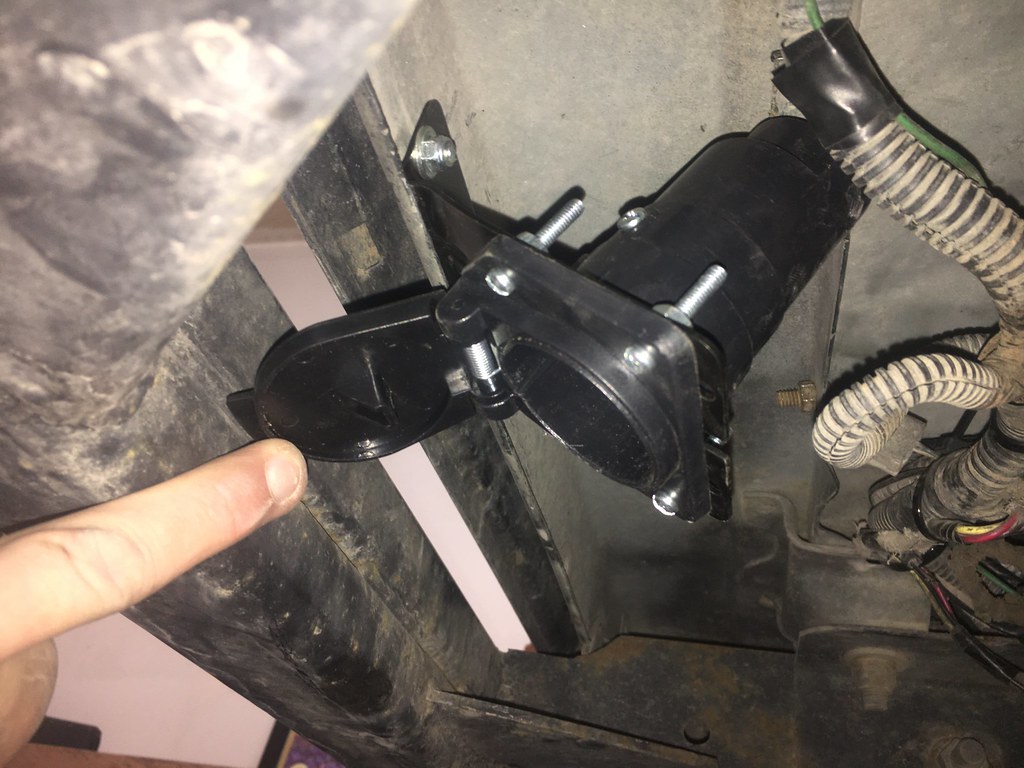
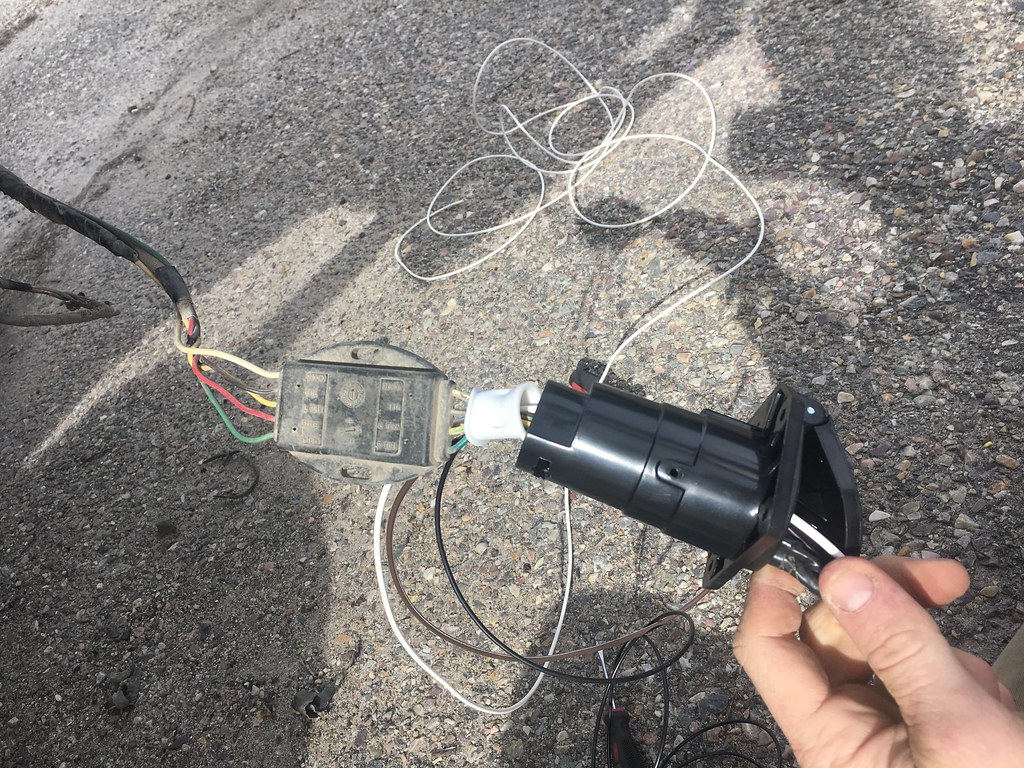
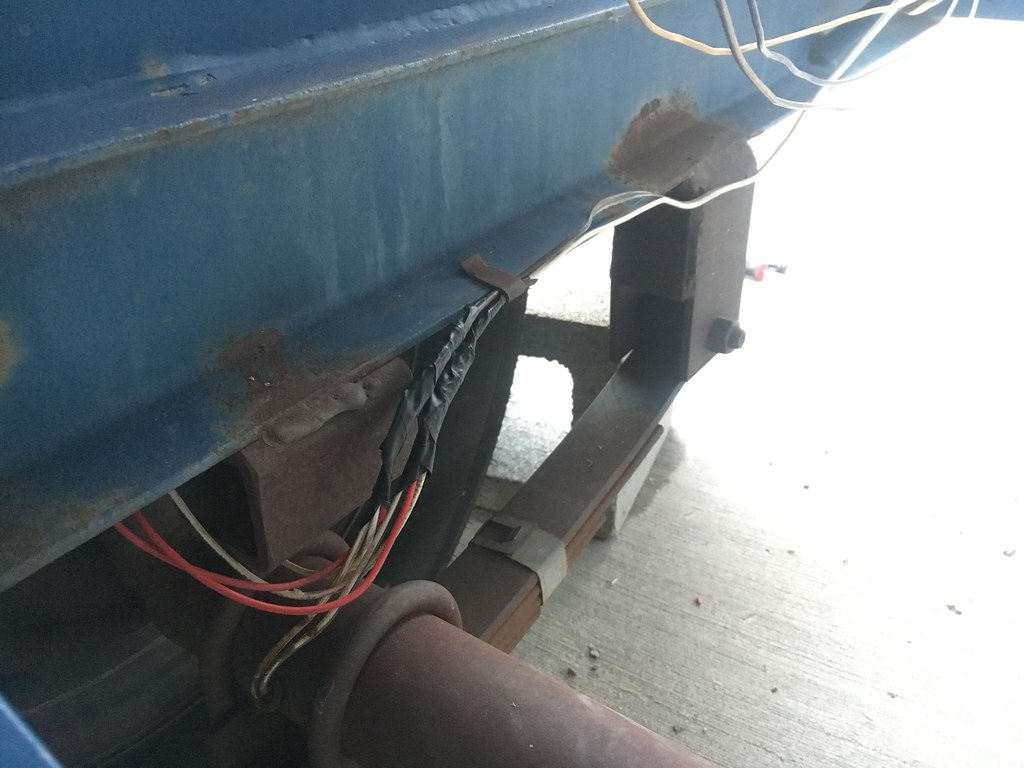
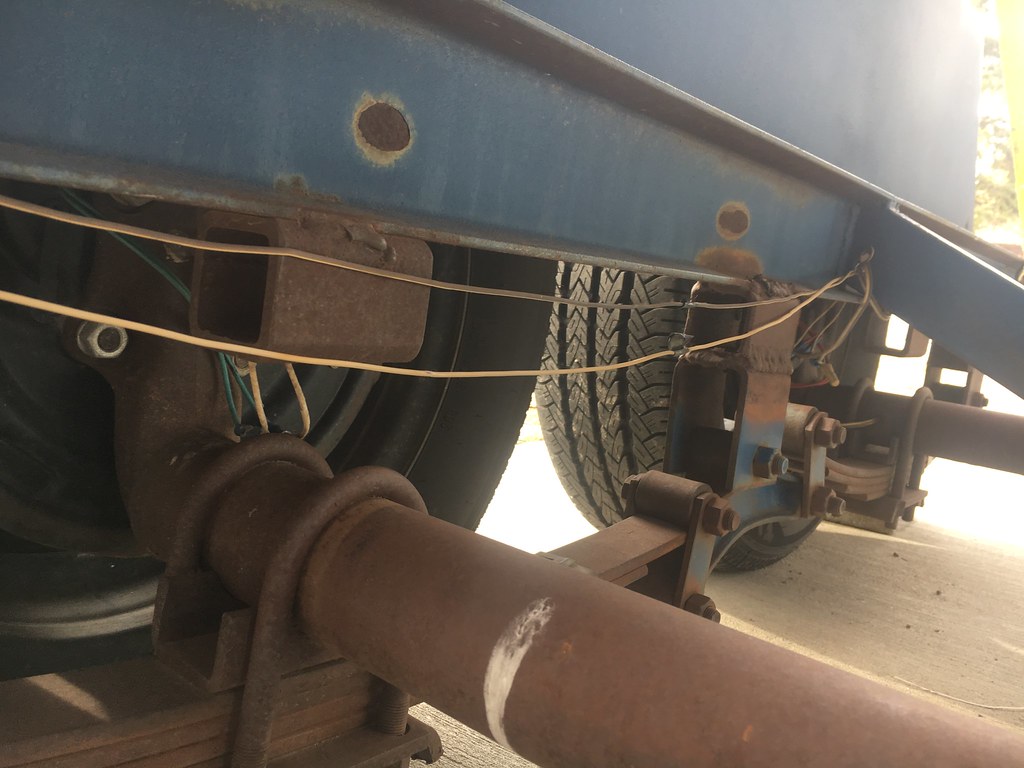
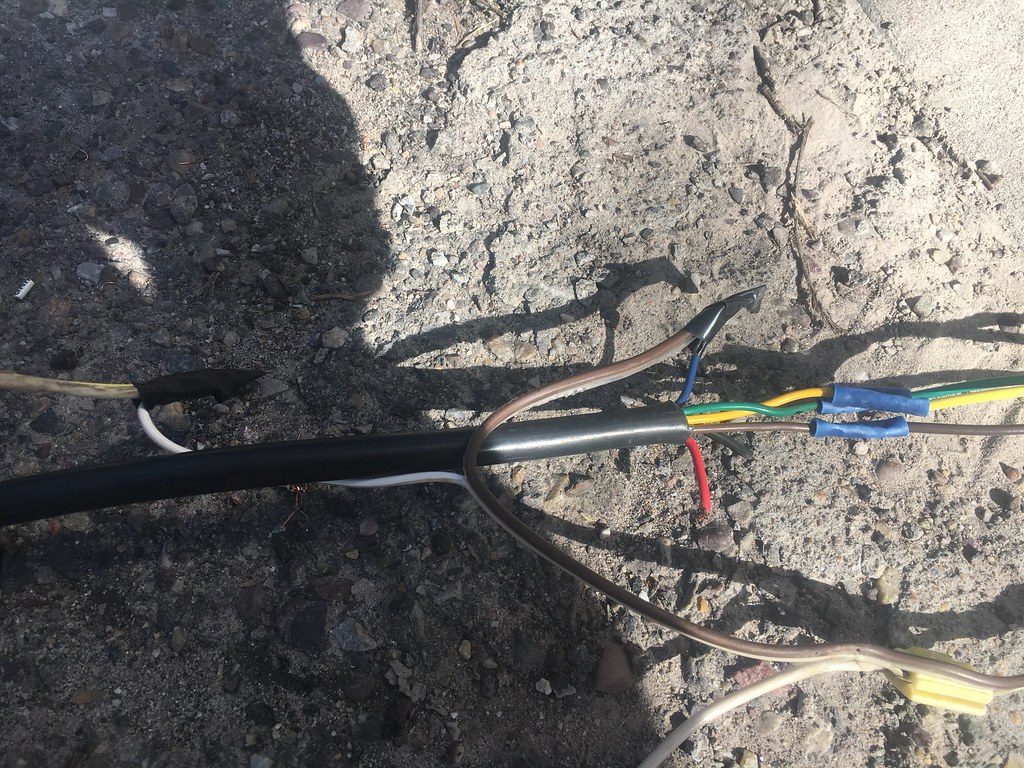
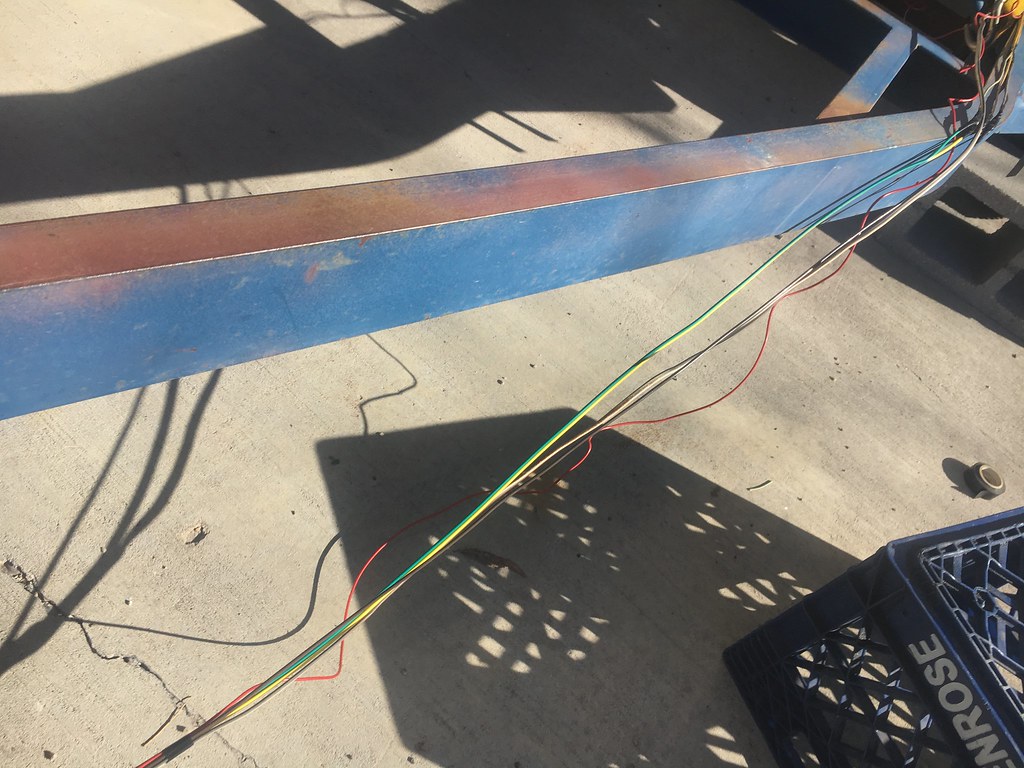
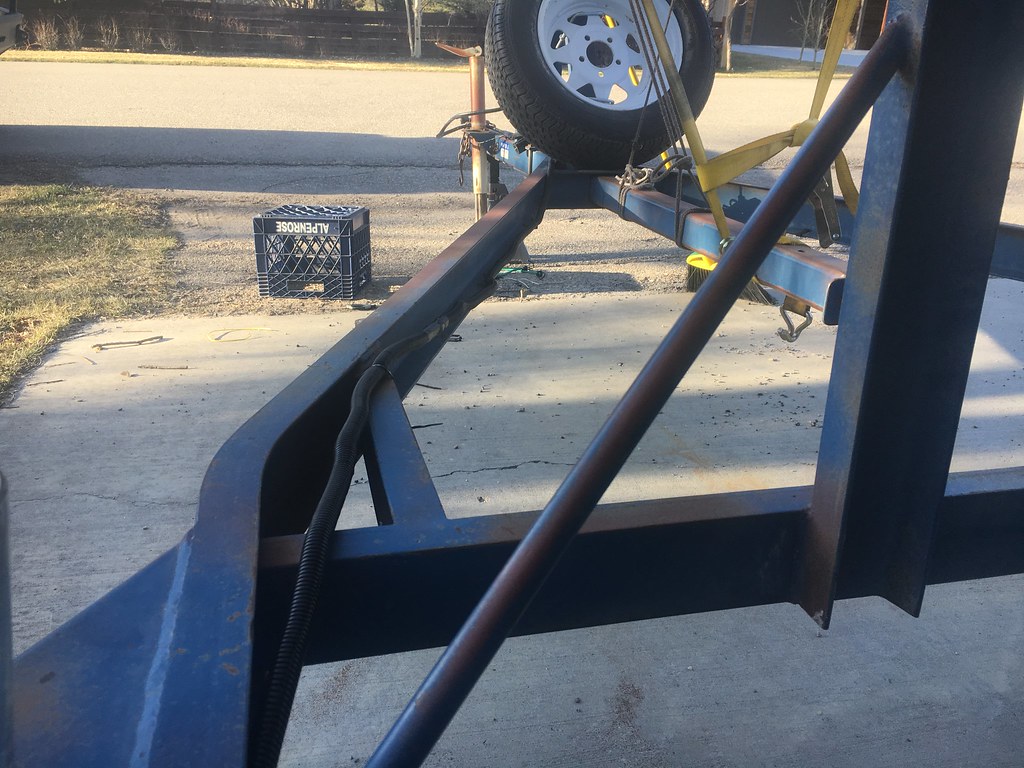
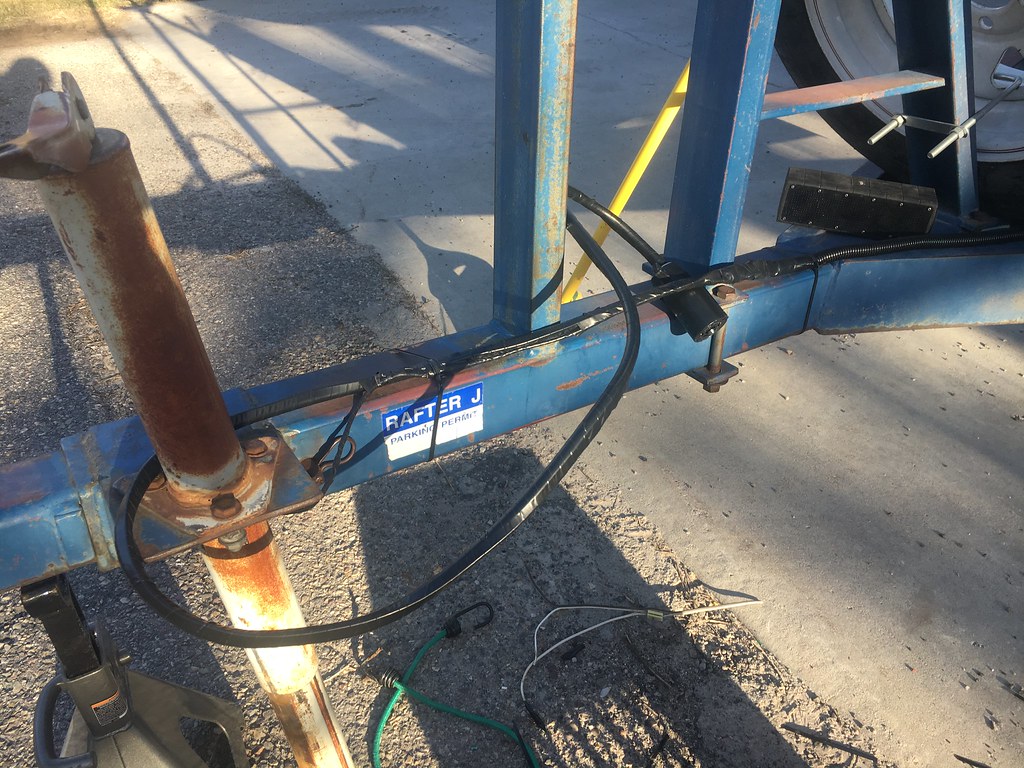
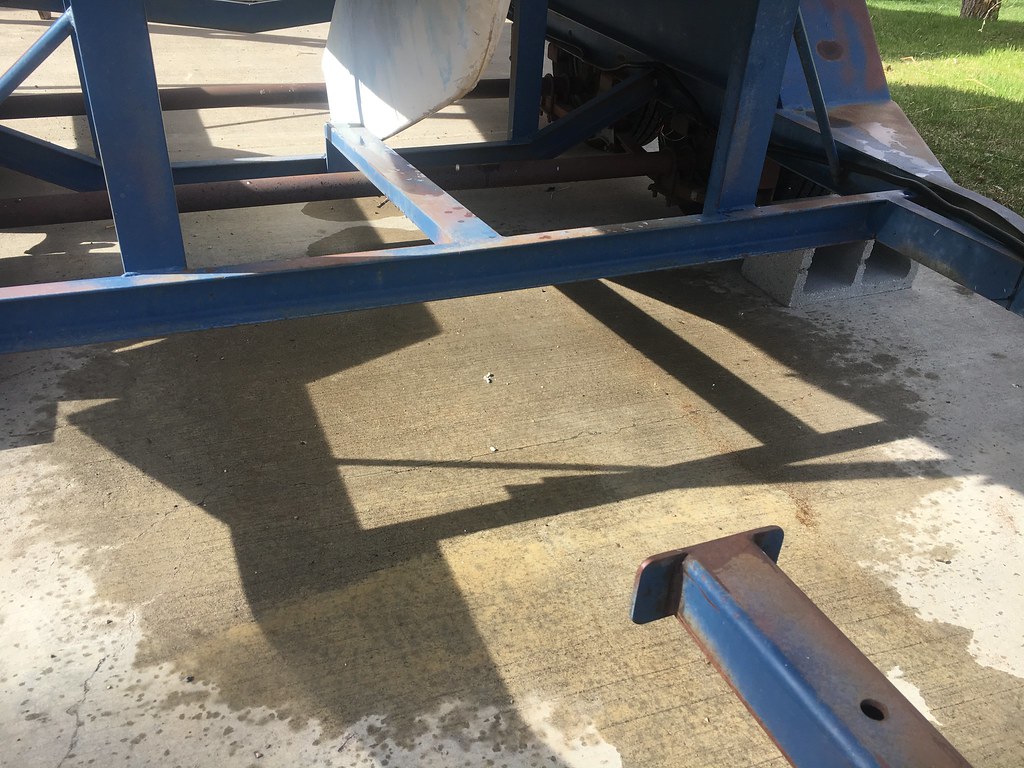
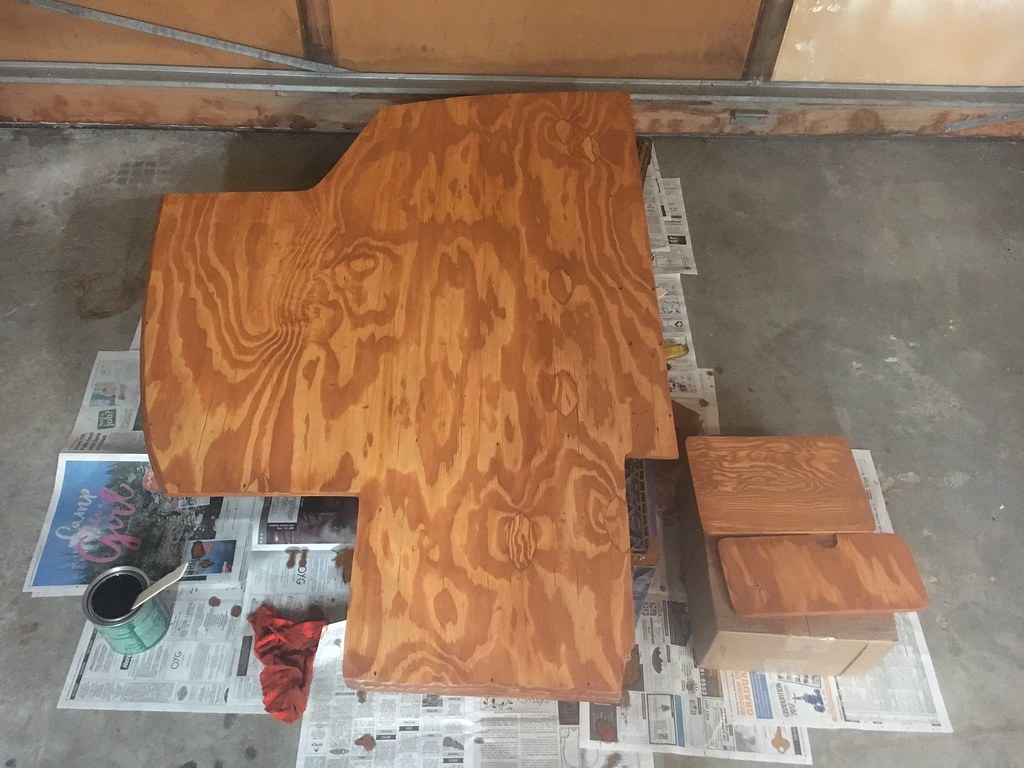
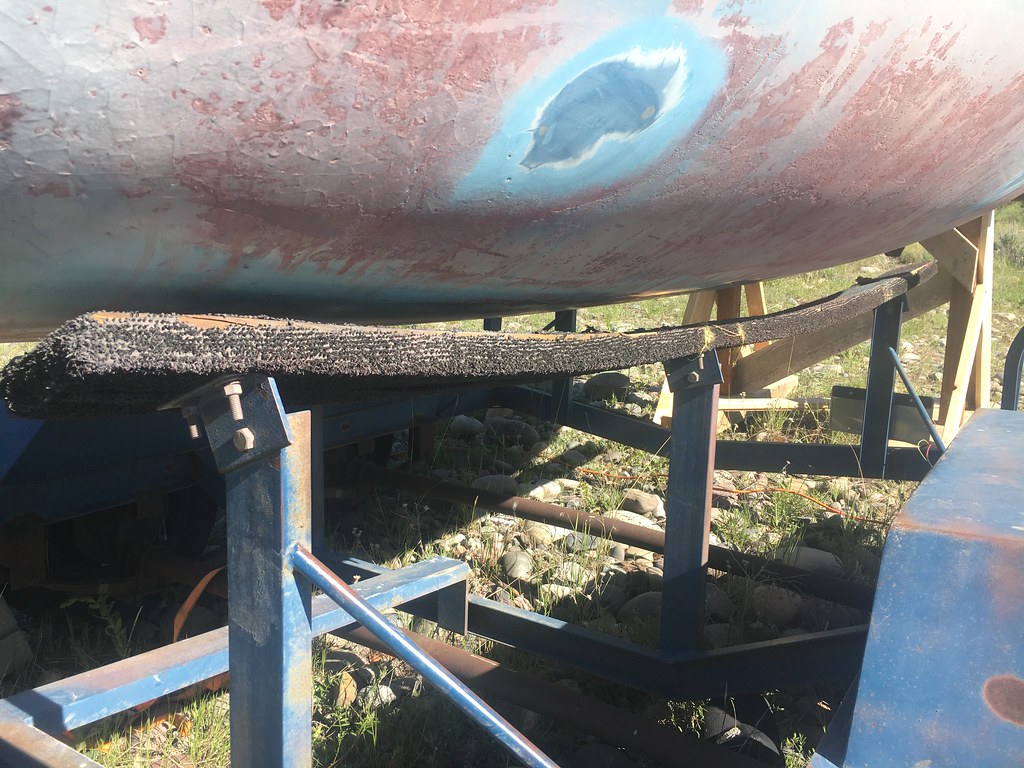
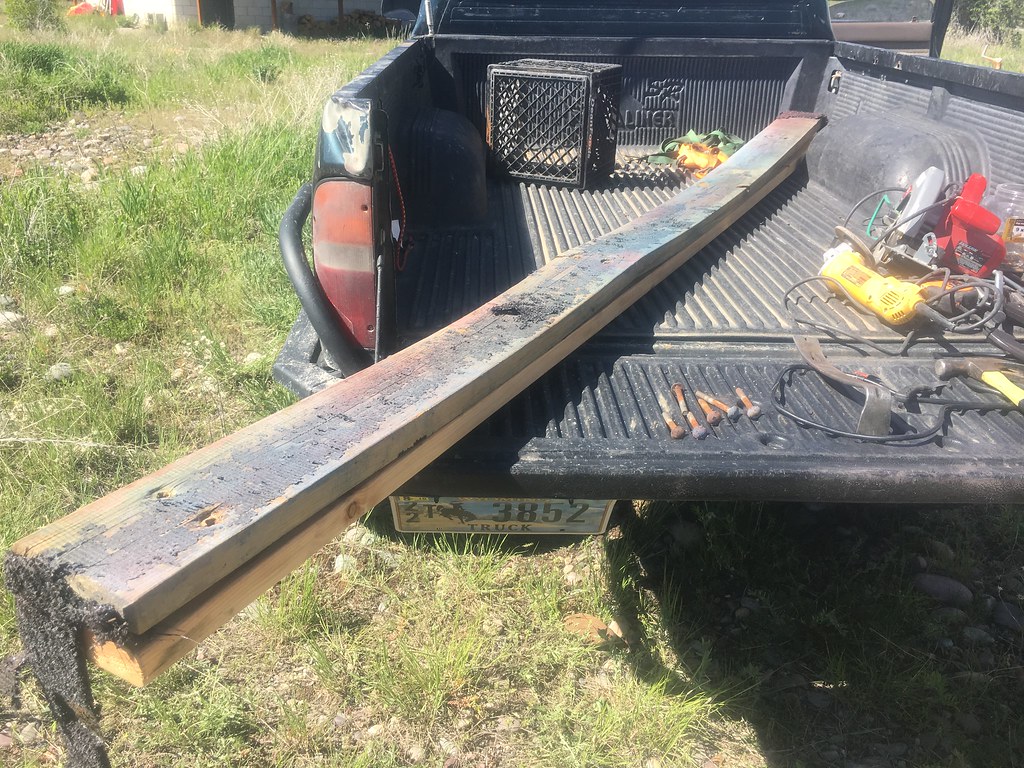
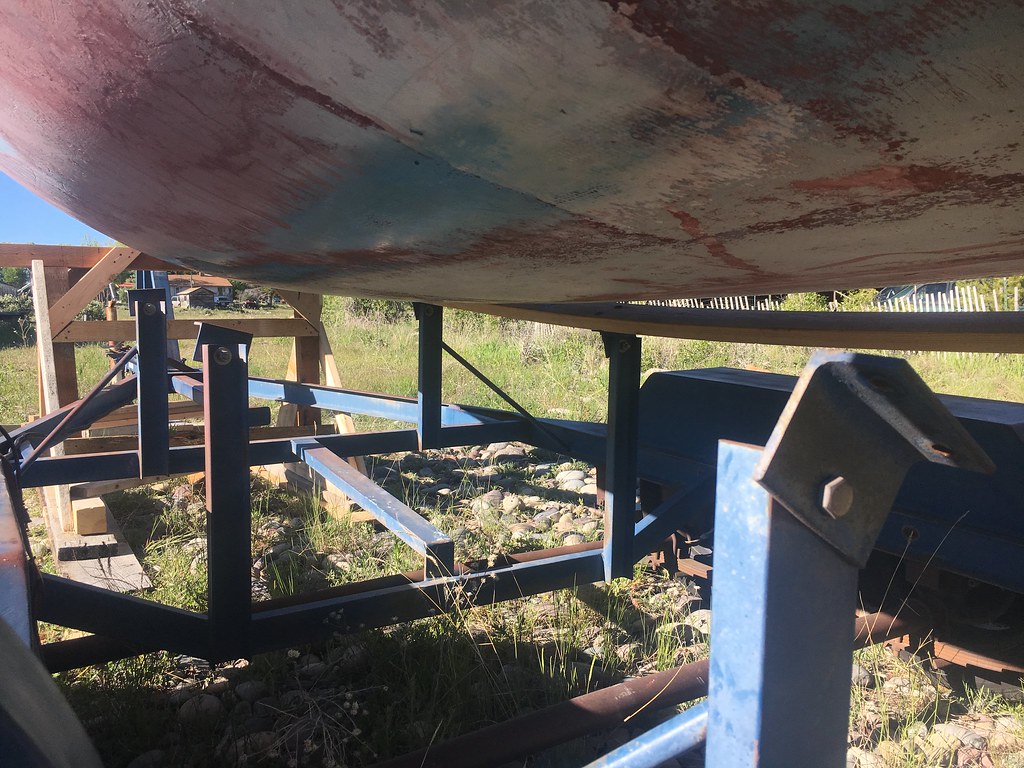
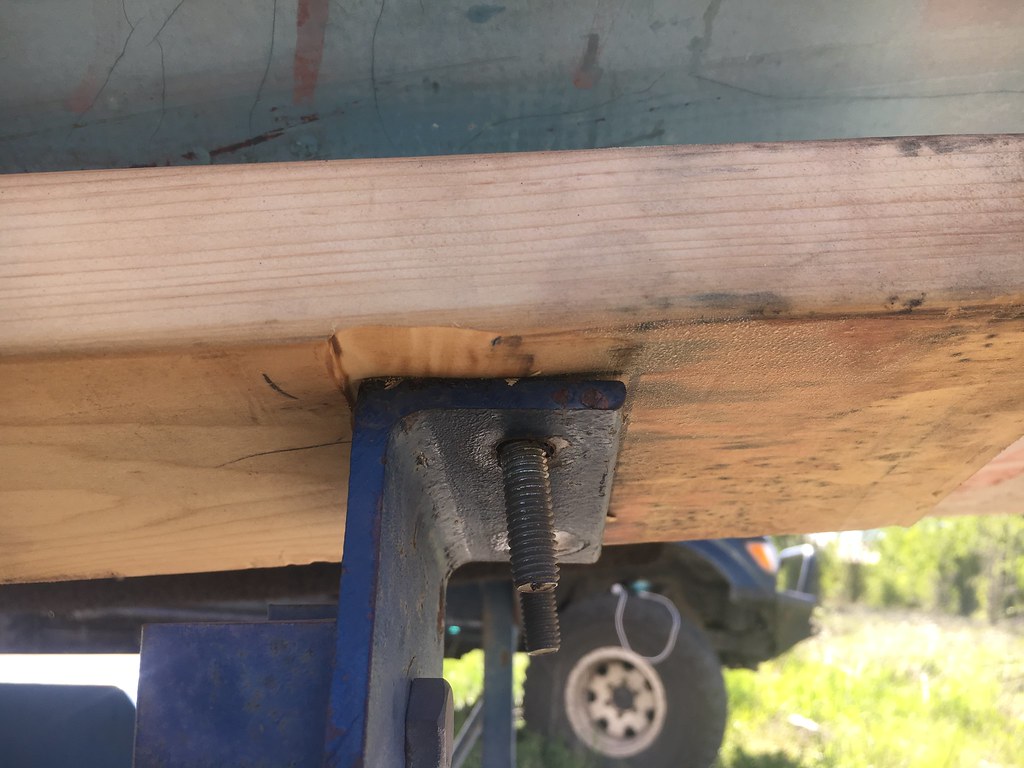
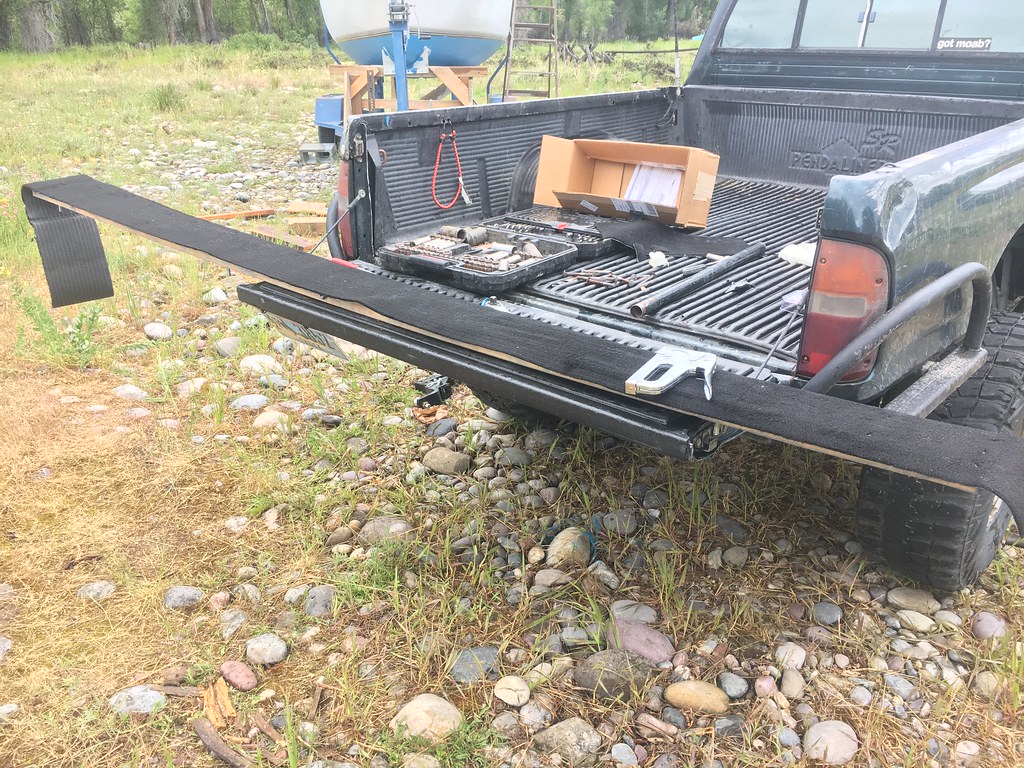
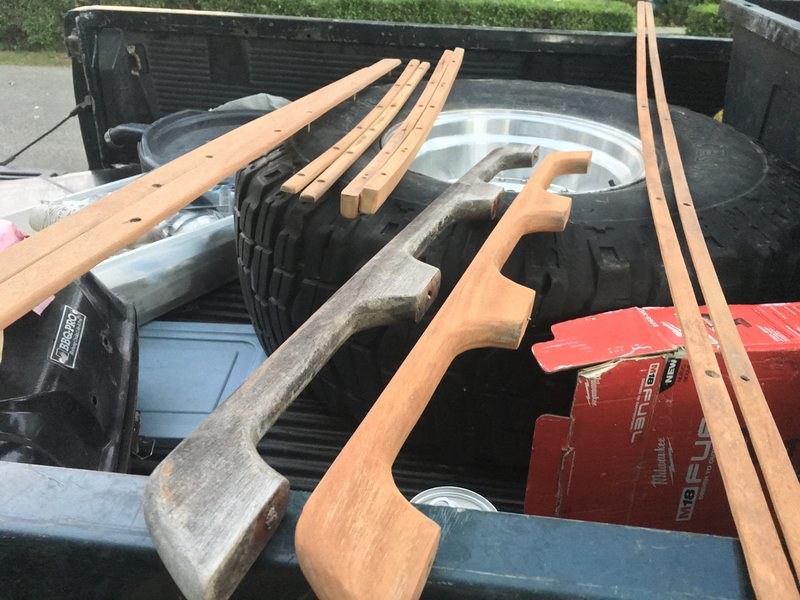
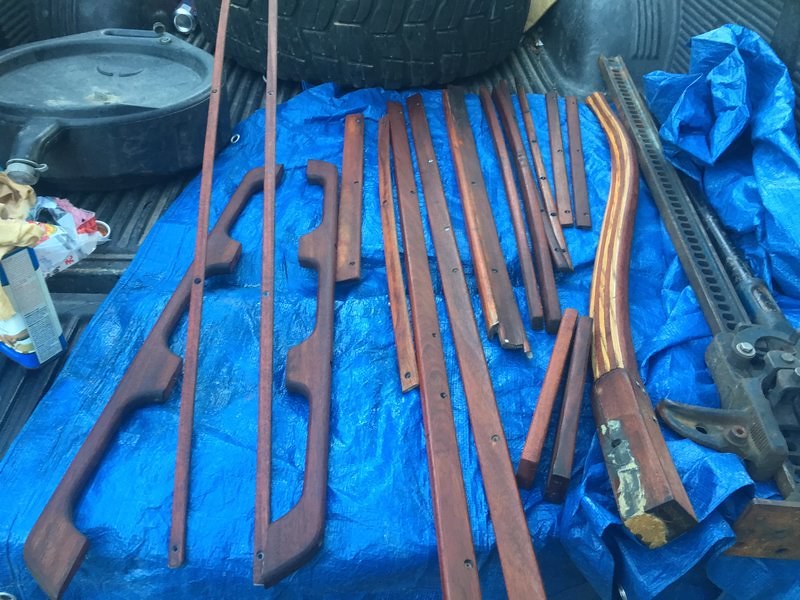
The trailer was in pretty good shape, the lights worked (trailer brakes were wired wrong as i found out later), and the bearings all had brand new grease in them, bearings all good as well. The boat came with a host of tools and a ton of spare parts, a 4 speaker stereo system, all the cushions, fenders, bilge pumps (new in box) and paddles. We set the motor on the mount, put it in a bucket of water, and it fired right up after 10 pulls. That beautiful 9.9 2 stroke sounded like success to me! I arranged the stays and shrouds to make sure the mast was ready to rise, and I determined it was ready to go trial run at the lake. Over the next week i wanted a pretty looking boat, and because it didn't need any obvious repairs (or so i thought at the time)...we removed all the teak and sanded and stained it.


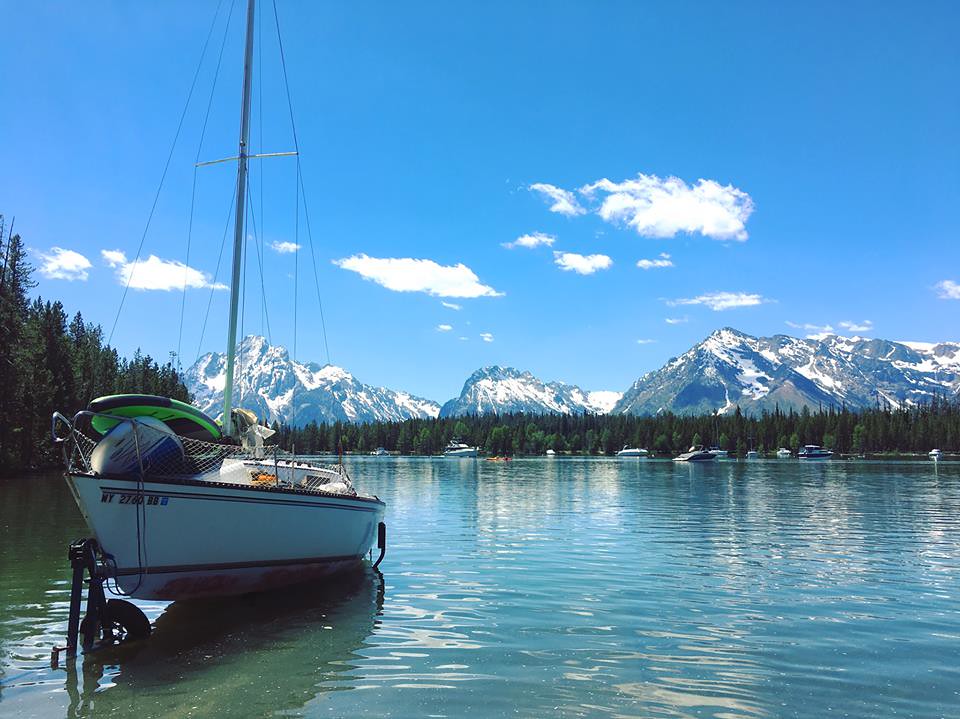
The first launch went pretty well. A few hiccups like getting permits and having to fill the outboard at the parking lot of a napa, but it really just worked great! When I bought the boat the PO said the jib had rust stains on it and was dirty and would probably need to be replaced, and that it came with 110-120% main sail. Not thinking much of it i put up what he said was the jib...and it was strikingly apparent after about 30 second that it was not the right sail and did not fit at all. We pulled out what he said was the other "main" and sure as ****, it was spotless and fit perfectly. That dingus had been using the wrong jib sail for years and never realized it. As it turned to evening and we tried to get back to the marina our motor wouldn't run for more than 3 or 4 minutes for dying and refusing to start. This was annoying and took us forever, and made it basically one shot to get off the dock and stab it back on the trailer. It took many more outings for us to realized the hose line was backwards and the bulb direction was going away from the motor, as well as the choke valve getting stuck in full choke mode if you pilled the knob too hard.

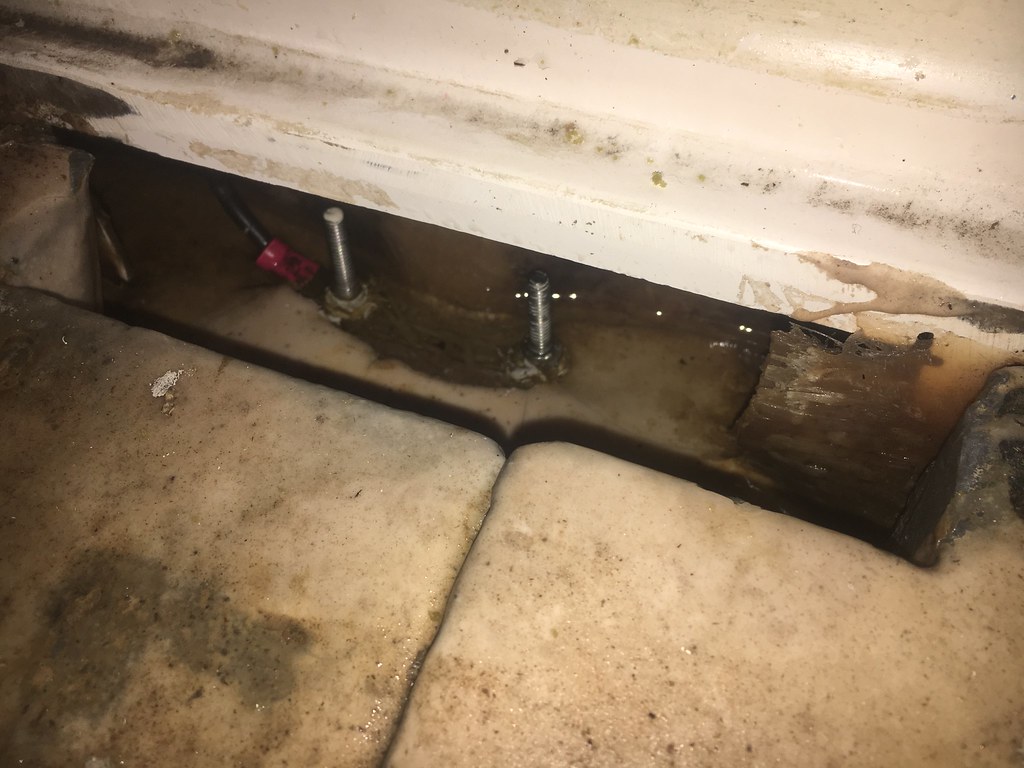
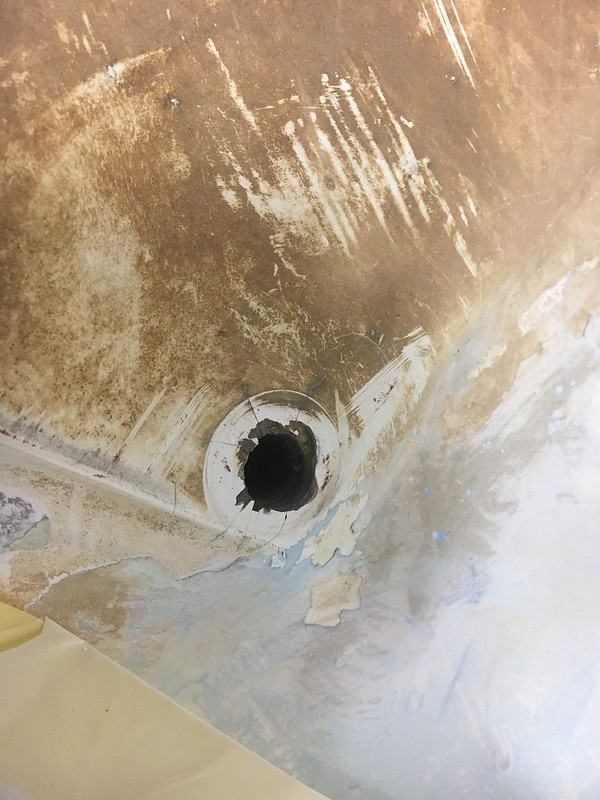
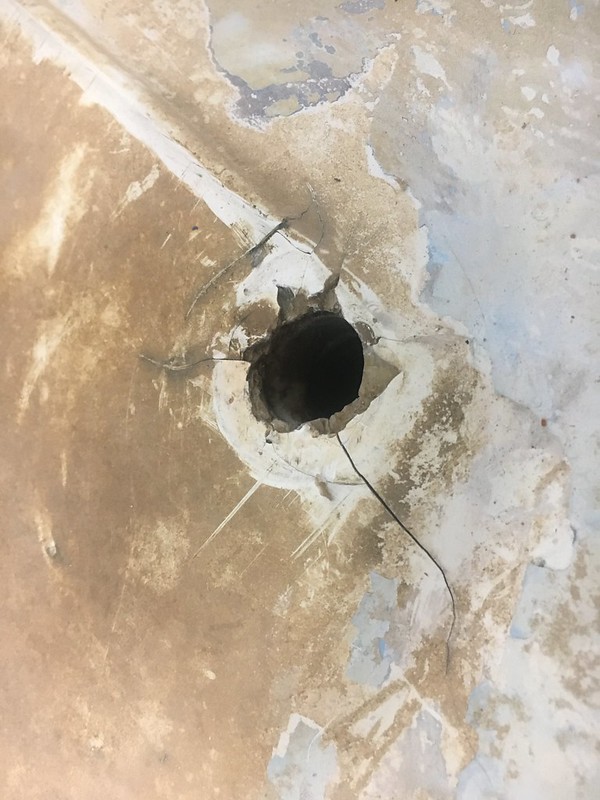
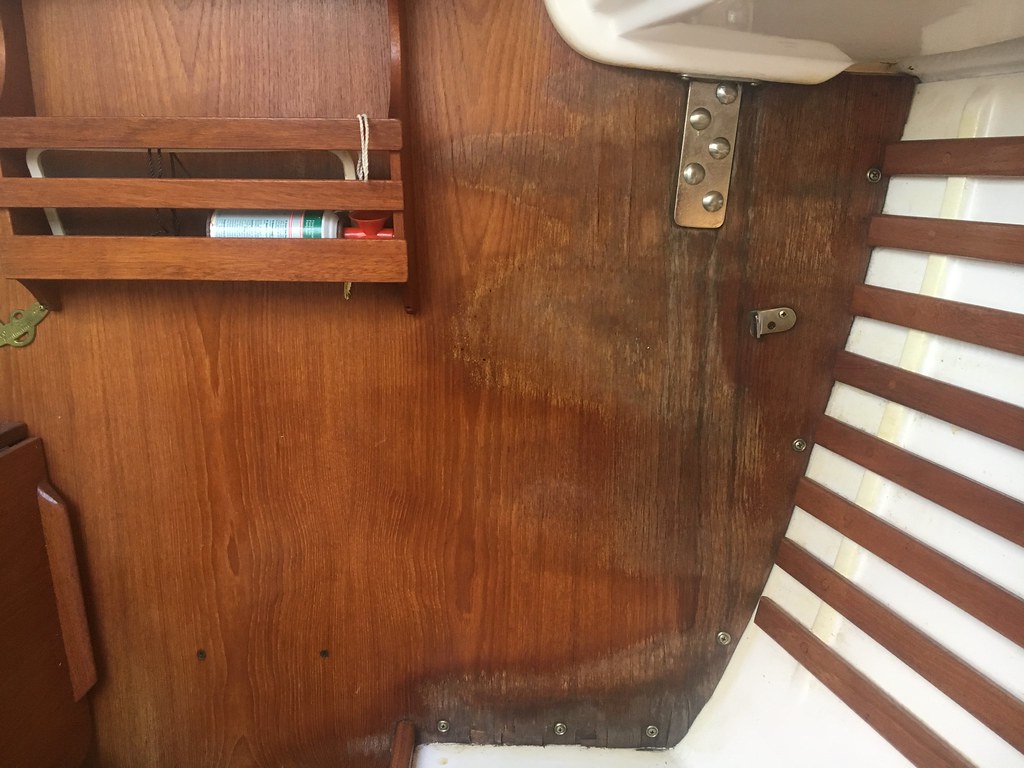
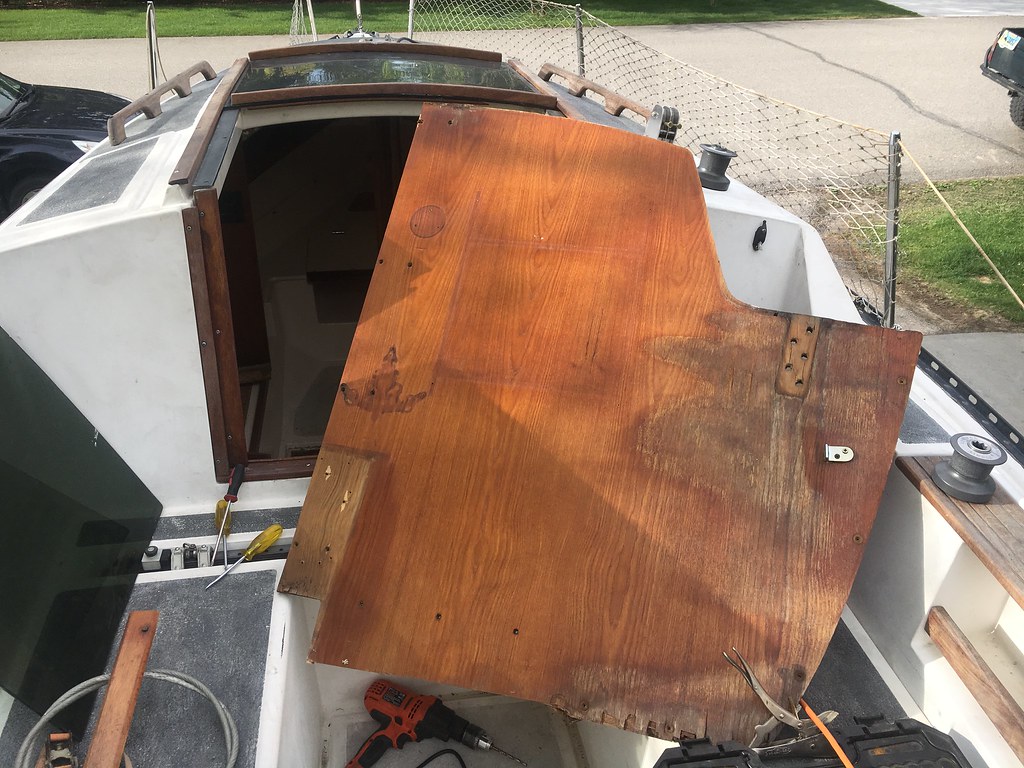
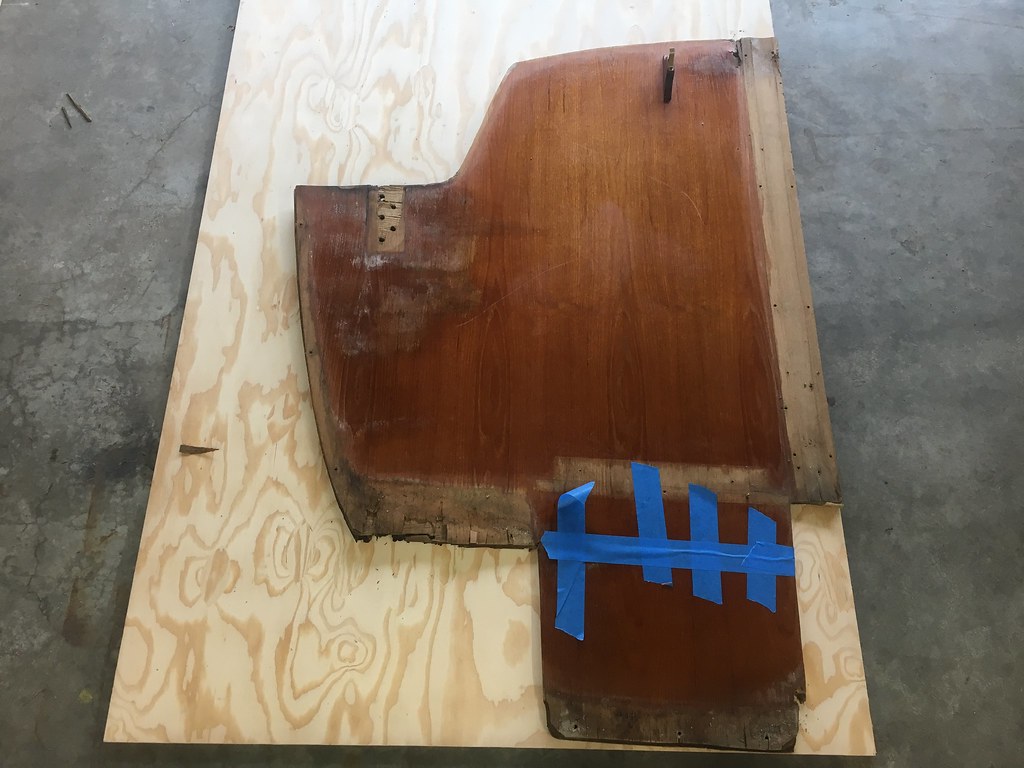
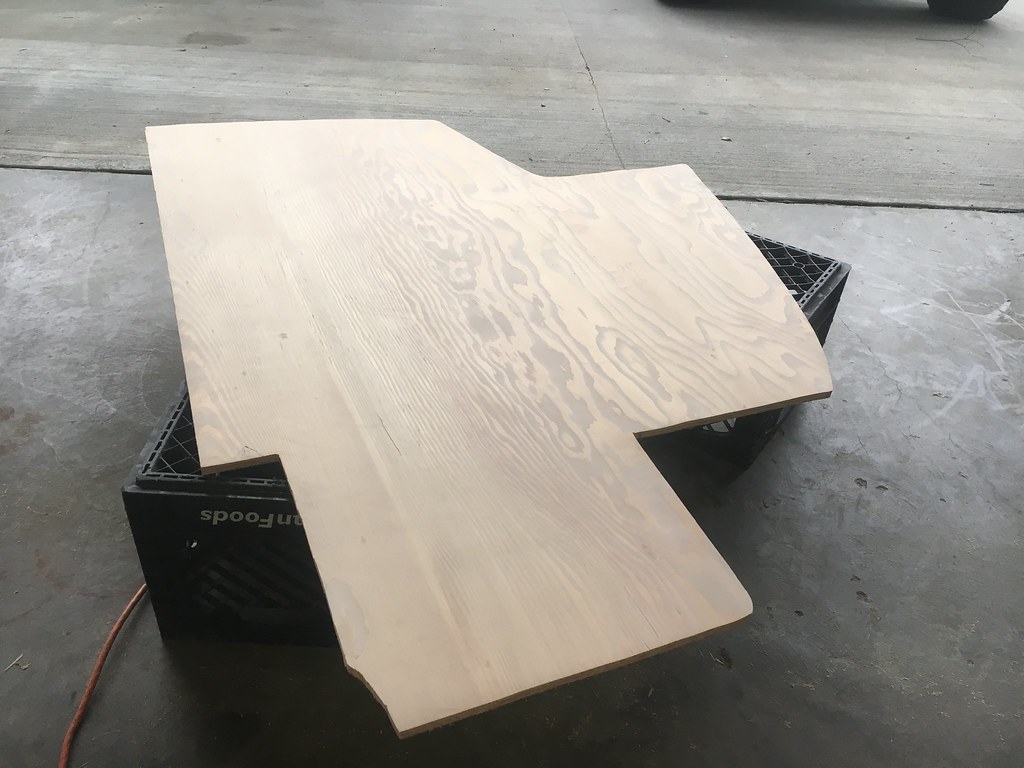
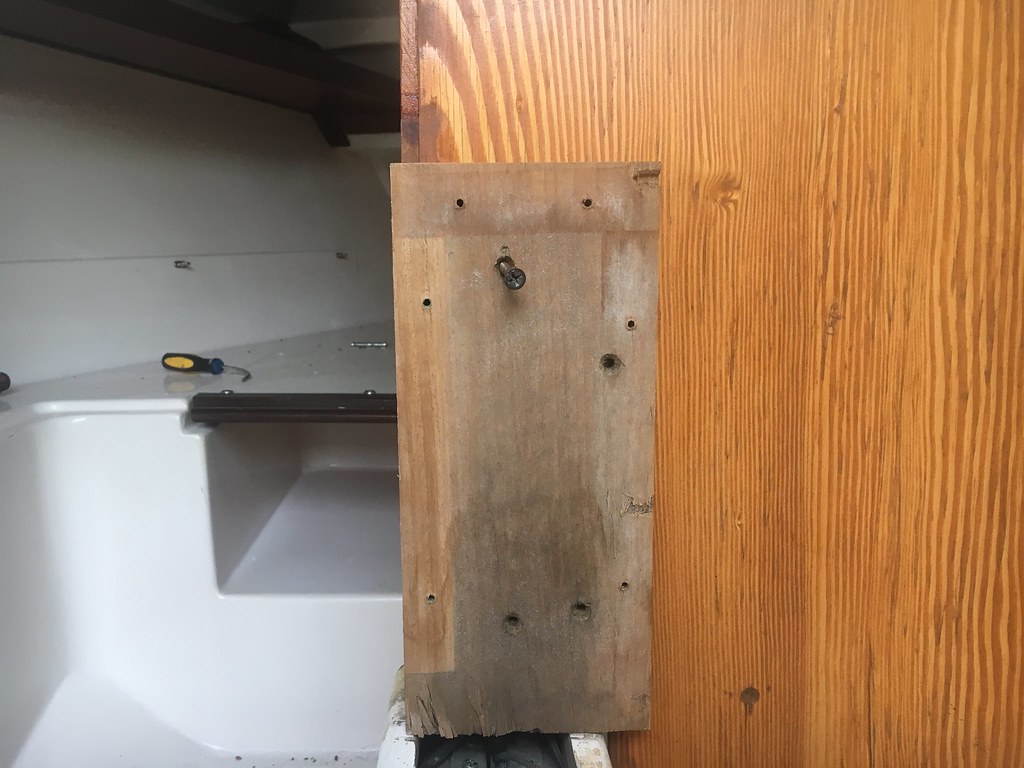
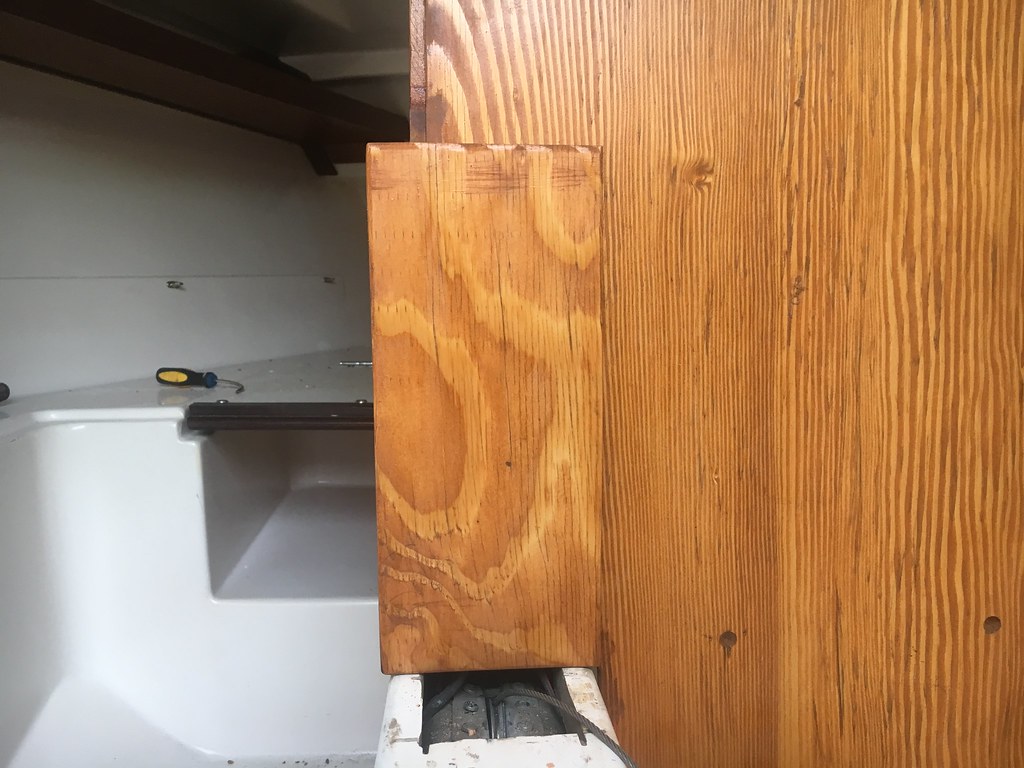
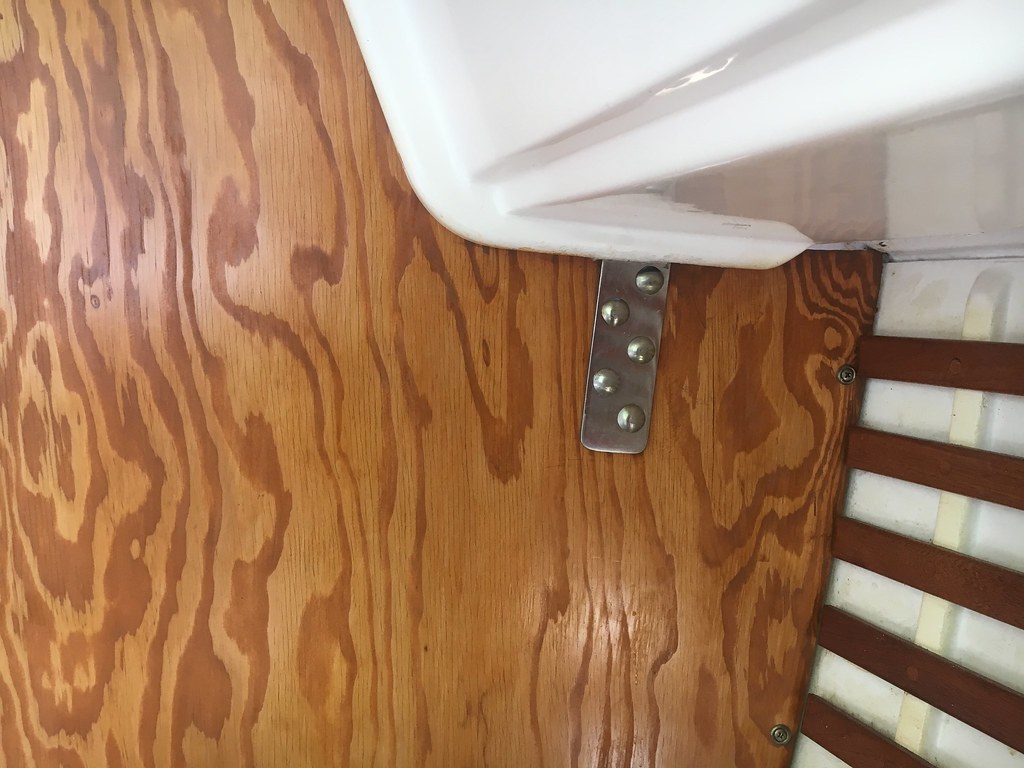
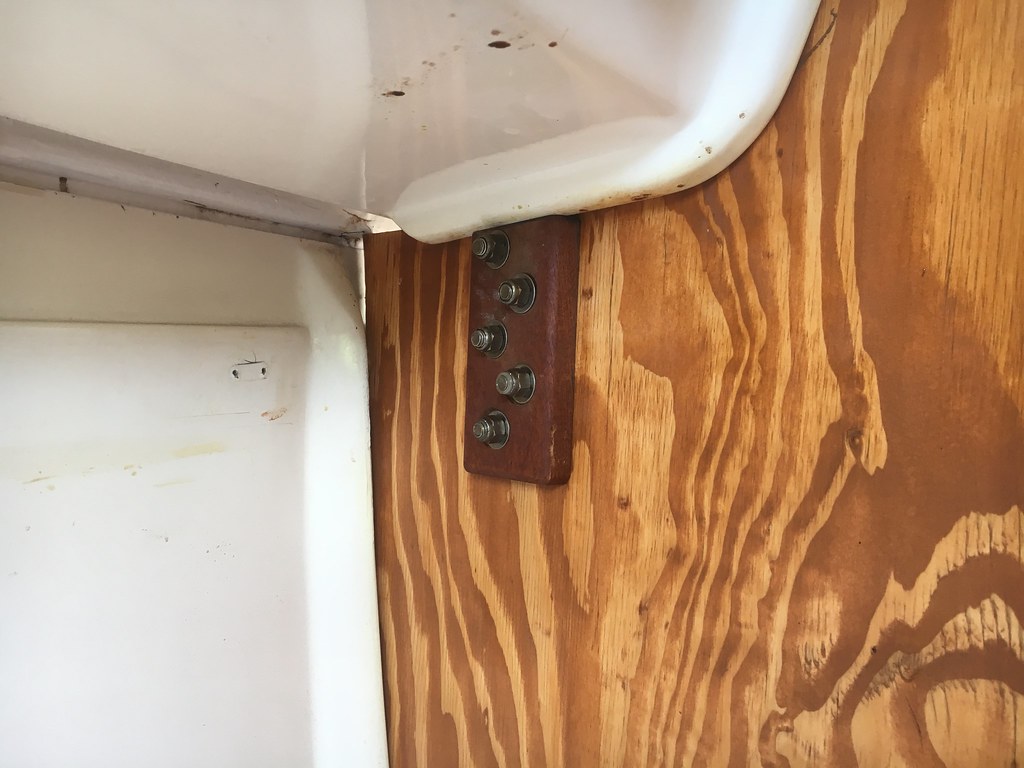
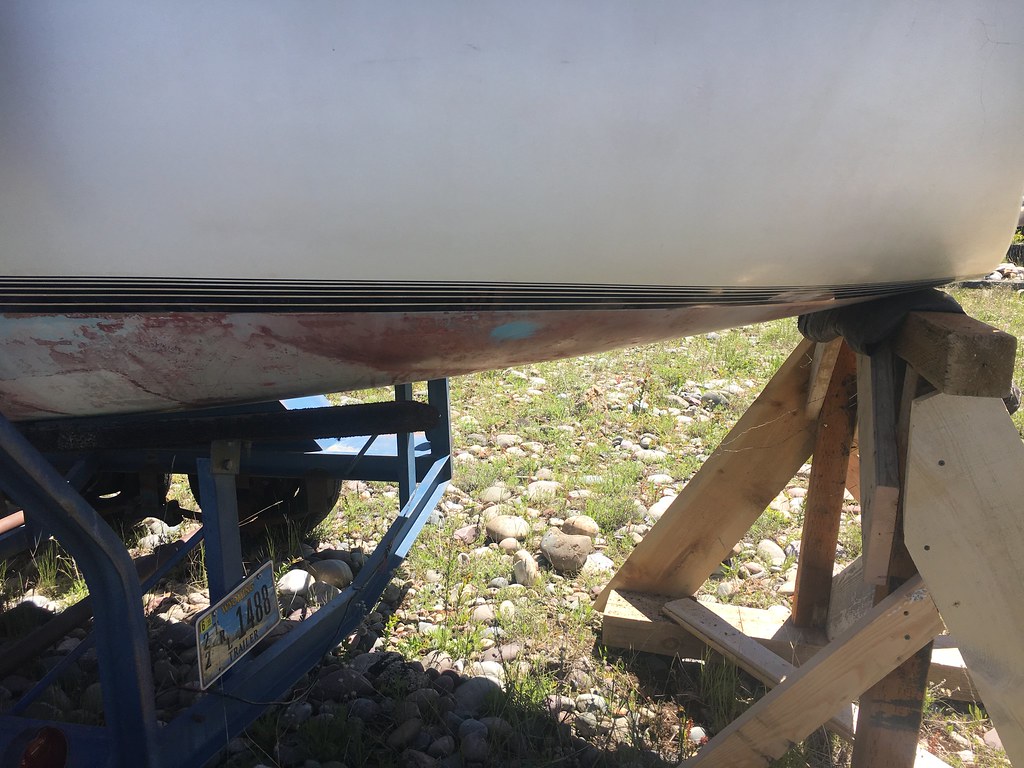
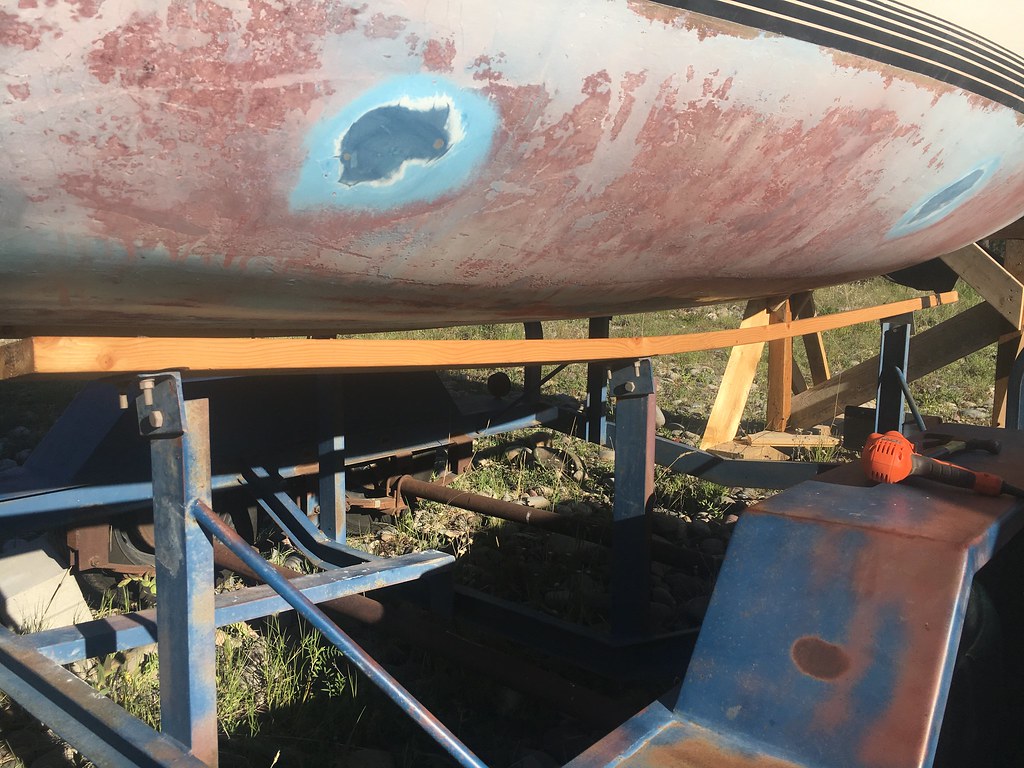
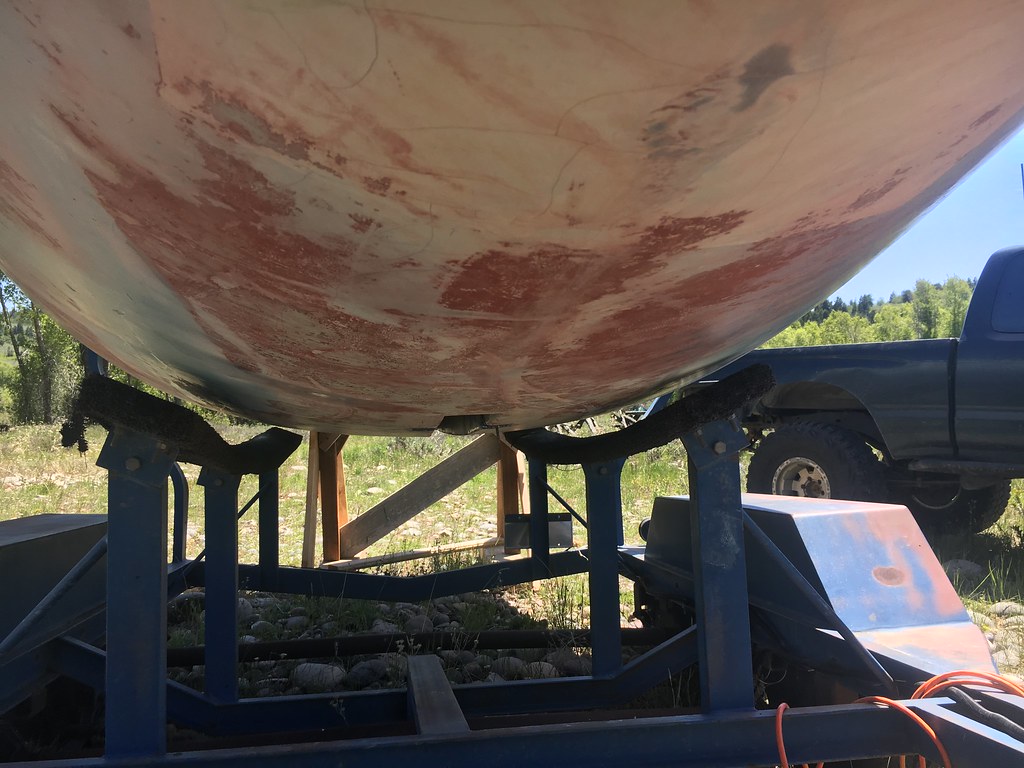
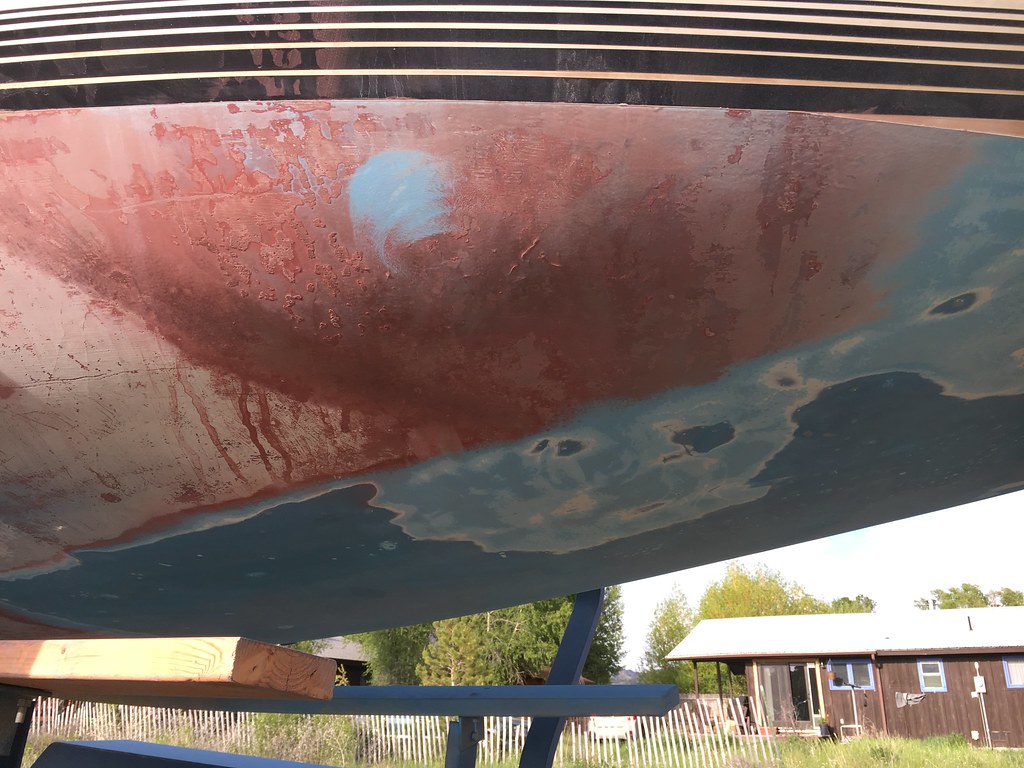
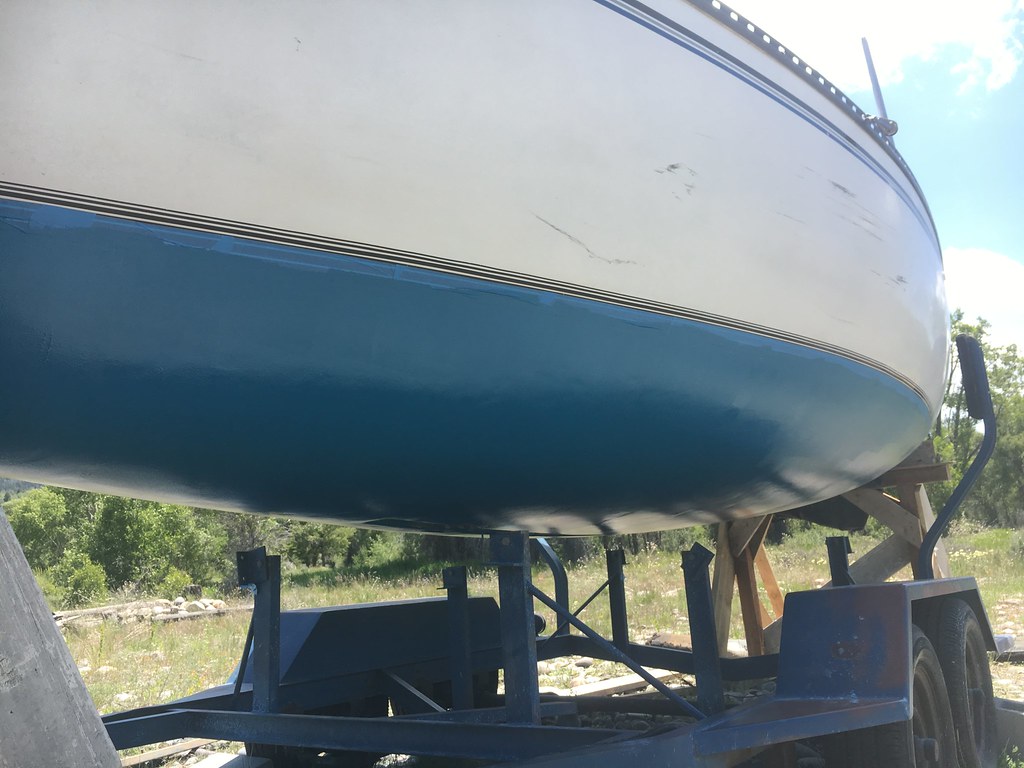
I used it the rest of that summer pretty often, blissfully ignorant at some of the things that needed to be fixed. When i noticed water in the bilge after a day on the lake, and water in the forward v birth and the soft feeling bulk head I started looking closer and realized I was going to have a busy spring recommissioning after winter was over.
 
Last edited:
  • Like
Likes: Cape Charles
Apr 5, 2018
95
Catalina Capri 25 Jackson
Winter was over, and it was time to bring the boat home to get tackling projects. It wouldn't be spring in Jackson if we didn't get a few odd snow storms.


The first project I took on was to redo the trailer wiring, install a 7 pin on my truck, and make sure the trailer brakes worked.

Basic supplies, time delay controller, trailer and vehicle side 7 way, wiring and connectors. The truck had a 4 way flat that I tapped into and ran the reverse lights from the tail lights and the brake output back from the cab. The power for the controller came from an aux fuse block I had installed for all the extra accessories. Pretty straight forward install. Total cost was about 200 for everything.


Also for the truck I put in an aux trans cooler to help keep temps down. Also straight forward, just had to build/modify some brackets to mount the cooler behind the grille.


Man was the wiring all screwed up. The trailer brake wire was attached at the ground pin on the harness, there wasn’t even a ground wire going through to the vehicle, only a ground point on the trailer, which was spliced into the trailer brake wire, and the ground for the trailer brakes was going to the black 12v accessory pin. After testing and figuring out where it all should be going to work I taped it all up, ran a reverse light wire to the rear of the trailer for future use, and covered it in some plastic wire covering.


Apr 5, 2018
95
Catalina Capri 25 Jackson
If I did these posts in chronological order it would be a nightmare to follow, as I essentially took everything apart I wanted to fix so i could figure out what to order, then I would wait a week or two for stuff to arrive. In that time I would take more stuff apart, and order more things. Then I would time my repairs with the weather, wait for stuff to dry, and take apart more things. The boat and my garage was littered with half finished projects. But luckily since I am posting these after the fact, I can organize them much better.

So here's what I came up with for things I wanted to tackle. I added a few things as I saw them of course. For instance "Rubber coat anchor locker" became "totally rip out anchor locker and refiberglass".

 
Apr 5, 2018
95
Catalina Capri 25 Jackson
I think the first task i'll start with was the swing keel. Most concerning was that the bolts let in a massive amount of water. I didn't realize where this was coming from until the end of the season when I began researching why my bilge would literally fill up in one day. Buckets of water sponged out on Yellowstone lake only to have it fill up again. The keel would also flop around and make sleeping on the boat annoying as it slammed against the trunk. So i'd take care of that silly bushing too.

To take the keel out i didnt have to take it off the trailer which was a huge blessing. I pulled the interior apart, luckily got the 4 bolts off without stripping them, they were quite rusted. When I pulled the bolts out a stream of water came out. I don't even know where it came from since I sponged it dry when I was undoing the bolts in the bilge.


The water that came out from the bolt holes
 
Apr 5, 2018
95
Catalina Capri 25 Jackson
Examining the keel damage. The edges were beat up, the bottom tip had a crack and the bushing hole was clearly worn out to an oval shape. I spent a while trying to figure out which side to grind down, as they did not appear to be the same. Luckily i guessed right and began to grind out the starboard side. I took off quite a bit more than was necessary because I couldnt get it out at first, and i wanted to bevel it out for adequate fiberglass layers. Too bad the grinder slipped and I took out most of the shape of the square edge. It seemed like it was really stuck in there. Eventually i flipped it over and beat it out with a hammer and punch. I had chipped out so much of the cavity a new nylon rod of the same side wouldn't fit snug. So I opened it up and bought a bigger size nylon rod to pound in there.

Starboard side-notice a thinner layer of fiberglass before nylon bushing

Port side-notice a thicker gap, and what looks like some white plastic foam material...this would not have been a good idea to try to open up and remove this side


(I got this little screwdriver stuck and couldnt get it out until i pounded out the whole bushing)


Apr 5, 2018
95
Catalina Capri 25 Jackson
Before I started getting the bushing made and in place I needed to build up some height, especially on the low end of the bushing at the edge of the "square" shape in the top of the keel. I cut out 8 circular layers of woven mat, and laid them down, and when dry ground it down to flatten high points and left the rest. I cleaned up the bushing cavity and began working on the bushing. The new rod ended up being 1 3/4" OD. I bought it from Grainger. White Nylon rod, 1ft for about 12 dollars. I cut it to the sane length, and drilled a 1/2" Hole through the center. It took a good bit of work to fine tune the cavity to get the bushing to sit in there with the correct orientation. To be honest im surprised it ended up being as straight as it was on both the X and Y axis. It was a combination of eyeballing and measuring, but I managed to get it in there so the metal rod was pretty well perpendicular with the keel. Once the bushing was where I wanted it, I thickened some epoxy a bit and poured it around the gaps at the top of the bushing to glue it in and fill the space. After that dried and I made sure it was solid in there I laid down 6 more layers of woven mat ontop of the bushing to get the extra height I needed to shape it back into the square form of that section of Keel. Once all of that dried I took a few bits and drilled out the new fiberglass from the other side.


Apr 5, 2018
95
Catalina Capri 25 Jackson
Moving onto the other side of the keel, I decided the easiest way to fill in the extra space was to pack in the voids with heavily thickened epoxy resin, then glass over the epoxy filler to reinforce it. So I mixed up some epoxy with 406 silica to a mayonnaise consistency, and packed it in the voids. I then drilled that out when it dried from the newly fiber glassed side and made sure the new filler was tight in there and bonded well. I then glassed over with 3 layers of mat and smoothed out.

The bottom tip of the keel was also cracked and splitting. I cleaned out the void as best as I could and poured epoxy in there and clamped it together. The resin dried and I took them clamp off. Nice and tight. The next day I dropped it and it split back open. So i cleaned it out and glued it again. After that dried I roughed it up and added a few layers of glass over the newly glued edge. After that dried I smoothed out the rough edges and tapered it back into the keel.


Apr 5, 2018
95
Catalina Capri 25 Jackson
Prior to painting the keel I cleaned up the bashed in edges, of the "mechanical depth sounder" and covered them in a few layers of Pettit EZ Tex 7100 repair putty. Supposed to be good for filling cracks and gouges and making permanent watertight repairs. It cures hard and can be sanded and painted. So I covered and smoothed out the damaged areas, then sanded and smoothed it all out after. Any spots on the keel that had expsoed fiberglass I covered with a few layers of epoxy to keep out water, and let it all dry and cure prior to paint. I just used the left over CCP Ablative bottom paint I had after doing the boat.

Edge before


laying on paste


Smoothing it out


Don't mind the trash bags, we had a big bbq the night before and I had to take them to the dump in between coats of paint


Re bedding the keel was a fairly easy process. The 1/4-20 bolts that came out were philips heads, and were a pain to even get out. In a place where they are constantly put under torque and they literally plug a hole in the bottom of the boat I didn't want to deal with phillips head bolts. So I ordered some equivalent length 1/4" hex head bolts, so when installing it we could get adequate tension on them without destroying the bolt.

For the bedding compound I went with fast cure 4200 on the outside, and i added a bit of countersink and packed the inside with butyl tape before putting on some thick washers. Due to the weird shape of the bilge I couldnt get fender washers in like other people have used. I had to cut out some of the keel trunk to get the socket/wrench into the bilge to tighten the bolts but the floor board covered them so its no big deal. To Hold the keel in while we lined it up I hung 2 ratchet straps from the toe rail and slowly tightened them while maneuvering and lifting the keel in place. As with most of the through fittings on the boat I would tighten everything like you would a car tire, in a diagonal direction to evenly tighten and spread the load out.


Sorry for not peeling off the butyl tape
On the lake, no leaks
 
Last edited:
  • Like
Likes: pateco
Apr 5, 2018
95
Catalina Capri 25 Jackson
Next Major repair we'll move onto was the starboard bulkhead. Last summer i didn't know any better and through it was just an outter layer of wood that was rotten, turns out it was fuk'd all the way through. Scary stuff. A leaking chain plate is clearly the culprit. So after the keel table, chain plate, decorative screws and compression post screws were remove I opted to cut the lower portion of the bulkhead for ease of removal. I needed to keep it in tact for use as a template so if I tried to pull it out in one piece im sure it would have just fallen apart. I'm thankful my boat has one of the easiest bulkhead replacements. No need to re-tab or fiberglass the board back in. The slots are there and it can be pounded back into place. The bottom leg is not going to be as thick as the previous one because there is just no way to bend and push it in at full width, but given that its still best and jammed in there and screwed down in 15 places i feel great about the repair.

After the bulkhead came out I traced it on a sheet of 1/2" marine ply. cost of a 4x8 sheet sent special order to jackson WY, 70 bucks. I used a small screw driver to punch through and indicate where the previous bolt holes were and were the chain plate went. The chain plate is not straight down, it has some angle to be sure to get that set in place properly. A few of the edges are beveled to match the hull or tab, i found an angle grinder with a flappy wheel made quick work of beveling the board. Much faster than a sander that would eat through pads.

To finish the wall I had some stain made that kind of matched but doesen't really, so i'll replace the other bulkhead wall so that they both match. I used a pre stain treatment, 2 coats of stain and a gloss finish. Getting the bulkhead in was just a matter of try it, trim it, pound it, trim it, and pound it in more till it fits. I jammed in the top and sides and left that leg at the bottom until last and really only trimmed that. I was kicking and pounding that thing in the bottom to get it around the tab. Eventally it went in and I could start to put the screws all back in to hold it in place.

When sealing the chain plate there was a huge gap...not sure if this is normal but it was slighty concerning. Not sure if it was right or not i just let it be. I filled the void with polyurethane sealant and sealed the decorative plate on the deck with butyl tape. Putting the chainplate bolts in was a snug fit but it all went back together properly and I'm happy with the repair and no leaks. There was a gorss piece of wood screwed to the bulkhead above the keel trunk, so I replaced that with some color matched marine ply as well.


  • Like
Likes: pateco
Apr 5, 2018
95
Catalina Capri 25 Jackson
The next piece of repair is the forward hatch. I noticed quite a bit of rain water in the v birth, right below the hatch and realized the frame must be leaking. When I went to pull it up to work on resealing it, the results were disastrous. The plastic frame was cracked through and fell apart in at least 3 places and had cracks in many others. Previously one of the supporting arms for the hatch had also broken apart. Once I got my disintegrated hatch apart, I noticed underneath it the fiberglass was cracked half way around. To remedy the crack i ground out and beveled the crack to clean it out and make room for the repair. I filled and sanded and filled the crack with the pettit pain 7100 marine tex repair system. After that had filled in all of the cracks i applied a layer of paint and eventually taped it up while I tackled the frame.
I didn't want to cut the hole 1/2" bigger to accept a new hatch (the only other option as a similar sized hatch is not available, and also costs 300+ dollars). So i looked up different ways to repair plastic. I was going to glue it then found out about plastic welding with a soldering gun. So i said what the hell, i'l give it a shot. So i got a soldering gun and began stitching the plastic together. Basicially you just melt the plastic from the two pieces together and add more plastic (zip ties) to fill in gaps. Then add reinforcement in the form of metal wire to strengthen the repair. I slowly worked my way around the hatch, melting plastic and adding more plastic and adding wire until the frame was one solid piece again. Around all of the cracks i would bend the wire into loops or ovals, and heat them up so they would melt and sink into the plastic frame for extra reinforcement.


I forgot to get pictures after sanding and painting :(


To bed the frame back on the boat I elected to use butyl tape around the entire base of the frame. It was fragile enough as it is, and any sort of adhesive material i feared would destroy it if I had to remove it again. At least butyl only has 15psi of tensile strength. When screwing down the hatch I noticed a few spots began to crack, and realized I was going to need to go through some sort of backing plate to protect the frame. So I cut out and made the 4 strips of aluminum to brace against the frame so I could tighten sufficiently to form a tight fit with the butyl and not destroy the plastic. I bedded the glass with down corning 795. After a few heavy rains im happy to report the hatch has not leaked whatsoever.


Last edited:
Apr 5, 2018
95
Catalina Capri 25 Jackson
The anchor locker. After one particularly rainy day I went inside the boat to discover a fair amount of water in the front of the v birth. I decided enough was enough, I don't want to get rained on while sleeping. So originally I was going to just cut out the old failed caulking in my anchor locker, and re seal it to keep water out of the v birth. However my mood changed to slight frustration when I depressed the wood and water oozed up from the seams. I cant, after going through all the rest of the work on the boat, leave this with a band aid repair. So i was like, eff it no going back now. And began gutting the entire wood base so I can glass in a new piece of marine ply. To get the old material out I used a grinder to grind down the fiberglass away from the wall, then with a crowbar and screwdriver I pounded and pried up the wet wood partially sealed to the fiberglass underneath, careful not to punch through into the V Birth below. After the wood was out and the screws removed I sanded and ground down the remaining offending strips of wood and epoxy to make it somewhat level.

Slowly making progress cleaning out the tight corners to get it ready for sealant and glass, I located what I think is the source of most of the leak issues...the very front of the anchor locker is just a mass of goo, 4200? The wooden base did not cover it, so over time it was able to seep around the edges. My new sheet of ply will go all the way forward and be glassed up and around the drain hole so that this sealant in a glob doesn't need to be the sole waterproofing in the locker.
After the base of the locker was prepped I cut out pieces of 1/2" marine ply to form the floor of the locker. Because the hatch opening is so much smaller than the floor area of the locker this had to be done in multiple pieces. The bottom outside seam was lined with polyeurothane sealant, and the bottoms of the marine ply was coated with epoxy resin and glued to the fiberglass. After the plywood was epoxied in place, all of the angle wall to wood joints were filleted with epoxy thickened with 406 fumed silica, and the wood was pre-soaked with a layer of epoxy resin to tackiness before poring on more resin and laying the woven mat.

All in the whole anchor locker had 3 layers of medium thickness woven mat (took 3 38”x3ft packages of mat) and i used about 20fl oz?of resin. Ignore the little leaves in the last few pics, this was probably the most annoying part, it was windy and the wind would just blow these stupid leaves into the open locker and I’d have to pick them out with a small pair of pliers constantly while I was spreading resin and paint.


Apr 5, 2018
95
Catalina Capri 25 Jackson
The worst one yet! Bottom paint!
The bottom protection was questionable and ugly at best. Most of it was a layer of red that would rub off into a dust on you or anything that touched the bottom of the boat. Aside from being messy it was ugly and I wanted to be sure there was adequate coating and protection on the bottom of the boat. I also needed to replace the trailer bunks as they were cracking and bending and putting a pressure point in the bottom of the hull. So step one was to build some stands. I went to a friends job site and loaded up with as much wood as I thought I needed. Of course I thought I got plenty and ended up using that plus some. I measured where the boat sat, kind of level, and increased the height of the stands by 3", just enough to get it off the trailer. After a half day of work and a box and a half of 5" deck screws I had some stands together. I used some cardboard to shape a piece of wood around the hull for some cradle support around the front. The next day I loaded it all up and took it to my friend's house outside of town where there would be plenty of space to sand and paint and not make a mess around any houses.

Getting the boat on the stands was a bit sketchy but not too bad. I used a Hi-Lift jack to get the front up enough to get the stand under it. Without the hi lift this would have been a substantial worse process. First we dropped the tongue to the ground and slid the stand under the hull-transom joint at the stern. Then we lifted the front of the trailer up with the hi-lift, while stacking wood under my 6-ton car jack incise the trailer had to come down quickly it had something to rest on. I had to keep the bow strap tight because the boat seemed to just want to slide down the rubber stopper that the bow edge sits against. Eventually the boat was up enough to clear the bunks and we could slide the forward stand in and screw it together and add the little cradle support and drop the trailer out of the way.


Apr 5, 2018
95
Catalina Capri 25 Jackson
For my method of prep...I elected to sand the bottom with a 6" RO sander. In hindsight...it probably would have been better to just chemically paint strip it and start from scratch. But by the time I realized that sanding took way longer than was necessary, I had already done enough that I might as well just finish it. Started with some test patches, this dark blue layer was just before the gel coat, under the red, a white layer, and a light blue layer. All in...to sand the bottom took a bit over 25 hours. Then I had some patches where I sanded through the gelcoat on accident and I had to epoxy over those exposed little fiberglass areas. That took another 6 hours or so to epoxy, epoxy again and sand. Eventually the bottom was ready and I went with some blue west marine CCP Ablative paint. Thank god I got a gallon so I could do 3 coats on the bottom and the keel. Sanding this thing, every night, for 2 weeks...ruined my will to live. It was such a back breaking daunting and shitty experience. Never again will i sand and strip the bottom of a boat. screw that.

When it was all ready i left a couple times from work and rolled on my 3 coats of bottom paint and let dry.


Apr 5, 2018
95
Catalina Capri 25 Jackson
Replacing the trailer bunks was straight forward. Where the metal support was digging into the wood I just ground in a notch so it wouldn't force it to crack. I replaced the SS Hardware and used a ratchet strap to pull the board down enough to bend it into place. When the boat was almost done I just stapled some bunk carpet to it, and rebolted.