What a great boat! One of the more peculiar sailboat builds from the last century, Alden Challengers had their fibre glass hulls and decks cast in the UK.
Then the hull and attached decks were shipped off - along with a thick roll of hand-drawn blue prints - to wooden boat builders around the world, to be 'finished' in traditionally built (at the time) wooden houses, cockpits and interiors.
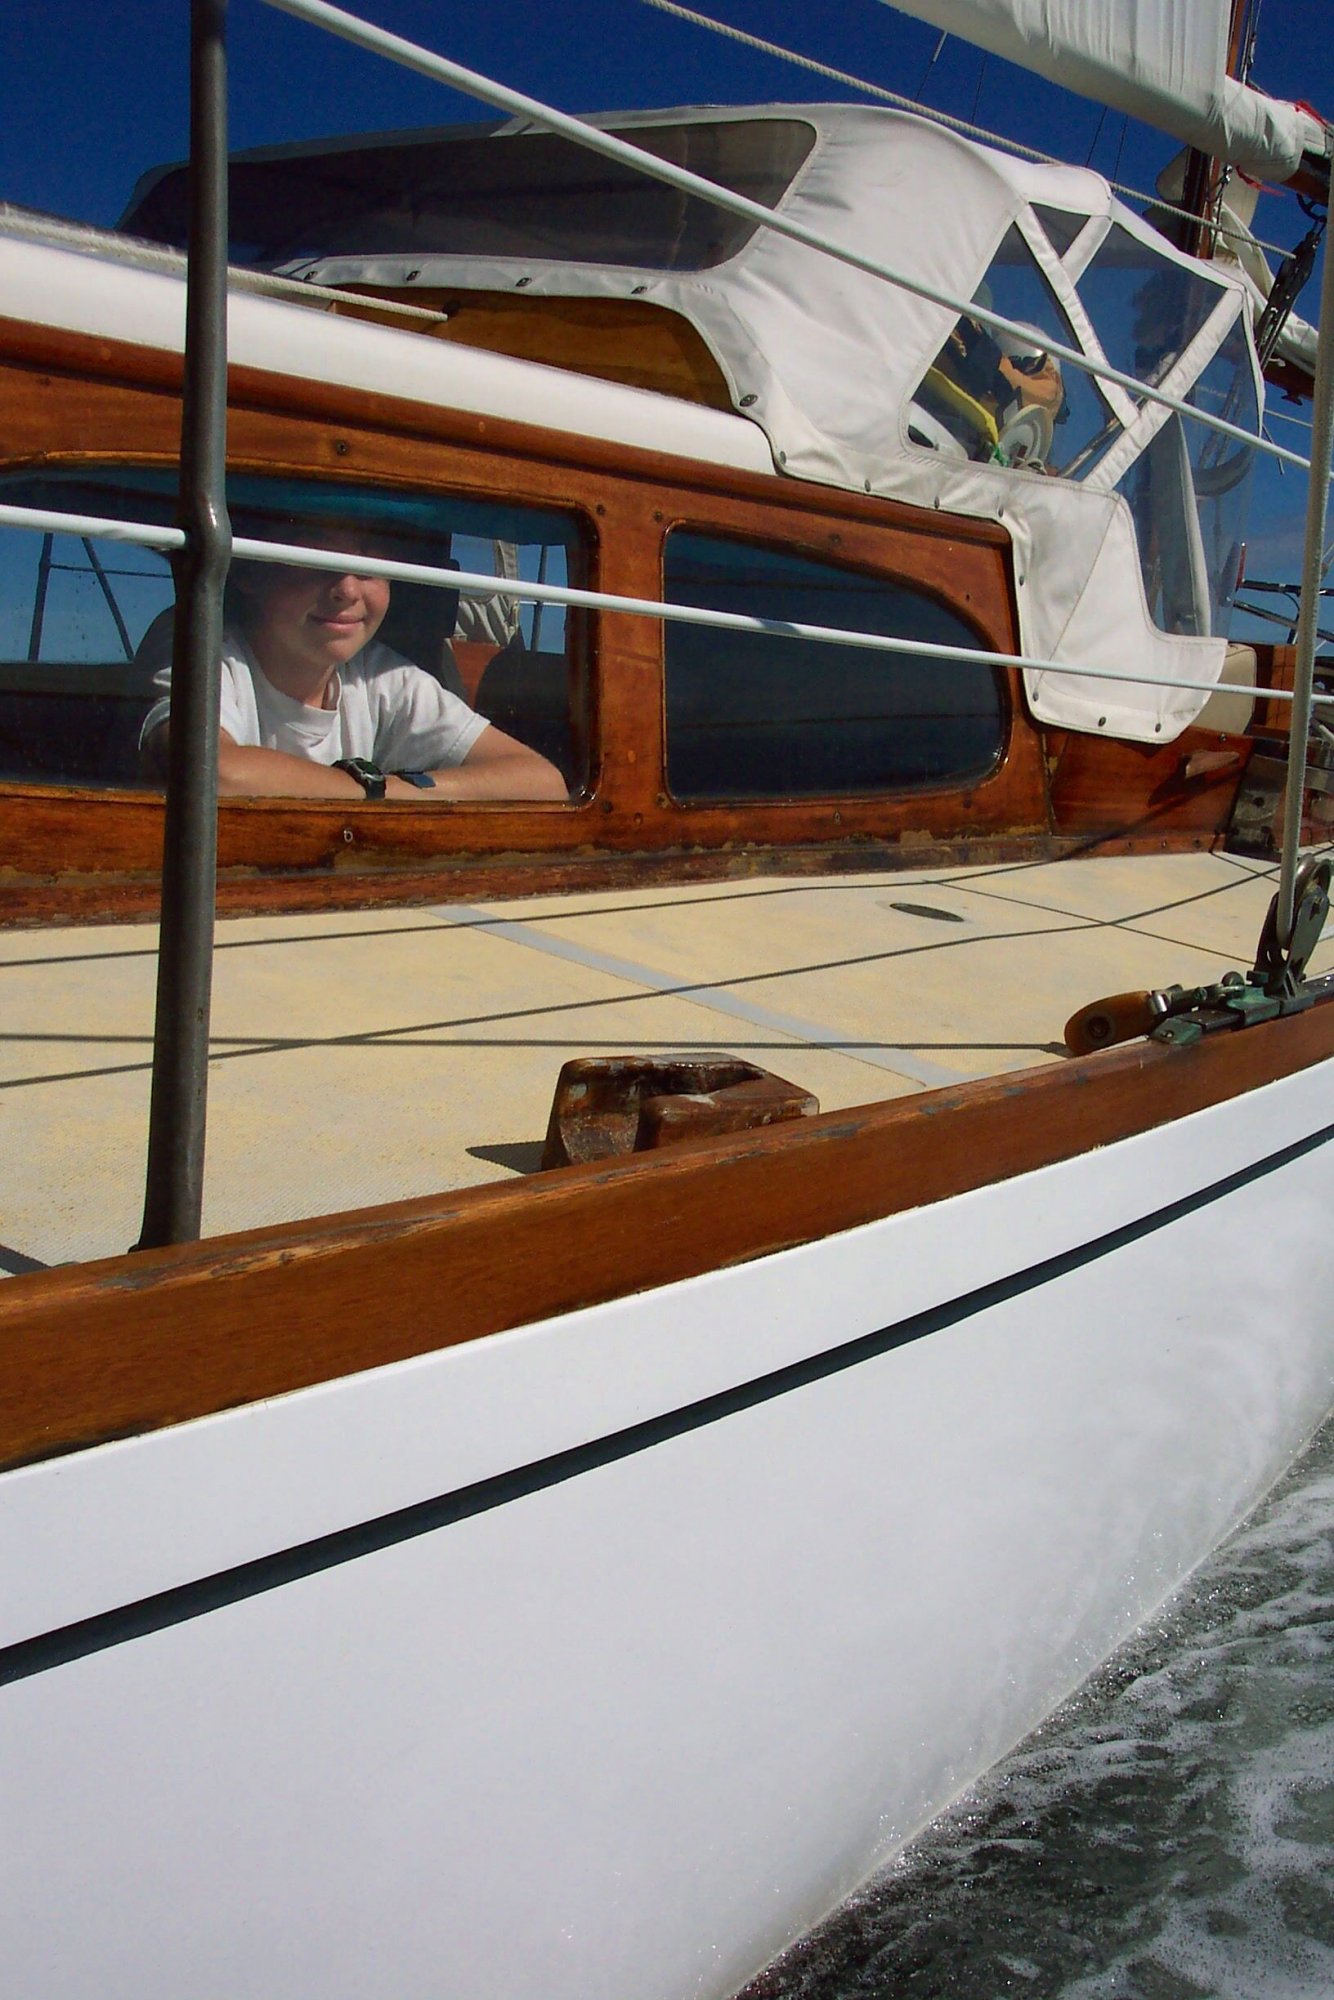
CHRISTMAS was already 40 years old when I bought her, 20 years ago. The wooden 'house' was showing some age and battle scars from her first 20 seasons that included; launching in the Great Lakes, a stint in the Bahamas as a charter boat, two Bermuda races and ultimately settling in Southern New England.
I had a few things to fix but she never missed a day of sailing that I know of, in all these 60 years.
Looking back over photos of our first few seasons, I can see water damage along the deck to house joint (and my son about 10, now 29), from years before we owned her.
Over the years in the off season, I fixed a lot of those problems with the advice of wooden boat building friends. Some new methods and materials in boatbuilding have evolved since Xmas was built.
And wood, fragile if not cared for correctly, is amazingly strong and resilient if it gets some care. Over the years, the traditional caulked joint and covering trim board were replaced with an epoxy filet reinforced with glass tape. The brutal threaded inserts for mounting storm shutters (wise for Bermuda races) were removed and holes 'sewn up' with plugs, and various 'Dutchman patches' were fitted into splits and cracks.
All pretty easy stuff if you work with wood.
Wood is an amazing material. The old house now 60 is looking better than at 40.
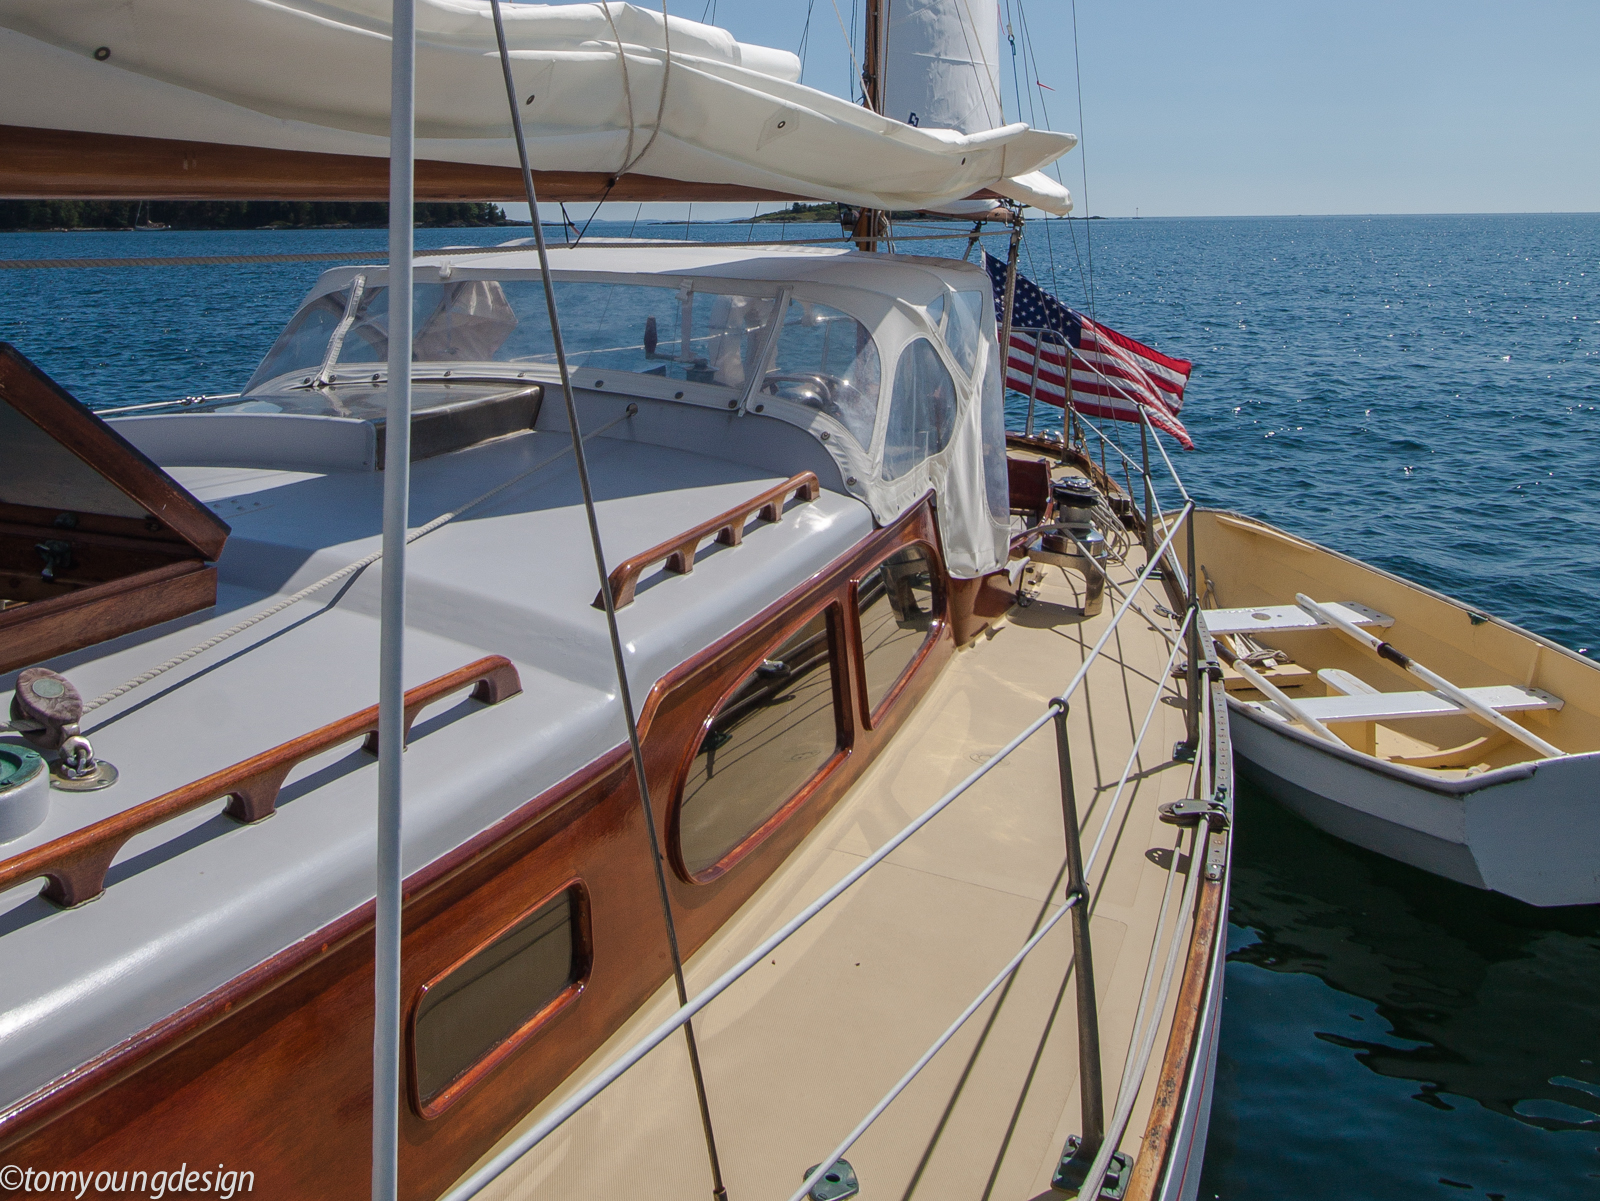
But there is still a problem in this area along the deck, I've known that for a few years. Varnish fails here too quickly. You just tend to it, the important thing is to keep the wood protected from too much water. Here and early failed area of varnish below the port:
I had a suspicion of the reason for the problem but I talked with a friend and world class wooden boat builder. Upon my description of the varnish fail, he just chuckled. "When wood won't hold varnish, just get rid of it "
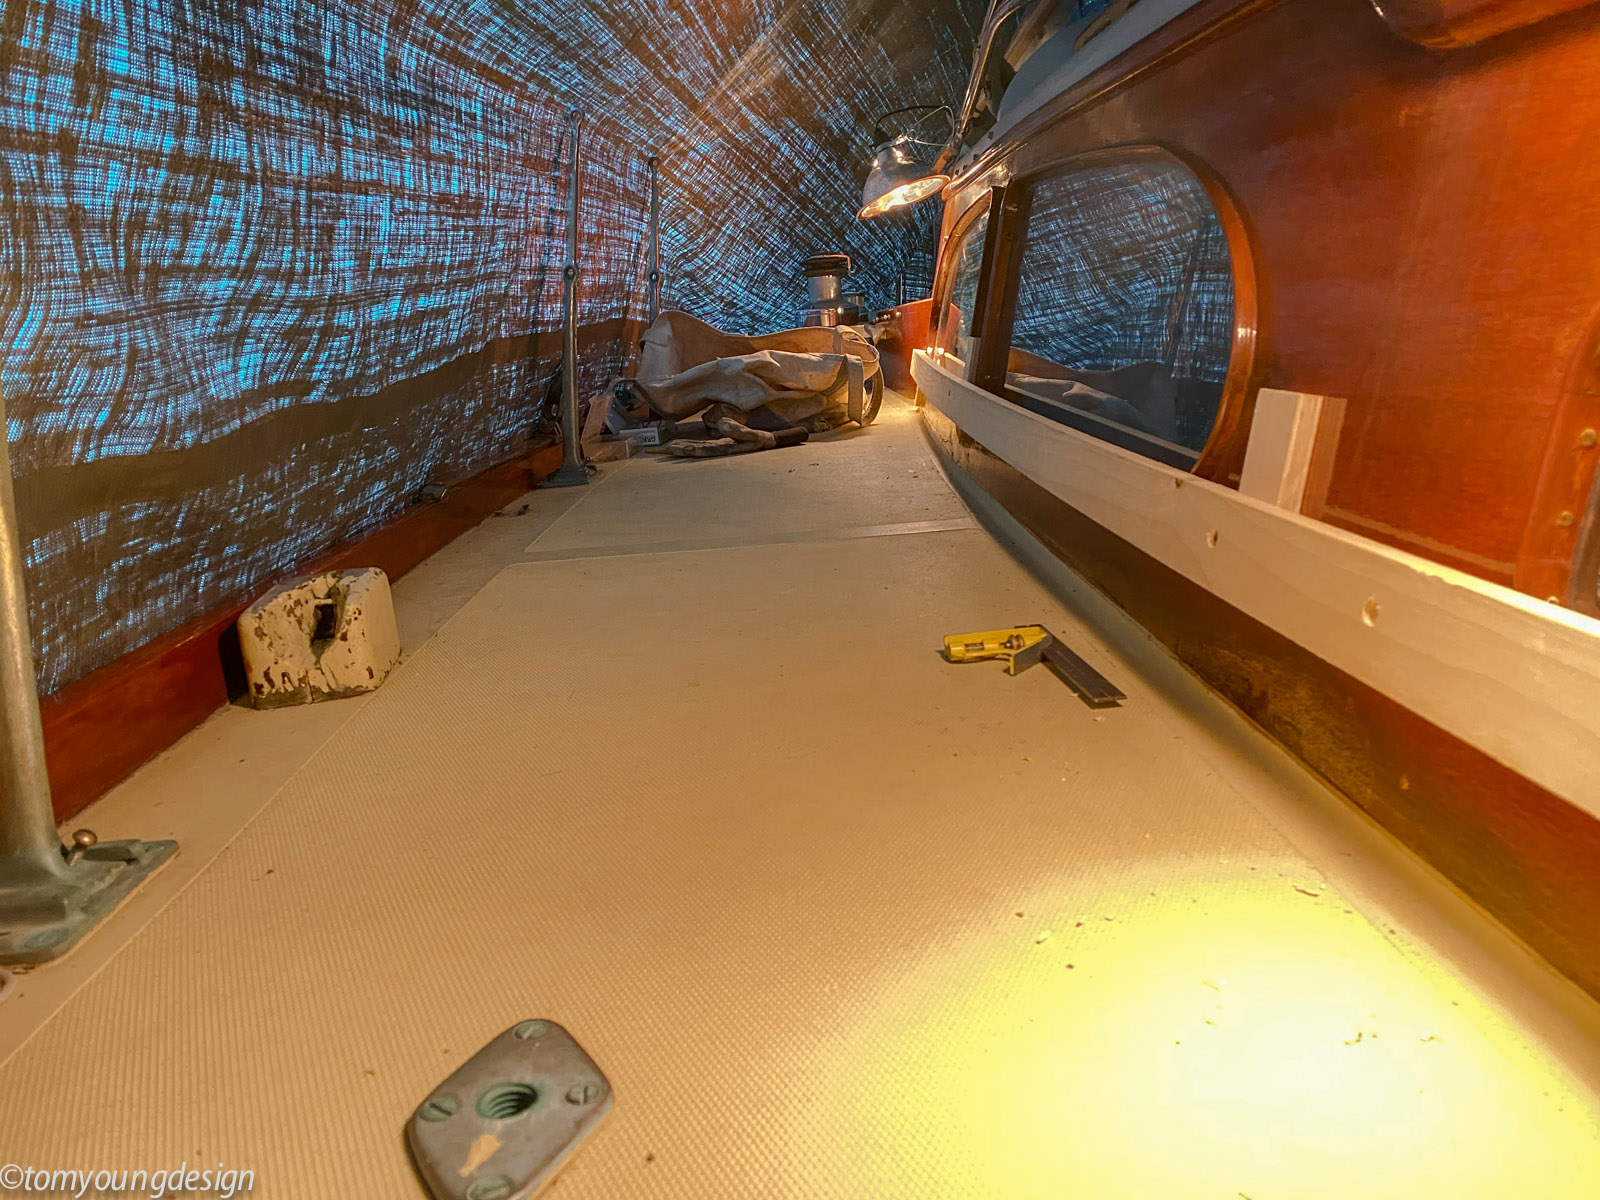
I understood: Removal meant cutting the damaged (by moisture and rot) wood out. I was already prepared to fit another 'Dutchman patch' to the old house. The only tricky part is, the narrow patch is nearly 20 feet long.
She's turning 60, it's time to fix this area once and for all. I scarfed a long straight pine 'track' together with epoxy and mounted it along the house: A boat yard probably would have removed the port trim but that was all reset about 10 years ago and tight as a drum. This made it tricky to get the track a uniform distance away from the cut area. But with spacers and a few shims, I got it.
The track is a rail for my router with an offset bit and fence to ride. It took a little courage to throw the switch and 'start riding'.
A few minor adjustments in depth and set, and water darkend wood started flying. I'm all in now.
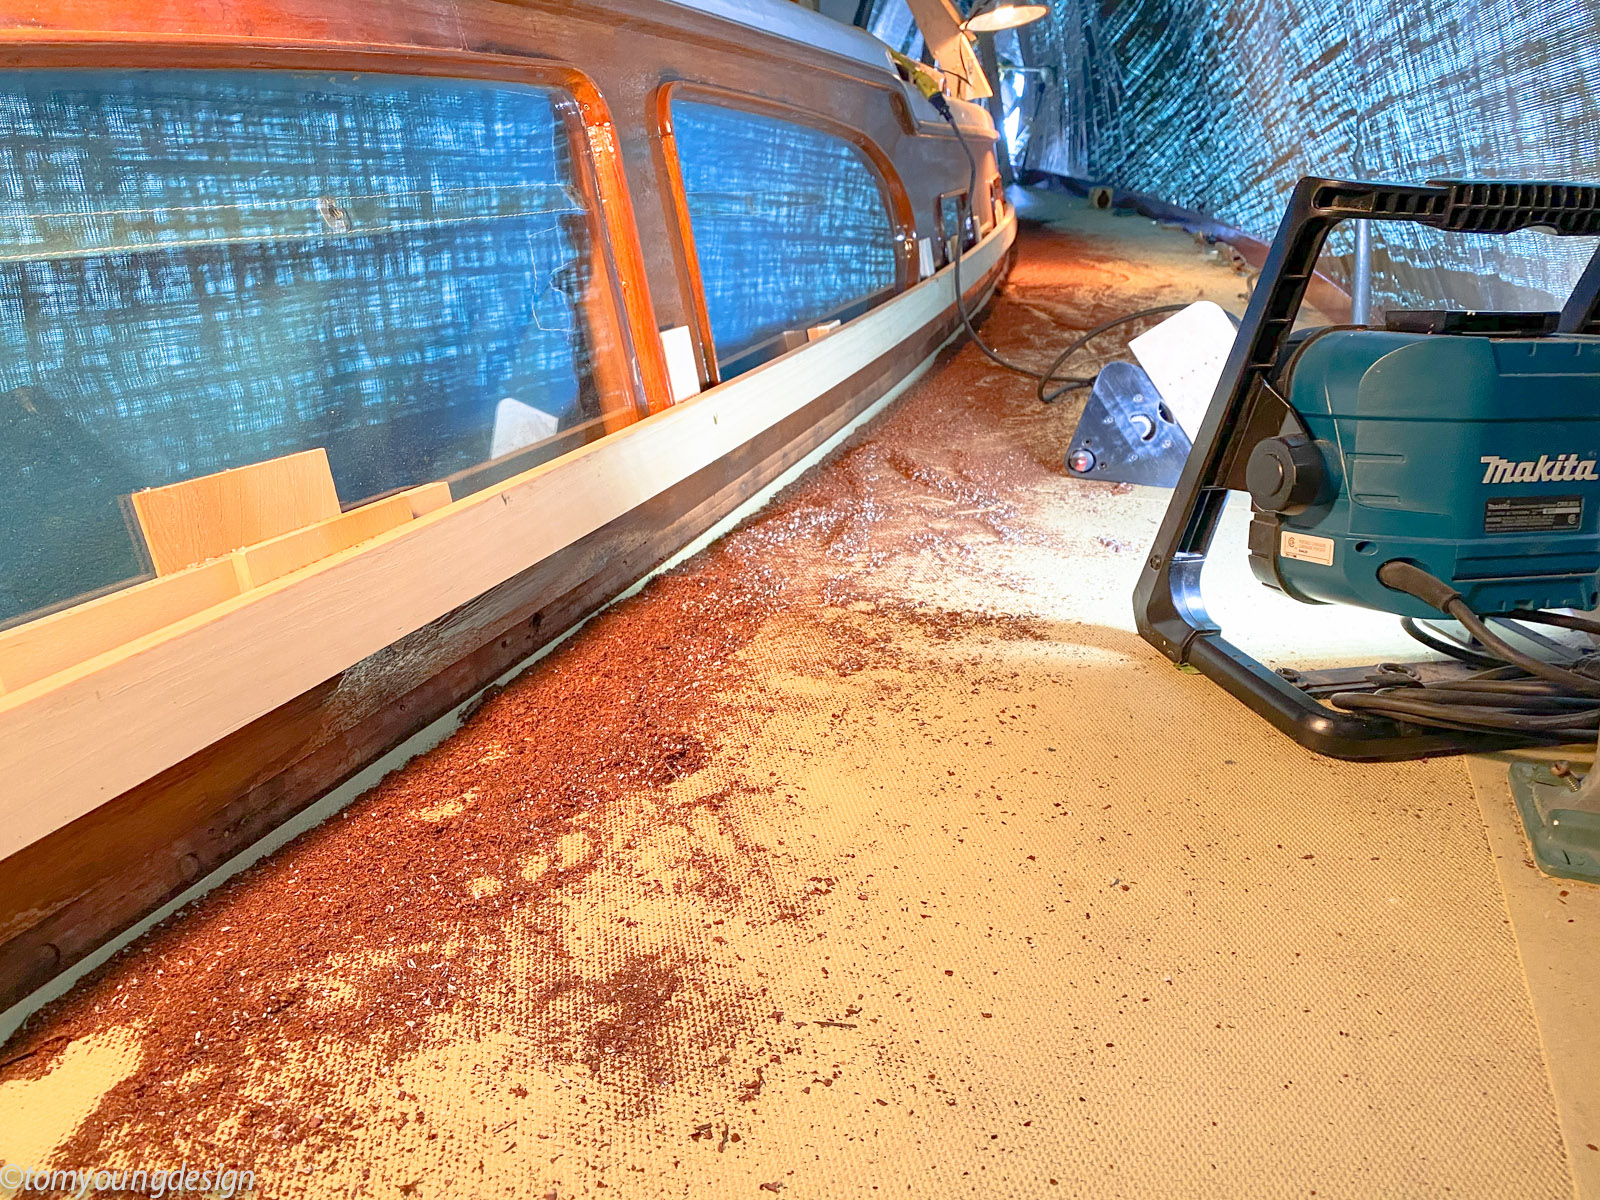
I decided to go three passes for a total 1 1/2" patch.
This revealed what I suspected from some a similar process I did on the front of the house: Above the house to deck joint, the screws from that mount the interior handrail are within an 1/8" of the woods exterior surface. Some thinning of the house is expected after 60 years but thanks to experienced care in the past the house thickness is still ample. The screws for the interior handrails were overset 60 years ago. So with carbide bits, I nipped off the points of the bronze screws as I plowed the wood off.
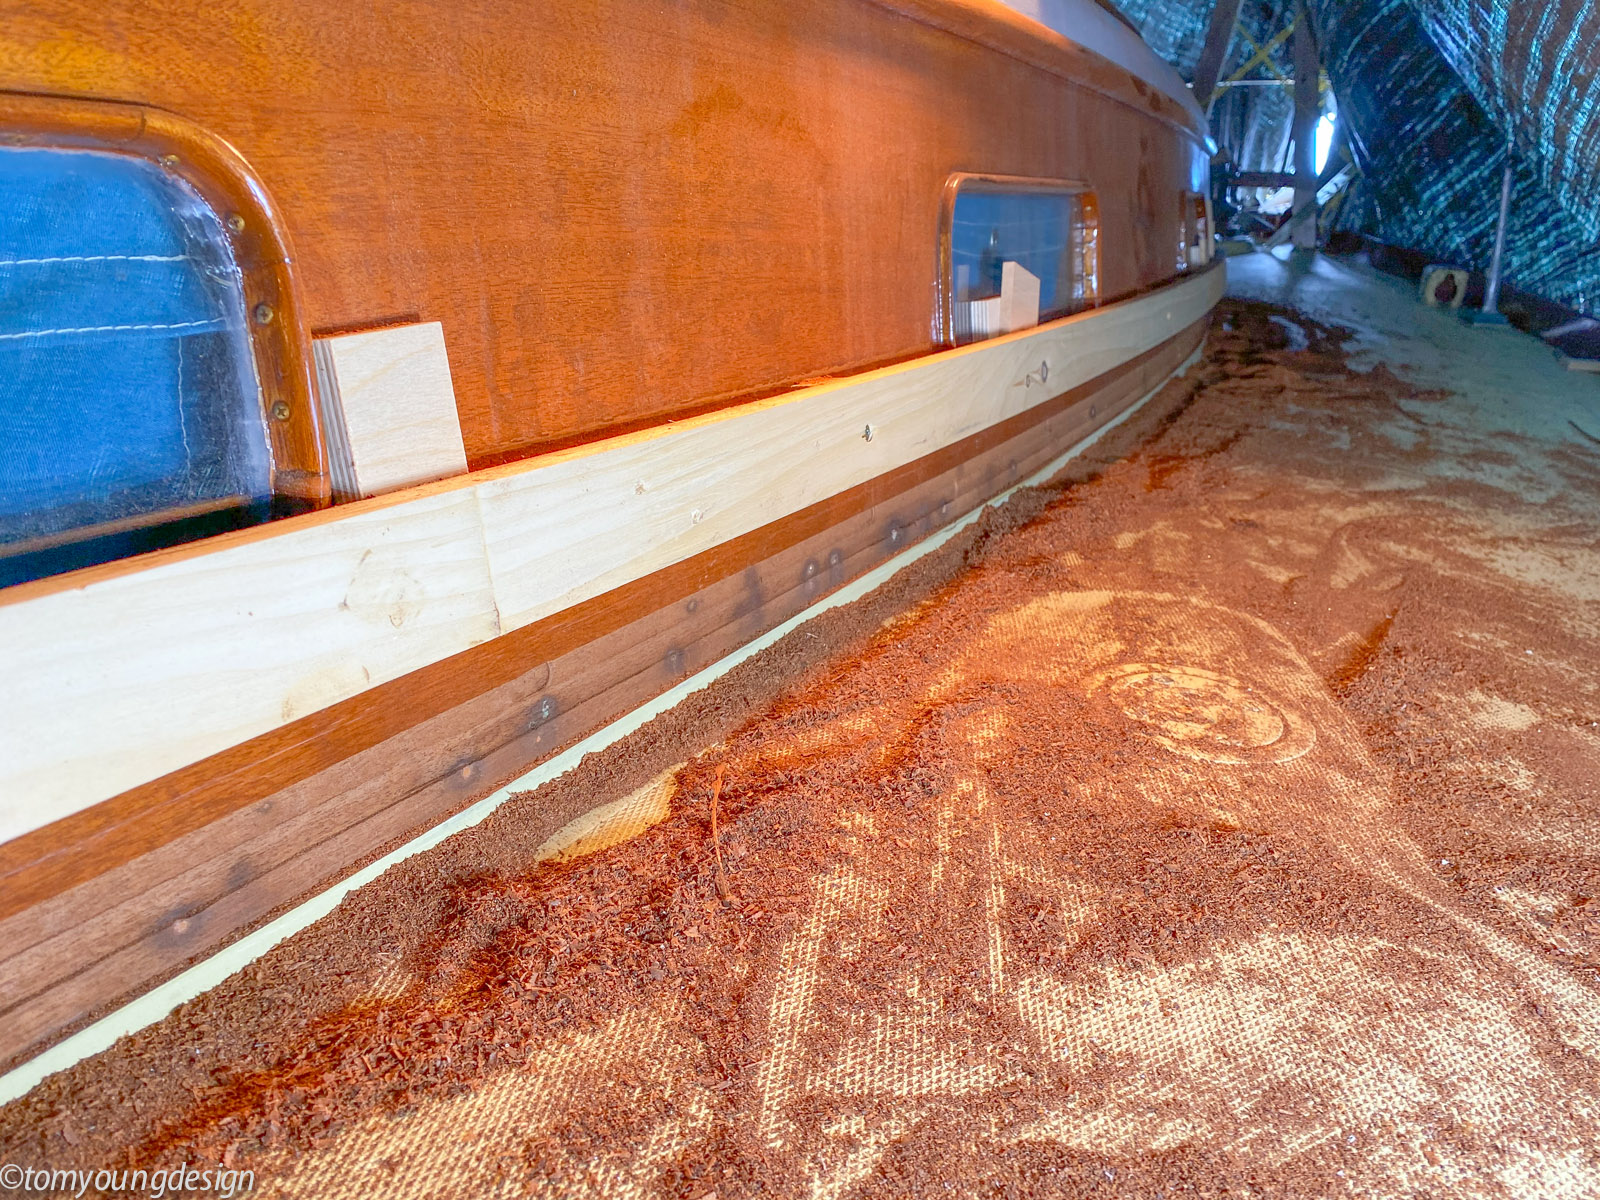
See the water stains around the interior handrail fasteners? Water makes wood move, expand and contract. The screw points so close to the surface would part the wood grain invisibly to the eye. In short order a little water finds it's way in, expands, dries and contracts.
It's time to level the bottom and cut the ends of the 1/4" gain, and move the track to the other side, as time permits...
Then the hull and attached decks were shipped off - along with a thick roll of hand-drawn blue prints - to wooden boat builders around the world, to be 'finished' in traditionally built (at the time) wooden houses, cockpits and interiors.
CHRISTMAS was already 40 years old when I bought her, 20 years ago. The wooden 'house' was showing some age and battle scars from her first 20 seasons that included; launching in the Great Lakes, a stint in the Bahamas as a charter boat, two Bermuda races and ultimately settling in Southern New England.
I had a few things to fix but she never missed a day of sailing that I know of, in all these 60 years.
Looking back over photos of our first few seasons, I can see water damage along the deck to house joint (and my son about 10, now 29), from years before we owned her.
Over the years in the off season, I fixed a lot of those problems with the advice of wooden boat building friends. Some new methods and materials in boatbuilding have evolved since Xmas was built.
And wood, fragile if not cared for correctly, is amazingly strong and resilient if it gets some care. Over the years, the traditional caulked joint and covering trim board were replaced with an epoxy filet reinforced with glass tape. The brutal threaded inserts for mounting storm shutters (wise for Bermuda races) were removed and holes 'sewn up' with plugs, and various 'Dutchman patches' were fitted into splits and cracks.
All pretty easy stuff if you work with wood.
Wood is an amazing material. The old house now 60 is looking better than at 40.
But there is still a problem in this area along the deck, I've known that for a few years. Varnish fails here too quickly. You just tend to it, the important thing is to keep the wood protected from too much water. Here and early failed area of varnish below the port:
I had a suspicion of the reason for the problem but I talked with a friend and world class wooden boat builder. Upon my description of the varnish fail, he just chuckled. "When wood won't hold varnish, just get rid of it "
I understood: Removal meant cutting the damaged (by moisture and rot) wood out. I was already prepared to fit another 'Dutchman patch' to the old house. The only tricky part is, the narrow patch is nearly 20 feet long.
She's turning 60, it's time to fix this area once and for all. I scarfed a long straight pine 'track' together with epoxy and mounted it along the house: A boat yard probably would have removed the port trim but that was all reset about 10 years ago and tight as a drum. This made it tricky to get the track a uniform distance away from the cut area. But with spacers and a few shims, I got it.
The track is a rail for my router with an offset bit and fence to ride. It took a little courage to throw the switch and 'start riding'.
A few minor adjustments in depth and set, and water darkend wood started flying. I'm all in now.
I decided to go three passes for a total 1 1/2" patch.
This revealed what I suspected from some a similar process I did on the front of the house: Above the house to deck joint, the screws from that mount the interior handrail are within an 1/8" of the woods exterior surface. Some thinning of the house is expected after 60 years but thanks to experienced care in the past the house thickness is still ample. The screws for the interior handrails were overset 60 years ago. So with carbide bits, I nipped off the points of the bronze screws as I plowed the wood off.
See the water stains around the interior handrail fasteners? Water makes wood move, expand and contract. The screw points so close to the surface would part the wood grain invisibly to the eye. In short order a little water finds it's way in, expands, dries and contracts.
It's time to level the bottom and cut the ends of the 1/4" gain, and move the track to the other side, as time permits...
