Update on my 222

Status
Not open for further replies.
Oct 10, 2006
492
Oday 222 Mt. Pleasant, SC
Finally making some serious headway on my boat. I was doing really well last time I checked in but then we had record pollen so all painting had to stop. And I had to finish painting the deck before I put hardware on the deck. I have been extremely lucky here with the weather because we haven't had any rain for about 2 weeks.

The deck is completely painted plus almost all of the nonskid is painted with kiwigrip. Only the cockpit sole is not painted. 1 gallon wasn't quite enough to do my boat. I got another quart to finish it up and for touching up the rest. I highly recommend this paint for nonskid. It does have some downfalls. It will splatter when you roll it. It is extremely sensitive to heat and humidity when it comes to drying. You have to immediately pull the tape lines as soon as you're done painting a section and even if you're quick you may still pull some edges up and need to redo. It's pretty easy to get "holidays" in the paint and they may not show up until the bubbles have popped and the paint has dried. Even if you're consistent with your application sections will end up looking slightly different sometimes.

The topsides need one more coat of paint then the bootstripe and accent can be painted

I've added most of the deck hardware. All holes have been drilled and are ready for the rest. I'm using butyl rubber for installation. So much better than caulk. I still need to install the 4 stanchions and bow pulpit. I made backing plates for the stanchions out of aluminum plate cut on a handsaw. I was able to reuse the backing plates for the pulpit. The were extremely warped so I soaked them in acetone overnight. Then sandwiched them between 2 boards in a clamp until dry. Then I saturated them with epoxy and put more fiberglass on each side then painted. If they don't hold up I'll just have to cut more out of the aluminum.

The wiring is in place. I held it in place with hotglue. That gives you about 12-24 hours to get the hull liner in place before it comes back down. Don't ask me how I know. I have about 75% of the hull liner up. It was really an intimidating job but really pretty easy. I used indoor/outdoor carpet glue to put it in place. You're supposed to spread it out with a notched trowel, but I used a paint brush to spread an even coat on the hull.

Things left to do before going in the water. Replace all bulkheads. Finding marine plywood is extremely tough, even in Charleston, SC. Paint topsides. Install rubrail. Install rest of hardware. Install rest of liner. Finalize electrical. I'm sure I'll find a few other things as well.
 
Last edited:
Oct 20, 2008
142
Oday 222 USA
48Dodge: Thanks for the update. Post pictures when you can. Hope you splash soon.
Mich222
 
Oct 10, 2006
492
Oday 222 Mt. Pleasant, SC
Just picked up 2 sheets of mercanti 1/2" ply. Hopefully I can lay it out so it'll be enough. It's practically impossible to get any marine ply here anymore.
 
Jan 24, 2005
4,881
Oday 222 Dighton, Ma.
Just picked up 2 sheets of mercanti 1/2" ply. Hopefully I can lay it out so it'll be enough. It's practically impossible to get any marine ply here anymore.
I would think that any type of decent exterior plywood for the bulkheads would do for the interior of your cabin unless you want it to look like it came from the factory with Teak.
A few years ago I restained all the wood in my cabin with a dark red Mahogany stain and varnished varnished it all. This color would look just as good over pine or birch plywood. If I had to replace one of my bulkheads for any reason, I wouldn't use marine grade or Teak plywood.
Joe
 

bria46

.
Jan 15, 2011
286
Oday 272 Waukegan, IL, Sarasota, FL
Marine Plywood in NOT void free! use any type of void free plywood. Epoxy all edges to elimite moisture intrusion.
 
Oct 10, 2006
492
Oday 222 Mt. Pleasant, SC
Before. They were pretty solid with a little bit of pitting, but the chrome was shot. I cleaned them up the best I could.


After. I used some "chrome" paint on them. Usually not really good for painting anything since it doesn't look anything like chrome. But on these it seems to work ok since the finish was originally shotblasted. Actually looks pretty good on the boat. I tried the same paint on the stern light with less favorable results, but I'll live with it.
 
Oct 10, 2006
492
Oday 222 Mt. Pleasant, SC
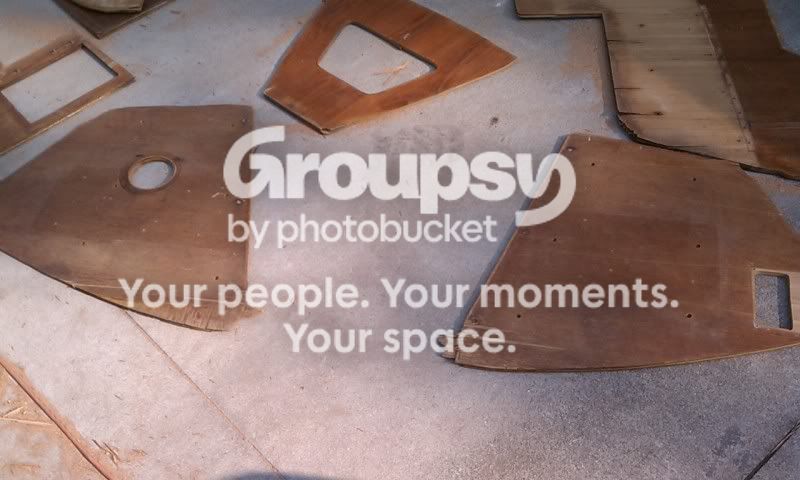
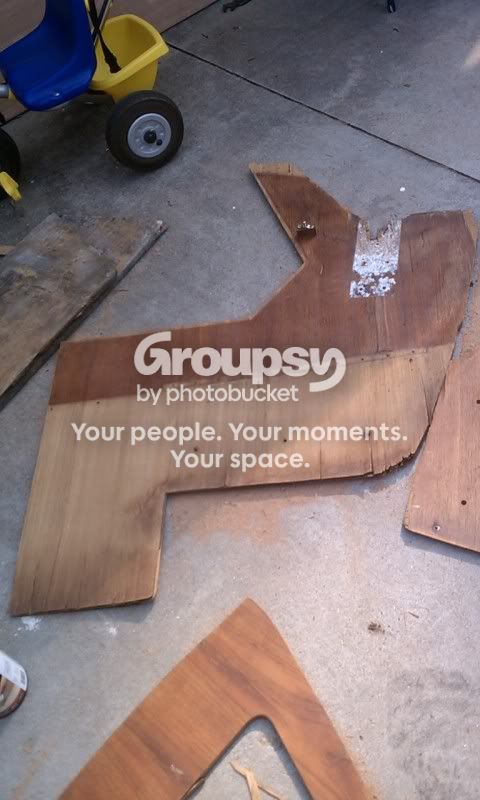
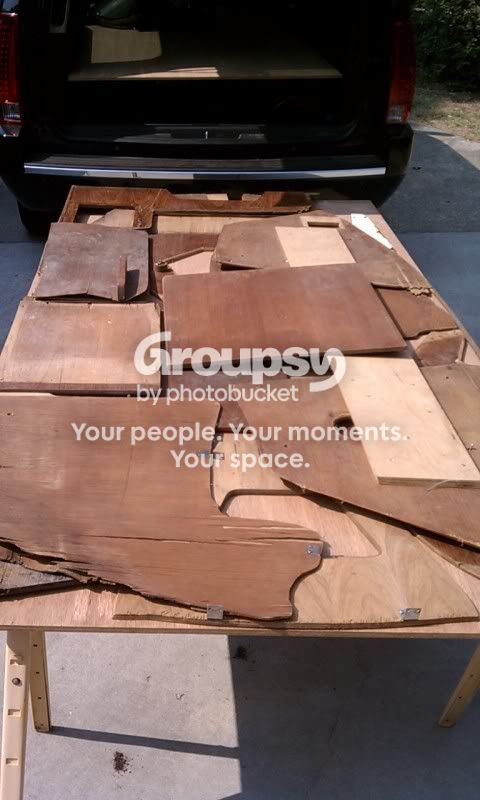
All of the plywood was in very poor shape before. I really should have done more investigating before buying this boat. I knew the bulkhead on the cockpit wall was bad, but thought the others were pretty solid. They all pretty much crumbled when taking them out of the boat.


The starboard bulkhead where the chainplate attached was the worst. It was covered up by a much larger chainplate when I bought it so it looked ok at the time.


These were only 2 plys of laminate when I removed them.


I TRIED to get everything to fit on 2 sheets of ply. I couldn't quite do it and have the grain line up the right way. I'm still convinced it's possible to get everything out of 2 sheets, though.


The only pieces I haven't cut yet are the 2 pieces that cover the small area behind the step where the tube runs. The cabin floor piece was in good shape. I don't know if it's original or not, it's made out of teak and holly ply. It was so dirty that it looked like a single wood. After cleaning up, I noticed the holly strips. I coated the bottom with epoxy and varnished the top. I also sanded and varnished the step. I'll get some more pictures soon and post them.
 
Jan 24, 2005
4,881
Oday 222 Dighton, Ma.
Do you have pictures of your chainplates? Are they O'Day 25 chainplates?
 
Oct 10, 2006
492
Oday 222 Mt. Pleasant, SC
The chainplates were the standard little 3-4" things. The PO had taken some aluminum angle and used that. I'm not sure if I have a good picture of that. I bought some 1" SS stock and cut it into 6" pieces and tabbed new chainplates. I'll have 3 bolts securing them to the bulkheads instead of 2. I've used butyl rubber from Maine Sail to seat everything so it should all last much longer than the original setup.
 
Oct 10, 2006
492
Oday 222 Mt. Pleasant, SC
Pictures of everything are coming. I'll try to get them up today with more notes.
 
Oct 10, 2006
492
Oday 222 Mt. Pleasant, SC
Finally got several pictures. The sun was going away so the interior shots were a little dark probably.

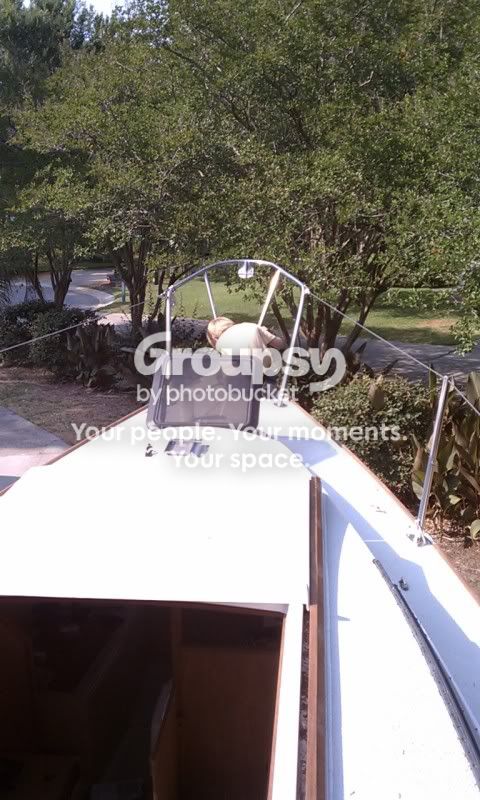
My son helped me tighten down the bow pulpit. So that took about 5 times longer than it should have.


The sink got installed yesterday. I still need to plumb it when I finish the bootstripe. I had to use a piece of ipe to install the faucet since it wouldn't fit the original hole.


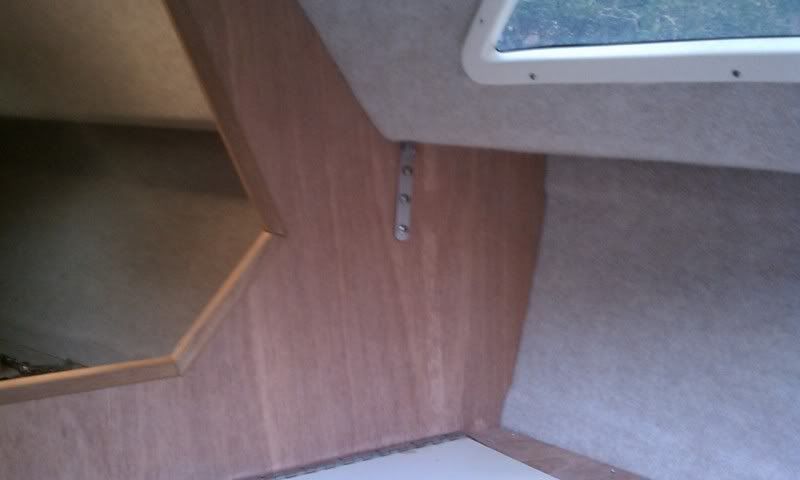
The chainplate I fabbed up.


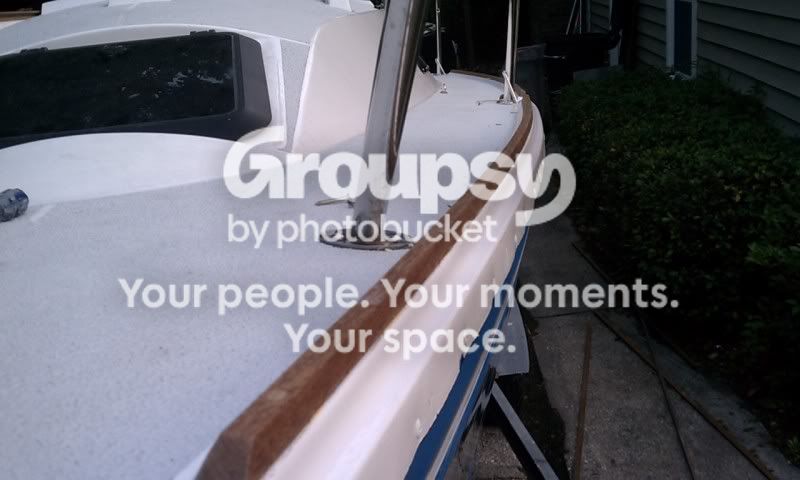
The ipe toerails. You can also see the kiwigrip. I still need to do that half-circle below the hatch.

 
Oct 10, 2006
492
Oday 222 Mt. Pleasant, SC
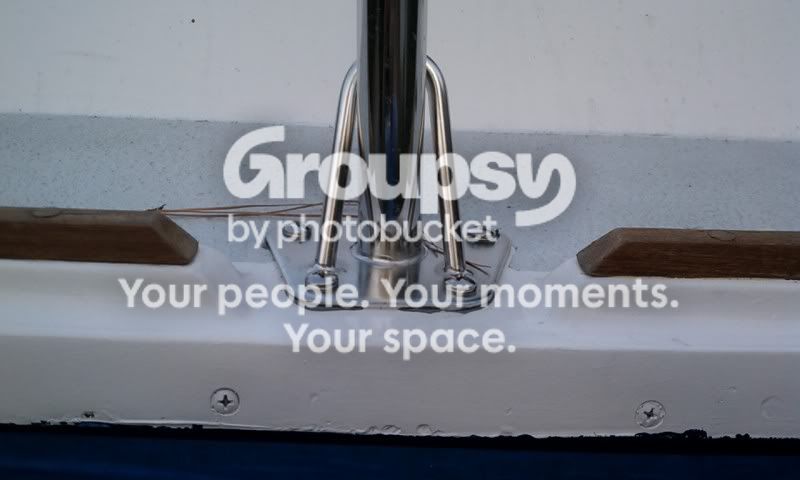
To fit the replacement stanchions I had to rotate them 180 degrees. Seem sturdy enough that way to hold on my little boat.


I cut backing plates out of aluminum plate. 3/16" I believe


I also cut the hatchboards a couple days ago They have one coat of thinned epoxy right now. I put them in place just in time. We've had a drought for the past month or so and it's rained cats and dogs the past 2 nights. The rails are made from ipe, too.


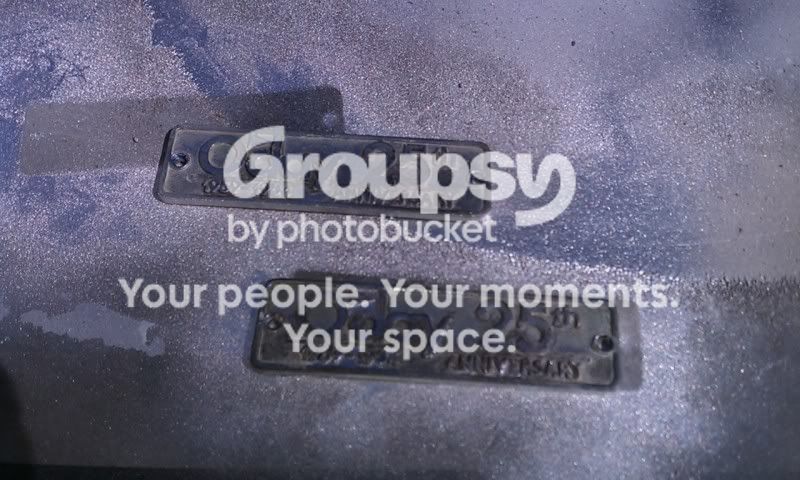
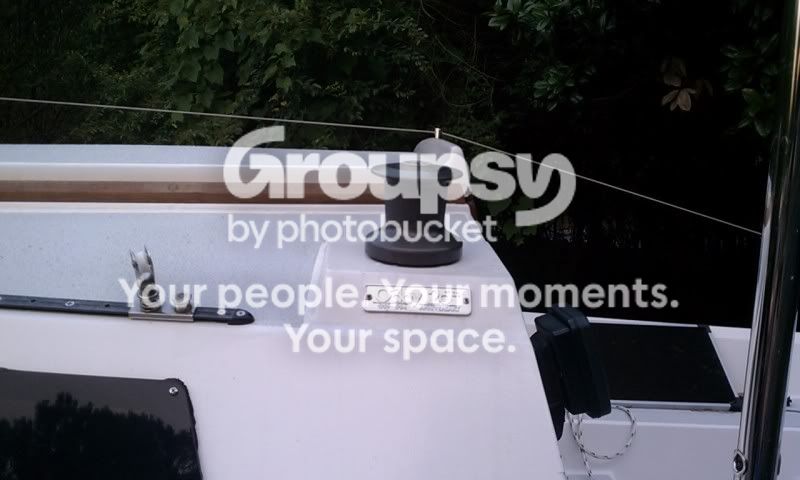
3 things in this picture. The ipe rails for the sliding hatch, the painted nameplate and the new winches.


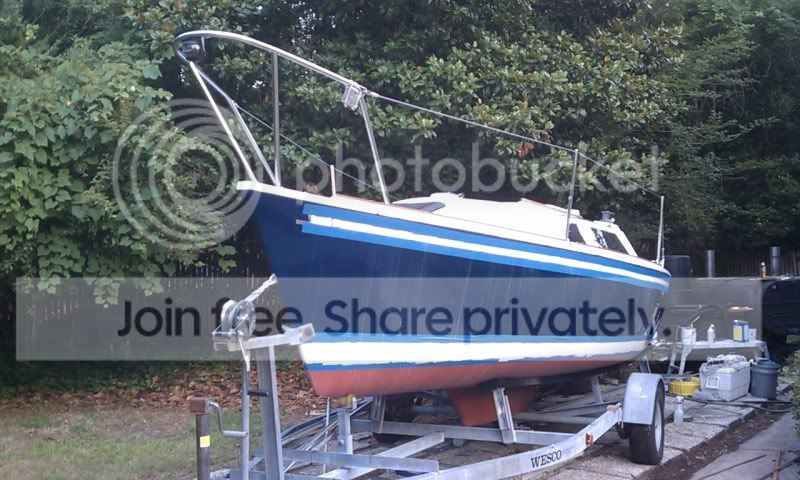
The paint is better than it looks in this picture although it's far from perfect. I painted when it was too hot and doing the rolling and tipping by myself so I got a thin transition line between each application. I'll live with it. I'm painting the white stripes right now. I know I'm doing it backwards. I know better for next time. The blue paint has sanding residue from the white stripes. That's why it looks so bad in the pic.


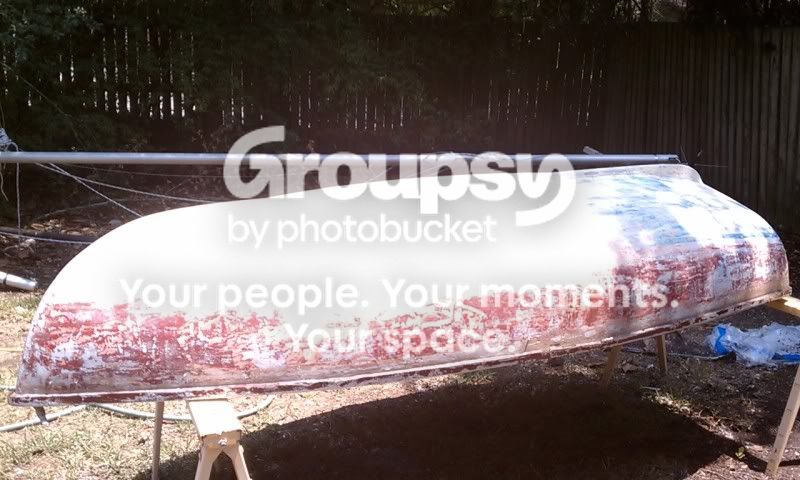
The boat I pulled out of the trash. Its a little sailing dinghy. The gelcoat is completely shot. It may end up back in the trash before it's over. It had about 3 layers of paint on it. My son has some grand ideas for it. I'll probably fix the hull as much as possible and slap some paint on and put on a trolling motor for him until I can find a sail to fit and fab up a rudder and daggerboard.
 
Jan 24, 2005
4,881
Oday 222 Dighton, Ma.
You're doing an excellent job Dodge! I don't have that kind of patience anymore. Old age I guess. Thank you for sharing these with us.
Joe
 
Oct 10, 2006
492
Oday 222 Mt. Pleasant, SC
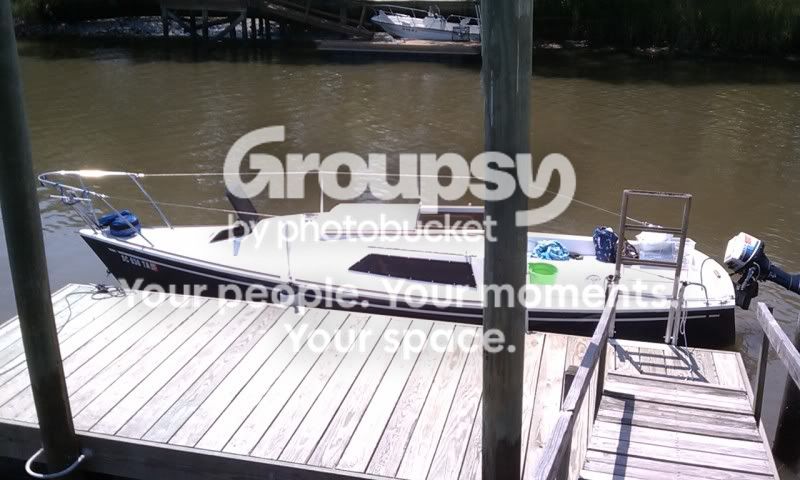
It made it in the water today! It floats but that was about the only good thing that happened, hehe. First I was looking for something to chock the tire so I could extend the tongue. I found a piece of wood, swung it around and scratched the paint on the boat. Next I back it into the water and get everything ready so I drop it in and I hear a huge clunk. I thought maybe it was just from coming off the front roller. Turns out I forgot to tie off the centerboard. I also forgot to tie a knot in the line. I got that back in at the dock. But having the centerboard down made it hard to maneuver. I also need to make an adjustment on my outboard. It idles fine but once you goose it in gear it won't drop back to a low throttle. That made it hard to dock,too. I ran into the dock pretty hard one time and scraped about a 4" section on the bow. Luckily it's on that thin strip so it'll be easy to touch up. I was simply using the outboard to steer the boat. I left the rudder in my truck for next time.
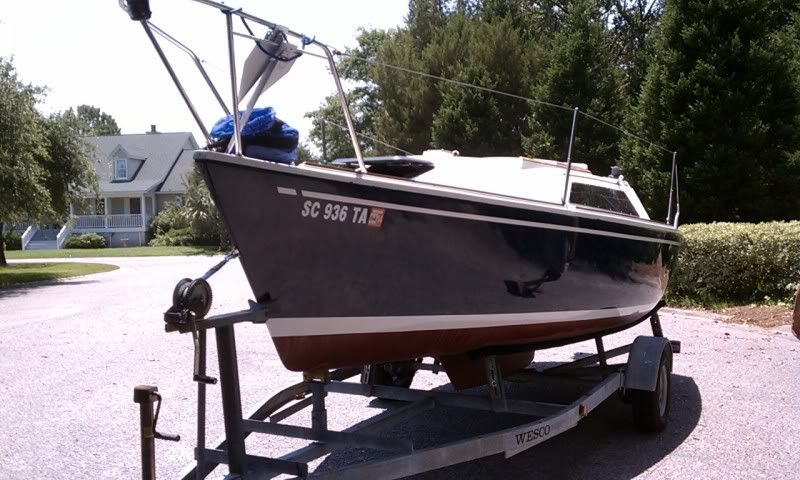
On the way to the ramp


After we had settled at the dock.


I still have a few things to do before a real cruise or sail. Rubrail still needs to go on. I obviously need to adjust my idle linkage on my outboard. Finish installing the chainplates. Install my front cleats. That's really about it before it's "complete" enough to use. I still need to decide what to use for a finish on the interior wood.

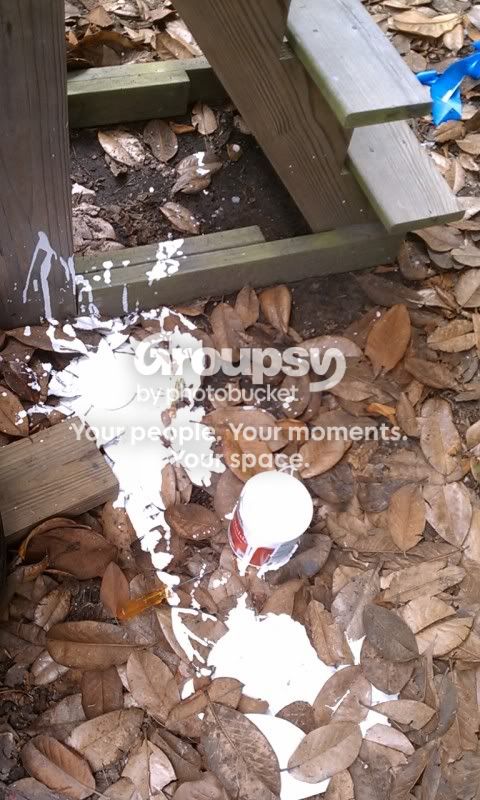
A close call yesterday. I was done painting the white stripes and left the paint can on the steps. Halfway sealed. About 90% full. I totally forgot about it during my several trips up and down my steps. I usually came straight down the steps and hung a right. One time I go left and the entire step shifts and the paint tumbled and explodes everywhere!


The boat! I quickly scan the boat and luckily none splattered that far.

One last thing. That sanding residue from the white stripe. I planned on simply washing it off. I knew it was tenacious stuff but this was on a glossy new surface. Shouldn't be a problem cleaning it off, right? Wrong! Soap and water didn't touch it. I tried mineral spirits. Nope. 333 brushing liquid (recommended by Interlux). Nada. I was then tempted to try scotch pads starting with a white and working up to a blue if necessary. I then thought about Dow Scrubbing bubbles. Sprayed it on a small section and scrubbed with a microfiber and it all came off! No damage as far as I can tell. It even removed the tape residue from the tape being on there a little too long. It did remove a thin layer of ablative where it ran down but that was a small price to pay.
 
Jan 24, 2005
4,881
Oday 222 Dighton, Ma.
The boat looks just like new. You did a great job in restoring it.
These boats maneuver a lot better under power with the rudder than without it. There are a lot of times when I need to keep my rudder blade in the up position with the tiller tied off in order to get my boat to my mooring at dead low tide and it's very hard for me.
With the outboard, you need that thrust to steer the boat. With the rudder, I have the confidence to kill my engine most of the time before I get to the dock and pull right up and get out with the bow and stern lines in my hands. As long as the boat has "way on" and it's not too windy, I can do it. I'm certain that you will also find these boats very easy to maneuver under Mainsail alone.
You've made a lot of headway. I would just finish the outside of the boat for now and do the interior later. The important thing is to just use it for now.
Joe
 
Oct 10, 2006
492
Oday 222 Mt. Pleasant, SC
Thanks guys. I just remembered I have to add a bit of the sail hardware back. I removed pretty much every piece before repairing and painting the deck. So much stuff had been put on throughout the years, I just wanted to clean it up a bit and put back the extra stuff if needed.
 
Nov 1, 2010
100
Oday 272 Brownstown, MI - Lake Erie Metro Park Marina
Great job - congratulations on all your effort and success - Time to change your Avatar -
Regards, John and Sue
 
Oct 10, 2006
492
Oday 222 Mt. Pleasant, SC
Happy Dolphin said:
Great job - congratulations on all your effort and success - Time to change your Avatar -
Regards, John and Sue
Thanks for reminding me! I thought about that the other day but forgot to do it.
 
Jan 22, 2008
5
Irwin 27 Crystal River FL
Great job and inspiration for me since I am deep into my Irwin 25. It's good to see someone has accomplished the huge task and the result is outstanding!
 
Status
Not open for further replies.