Update on my 222

Status
Not open for further replies.
Oct 10, 2006
492
Oday 222 Mt. Pleasant, SC
It feels so good to finally be putting stuff back onto the boat instead of just taking stuff off. Put on several layers of barrier coat (2000E) this past weekend as well as a couple coats of ablative. Both paints were much easier to apply than I expected. My first experience with either one. The base for the 2000E was much thicker than I expected, but once mixed up was a good consistency. The bottom paint was much thinner than I expected. I thought it was going to be like a thin mud, but it was just like regular house paint, just weighs more.

Prior to any painting. I had to do a small repair to the fiberglass around the centerboard wedges since a little was chipped off.
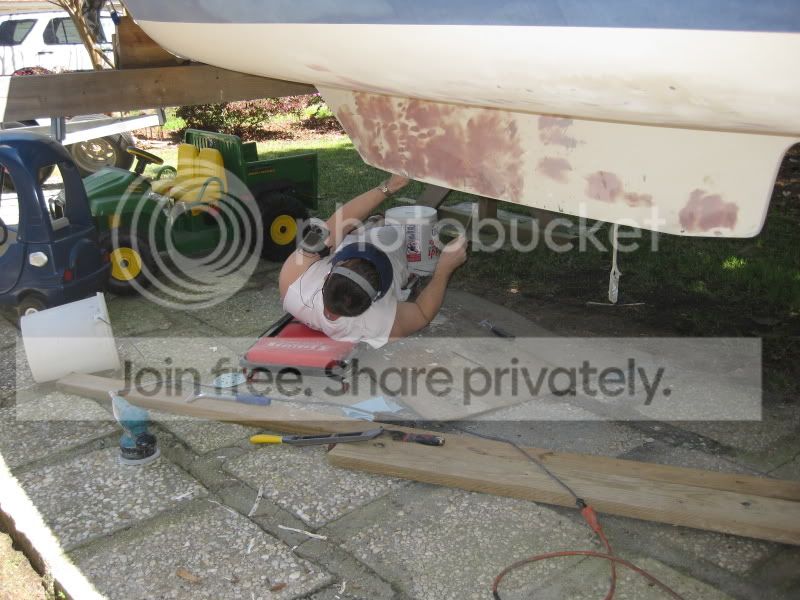

After 2000E barrier coat
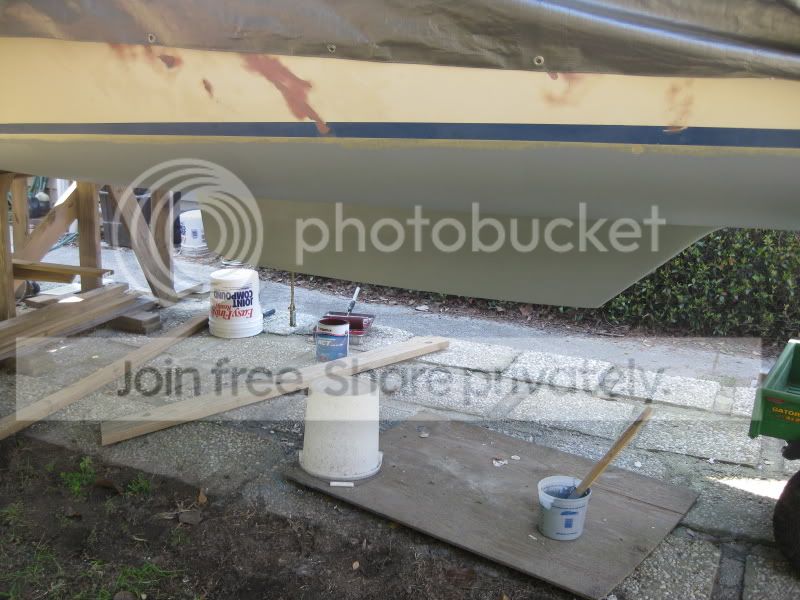


Bottom paint applied. I kept it away from the bootstripe to hopefully help with painting the bootstripe. I am planning on applying a thin layer of primer to all of the topsides, then tape off the bootstripe, finish the bottom paint, prime and paint the topsides, then the prime and paint the bootstripe. It's working in my head... We'll see how it goes in reality
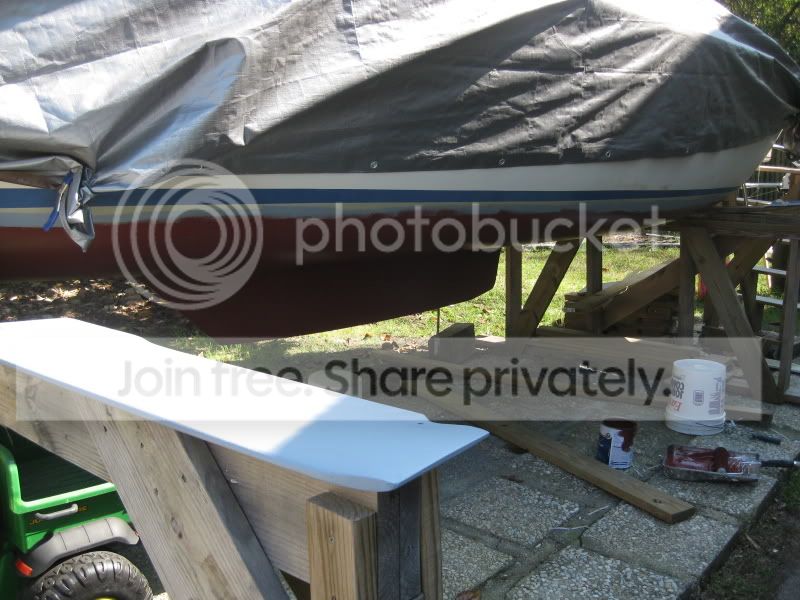
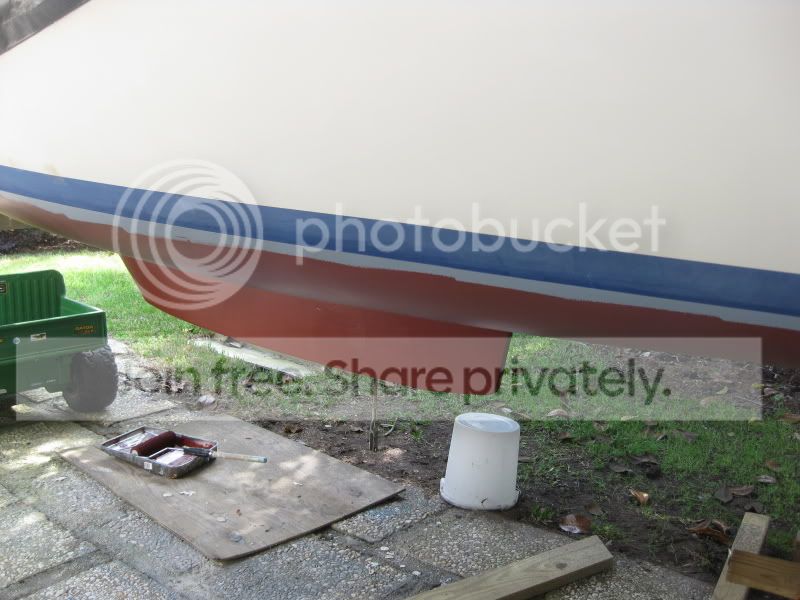


The color scheme is the red bottom, white bootstripe and accent stripe at the top of the topsides, and navy blue on the topsides (one shade lighter than flag blue). The centerboard is painted and ready to go back in. Replaced the line to it as well as the rubber hose to it in the bilge. I played around a little bit with my new buffer as well. Polished up the SS tube for the keel line. Looks brand new. Once I get the centerboard back in, I'll drop the boat back on the trailer. Only about a year behind schedule on that!
 
May 7, 2006
249
Catalina 28 Mark 1 New Bern
It feels so good to finally be putting stuff back onto the boat instead of just taking stuff off. Put on several layers of barrier coat (2000E) this past weekend as well as a couple coats of ablative. Both paints were much easier to apply than I expected. My first experience with either one. The base for the 2000E was much thicker than I expected, but once mixed up was a good consistency. The bottom paint was much thinner than I expected. I thought it was going to be like a thin mud, but it was just like regular house paint, just weighs more.

Prior to any painting. I had to do a small repair to the fiberglass around the centerboard wedges since a little was chipped off.


After 2000E barrier coat


Bottom paint applied. I kept it away from the bootstripe to hopefully help with painting the bootstripe. I am planning on applying a thin layer of primer to all of the topsides, then tape off the bootstripe, finish the bottom paint, prime and paint the topsides, then the prime and paint the bootstripe. It's working in my head... We'll see how it goes in reality


The color scheme is the red bottom, white bootstripe and accent stripe at the top of the topsides, and navy blue on the topsides (one shade lighter than flag blue). The centerboard is painted and ready to go back in. Replaced the line to it as well as the rubber hose to it in the bilge. I played around a little bit with my new buffer as well. Polished up the SS tube for the keel line. Looks brand new. Once I get the centerboard back in, I'll drop the boat back on the trailer. Only about a year behind schedule on that!
You did a real nice job on the boat. Was it hard to get the centerboard out? I need to pull mine to check it and paint it. I made the mistake of not droping it last year becuse it was on the trailer and I paid with a mass of barnacles atthe end of the season. I know you put out pictures of how you made your stand in the past. I foolishly forgot to save them. If you get a chance could you send to me at pbudzy7385@aol.com . It would be much appreciated.
 
Oct 10, 2006
492
Oday 222 Mt. Pleasant, SC
You did a real nice job on the boat. Was it hard to get the centerboard out? I need to pull mine to check it and paint it. I made the mistake of not droping it last year becuse it was on the trailer and I paid with a mass of barnacles atthe end of the season. I know you put out pictures of how you made your stand in the past. I foolishly forgot to save them. If you get a chance could you send to me at pbudzy7385@aol.com . It would be much appreciated.
Thanks guys. The boat is FAR from done. It is down to a bare hull right now so putting stuff back on is quite a relief. The centerboard wasn't too bad to remove. If I remember correctly, there were 4 large screws that hold the plates to the keel, 2 screws hold the plates to the wedges. The wedges are glued by whatever the PO or Oday used. The wedges hold up the pivot which holds the centerboard. Just make sure the centerboard is supported before you start removing supporting pieces. It's kind of heavy. About the same weight as the rudder.
 

RECESS

.
Dec 20, 2003
1,509
Catalina 27 . St. Mary's Georgia
Good job. I too am in the put it back together and get it wet mode after a long winter of repairs.
 
Oct 20, 2008
142
Oday 222 USA
Really Nice Job 48dodge. Did you access through the cabin / bilge area only to replace the rubber hose? I need to replace the rubber hose and am hoping to get at it without having to drop the centerboard
 
Jan 24, 2005
4,881
Oday 222 Dighton, Ma.
Really Nice Job 48dodge. Did you access through the cabin / bilge area only to replace the rubber hose? I need to replace the rubber hose and am hoping to get at it without having to drop the centerboard
Mick,
The best way to replace the rubber hose might be to tie a string to the end of the centerboard pendant line in the cockpit, and remove the hose from inside of the cabin where it connects to the metal pipe. You'll need to untie the string from inside to get the old hose completely off, and the new hose on, once you feed the pendant line back into the hose. I've never had to replace my hose so I'm guessing that this would be the best way to do it.
 
Oct 10, 2006
492
Oday 222 Mt. Pleasant, SC
Mick,
The best way to replace the rubber hose might be to tie a string to the end of the centerboard pendant line in the cockpit, and remove the hose from inside of the cabin where it connects to the metal pipe. You'll need to untie the string from inside to get the old hose completely off, and the new hose on, once you feed the pendant line back into the hose. I've never had to replace my hose so I'm guessing that this would be the best way to do it.
That's what I did. I've only replaced the bottom hose so far (in the bilge area). The hose had the spiral wire in it which was rusted out so it was pretty much useless, so I went back with thick-walled rubber hose. I still need to replace the upper hose that attaches to the thru-hull. I replaced my pendant at the same time so it all happened at the same time. Also, I had to cut both pieces of hose off the metal tube because the hose had pretty much glued itself to the tube.
 
Status
Not open for further replies.