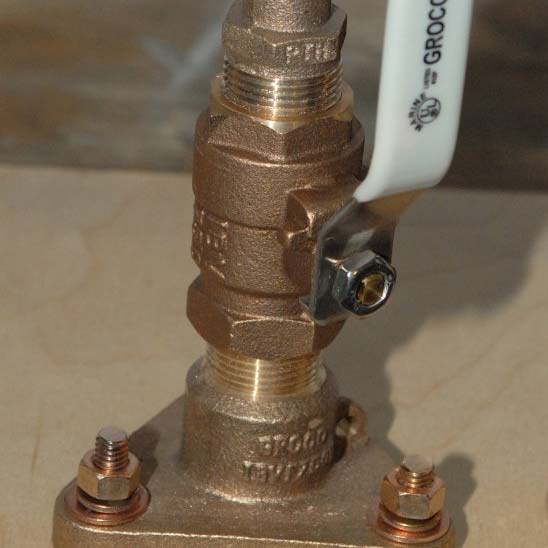
There is a lot wrong with the installation of those seacocks. The correct and safest solution is to haul the boat and remove and replace or properly seal the hole with fiberglass.
The dampness on and around the fittings is concerning. Do you know where the moisture is coming from?
Also get those wires out of the puddle in the bilge. They can lead to nothing but trouble, especially because one of the wires looks like a bonding cable.
At this point I would be hesitant to use the boat until I had a better idea of what is going on the outside of the hull. Time to get a short haul to investigate realizing it may become a long haul to do the repair. Get the boat hauled, take some photos of the hull and let us know.
The links below have great information on how to replace a through hull. Worth the read.
Tip: If you would like a higher resolution or larger photo simply click on the picture and it will get bigger. A Poor Idea The picture on the left is what not to do if starting from scratch and installing new seacocks.
marinehowto.com
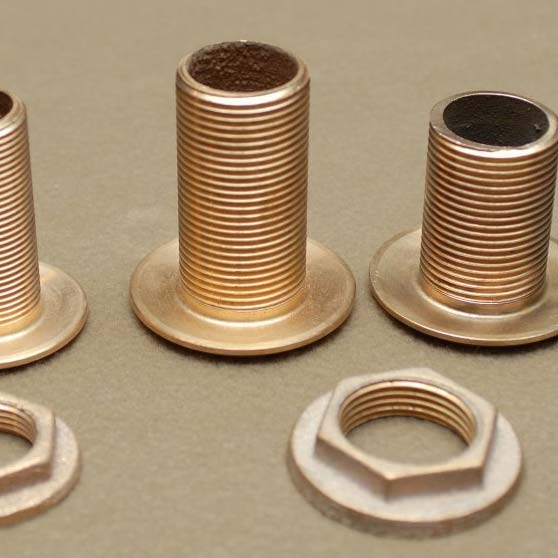
These are called Thru-Hulls This item is called a thru-hull or sometimes a mushroom-head or even a skin fitting. They are straight threaded (NPS thread) so they can be cut to the correct length, for your hulls thickness, and then be
marinehowto.com
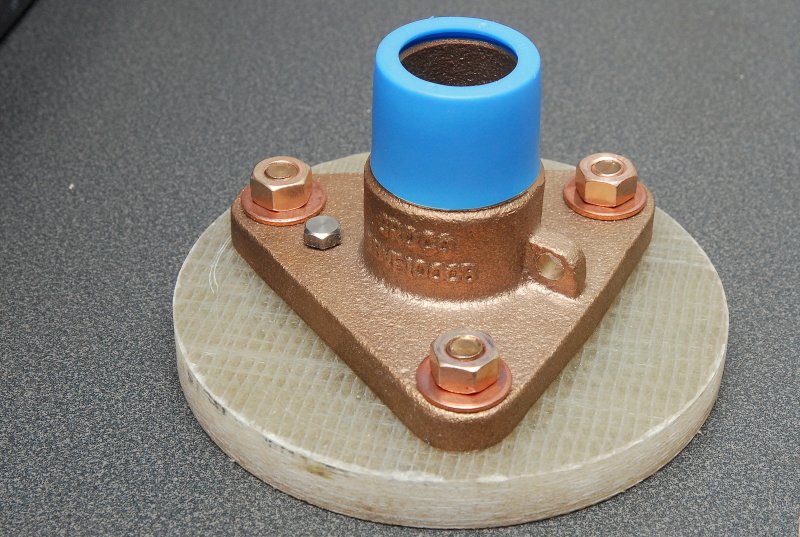
Start by Drilling a Hole Many readers have asked me how to install stronger, flanged seacocks without also drilling extra holes in your hull for the bolts that hold the flange. It can be done, as you will see below. Though this
marinehowto.com


