Repairing Hunter 40 damage from Hurricane Matthew

May 8, 2013
629
Hunter 40 Dataw Island, SC
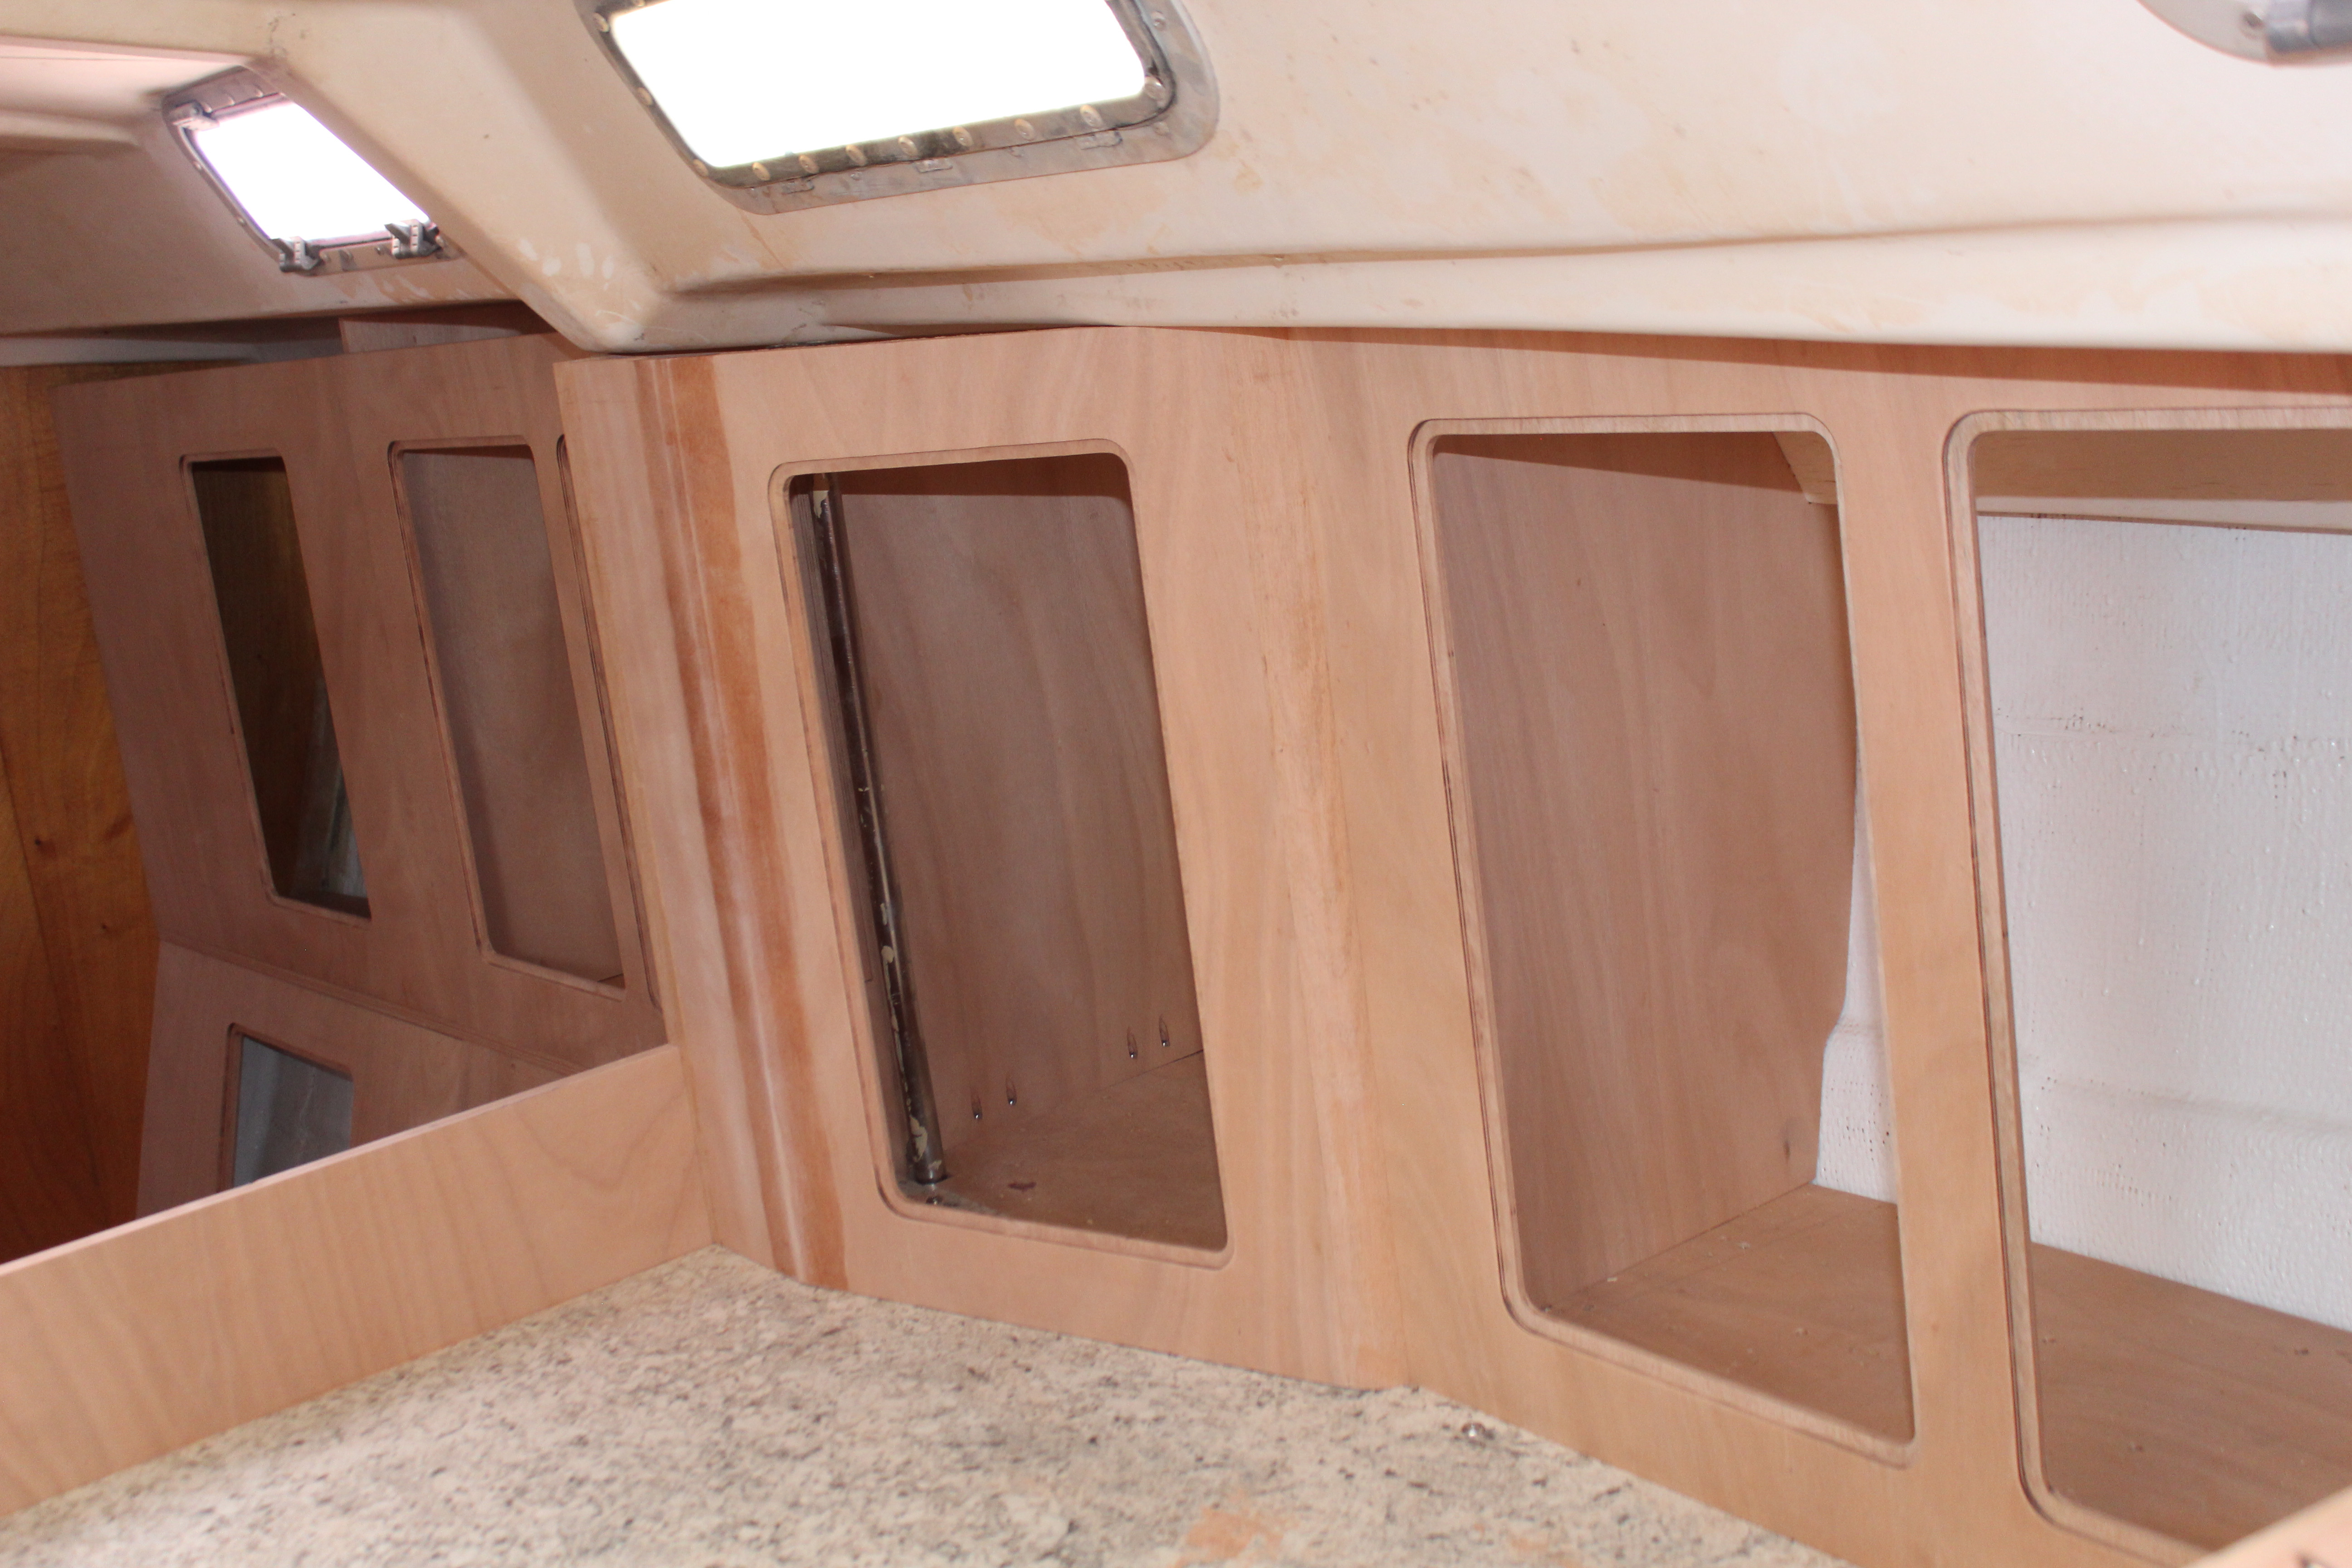
More roughing in the upper cabinets:

I tested the trim locations for the upper edge of the cabinet faces but the pictures I took just don't show the difference like the eye can. Got a plan but I might have to ditch the idea of backlighting and run the trim to the cabin top.

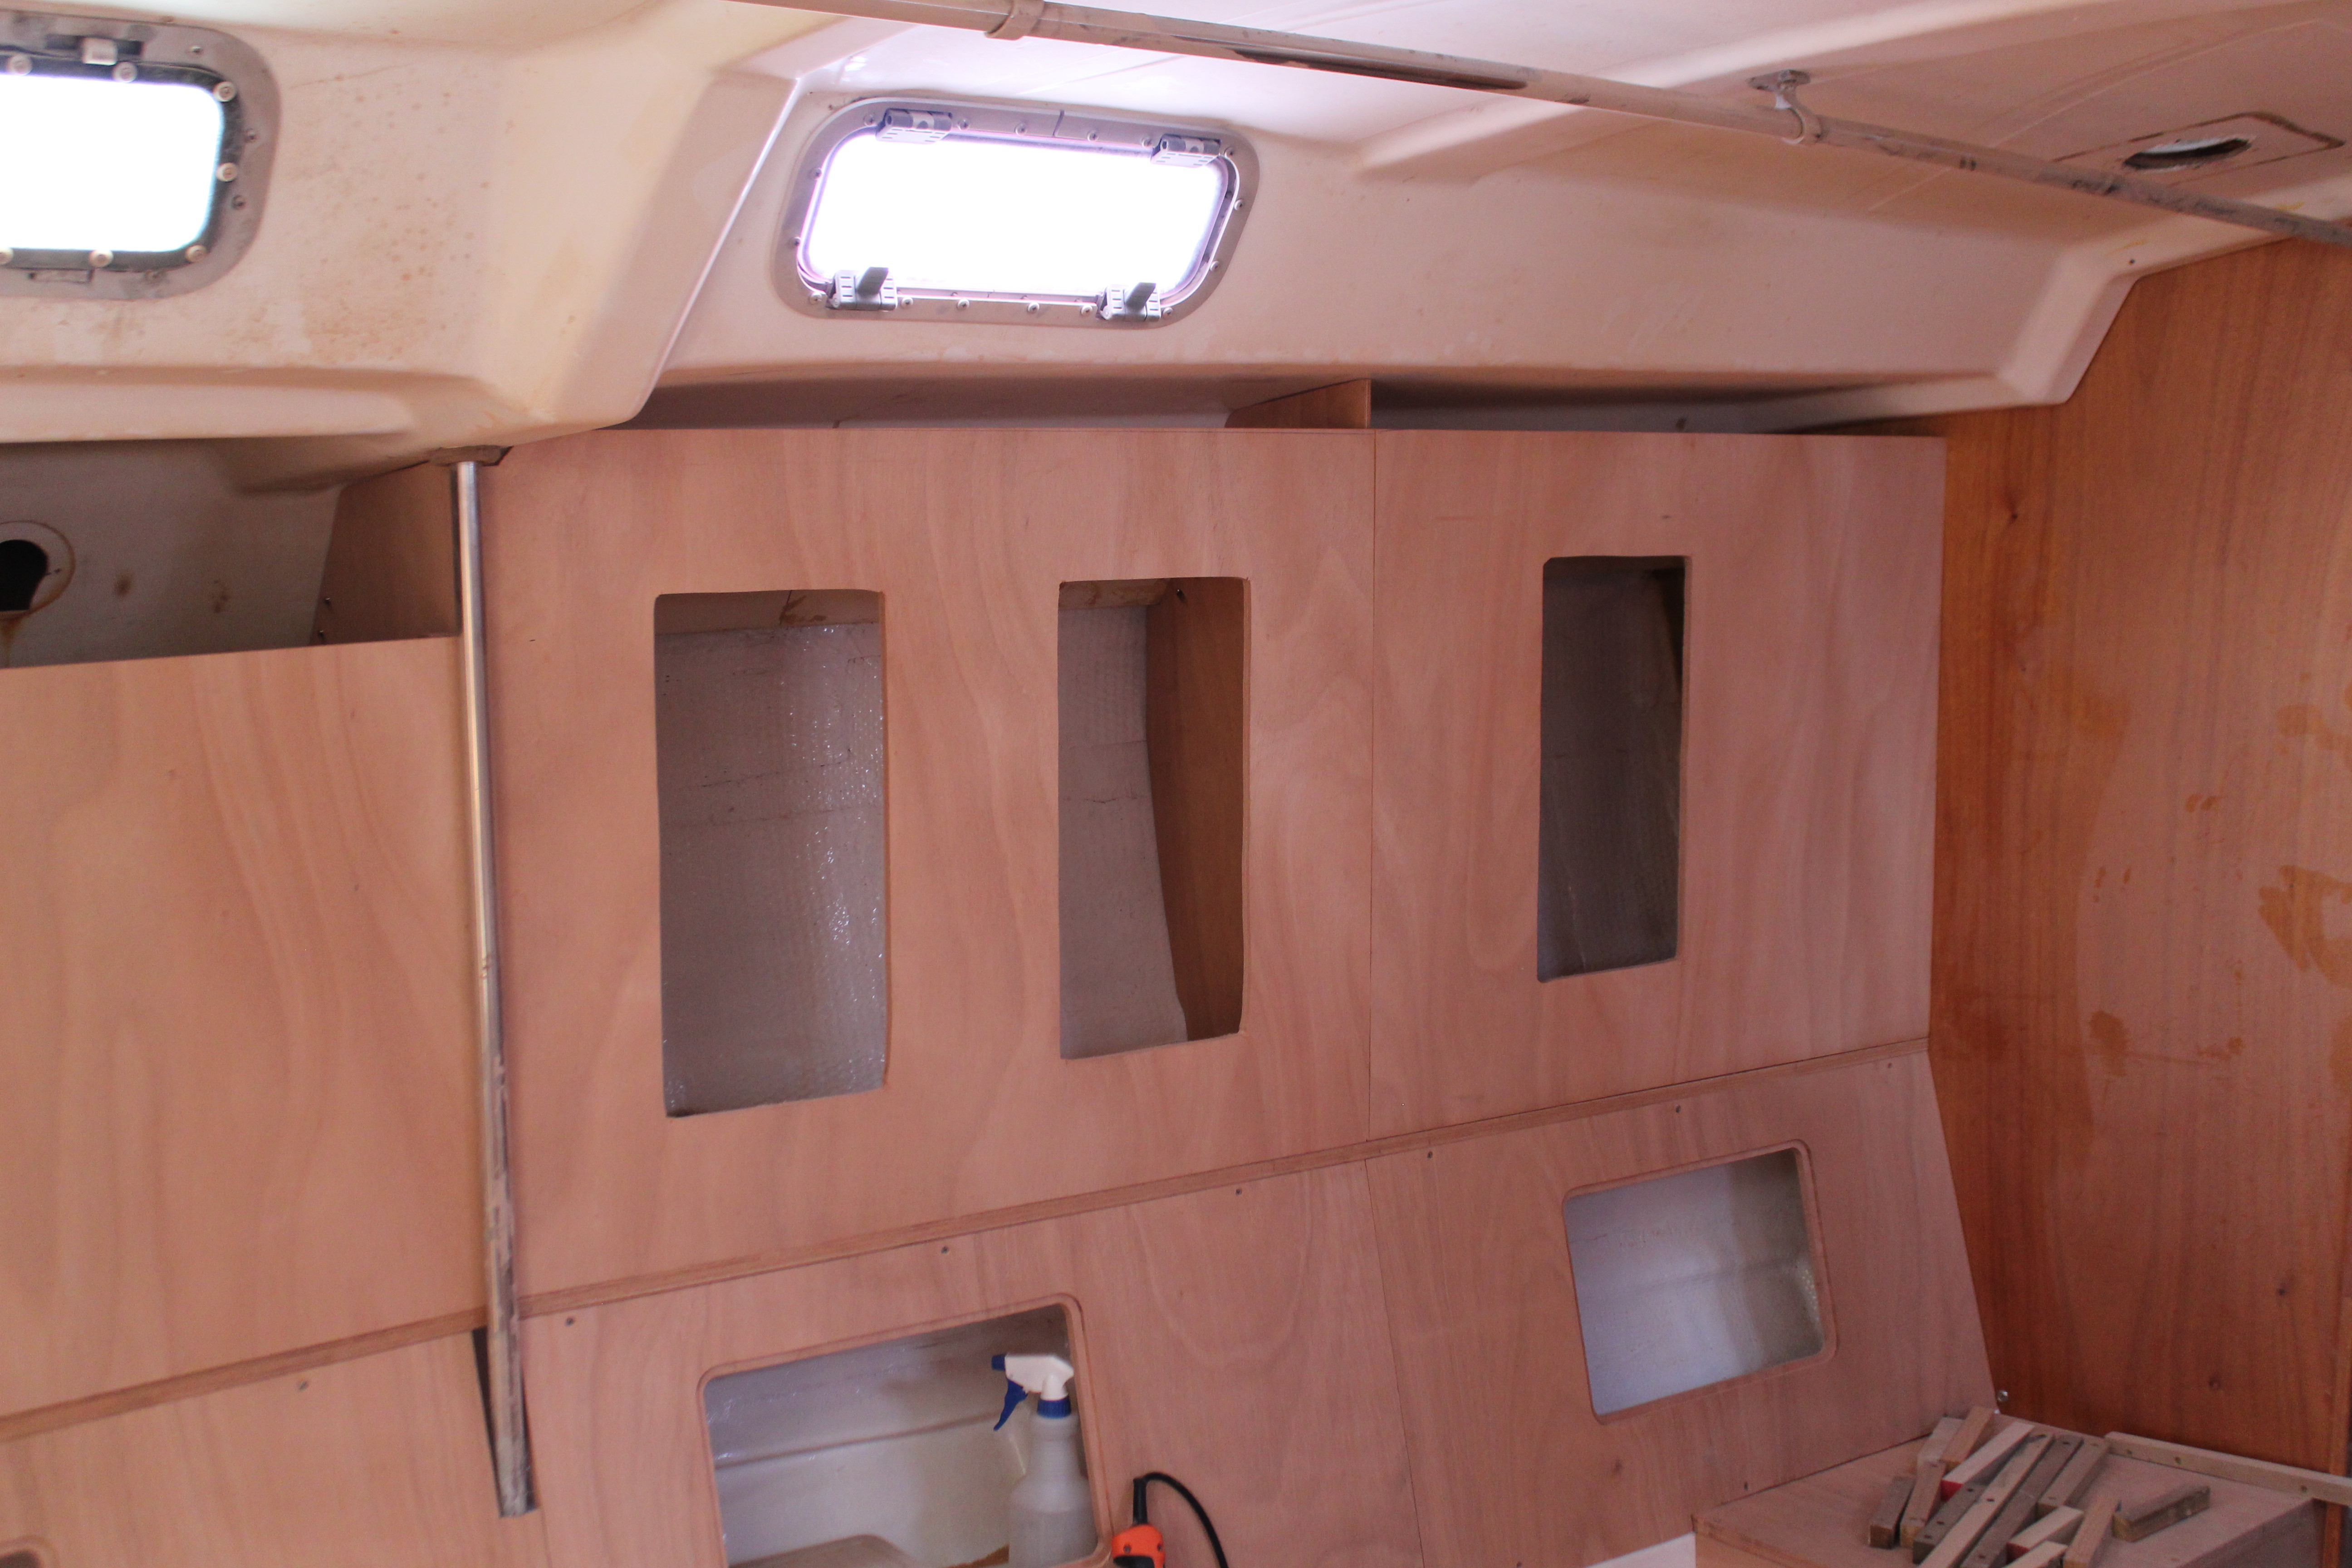
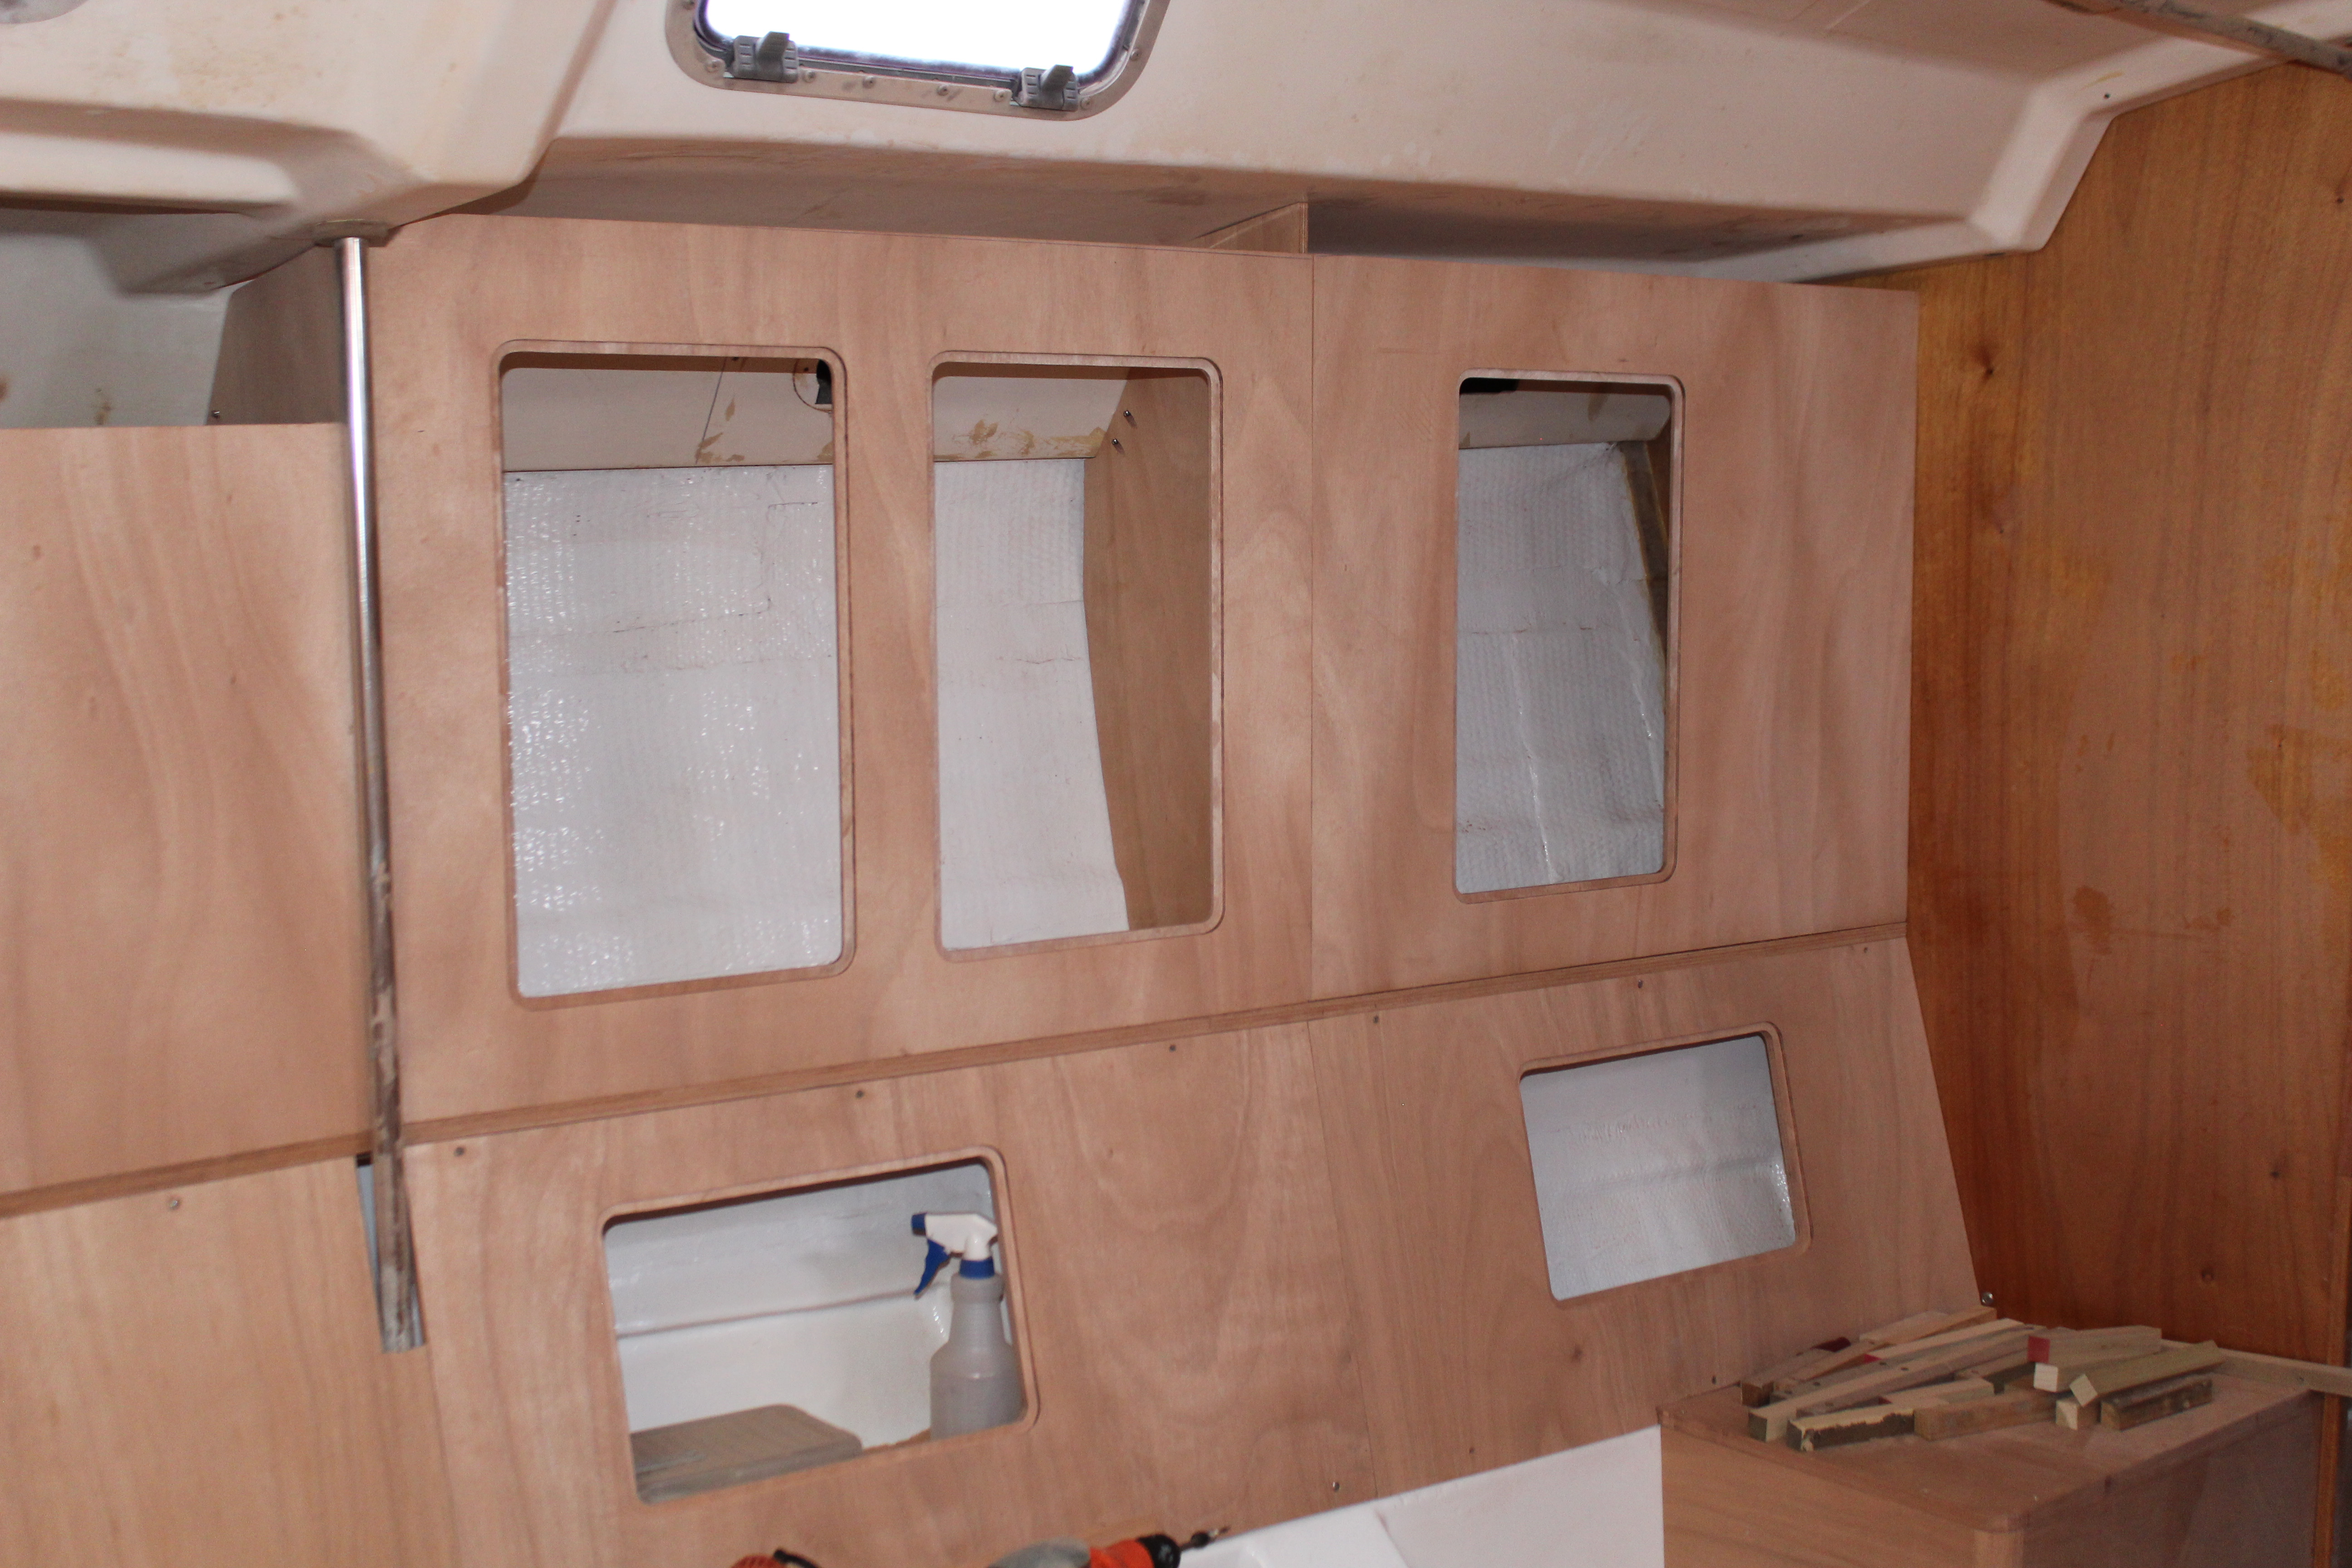
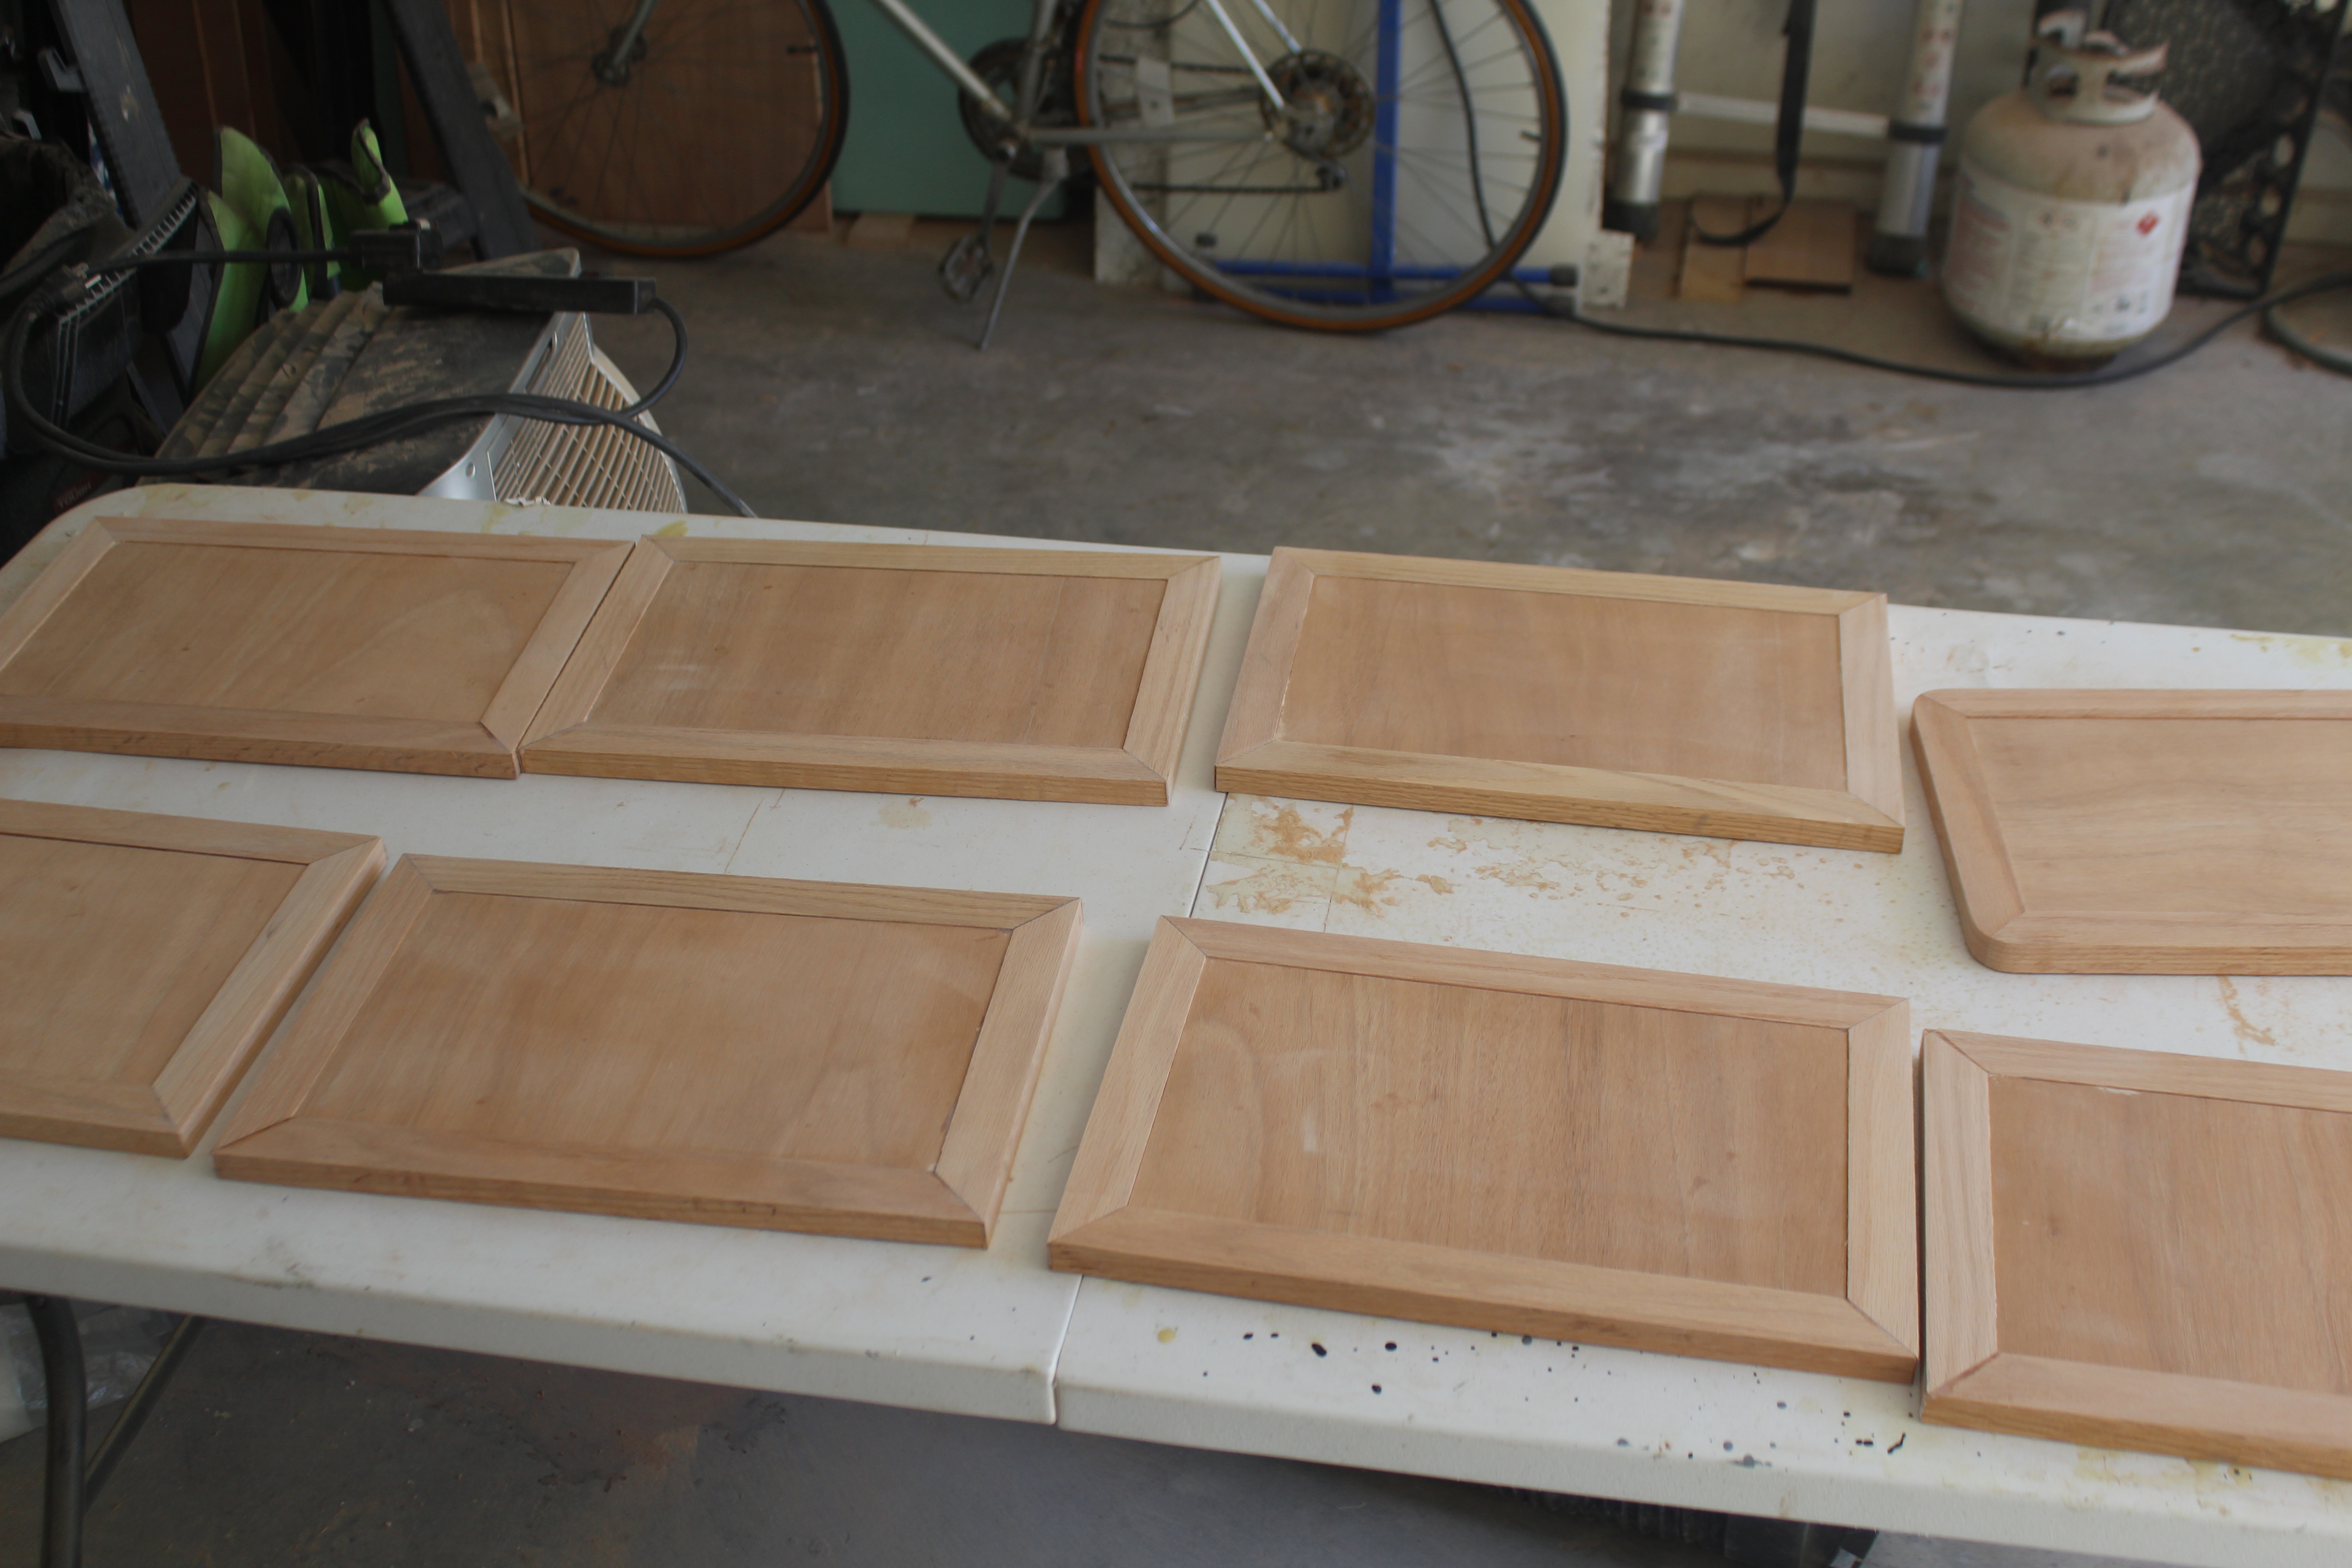
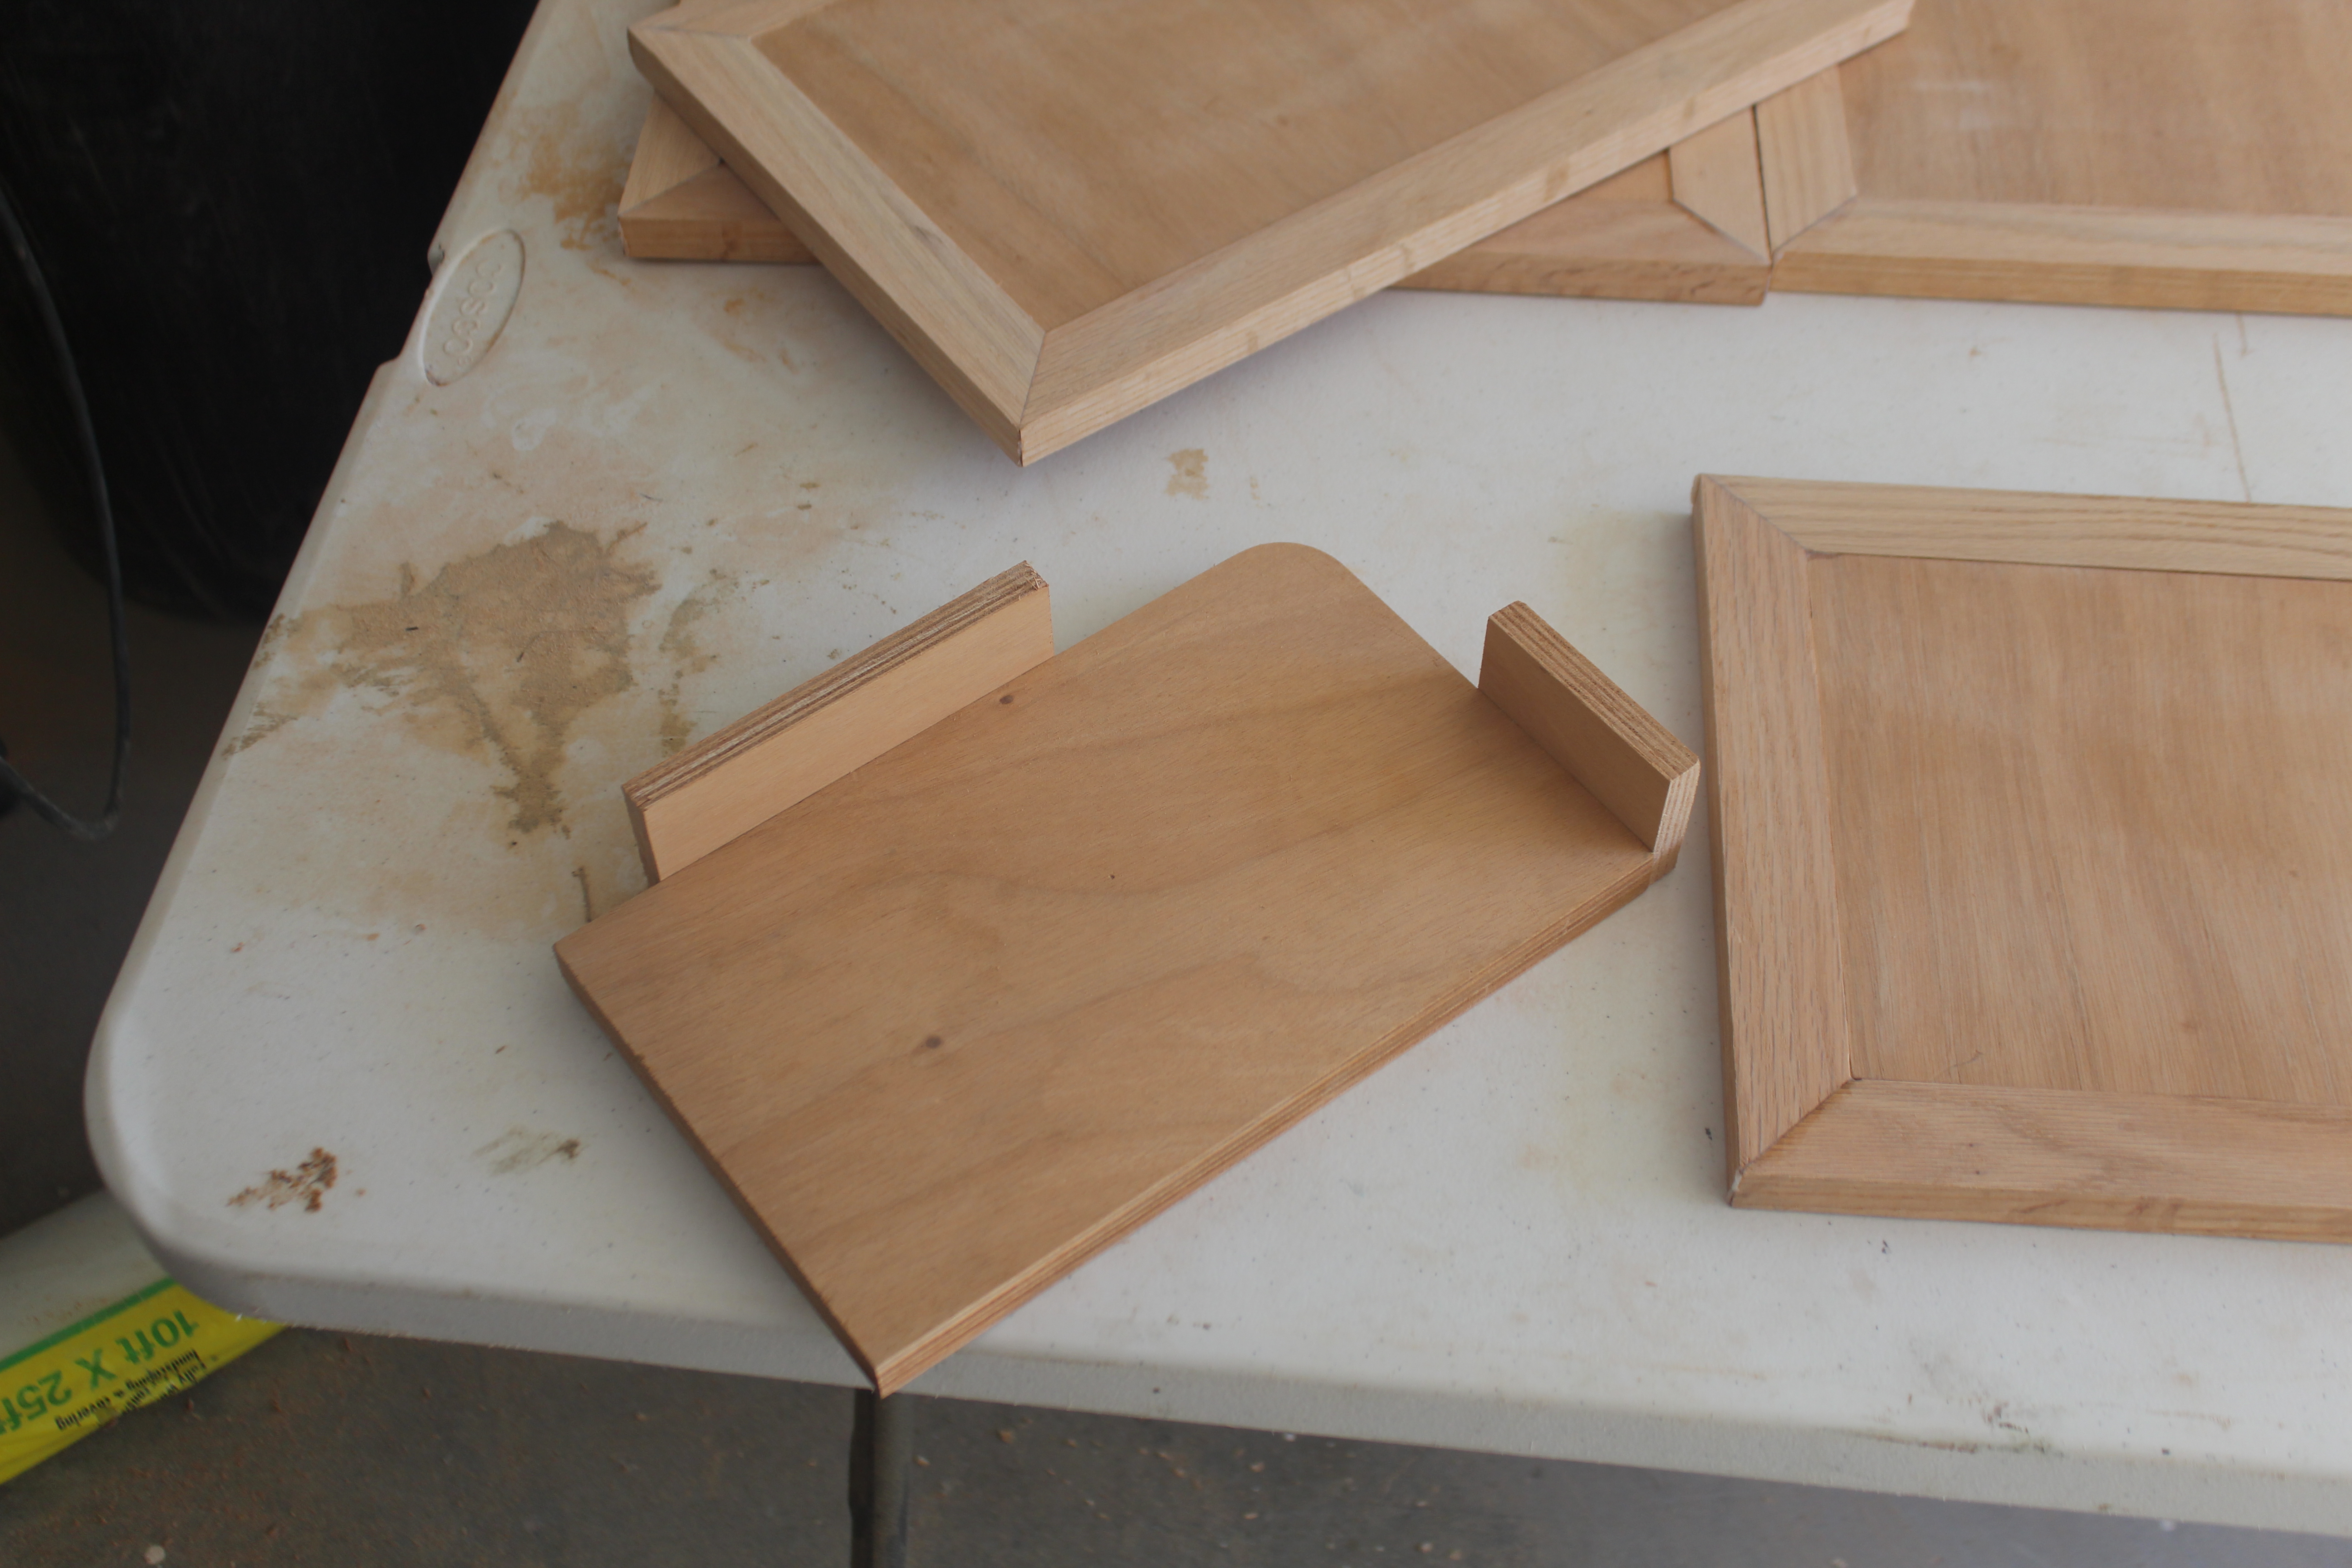
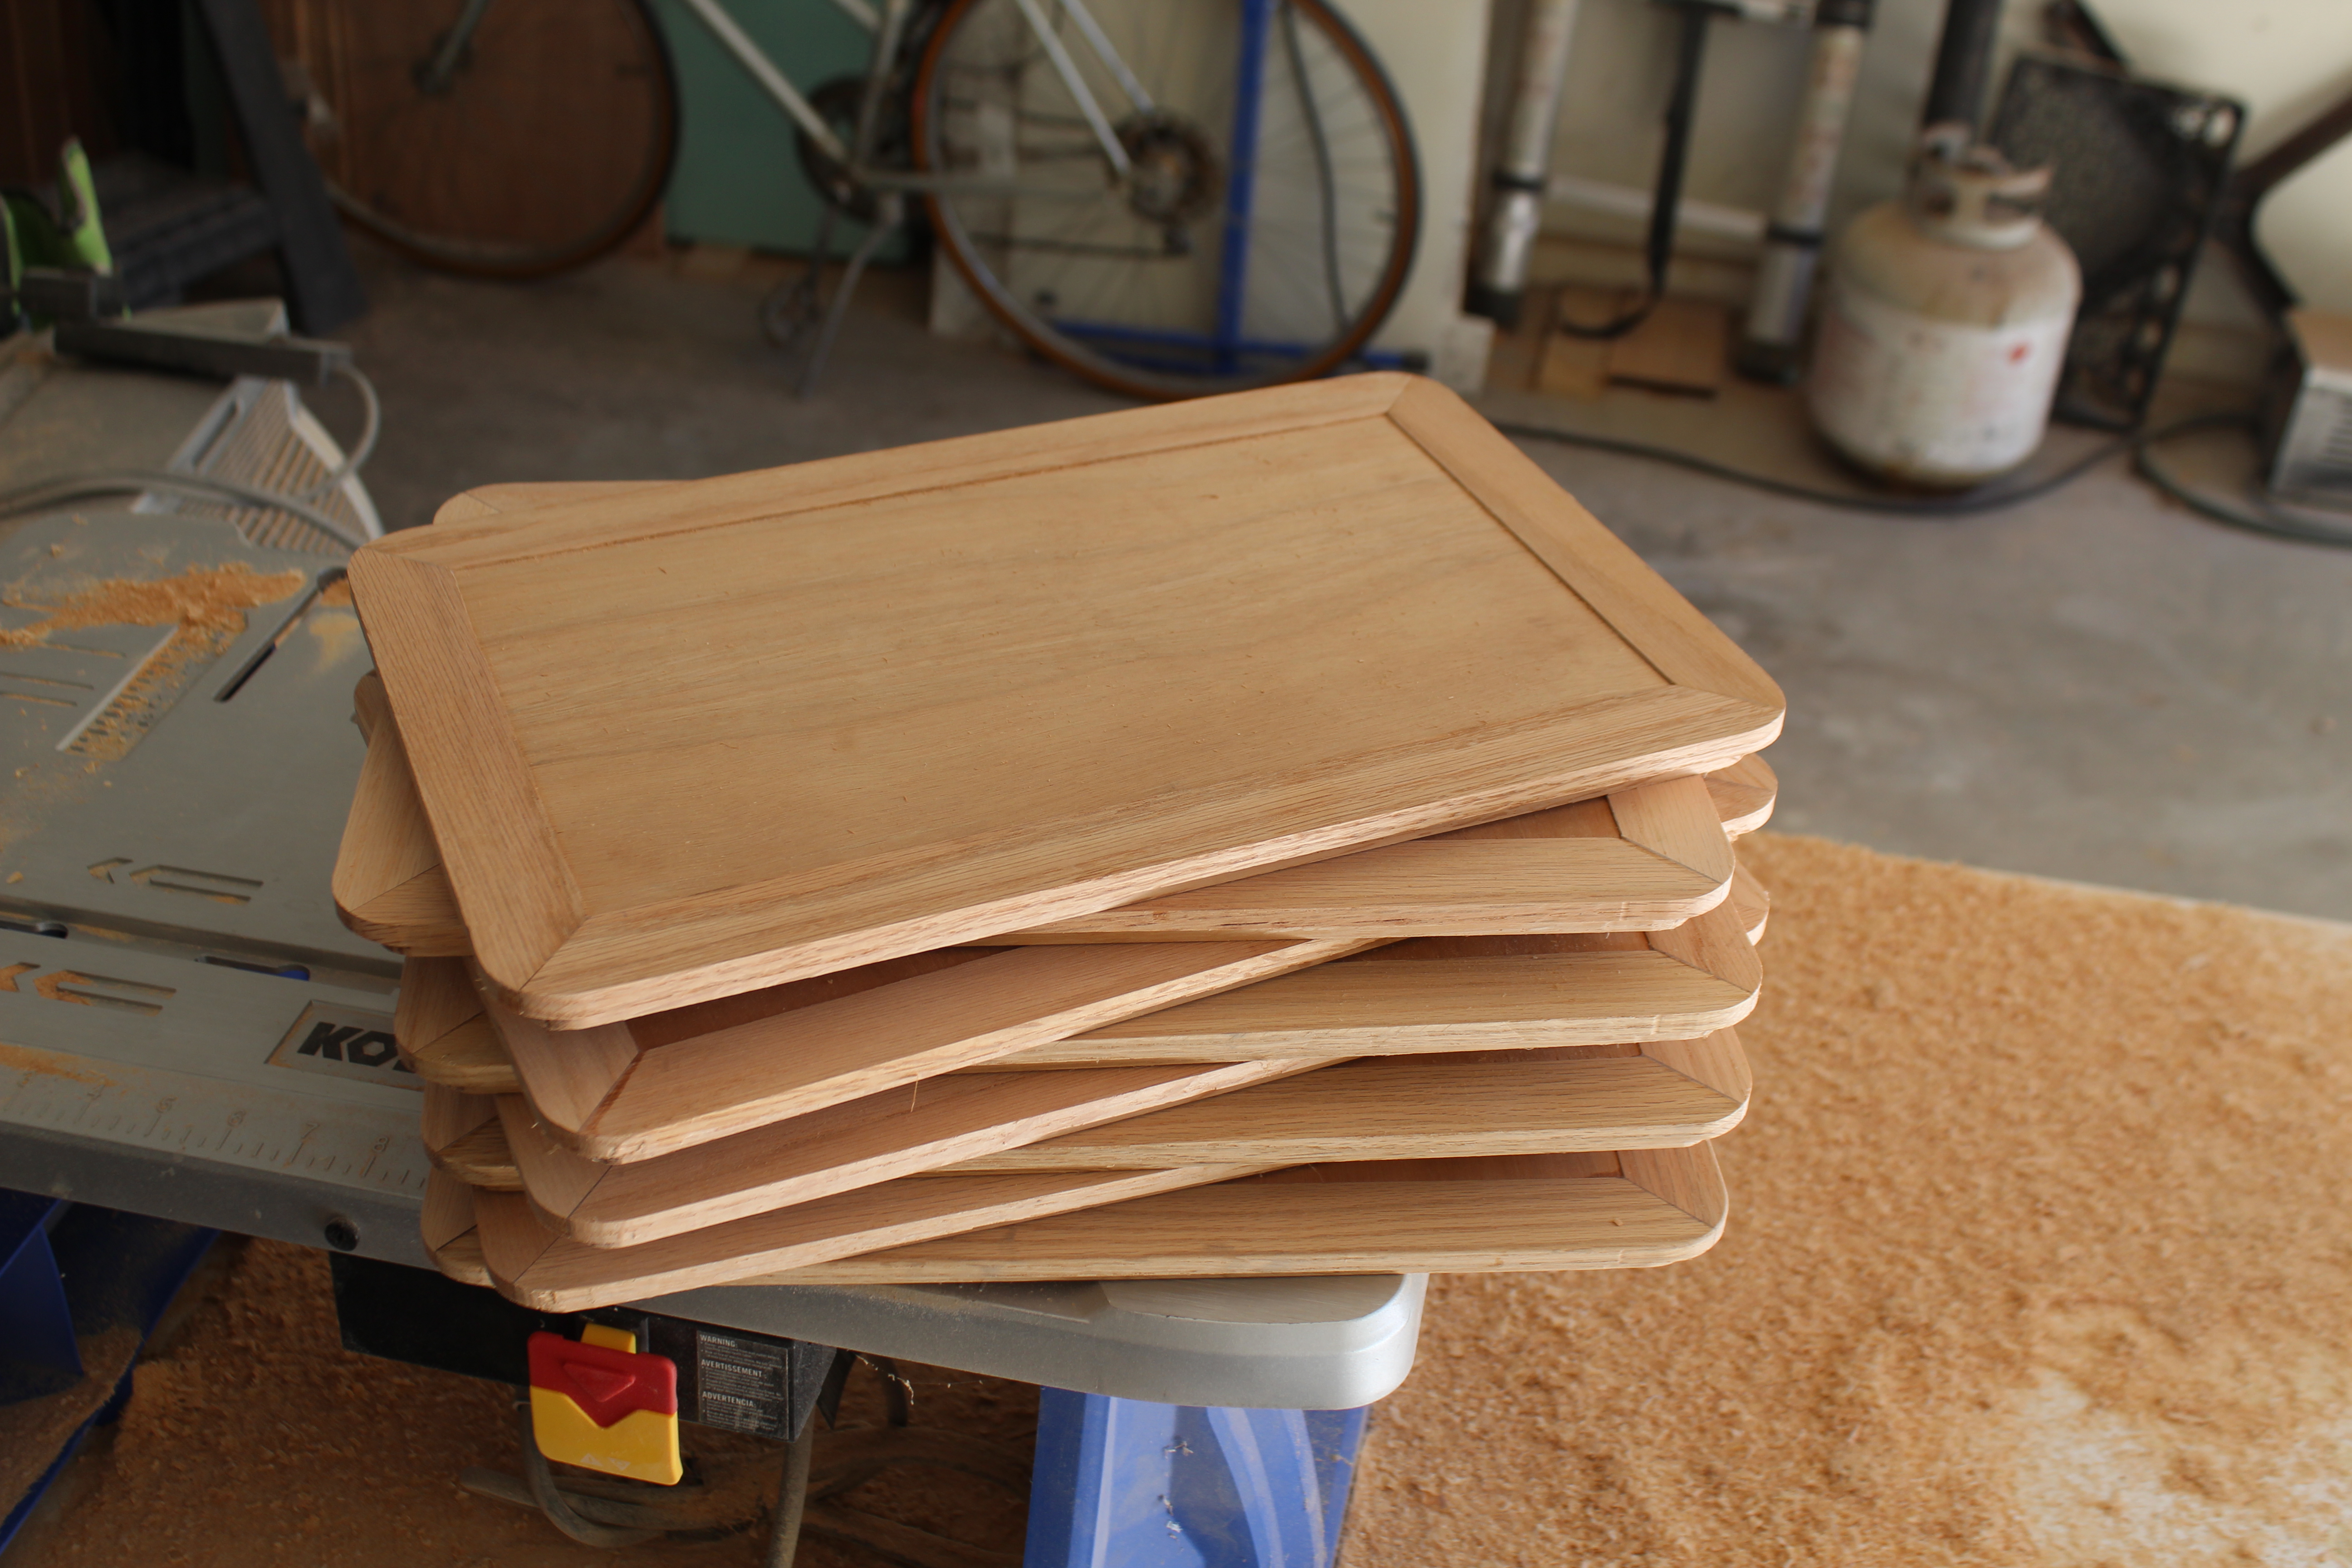
So with that done time for more cabinetry. Finished the port side faces:


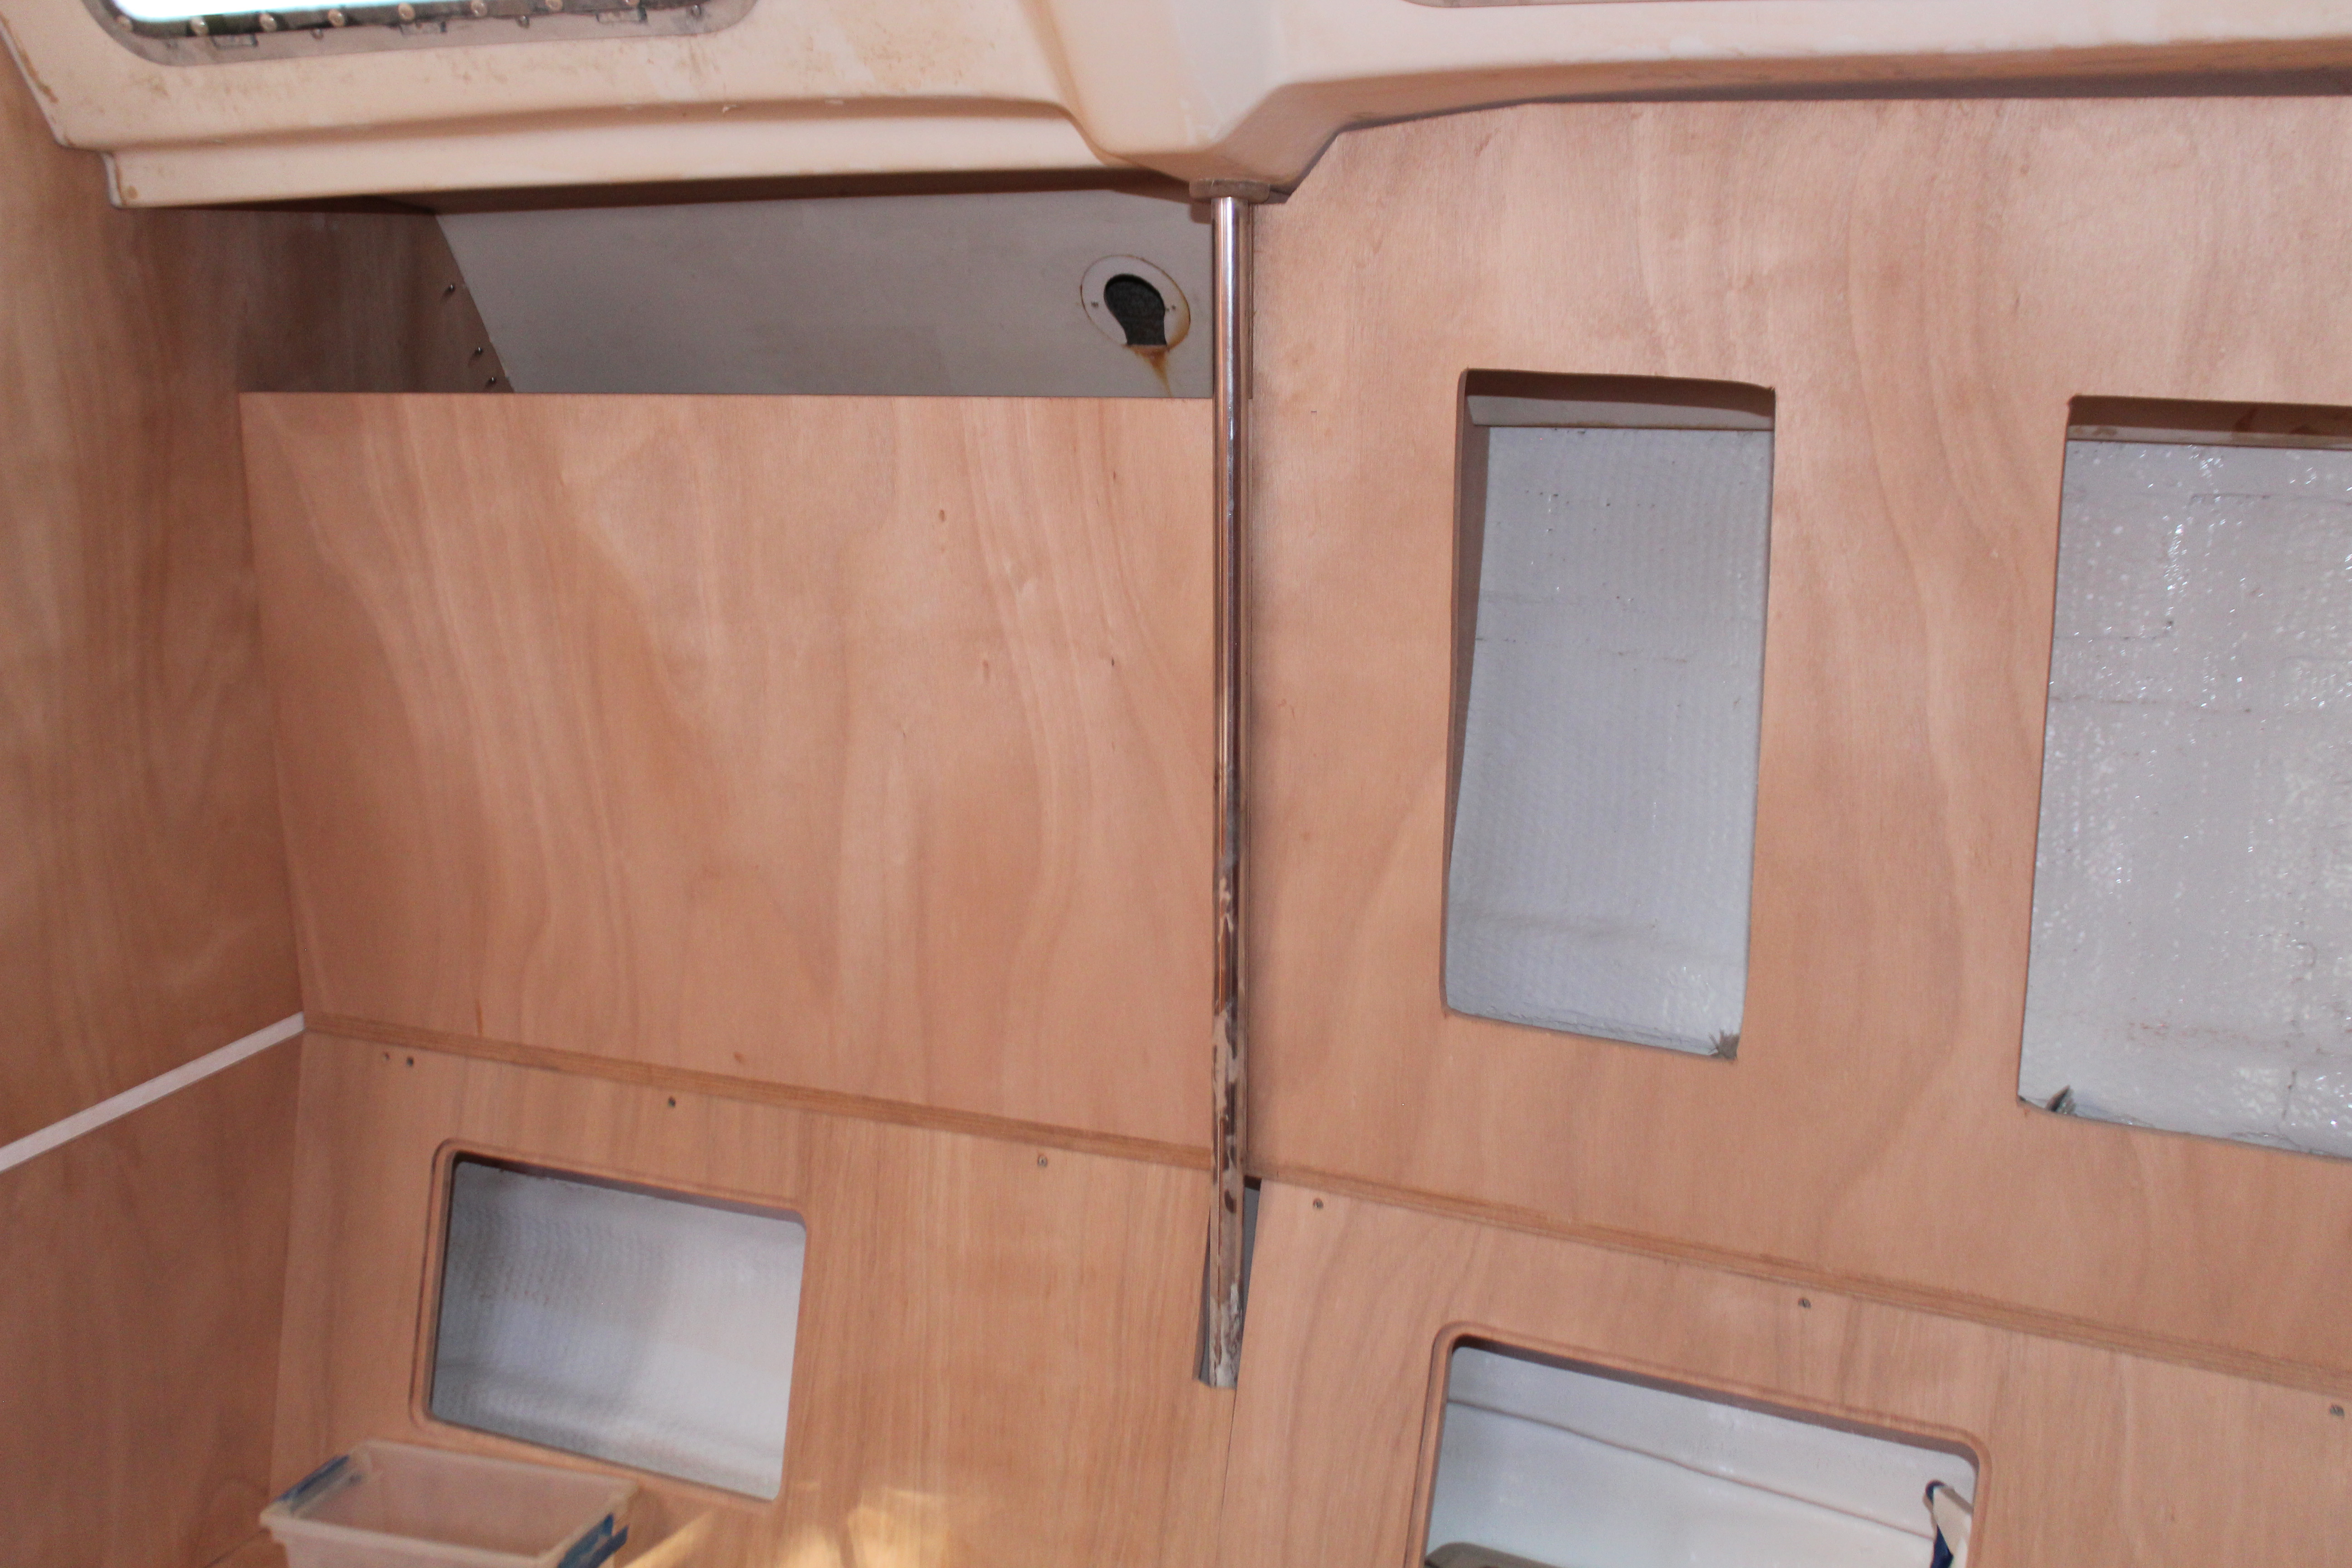
I'm holding off cutting in door openings in this area - this will be the nexus for electrical, nav and radio equipment. I still have some things to buy and decisions to make on a few things so this will sit as is for a while yet.

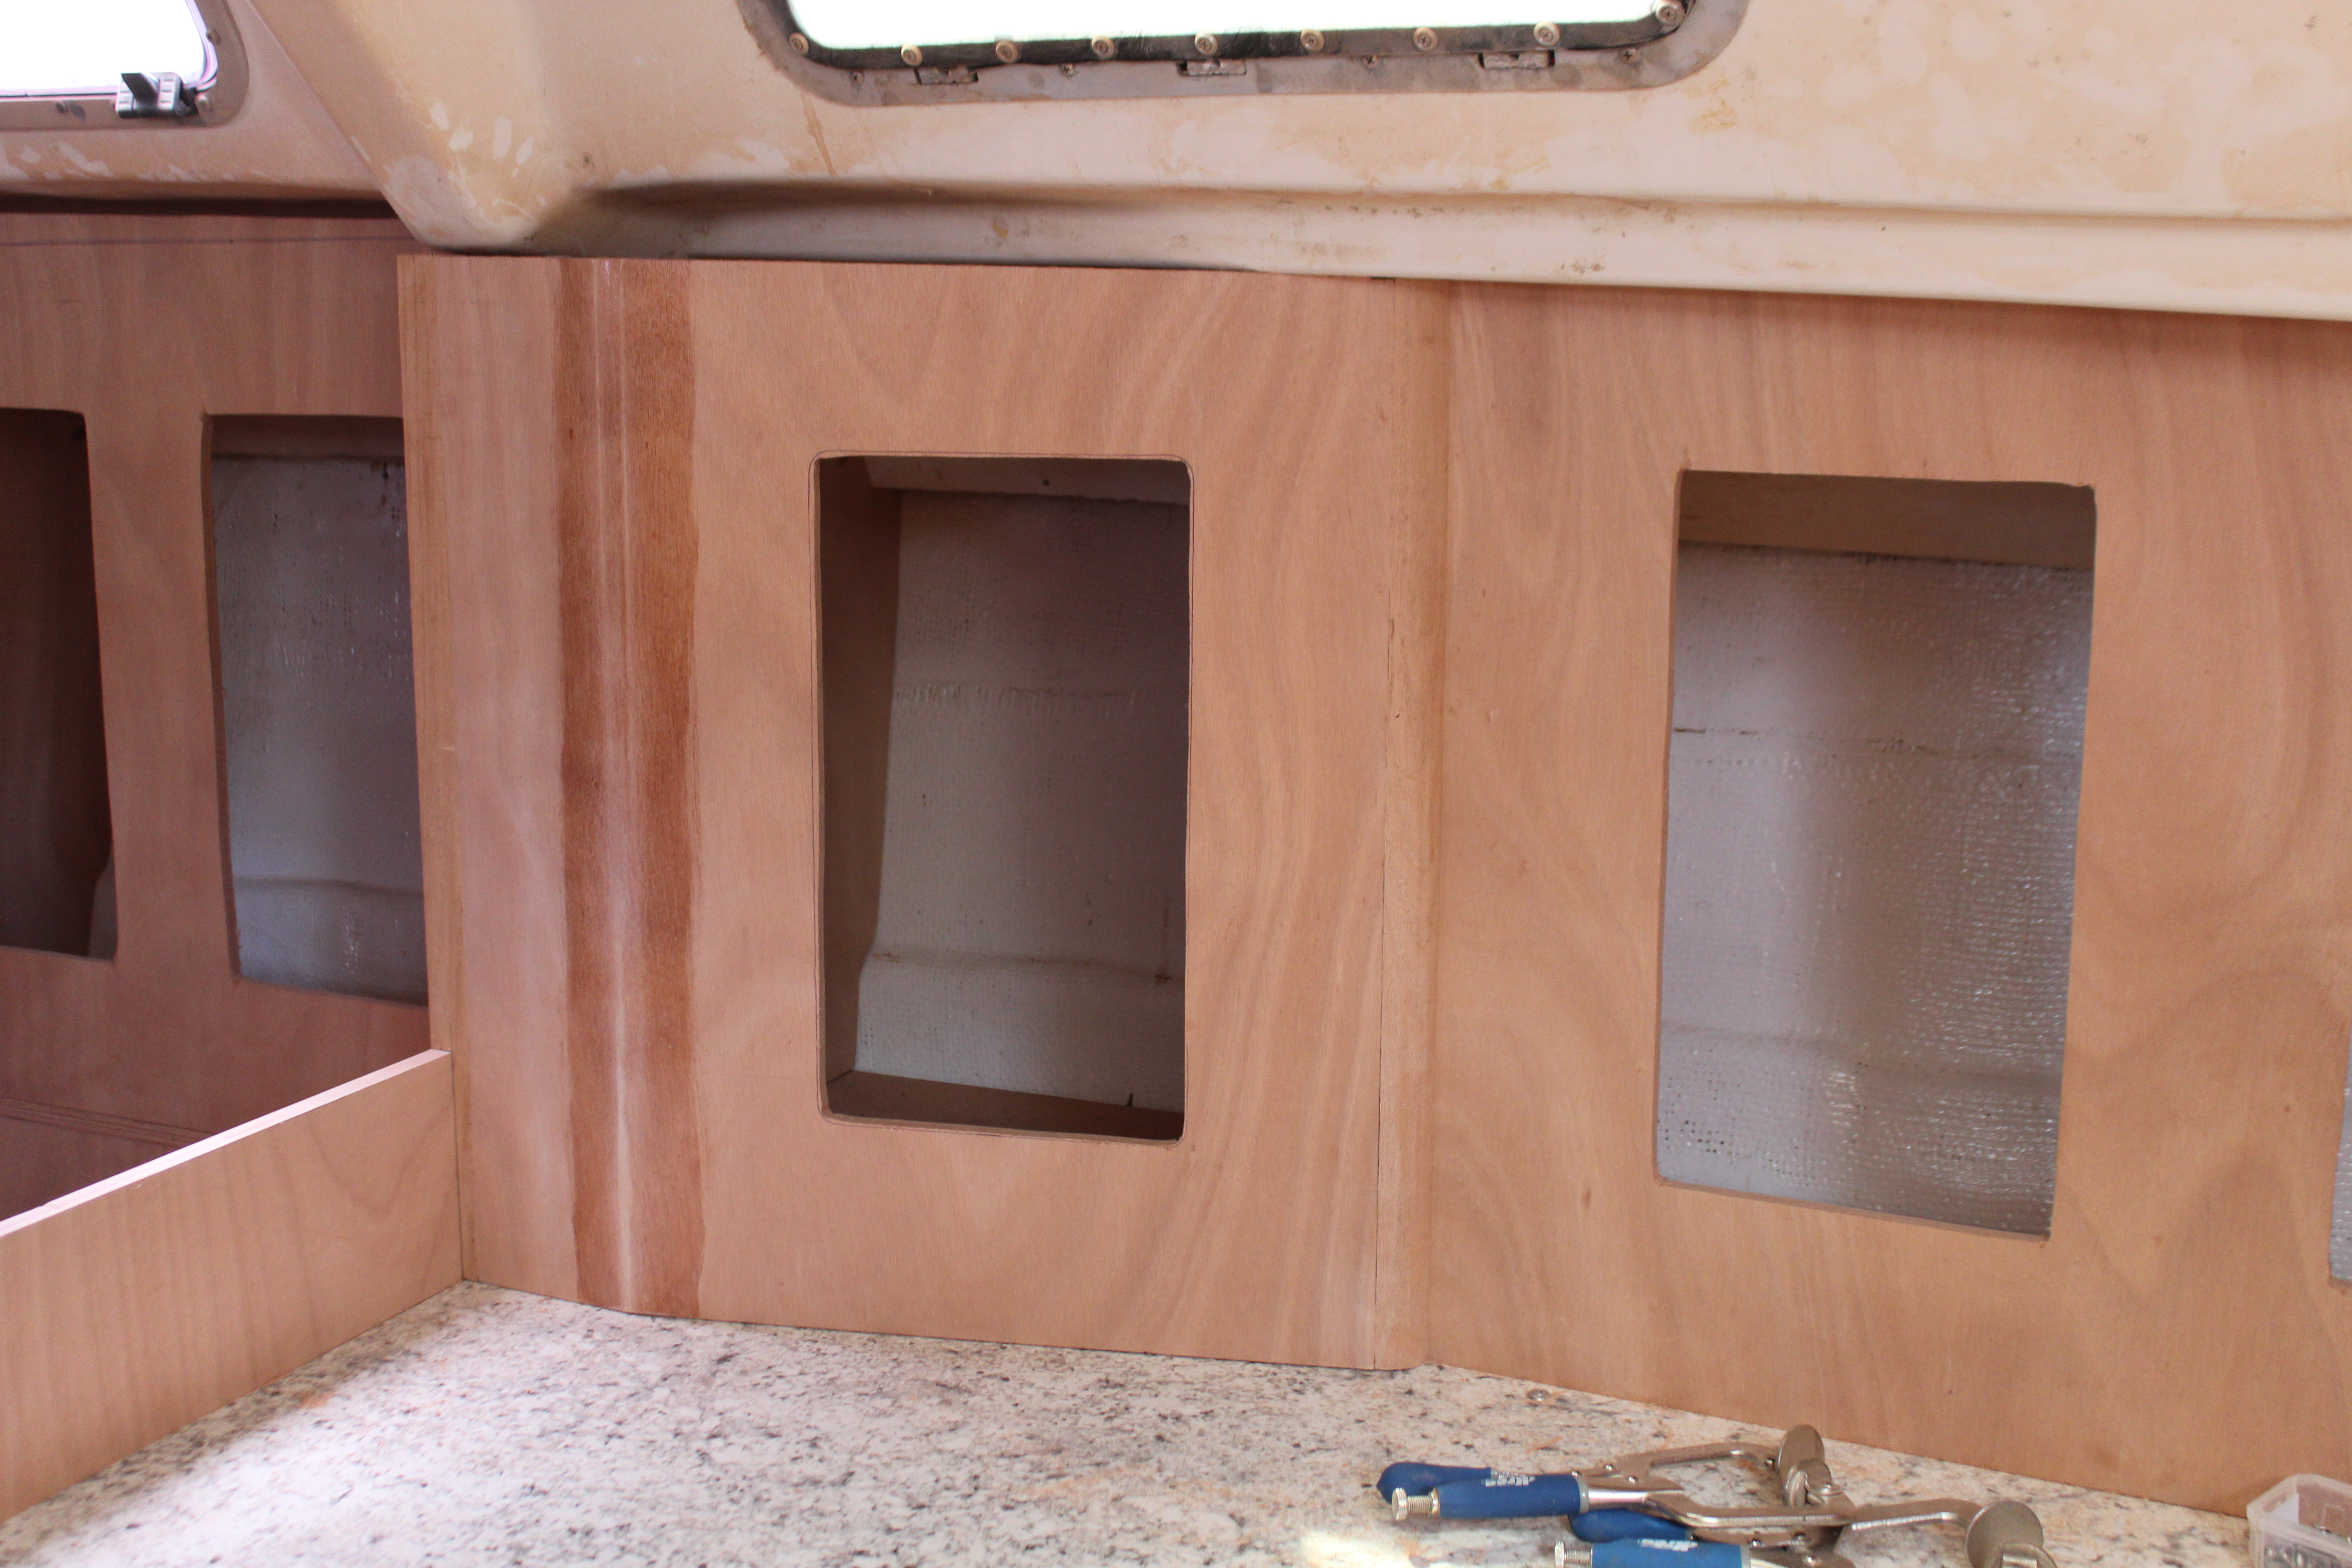
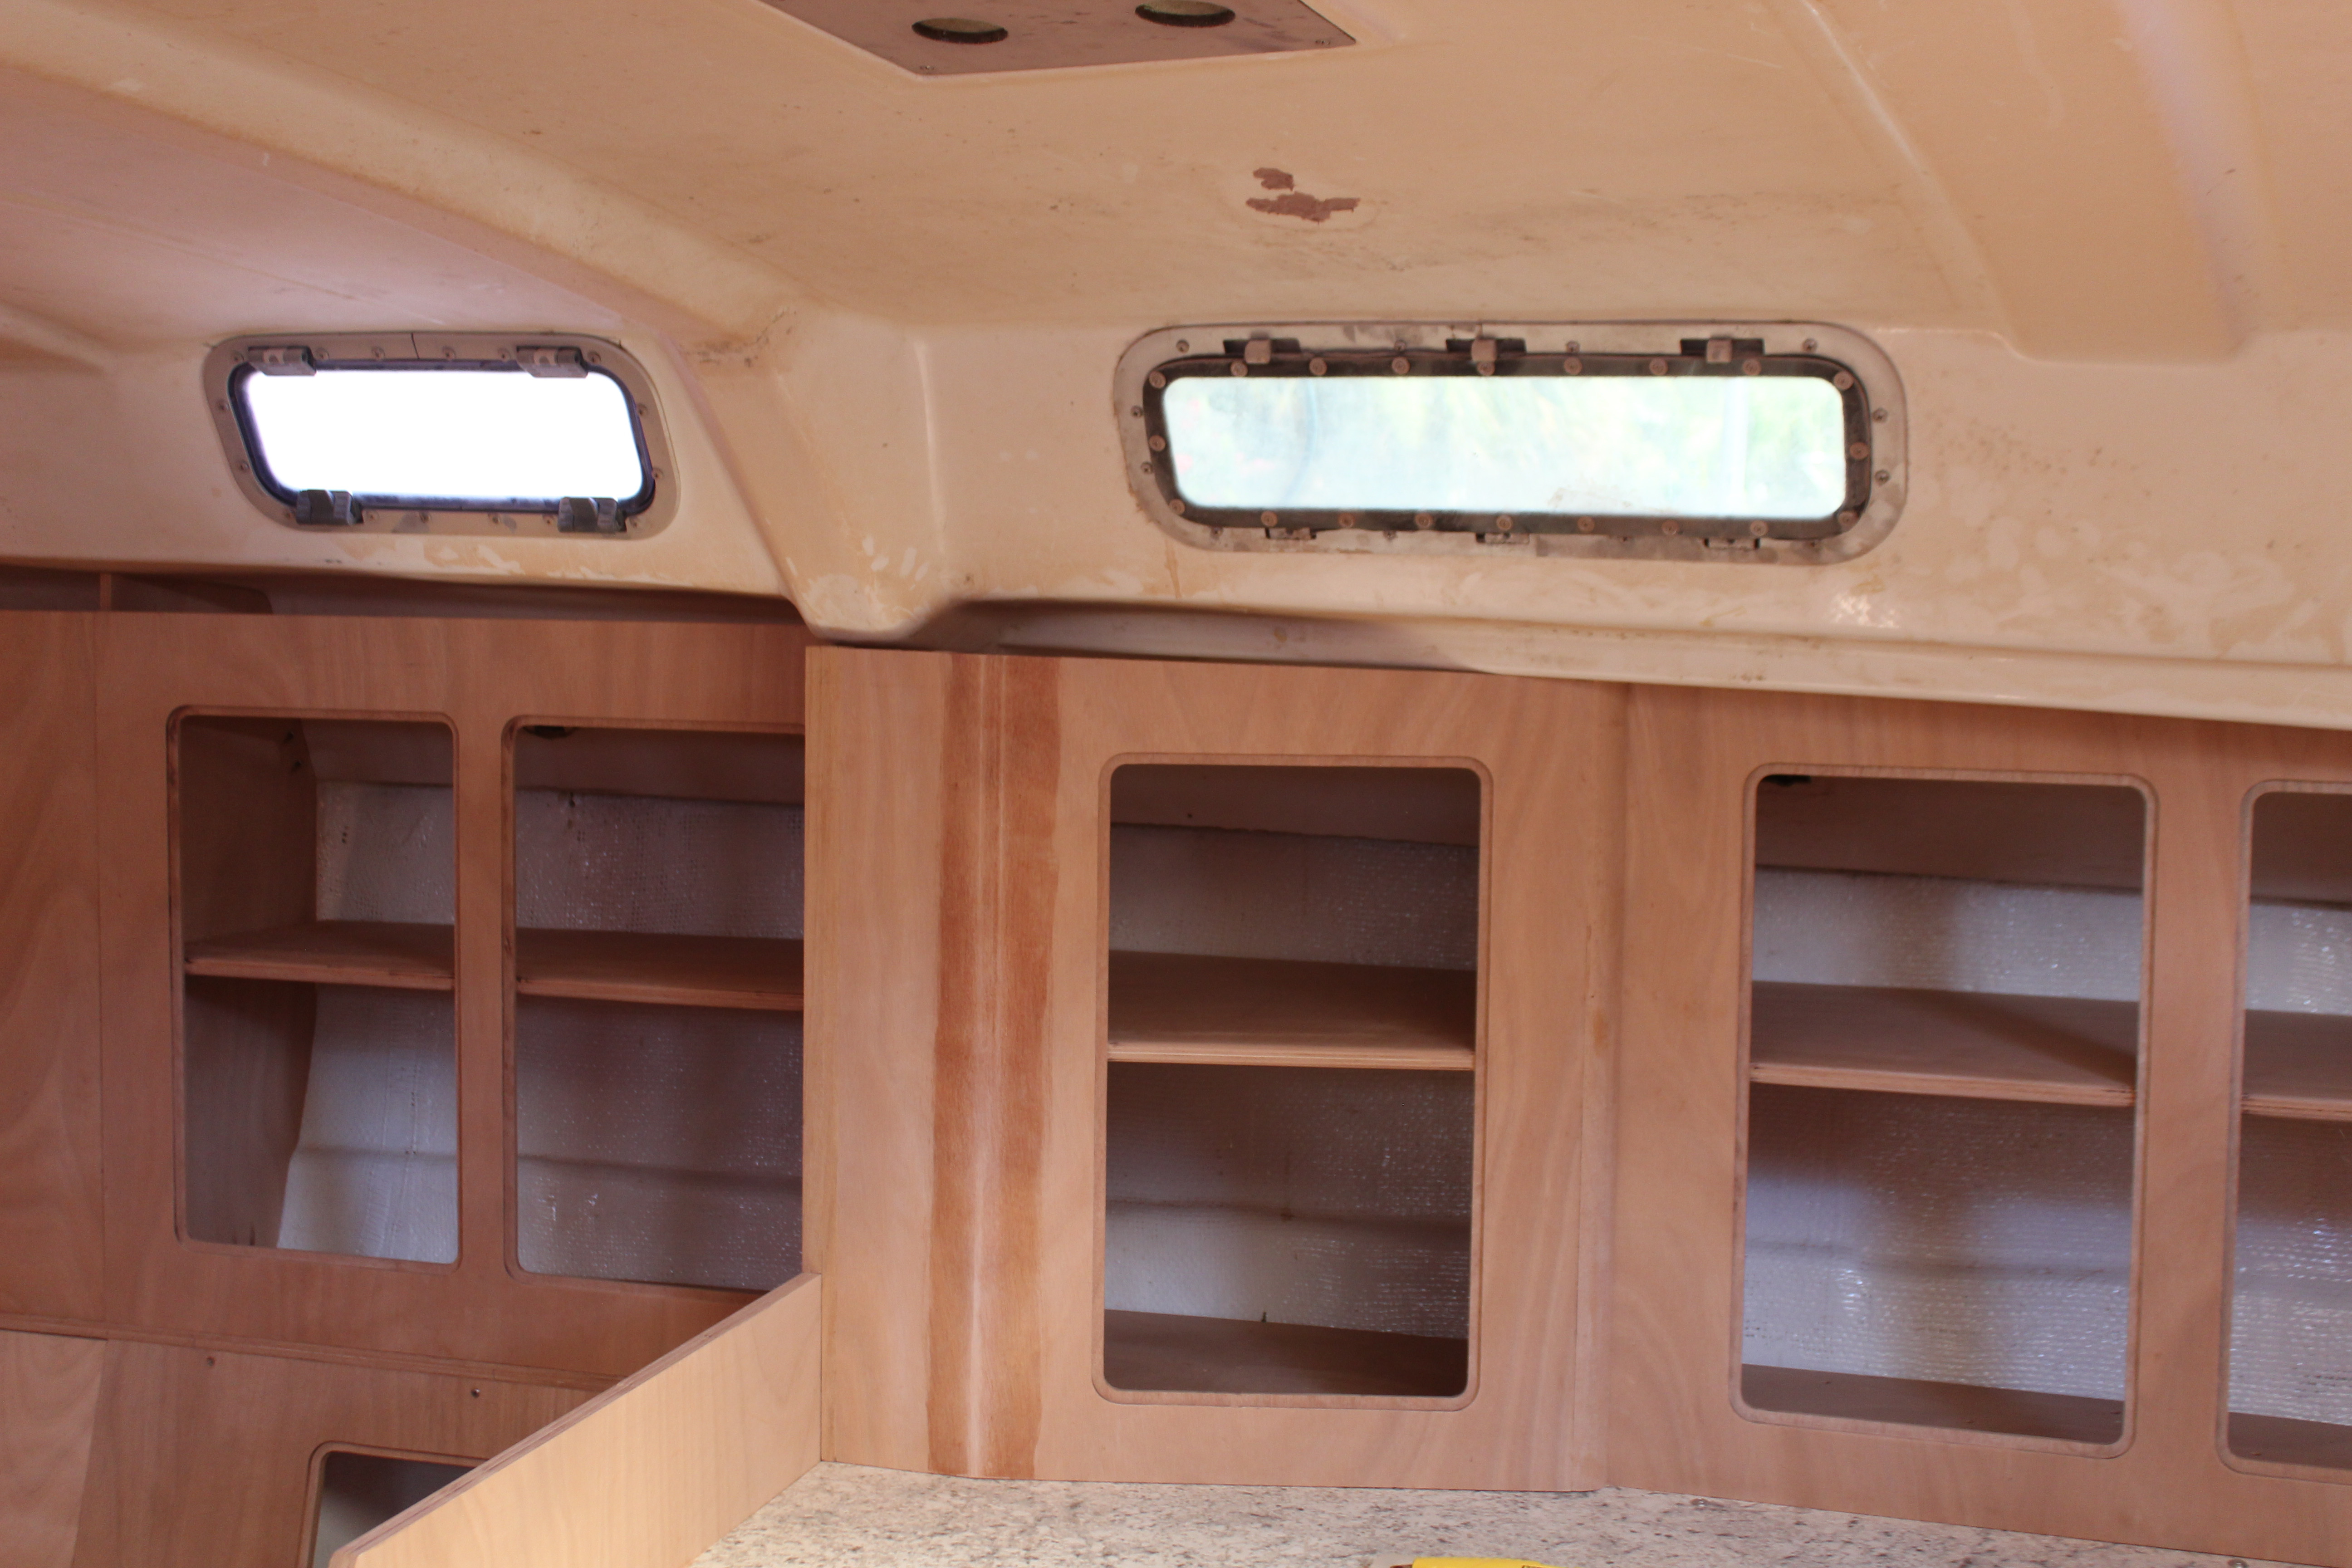
But I can keep adding to the galley:


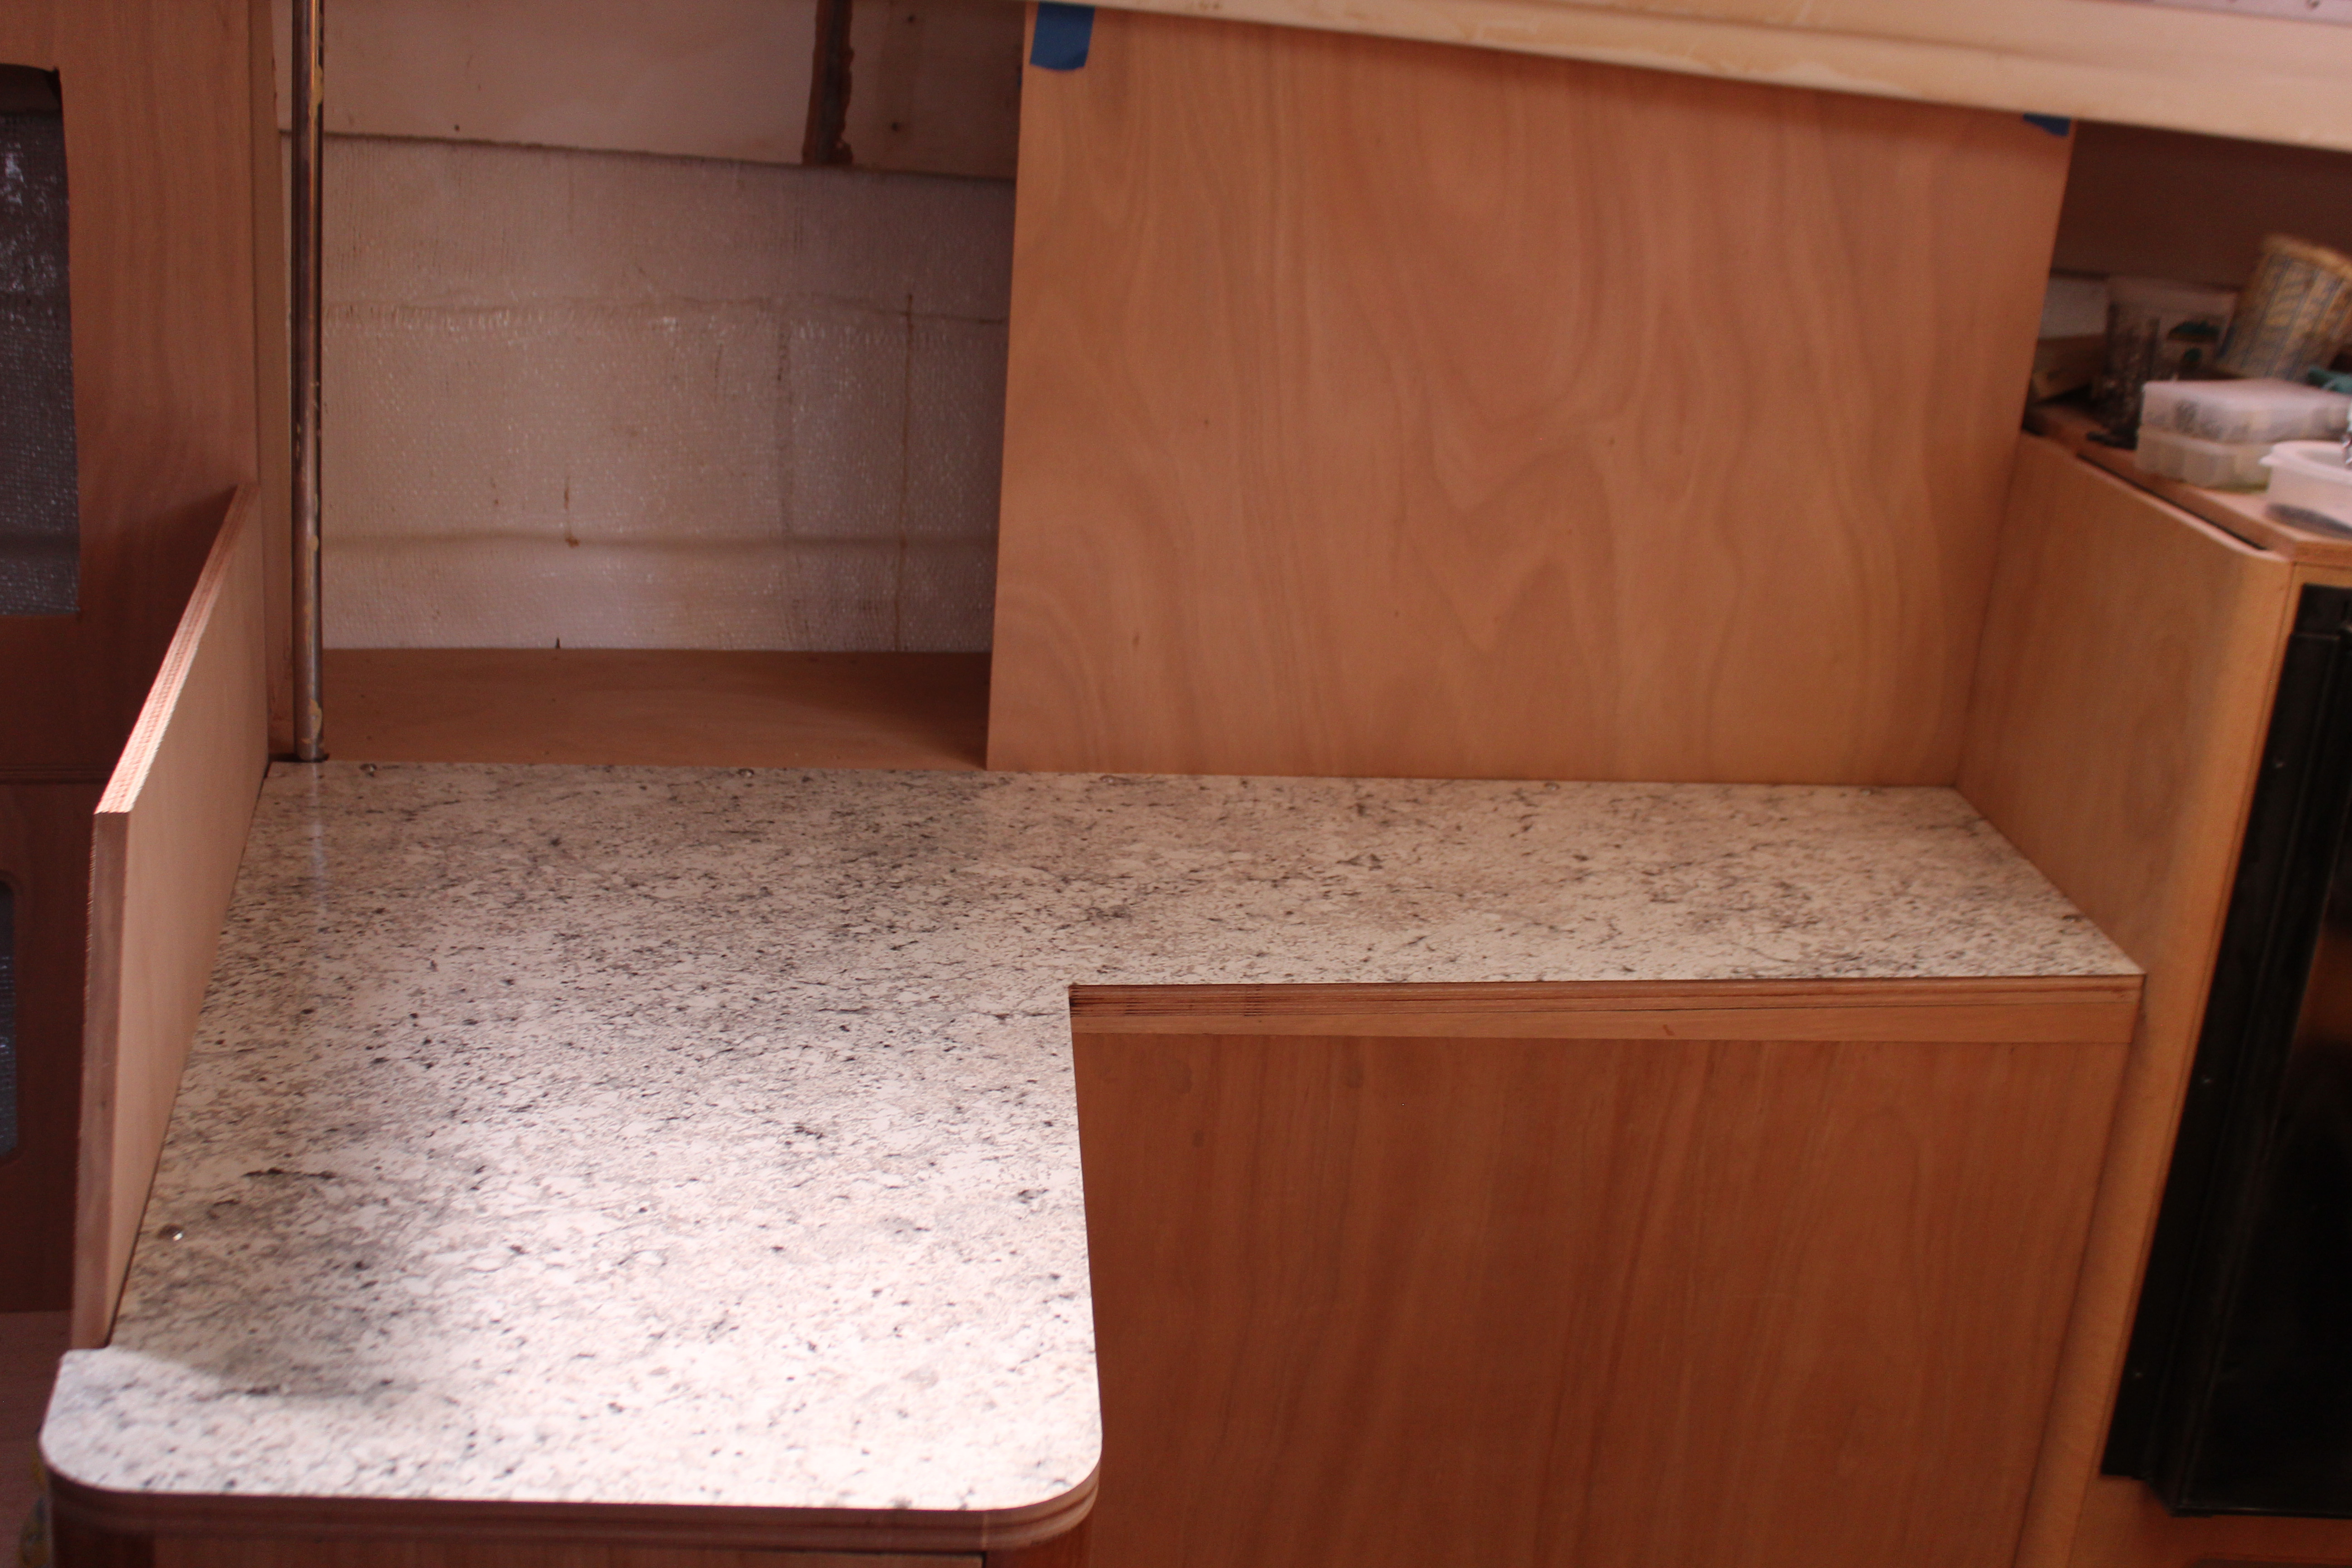
As you can see, the galley countertop fits!

Cheers,

Mark
 
  • Like
Likes: Will Gilmore
Jun 1, 2009
1,735
Hunter 49 toronto
Looking great Mark. The curious cat in me was wondering if you went back to your preferred location for the AC given that you will be installing a 18.5kBTU unit instead of the 20kBTU you had sized for?
It looks like you stole my Makita table saw. Maybe I should look in the garage. ;) I have always been very impressed with how accurate and smooth that thing cuts given its cost.:clap::clap::clap:
Re: airco installation...
It’s really important to plan for draining the condensate to someplace other than your bilge.
2 options are:
A shower sump box
(Much better) A whale IC pump system, which can handle all of your grey water.
Lastly, you could get a condensator venturi, but I think you’d be better off with the whale IC, and using it for your shower as well. A fabulous system.
 

CYQK

.
Sep 11, 2009
576
beneteau first 42 kenora
Nice work!!!!
Take some time and plan for condensation. Nothing worse that a petri dish in your boat
 
May 8, 2013
629
Hunter 40 Dataw Island, SC
Trying to beat the heat:

Things slowed down somewhat over the last week/week and a half, partly due to the heat (90+ and brutish humidity every day!) and partly due to visitors. I had some old pilot buddies from the Maldives pop in for a few days so boat work stopped during that - also coincided with the tropical disturbance that passed through. After that the heat returned with a vengeance so I went to Plan B: up in the attic I went to retrieve the old canvas. I (thankfully!) cleaned the old bimini and put it away even though I had no intention of reusing it - it's in really bad shape! I also had a canvas tarp inherited from the PO that partially covers the foredeck. Braving the heat, I heroically erected both pieces while battling a sweat-storm which threatened to turn me into a quivering puddle of overheated goo. Below deck temps are noticeable lower and I can resume work. Yay!

Oh, and I put the mainsail back on. It's officially a sailboat again. Double Yay! (Yay(?))

On to cabinetry: While roughing out the galley cabinets I decided that a continuous wall of cabinet faces running both sides of the boat would look, well, a bit to industrial, so I engineered a little style:


I figured the corner of the countertop area is pretty much dead space so why not push the storage into the that space a bit? I did have to remember to make the entire cabinet face easily removable (due to my decision to make the countertop easily removable :biggrin:).

Before I could go much farther with the upper cabinets I had to settle on the sizing of the openings. But before that I had to establish the trim line for the faces:


That took a surprisingly long time to get a look that satisfied me! Now I could work out the opening sizes and locations:


And the galley as well:


I have ordered a whole gob of different hinges to test out which ones will work best. In the meantime I can start on the assembly-line process of making the various doors.

Today, though, patterning and installing the shelves in the cabinets. Stay tuned!

Cheers,

Mark
 

dmax

.
Jul 29, 2018
969
O'Day 35 Buzzards Bay
Beautiful work - I like the added style, definitely adds interest. If you cut those openings with the cabinets in place, that's impressive.
 
  • Like
Likes: B757Captain
May 8, 2013
629
Hunter 40 Dataw Island, SC
Man I wish I were as good at woodwork as you... amazing work Mark!
Thanks Artey! I actually rate my woodworking skills pretty low in comparison to the other skill sets I have acquired over the years but I'm trying!
 
May 8, 2013
629
Hunter 40 Dataw Island, SC
Beautiful work - I like the added style, definitely adds interest. If you cut those openings with the cabinets in place, that's impressive.
Nope, didn't want to take the chance of messing up! The rough openings were re-cut and finish-trimmed first with a hand-held router and flush-trim bit using a template clamped to the piece, then transferred to the router table with the rabbeting bit. I'm also trying to do as much of the cutting, trimming, etc., off the boat to keep the sawdust from overwhelming me.
 
  • Like
Likes: limbodog
May 8, 2013
629
Hunter 40 Dataw Island, SC
Shelves and doors:

With the cabinet openings done I could add the shelves to the lockers. Nothing fancy here, just measuring and templating then final fitting:


I held off adding the shelves to the forward cabinets on both sides - the forward portion of the cabinets next to the bulkheads will house the cabin lights, outlets and (on the starboard side) A/C outlets, so I will partition that area first then add the shelves.

I've been working more in the garage during the heat of the day (with the A/C going!) and a good project for the garage is making the cabinet doors. With a plan in mind I got out the measuring devices and cranked up the table saw. Well, that lasted all the way through the first (test) door. By using templates for the openings I figured I could "assembly line" the doors. With the test door measurements confirmed I started running some wood through the saw - and the saw gave up the ghost! The rear bearing had been making some noise, and I had a spare, so I figured easy fix. Not so fast! The farther I dug, the more failed bearings I found. There's two bearings on the armature shaft and an additional three on the belt-driven secondary shaft. 3 of the 5 were toast. All 5 bearings were different sizes and of course it's Saturday afternoon!

So I took the rest of the weekend off :thumbup:

Next up, back to work.

Cheers,

Mark
 
  • Like
Likes: Will Gilmore
May 29, 2018
457
Canel 25 foot Shiogama, japan
There's two bearings on the armature shaft and an additional three on the belt-driven secondary shaft. 3 of the 5 were toast. All 5 bearings were different sizes and of course it's Saturday afternoon!

I am sure you can bear it! Sorry couldn't resist.
At least will have an as-new table saw next week.

gary
 
May 8, 2013
629
Hunter 40 Dataw Island, SC
There's two bearings on the armature shaft and an additional three on the belt-driven secondary shaft. 3 of the 5 were toast. All 5 bearings were different sizes and of course it's Saturday afternoon!

I am sure you can bear it! Sorry couldn't resist.
At least will have an as-new table saw next week.

gary
The search for bearings had no bearing on my bearing, as after a quick trip I returned bearing the new bearings.

Sorry, I couldn't resist! :biggrin: You'll note that I have all five bearings!

Mark
 
May 8, 2013
629
Hunter 40 Dataw Island, SC
Saw repaired!:

With new bearings in hand and installed, the saw runs like brand new, so I returned to making doors. I figured I would test my assembly line techniques on the main cabin lower locker doors first since they mostly will be covered eventually by cushions, thus I can hide any major screw-ups:


And there were a few but mostly ironed out now. I hadn't fully worked out the process when I decided on rounded corners, thinking I could use the drum sander to finish the corners. Well, that lasted all of one door before I made a jig!


Just slide the corner in and zap with the router!

First set of doors ready for fitting:


Now to make some doors - and there's a lot of them!

Cheers,

Mark
 
  • Like
Likes: Will Gilmore
May 8, 2013
629
Hunter 40 Dataw Island, SC
It's just grizzly to have those bruin in your head.

-Will (Dragonfly)
I got the (G)rizzly, but what does a Boston hockey team have to do with it? Or Alternately, an Asian bear? :biggrin:

Oh, and I had to look up what a pyrographer is, good thing you don't combine that with chicken farming! :thumbup:

Mark
 
  • Like
Likes: Will Gilmore
Sep 20, 2014
1,320
Rob Legg RL24 Chain O'Lakes
It will be interesting to see how those doors hold up, especially in a humid environment. Normally when you make a panel door, the sides go the full length and the rails fit into the sides, rather than the picture frame like 45 degree corners. There are two reasons for this. Obviously the rails being jointed into the sides makes for a much stronger joint. The second reason is that the panel must be floating, otherwise when it expands, because of the grain, it will expand at a different rate than the frame. They put rubber space balls in the slot, so the center panel does not rattle. But it definitely floats.
Here is a link that will explain it in detail;
Wood Movement
 
  • Like
Likes: Will Gilmore
Oct 19, 2017
7,732
O'Day 19 Littleton, NH
For solid wood panels, most definately. Plywood panels, not usually a problem. The other issue with mitred corners is if the rails and runners shrink or expand, the angle of the cut will change, causing a gap either on the inside or on the outside of the joint. Use a good stable, kiln dried wood and finish appropriately. Epoxy makes a good barrier from moisture transfer. A well cut tongue and groove or splined joint will help act more like a cross laminated piece of wood.

-Will (Dragonfly)