I have seen the prefered method of replacing through hulls/seacocks, using a flange type sea cock. It looks like once those are installed they are integral with the through hull since the mounting bolts going through the flange are covered up by the mushroom of the through hull.
It seems to me a better idea to have ball valves screwed onto through hulls where you can remove the ball valve and replace it down the road. Except this method seems to be the culprit in broken off through hulls because there isn't enough strength at the base. This is the set up I have in my boat right now.
What causes the through hulls to be weakened over time? Are the flange type ball valves rebuildable while installed in the boat? Are the sizes standard for each application(raw water cooling, inlet for head) or should I go up in size on any of those to aviod any problems down the road? Also is it OK to go through the same hole that the existing through hulls are in now or better to glass those up and drill a new one?
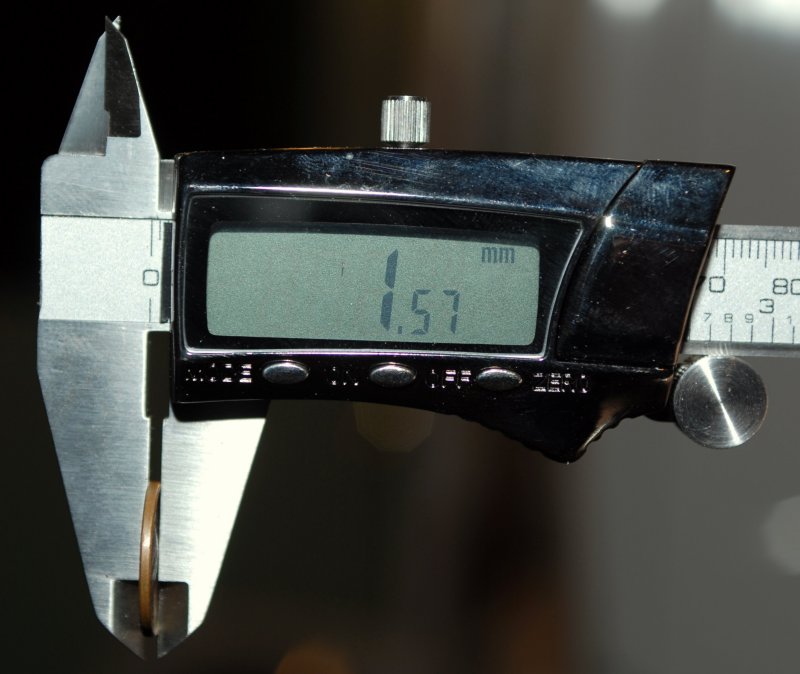
I am going to the boat Thursday to measure all my through hulls/seacocks so I can buy them online any tips on the best deals?
It seems to me a better idea to have ball valves screwed onto through hulls where you can remove the ball valve and replace it down the road. Except this method seems to be the culprit in broken off through hulls because there isn't enough strength at the base. This is the set up I have in my boat right now.
What causes the through hulls to be weakened over time? Are the flange type ball valves rebuildable while installed in the boat? Are the sizes standard for each application(raw water cooling, inlet for head) or should I go up in size on any of those to aviod any problems down the road? Also is it OK to go through the same hole that the existing through hulls are in now or better to glass those up and drill a new one?
I am going to the boat Thursday to measure all my through hulls/seacocks so I can buy them online any tips on the best deals?


 Eel grass has a way of getting in there especially at anchor if running the engine to charge or cool engine driven refrigeration.


