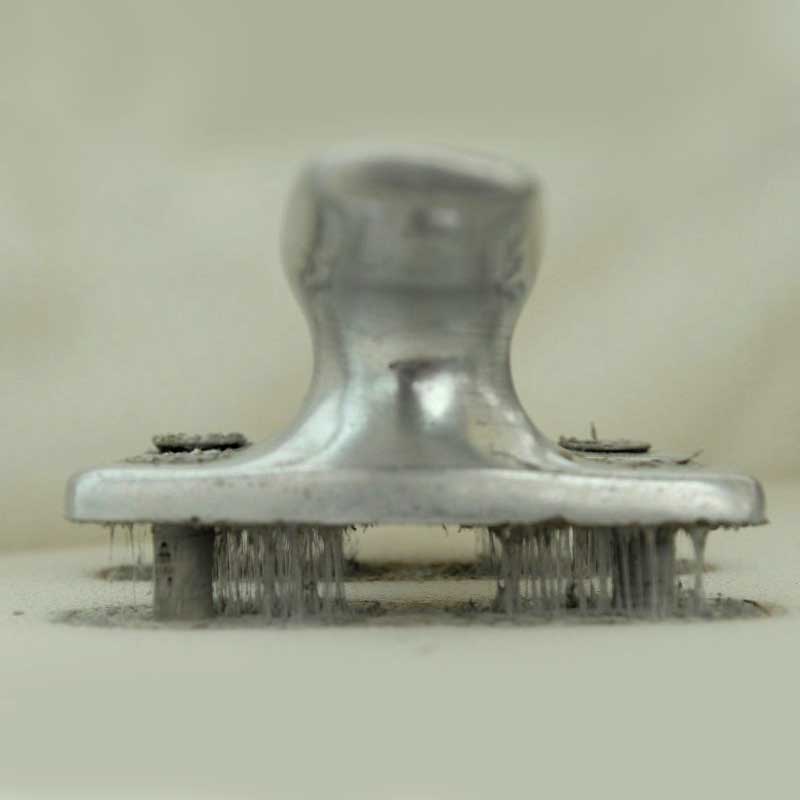
I need to remove all the bases for my stanchions so I can re bed the bolts and stop water from coming trough into the cabin. On staring at a few of them, I noticed water in the base where the stanchion post slides in. Has anyone drilled weep holes to let the water out? Or is there an better solution? As always, thanks for your input in advance.
Stanchion Talk
- Thread starter twodzusfittings
- Start date
It happens to all of them. I'd not do that, as I'm sure it would weaken such an important lifesaving apparatus. If you're that concerned, maybe just tape the joint, maybe even put a LITTLE caulk on it first?...I noticed water in the base where the stanchion post slides in. Has anyone drilled weep holes to let the water out? Or is there an better solution?
Last edited:
A hole would just plug up anyway. They trap water. It's the nature of a "cup". Is there a reason to be concerned?
Everything you need to know, from the expert:
Bedding Deck Hardware With Bed-IT Tape - Marine How To
Originally published December 2003 *Moved & Edited September 2017 Bedding With Bed-It Tape 5/20/2022 IMPORTANT UPDATE BED-IT TAPE IS BACK PURCHASE BED-IT TAPE Countersunk/Beveled Hole Over the years,
marinehowto.com
Freezing water cracks things if there is not room for it to expand when freezing. That base is like a cup of water. The water can always expand up, and will not crack anything.just in the winter, ice.
Continuing on this subject but with another question. The stanchion base has four hex head bolts. Can anyone confirm that the outer two are screwed in (as in lug screws) and the inner two are bolts and nuts?
I got to answer my own question yesterday.
I enlisted the help of my best friend to help me with removing the stanchion bases. They are all nuts and bolts with small washers (1/4-20)
I bet the boat was built it in three parts. Namely the top was created, all hardware (bowsprit, stanchions, transom rail, etc.) attached. All motor, tanks, lines and power lines put in the hull, then the molded inner shell inserted and finally the top attached. Why you ask?
Because there is no way they could have gotten access to the stanchion plate nuts and bolts once it was assembled.
In order to access the inside nuts I had to cut away the inside lip of the top, right next to the molded edge curve. All the outer nuts were so in bedded adjacent to the out shell, I needed to hold in place with needle nose pliers and tighten with a 1/4 turn at a time.
After nearly eight hours of removing, cleaning, chamfering holes, butyl tape applying and bolting together, we only did two forward cleats the bowsprit and the port side stanchion plates. Starboard side still to go.
I know it not about the destination, ones needs to enjoy the journey!


jssailem
SBO Weather and Forecasting Forum Jim & John
- Oct 22, 2014
- 23,867
When we find the boat that feels right - speaks to us "I am your boat" - we often fail to look under the skirt to see if the parts are serviceable.
When we do have to service our queens, they sometimes complain or punish us because our tools are too big or too small or not warm enough.
Such is the nature of boats. That sailors have the patience to deal with such challenges may speak to the nature of sailors as to why they are not power boaters.
Yes it is the journey.. Even if some of it is sitting in the slip and not out on the seas.
Keep the faith.
I don't mind when the boat complains and makes me work harder because I don' have the right tools. That's my fault.When we do have to service our queens, they sometimes complain or punish us because our tools are too big or too small or not warm enough.
What I do complain about is when our aging and tiring dears need to be cut apart to help them along only because the builder didn't take into account that at some point certain items were going to need to be serviced.