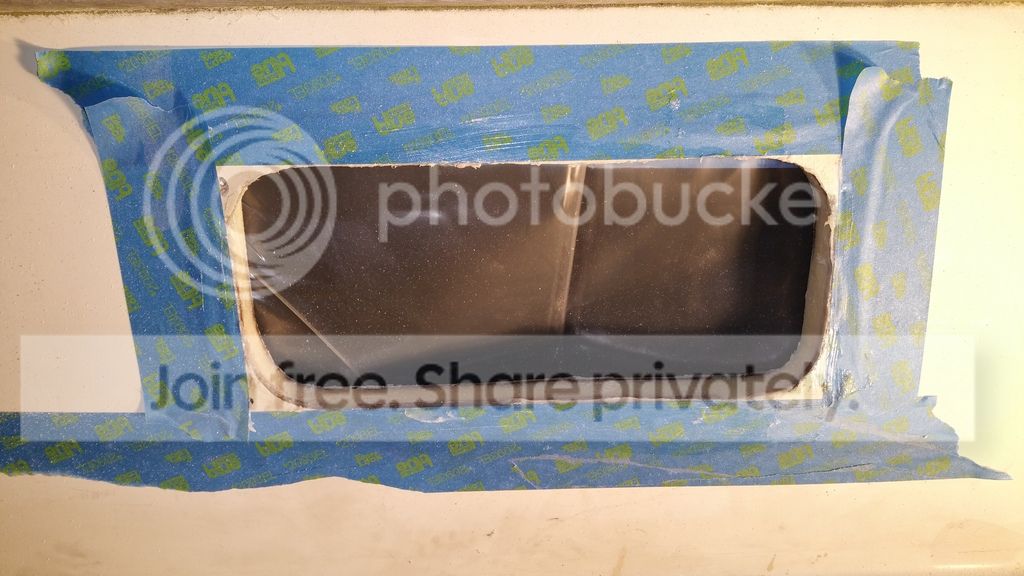
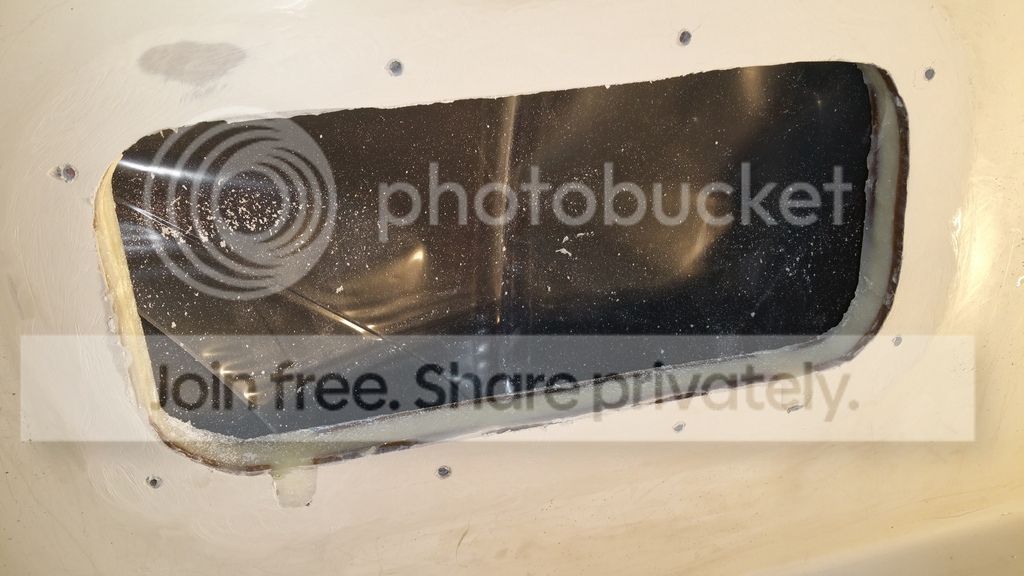
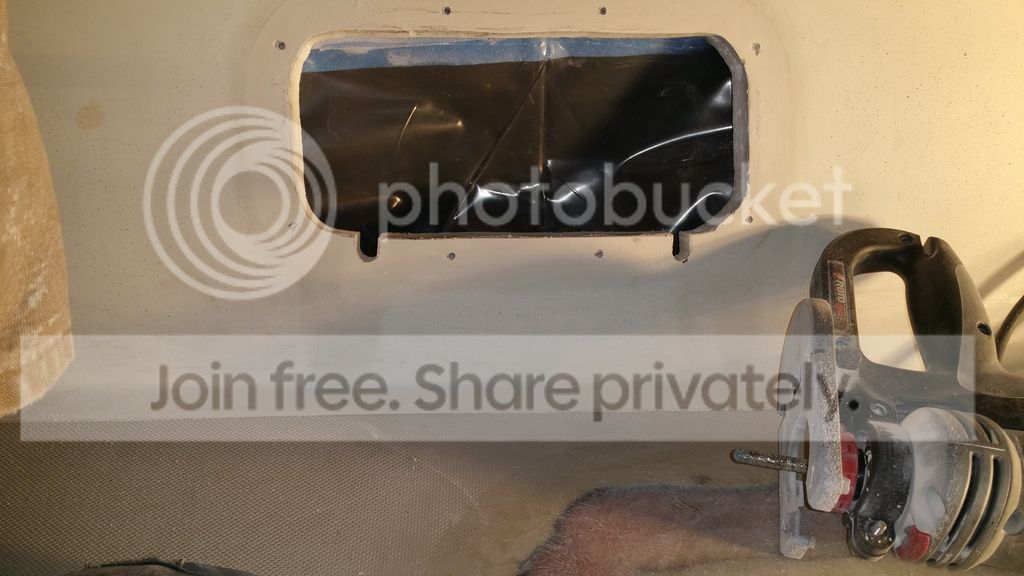
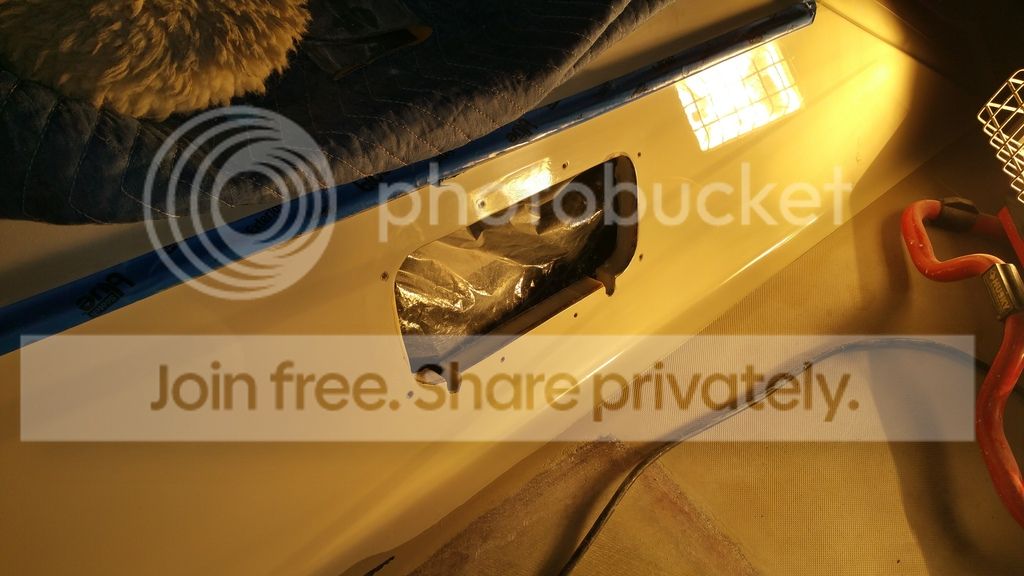
Re-coring project underway

May 6, 2010
472
1984 Oday 39 79 Milwaukee
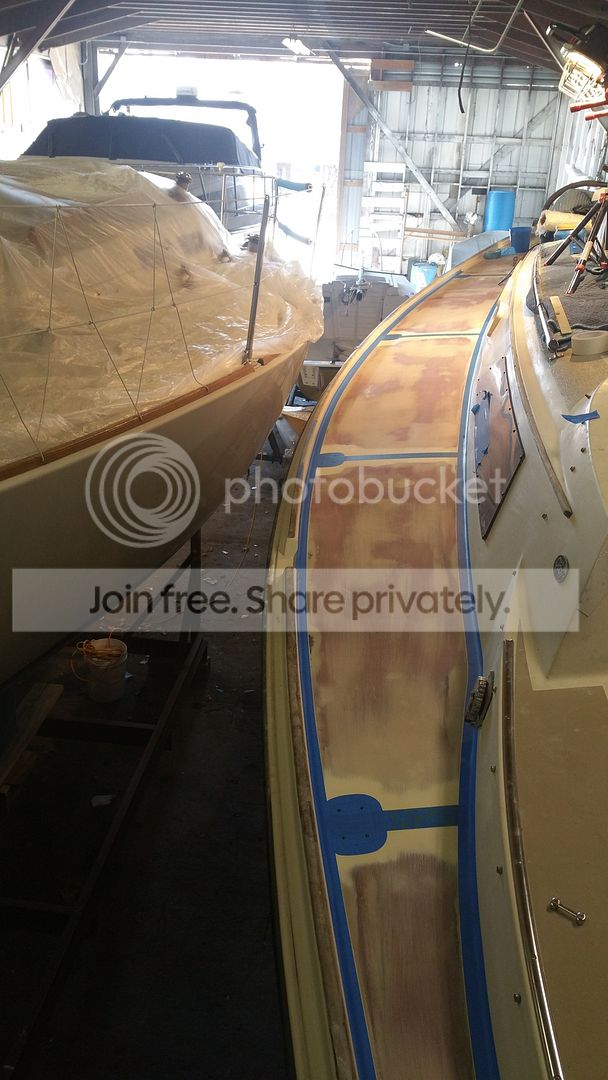
Saturday a couple friends again helped me and we got the starboard side laminated with three layers of 1708. I had gone to the boat Friday and put a layer or two of mat in a couple of areas where there was more of a height difference between the new core and the existing deck skin than I thought the new cloth would conform to. The temperature in the building when I got to the boat at 6:30 Saturday morning was around 20 degrees. I got a couple of heaters going in the cabin and by the time we started our work two hours later it was 85 degrees in the cabin! I rely on the halogen lights to warm the deck and work area, and the temperature of the core where we were laying the glass ranged between 44 and 50 degrees as measured with an infrared thermometer. The colder air temperatures did make the epoxy more challenging to work with, especially when trying to wet out thick cloth like the 1708. On the second layer I tried spreading more of the neat epoxy before we laid the cloth down thinking we just needed more of it in order to wet the cloth. Apparently that was not the correct approach and we ended up squeegeeing most of it up again, and after being on the colder core for a while it was almost a mayonnaise consistency. We worked hard with the rollers to get the cloth fully wetted out, but in the end all three layers bonded nicely and it looks like we got a good end result.

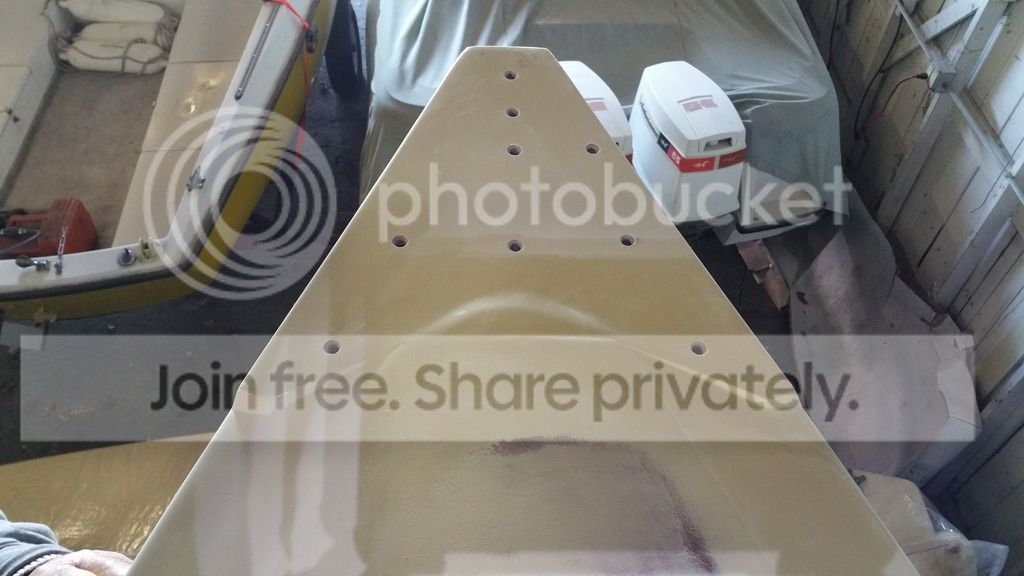
To prepare, I laid 4 mil clear plastic over the repair area, and traced the inner and outer perimeters with a Sharpie, then took the pattern home and used it to lay out the cloth which I pre-cut to take to the boat. The plastic will stretch and move a little, so I had some concern about the cloth fitting correctly, since it is not as forgiving as the plastic sheeting but everything went together perfectly.
 

Attachments

  • Like
Likes: GregL564

Geitz

.
Sep 2, 2015
5
Jeanneau Sun Odyssey 36.2 Milwaukee, WI (SSYC)
I just noticed some epoxy hardened to the backside of my right forearm, hehehe..........thought I got it all off...
 
  • Like
Likes: Sefuller
Sep 23, 2009
1,477
O'Day 34-At Last Rock Hall, Md
I nominate you as official website fiberglass guru par excellence.
Are you covering all areas of cloth with a top layer of mat? How many layers do you think can be done at a time?
Exciting to watch the job progress so professionally, shows an incredible amount of planning.
As an aside, I believe that the Flex Mold company does not have the O Day non skid pattern in their library. They might be happy to get a section of your old deck.
 
Jan 27, 2008
3,092
ODay 35 Beaufort, NC
Given the high expense of the epoxy, I have found on past projects that you can freeze the excess in a freezer and use it at a later date. The extreme cold stops the reaction and it starts up again when it gets warm. You might want to try it if you have too much to wet out the cloth you are bonding.
 
May 6, 2010
472
1984 Oday 39 79 Milwaukee
Today I sanded the perimeter of my glass layups - with three layers of 1708 the very outside edge was a little high. I also removed all of the opening ports in order to wet sand and buff the sides of the cabin top, and also re-bed them to make sure no water gets in around them. Surprisingly, what appears to be the original sealant around them was pretty much intact. I was curious to see what was in the cabin sides between the hull liner and the outer shell, and discovered there was nothing! I plan to put something solid all the way around the openings and epoxy pot the fastener holes. I am also contemplating replacing at least the two in the salon with New Found Metals ports, maybe doing two a year until they are all replaced.


Last edited:
Jan 27, 2008
3,092
ODay 35 Beaufort, NC
What are you going to use for non skid in your repaired area? A friend had a repair done on his Caliber recently and it looked like they just used a grit in the gel coat or possibly a paint. It matched his original pretty well. With our molded pattern it will be tough to try to match anything. I know 25 Years Later did a match but it is a massive undertaking when reading his thread about it.
 
May 6, 2010
472
1984 Oday 39 79 Milwaukee
Dave,

I have and will use KiwiGrip for the non-skid. I decided a couple years ago when I tackled the first re-core project that matching the molded non-skid was above my pay grade. I purchase white KiwiGrip and take it to Sherwin Williams to have it tinted. I took a sample of the nonskid I removed and they did a computer match from it. After this winter's project all of the deck and cabin top will be KiwiGrip so it will all match. The original gelcoat non-skid varies a little in color depending on whether it's wet or dry probably due to oxidization, but the KiwiGrip is pretty consistent.
 
May 6, 2010
472
1984 Oday 39 79 Milwaukee
Haven't been able to work on the boat for a while, but had a beautiful 57 degree day today and got a lot accomplished. Since the last post I did some work on the port light holes which I forgot to photograph. As seen in a previous post, the cabin sides are hollow between the hull liner and the actual cabin side visible on the exterior. I made up some marine plywood spacers by using the port light trim ring as a template. My intention was to coat them with epoxy, and insert and clamp them between the liner and cabin sides to provide a rigid, fixed-thickness cabin wall. What I didn't check close enough at the beginning was the thickness of the gap in the cabin wall, which varied from a little over a half inch to around 5/16" in other places. When I attempted to dry fit the plywood spacers, some areas slipped right in, and others wouldn't fit in at all, and any areas where I could force them in caused the cabin side to bulge out due to the inconsistent thickness of the layup. Returning to my shop, I made up a bunch of blocks of 2x4 cross cut to about 1 1/2". I then cut out a 7/8" channel about 3/4" deep in the very center. Back at the boat, I placed 4 - 6 of these in each port light opening to that I had a consistent thickness to the cabinside (at least in the area of the port lights!) I then used a small amount of urethane spray foam insulation around the perimeter of the cavity to hold the liner and cabin side together after the wood blocks were removed. Several days later I removed the blocks, and carved out the spray foam to a depth of around 1/2" all the way around the perimeter, then filled this space with epoxy mixed with 406 to a very stiff consistency. Today, I used a dremel tool with a 1/4" diameter coarse burr about 1" in length to grind out the rain channels and smooth the rough spots on the inside of the openings. Finally, I took advantage of the balmy temperature today to wet sand the cabin sides with 1000 and 1500 grit paper, then compound and polish so that I don't have to work around the port lights after they are installed.


May 6, 2010
472
1984 Oday 39 79 Milwaukee
I have gotten so wrapped up in trying to get this project finished that I forgot to take photos of the entire fairing process, which involved multiple layers of West Systems with 407 filler and multiple session of longboard sanding with 36 grit paper. Final fairing was done with West and 410 filler, but only for the last minor imperfections as I don't like to use 410 in larger areas or for deep fills.


Over the last few weeks, the weather has been too cool to do much, but I managed to take advantage of every temperature weather window to spray gelcoat under all the stanchions and from the stanchions to the cabin top. I also re-shaped the bow under the bow plate. I had a stainless bow plate made several years ago, and it never sat flush on the bow.


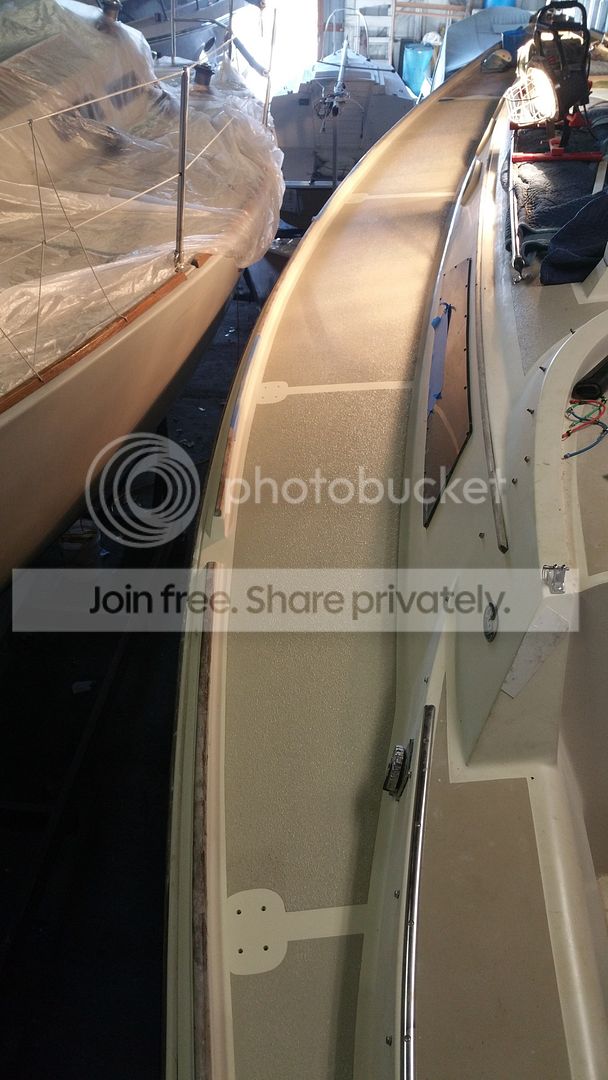
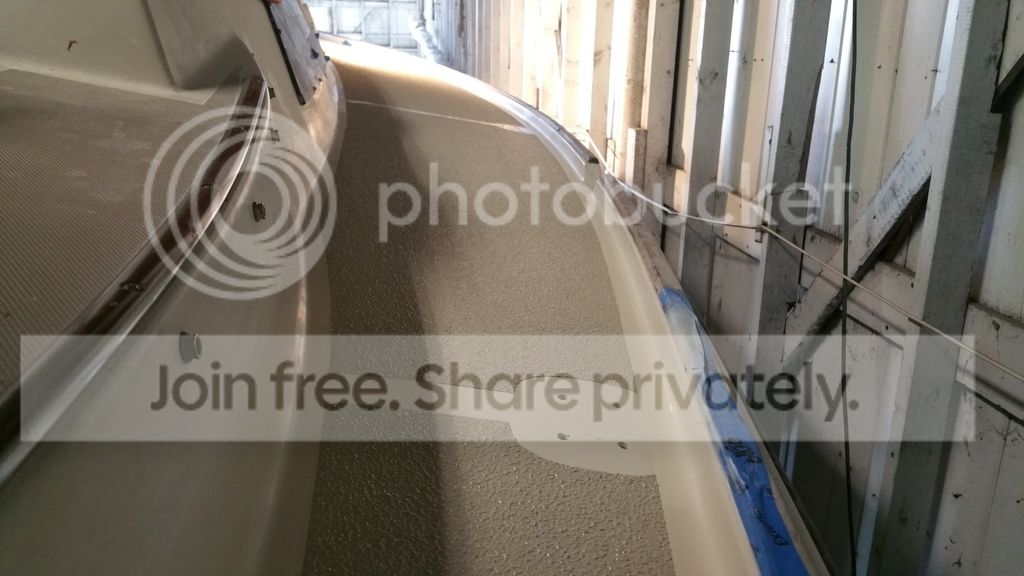
Finally today I was able to mask and roll KiwiGrip on the side decks. Just have the foredeck left and then I can start re-installing deck hardware.


Sep 23, 2009
1,477
O'Day 34-At Last Rock Hall, Md
Looking good! Very professional. I was told kiwi could not be tinted so decided to not use it for the cockpit floor. What kind of pigment did Sherman Williams use. Would others have the same pigments as my local dealer is not very accomodating.
Btw, the cabin sides on my 84 are plywood centers. Could someone have removed the core due to a leak?
 
May 6, 2010
472
1984 Oday 39 79 Milwaukee
...I was told kiwi could not be tinted so decided to not use it for the cockpit floor. What kind of pigment did Sherman Williams use...
Regular tint for latex paint - any paint store that tints paint should be able to do it with their standard tints. One problem I ran into was the liter sized can would not fit in the shaker at my Sherwin Williams store which we discovered after they had put the tint in, and the hardware store across the street with a different style shaker didn't want to do it. In their defense it was slightly dented on the bottom, which may also be what caused it to not fit. I ended up mixing the tint in with a paddle on a drill.

Btw, the cabin sides on my 84 are plywood centers. Could someone have removed the core due to a leak?
Possible I guess, where did you see plywood? I didn't have any core in the sides as far as I could see from the opening ports I removed. Maybe it was a change in production?
 
Sep 23, 2009
1,477
O'Day 34-At Last Rock Hall, Md
I did not remove my opening ports but the area around the fixed ports was solid plywood. It seems strange that they would not make the entire area the same but anything is possible.
Already purchased gray interdeck paint but great to know kiwi can be tinted if it doesn't work out. Thank you for the tip.