Pre-drilling holes in fiberglass for screws

Status
Not open for further replies.
Sep 25, 2008
2,288
C30 Event Horizon Port Aransas
screwed

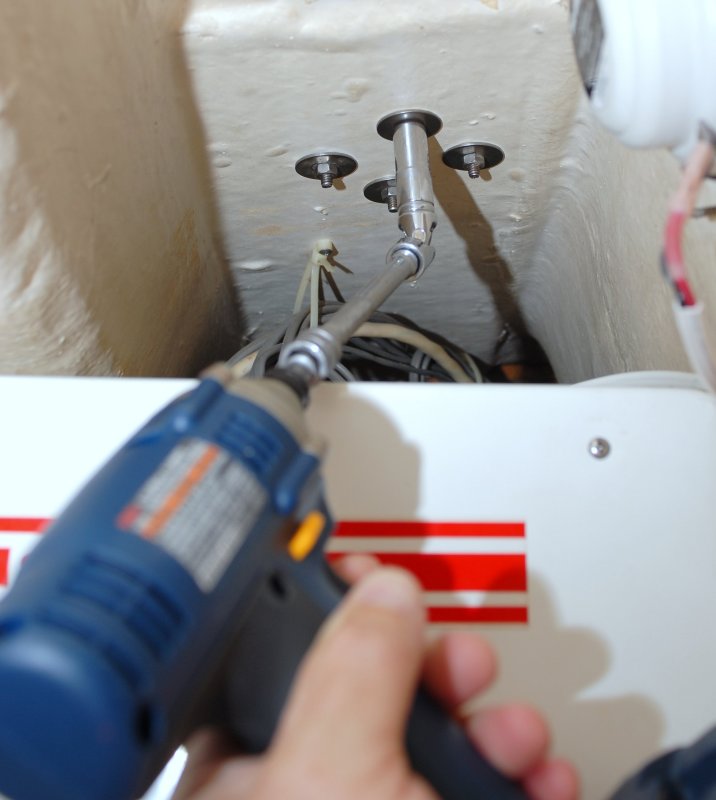
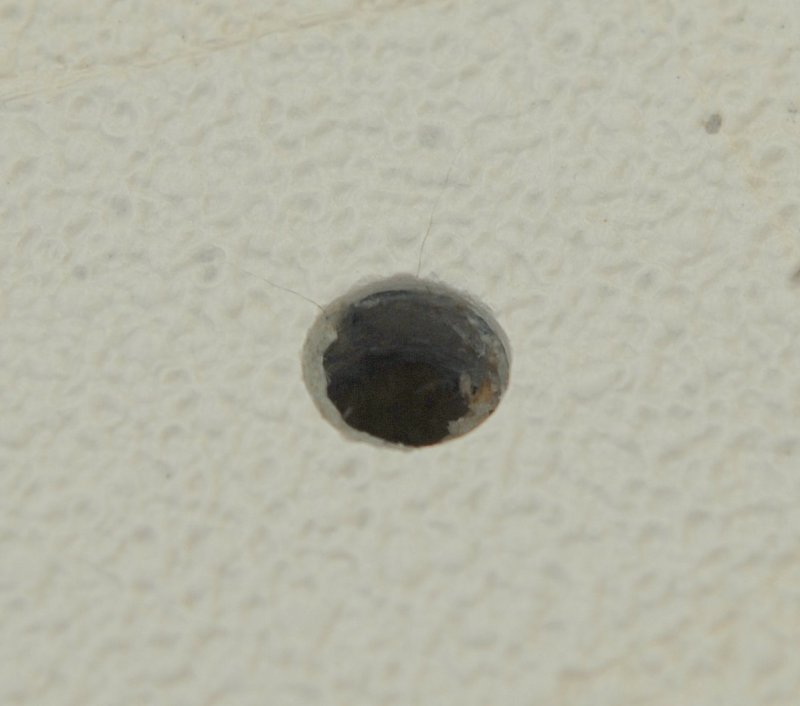
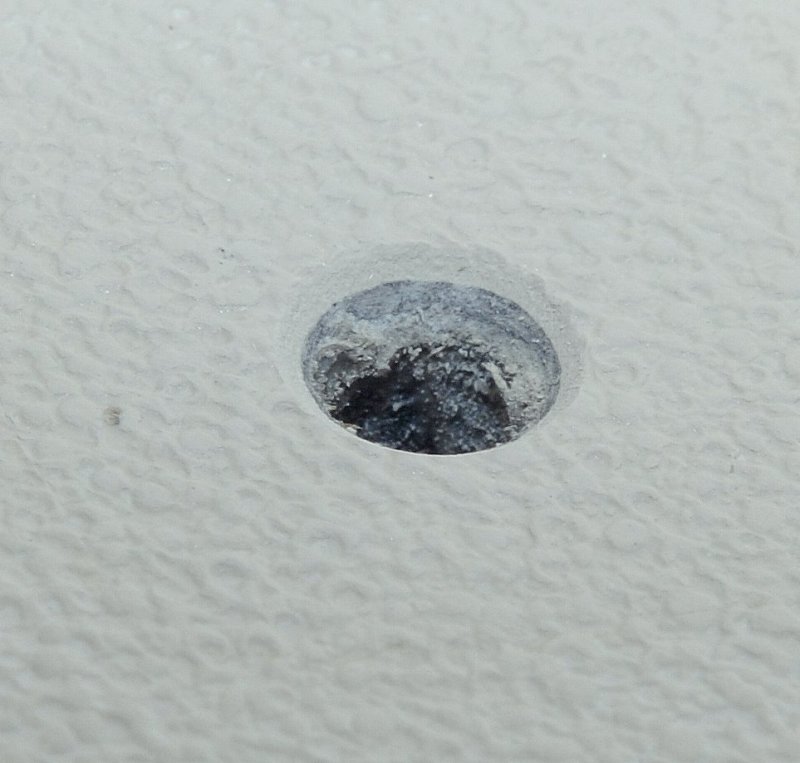
Do you guys use some type of sealant on all the screws into the deck. I have some places where water has leaked through the screw holes. I wanted to pull them all out and shoot something down into them just to stop any mroe water from dropping through.
What do I use? Some people told me 5200, so I sealed a chain plate for a shroud and now it appears I will never take it off again.
What should I use for the screws that go all the way through or are just into the fiberglass/plywood core? Learning about sailboats has been humbling.
 
Sep 25, 2008
7,336
Alden 50 Sarasota, Florida
Don't use 5200. Silkaflex is probaly the best choice for sealant of most things, is not permanent, remains flexible, won't discolor or stain and is easily cleaned up if you miss.
There is a good primer on various caulks, sealants, adhesives and combinations thereof on the West Marine web site under the ref tab.
 
Jul 20, 2005
2,422
Whitby 55 Kemah, Tx
All good advice above but have you thought about drilling the hole larger then the screw and filling the hole with epoxy. Let the epoxy harden and then drill into it like you would the fiberglass. Why? So when the screw backs out or gets loose or the calking gets old, you will not get any water in the wood beneith the fiberglass. In fact, all screws on the deck should be taken out after 10 years and have this done.
 
Feb 6, 1998
11,701
Canadian Sailcraft 36T Casco Bay, ME
Franklin is right..

Franklin is right but it's very likely your decks are already wet based on the deal you got so I'd just seal them up and go sailing.

I like to use butyl tape. It last for eons without drying, it remains very, very flexible and it comes off easily in the future. It is great on teak deck trim..

This is a method I have used as a temporary and sometimes permanent solution for the holes when deck hardware has been moved or removed. I usually pot the holes with epoxy but during the sailing season I'd rather be sailing so I just re-bed them.

Our boat has been upgraded to self tailing winches and we had not used the fixed cleats on the cockpit coaming since we bought the boat. The kids were banging heads on them so I figured it was time for them to go..

Here's what I did..

To make this an easy one person job I simply use my cordless impact wrench. This allows the nuts to be removed from one side only using no wrench or screw driver on deck.


Less Than 30 seconds later and notice the absolute lack of rust or moisture. These cleats were still bone dry after 29 years!!!! Why? Butyl tape as a bedding compound!!


Yep still totally flexible and water proof after nearly 30 years! Oh and SUPER EASY TO REMOVE!! These cleats used to see decent loads, before the ST's so it's PROOF you don't need to GLUE mechanically fastened hardware onto your boat!!


For the butyl doubters and pro 5200 crowd I present 29 year old BONE DRY CORE!!


Spider crazing/cracking is caused by not feathering or beveling the edges of the hole drilled through gelcoat.


I countersunk each hole:


Choose a fastener to fill the hole? I prefer what are called Truss Head fasteners as there are less points for potential leakage and the head sits nice and low to the deck. The Truss Head is all the way to the left:


I used gray 1/2" wide by 1/16" thick butyl tape to install the fasteners used to hide the holes:


I wraped & mold the butyl into a cone so it fits down into the countersunk hole and gives a 100% seal:


Tighten everything down with the impact driver:


Where the cleat used to be and can be again. This is a lot easier than trying to match a gelcoat color and then create a non skid pattern that matches:


This project, removing two cleats and filling the holes with Truss Head machine screws, took me about a half hours total time including cleaning up the non skid with a Magic Eraser, paint thinner and some Acetone.

Just another option...


Sorry for anything that does not pertain but I copied and pasted from a post I made on another forum.. Quick and easy..;)


I am working on an article that covers "potting" the holes with epoxy but have not had a lot of time to get to it. Hopefully in the next few weeks I will get a chance..
 
Sep 25, 2008
615
Morgan 415 Out Island Rogersville, AL
I wound up continuing the project with utilizing

#12 ss self-tappers. The pipe dope was a charm. The task of mounting the trim turned into a mundane choir. I have got 2 of the 4 trim pieces mounted. I use an excess ammount of Boatlife caulk to bed the trim. I figure by the time the bond breaks the teak will be so scalloped and worn thin from sanding that it will be time to replace them anyway; more likely I will no longer be the owner or dead by then.

As I mentioned in a previous post, I like the idea of through-bolting. However, since I work alone most of the time, I continued with the self tappers.
 

John

.
Jun 3, 2006
803
Catalina 36mkII Alameda CA
Re: Fastening to fiberglass

Lubricant
When I was installing doors, we used glaziers' wax as a lubricant for tapping into metal. The advantage of this lubricant is that it won't drip. Any other wax would work too, but glaziers' wax is softer so easier to use. On the boat, I've also used plastic inserts to screw into fiber glass. So far, it's worked fine.
 
Oct 22, 2008
3,502
- Telstar 28 Buzzards Bay
Maine Sail forgot to mention that when countersinking the fastener holes, run the countersink bit in REVERSE, so that you don't countersink them too deeply. :)
 

Ross

.
Jun 15, 2004
14,693
Islander/Wayfairer 30 sail number 25 Perryville,Md.
I would thru drill with a sharp carbon tipped bit then thru bolt with 316 stainless
and seal holes with 4200. This should give a good strong hold and hopefully no problems down the road
Fatcat, I was trained as a machinist and I have never encountered a carbon tipped drill. I have used a few Tungsten Carbide tipped drills but never found them needed for fiberglass. Where might I purchase a sharp carbon tip drill?
 

Tim R.

.
May 27, 2004
3,626
Caliber 40 Long Range Cruiser Portland, Maine
Maine Sail forgot to mention that when countersinking the fastener holes, run the countersink bit in REVERSE, so that you don't countersink them too deeply. :)
And it also prevents chipping.
 
Feb 6, 1998
11,701
Canadian Sailcraft 36T Casco Bay, ME
And it also prevents chipping.
It's also a good idea to start hole saws in reverse until you are through the gelcoat!

Dog and Tim are right and the reverse thing slipped my mind.:doh: Another option is to use your countersink in plenty of stainless, metal and aluminum and then retire it to gelcoat work and it will be sufficiently dull enough to prevent it from cutting to fast or chipping the gel. Reverse is safer though..!
 
Sep 25, 2008
2,288
C30 Event Horizon Port Aransas
Maine Sail, On a little tangent, but I read that you mentioned your 401k is looked a bit lean over the recent months. You should start writing books on sailboat repair and retire.
 
Sep 25, 2008
615
Morgan 415 Out Island Rogersville, AL
Absolutely great information. I appreciate the

time that went into some of these posts.

I hope y'all won't be to hard on me for continuing on with the self tappers. Though the quality of my work is not equal to many of those who responded, it surpassed the quality of whoever did the original work at the Morgan factory in 1980. I took some consolation in the fact that there is no core in the deck at the flange. I didn't bother filling the old holes with epoxy. I just squirted Boatlife into them. I am sure I left no voids under the teak. Excess Boatlife squeezed out all around the trim.
 
Status
Not open for further replies.