Polyurethane sanding residue

Status
Not open for further replies.
Oct 10, 2006
492
Oday 222 Mt. Pleasant, SC
I just finished painting by Oday 222 and got it in the water for the first time today. I almost thought I was going to have to start all over because the sanding residue would not come off the topsides. I started with the hull in dark blue. I then painted the white stripes. Wet sanding between coats. I halfway cleaned the residue off but planned on simply washing it off later. I knew it was tenacious stuff but this was on a glossy new surface. Shouldn't be a problem cleaning it off, right? Wrong! Soap and water didn't touch it. I tried mineral spirits. Nope. 333 brushing liquid (recommended by Interlux). Nada. I was then tempted to try scotch pads starting with a white and working up to a blue if necessary. I then thought about Dow Scrubbing bubbles. Sprayed it on a small section and scrubbed with a microfiber and it all came off! No damage as far as I can tell. It even removed the tape residue from the tape being on there a little too long. It did remove a thin layer of ablative where it ran down but that was a small price to pay. This was on one-part polyurethane.

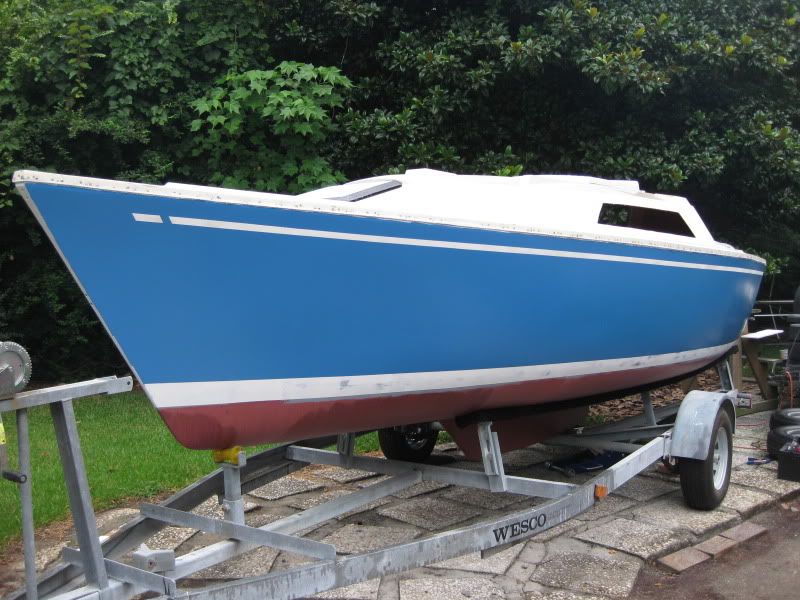
Before. The picture doesn't really do it justice. It was bad. It looked and acted like it was etched into the paint.
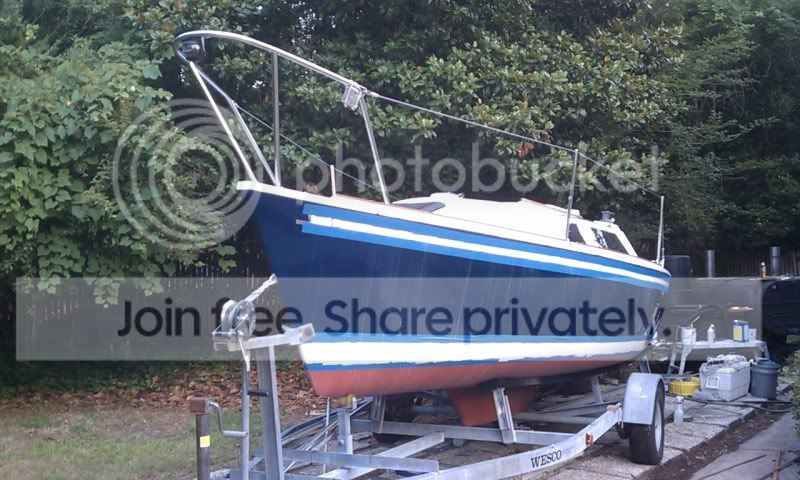

After
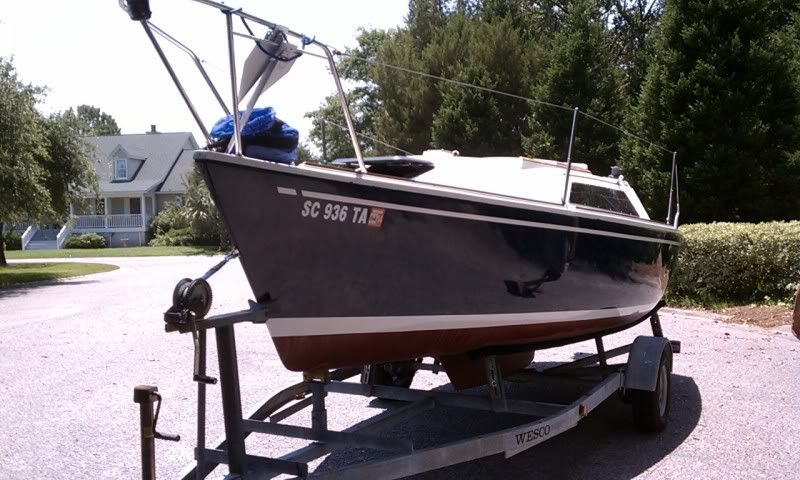

Hope this helps someone down the road.
 

Joe

.
Jun 1, 2004
8,324
Catalina 27 Mission Bay, San Diego
Well it looks great..... congratulations, now...... what would you do different next time to avoid the problem?
 
Oct 10, 2006
492
Oday 222 Mt. Pleasant, SC
Joe said:
Well it looks great..... congratulations, now...... what would you do different next time to avoid the problem?
Don't paint the boat? When I was painting the hull blue and sanding between coats the residue set up very quickly and I would remove it with a scotch pad and soap, but that was on a sanded surface. I used a squirt bottle with a few drops of soap to keep the surface wet while sanding. That doesn't really flush the residue away. Maybe sand with a slowly running hose. Letting it sit and bake in the sun for a week didn't help at all. If I'd gone back and washed it better right after sanding it probably wouldn't have been as much of an issue.
 
Nov 9, 2008
1,338
Pearson-O'Day 290 Portland Maine
Screw the helpful tip! I just want to stare at your paint job!
 
Oct 10, 2006
492
Oday 222 Mt. Pleasant, SC
Don't stare too close! It's been a long project for sure. I won't get into it right now but this isn't my best coat. I laid a perfect coat at the beginning of my project about 2 years ago but did it too late in the day and heavy condensation fogged half of the boat. I painted it this time when it was hotter and windier than I should have been painting in and the paint didn't flow quite right. I rolled and tipped by myself and there is a slight transition line between each application plus some sliggt orange peel over most of the boat. It was thinned to the max as well. But you know what? The imperfections disappear when it's in the water. I'm not talking in the sense of "you forget about the imperfections because it's finally in the water". I mean they literally disappear because of the shimmering light and reflections on the water. I was in the water yesterday fixing the swing keel pendant so I was right next to the hull in the water and it really did look good. So if you're beating yourself up over the perfect finish forget about it!
 
Oct 10, 2006
492
Oday 222 Mt. Pleasant, SC
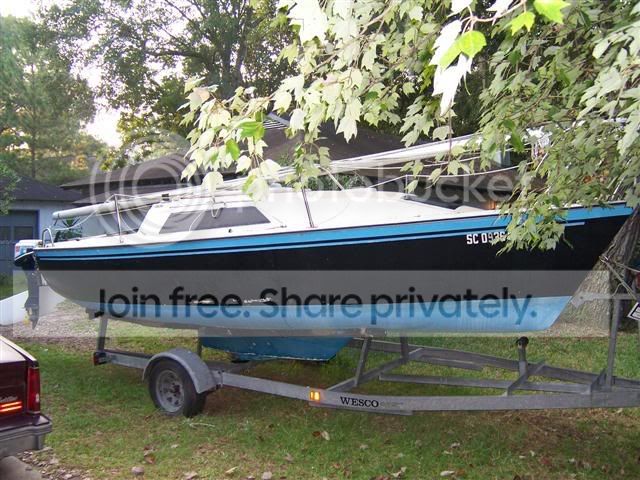
What I started with


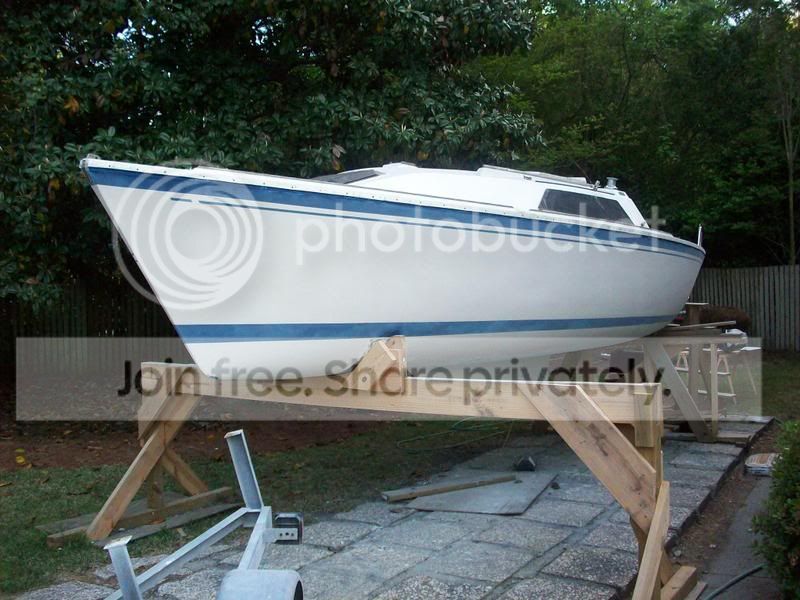
After stripping and just starting to sand


After sanding


Primed. Almost 2 years ago! Got burned out soon after this when I couldn't get the paint right.


I was so frustrated 2 years ago that I didn't take any pictures of the first couple paint jobs.
 
Jul 18, 2009
274
marine clipper 21 ft santa ana Southern Lakes,Yukon
well it looks good to me...remember the guy who does the job notices all the little imperfections...us guys going by at a few knots an hour don;t see them...so it looks great mate !!!!!!!!
 
Status
Not open for further replies.