30 O'day 1983. Having searched online for replacement port lights, I need to find alternatives due to the high cost. (mostly shipping). My thoughts are going to a local glaziers supply store and have the cut them for me. So I would like to ask the wisdom of the group for some sound advice. Thoughts on product (plexiglass/Lexan/?). Thickness? There seems to be a slight curve, so my thoughts are to replace and install in the summer using natural heat to help in laying them down in the curve. Another question is how often to put in a screw hole? Use of pan head screws or should I counter sink and use a tapered screw head. Even if I drill for a pan head, I believe cutting a slight bevel in the hole will help with avoiding cracks. I have heard that there is a special sealant from DOW, which comes highly recommended. All suggestions are welcomed. Thanks
NEW PORT LIGHTS
- Thread starter twodzusfittings
- Start date
I assume you have frameless ports.
Plexiglass, generically Acrylic, is a better choice than Lexan, generically polycarbonate. Acrylic is more UV resistant and more scratch resistant. Most OEM frameless ports and most framed ports are acrylic.
Measure the thickness of the ones you have, probably around ⅜".
The lens should not be screwed in place. Acrylic will expand and contract which will cause the material to crack. Some installation techniques use screws to support the acrylic while the caulk/sealant cures. The lens sets on the screws and do not penetrate the lens. Along the top edge, screws are used to apply pressure to the lens while the caulk cures. All screws are removed before the final sealant is applied.
Dow 795 is a silicon caulk designed to hold glass plates in their frames, it is not the same as hardware store silicon caulk or marine silicon caulk.
As an alternative, 3m Very High Bonding Tape is used to hold the lens to the cabin side. Then a bead of 795 is placed around the outside to seal the port.
This video and the subsequent on from Andy at Boatworks Today details the 3m VHB tape method.


You have probably seen these but if not I thought I would point them out. I don't know how much the shipping is.
") | O'day Window Main Cabin Smoked Plexi (Ea). | |
| O'day Main Cabin Window Special Tint Used on O'day 28 1981-86 O'day 30 1981-84. O'day 31 1985-87 O'day 34 & O'day 35(All of Them) | ||
Price: $138.00 |
Thank you Dave. This makes sense. I honestly believe every shortcut was taken when building some O'days. My port lights have screws in them. As you explained no expansion room so they have all cracked.
Back when your boat was built, the sail boat market was very competitive and there was pressure to keep costs down, so corners were cut. Even on the more expensive production boats like Sabres and Tartans, corners were cut. The wiring on my Sabre is pretty mediocre, no tinned wire, no heat sealed terminals are the most obvious.Thank you Dave. This makes sense. I honestly believe every shortcut was taken when building some O'days. My port lights have screws in them. As you explained no expansion room so they have all cracked.
I'll be interested in seeing what you end up with. Those windows are on my list (but a ways down at this moment).
I am in the process of doing the same thing. I could not find tinted acrylic locally and ended up ordering from TAP Plastics and paying the $100 shipping on three windows. Mine were attached with screws and for several reasons I'm staying with screws.
I ordered blanks larger than my windows. I let the blanks rest over my radiator to give them some preset curve. I used my old window as a template. Rough cut to shape with a jigsaw &
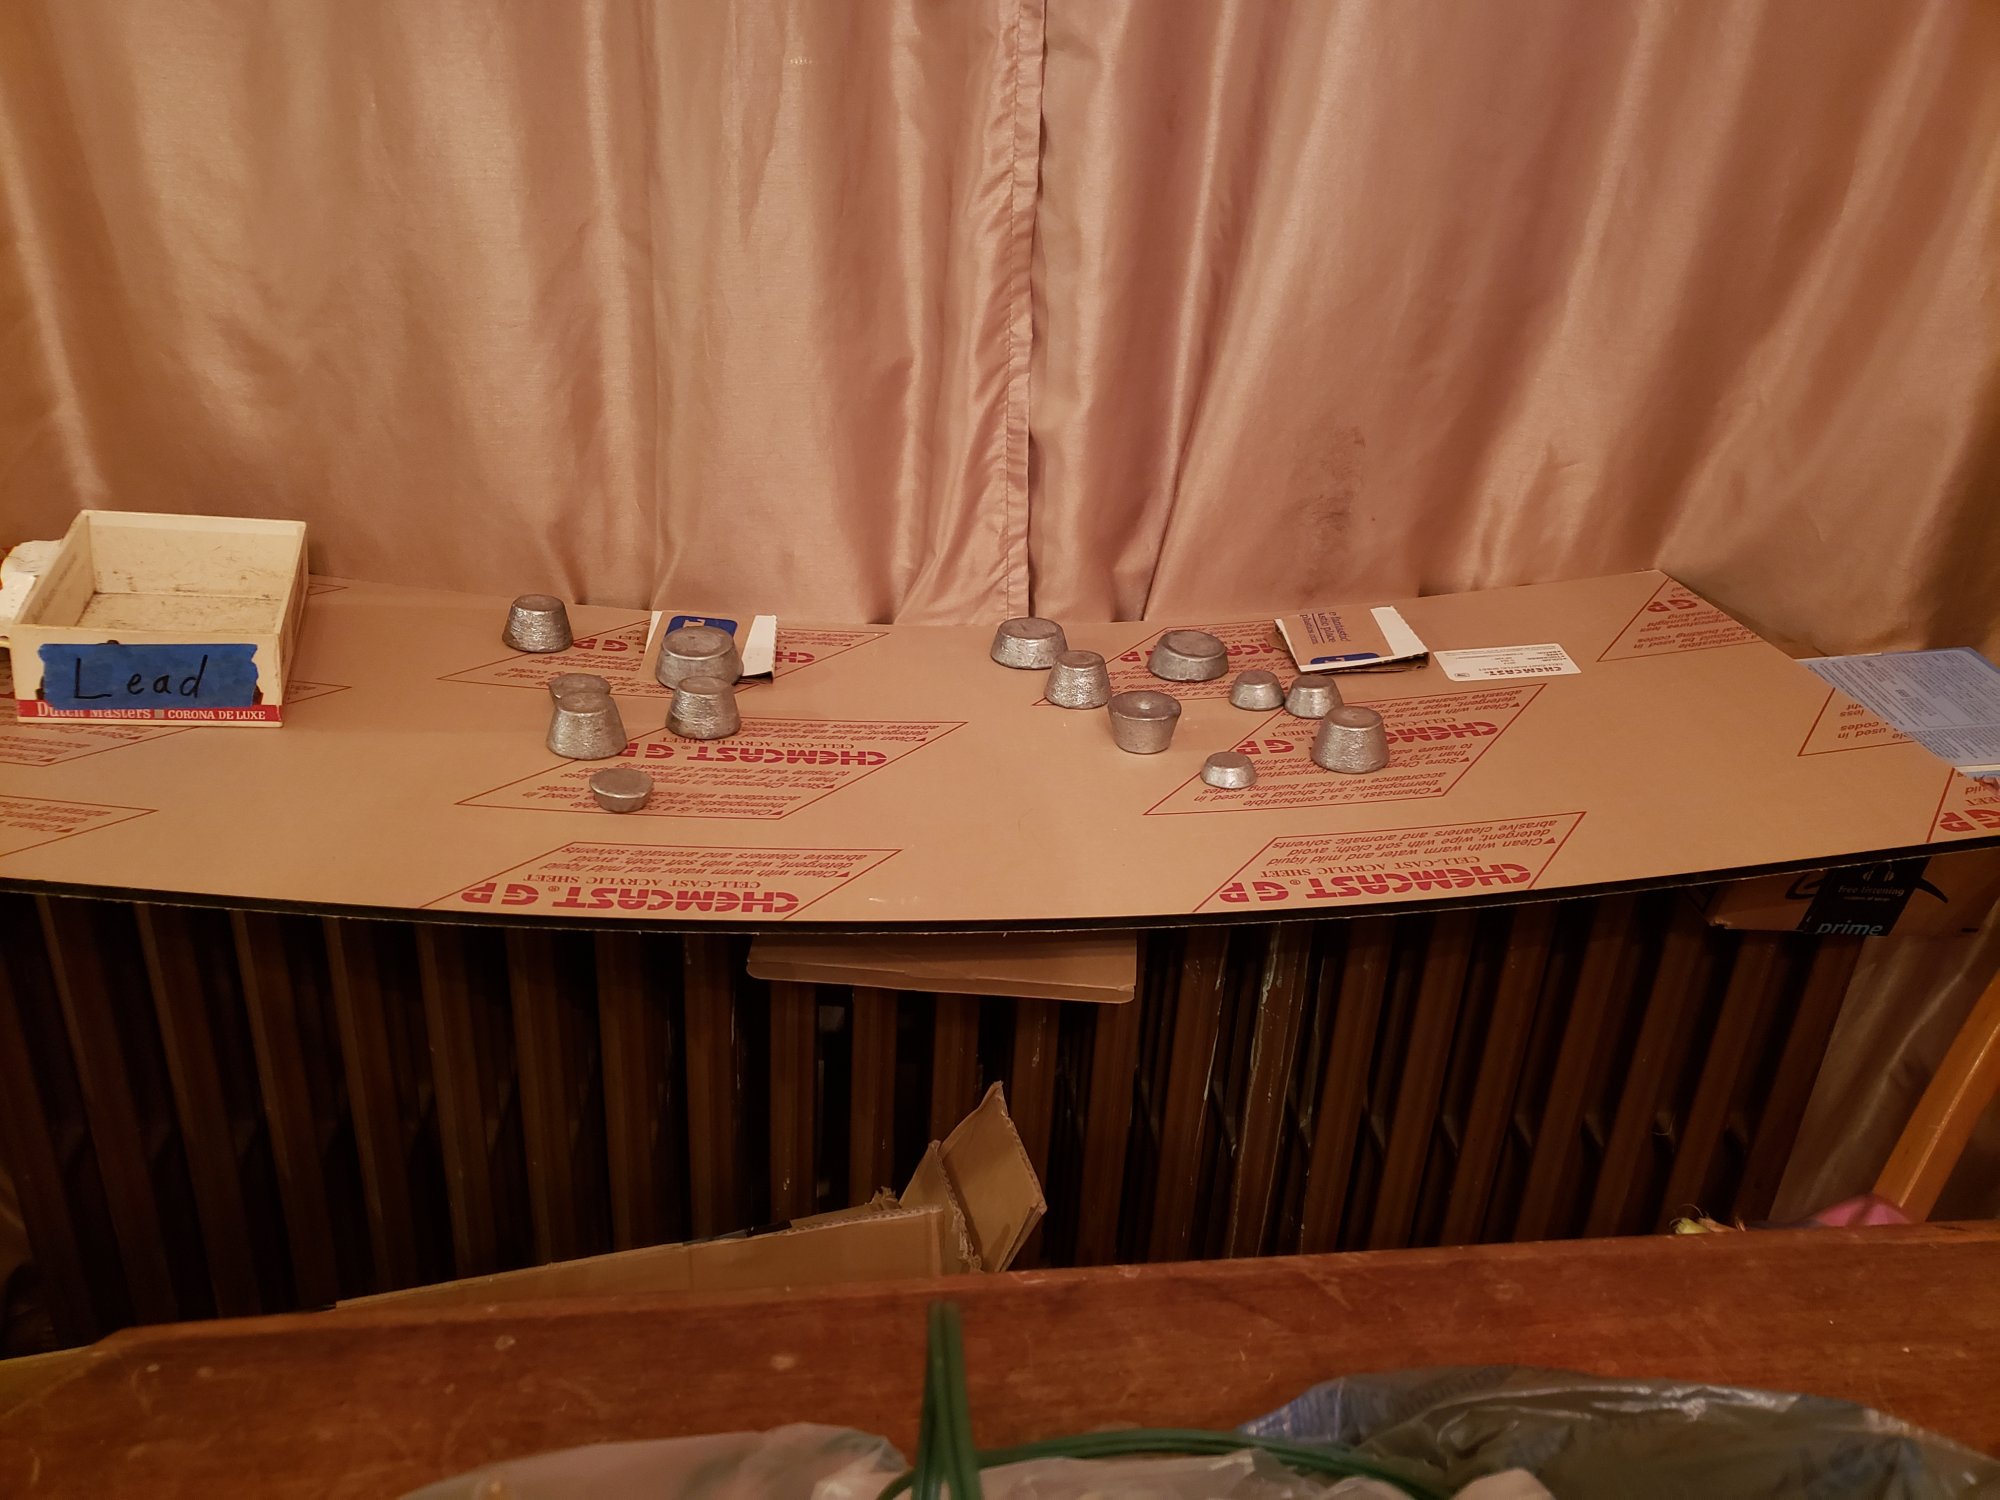 plastic blades, drilled holes and put bolts in the holes to hold old template to new blank. Trimmed to final size with router & flush bit, then a 1/8 round over bit, then sanding and polishing the edges.

I ordered blanks larger than my windows. I let the blanks rest over my radiator to give them some preset curve. I used my old window as a template. Rough cut to shape with a jigsaw &
Interesting. Looks like yours are coming along nicely. I like your idea of pre loading the curve. What thickness did you buy?
So I went to a local glazier in town and asked for a quote on two pieces, 3/8 x64x 8.5 with a 1/16 bevel all around on one side and 1" radius corners. Tinted plexiglass. $750. Did more research Boat Outfitters want Just under $400. JBP-PA suggested Tap Plastics. I found it hard to navigate their web site to get the correct product. JBP-PA, could you send me the specs of what you bought from them, that would be great. As the outer shell of the cabin top has two openings, but OE glass is one piece over the top, covering the middle space, I was also thinking of changing the look to two individual windows. I am sure getting them both horizontally perfect will be more of a challenge. Still thinking!
I bought the Chemcast transparent colored acrylic in dark smoke. It cost $560 including shipping for three pieces. I also bought a couple router bits and some jigsaw blades. I already had sandpaper and buffing compound.
It is darker than I expected. I would order samples first.
It is darker than I expected. I would order samples first.
Last edited:
So the project begins. I have purchased Dow 795, HBT from 3M, Glaziers primer, 180 Grit sand paper and Blue and yellow painters tape and some high heat black matt paint in a spray can. I have also purchased from Boat Outfitters two smoked plexiglass windows, 3/8" thick, 60"x9", 1.75" radius corners and 1/4" beveled edge on one side. I was impressed by the ease of use with their website and ordering tool, along with their customer service and speed I received my finished plexiglass product, shipped to my door.
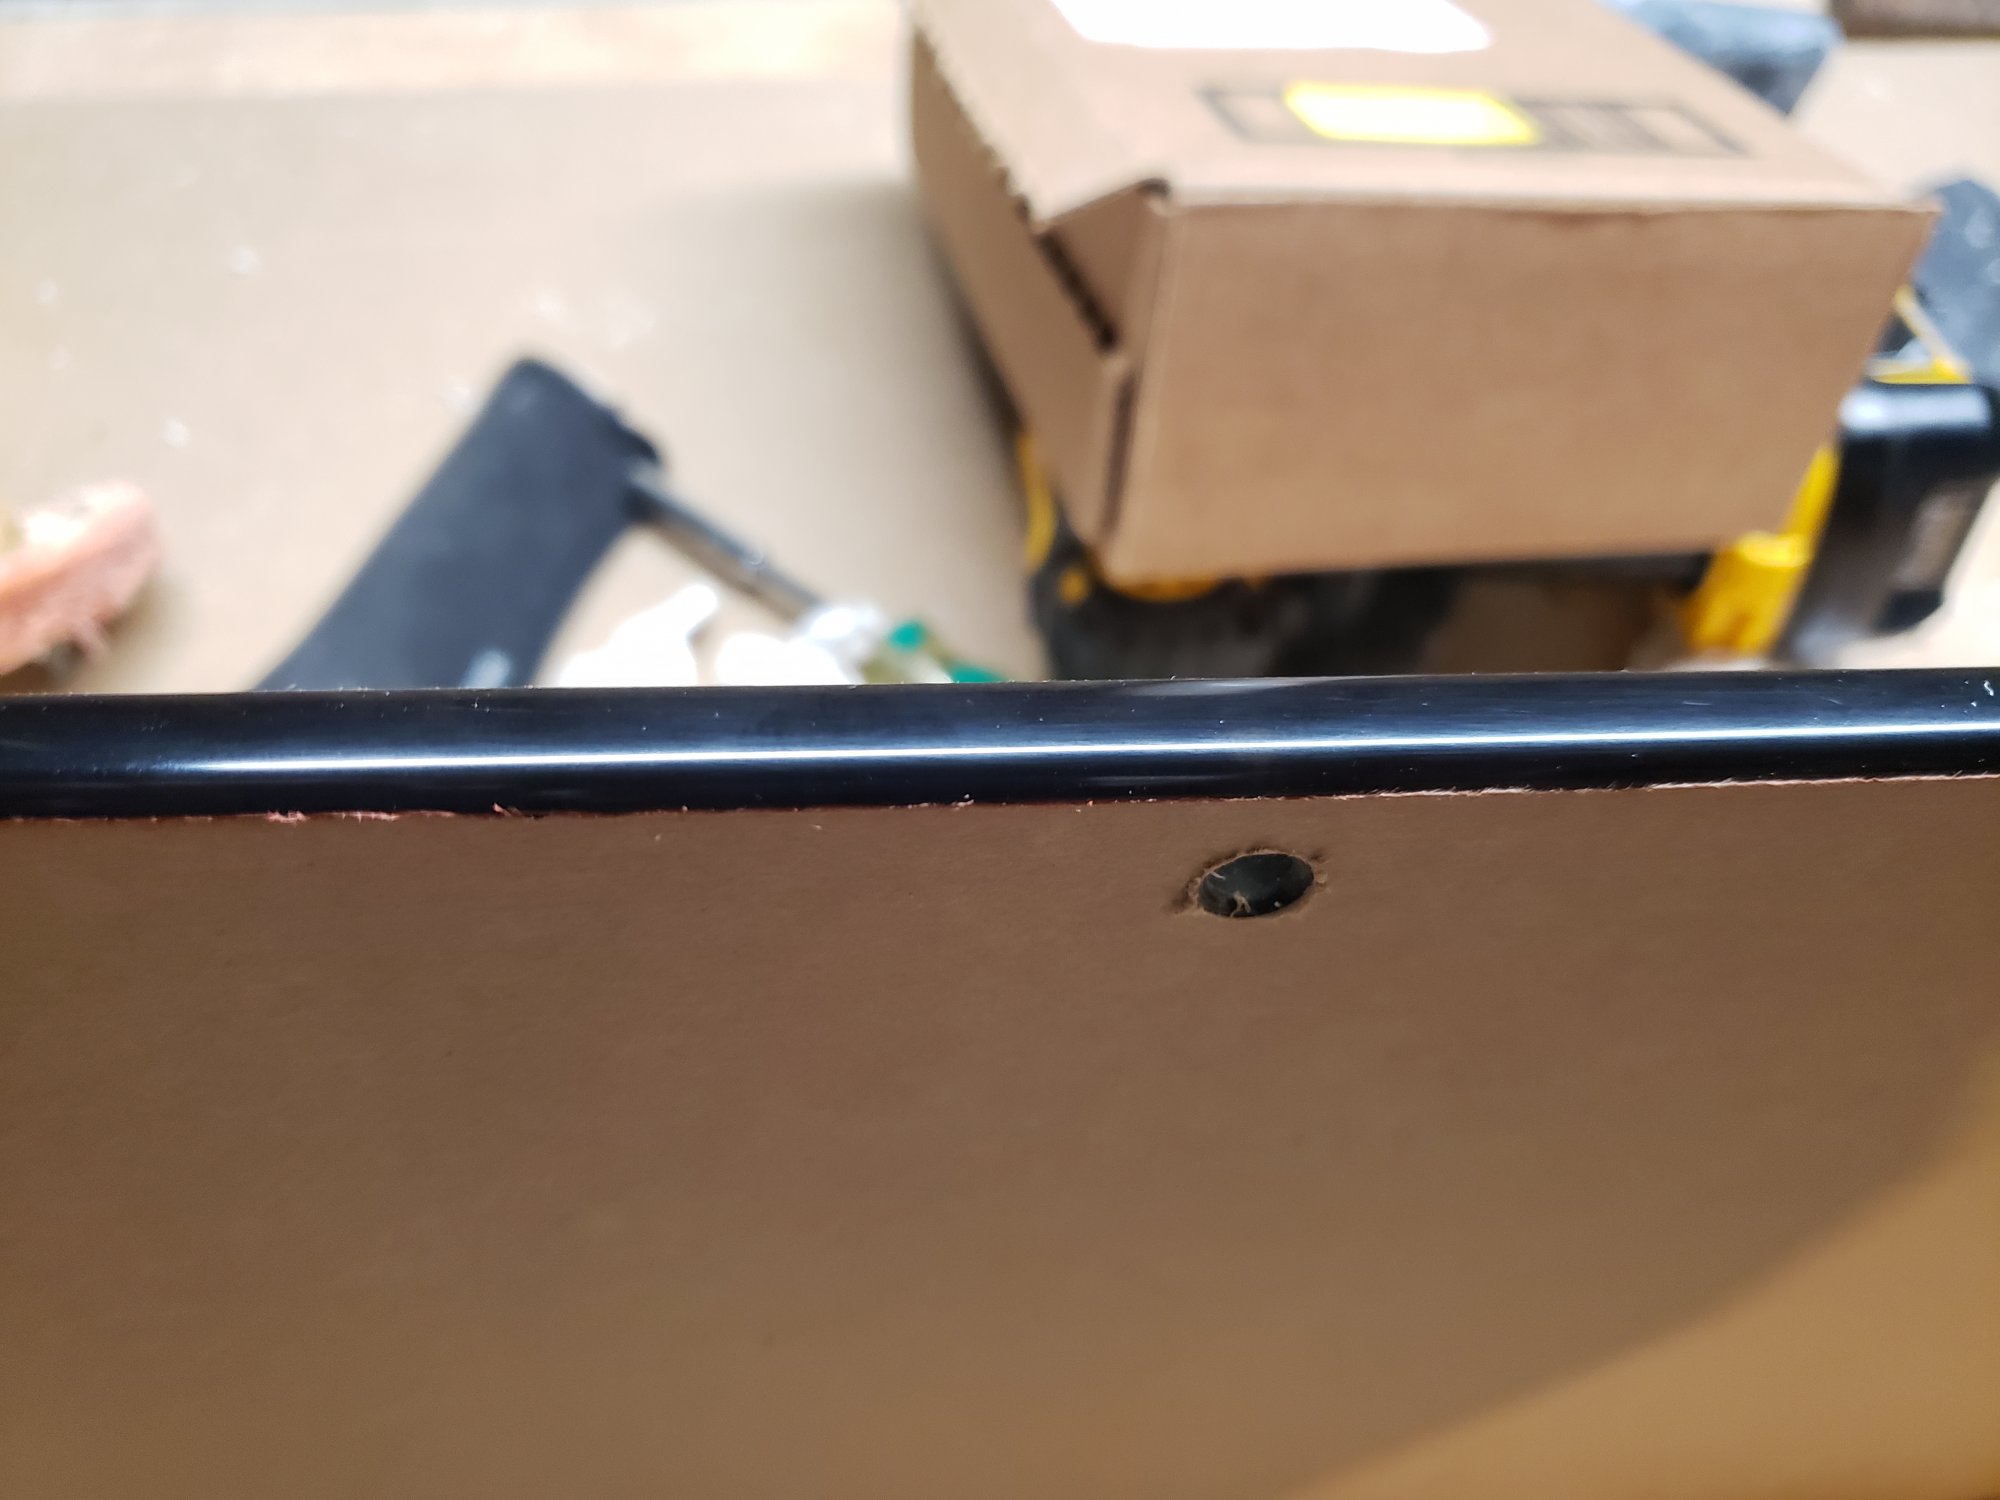
The path forward, before any window prep or installation, is to fill the gap of the outer shell and the inner shell, where the windows openings are. There is a void of any core, which concerns me. I will fill with pvc board and thickened epoxy all the way around. I'm contemplating re shaping the windows and not re installing the inner frames. If thats the case, then finishing the window openings will need to be done, with final skim coat, then prime and paint.
I have been viewing You Tube videos about the various ways to do this job, both with and without screws. I am convinced not screwing it down is the best way, it all makes sense with expansion etc. Plus holes look ugly (IMHO)!
So as I progress, I will do updates with pictures. Everyone wish me luck!

I've been considering what can be used in lieu of the inner frame trim for a while. I think some L shaped flexible trim might be the best route. Fasten it to the inside before installing the new window, use the outer part of the cabin as a guide to trim excess and then install the windowSo the project begins. I have purchased Dow 795, HBT from 3M, Glaziers primer, 180 Grit sand paper and Blue and yellow painters tape and some high heat black matt paint in a spray can. I have also purchased from Boat Outfitters two smoked plexiglass windows, 3/8" thick, 60"x9", 1.75" radius corners and 1/4" beveled edge on one side. I was impressed by the ease of use with their website and ordering tool, along with their customer service and speed I received my finished plexiglass product, shipped to my door.
The path forward, before any window prep or installation, is to fill the gap of the outer shell and the inner shell, where the windows openings are. There is a void of any core, which concerns me. I will fill with pvc board and thickened epoxy all the way around. I'm contemplating re shaping the windows and not re installing the inner frames. If thats the case, then finishing the window openings will need to be done, with final skim coat, then prime and paint.
I have been viewing You Tube videos about the various ways to do this job, both with and without screws. I am convinced not screwing it down is the best way, it all makes sense with expansion etc. Plus holes look ugly (IMHO)!
So as I progress, I will do updates with pictures. Everyone wish me luck!
Also, if you tape some wood blocks at the edges of the original window before removing it, you can use them as an alignment guide for the new window
Last edited: