Hello,
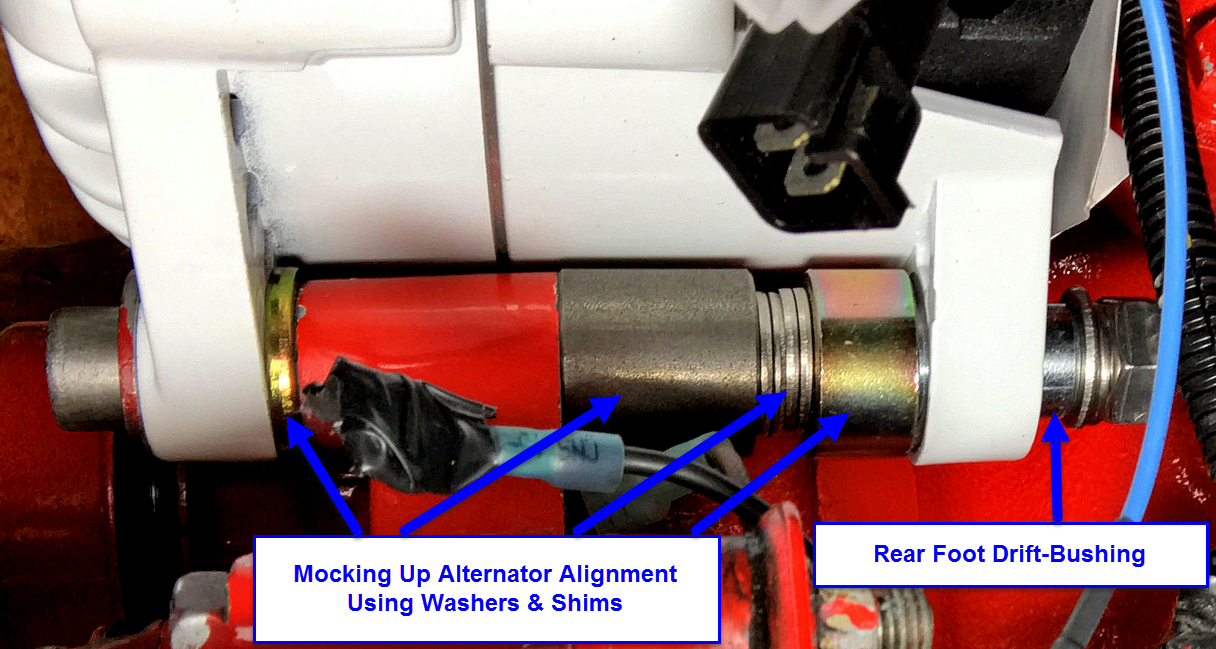
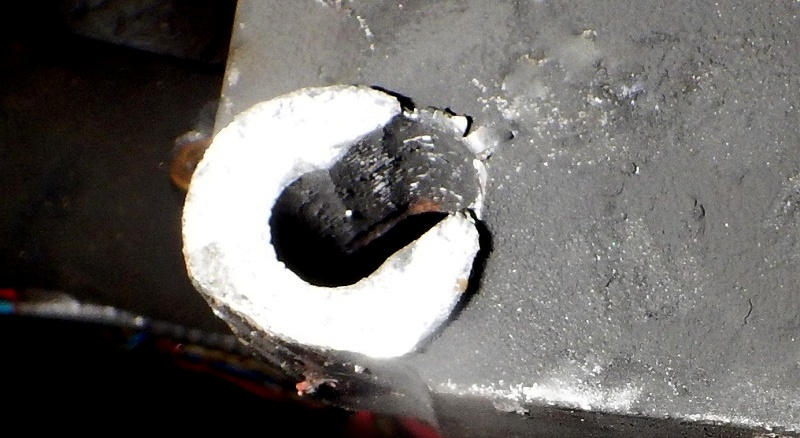
I have an 82 Catalina 27 with a Universal 5411 and the drive belt (there's only one) keeps coming loose after a few hours of operation. I've really cranked down on the bolt circled in this photo but it still loosens up. I was thinking of trying a lock washer and maybe some of that non-permanent Loctite to keep it from shaking loose. Good idea?
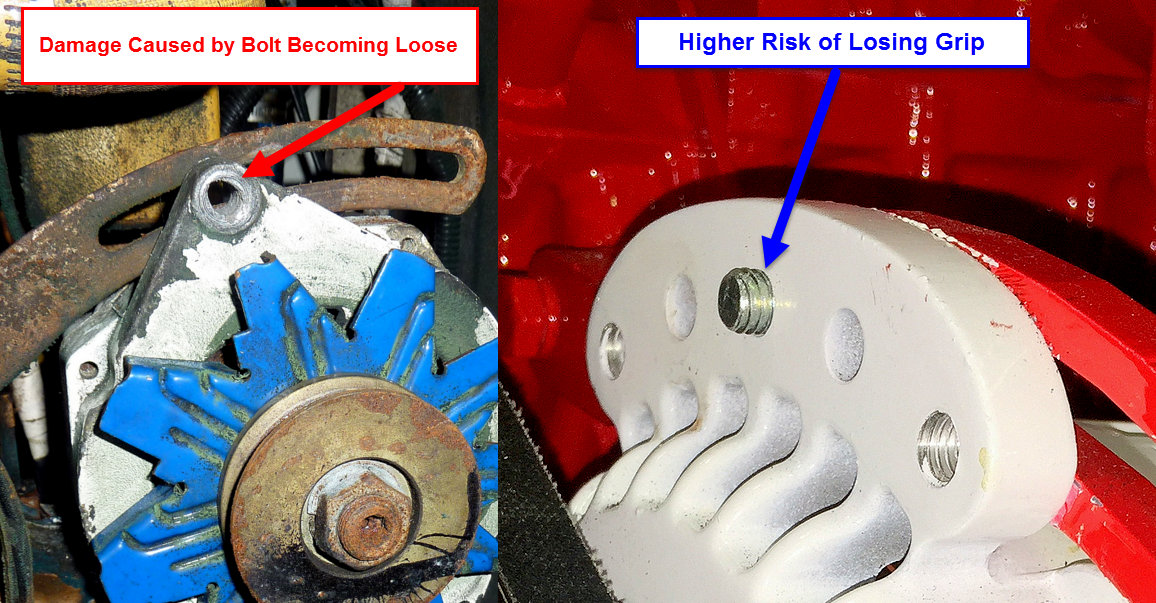
As I was reading stuff about this issue, I came across the problem that the early versions of this motor have bad alternator mounting brackets and should be replaced right away. Can anyone tell if I have the bad version?
Thanks for any help
I have an 82 Catalina 27 with a Universal 5411 and the drive belt (there's only one) keeps coming loose after a few hours of operation. I've really cranked down on the bolt circled in this photo but it still loosens up. I was thinking of trying a lock washer and maybe some of that non-permanent Loctite to keep it from shaking loose. Good idea?
As I was reading stuff about this issue, I came across the problem that the early versions of this motor have bad alternator mounting brackets and should be replaced right away. Can anyone tell if I have the bad version?
Thanks for any help
Attachments
-
 490.6 KB Views: 251
 -
988.6 KB Views: 242