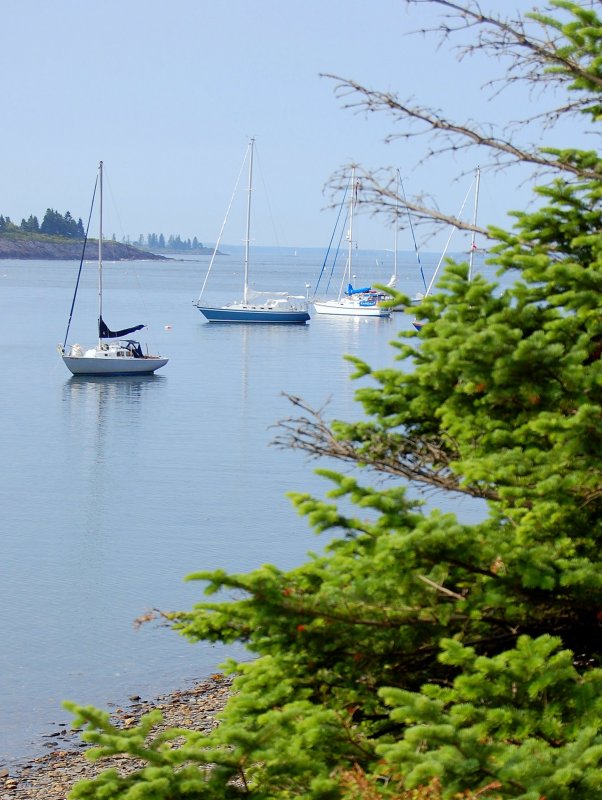
Using photos and links in your posts can add greatly to the success of a thread and to the bottom line answer.
Using photos here is not difficult once you are set up and ready to go. there are two basic ways to add a photo to a post.
Adding Photos To Posts
Method #1
Upload your photos to SBO and add them to your post. This method using vBulletin is rather slow and cumbersome and limits you to only using the photos here. If you belong to other forums, as many here do, an external hosting site is the best way to achieve this.
To use method #1:
1) Bellow the window where you create a new post is a box titled "Additional Options". Inside that box is a button called "Manage Attachments" click this button.
2) A new window will open with five "browse" buttons. Click a "browse" button and then find the picture on your computer and click "Upload".
Warning: Uploading files to the SBO server requires the file size be no larger than 620 X 280 pixels. Unless you know how to easily re-size your photos I'd strongly consider using Option 2. Using method 2 involves an external photo hosting site and "linking" to your images using the
 icon.
icon.
Method #2
Preface:
Picasa3 - I suggest downloading and installing Picasa3. This free software is one of, if not the best, photo organization and minor photo manipulation programs in existence. It is also the absolute easiest to use. Once you download it it will automatically scan your computer for photos and import them into Picasa. Please be aware that it DOES NOT duplicate your stored photos but rather references them at their stored location for use in Picasa3. This technique saves your valuable hard drive space by not duplicating photos. If you do not already use this program you will love it!
It is not necessary to have Picasa2 in order to use Picasa Web Albums. I only suggest it because for anyone with a digital camera it is simply the easiest photo software on the planet. I'm a published photographer who owns and has spent big bucks on Adobe Photoshop, Adobe Lightroom, and many other pro-grade programs, but who also chooses to use Picasa3 for 90% of my web photo publishing.
If you have photos already hosted on a site skip to the words in burgundy for instructions on how to add them to your post.
Uploading to Picasa Web Albums
#1 Go here: Picasa Web Albums or Click on "Web Album"
#2 If you don't already have a free Google account create one.
#3 Once you are into the Picasa web albums page click the "Upload" button.
#4 A box will pop up and you'll want to click "Create a New Album"
#5 Another box will pop up and ask you to name your new album. For illustrative purposes we'll call it "SBO Forum Pics". Click "Continue"
#6 A page will pop up with five "Browse" buttons. Click "Browse" and then locate the folder and then the specific picture within the folder that you want to upload. When you find the picture click "Open" and it will insert the picture into the upload box.
#7 Once you have found and selected the picture or pictures you want to upload click "Start Upload". Depending upon your connection speed and file size this could take a little bit of time.
#8 Once your photos are uploaded it will take you directly to this new "SBO Forum Pics" album. Simply click once on the photo you want to post and make it bigger. Follow directions bellow from here.
Note: You can also use many, many other photo hosting sites such as SmugMug, PhotoBucket, Snapfish or possibly others but you'll need to figure those out on your own. As much as 'd like to I just can't post directions for every possible photo hosting site on the net.
Linking Your Photos Into A Post With;
This is the big secret to hot-linking just about ANY photo hosted anywhere on the web to your post. Please read this part carefully!
#1 Once your image in Web Albums is upload and has been made larger move & hoover your mouse pointer over the photo and execute a "right click" and then select "Copy Image Location" from the drop down menu.
Please note that I use Mozilla Firefox as my browser and other browsers may not have or show the "Copy Image Location" feature (this feature is a very, very useful tool!). If you do not use Mozilla Firefox I highly recommend it!
If you still use Internet Explorer you'll need to execute a "right click"and then select "Properties" from the drop down menu. A new box will pop up and you'll see "Address (URL):" manually highlight only the address, copy it and paste it as directed above into the
icons web address box.
you'll need to execute a "right click"and then select "Properties" from the drop down menu. A new box will pop up and you'll see "Address (URL):" manually highlight only the address, copy it and paste it as directed above into the
icons web address box.
#2 Back on the SBO forums, and in your post box, select this
icon. When the box opens execute a "right click" on your mouse and select "Paste". You can also press "CTRL V" and paste it that way.
WARNING: The
pop up box icon already has http//:pre-populated in the web address box. If you copied and pasted a photos web address using either Firefox or Internet Explorer you must first remove this - http//: - before pasting your images address.
Here's how it will look:

Effective Use of Hyperlinks
Using external links links is a good way to add depth and information to your posts and to re-direct someone to more information on a subject or product. The information bellow will help you understand how to use descriptive word hyperlinking.
A standard non-descriptive link looks like this:
A link using descriptive words looks like this:
Doing this is easy.
#1 Simply type the words you'd like to use to describe the link. In this case; "Changing A Raw Water Impeller"
#2 Highlight only those specific words with your mouse and then click the link
 icon and paste your web sites link in the address bar of the pop up window. The words you highlighted will now become your descriptive link...
You can also make your descriptive link stand out more by using the
 feature to make it pop out from the rest of the type/font like this;
Using photos here is not difficult once you are set up and ready to go. there are two basic ways to add a photo to a post.
Adding Photos To Posts
Method #1
Upload your photos to SBO and add them to your post. This method using vBulletin is rather slow and cumbersome and limits you to only using the photos here. If you belong to other forums, as many here do, an external hosting site is the best way to achieve this.
To use method #1:
1) Bellow the window where you create a new post is a box titled "Additional Options". Inside that box is a button called "Manage Attachments" click this button.
2) A new window will open with five "browse" buttons. Click a "browse" button and then find the picture on your computer and click "Upload".
Warning: Uploading files to the SBO server requires the file size be no larger than 620 X 280 pixels. Unless you know how to easily re-size your photos I'd strongly consider using Option 2. Using method 2 involves an external photo hosting site and "linking" to your images using the
Method #2
Preface:
Picasa3 - I suggest downloading and installing Picasa3. This free software is one of, if not the best, photo organization and minor photo manipulation programs in existence. It is also the absolute easiest to use. Once you download it it will automatically scan your computer for photos and import them into Picasa. Please be aware that it DOES NOT duplicate your stored photos but rather references them at their stored location for use in Picasa3. This technique saves your valuable hard drive space by not duplicating photos. If you do not already use this program you will love it!
It is not necessary to have Picasa2 in order to use Picasa Web Albums. I only suggest it because for anyone with a digital camera it is simply the easiest photo software on the planet. I'm a published photographer who owns and has spent big bucks on Adobe Photoshop, Adobe Lightroom, and many other pro-grade programs, but who also chooses to use Picasa3 for 90% of my web photo publishing.
If you have photos already hosted on a site skip to the words in burgundy for instructions on how to add them to your post.
Uploading to Picasa Web Albums
#1 Go here: Picasa Web Albums or Click on "Web Album"
#2 If you don't already have a free Google account create one.
#3 Once you are into the Picasa web albums page click the "Upload" button.
#4 A box will pop up and you'll want to click "Create a New Album"
#5 Another box will pop up and ask you to name your new album. For illustrative purposes we'll call it "SBO Forum Pics". Click "Continue"
#6 A page will pop up with five "Browse" buttons. Click "Browse" and then locate the folder and then the specific picture within the folder that you want to upload. When you find the picture click "Open" and it will insert the picture into the upload box.
#7 Once you have found and selected the picture or pictures you want to upload click "Start Upload". Depending upon your connection speed and file size this could take a little bit of time.
#8 Once your photos are uploaded it will take you directly to this new "SBO Forum Pics" album. Simply click once on the photo you want to post and make it bigger. Follow directions bellow from here.
Note: You can also use many, many other photo hosting sites such as SmugMug, PhotoBucket, Snapfish or possibly others but you'll need to figure those out on your own. As much as 'd like to I just can't post directions for every possible photo hosting site on the net.
Linking Your Photos Into A Post With;
This is the big secret to hot-linking just about ANY photo hosted anywhere on the web to your post. Please read this part carefully!
#1 Once your image in Web Albums is upload and has been made larger move & hoover your mouse pointer over the photo and execute a "right click" and then select "Copy Image Location" from the drop down menu.
Please note that I use Mozilla Firefox as my browser and other browsers may not have or show the "Copy Image Location" feature (this feature is a very, very useful tool!). If you do not use Mozilla Firefox I highly recommend it!
If you still use Internet Explorer
you'll need to execute a "right click"and then select "Properties" from the drop down menu. A new box will pop up and you'll see "Address (URL):" manually highlight only the address, copy it and paste it as directed above into the
#2 Back on the SBO forums, and in your post box, select this
WARNING: The
Here's how it will look:
Effective Use of Hyperlinks
Using external links links is a good way to add depth and information to your posts and to re-direct someone to more information on a subject or product. The information bellow will help you understand how to use descriptive word hyperlinking.
A standard non-descriptive link looks like this:
It looks cluttered, and does not really tell what you're looking at.Here's a good source for changing an impeller http://http//www.pbase.com/mainecruising/impeller it uses pictures to walk you through the steps.
A link using descriptive words looks like this:
This flows much better and is easier to read..Here's a good source for changing an impeller, Changing A Raw Water Impeller, it uses pictures to walk you through the steps
Doing this is easy.
#1 Simply type the words you'd like to use to describe the link. In this case; "Changing A Raw Water Impeller"
#2 Highlight only those specific words with your mouse and then click the link
You can also make your descriptive link stand out more by using the
Here's a good source for changing an impeller, "Changing A Raw Water Impeller", it uses pictures to walk you through the steps.
Last edited: