Well, this ended up being a big job. But, glad that I put all the effort into it.
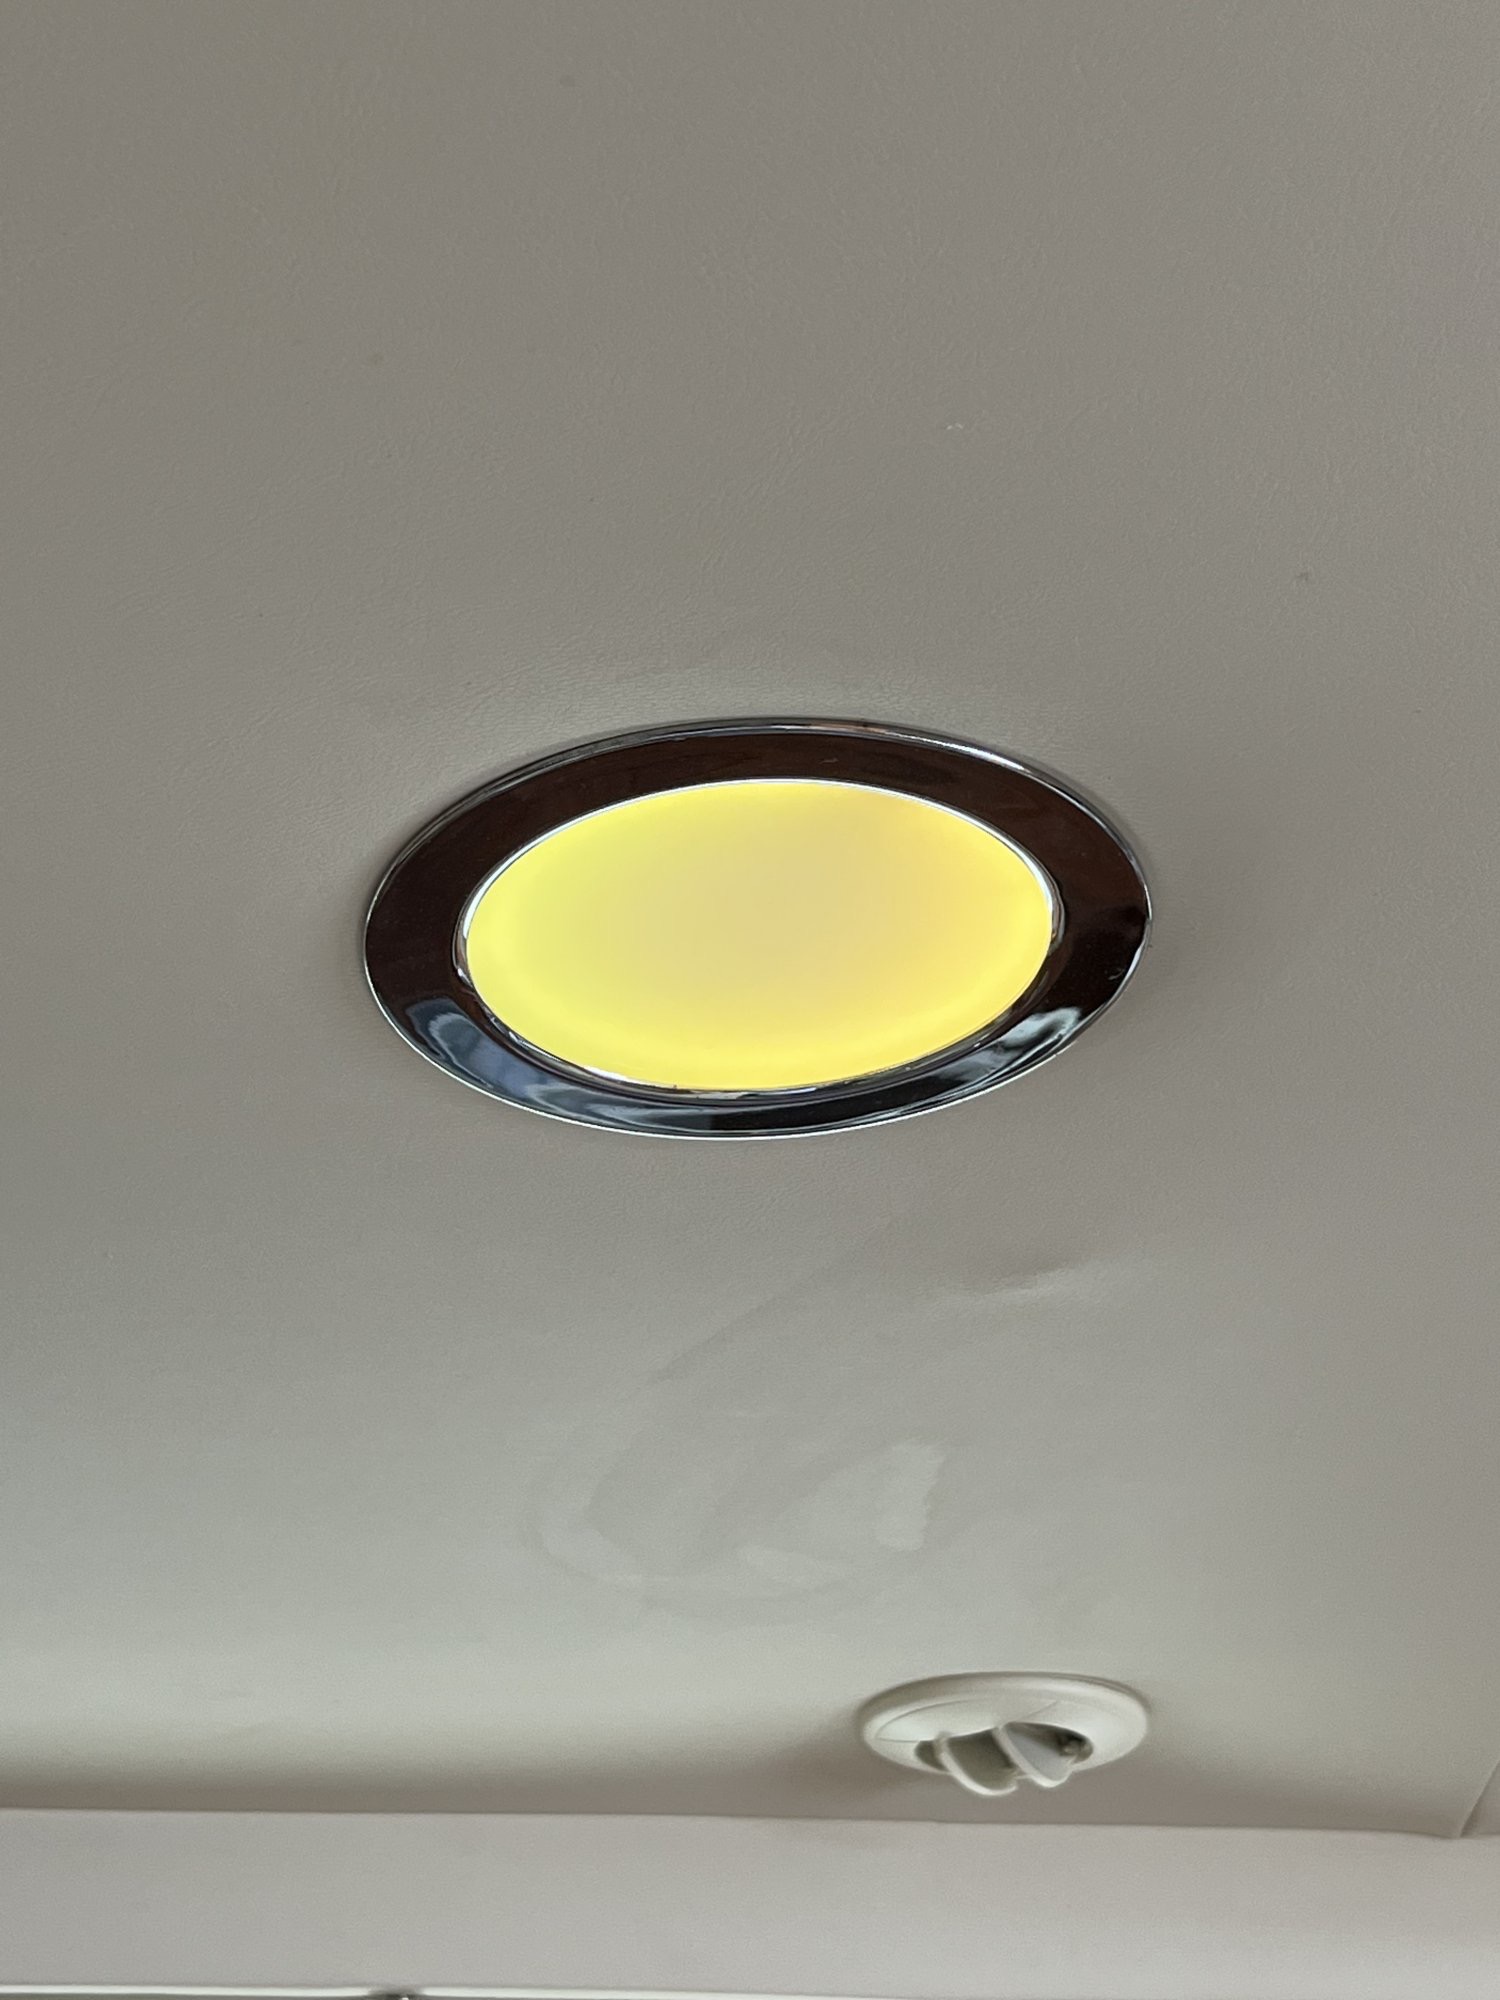
For those of you who have the original 6” CCFL ceiling lights, I think we can all agree that they were basically awful. I’ve seen better lighting in an underground cave.
The problem is that the white balance of the CCFL tubes is an awful yellow; at best
I’ve got 10 fixtures aboard, and really needed to think about how I was going to proceed
I know that on the SBO store they have 6” fixtures, but I had issues with these. They didn’t have the spring clip retaining clamps (which hold the light into the existing housing)
This meant drilling holes in the flange, and screwing it to the head liner. I just thought that wouldn’t look nice. Plus, the original fixtures, (which were quite expensive) had a really nice chrome ring look to them. The replacements are painted white.
Also, colour temperature was a huge issue for me. I needed to ensure that the Color temp matched all the other led lighting I’ve customized aboard.
I looked around to every supplier, and just couldn’t find a perfect drop in.
So,,,, decided to roll my own.
This entailed taking the existing fixtures, and basically stripping them down to bare bones.
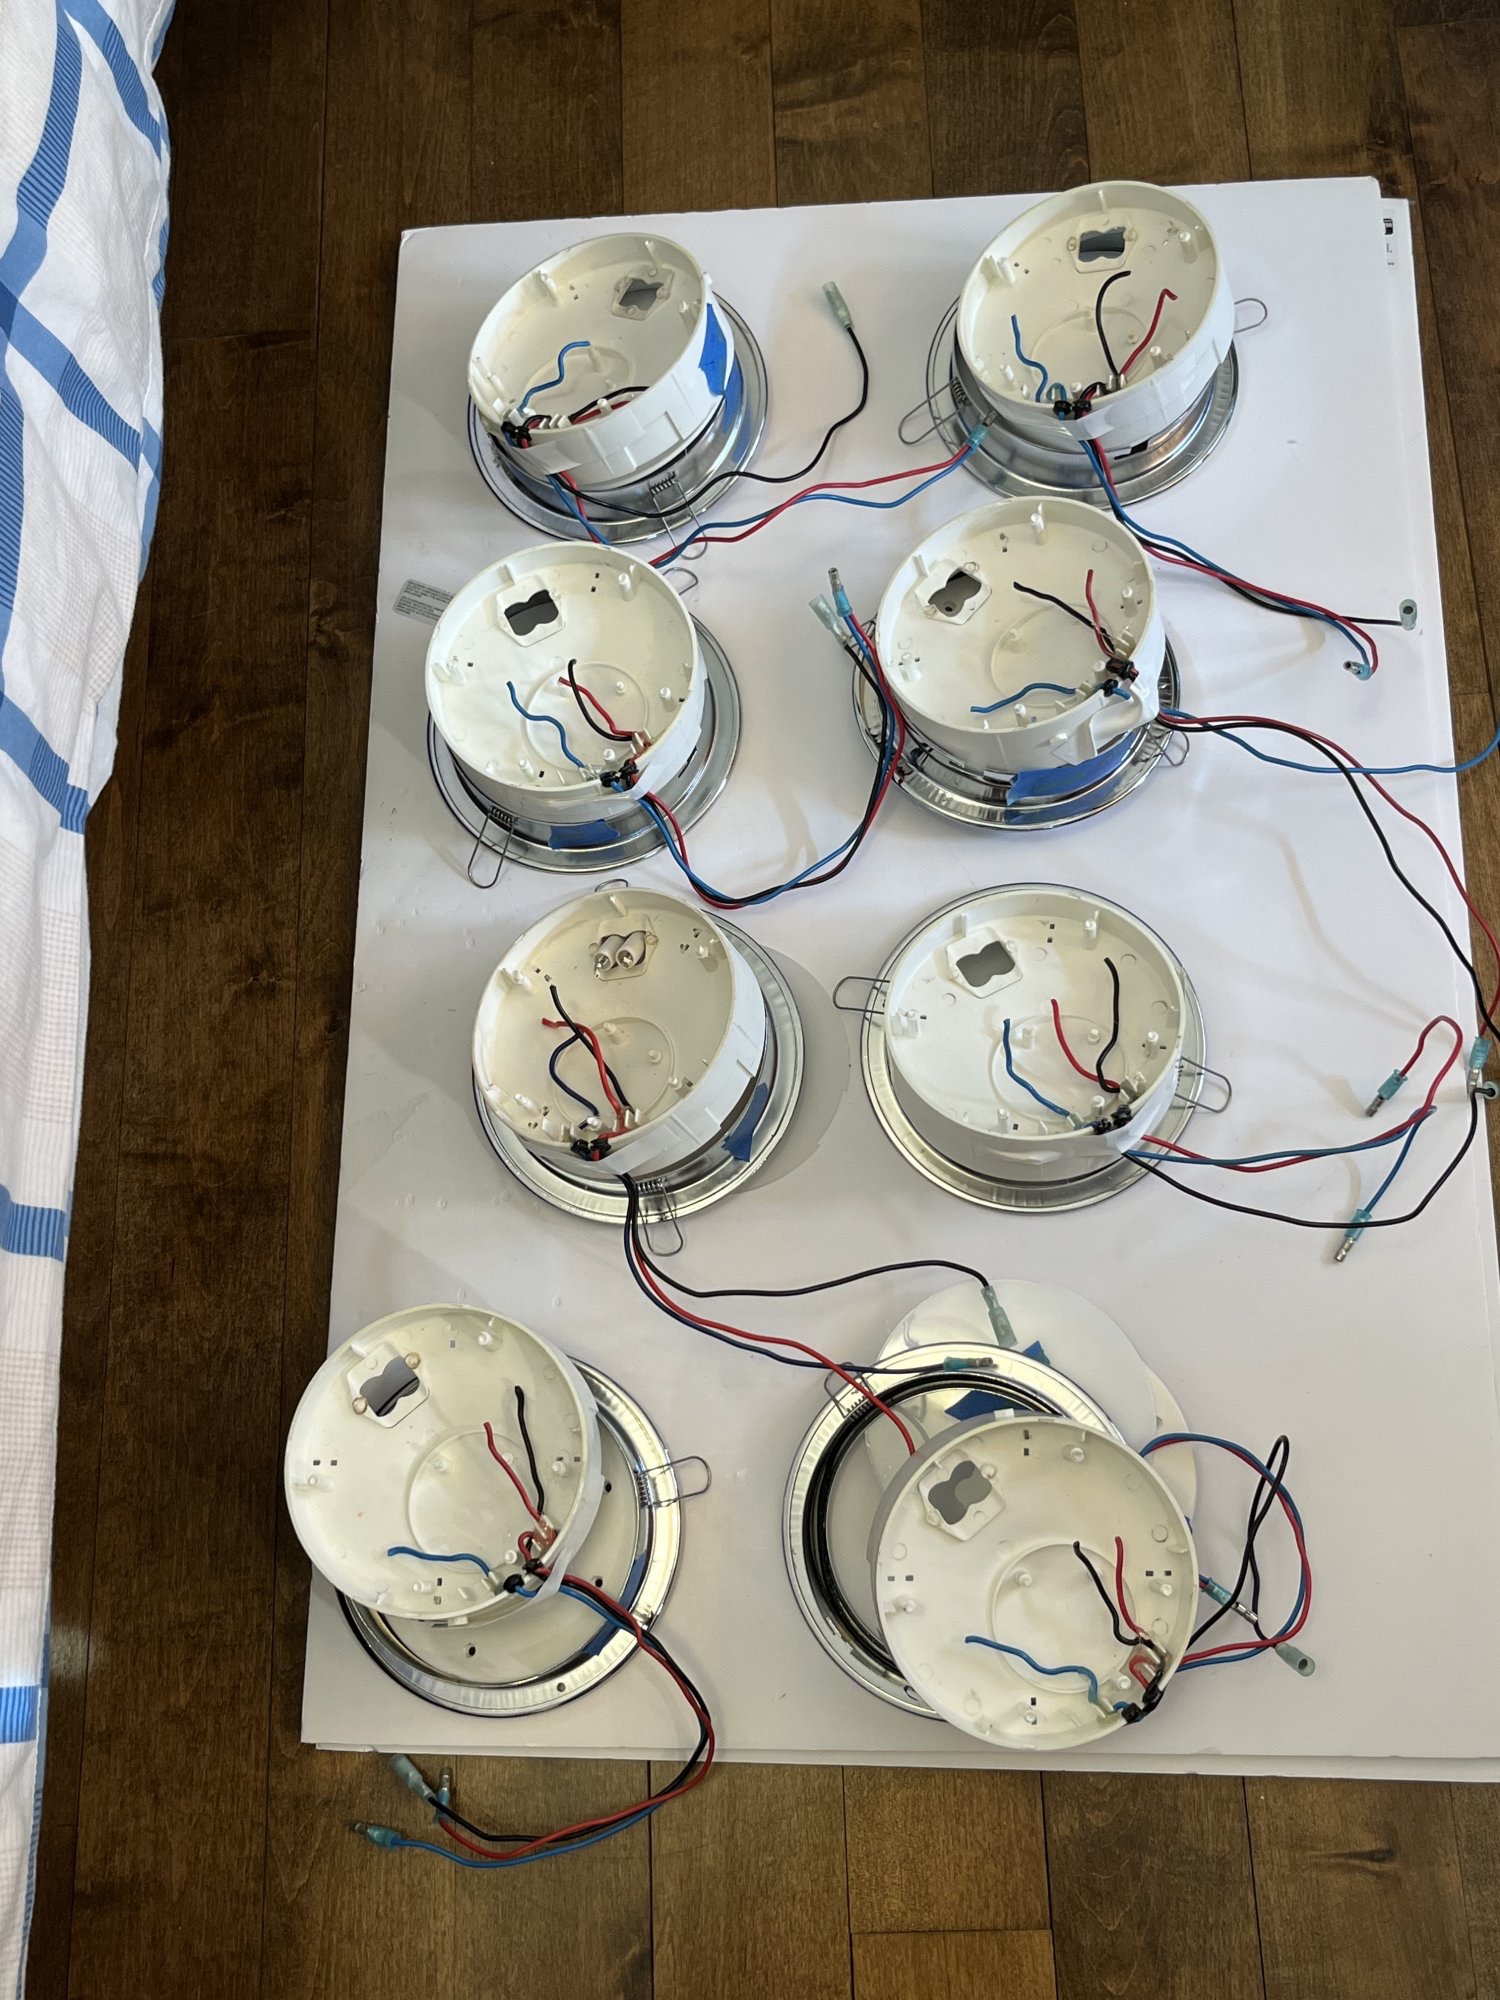
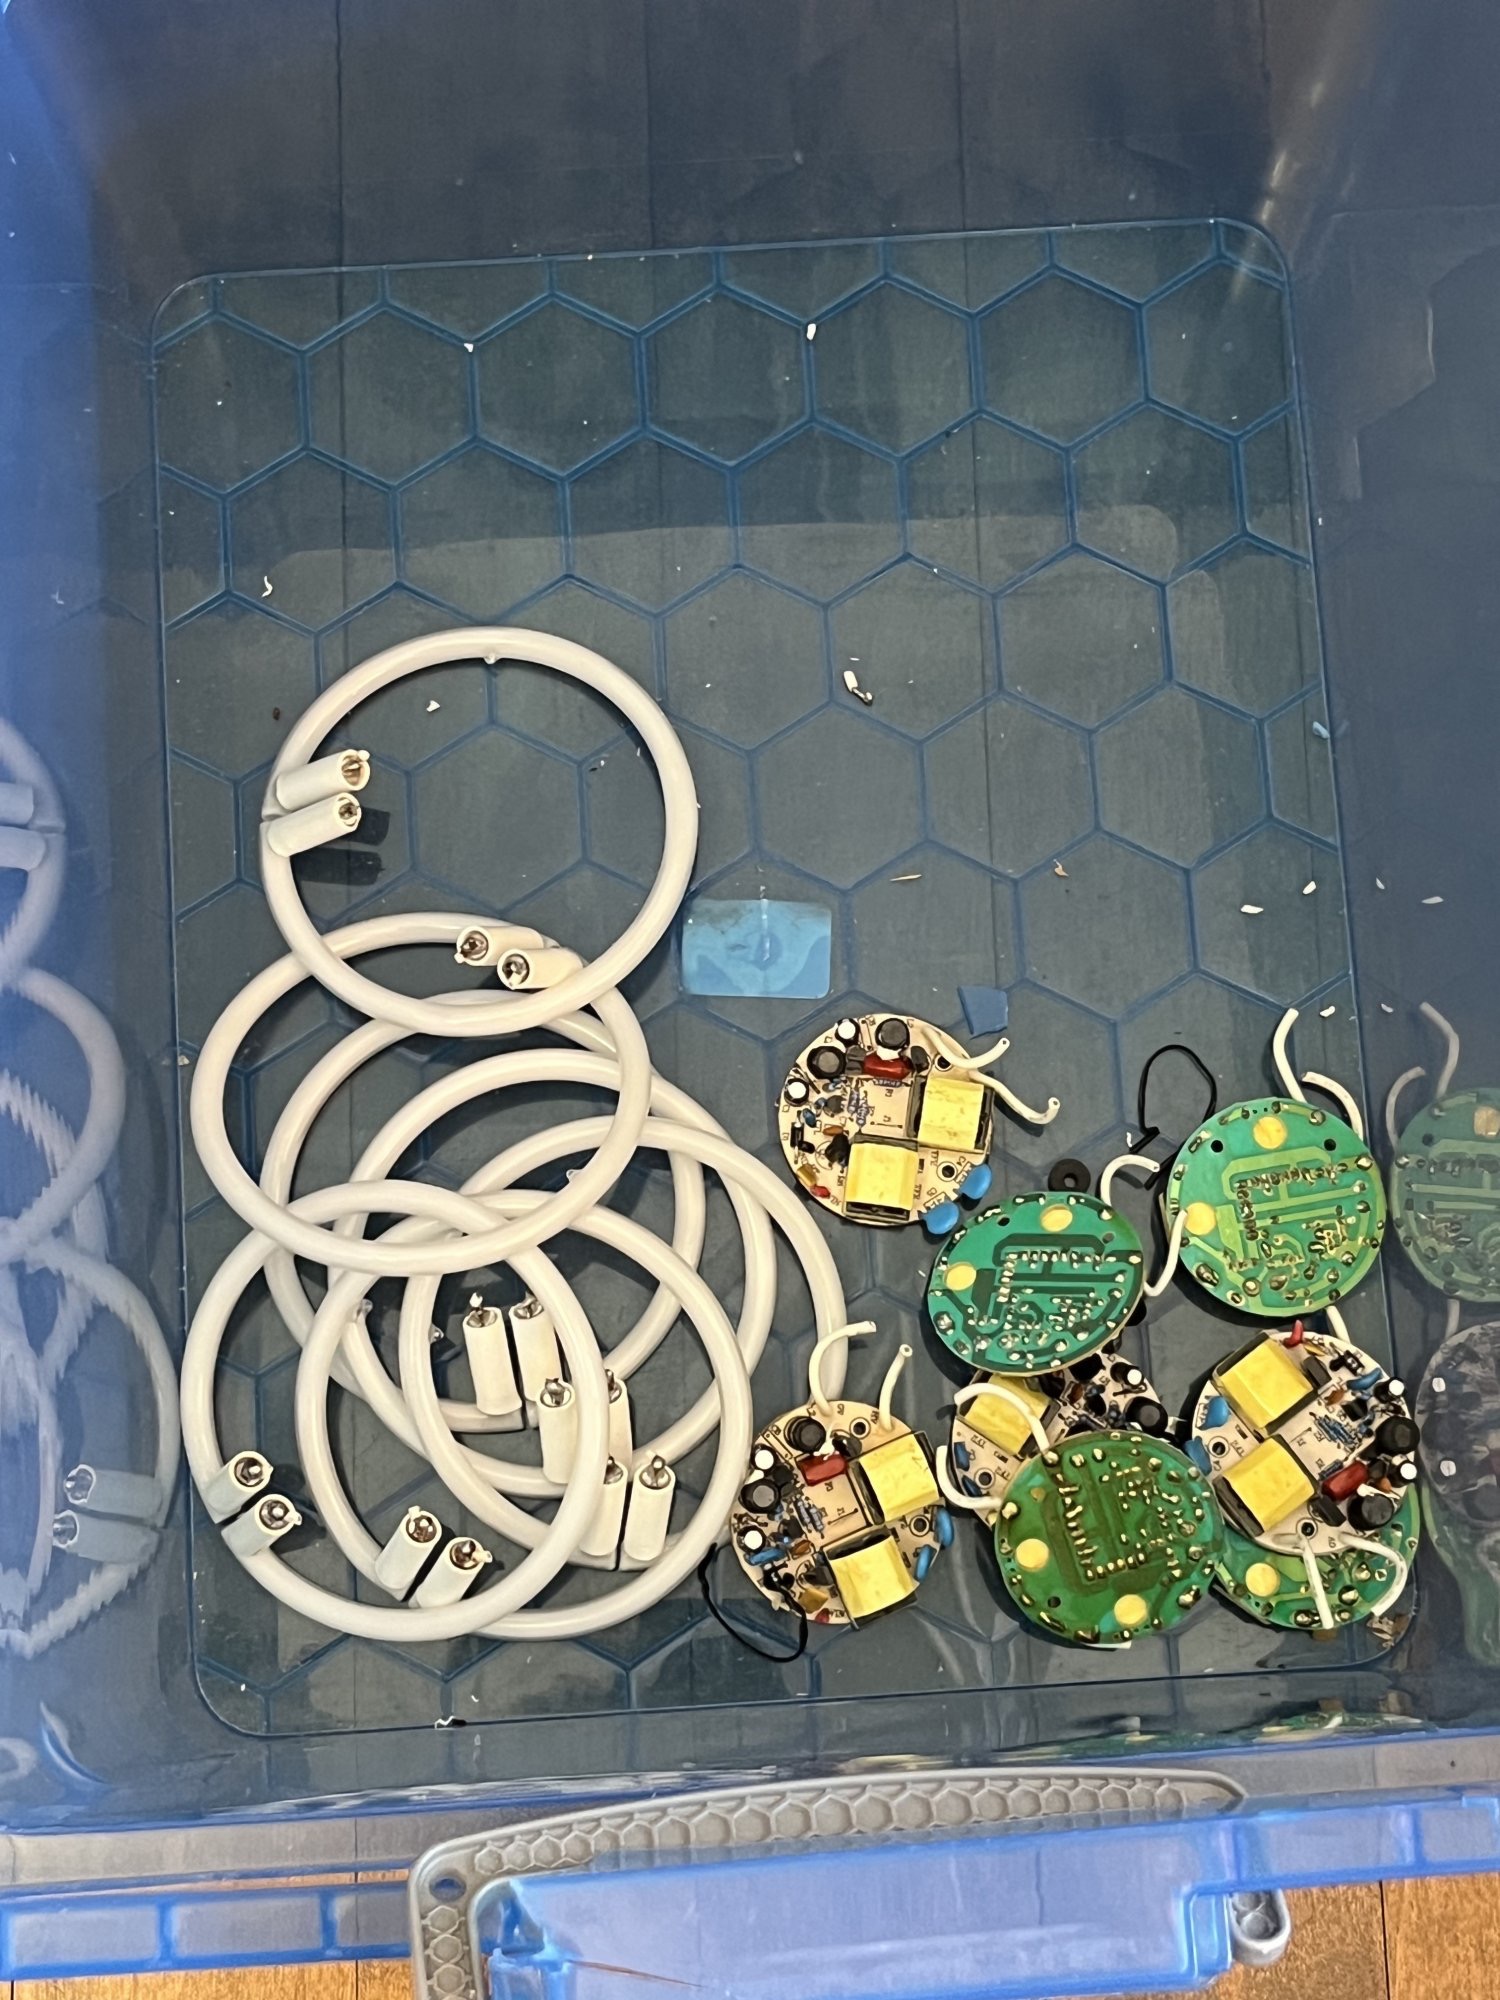
This is what I ripped out of them. Basically everything.
I then spent a ridiculous amount of time experimenting with:
Different led types
Mounting methods so that you wouldn’t have “hot spots”
I settled on a very neat led technology called COB (chip on board). Extremely uniform light, and very low current. It is exactly the Color temperature of the white plastic lens plate, which helps to uniformly distribute the light across the surface
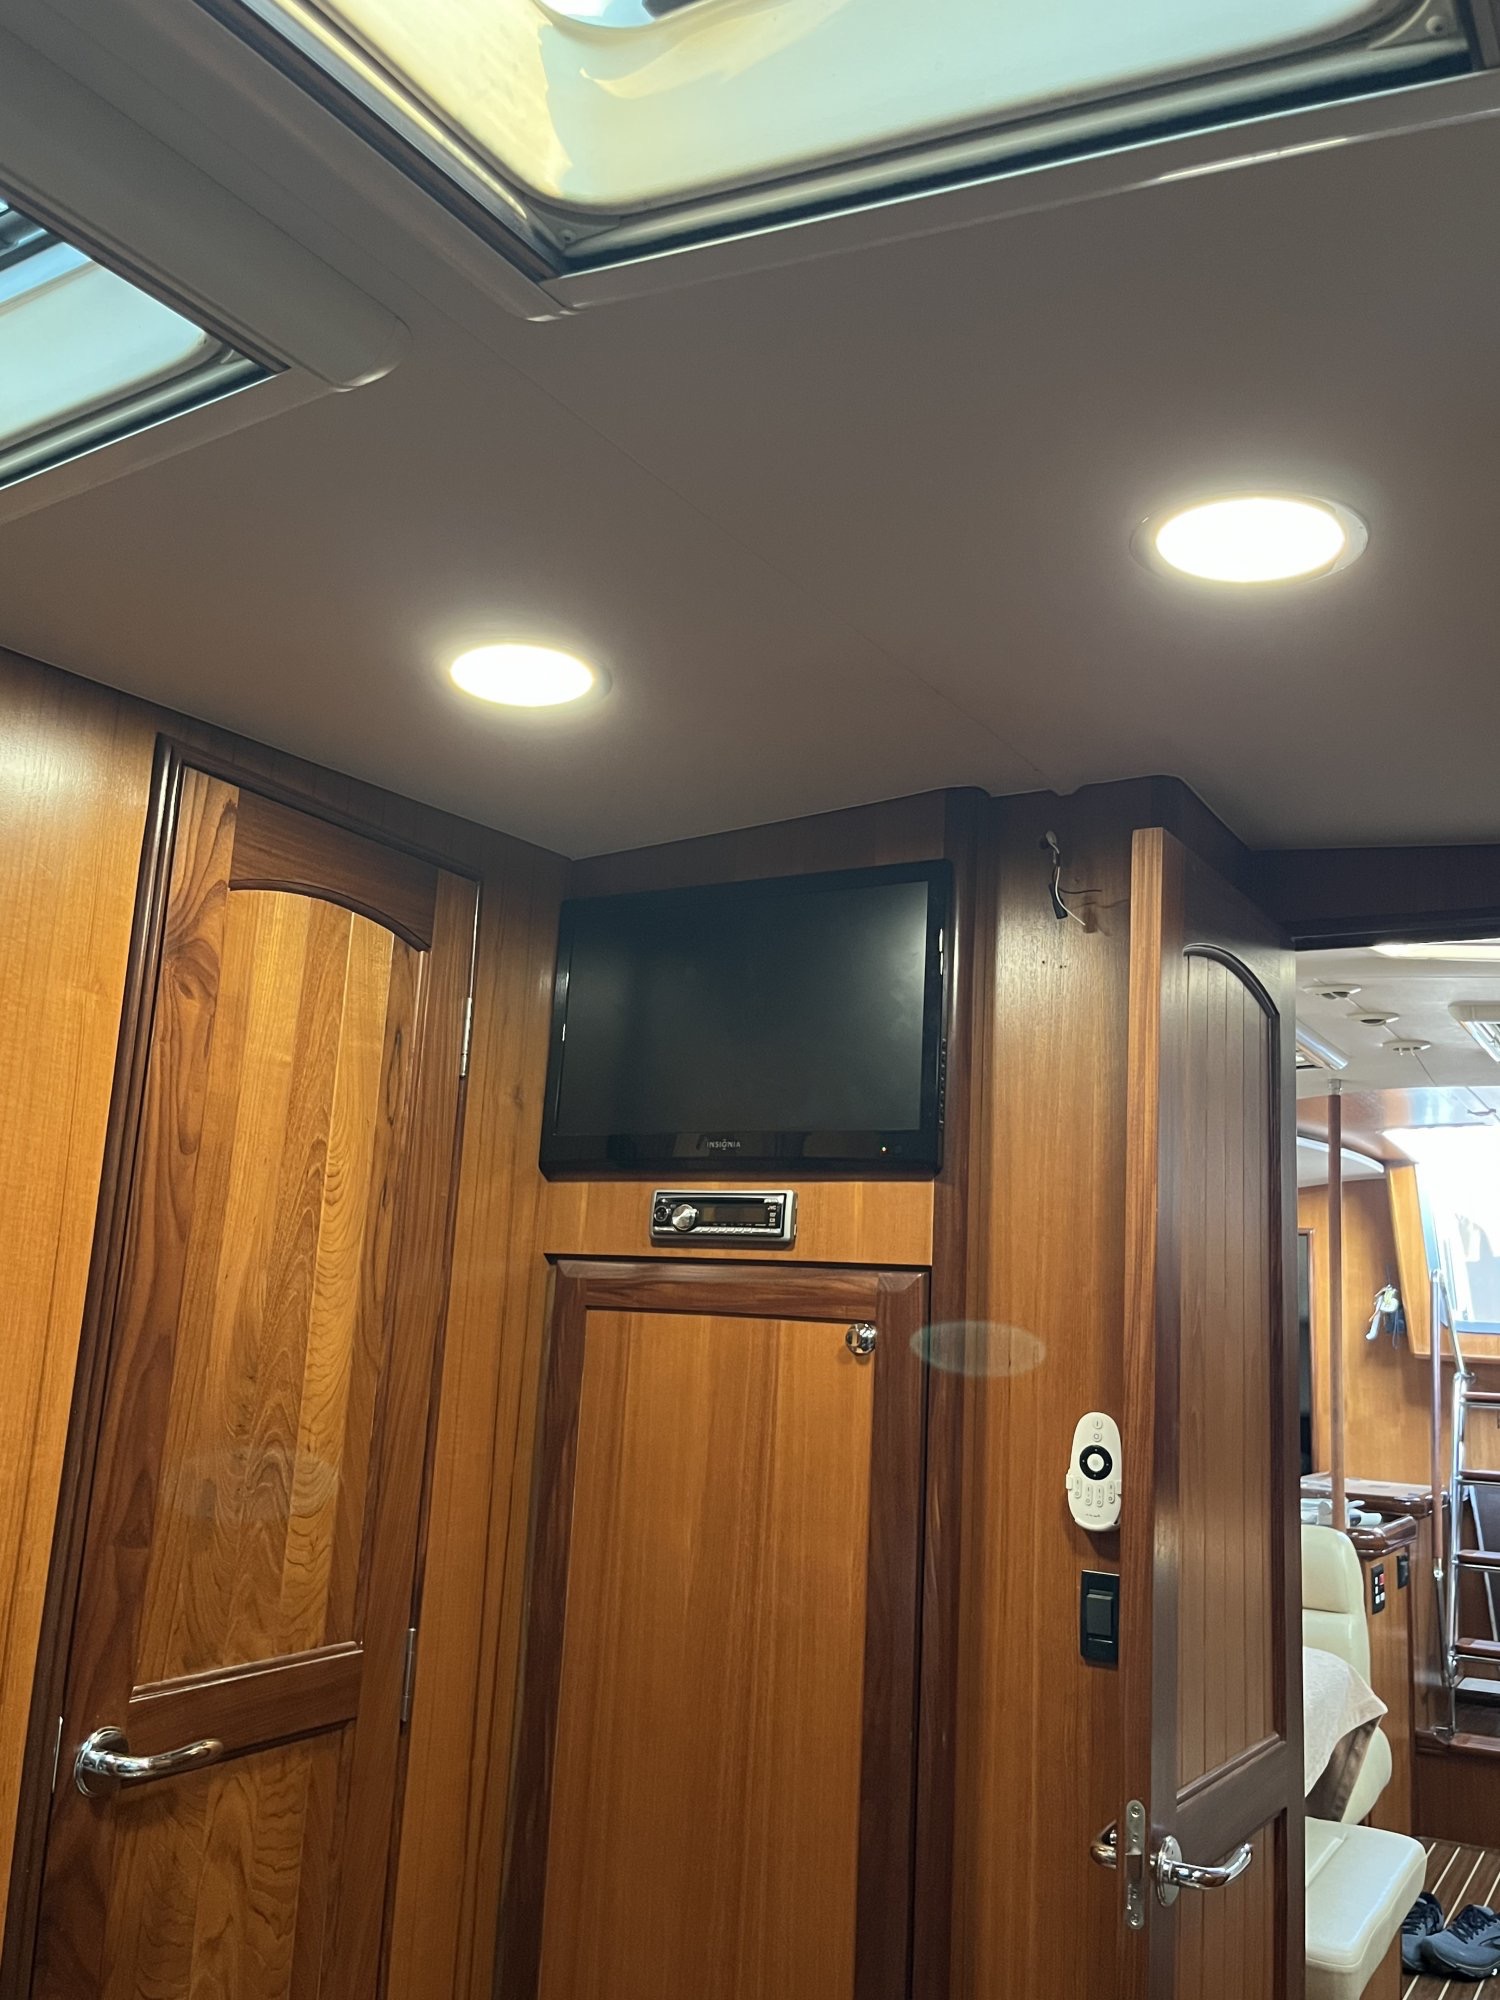
I went with the Color temperature called “Nature White”. It’s much better than Cool White, which has too much blue in it. And, of course I made everything dimmable with wireless remotes so that even down to low levels, the intensity is 100% uniform across the lens.
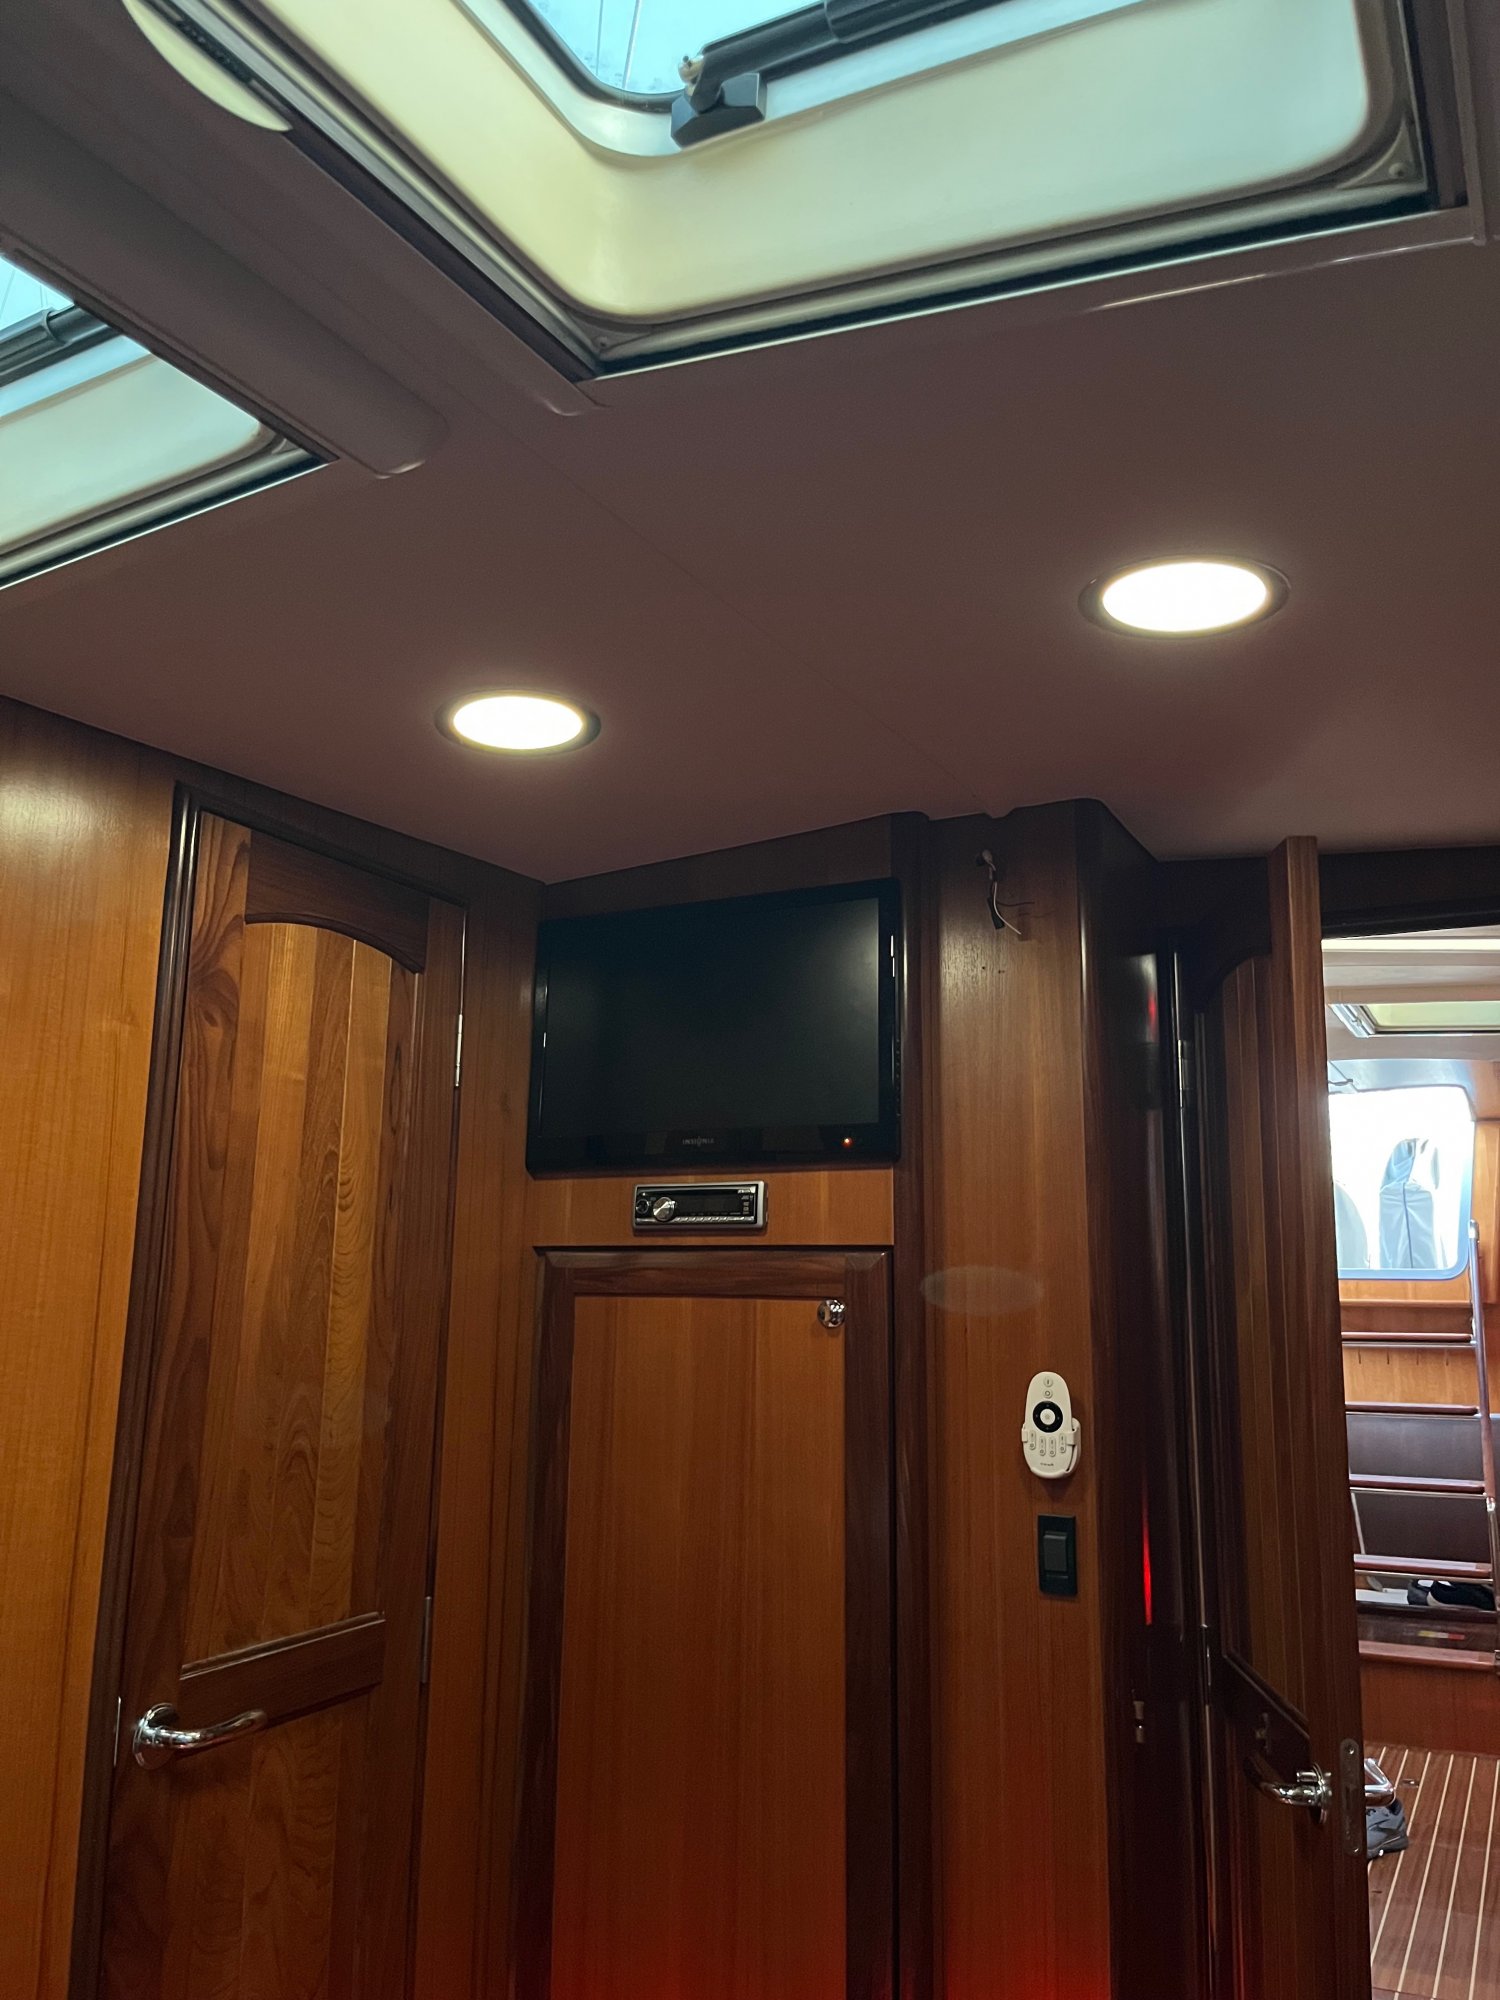
And, here’s what the new lights look like once illuminated. This is about 75% brightness.
And, even down to about 30% intensity, the lighting is very even
But, this project wouldn’t have been an Artboas original, if I didn’t do something a little special . And insanely difficult.
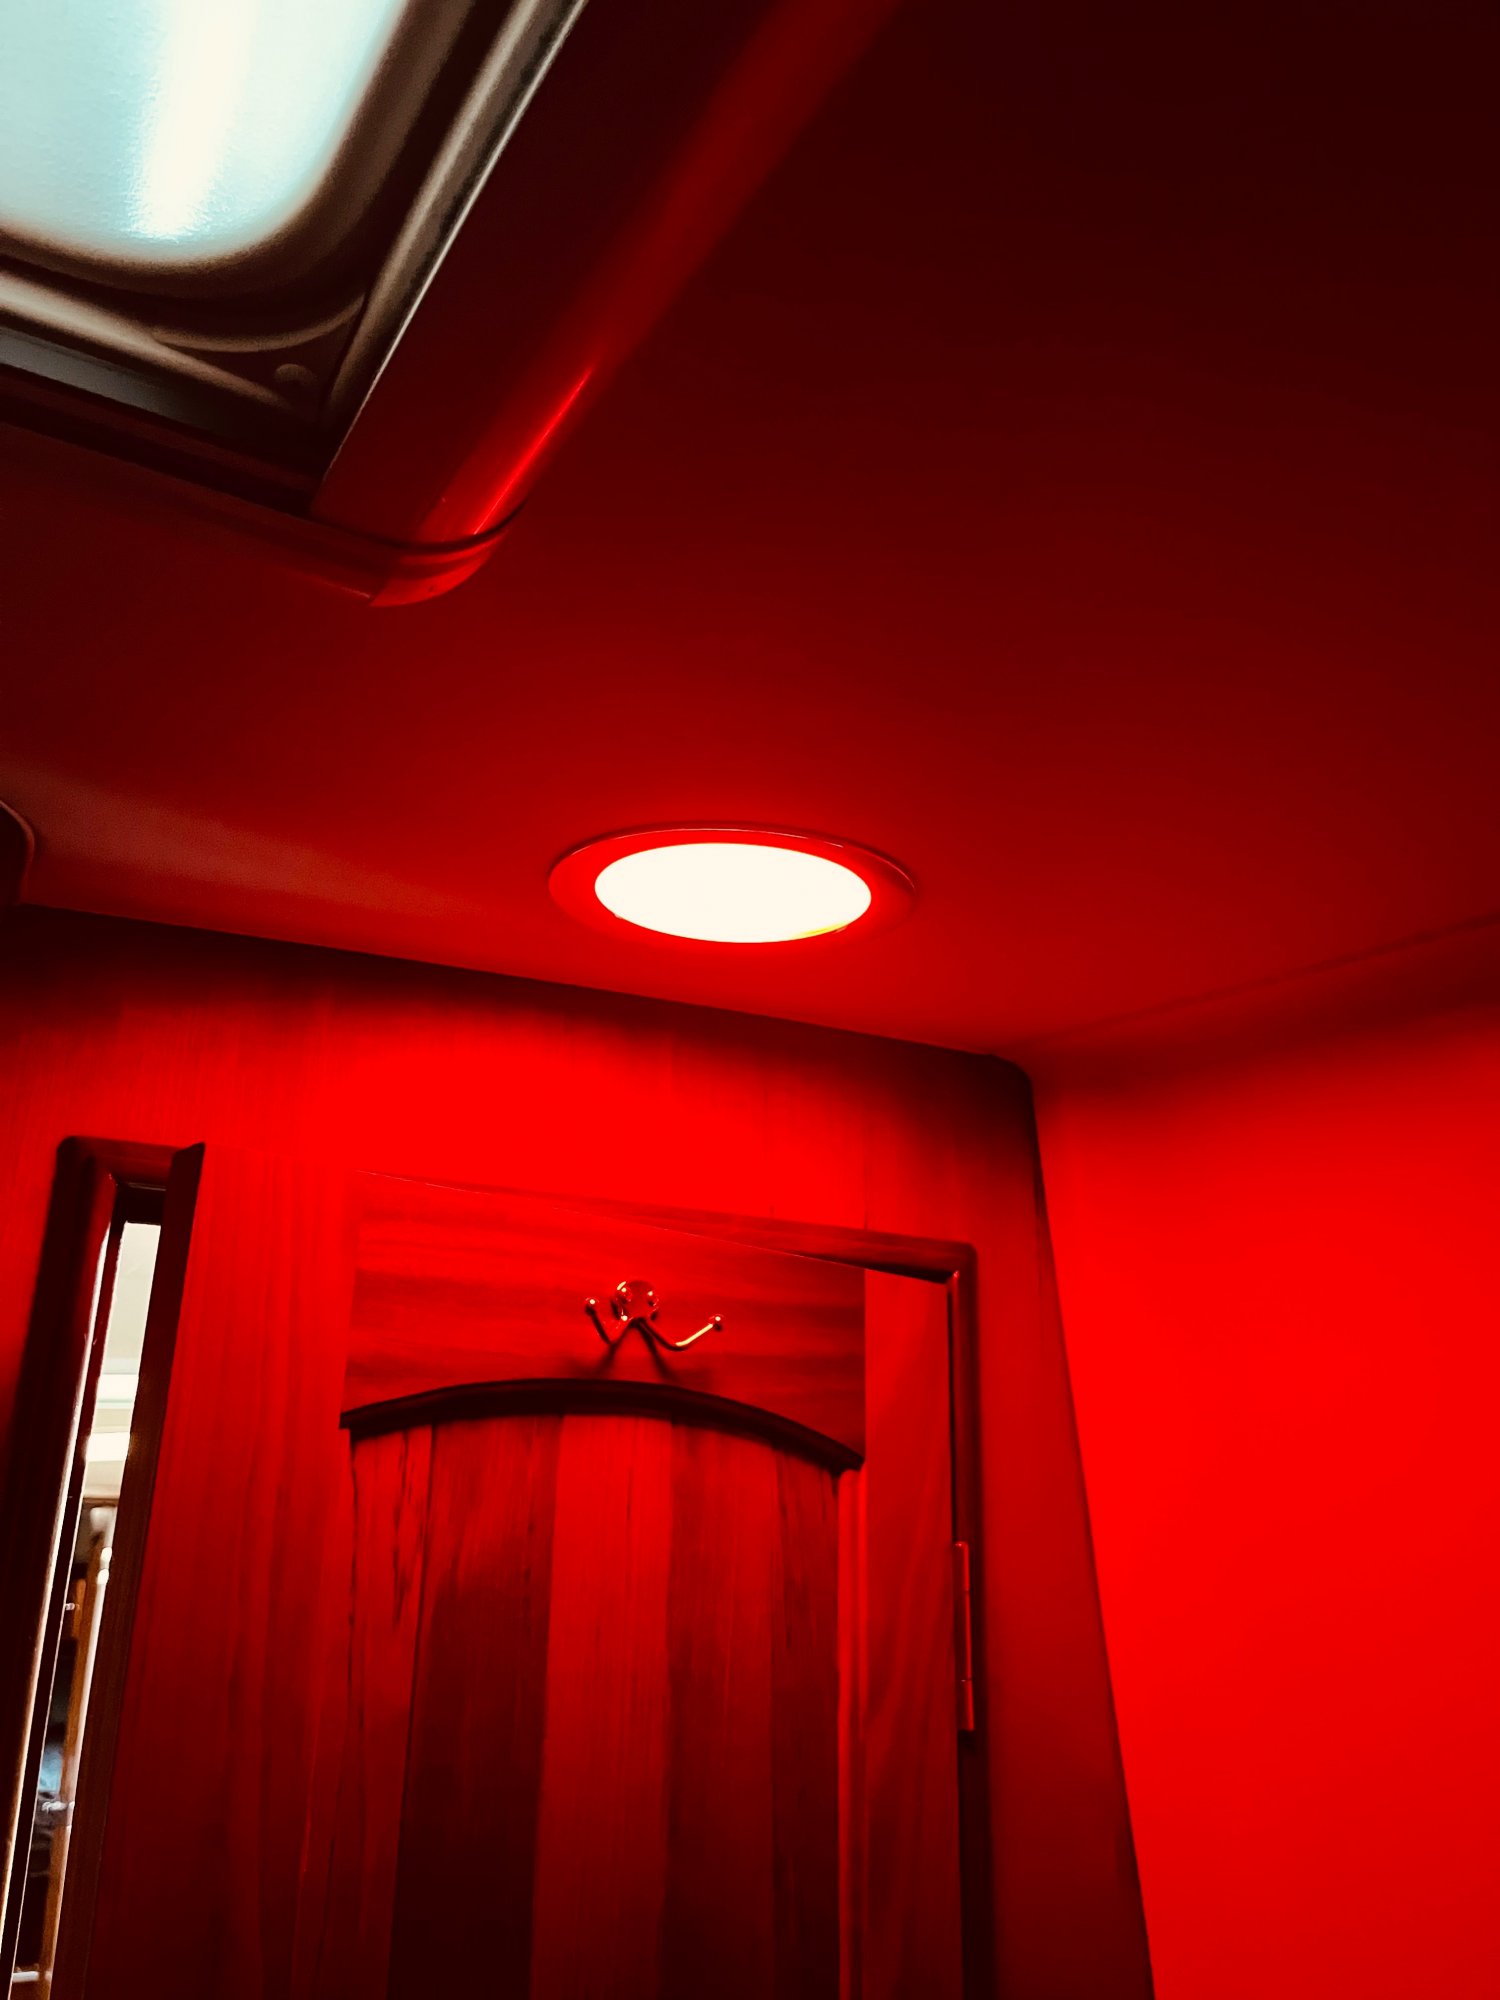
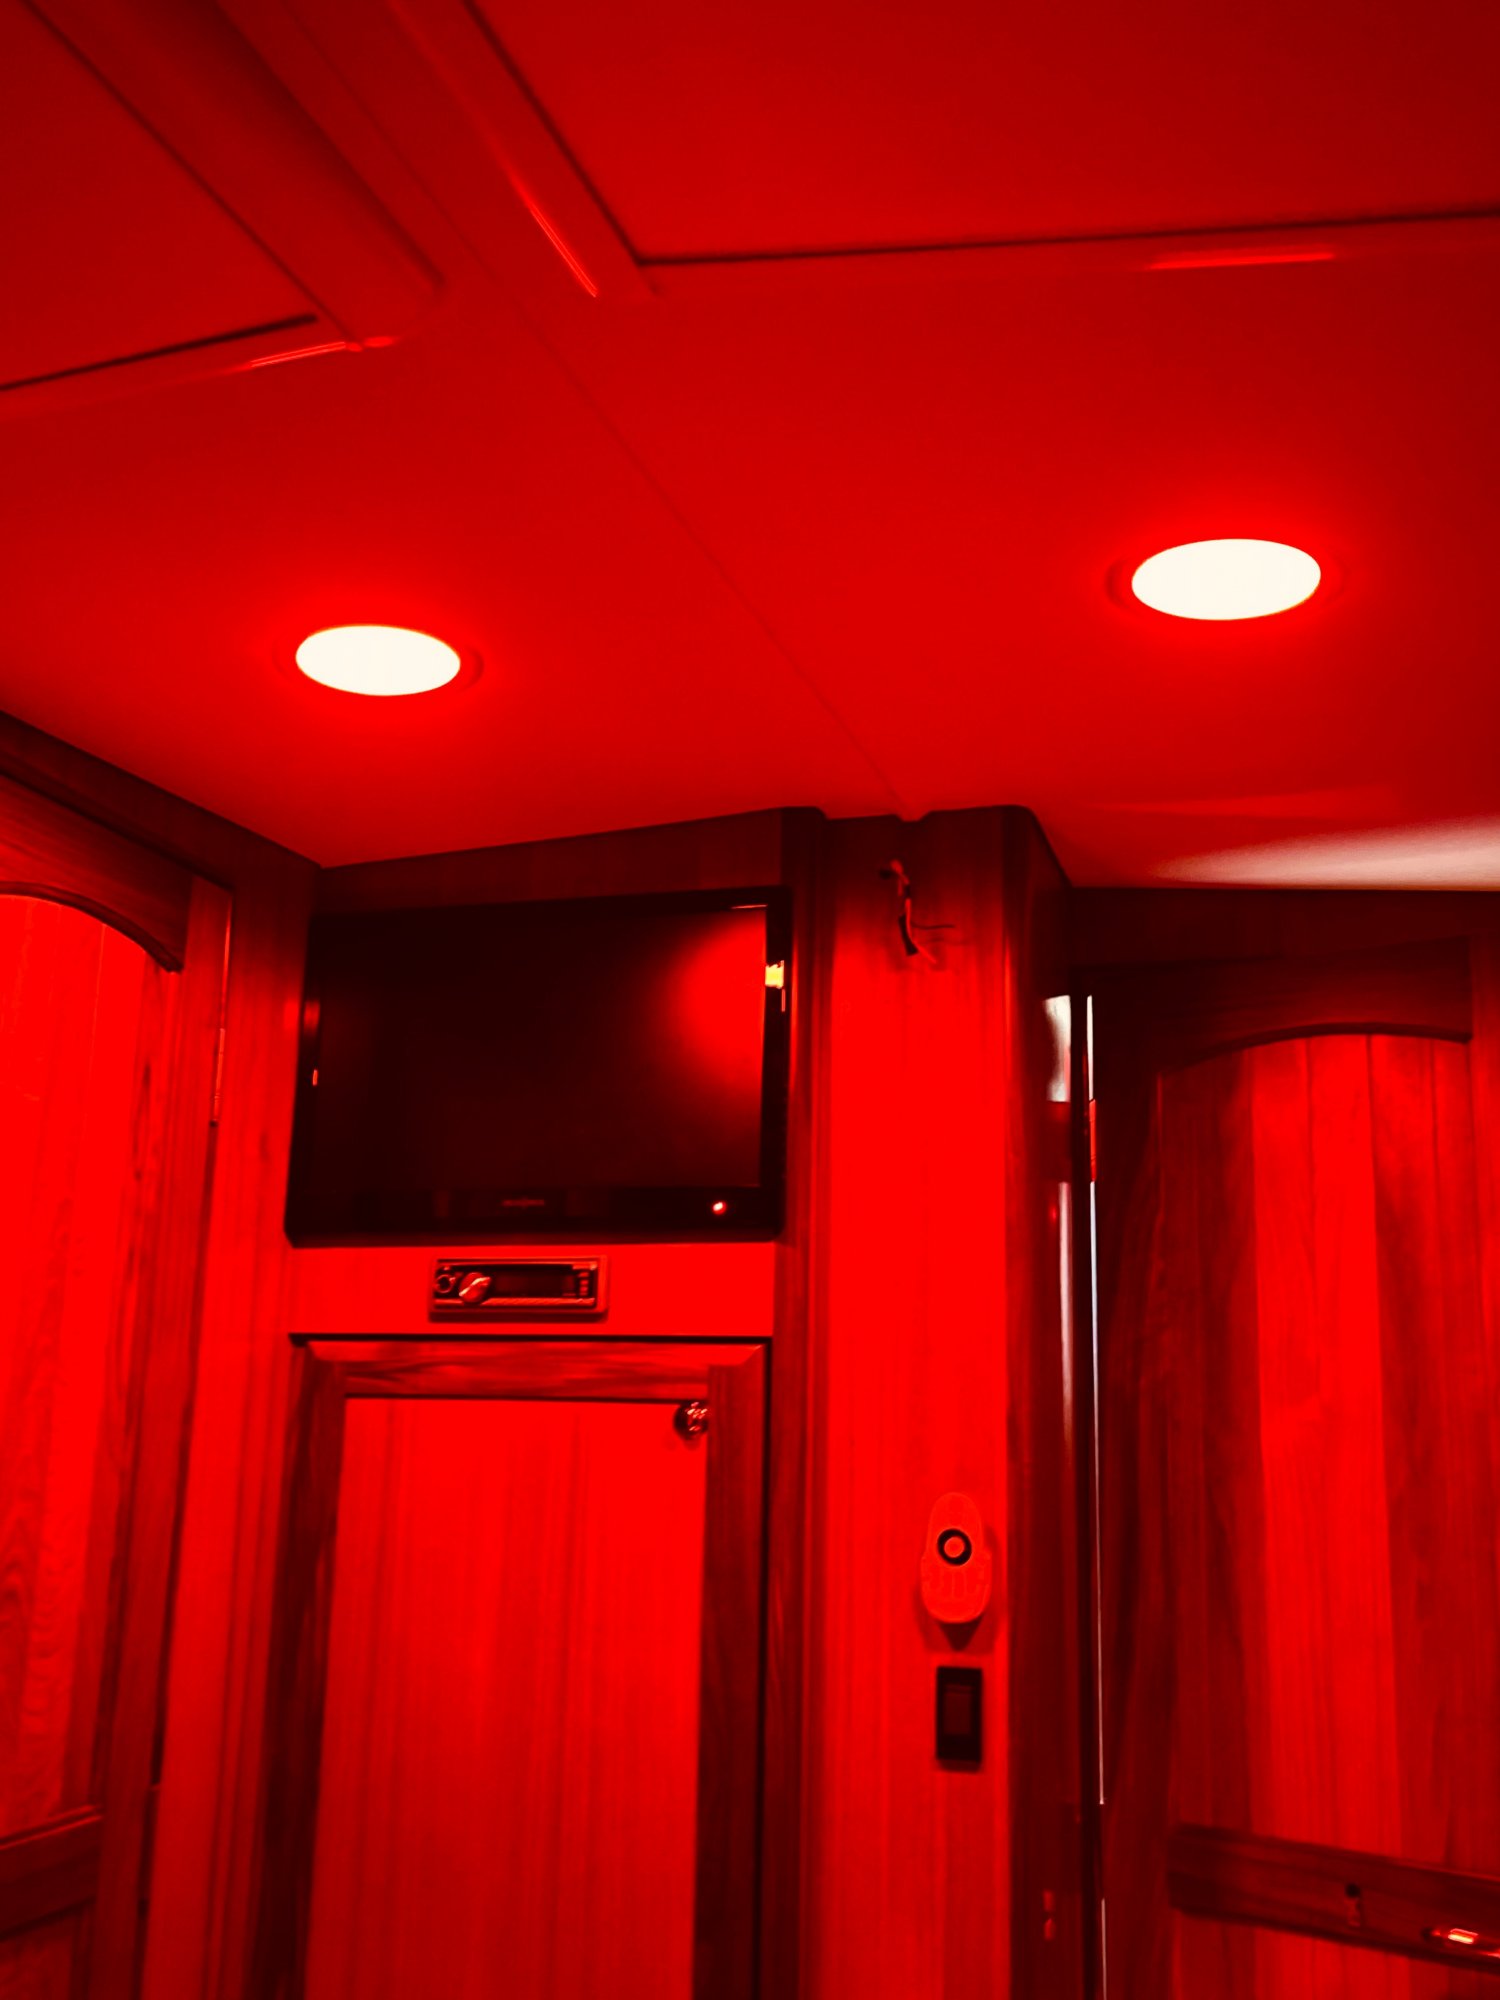
Which brings me to “Night Mode”
By turning the switch to “night setting” (which is automatically linked when running lights are on), the lights now look like this
In all honesty, this project ended up being a lot more complicated than what I originally bargained for. In addition to hours of experimenting, modifying all of the fixtures (about 1 hour per fixture), there was a lot of “reconfiguring” the boat’s wiring. This included running all new cabling to accommodate the “night mode” setting.
If anyone is interested in undertaking this project, I’ll be happy to share the 100 or so photos I took every step of the way.
For those of you wondering, this led system is not RGB, or 2812-based. On RGB lights I could not get the white Color temperature I wanted, as they are not designed for this. So, I needed to incorporate 2 separate led elements into each fixture, which complicated the design a bit. I tried the path of integrating 3 watt high intensity leds, but this gave noticeable hot spots; no matter how I tried to diffuse them.
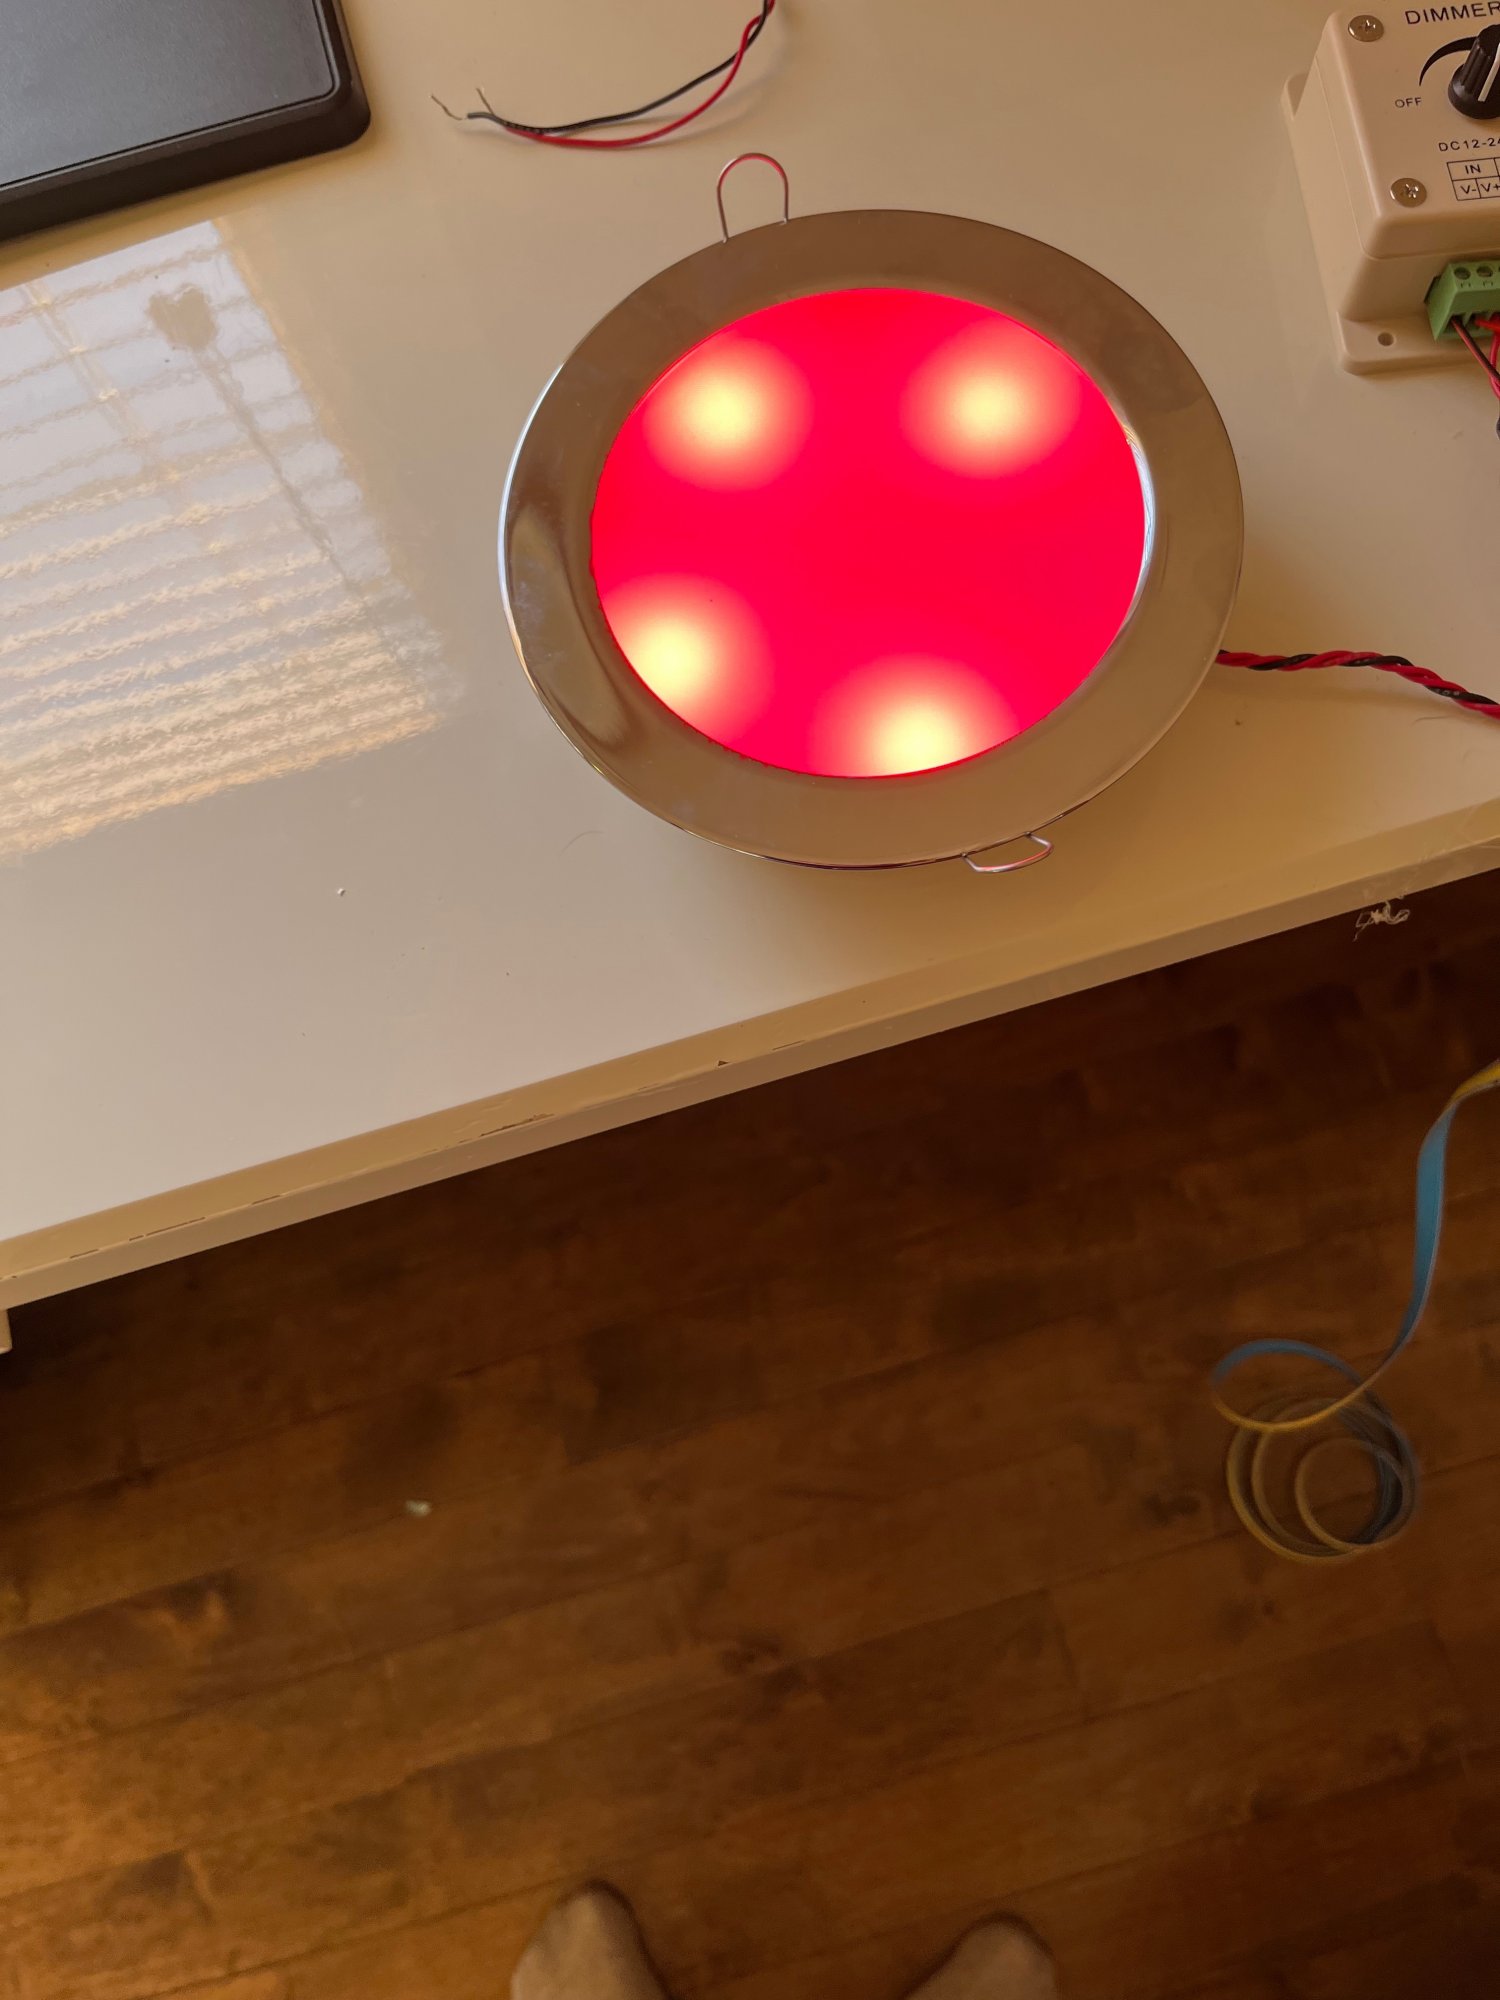
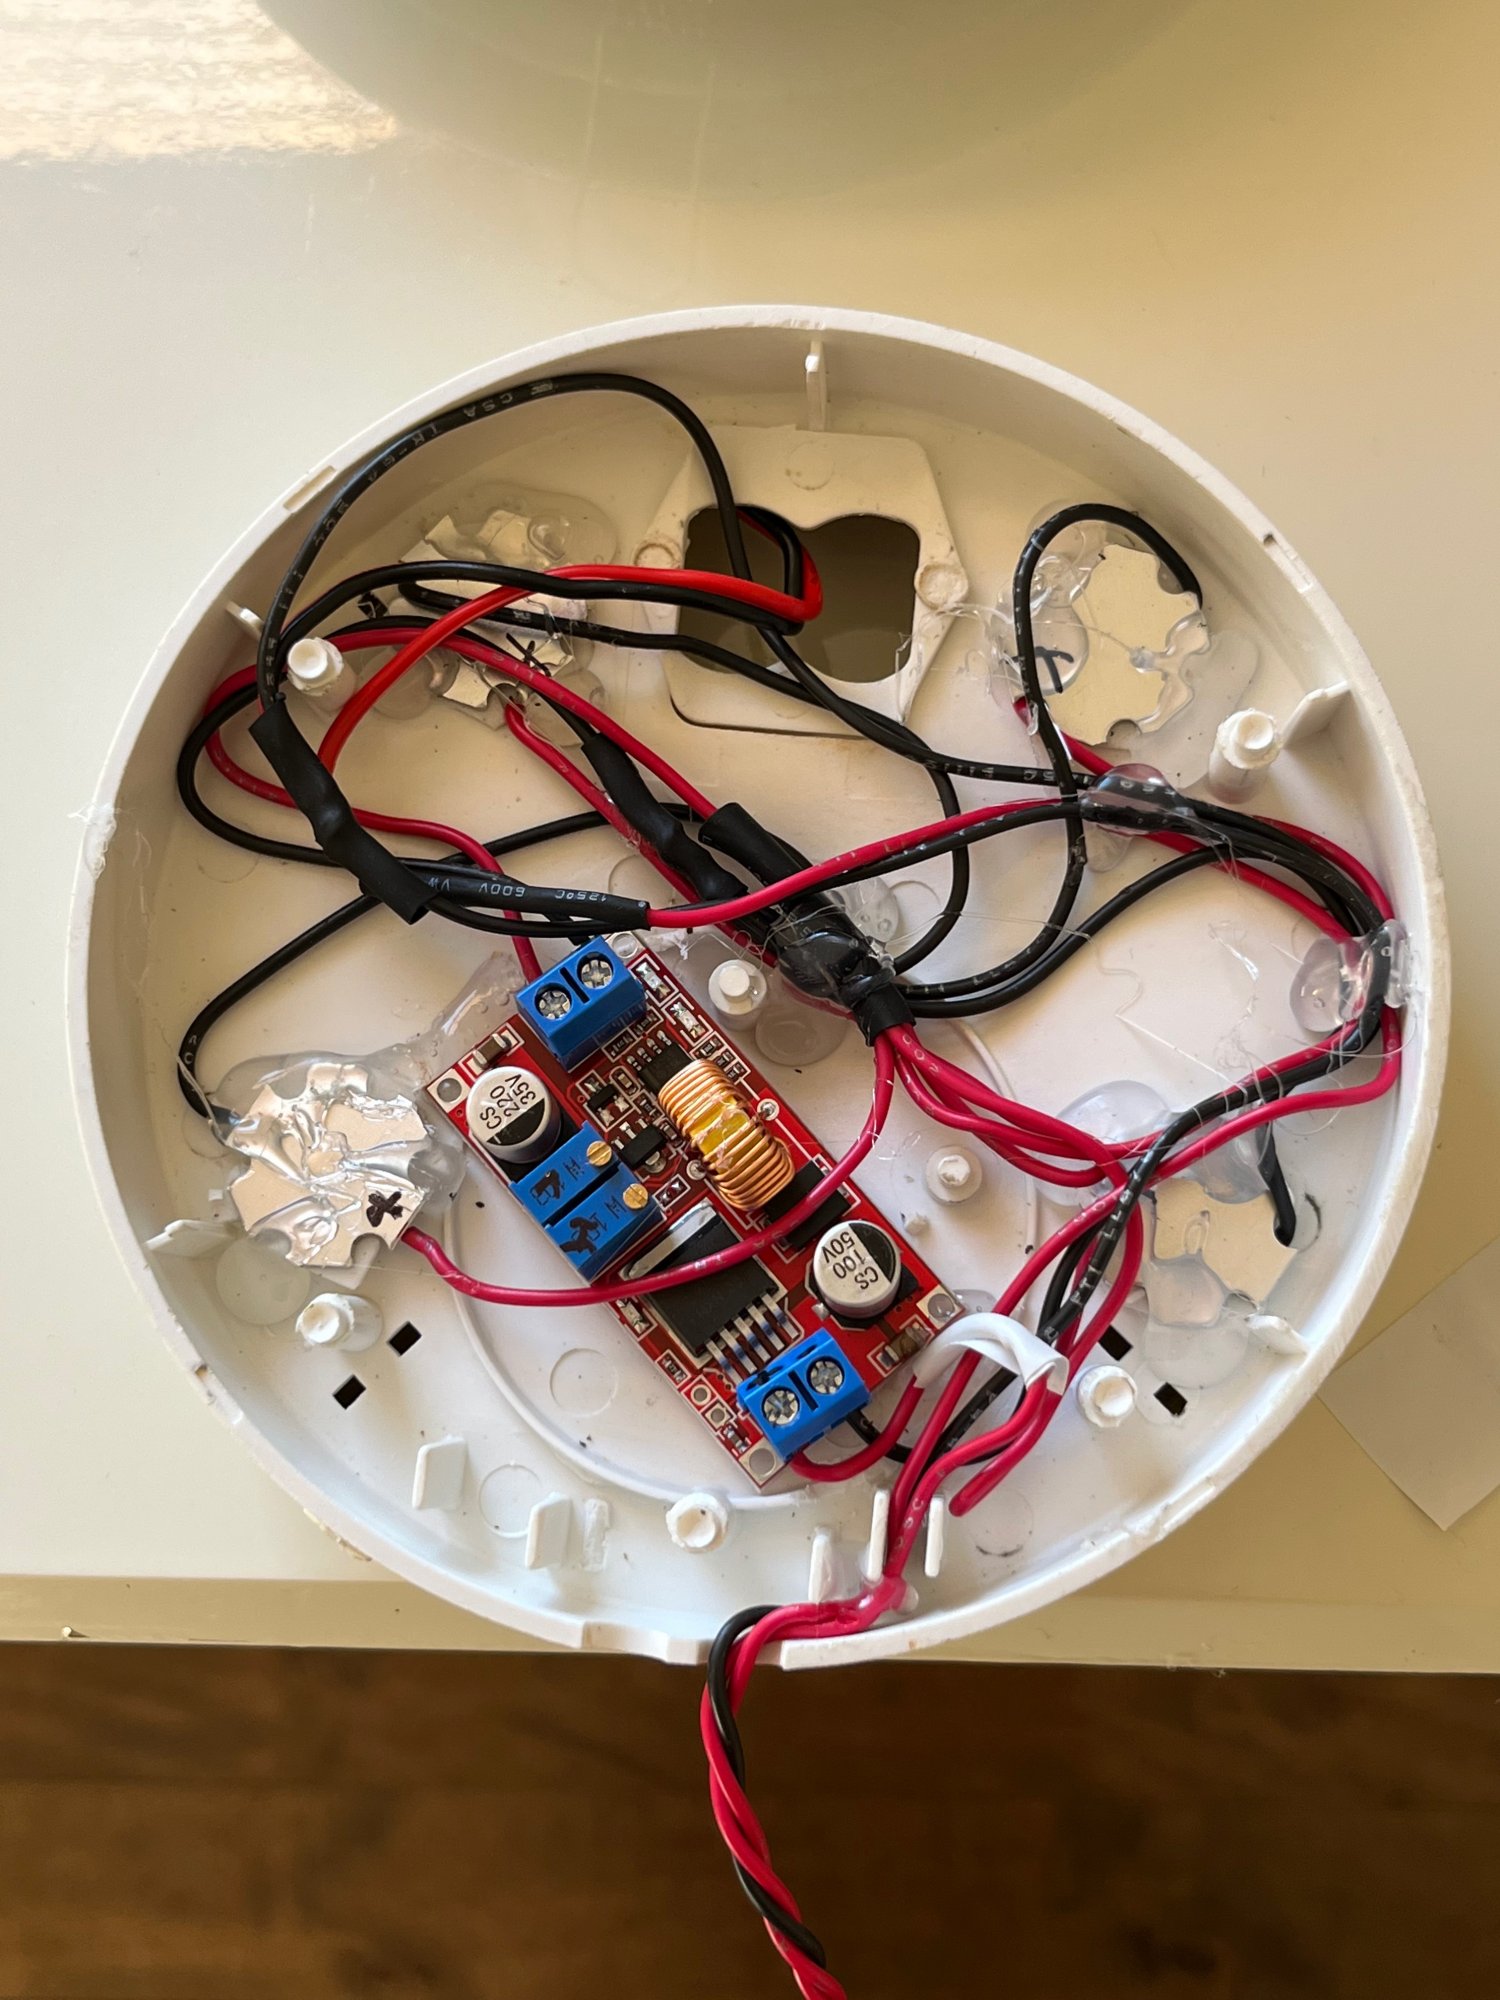
Plus, it required installing current limiting power supplies in each fixture, which was a nightmare of an experiment.
As stated, this ended up being a very complicated undertaking.
But, I’m thrilled with the results. If I could have bought these fixtures, I would have gladly done so. Having said that, I’m really pleased with the end result .
For those of you who have the original 6” CCFL ceiling lights, I think we can all agree that they were basically awful. I’ve seen better lighting in an underground cave.
The problem is that the white balance of the CCFL tubes is an awful yellow; at best
I’ve got 10 fixtures aboard, and really needed to think about how I was going to proceed
I know that on the SBO store they have 6” fixtures, but I had issues with these. They didn’t have the spring clip retaining clamps (which hold the light into the existing housing)
This meant drilling holes in the flange, and screwing it to the head liner. I just thought that wouldn’t look nice. Plus, the original fixtures, (which were quite expensive) had a really nice chrome ring look to them. The replacements are painted white.
Also, colour temperature was a huge issue for me. I needed to ensure that the Color temp matched all the other led lighting I’ve customized aboard.
I looked around to every supplier, and just couldn’t find a perfect drop in.
So,,,, decided to roll my own.
This entailed taking the existing fixtures, and basically stripping them down to bare bones.
This is what I ripped out of them. Basically everything.
I then spent a ridiculous amount of time experimenting with:
Different led types
Mounting methods so that you wouldn’t have “hot spots”
I settled on a very neat led technology called COB (chip on board). Extremely uniform light, and very low current. It is exactly the Color temperature of the white plastic lens plate, which helps to uniformly distribute the light across the surface
I went with the Color temperature called “Nature White”. It’s much better than Cool White, which has too much blue in it. And, of course I made everything dimmable with wireless remotes so that even down to low levels, the intensity is 100% uniform across the lens.
And, here’s what the new lights look like once illuminated. This is about 75% brightness.
And, even down to about 30% intensity, the lighting is very even
But, this project wouldn’t have been an Artboas original, if I didn’t do something a little special . And insanely difficult.
Which brings me to “Night Mode”
By turning the switch to “night setting” (which is automatically linked when running lights are on), the lights now look like this
In all honesty, this project ended up being a lot more complicated than what I originally bargained for. In addition to hours of experimenting, modifying all of the fixtures (about 1 hour per fixture), there was a lot of “reconfiguring” the boat’s wiring. This included running all new cabling to accommodate the “night mode” setting.
If anyone is interested in undertaking this project, I’ll be happy to share the 100 or so photos I took every step of the way.
For those of you wondering, this led system is not RGB, or 2812-based. On RGB lights I could not get the white Color temperature I wanted, as they are not designed for this. So, I needed to incorporate 2 separate led elements into each fixture, which complicated the design a bit. I tried the path of integrating 3 watt high intensity leds, but this gave noticeable hot spots; no matter how I tried to diffuse them.
Plus, it required installing current limiting power supplies in each fixture, which was a nightmare of an experiment.
As stated, this ended up being a very complicated undertaking.
But, I’m thrilled with the results. If I could have bought these fixtures, I would have gladly done so. Having said that, I’m really pleased with the end result .


