DSC01015 Here's a closer shot of the grooves. OK, so now we were able to remove the plates. The next thing we need to do is remove the wedges without damaging them too much. I took a torch and heated the blade of one of my fish fillet knives and stuck it into the caulking behind the wedge in order to free it. I also did the same with a putty knife blade. What the heck. Luthiers have been using heat to remove guitar necks for hundreds of years, why not use it here? If you screw up the wedge, just clean it up and reconstruct it with West System filler and Epoxy. That's what I wound up doing.
Once the wedges are removed the pin won't slide down until you get the grooves cleaned of all the caulking which bring up an important step that your ought to do in preparation for removing the board. You need to Mickey Mouse some way of letting that board down easy so it won't drop down on your head. I took a couple of long lines and went over the top of the cabin with them and tied a Bowline at one end of each line and ran the other end under the keel and through the bowlines with a round turn and two half hitches. I was able to access the line while lay under the keel. I also took a short piece of strapping and cut a V notch on one end and used it to help support the board from the ground. The centerboard isn't that heavy, but you need to be able to control it once you get it free. When you're ready, just loosen the lines and let the board slide down horizontally with the pin sliding down through the grooves.
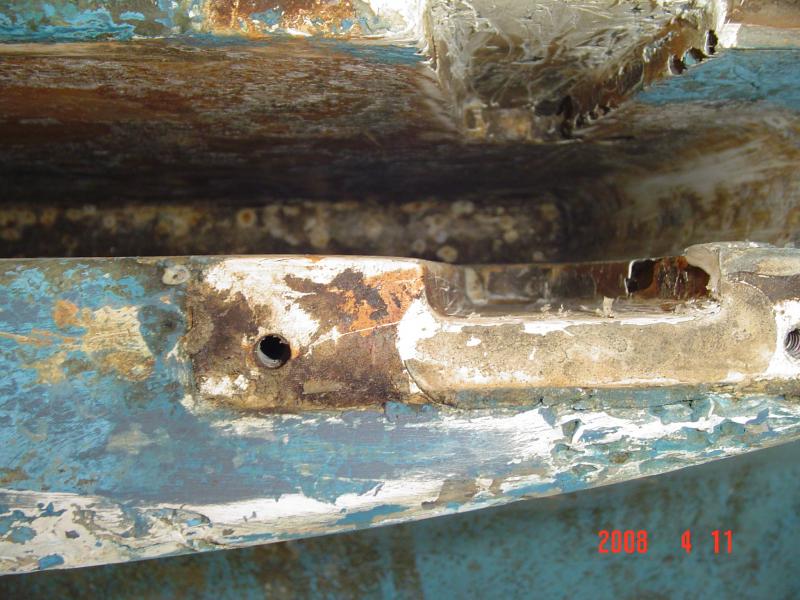
I cleaned the inside of the keel slot and later bottom painted it. I left the groove unpainted for the caulking to adhere to the back of the wedges. Later on after I installed the board and hardware back on, I painted over the wedges.
This site uses cookies to help personalise content, tailor your experience and to keep you logged in if you register.
By continuing to use this site, you are consenting to our use of cookies.