
Engine Cleaning, Heat Exchanger & Alternator
The Engine in General
So here is what my engine looked like at the end of the season.


You can see a good amount of rust on various parts. Some were never coated with paint, others the paint has worn off and the parts have began to rust. I blame part of this on my wet exhaust elbow failure last year that resulted in hot salt water and soot covering the motor and filling the engine bilge. Also, the previous owner didn't spend much time on the engine.
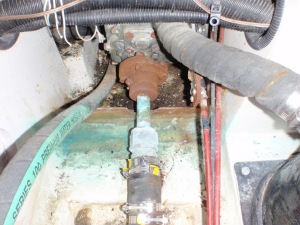
So here is what my engine looked like at the end of the season.

You can see a good amount of rust on various parts. Some were never coated with paint, others the paint has worn off and the parts have began to rust. I blame part of this on my wet exhaust elbow failure last year that resulted in hot salt water and soot covering the motor and filling the engine bilge. Also, the previous owner didn't spend much time on the engine.
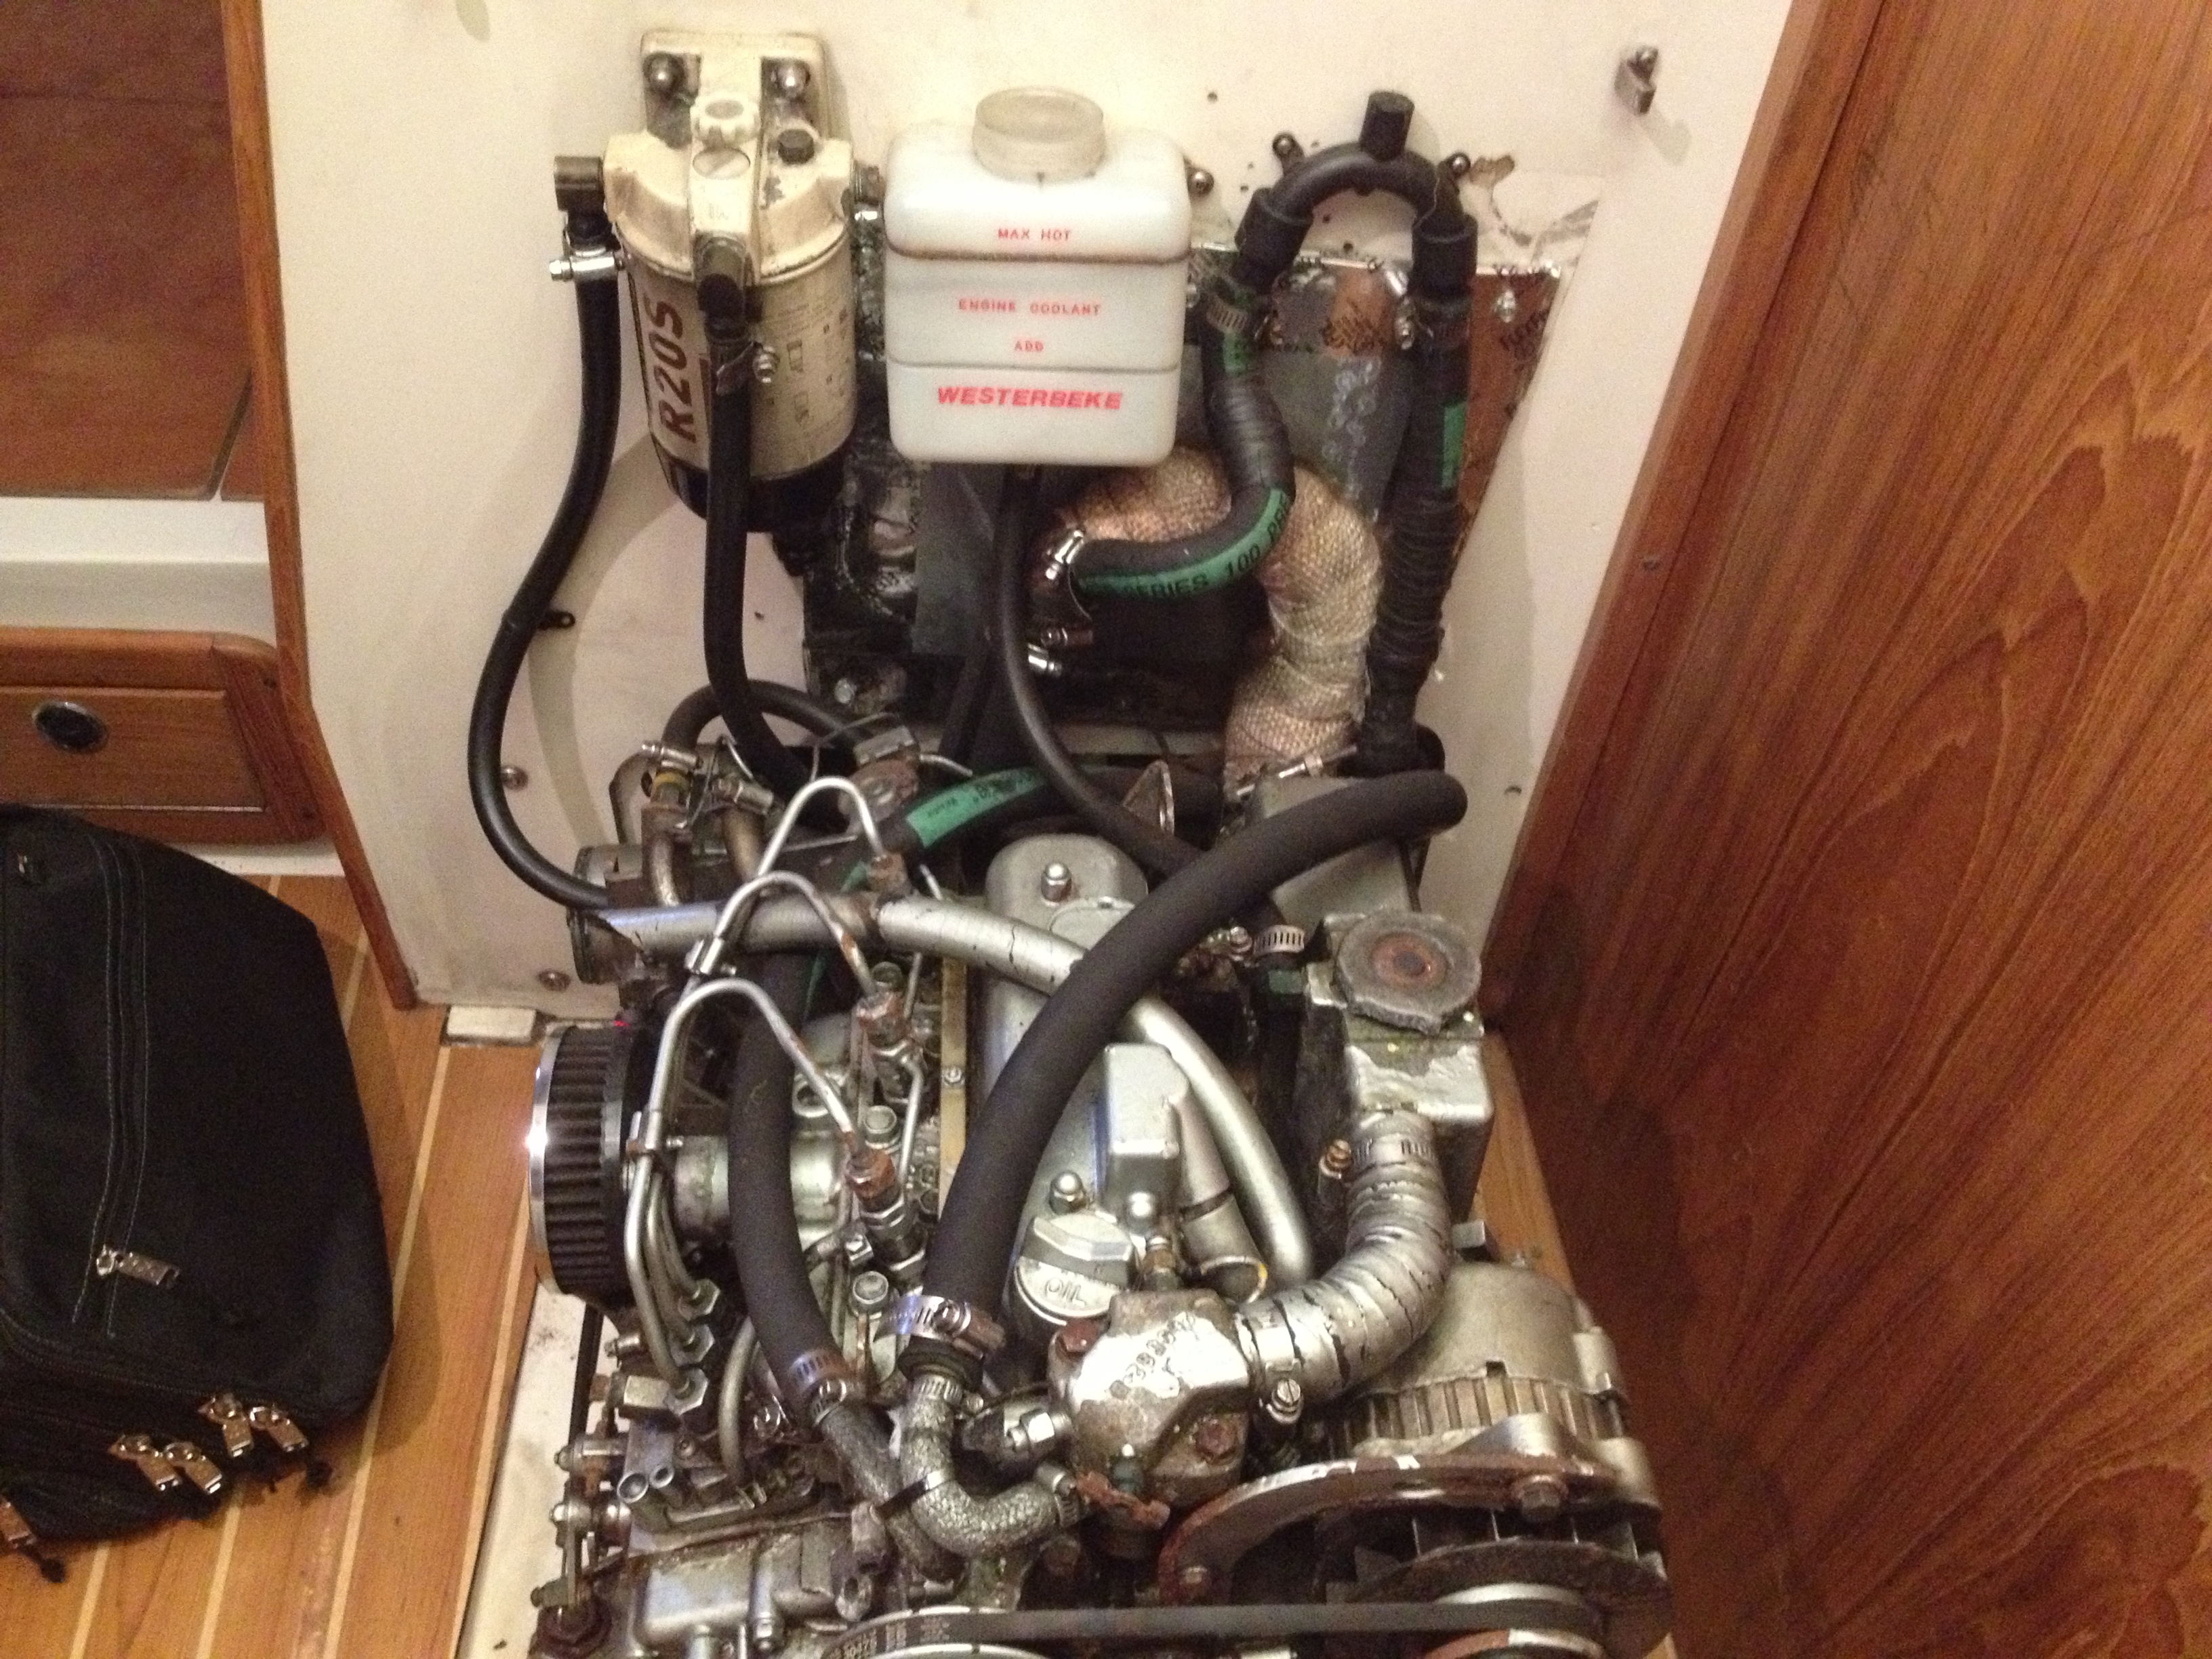
So the first step I took this year was to take off the alternator, heat exchanger, the exhaust elbow and all the hoses that I hadn't replaced last year. Here is what the engine looked like at that point.

Over the next month or so, I will take a wire brush to all the exposed rust and flaking paint. Then I plan to prime the areas of exposed metal and then repaint all of the metal surfaces with the same color from Westerbeke. I will prep the area with a combination of blue painters tape, tin foil and contractor's paper. I will post photos of the prep then the repainted engine.

Over the next month or so, I will take a wire brush to all the exposed rust and flaking paint. Then I plan to prime the areas of exposed metal and then repaint all of the metal surfaces with the same color from Westerbeke. I will prep the area with a combination of blue painters tape, tin foil and contractor's paper. I will post photos of the prep then the repainted engine.
Engine Compartment Modification
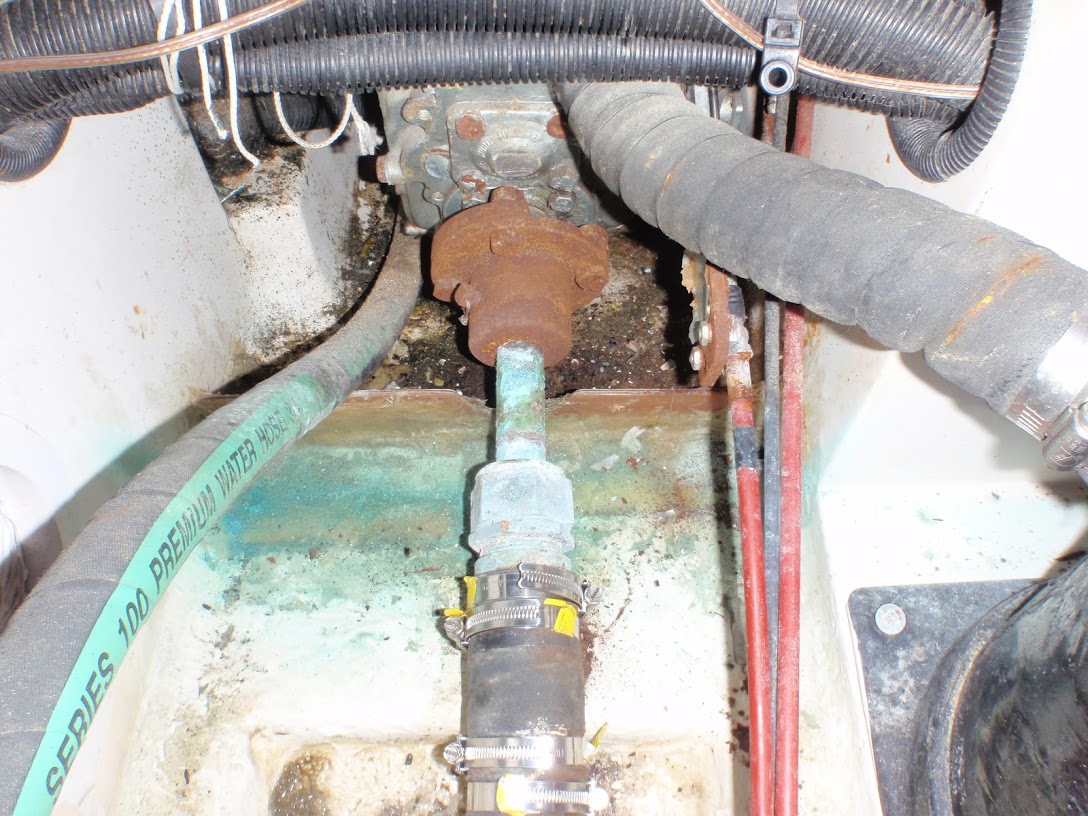
There was a design flaw with the C310 in that the back bulkhead of the engine compartment is too close to the exhaust elbow. This has resulted in the bulkhead smoking and even catching fire on some boats when motoring for a long period of time. We have had a few issues with this, although it has never caught fire. I have tried a couple of fixes but none has really worked well. So to permanently fix this issue I plan to cut away the area shown below and then install a new bulk head with about two more inches of spacing. This will cut into the back birth slightly but not enough to out way the benefit of not catching on fire. The new bump out would be lined with fiberglass and metal for heat shielding.

Again, I will post an updated photo when completed.

Again, I will post an updated photo when completed.
Alternator
When I pulled the alternator off it didn't look so good. I took it down to the local auto shop and had them test it. It failed the test and needs to be rebuilt. I have never rebuilt and alternator before, so this should be interesting. I will do a separate post on just the alternator when I jump into that project.
Heat Exchanger
One of the motivations for the whole engine project is that I felt that there may have been an issue with the heat exchanger brackets. And sure enough both were broken when I took it off. One was broken at the bolt; the other broke off at the heat exchanger. The brackets were just pieces of steel connected to the copper heat exchanger by solder. I cleaned up the corrosion and paint and cleaned the outside as best I could. I tried to channel my inner MaineSail but I am just not that good of a perfectionist. Here is where I ended that part of the project.


In the top photo, you can see the residual of the solder from the brackets. I was thinking I could heat this with a torch to soften it and then wipe it off with a rag. Is this a bad idea?


In the top photo, you can see the residual of the solder from the brackets. I was thinking I could heat this with a torch to soften it and then wipe it off with a rag. Is this a bad idea?
The next big step with the heat exchanger will be to take it to a radiator shop and have them pressure test and clean the internal tubes. Then repaint and it will be ready for reinstallation. Updates to come on this progress.
The most difficult part of the heat exchanger will be coming up with new brackets. Anyone have any ideas?
I will post updated photos as the project progresses. I want to give a big thanks to Maine Sail/Compass Marine and the people at Sailboat Owners. I have no previous experience with diesel motors or really any experience with motors other than some minor work on my Jeep and old outboards. Thanks to the help I get from these sources, I feel confident diving into these projects.
Cross-posted at my blog.
Last edited:


 except it is like polyurethane, only harder when it dries.