Rich, a quick reply
Here's the bulkheads
Today I got her on the hoist and ready to finish sanding and painting.
Rich
Rich,
A quick reply. Your work looks great. Do you have Appleman's pictures? Also there was a guy about a year before Appleman that gutted and rebuilt a boat that posted some good pictures.
I have studied and learned some on fiberglass boat bottoms. My boat's bottom looked a little worse than yours. I got advice from several sources and selected methods based on time and money.
First is most fiberglass boats made during the time our boats were made will suffer blisters. Especially boats left in water year round. Boats that are pulled annually dry out and suffer less, but are not immune.
On top dollar boats restored by professional yards the boats are often pealled and new layer of glass and finish put on. This is difficult, time consuming and expensive. For our boats probably not worth it.
Blistered hulls should be reasonably dried out. Again there are special tools available but expense and time are big factors.
How long does it take to reasonbly dry boat hull? Varies especially on temperatures. In hot summer months, just when most want to sail, drying is best. Drying on fiberglass hulls can be increased by internal heat if the heat gets to the area of hull that has moisture.
So, with your boat try to add heat whenever you can. Direct heat to exposed hull areas and bilge. On our boats we can get heat inside to most areas. Open all the wood covers and force warm air to circulate in bow, under setees and under cockpit.
If you have access to electricity it helps. But DC powered fans and small heaters are better than none.
Fiberglass boats can be covered with tarps and heated from underneath.
How long does this take? Moisture meters are used by yards. But I would use at least 3 months if you do not have meter.
A friend of mine is doing a bottom job on his mid 80's hunter and still finds high moisture content 9 months later. But he has not used any heat. On his boat the hull liner prevents good internal air circulation.
After you are ready to fill holes which approach? There are several formulas for blister fill available. Most used today are vinylester formulas and epoxies.
After having tried both above, I say that they are both good. But I now recommend first painting raw hole with penetrating epoxy first. As soon as it dries to touch, layer up with epoxy paste. As each layer dries to touch layer up again.
You choice of epoxy is yours but choosing one with as little of the chemicals that result in blushing is better, in my opinon. The big name brands usually have that chemical that results in layer blushing. They say that if you layer before epoxy cures then you still get good adhesion.
Anyway you do it, plan to do several layers and sand and fair after hull patches cure. You will likely find more recesses as epoxy cures that you may want to layer up again. I am usually happy with result by about 4th layer.
You will hear many ways to coat bottom. Again, I recommend covering whole bottom with penetrating epioxy. Then coating with sealing epoxy then your high build bottom coat and finnally your bottom paint. Again, and until you get first coat of bottom paint, you should plan to add each coat when first coat dries(cures) to touch but does not cure competely. This is typically about 2 hours or less. When epoxies are just try to touch they still have a long way to be fully cured. When following the above coating process, it is said and I agree you get the best adhesion of layers.
Also, while you are at it, consider painting bilge and any area that might get wet and collect water with penetrating epoxy and a sealing coat of epoxy to reduce moisture penetration into hull.
If you tint epoxies before you apply, you can tell where you have applied layers to insure complete coats. Pigments can be easily obtained from source supplied by Keith. Remember that you are going to bottom paint the whole thing so having layers in different colors will not matter, but insure even coats. Even pastes can be tinted so you can easily see what you are doing.
Best of Luck
Ed K
26


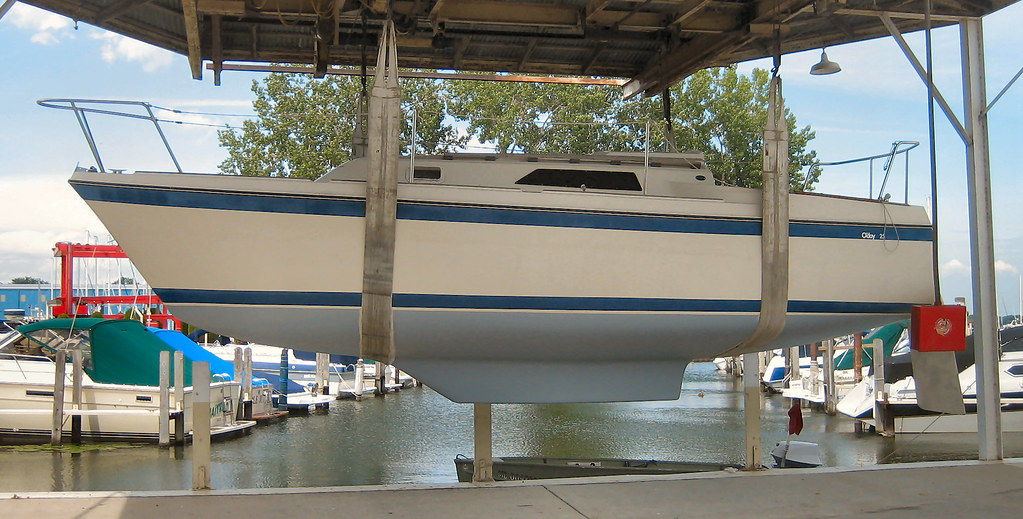
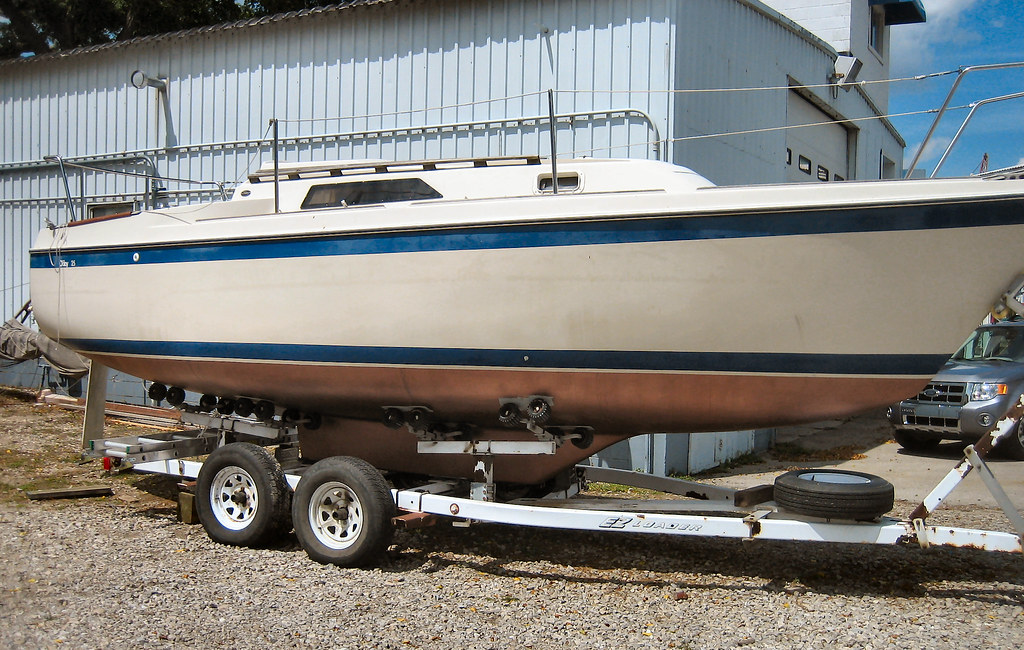
 That boat came out great! We just got a new member in our club with a 1980 O'Day 25 that he just picked up real cheap. The inside needs work and he finished the outside enough so that he could launch it last week and try it out. He bought a tandem EZ Loader Trailer for it and rigged up four adjustable pads similar to what is used on jack stands. Much to my amazement, he loaded the boat on the trailer from the hard. He's new to sailing, can't swim, but he has a great mechanical mind. I have no doubt that this guy will work wonders with this boat, if he likes it.