Cabin waterleaking

Jan 19, 2026
7
Catalina 315 Vancouver
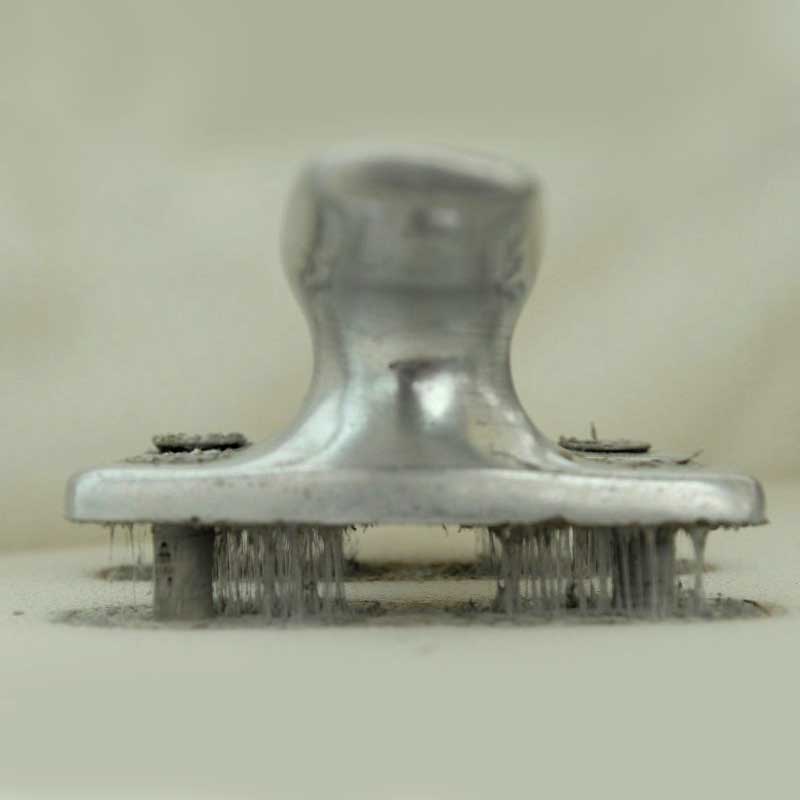
I have a 2018 Catlina 315 and last winter we had water leaking on the cabin by the starboard port window in the main cabin We are moored in Van cover ,Canada so it rains lots in the winter. this past weekend we had rain for 2 day sand we had another leak along the same side about 4 feet back from the port window I will attach some photos. Has anyone had a leak like this and if so what is the remedy. My hunt is that water is pooling along the grab rail seat and maybe leaking in there?
 

Attachments

jssailem

SBO Weather and Forecasting Forum Jim & John
Oct 22, 2014
24,599
CAL 35 Cruiser #21 moored EVERETT WA
The dirty crack on the trim certainly is suspicious. I’’d look at the deck above. Did a screw poke through creating the crack?

Water is certainly a challenge to keep outside of our boats. I found the best attack is to seal it from the outside. Not patch format he inside. This may mean removing hardware that is on the deck and recaulking any and all fittings. The boat has seen a few seasons. It is about this time that the caulking begins to fail.

The insidious fact about boats, is that this happens gradually and in different places about the boat.
 
Jan 19, 2026
7
Catalina 315 Vancouver
I was looking at the grab rails on the outside deck and there was water pooling in there do you think this could be a source of the Leak.
and also all winter the starboard port window had drips of water coming in. My theory could be either port windows seal or lease related to this leak from the hand rail. ?
 
Sep 24, 2018
4,550
Catalina 30 MKIII Chicago
I was looking at the grab rails on the outside deck and there was water pooling in there do you think this could be a source of the Leak.
and also all winter the starboard port window had drips of water coming in. My theory could be either port windows seal or lease related to this leak from the hand rail. ?
This absolutely could be a source of water intrusion, along with the 100 other holes in the deck. You can test your theory by running a hose on the suspected areas starting from the window and moving your way up to the hand rails.

To reseal the handrails, and most other fittings, remove it, clean the old sealant off the surfaces, countersink the gelcoat and fiberglass and apply BedIT, reinstall the fitting, cut off excess BedIT. Here's a detailed article on the subject. Resealing windows requires a different technique
 
  • Helpful
Likes: jssailem
Jan 4, 2006
7,664
Hunter 310 West Vancouver, B.C.
I will attach some photos.
Attach lots of photos from the outside as well as the inside. No one ever complained about too many pictures. Be sure to mark the exterior pictures showing exactly where the interior leaks are located.

I would think this pretty obvious but remember when you're taking the photos "Help us to help you". It often doesn't work that way here.
 
Jan 19, 2026
7
Catalina 315 Vancouver
These are from last winter with the water leaking around the starboard port window.
 

Attachments

jssailem

SBO Weather and Forecasting Forum Jim & John
Oct 22, 2014
24,599
CAL 35 Cruiser #21 moored EVERETT WA
Window seals are among the usual suspects. The boat is in constant flex motion when out on the water. The window and the boat flex differently. Then there is the thermal contraction and expansion issue. With all they is going on it is a wonder that water stays outside of the boat, At least for the most part.
 
Jan 4, 2006
7,664
Hunter 310 West Vancouver, B.C.
@Perphoto Canada , I appreciate these shots were taken last year with no thoughts of using them for info this year but I think you can see the problem others at SBO would be facing. We have no reference as to up (probably looking up) or down or what else is in the area.

I would suggest hi-res shots from further back so we can see surrounding conditions, obstructions, etc, etc, first and then we can magnify that shot to look inside the point of leakage. Some of my internal leaks have defied logic as to how they got to where they got to, EVEN WHEN STANDING IN FRONT OF THE BLOODY LEAKS IN PERSON.

The forecast says the rain will back off for 30 sec. this afternoon so grab your camera, the oilskins, and sou'wester and lets see what you've got. I hate to say it but with the slop we've seen over the last few days, the floor may also be awash :yikes: .

Good idea on your part to attack this leakage problem now rather than later as it looks like you may be at the start of some wood rot.
 
  • Like
Likes: jssailem
Jan 4, 2006
7,664
Hunter 310 West Vancouver, B.C.
Just to reinforce the criticality of detailing all of your next pictures, I thought we were looking upwards at the leaks in your post #7 which were, of course, taken last year. Leaks from holes in the deck, for rails, and other attachments start at the top of the port. And then, by accident, I saw the shroud attachment through the glass in photo TEMPLMAGE5L4XP.PNG and realized we were now looking DOWN on a different leak.

Whole new leak source. Water has a hell of a time running uphill. Is the acrylic in a frame (I see a rubber gasket) or is it a frameless attachment directly to the cabin ?

1785275257884.png

I thought I knew what this was


1785275140077.png

But I guess I didn't


The devil is in the details.
 
Jan 11, 2014
14,037
Sabre 362 113 Fair Haven, NY
There are 2 issues here, the separation between the the deck and the fiberglass headliner and a water leak.

Water leaks have this annoying tendency to follow the structure of the boat and become visible far from the source of the leak. Fortunately, water only runs down hill. The search area should focus on any fitting that is uphill from the point where the water appears. Start with the nearest fitting to the leak and run water from a hose for a few minutes. If you are lucky, that will be the source, if not, move further uphill repeating the procedure until water appears in the leak. To complicate the search, leaks can have multiple sources.

Once the leaking fitting has been identified, it is time to remove and rebed the fitting. Here's an article on bedding fittings.


The other issue, the cracks between the liner and deck are fairly common. The space between the parts is often filled with a light weight filler. Over time the filler becomes more brittle and with movement of the boat cracks can develop. There is no burning need to fix those cracks.