
My keel was weeping when I pulled the boat last fall and I've been immersed in repair and refair. I'll start another thread on that soon. During the repairs I wanted to reseal and re-torque the nine keel bolts, which has not been done in the 4 years we've owned the boat. What I found was a mess left by the PO or his boat yard.
First, Warren at Catalina was quite helpful with torque specs and a drawing of how to seal the keel bolts. Minimum torque is 90 lb-ft and target is 100 lb-ft. I started one bolt at a time and found they loosened at 50-90 lb-ft. The sealing procedure is to place an o-ring under the washer, along with a sealant, and torque. We cleaned the sealing area, followed the instructions (we used Lifecaulk, NOT 5200!), and all was well for a few bolts. By the way, the 1"-8 nuts take a 1 1/2" socket.
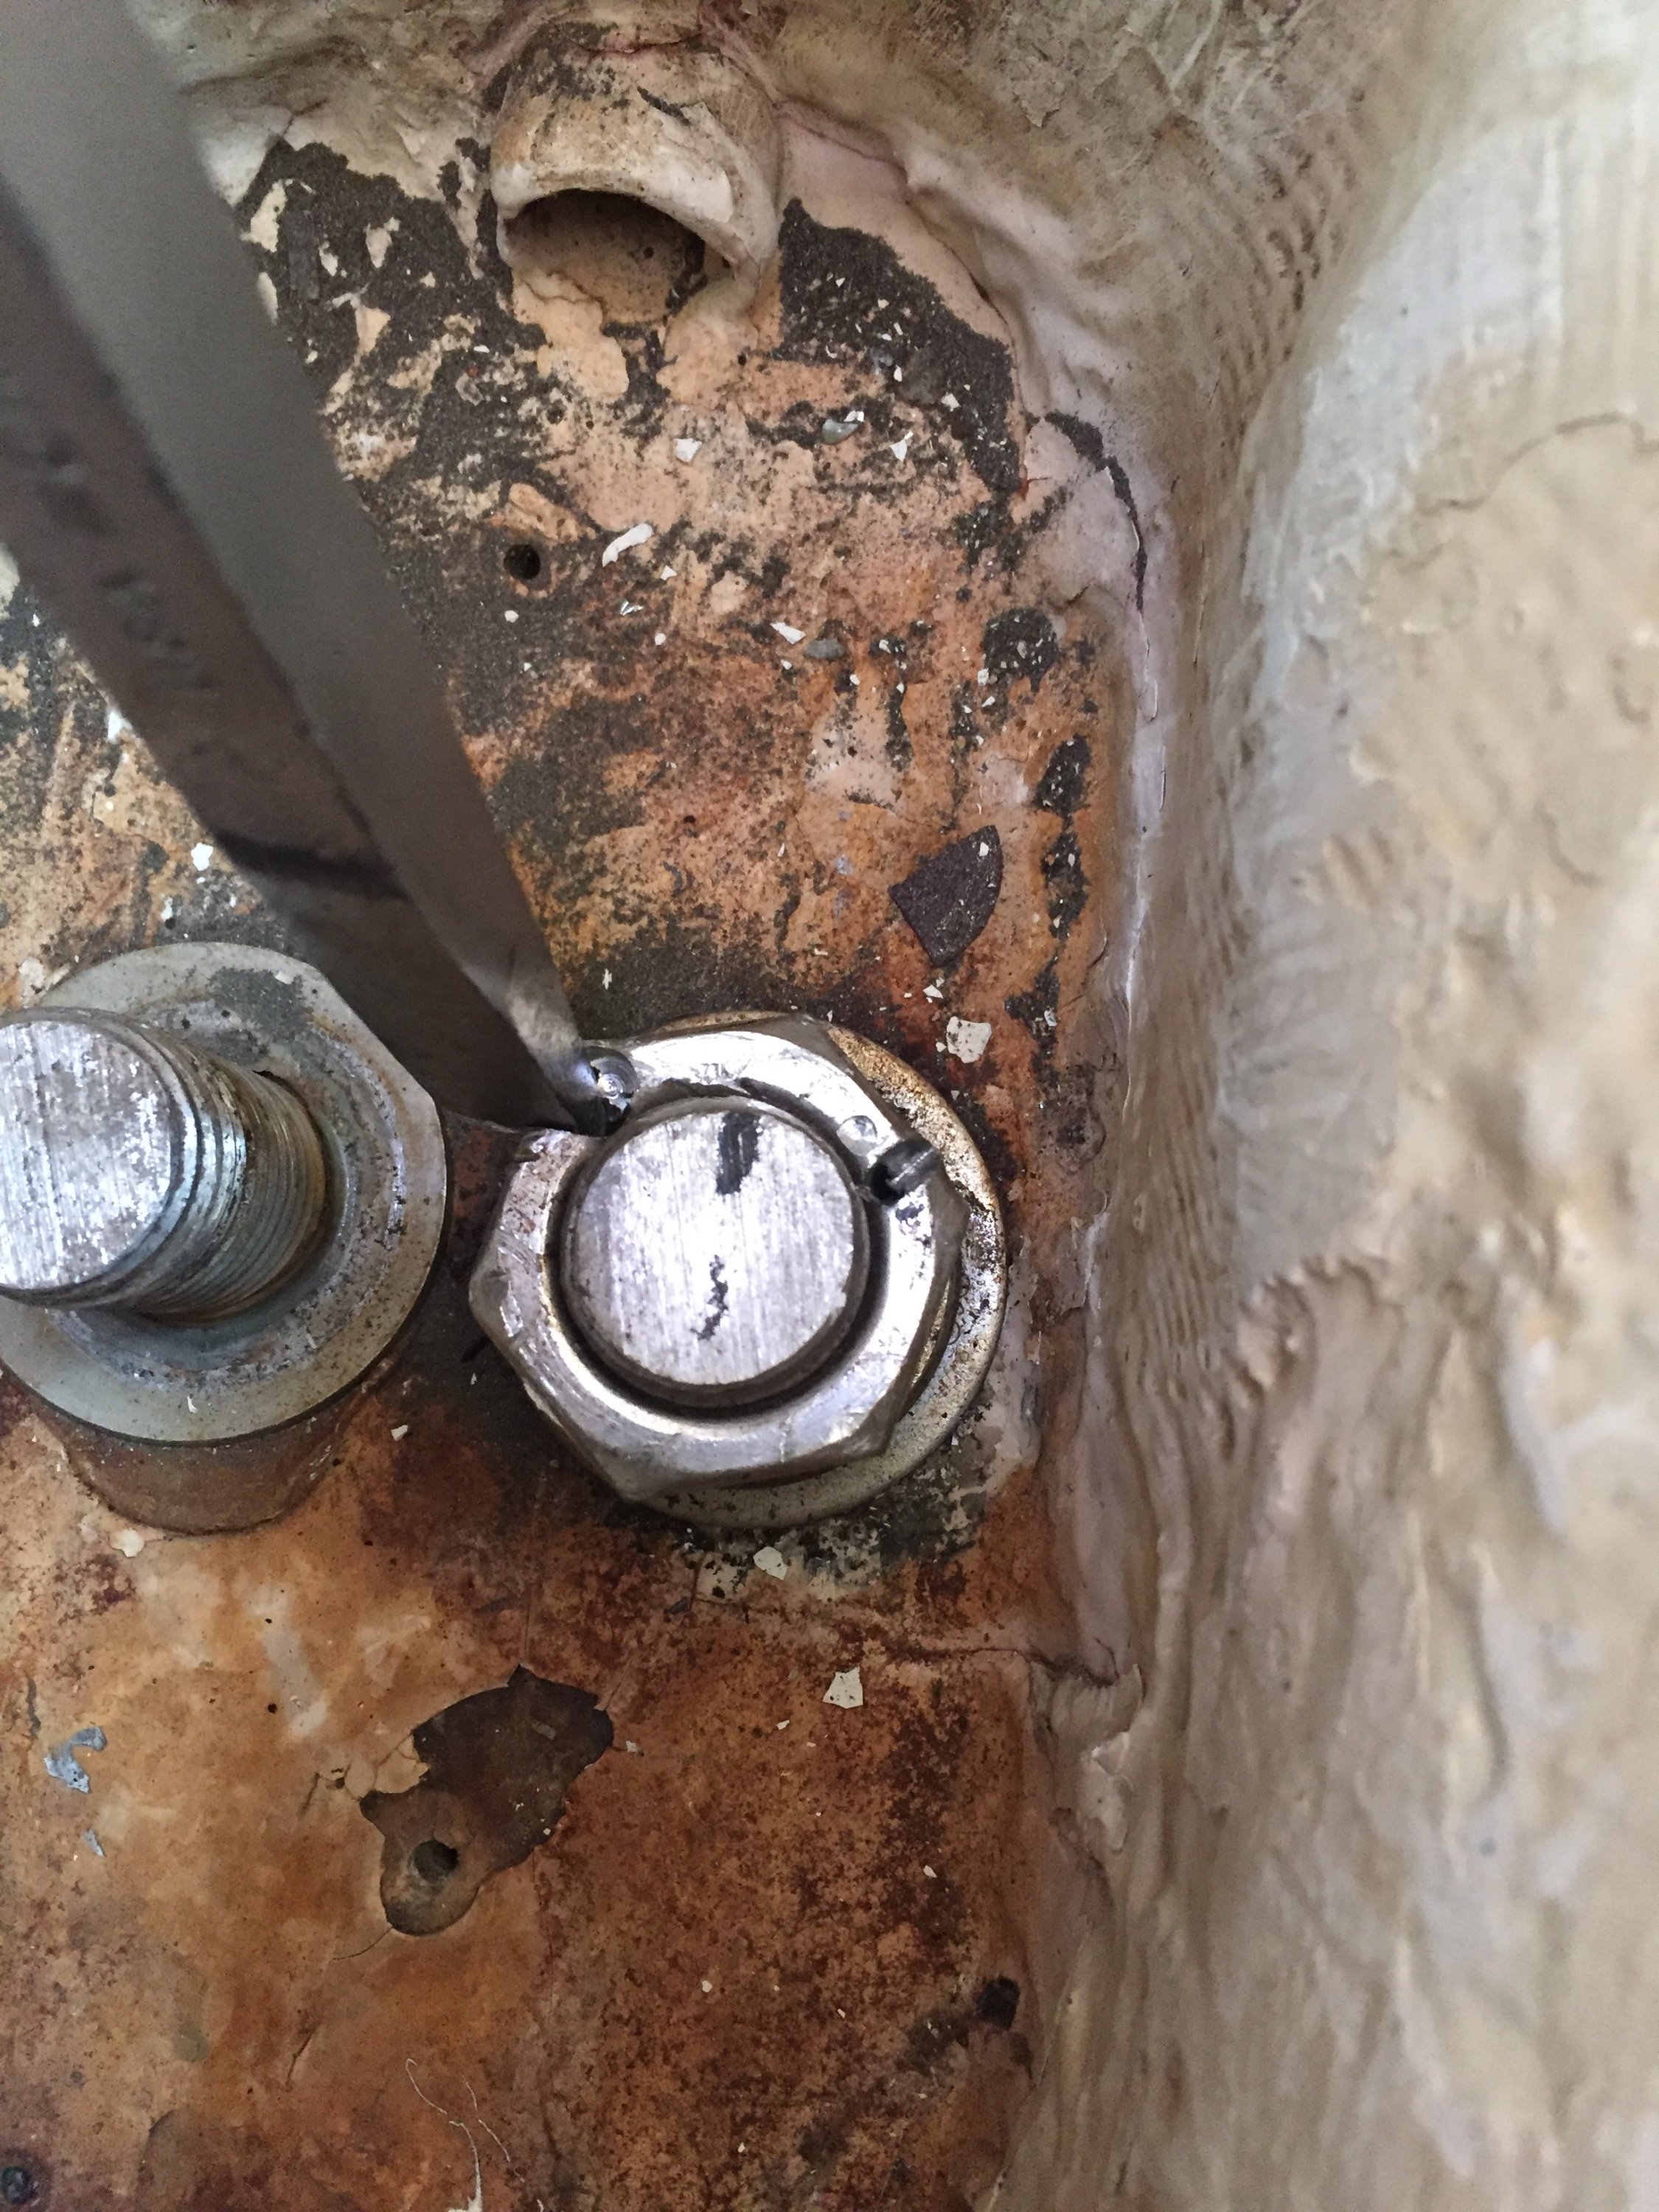
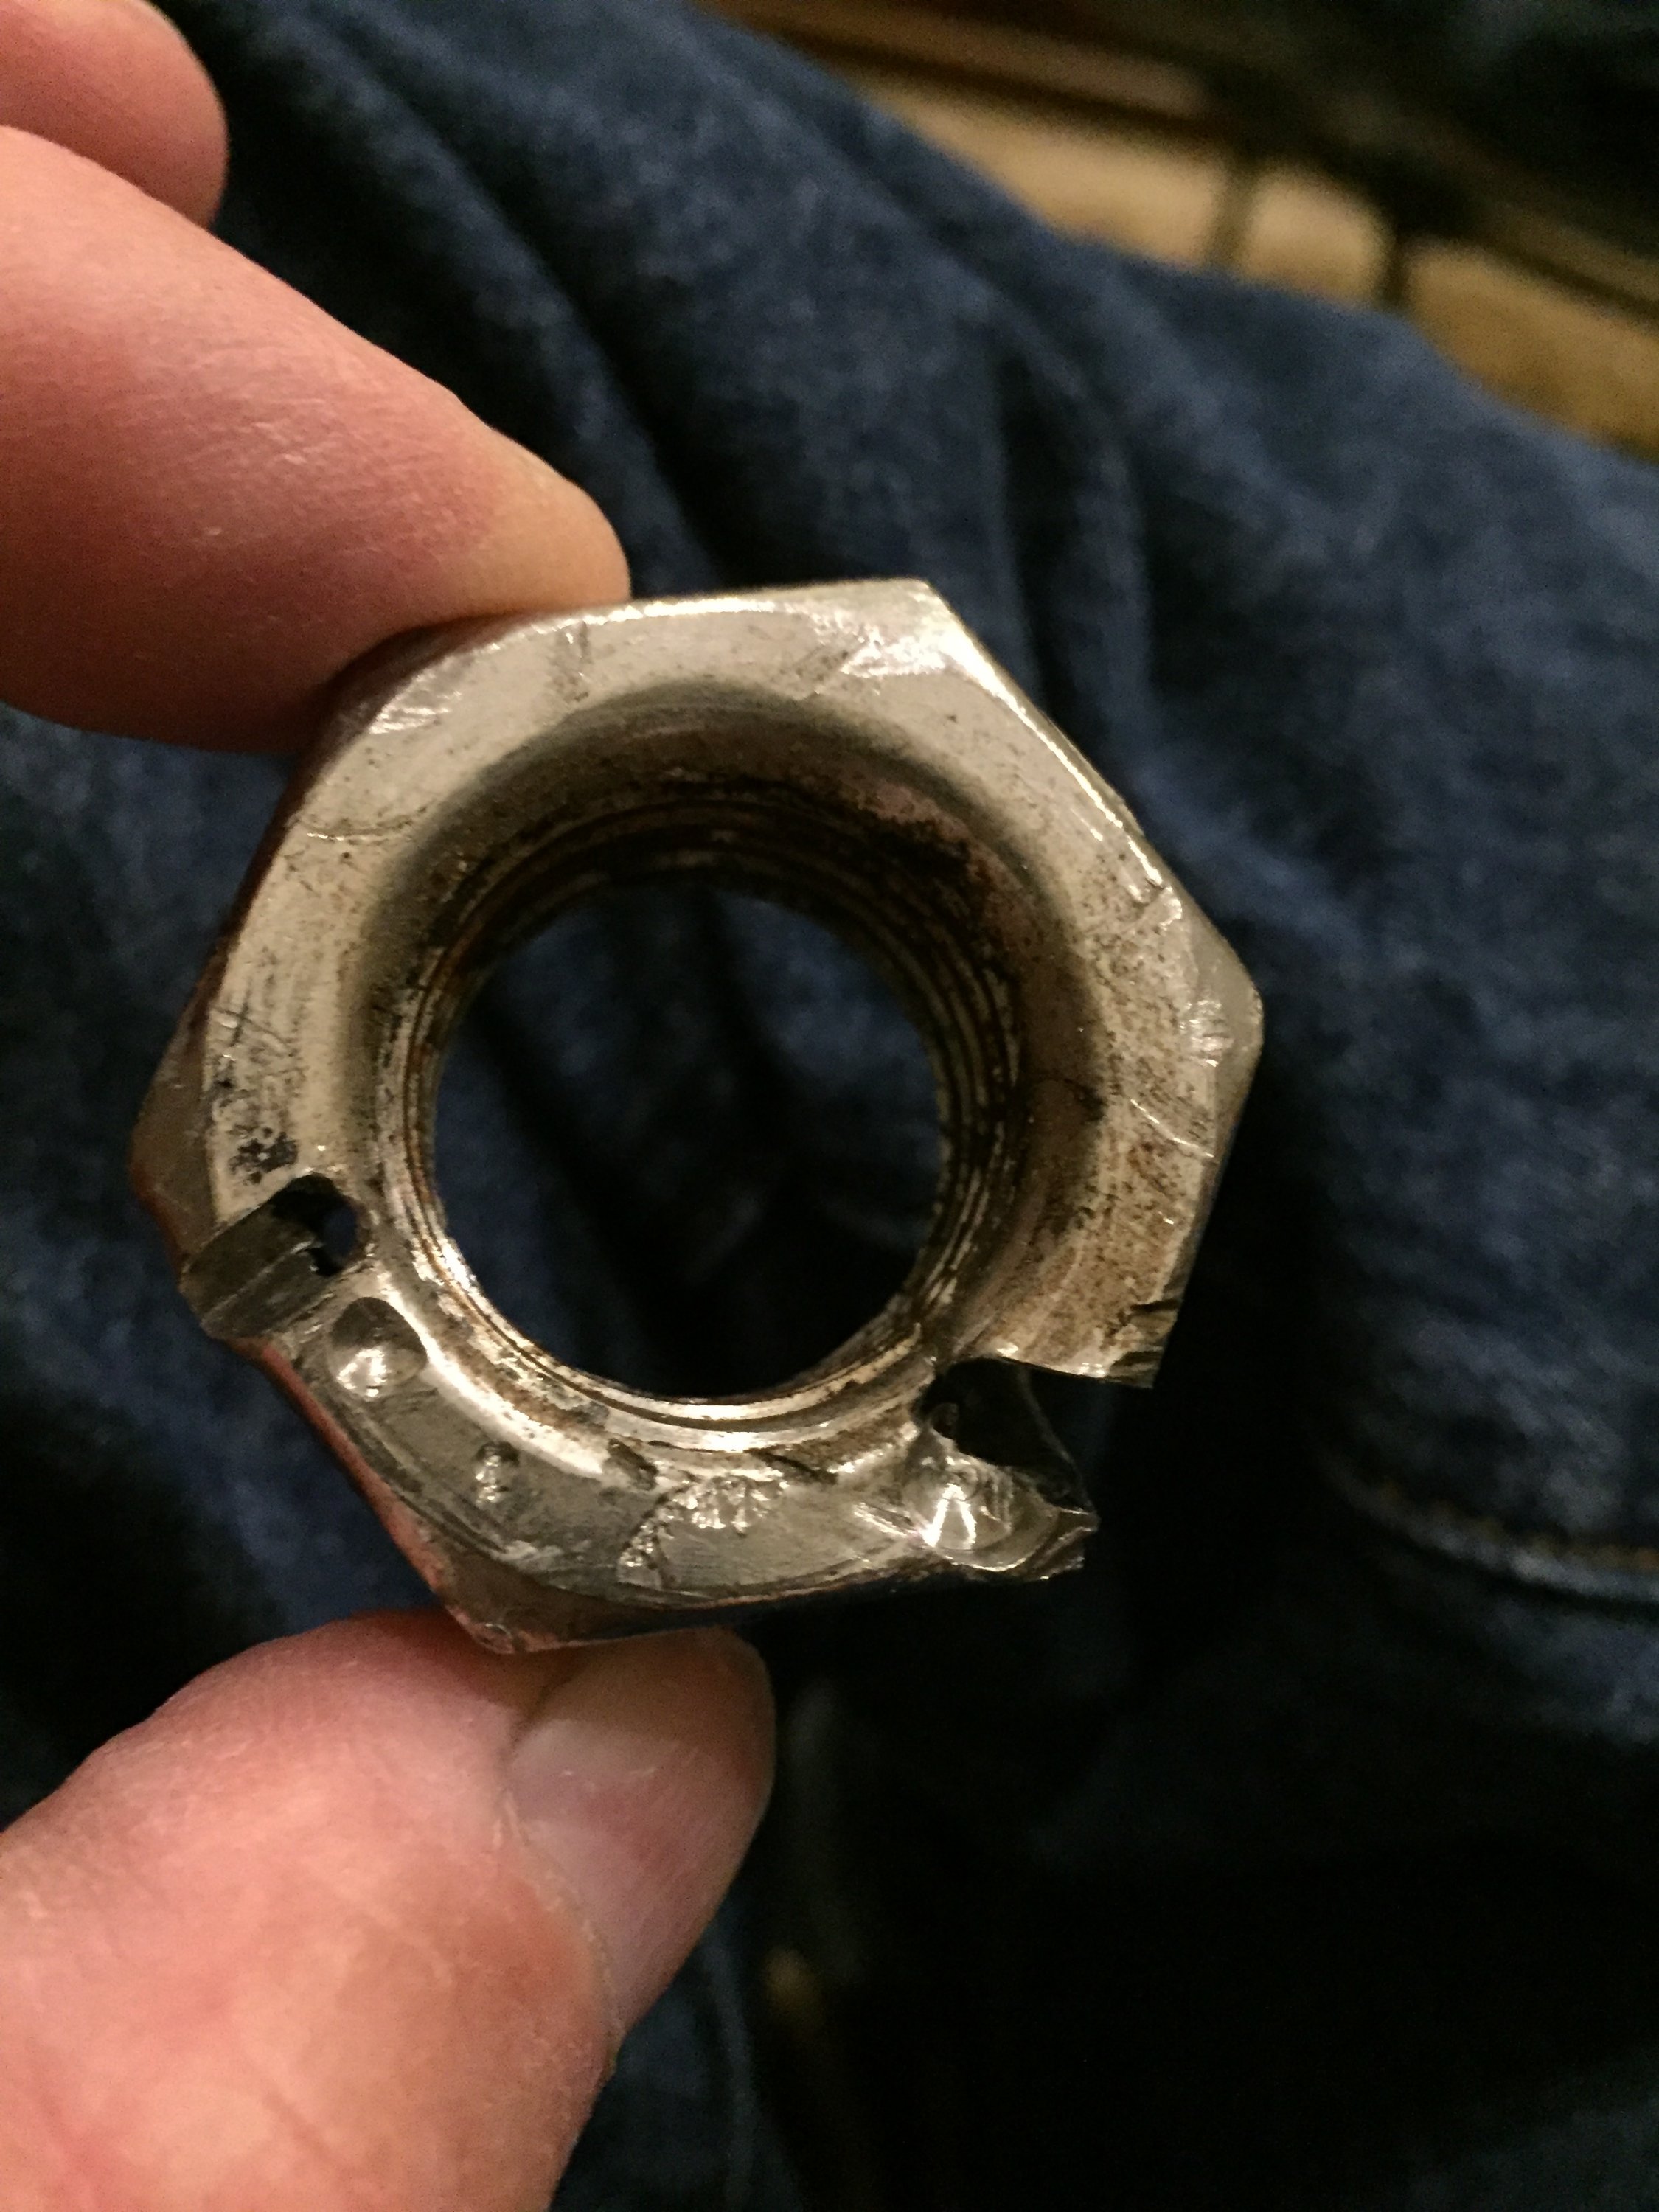
We found that the washer for the forward-most bolt was epoxied down and I had to use a pencil torch to break it loose and pick the loosened epoxy out of the threads. We tediously cleaned up the area and sealed per procedure. The port center bolt was also epoxied, but the real problem was that the starboard center bolt would not back off at more than 300 lb-ft. We fought for 1/4 turn and then frozen solid. After 1/4 turn, the lock washer was loose, so this bolt was never tightened and absolutely carried no load. I'm a mechanical engineer and know a bit about stainless bolted joints, so I immediately set about cutting the nut off. A vertical slit with a dremel and driving in a chisel opened the nut enough to remove. Easier than I thought it would be considering the size. The male threads were trashed, as the nut had literally welded to the bolt.
Never keep turning a galled stainless nut or bolt. Things will only go from bad to worse. Stainless is protected by an oxide layer that actually achieves the corrosion resistance. If this layer is removed, the raw alloy is susceptable to galling. During torquing, even a small bit of contamination will remove the oxide, and the raw surfaces will literally friction weld to each other, roll up a larger ball, weld a larger area, on and on until frozen. Think of a snowball.
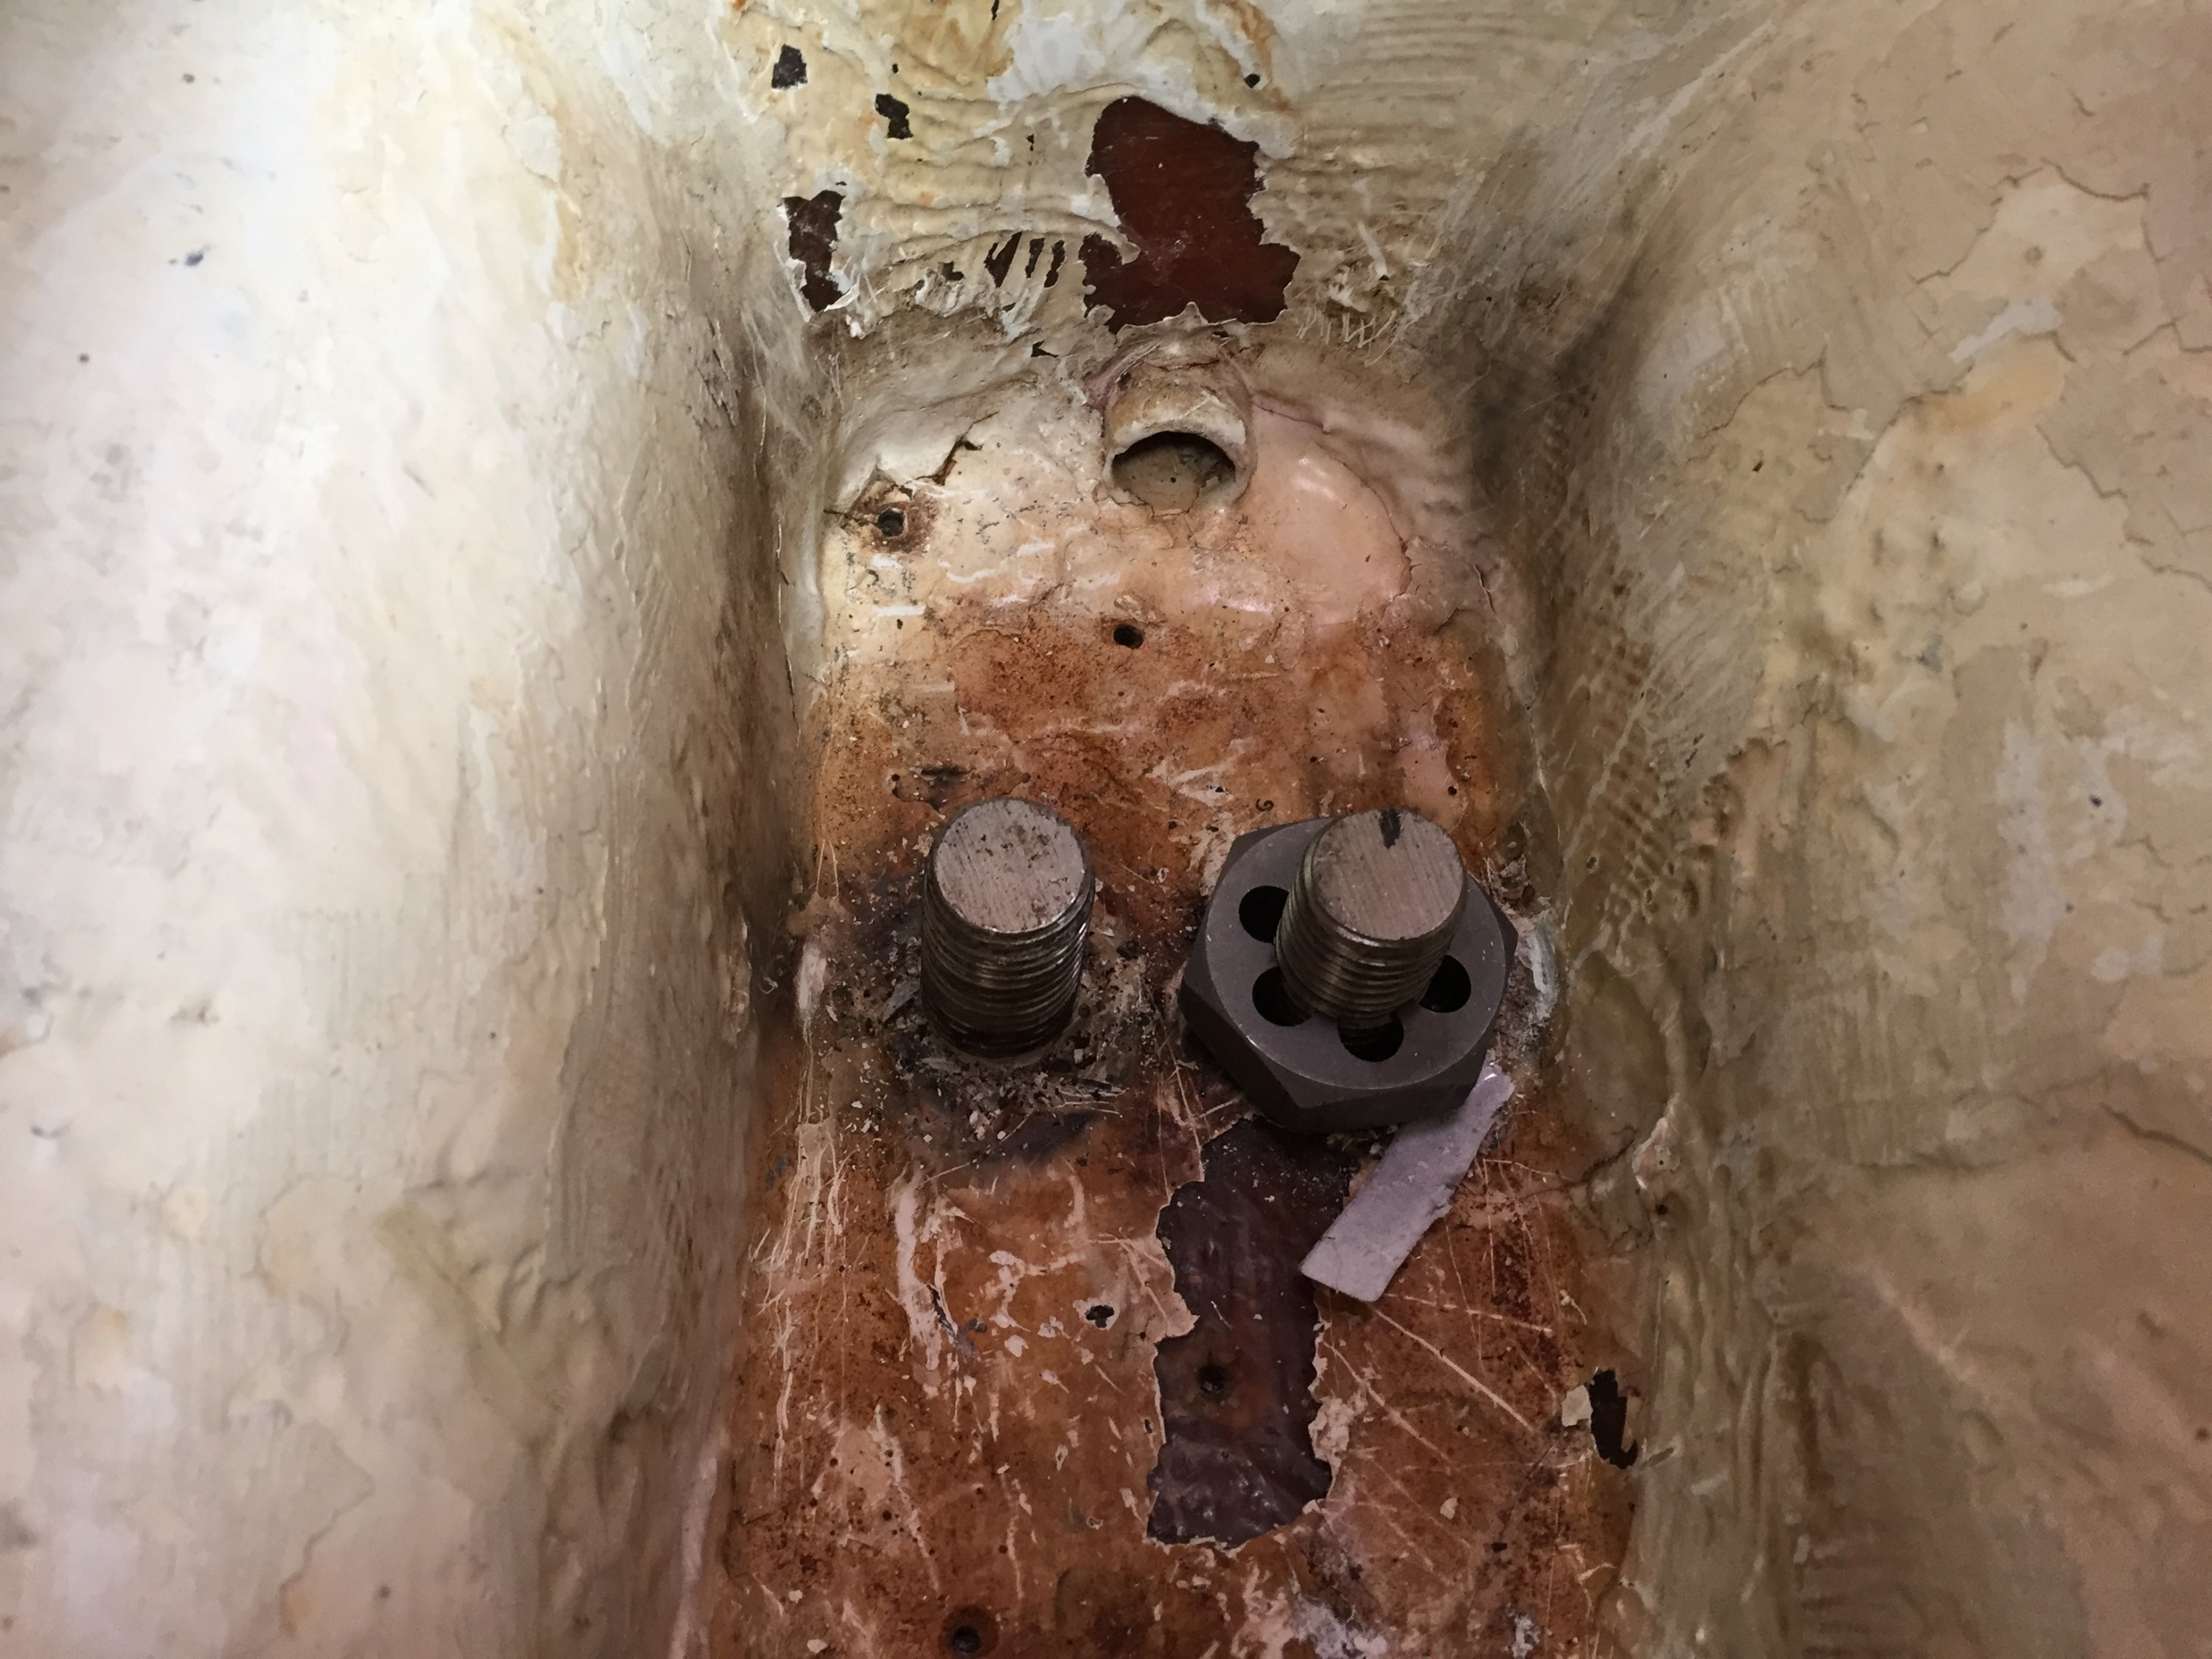
The threads were bad enough at the top that a new nut would barely start and were worse near the bottom. Never force it. I bought a 1"-8 rethreading die which is driven by a 1 7/8 socket. Fortunately there was just enough clearance for the socket. I first cleaned up the port side bolt which had epoxy in the threads, then re-threaded the frozen bolt. It took some work, but cleaned up nicely and the new nut spun on easily. Finished sealing and all is well.
I don't know what hack did the prior work, but I certainly hope my boat was an exception. I highly recommend checking keel bolt torque based on what I found, and resealing if on the hard and dried out. I wouldn't recommend resealing while in the water. Next time I do this I will clean up every bolt with the re-threading die ($20), which will clean out old sealant and remove any burrs that may cause galling. Using an anti-sieze compound on bolts this size is also appropriate.
First, Warren at Catalina was quite helpful with torque specs and a drawing of how to seal the keel bolts. Minimum torque is 90 lb-ft and target is 100 lb-ft. I started one bolt at a time and found they loosened at 50-90 lb-ft. The sealing procedure is to place an o-ring under the washer, along with a sealant, and torque. We cleaned the sealing area, followed the instructions (we used Lifecaulk, NOT 5200!), and all was well for a few bolts. By the way, the 1"-8 nuts take a 1 1/2" socket.
We found that the washer for the forward-most bolt was epoxied down and I had to use a pencil torch to break it loose and pick the loosened epoxy out of the threads. We tediously cleaned up the area and sealed per procedure. The port center bolt was also epoxied, but the real problem was that the starboard center bolt would not back off at more than 300 lb-ft. We fought for 1/4 turn and then frozen solid. After 1/4 turn, the lock washer was loose, so this bolt was never tightened and absolutely carried no load. I'm a mechanical engineer and know a bit about stainless bolted joints, so I immediately set about cutting the nut off. A vertical slit with a dremel and driving in a chisel opened the nut enough to remove. Easier than I thought it would be considering the size. The male threads were trashed, as the nut had literally welded to the bolt.
Never keep turning a galled stainless nut or bolt. Things will only go from bad to worse. Stainless is protected by an oxide layer that actually achieves the corrosion resistance. If this layer is removed, the raw alloy is susceptable to galling. During torquing, even a small bit of contamination will remove the oxide, and the raw surfaces will literally friction weld to each other, roll up a larger ball, weld a larger area, on and on until frozen. Think of a snowball.
The threads were bad enough at the top that a new nut would barely start and were worse near the bottom. Never force it. I bought a 1"-8 rethreading die which is driven by a 1 7/8 socket. Fortunately there was just enough clearance for the socket. I first cleaned up the port side bolt which had epoxy in the threads, then re-threaded the frozen bolt. It took some work, but cleaned up nicely and the new nut spun on easily. Finished sealing and all is well.
I don't know what hack did the prior work, but I certainly hope my boat was an exception. I highly recommend checking keel bolt torque based on what I found, and resealing if on the hard and dried out. I wouldn't recommend resealing while in the water. Next time I do this I will clean up every bolt with the re-threading die ($20), which will clean out old sealant and remove any burrs that may cause galling. Using an anti-sieze compound on bolts this size is also appropriate.
