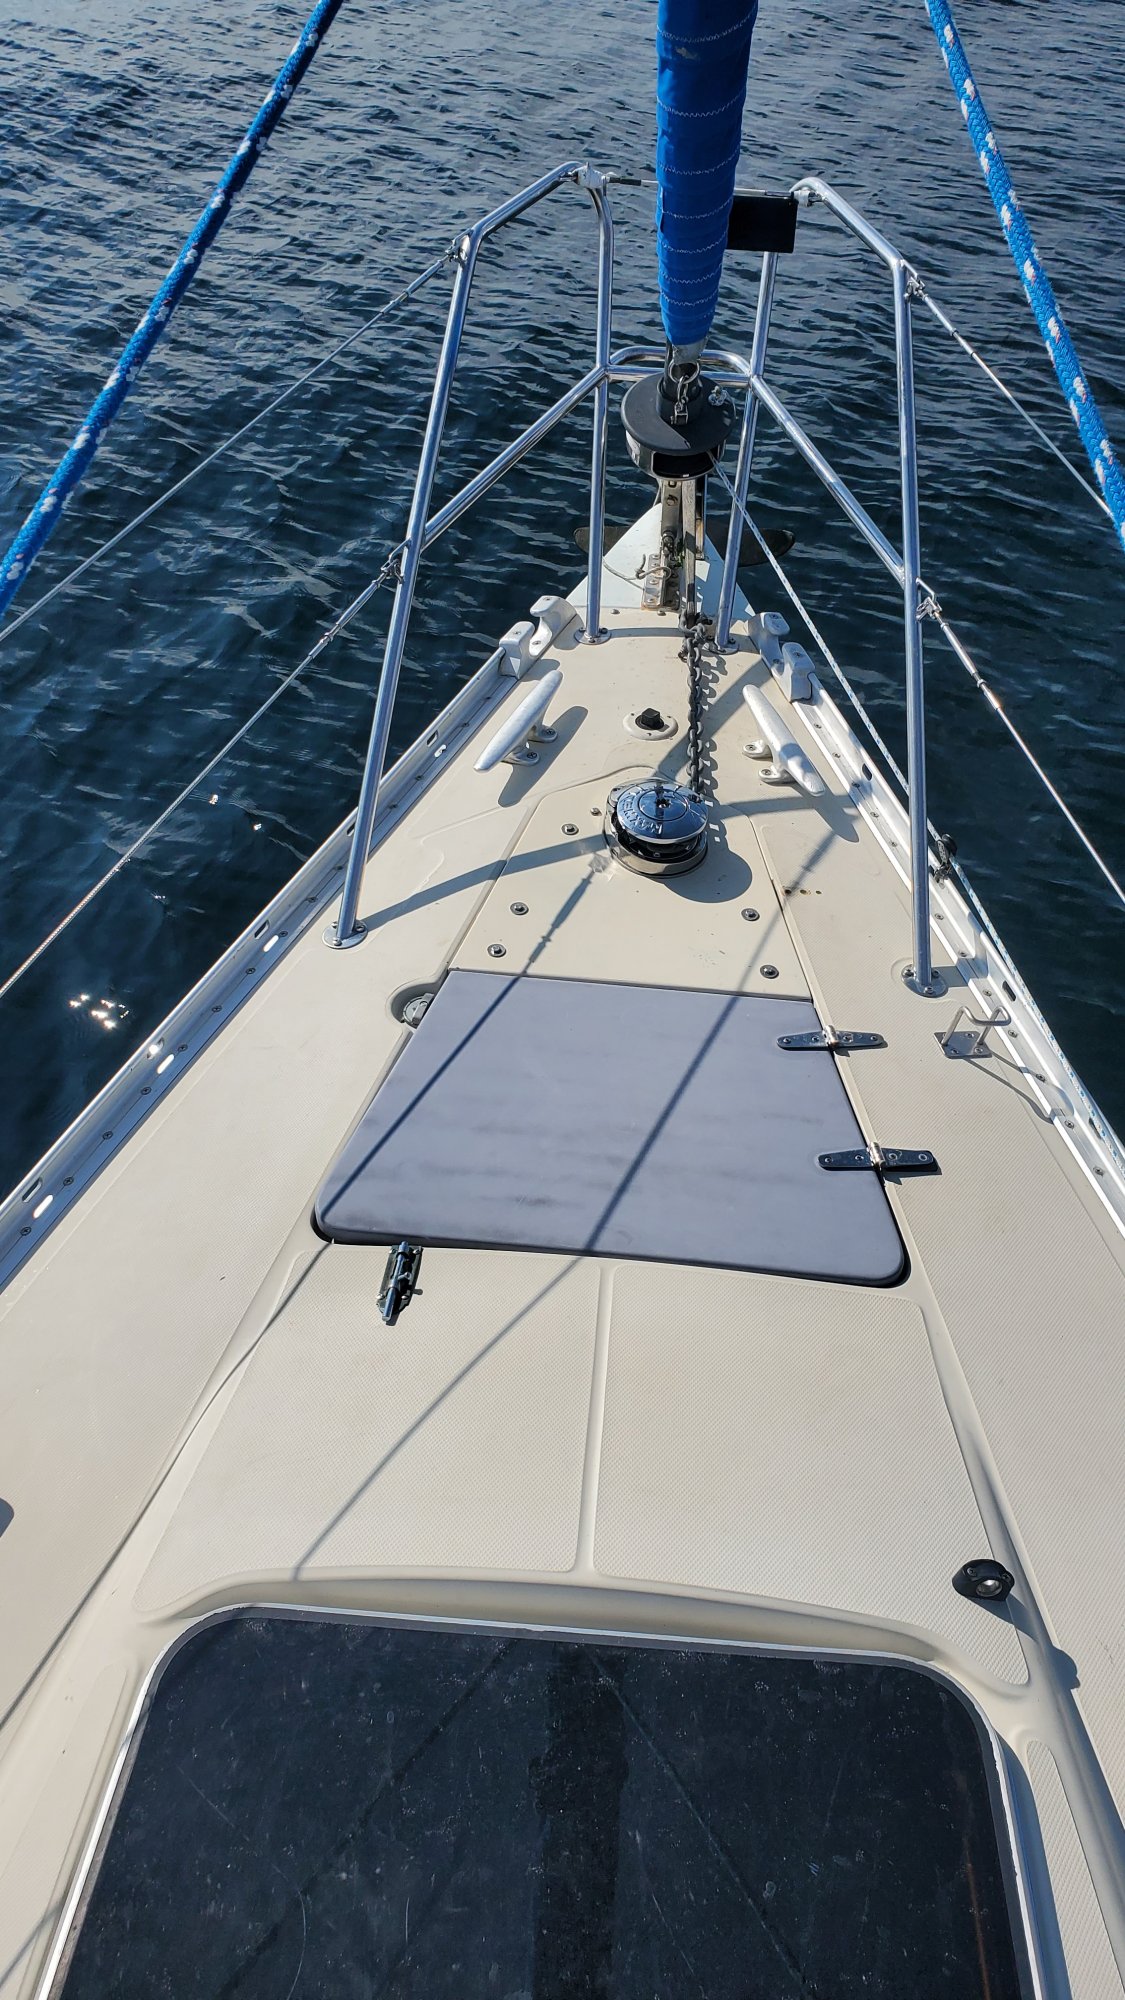
Here is a photo of the windlass installation on our Y-33. The windlass was a really good addition to the boat, second only to the diesel heater according to the Admiral. If we didn't get a good set it was easy-peasy to pick it up and try again. It was getting harder and harder to do that 2-3 times and this takes the huff and puff out of anchoring.
The windlass is a Maxwell RC8-8. The design/engineering process was a bit convoluted. I devised a spurling pipe to feed the rode down below the v-berth, but it got more and more complicated to get it to fall fairly. There's another thread on that topic. After trying multiple times and failing, I capped the spurling pipe off. The goal was to raise and lower the anchor from the cockpit while at the tiller, but that will have to wait.
The windlass drops the rode into the anchor locker, which is entirely too shallow. I'm using an inexpensive wireless winch remote on a key bracelet, so I can reach in under the windlass and pull the rode back while operating the windlass. I have a spare remote solenoid and fob ready if (or more likely when) the el cheapo Amazon remote dies. We used it for a 3 week trip to Barkley Sound and it worked great. There was a learning curve but we retained all our digits and appendages.
I wired it with 2 AWG cable, which according to the manual is acceptable for 48'. It would have made sense to go one size bigger, but pulling bigger cable might not have been possible. The cabling runs through the lockers behind the settee, through the head, then up into the overhead over the v-berth to the anchor locker. The turn from behind the medicine locker in the head to the v-berth is the choke point. The solenoid is mounted to the side of the anchor locker.
The windlass mount plate and anchor locker hatch are made from two layers of 1/2" Coosa board laminated top, bottom and between with 10 oz glass and Resin Research epoxy. Another 2 layers of 1706 biax were laminated to the underside of the plate under the windlass. I used this project as an excuse to try vacuum bagging and it worked really well. The through-bolt holes were epoxy filled and drilled, more for strength than water intrusion, as the Coosa board is impervious to water but it's a foam-fiberglass matrix and not particularly impact resistant.
I already had some paint matched to the gelcoat but it flashed off in the heat (it was over 100° in Boise when I did this) and I didn't have enough to finish the hatch. It doesn't fit very well, but it's temporary. I plan to install the original hatch over the top for a better look. It will take some glass fabrication and skid pattern matching. A project for this winter.


