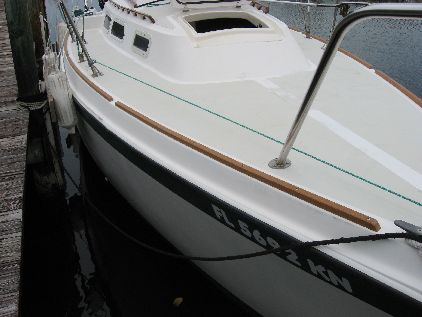
I'm tossing around the idea of replacing my teak toe rails with some composite lumber. I've read that it's more flexible than real wood which might be a concern since we use them fairly often (perhaps thicker material would help?). Anyways, what are the cons of this material?
Plastic Teak Toe Rails - Looking for opinions and feedback
- Thread starter Project_Mayhem
- Start date
Cons: need to be thicker since it is more flexible and might require stainless steel reinforcement. Pros: waterproof, uv resistant and requires no treatment like teak does. PlasTeak is one source for them: Custom Teak Boat Toe Rail Replacements - PlasTEAK Inc. If it was my boat, I would installn slotted aluminum toe rails from any number of suppliers like A62-0009: 1-5/8’’ X 1-1/2’’ ALUMINUM SAILBOAT TOE RAIL TACO Marine, Aluminum Sailboat Toe Rail | Crest Aluminum Products Co, Inc., etc.
Last edited:
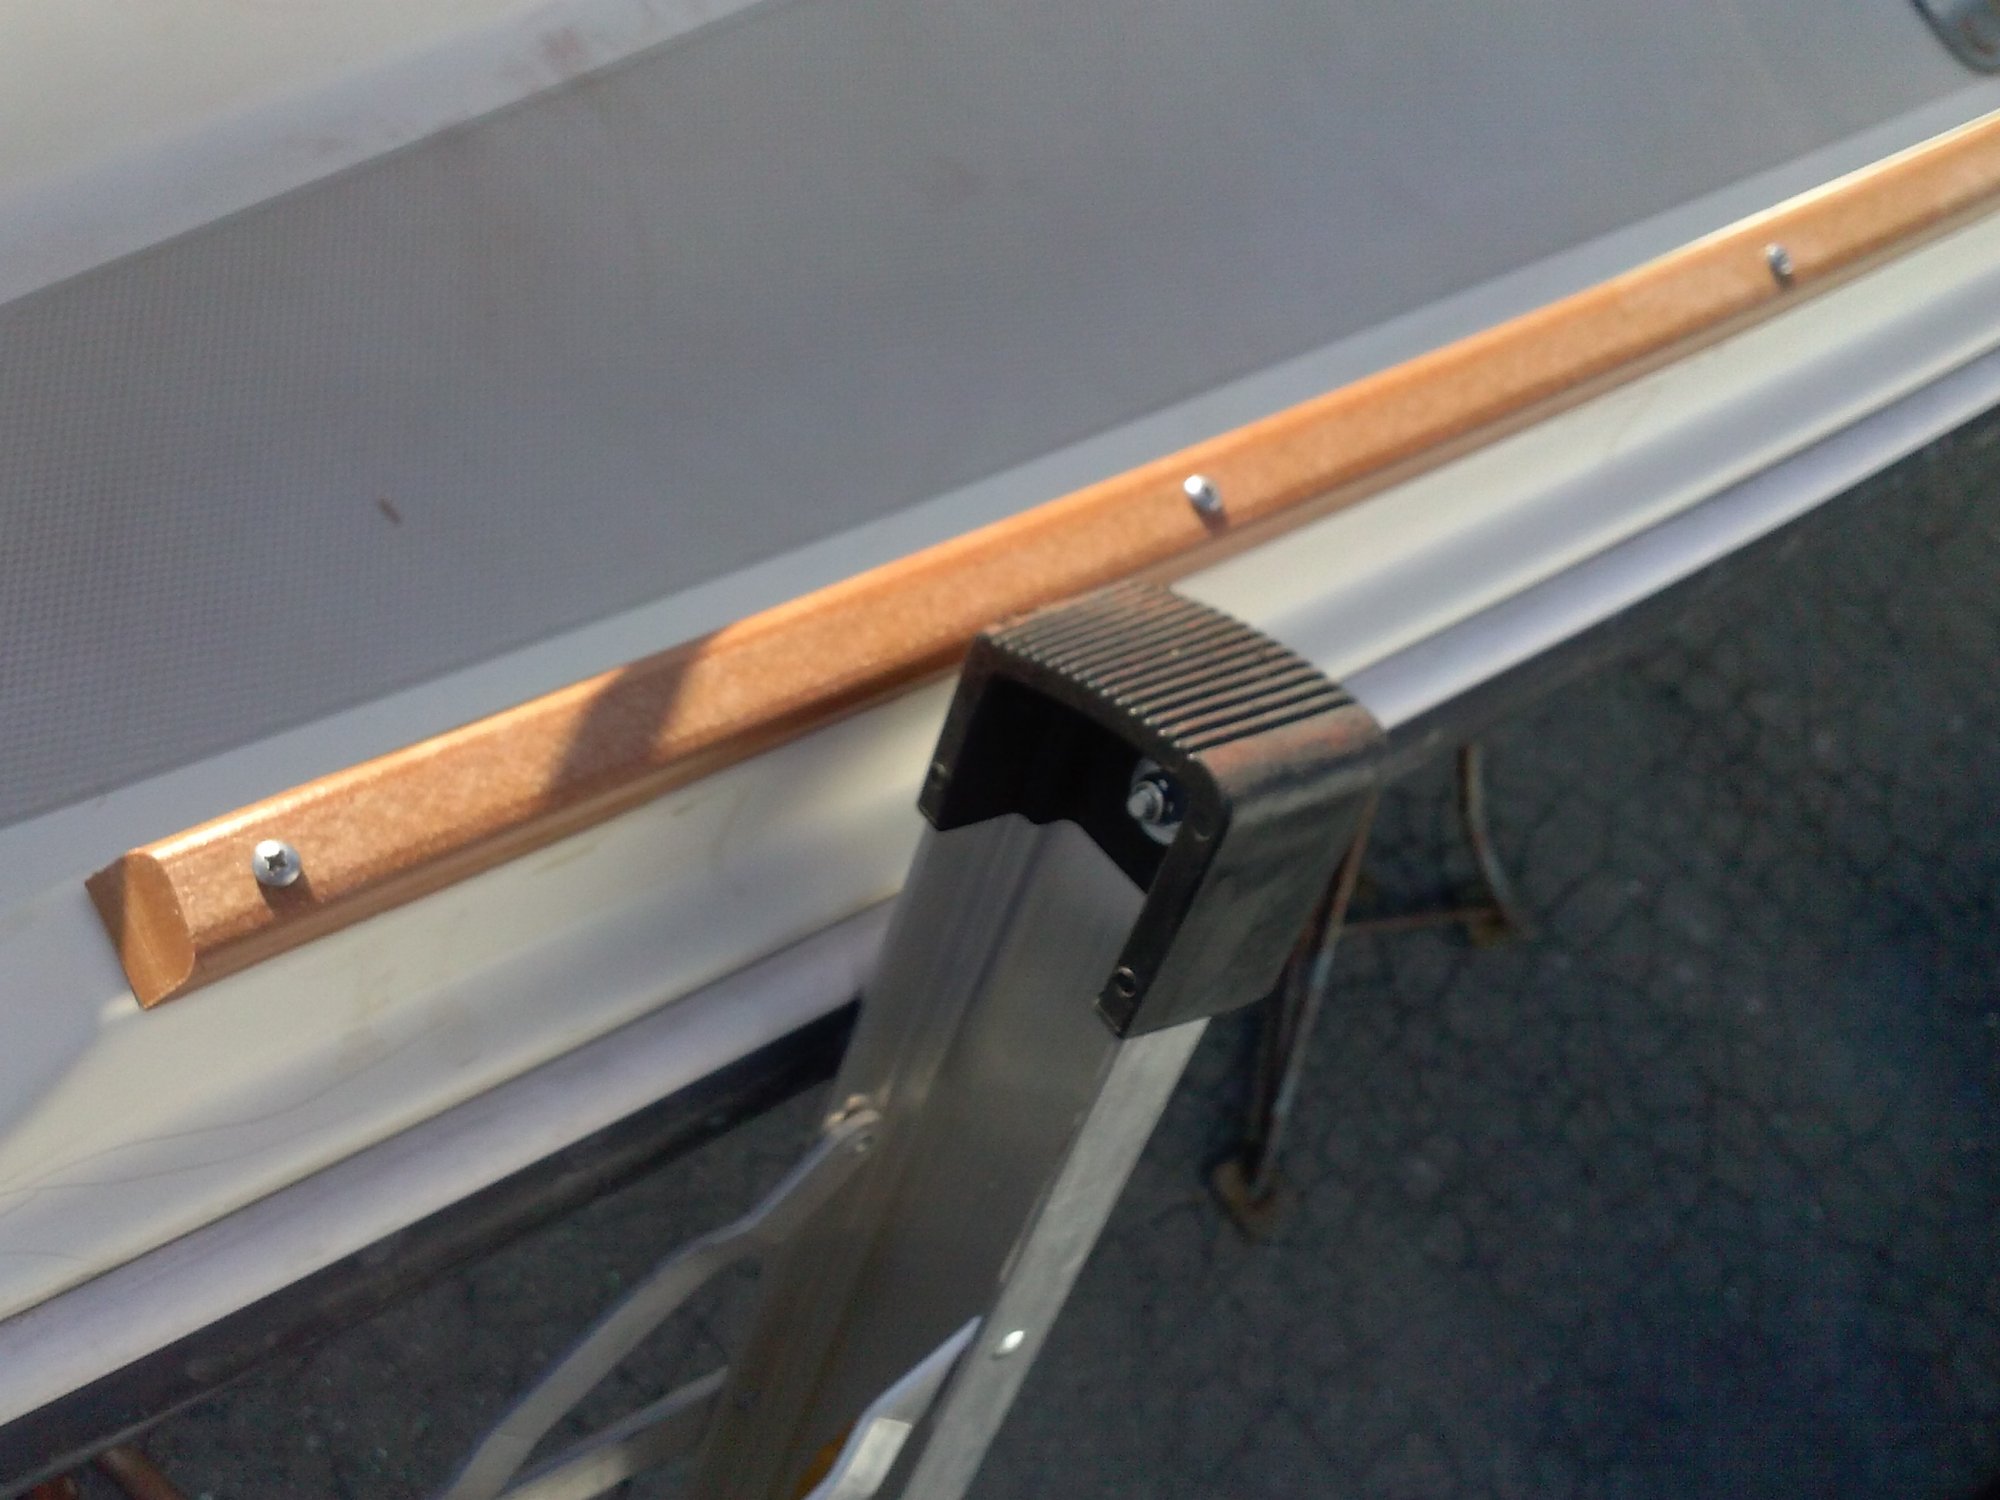
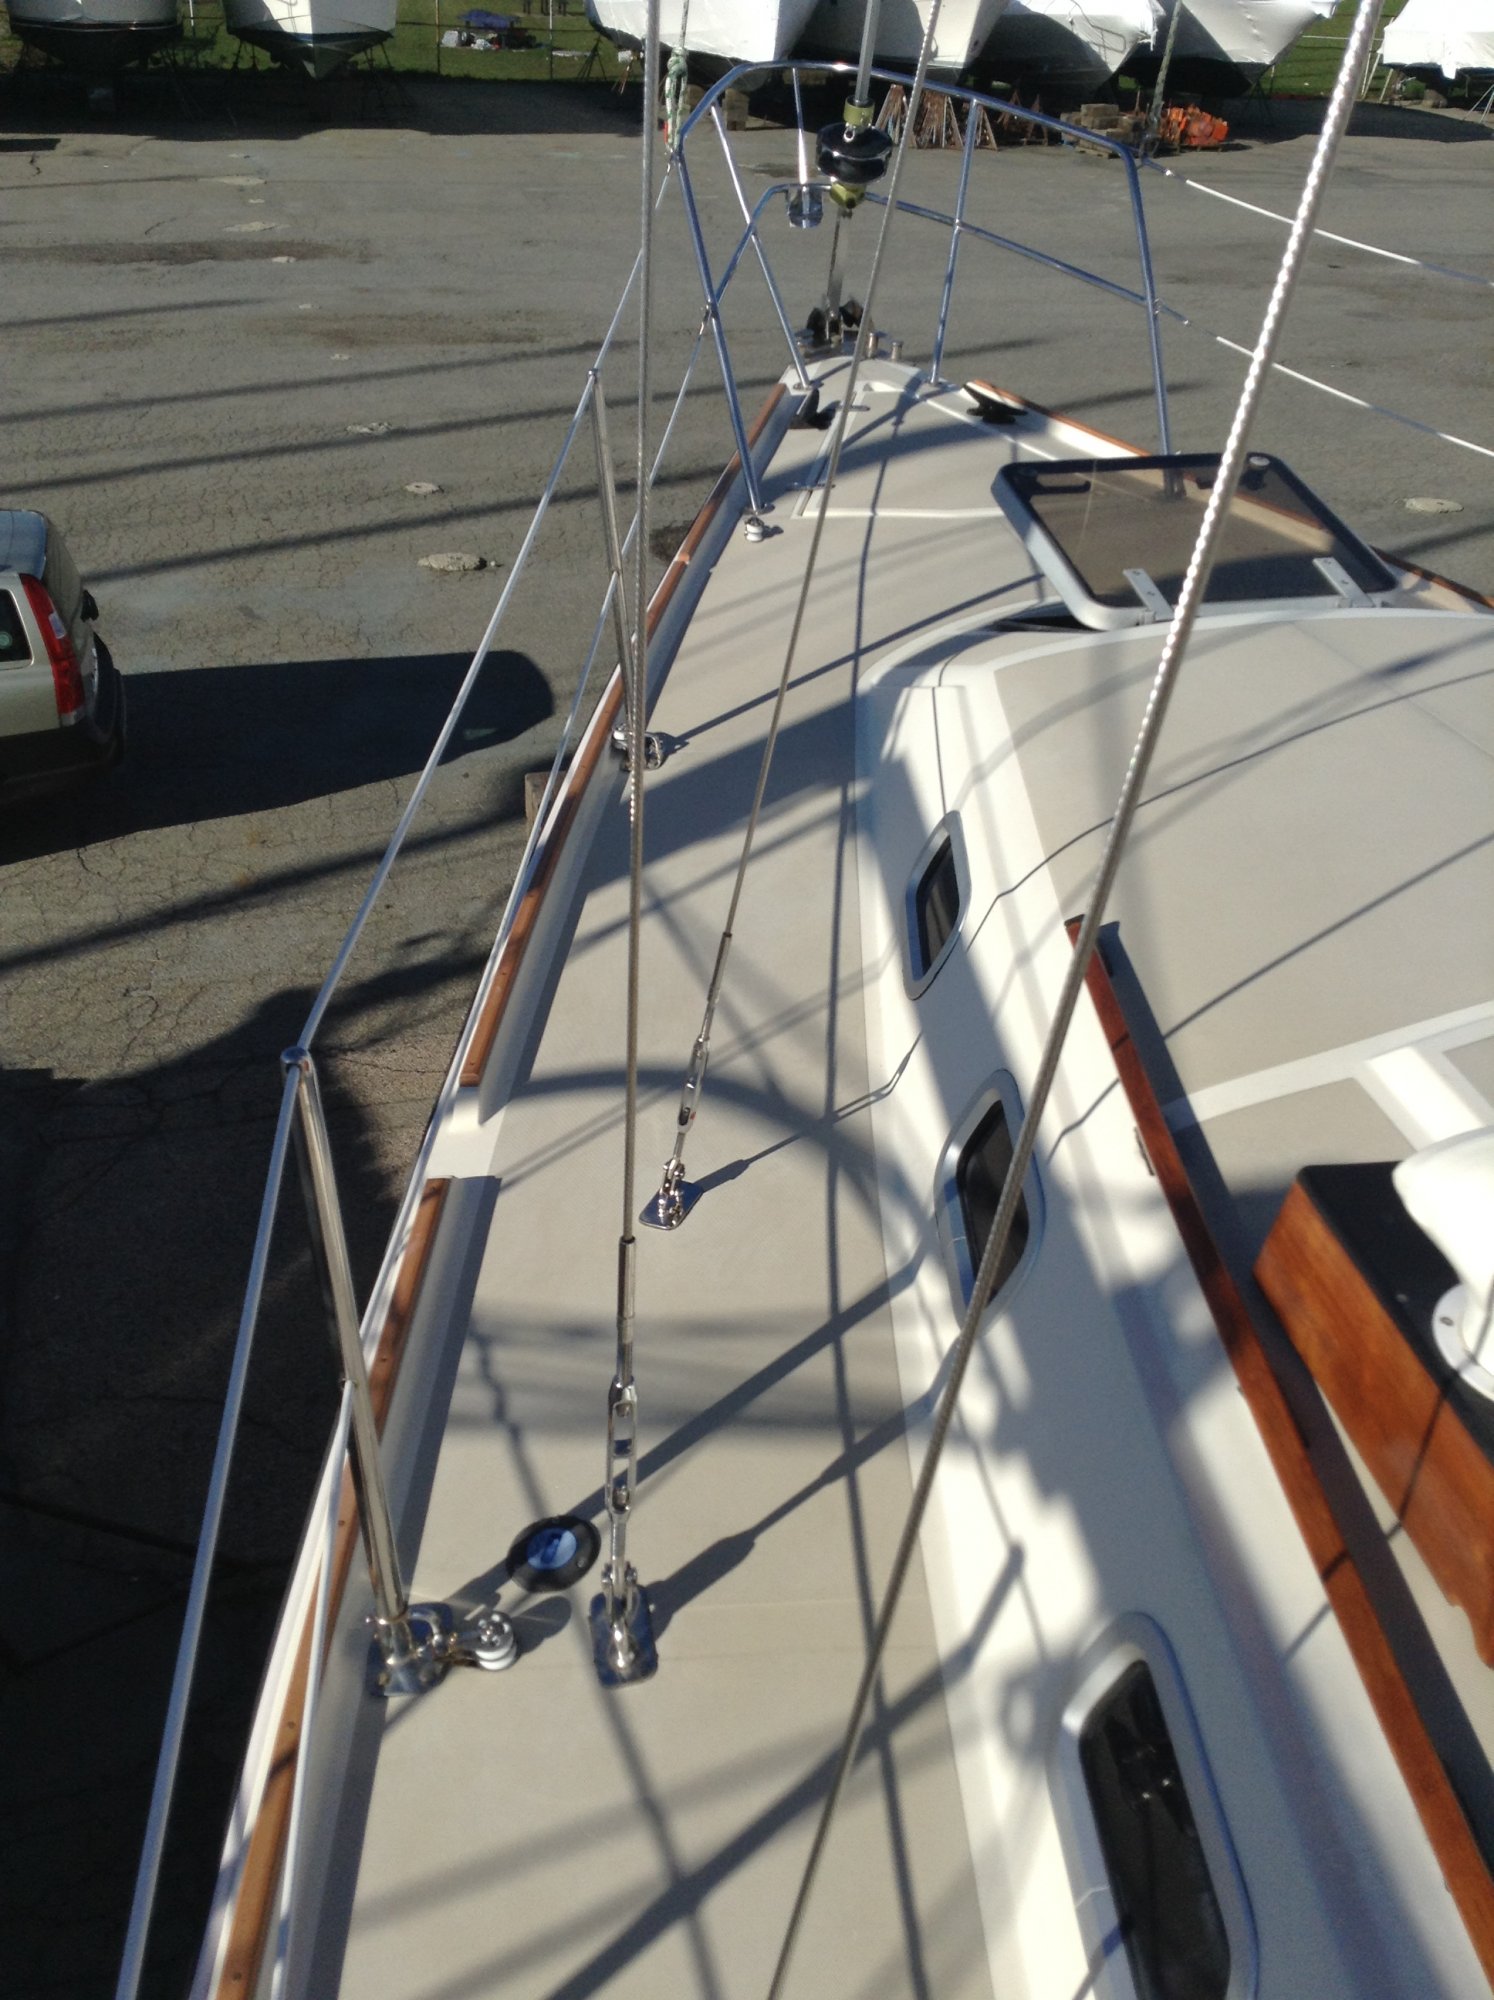
I don't think flexibility is an issue. If you look closely the current teak toe rails are proabably secured every 6 to 12 inches, which should be adequate.
Do some investigation on how the current toe rails are installed and how accessible the bottom of the rails are. Toe rails are often part of the hull to deck joint, so skimping on connectors is a poor idea.
Do some investigation on how the current toe rails are installed and how accessible the bottom of the rails are. Toe rails are often part of the hull to deck joint, so skimping on connectors is a poor idea.
It looks like this is not the case with the O'Day 25. If I had to guess, it's the rub rail screws that fasten the deck to hull joint. Installation looks pretty straight forward. Still looking for opinions on this material

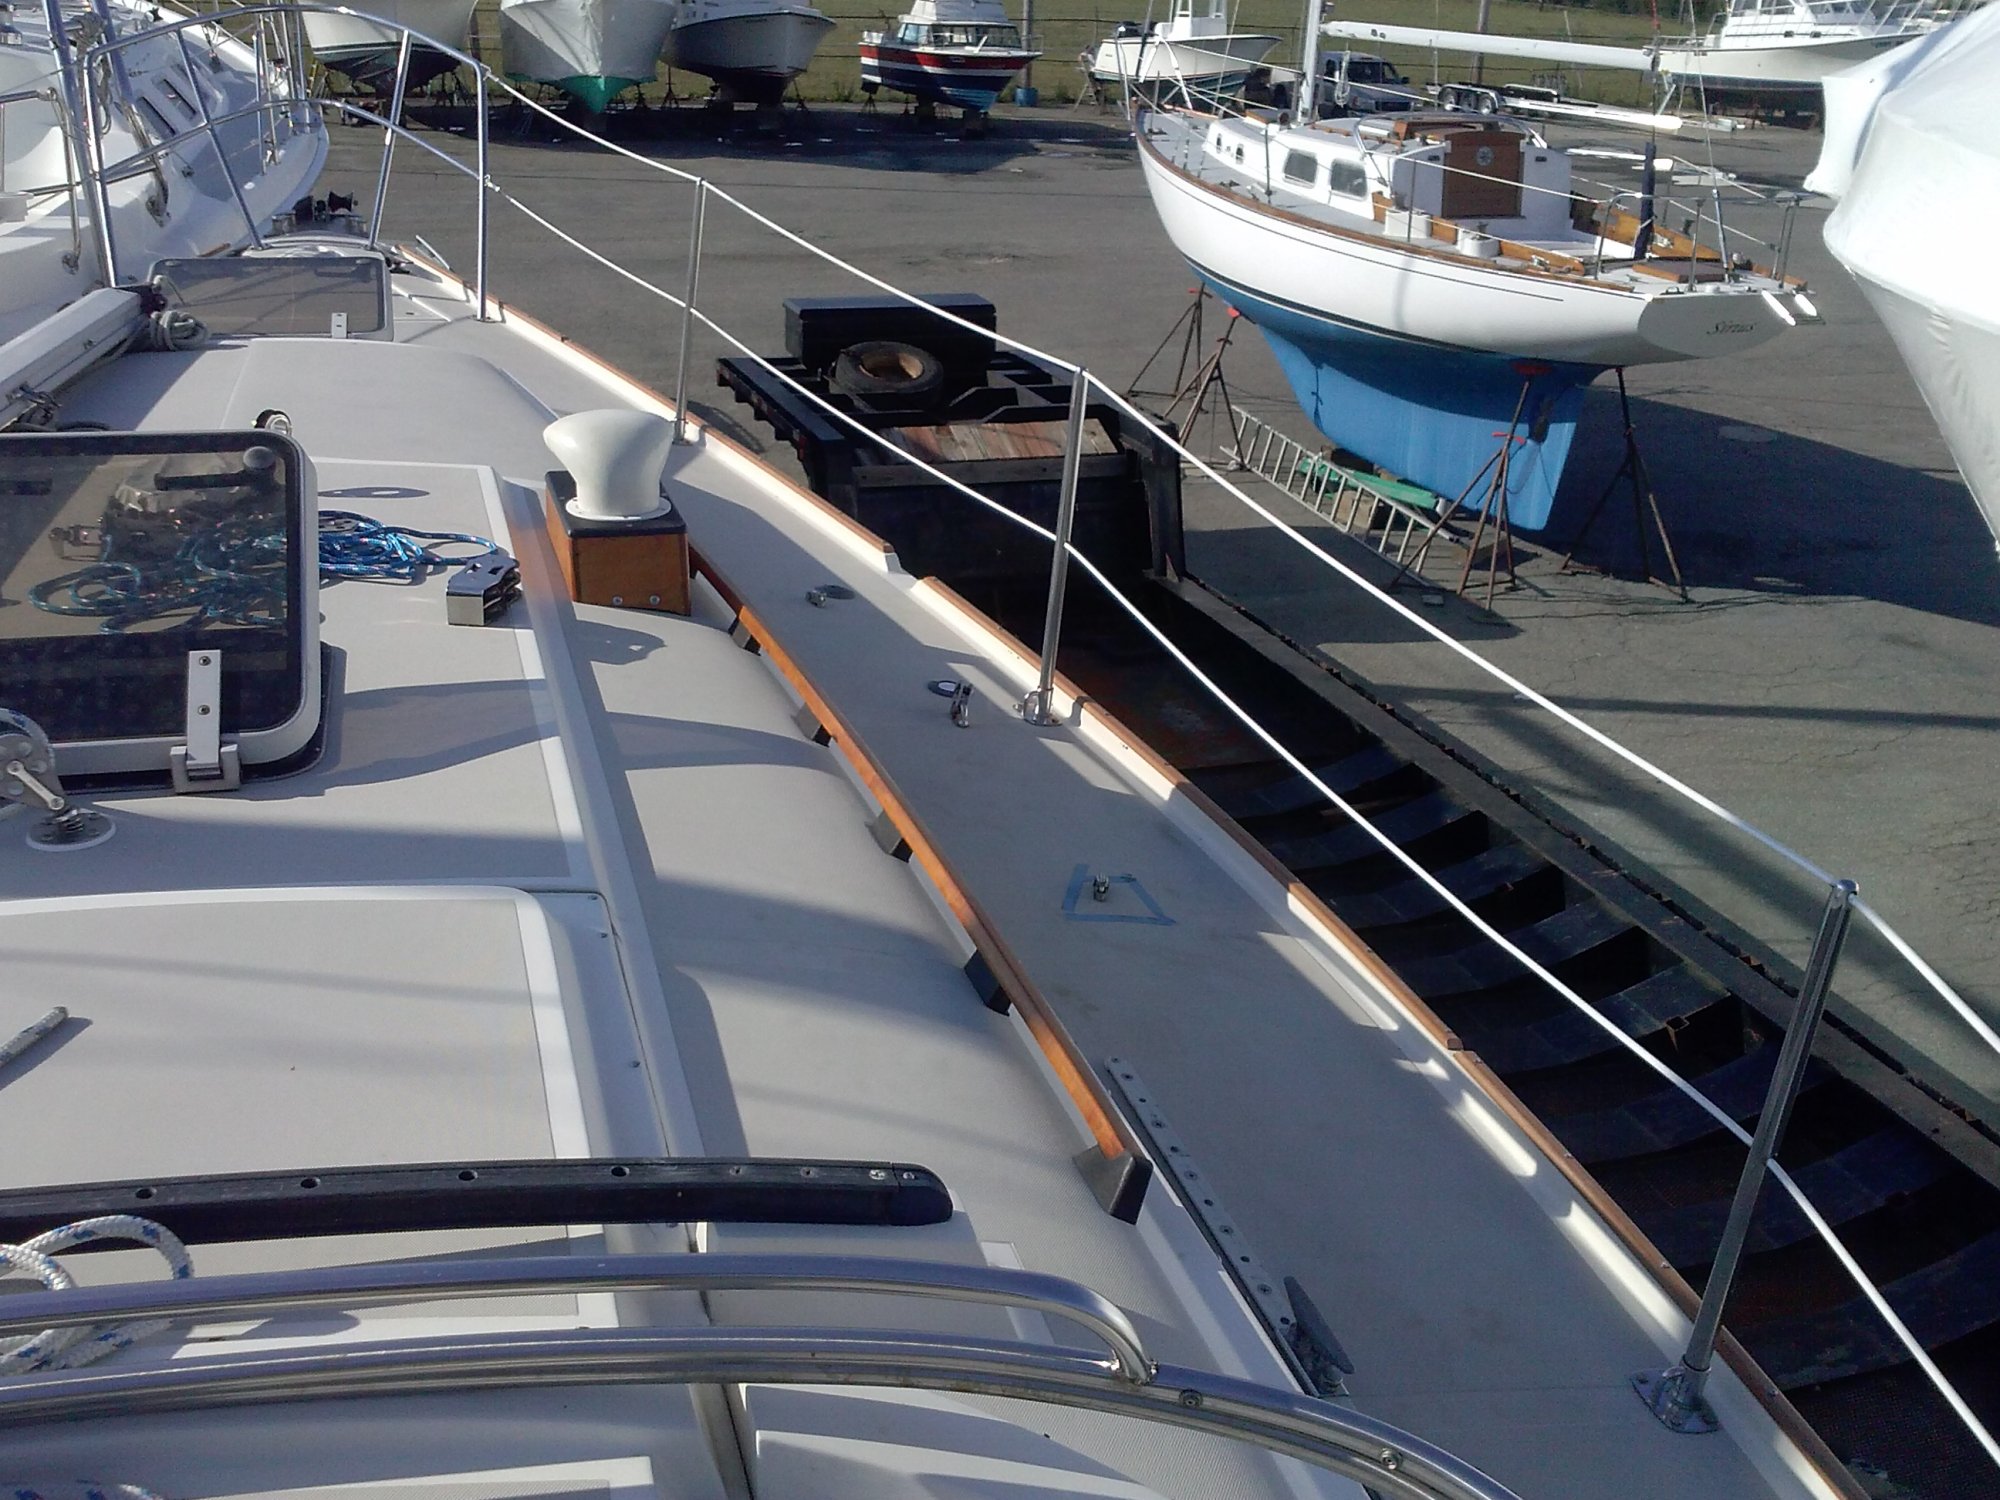
I replaced mine with PlasTeak, looks great, no maintenance. PlasTeak is an excellent brand as the color goes all the way through. The flexibility is not a problem with screws holding them down evey 8 inches. The quote I got for custom molding was around $700 (52 linear feet on my boat). So instead, I bought a 1/2" x 8" x 12' teak board ($45) from them and ripped it into 1" wide strips and used a router to round the edges. Shipping on a 12' board was $260 so I had them cut it into two 6 footers which brought shipping down to $50. Some of the original toe rails were over 10' long - since I only had 6 footers, I just put a 1" break in the middle (you can see one in the second picture) - looks fine. Word of advice: don't use sandpaper on the PlasTeak, it just creates a white fuzzy mess, use a cabinet scraper or other sharp edge to scrape the surface. Total cost was less than $120 including screws (80 of them). There were a number of steps to complete but well worth it - a huge improvement over the original teak which was looking pretty ragged. Let me know if you have any questions. Here's a couple of pictures:
Thanks for the info @dmax ! That's really helpful. The price for raw material is much better than expected and the coloring looks great!
- Do you have any suggestions for cutting them on a table saw such as fine/course blade, speed, etc? Did heat cause any deformation?
- On the 25, the teak toe rail is functional. It gets used while attending to sails and rigging on deck. Do you notice any flex on your PlasTeak if you push against it sideways?
- How long ago did you do this project and do you see any fading?
Last edited:
1: I used a 60 tooth carbide blade on the table saw, pretty clean cuts with that. Had to clean up some spots with a cabinet scraper.
2: Because synthetic teak expands and contracts a bit, I over-sized the holes and used pan head screws to allow the PlasTeak to move a little. It doesn't move much.
3: Did this a year-and-a-half ago, looks the same as when I put it on. I believe it will continue to look good for 10 - 20 years and more. Look at their website, their stuff is used all over in demanding conditions, holds up well.
Since you asked for opinions, I think it looks good, and I know a varnished teak toerail is a lot of work - or expense, if you're paying someone - it seems like a practical and attractive alternative. However, I don't like the exposed screws. Can you possibly counterbore the holes and bung them after screwing as is done on real teak toerails?
Did you attempt to use the original screw holes in the fiberglass or did you simply fill them in and make new holes? I'm assuming the latter is the easier way to go
I filled in the old holes and drilled new ones - too difficult to try and line them up. Here are the steps I took:
* Remove the old toe rails, after prying out the bungs and removing the screws on the first 5' piece (1/2 hour), I decided to just split the toe rails with a chisel at each screw, pull off the wood and then remove the screws (1/2 hour for the other 47').
* Clean up the gelcoat from years of varnishing.
* Over-drill and countersink the screw holes to remove any silicone (the original sealer).
* Since the screw holes went all the way through the fiberglass and access to the underside is mostly impossible, I pushed a small ball of butyl into each hole, positioning it at the bottom of the hole so epoxy wouldn't drip into the interior.
* FIlled each hole with thickened epoxy.
* Sanded the filled holes flush.
* Position a length of PlasTeak where you want it, drill the first hole at one end (through the PlasTeak and the fiberglass) and drive in a screw. I made a template out of wood that fit over the PlasTeak that had the spacing between the screws and the distance from the end of the toe rail I wanted so the holes would be consistently spaced.
* Bend the PlasTeak into place, drill and insert the next screw, keep going until you reach the end. Mark the PlasTeak length you want.
* Remove the PlasTeak, cut it to length (I used a simple 45 degree cut and then snipped off the sharp edge with scissors).
* Countersink the new holes in the fiberlgass.
* Add LifeChaulk or your favorite sealant (butyl is not ideal here) to each hole and screw in the PlasTeak.
Nice! I like your idea of using butyl in the hole before filling. Lately I've been covering the hole with a piece of tape before it cures. If you get the right amount of filler in the hole, there's little to no sanding. I assume you say butyl is not good for this application because the screw is turning where as a through bolt is typically held still?
Does anyone happen to know any other companies that make this material? PlasTeak is out of stock until further notice
Does anyone happen to know any other companies that make this material? PlasTeak is out of stock until further notice
Yes, butyl is not ideal because of the screw turning. Wow, PlasTeak is out of stock, strange world we're living in. Other similar products I saw only had the teak color on the surface, you want to make sure it goes all the way through for this application. I would request a sample before committing - PlasTeak is nice stuff so could be worth the wait. Agree that I try to fill holes flush but I wanted to overfill a bit so I didn't have to fill it a second time if it comes up a bit short, 80 holes is a lot.
Update: decided the SS pan head screws didn't look right, wasn't interested in putting in 80 bungs so I went with countersunk, oval-head silicon bronze screws - I like these much better:
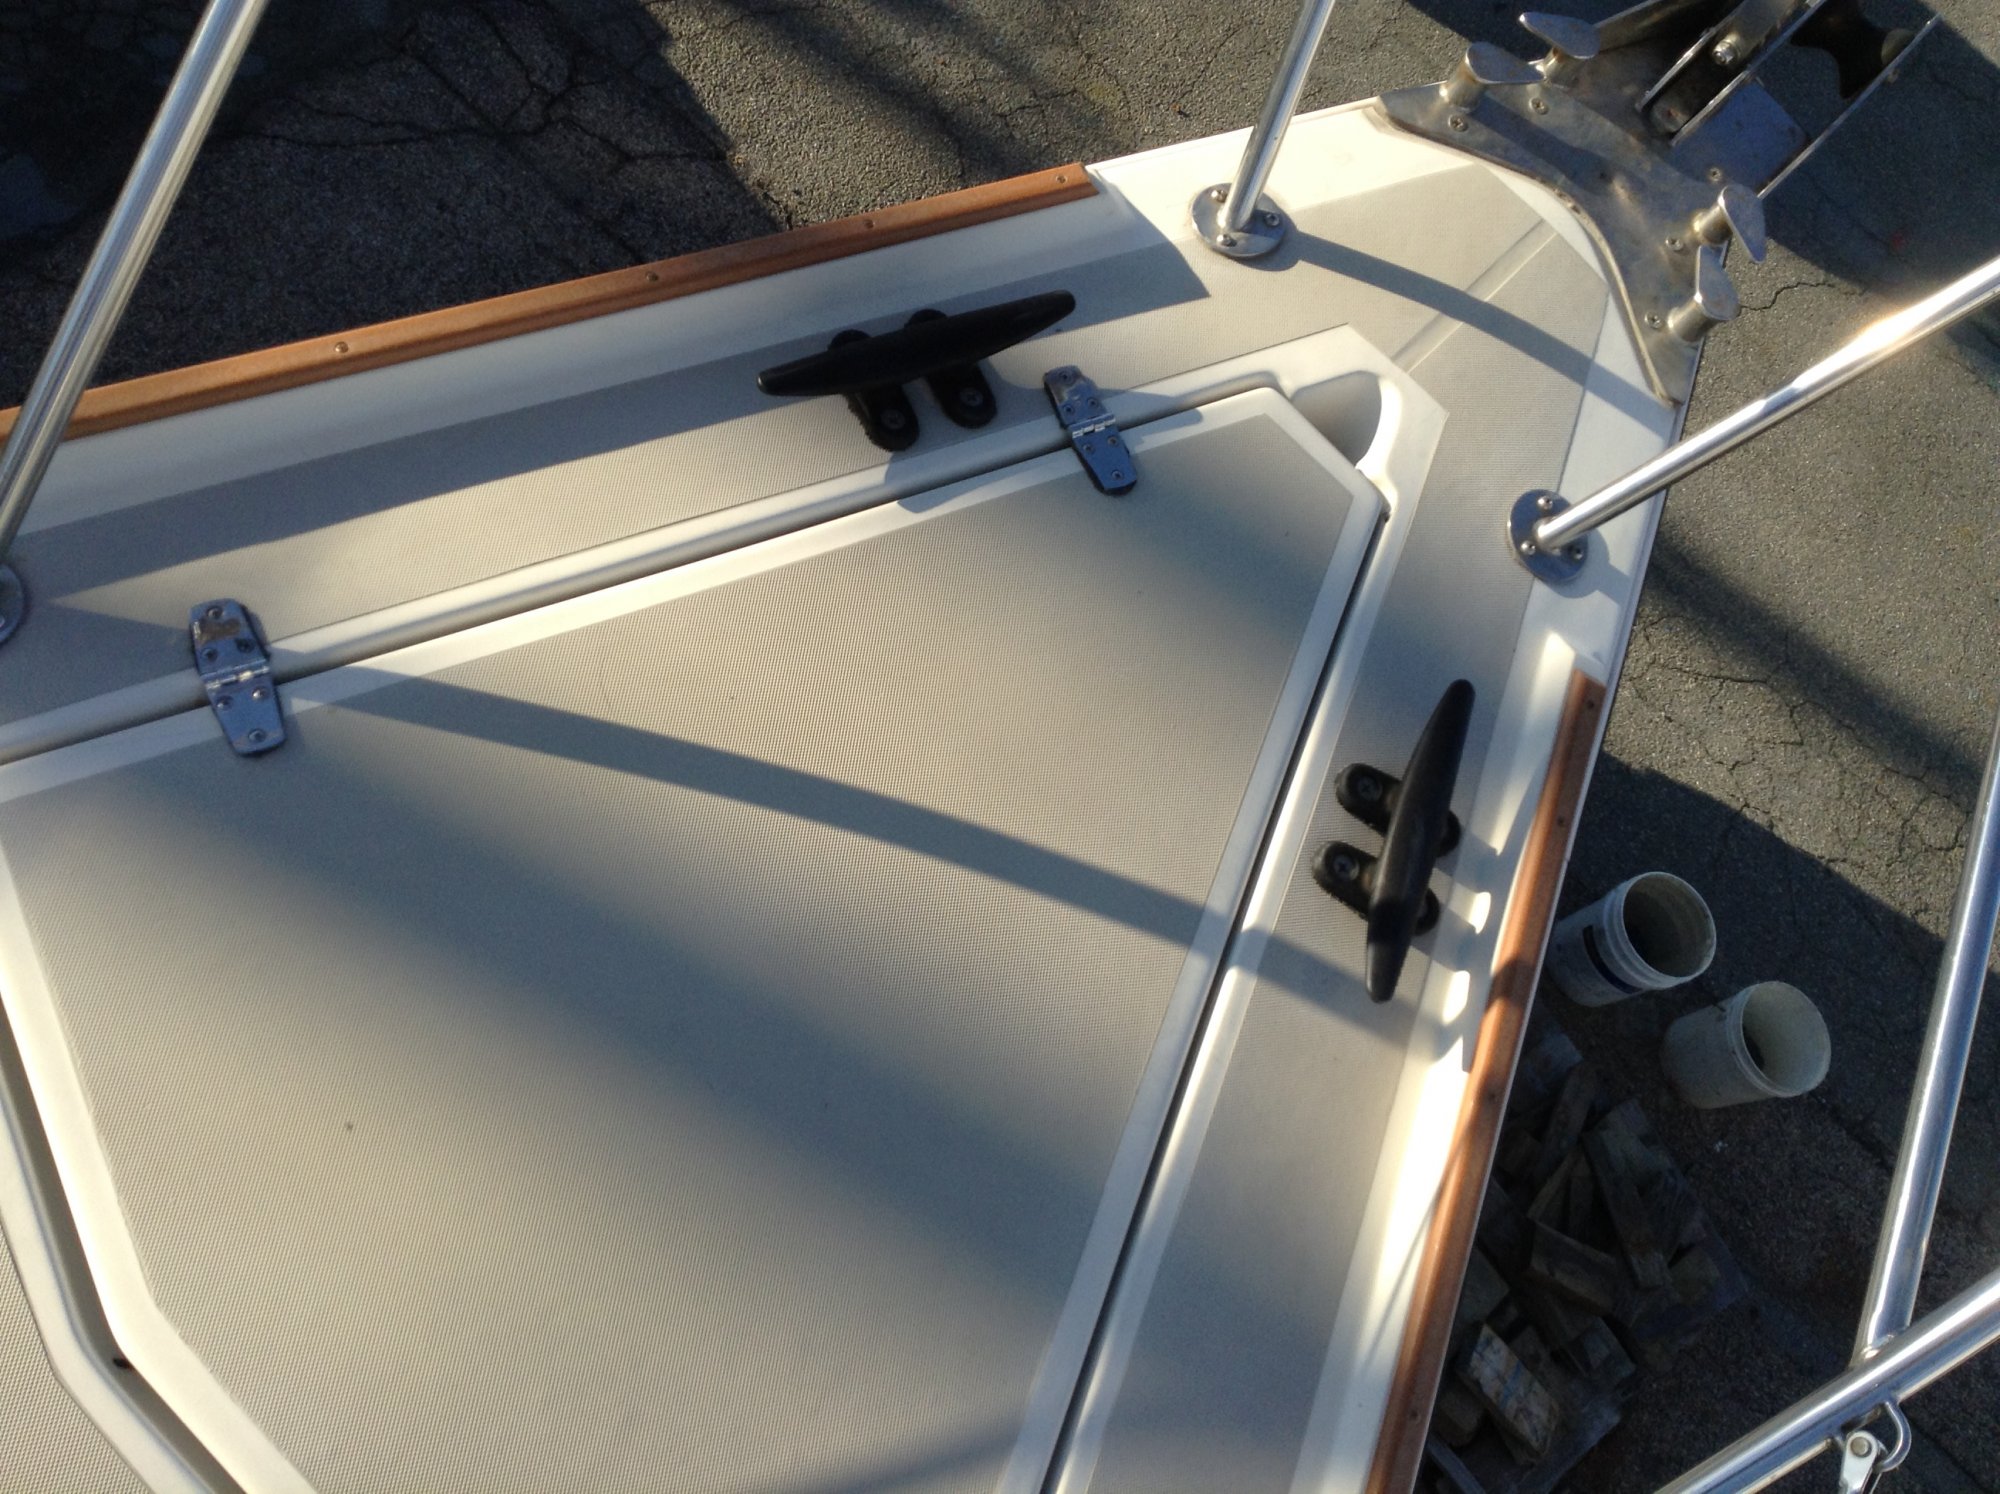
I took the eyebrows off and filled the holes - I prefer the look without them. It would be simple enough though to use plasteak for the eyebrows as well.
Oh, man! You guys missed out on this one. It was slow and right over the plate!Looks great. Thanks for the inspiration.
Have you done anything with your eyebrows?
