Progress! Something I should have done and regret now that I didn't do was to fill in the former home of that useless solar panel. I guess I was hoping to find one the same size to fit the the location, but that was not to be. If and when I get the boat back from Covid Captivity in Eastport, Maine that will be a project that I will complete as one of the first. I don't know how you plan of removing the bottom layer of glass to reach and clean out the rotted core but I used a Dremel Oscillating tool with a taped off depth so as not to cut too deep and through the top layer of glass. The Dremel equipped with the scraper blade also made the job of taking out the rotted core a lot easier. You'd think that after having been wet for so long that the bond between wood and glass would easily be broken but this isn't or wasn't the case in my rebuild. I removed all the core and saved it in a cardboard box, total weight was 48 soaking wet pounds. I'm still looking for the photos I did of the four (4) separate pieces of aluminum that held the traveller to the hood.
Legend 40.5 Removing the Traveler
- Thread starter SandyFrank
- Start date
Found the four aluminum pieces then lost the photo in the posting. Same to follow.
Attachments
-
 499.5 KB Views: 204
 -
 503.6 KB Views: 198
 -
 486.8 KB Views: 218
 -
 433.7 KB Views: 197
 -
 335 KB Views: 200
Finally got this together, it's a still from a video I did that too long to upload to the site.
Attachments
-
 1.9 MB Views: 241
Either remove those pieces of shitty threaded aluminum or if you don't want to do that, drill through the present holes in the top side of the hood, then through the embedded aluminum and out the bottom with a bit that is just one size larger than your bolts. Get some longer stainless, bolts, nuts, washers and acorn nuts and be rid of that galvanic problem and seized bolts for ever. Please keep posting with updates.
At what point does Ship of Theseus come into play?
Laid down three alternating layers of 6oz. My first large layup and pretty happy with myself.
At this point I do not know if I am going to replace or drill out the aluminum bar. But boy having 304 steel bolt going to aluminum threaded bar had predictable results.
Last edited:
Drill it larger and drop the longer bolts through easiest way put the drilled stainless bar below and attach with stainless hex nuts followed by stainless acorn nuts to avoid scratching or chafing or as you say the results are not going to be what you want or need. I'm willing to bet you have to do more work down the road on the line organizers or other things and you have trouble and want to kick your on ass for not taking the last step in the repair.
Had not posted in a while so... My favorite saying about boats is "why do it once when you can do it twice!"
All back in one peice. Thought I had the core properly set but I did not. Oops.
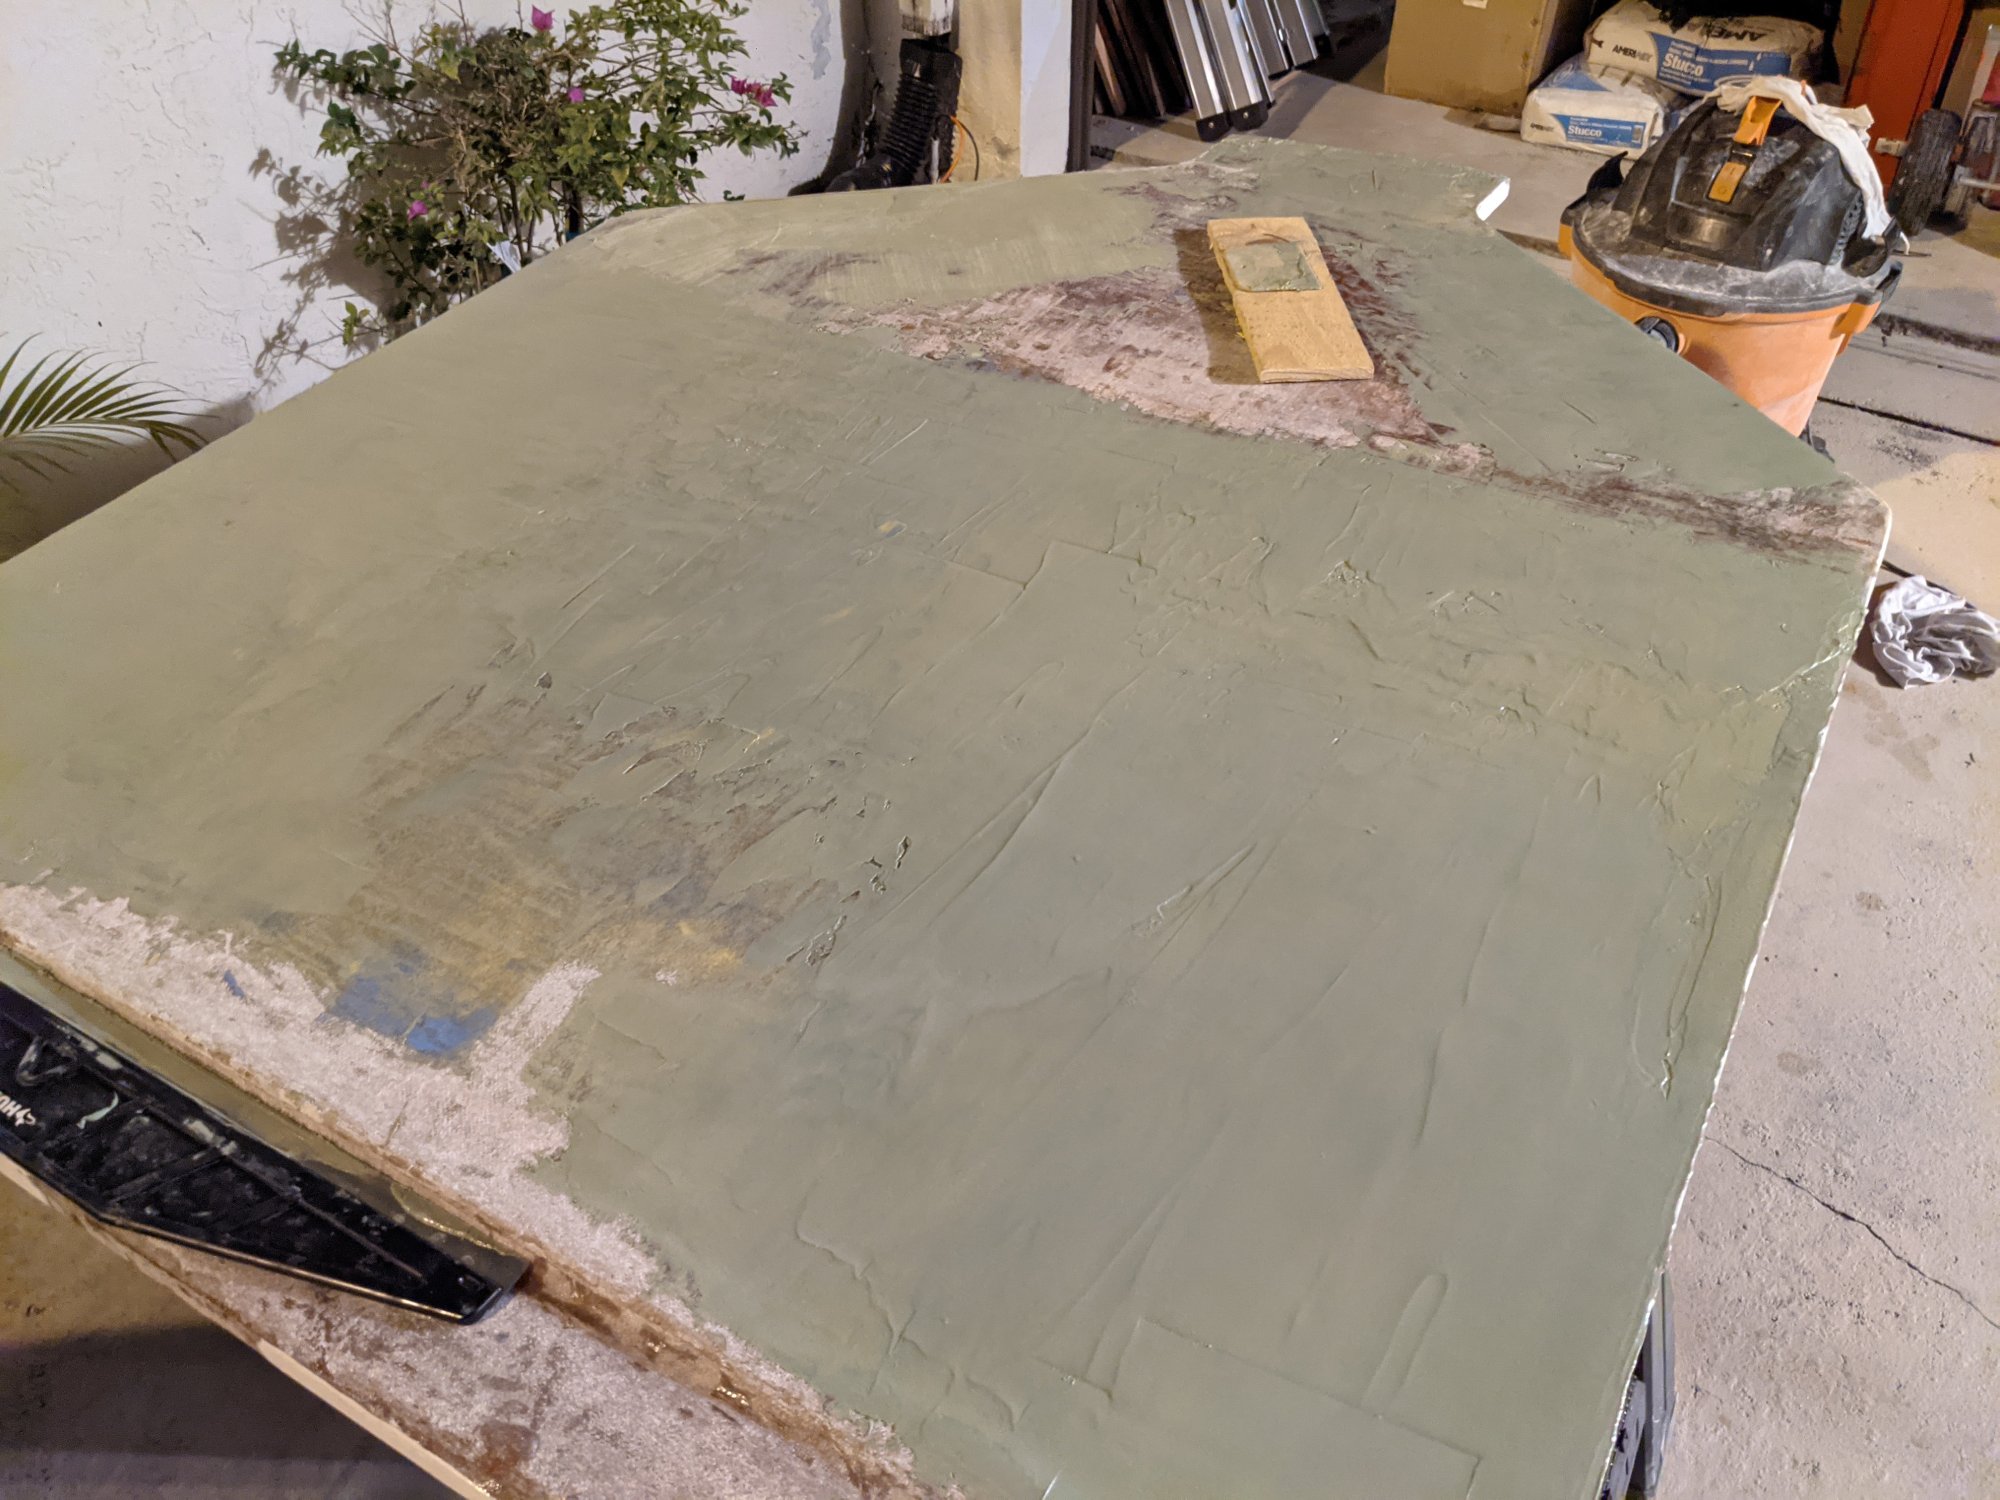
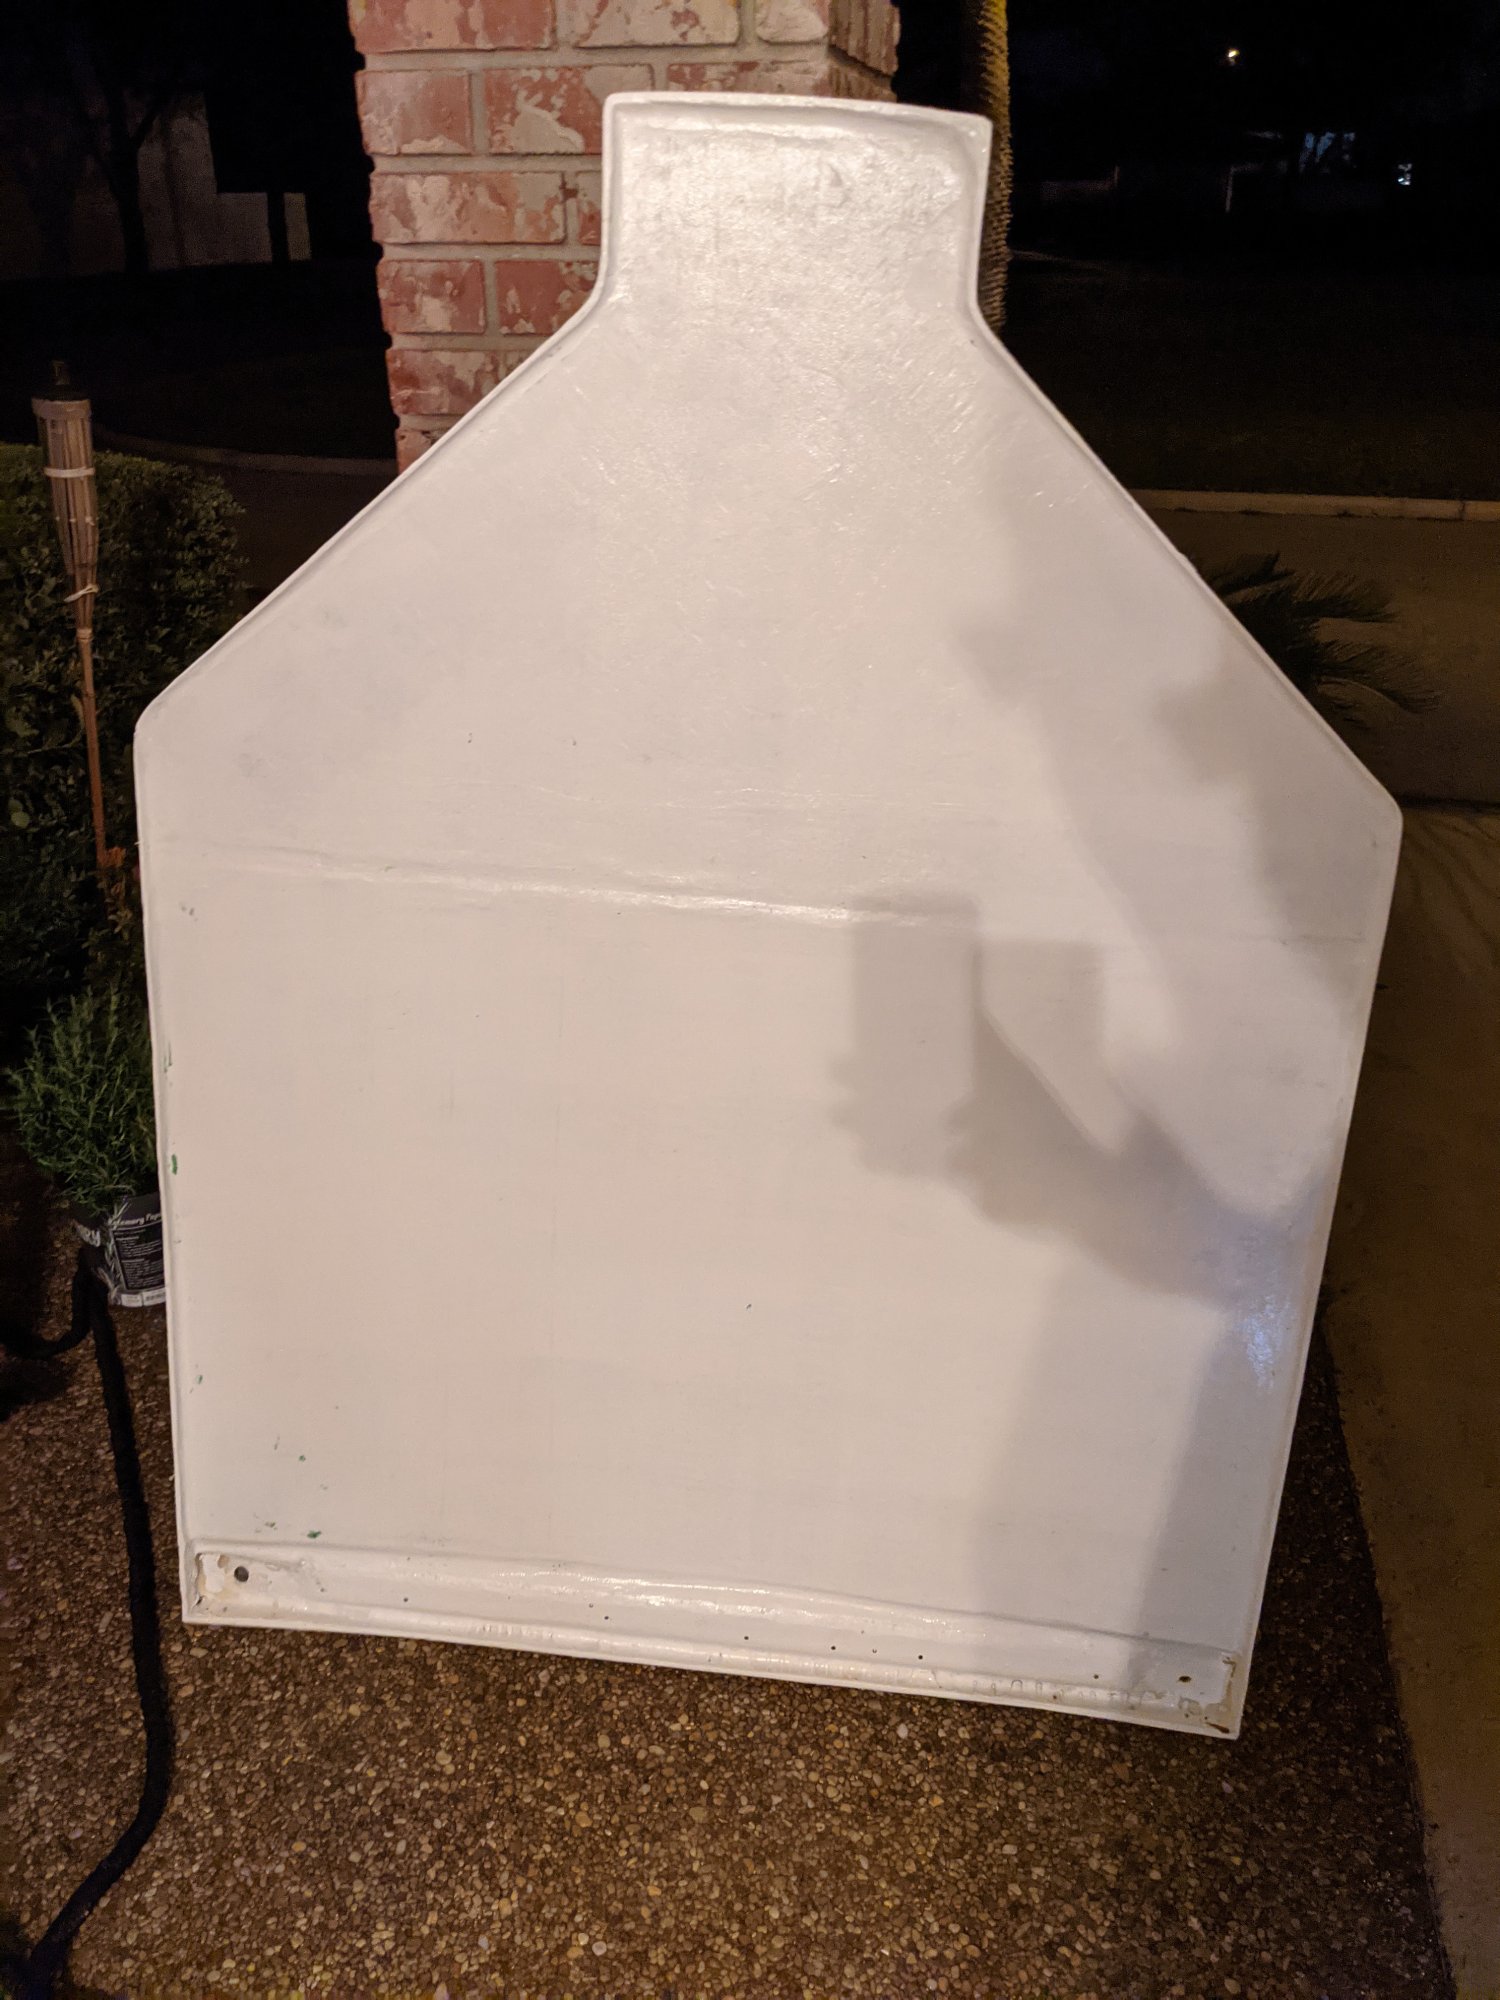
Fairing applied.
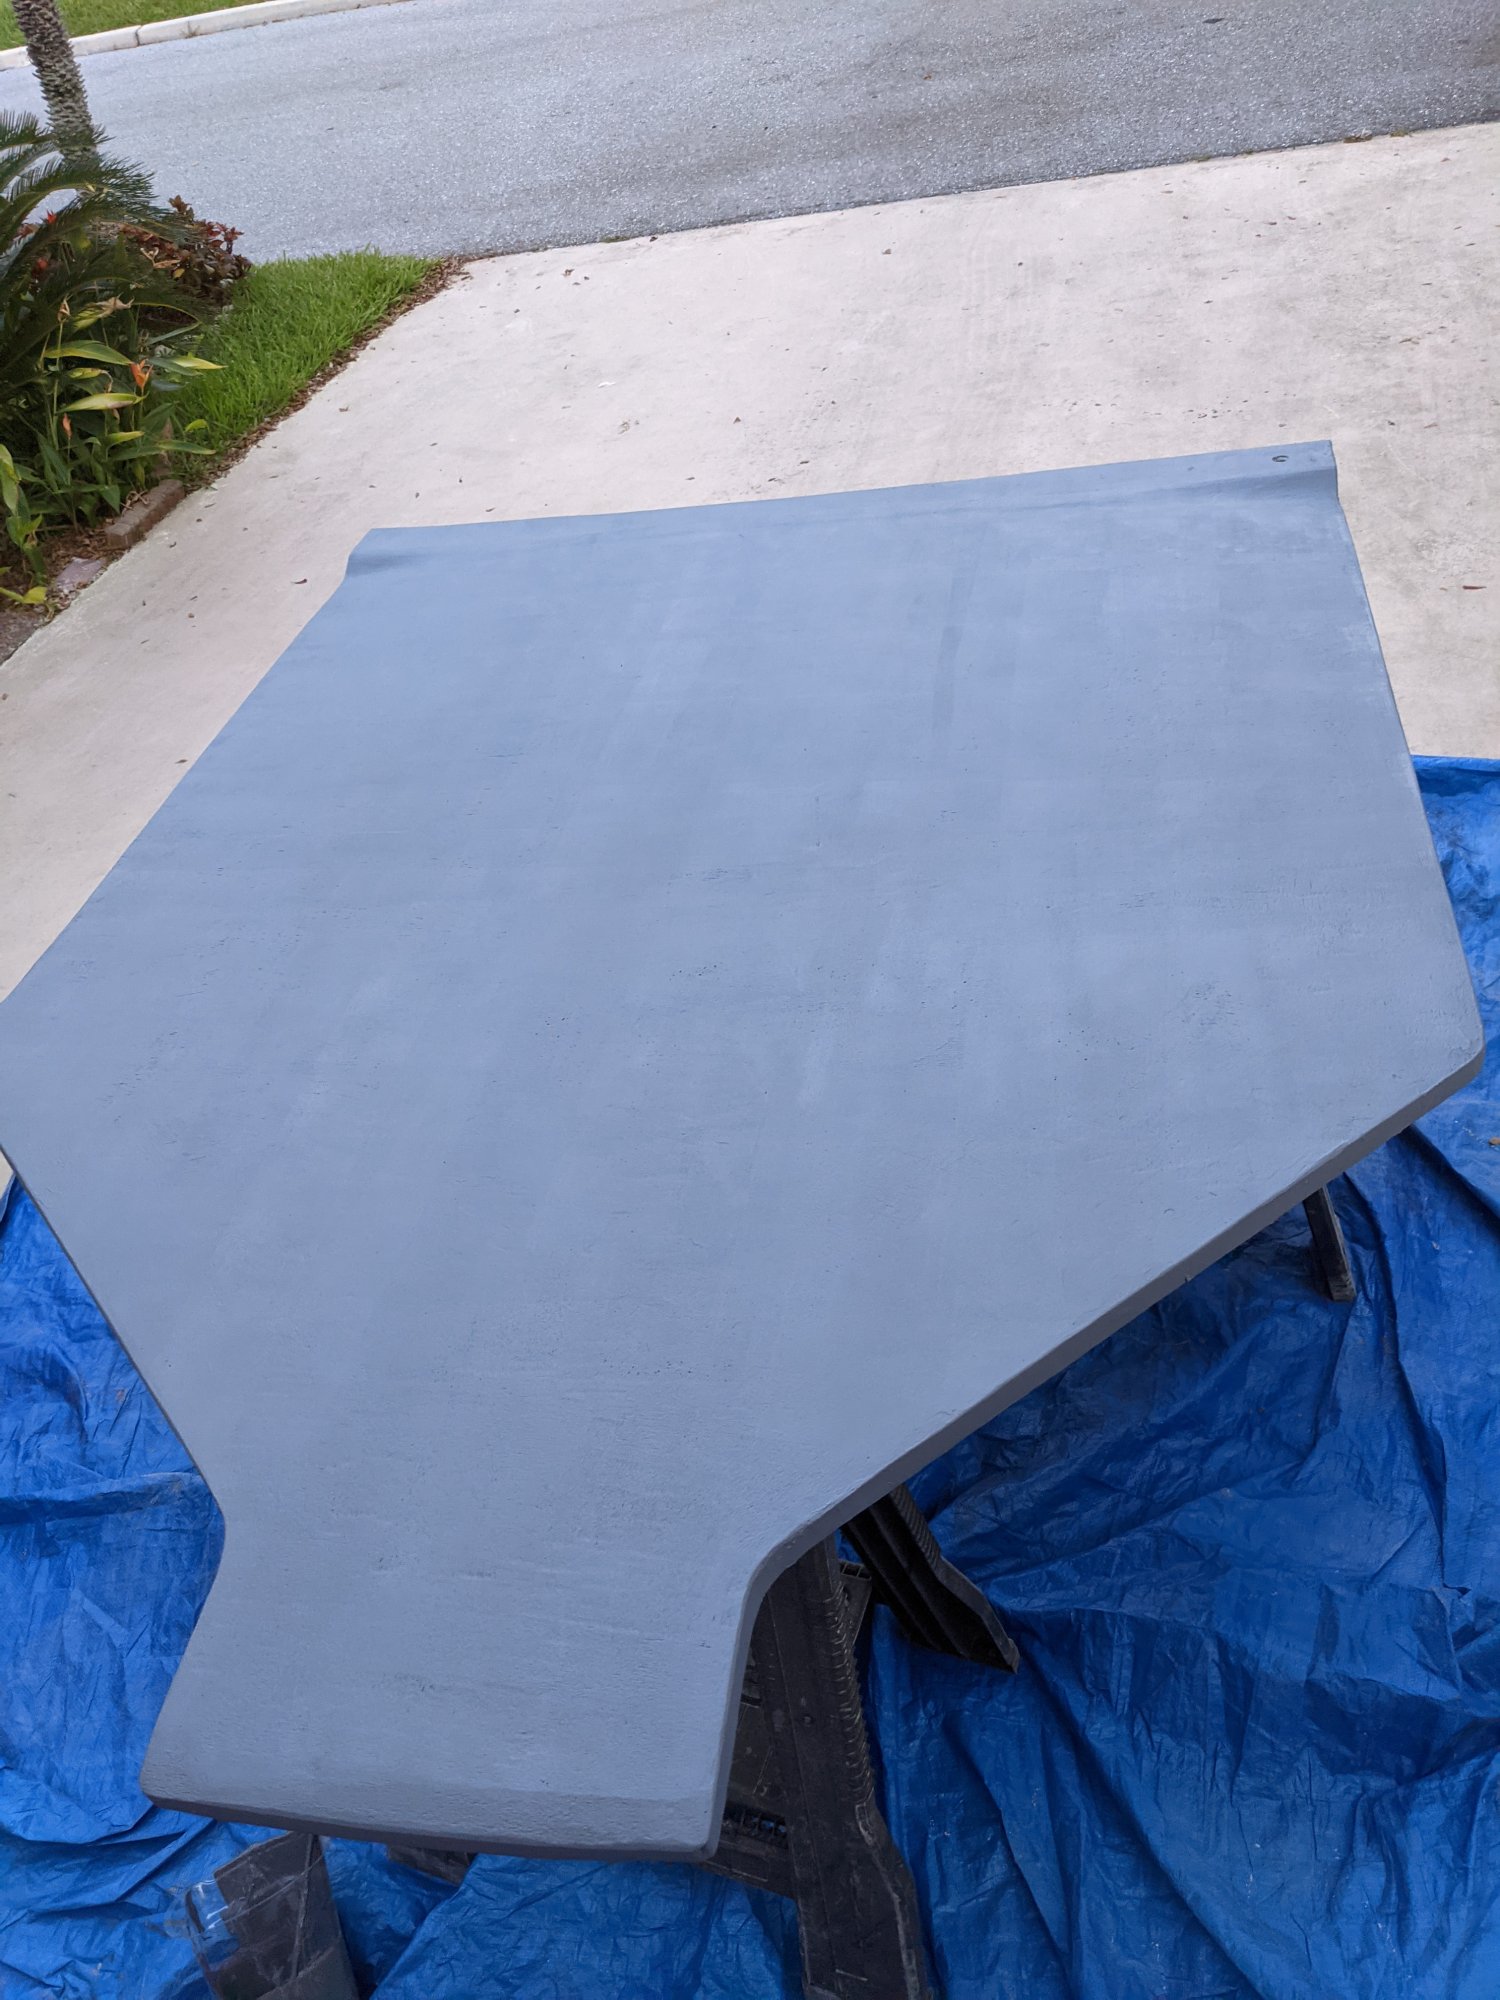
Gel coat primer applied! Looking good if I say so myself!
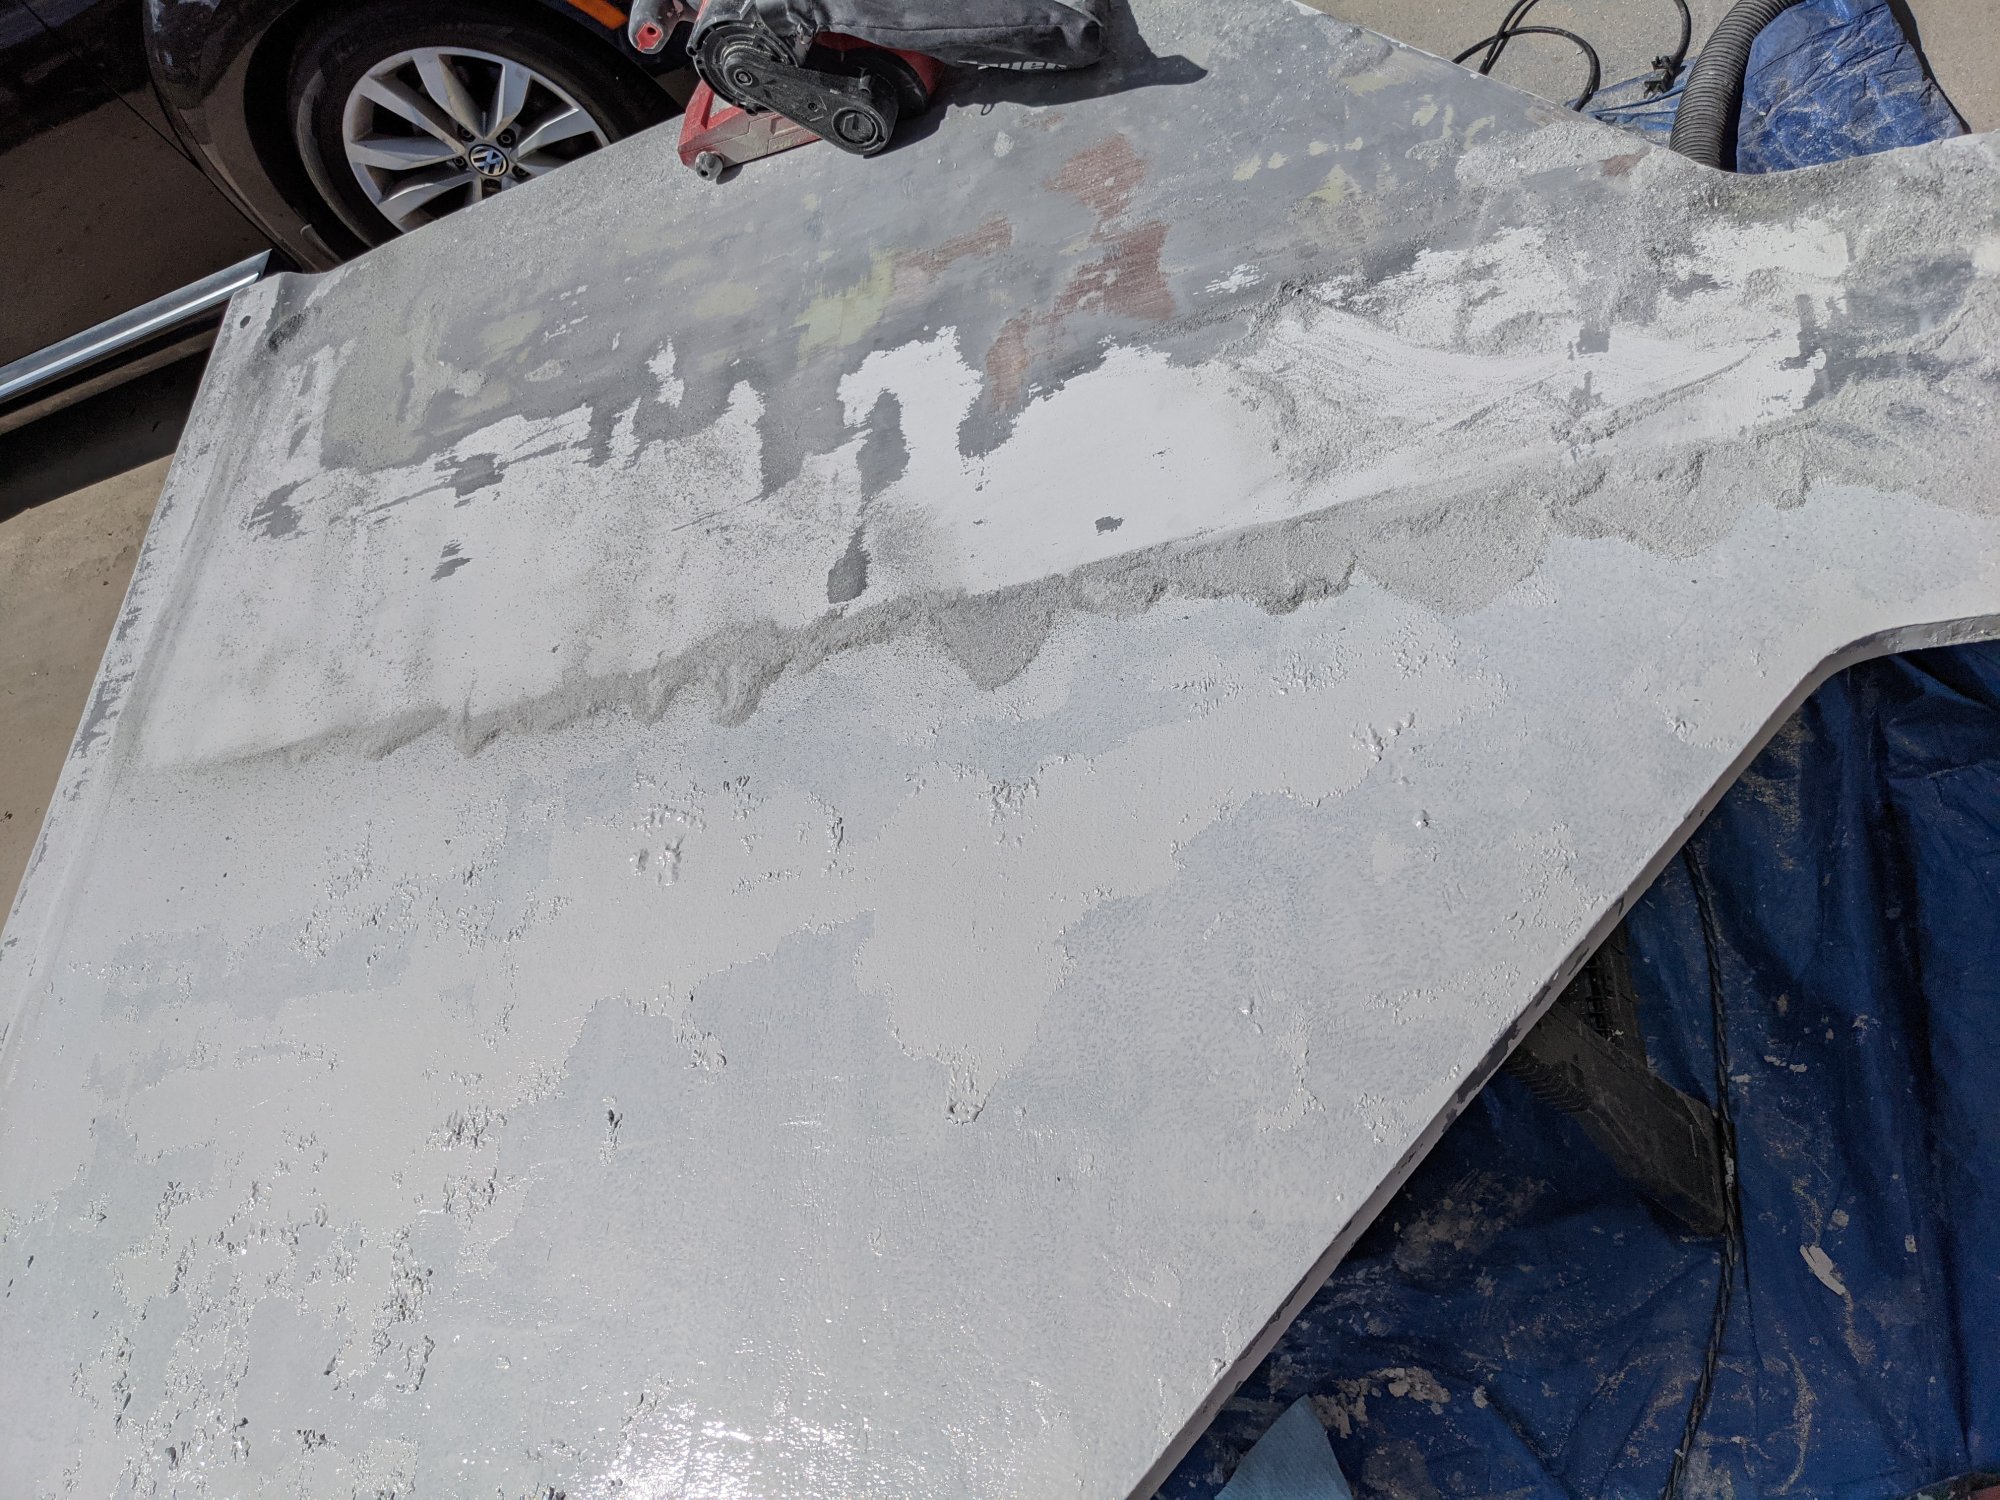
On the shelf at west marine for too long gel coat applied... Stripped it all and back to fairing week.
Good thing I am on a sabbatical.
All back in one peice. Thought I had the core properly set but I did not. Oops.
Fairing applied.
Gel coat primer applied! Looking good if I say so myself!
On the shelf at west marine for too long gel coat applied... Stripped it all and back to fairing week.
Good thing I am on a sabbatical.
Underside with (cured) Total Boat gel coat applied!
Waiting on fairing compound for the top side.
Waiting on fairing compound for the top side.
Thanks Rich!I have done what you are doing and your job is looking very nice.
Rolled on the gel coat today and I see sanding in my future (and some touch up, and a non-skid). The light is at the end of the "I wanted to do it myself tunnel is no longer a train!"
Applying non-skid in the traditional hunter style of a foam roller.
1qt will cover about 1/3 of the hood. My pigment ratio is 1/16 volume.
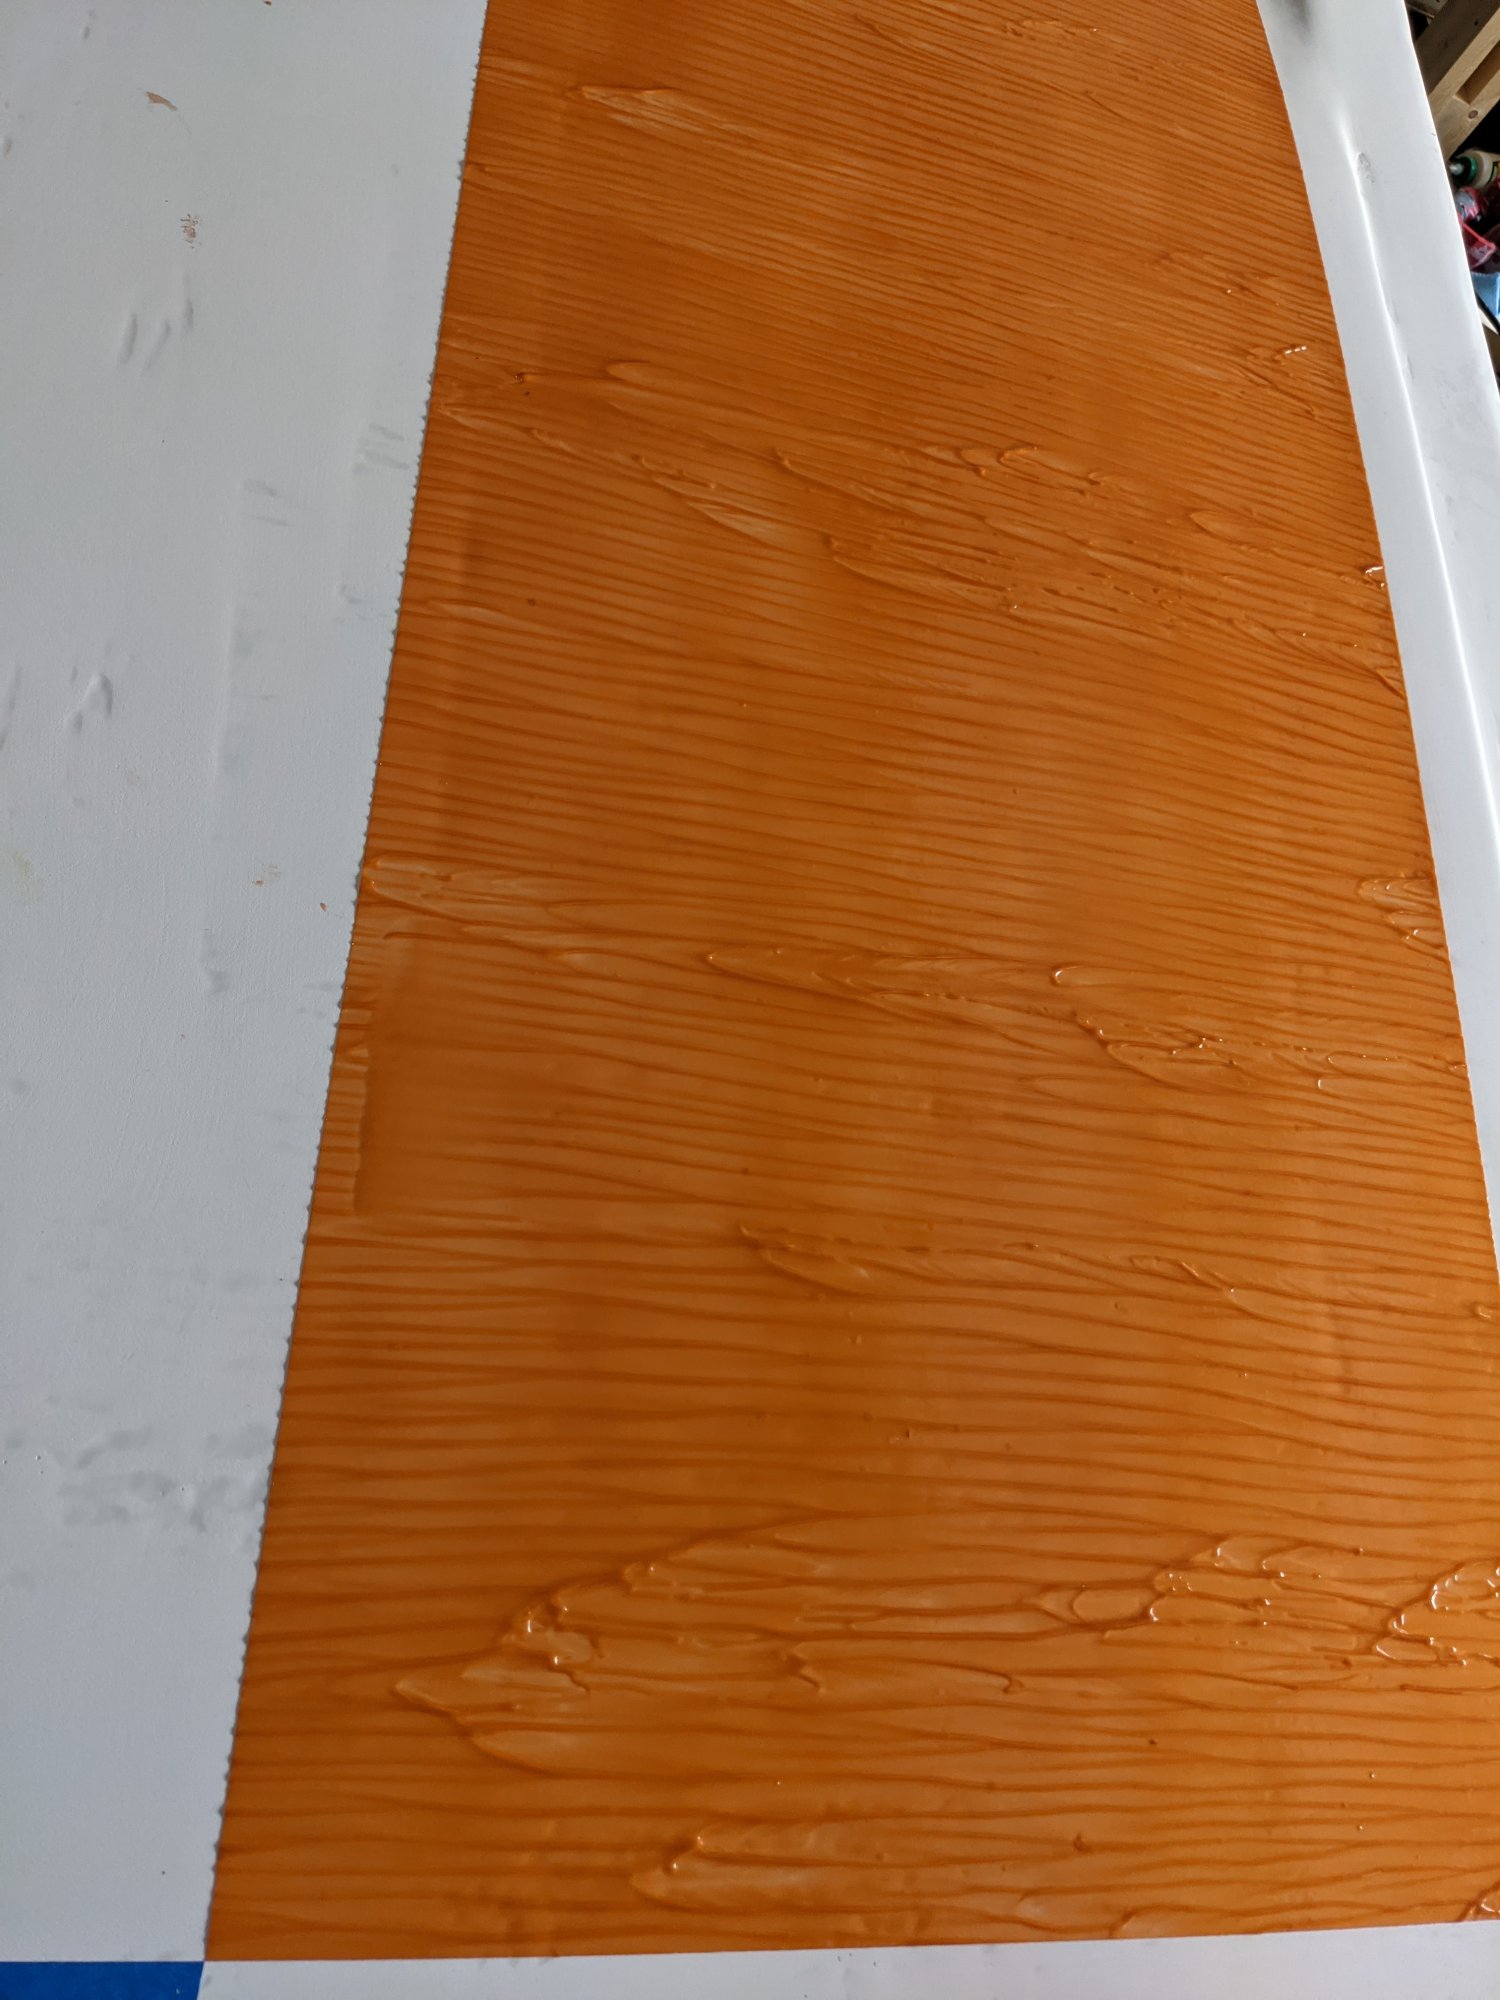
Going for something other than feet burning grey!
I wet sanded the exposed sides down to 500 grit. Feels like a boat now") .
.
1qt will cover about 1/3 of the hood. My pigment ratio is 1/16 volume.
Going for something other than feet burning grey!
I wet sanded the exposed sides down to 500 grit. Feels like a boat now
.
It lost some of its curve so the "wings" are sticking up a bit. In process with drill/screw/still to hold the wings down.
Do not know if I am going to reconnect it to the traveler. Do not really see the point?
We are about to look at what to do with our hood. We would like to have access to and add to our deck organisers under the hood to run some extra lines back to the cockpit and also worried about the condition of the hood with some signs showing through that it might be in need of repairing. I saw a great post but can’t find it again where someone cut there hood with a circ saw - scary - across the shoulders to create two pieces as in your image MetricMountie. I like the idea of the two pieces, how do you find it works? Just dreading removing the traveller. Would love any tips on the idea of the hood being made into two pieces anyone can help me with.Finally got this together, it's a still from a video I did that too long to upload to the site.
I personally don't like the idea of cutting the Seahood in two pieces as I believe that it weakens the structure. I remove mine and rebuilt it from the inside out. The PO had dropped something heavy on it and cracked it, repaired it with a bit of sealant that leaked and soak the entire core. I have pictures of the repair if you'd like them. I recored the hood with Corecel foam and three layers of 1708 Bi-Axel fiberglass cloth. It is good and solid now. Removing the traveller was not an easy job to be sure, however, when done I had modified all the bolt connection to the cabin top and removing the traveller not is an easy thing to do. The deck organizers under the hood can take more lines than those that are led after now, all of mine were worn so I replaced all the sheaves before re-installing the hood. Sorry about the delay in answering, I haven't checked the site in a while. Karl
Thanks so much for your reply Karl and good advice. Yes I do agree that cutting the seahood could weakening it and like the idea of making the traveller easier to remove for future access instead of cutting the hood. Just need to bite the bullet the get the traveller off for the first time. I am concerned about our core so will be good to get in there and get a look at things and change our sheaves and add some. No problems with the delay just so glad to get a response as this thread took place awhile ago but has been a very helpful one. If you have any photos of the bolt connection modifications you did that would be great. Thanks againI personally don't like the idea of cutting the Seahood in two pieces as I believe that it weakens the structure. I remove mine and rebuilt it from the inside out. The PO had dropped something heavy on it and cracked it, repaired it with a bit of sealant that leaked and soak the entire core. I have pictures of the repair if you'd like them. I recored the hood with Corecel foam and three layers of 1708 Bi-Axel fiberglass cloth. It is good and solid now. Removing the traveller was not an easy job to be sure, however, when done I had modified all the bolt connection to the cabin top and removing the traveller not is an easy thing to do. The deck organizers under the hood can take more lines than those that are led after now, all of mine were worn so I replaced all the sheaves before re-installing the hood. Sorry about the delay in answering, I haven't checked the site in a while. Karl
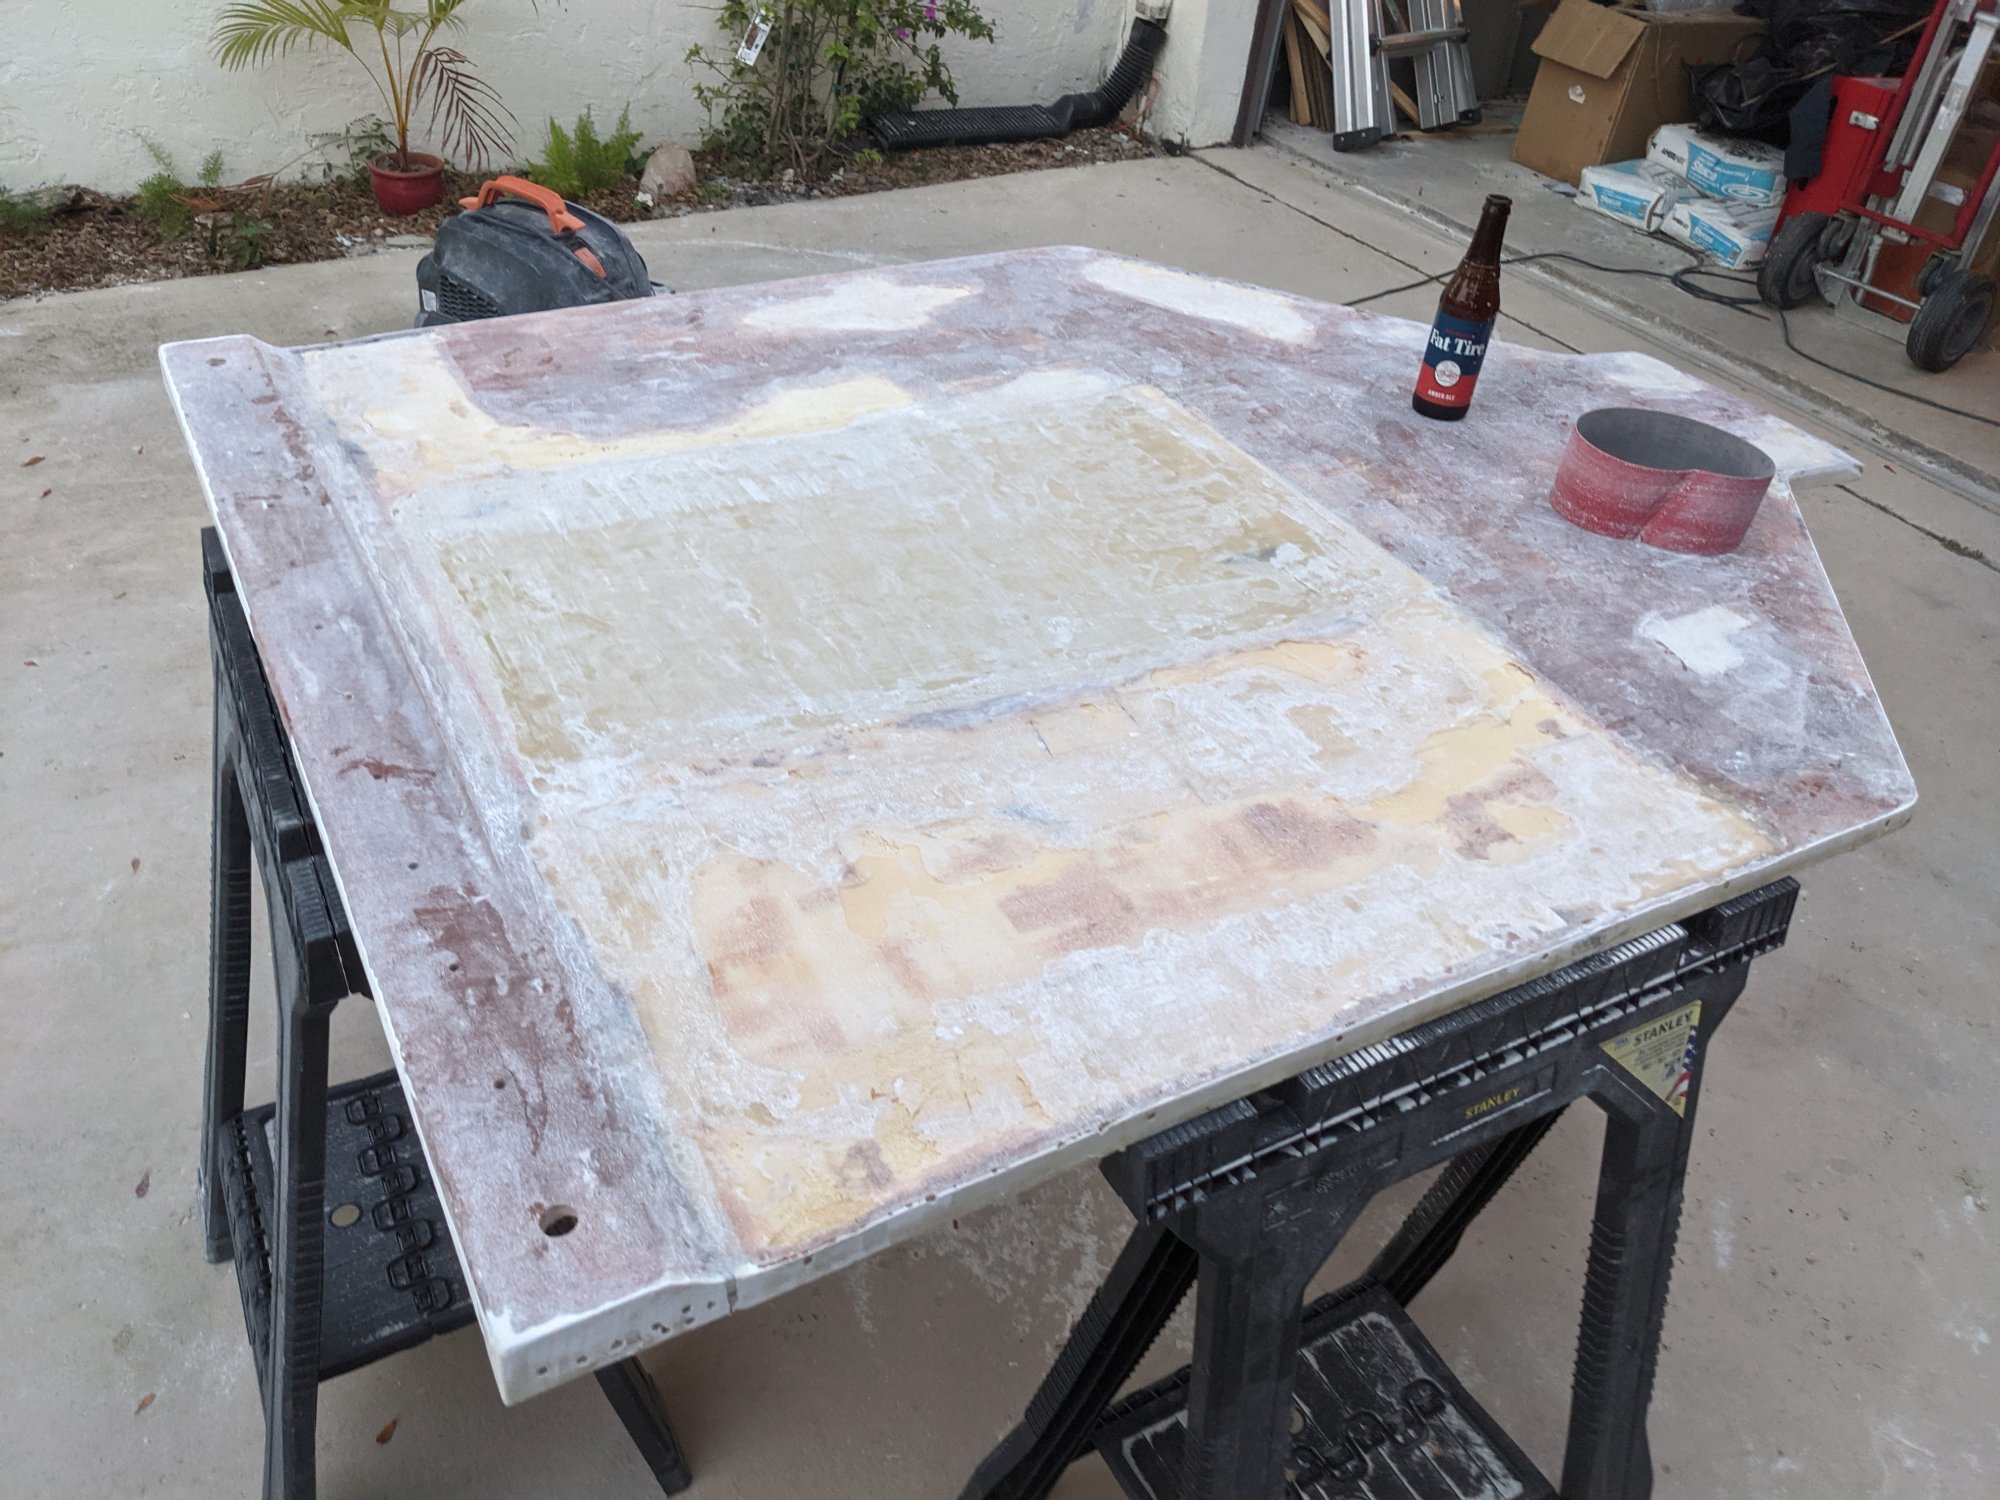
Good Morning Salty, attached is a picture of what you will probably find after removal of the seahood and the subsequent removal of the traveller from the hood. The void to the left of the picture is what you'll find after you cut away the top later of glass that encapsulates the thru bolts that secure the center of the traveller to the hood. I expected to find a solid metal bar of anything but stainless as the bolts had been a bitch to remove due galvanic reaction between the stainless bolts and what I found to be aluminum. I my case I think my boat was either a Friday (early beer day) or a Monday (hangover) production because in stead of one solid piece I found the four scrap pieces, embedded in the glass after being taped and the bolts screwed into them. I one case the bolt held nothing as they had attempted to tap between two separate pieces with the tap falling directly on the joint. I decided at that point to fill the void with several layers of glass mat and thickened epoxy then a layer of bi-axe glass as opposed to re-installing a taped piece of stainless flat stock and glassing over it. Following filling the void, I used the original hole locations in the top of the hood where the bolts went through and drilled holes through the bi-axle glass and thickened epoxy/glass mat, purchased a 1/8" piece of stainless flat stock cut to the proper length to be used as a backing plate of the new bolts. I placed the flat stock on the bottom of the hood over the fresh holes and marked the bolt positions and then drilled the flat stock to match. When the hood was re-installed on the foredeck I ran new stainless bolts through the traveller and the hood which came through just above the plexiglass companionway slider. I then used both flat stainless steel nuts to firmly attached the traveller to the hood using the drilled stainless flat stock as a backing plate. I finished the job using stainless acorn nuts on the ends of the thru bolts to avoid any problems with scratches to the companionway plexi or to lines etc. that may come in contact with the bolt ends. Just as an aside to this whole story, the traveller is a bitch to remove due to galvanic corrosion of the stainless bolts and the aluminum fittings that they secure to. When you attempt to remove the traveller use an impacting drill and the best bits you can find to try and rattle the bolts that attach the traveller to the cabin top, if this doesn't succeed don't totally screw the bolt heads with trying other methods. Call a welder with portable equipment and have him weld nuts to the top of the bolts by inserting the welding rod inside the entire surface of the nuts. When welded on give the top of the nut a sharp crack with a hammer and then using a proper sized socket and ratchet try and turn the bolts out, it may take a bit of back and forth but they will eventually release and turn out. When you have the traveller off and hood repaired find and use as many stainless bolts as are required that have a head for use with an Allen key and cover the end of the bolts in Never Seize prior to re-installing. Life will be so much simpler should you need to disassemble things another time. Hope this helps. Karl
Attachments
-
 1.9 MB Views: 129
Again, thank you so much for all that wonderful information Karl. This forum is so helpful and I really appreciate all your effort, I still have a lot of reading to do!Good Morning Salty, attached is a picture of what you will probably find after removal of the seahood and the subsequent removal of the traveller from the hood. The void to the left of the picture is what you'll find after you cut away the top later of glass that encapsulates the thru bolts that secure the center of the traveller to the hood. I expected to find a solid metal bar of anything but stainless as the bolts had been a bitch to remove due galvanic reaction between the stainless bolts and what I found to be aluminum. I my case I think my boat was either a Friday (early beer day) or a Monday (hangover) production because in stead of one solid piece I found the four scrap pieces, embedded in the glass after being taped and the bolts screwed into them. I one case the bolt held nothing as they had attempted to tap between two separate pieces with the tap falling directly on the joint. I decided at that point to fill the void with several layers of glass mat and thickened epoxy then a layer of bi-axe glass as opposed to re-installing a taped piece of stainless flat stock and glassing over it. Following filling the void, I used the original hole locations in the top of the hood where the bolts went through and drilled holes through the bi-axle glass and thickened epoxy/glass mat, purchased a 1/8" piece of stainless flat stock cut to the proper length to be used as a backing plate of the new bolts. I placed the flat stock on the bottom of the hood over the fresh holes and marked the bolt positions and then drilled the flat stock to match. When the hood was re-installed on the foredeck I ran new stainless bolts through the traveller and the hood which came through just above the plexiglass companionway slider. I then used both flat stainless steel nuts to firmly attached the traveller to the hood using the drilled stainless flat stock as a backing plate. I finished the job using stainless acorn nuts on the ends of the thru bolts to avoid any problems with scratches to the companionway plexi or to lines etc. that may come in contact with the bolt ends. Just as an aside to this whole story, the traveller is a bitch to remove due to galvanic corrosion of the stainless bolts and the aluminum fittings that they secure to. When you attempt to remove the traveller use an impacting drill and the best bits you can find to try and rattle the bolts that attach the traveller to the cabin top, if this doesn't succeed don't totally screw the bolt heads with trying other methods. Call a welder with portable equipment and have him weld nuts to the top of the bolts by inserting the welding rod inside the entire surface of the nuts. When welded on give the top of the nut a sharp crack with a hammer and then using a proper sized socket and ratchet try and turn the bolts out, it may take a bit of back and forth but they will eventually release and turn out. When you have the traveller off and hood repaired find and use as many stainless bolts as are required that have a head for use with an Allen key and cover the end of the bolts in Never Seize prior to re-installing. Life will be so much simpler should you need to disassemble things another time. Hope this helps. Karl
We brought the boat over 2 years ago and absolutely love her. She was in good shape at the time although surprisingly we have worked on her non stop since but happily so with lots of great improvement. I have looked from time to time at this forum but are now realising how much value is here. I do envy all the owners and advice about sourcing parts as Australia is very limited this way, we are metric and 240 power, we often need to be inventive. Coincidentally I was looking at images the other day posted by Chris Powell and realised it was our boat, he was the PO and I recognised the orange halyard in the photo as ours in his post about removing the sea hood, amazing and great in that he has done it so I am hoping it will be easier for us now.
Classic about the Friday or Monday production hiccups, excuse the pun and yes that surprises me of Hunter, we will be fitting ours up the way you have to be sure it’s strong and easier for future access, thanks for the photos, they certainly help.
We are so happy generally with the design of the boat, her liveability, sail-ability, she was way ahead of her time for a 95 model. Have done many cosmetic and more structural improvements.
When we purchased the boat, we hired a not so good (sadly) skipper to bring her to her new berth and despite our best efforts to be thorough and safe we left late due to him and ended up coming through the heads, (the rip) into Port Philip Bay from Bass Strait, they are treacherous and notoriously dangerous waters and we came through on the wrong tide, standing waves and following seas the towered up behind us. My husband helmed as the skipper was sea sick!?! and although very scary we managed and it sealed our faith in our new boat as one we could trust.
Would recommend the Hunter 40.5 to anyone and she is the envy of many in our Marina who have newer more expensive yachts.
Attachments
-
 296.9 KB Views: 107
 -
 278.2 KB Views: 109
 -
 219 KB Views: 109
We know all about the metric system here as well, we went metric many years ago, we colonials are all different in one way or another. We can source things quite easily from various sources but I've had to be inventive on several occasions and have had to figure stuff out such as the traveller issue. Don't hesitate to contact me via email if you have more questions, email address is : metricmountie@hotmail.com Modifications are the name of the game on many levels, we had a 35.5 Legend prior to the 40.5, she was lost to a hurricane, some of the mods I made to her I want to incorporate into the 40.5, one such is the removal of the flimsy rear bulkhead in the owners cabin, I made the one on the 35.5 in two pieces which made it completely removeable. Much easier to service the aft of the boat with this mod. All the best and again message at any time.
Hi Karl, yes of course you are metric in Canada! So sad to have lost your 35.5 in a hurricane, hard after doing so much work to her too. Thanks for your email and look forward to chatting with you, sounds like you have done some great mods and will be a good go to if we get stuck. Here’s, Jen