Hunter 306 window replacement

Arbee

.
May 22, 2019
38
Hunter 306 571 Westernport Vic
I'm planning (and have ordered) new port lenses and gaskets for our H306. I was going to replace the port and starboard fixed windows as they are also badly crazed. Unfortunately, the one local expert tradesman in this area has just exited the business, so I'm wondering if this is a reasonable DIY project.

I could order the pre-cut windows from the Hunter shop but shipping cost to Oz will be expensive. So, removing the old windows, getting a local shop to cut replacements, then successfully fitting them myself - anyone have any encouraging DIY experience with this to share (with no subsequent leaks)? Thanks.

Robert
2004 Hunter 306 "Charisma", Melbourne, Victoria, Australia
 
Last edited:
Jan 4, 2006
6,600
Hunter 310 West Vancouver, B.C.
Do you have a hobby woodworking shop ? If you have the power tools to go with it (table saw, small drill press, clamps and router) you're on your way.

I replaced all of my opening ports and hatch lenses from 8 mil smoke tinted acrylic with no problems. All set up for replacing two fixed ports at water level.
 

Arbee

.
May 22, 2019
38
Hunter 306 571 Westernport Vic
Do you have a hobby woodworking shop ? If you have the power tools to go with it (table saw, small drill press, clamps and router) you're on your way.

I replaced all of my opening ports and hatch lenses from 8 mil smoke tinted acrylic with no problems. All set up for replacing two fixed ports at water level.
Sorry Ralph, no workshop and minimal basic skills! Happy to get the windows professionally cut, mainly concerned about the process of attaching and sealing them successfully.
 
Jan 4, 2006
6,600
Hunter 310 West Vancouver, B.C.
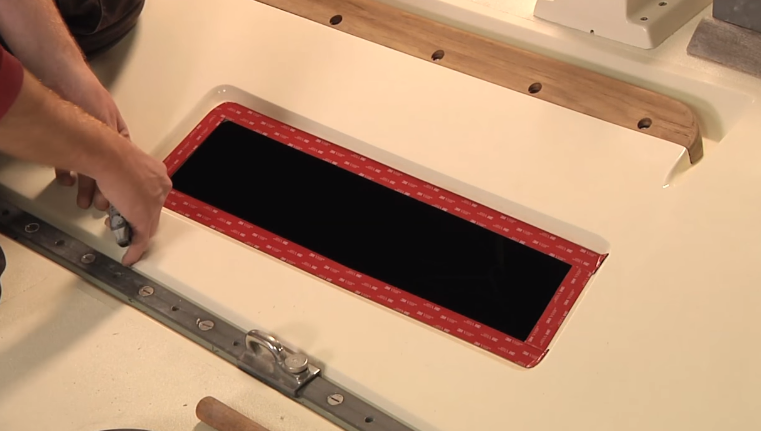
This is considered to be the bible of fixed port and hatchlight installation. This is the procedure I will use when I come to the two portlights I need to install


Tim22

.
Jun 16, 2014
255
Hunter 310 Ottawa
Ralph’s video is the method I used to replace the fixed port lights on my Hunter 310. I templated the existing ports onto craft paper and had a local shop cut them. Some also had bevels which they also did. Worst part of replacing them was removing the old ones but with a little perseverance and patience they came out. After that I just followed the video.