Thought I'd post pics of my attempt at chain plate removal. First describing the rod removal....
Luckily, I was able to unscrew the starboard rod out after applying penetrating lubricate several times over a few months. The port chainplate rod was completely detached and flopping around in the fiberglass stringer with the 2" coupling nut still attached. I used an angle grinder to cut the weld points from each side of the nut so I could lift the chain plate rod out of the fiberglass stringer's elongated hole, without damaging the fiberglass. I then used the angle grinder to make a few full-length slits in the coupling nut to the point I could just see the threads appearing. I sprayed the new slits with penetrating fluid. With one person on each end of the rod we were able to remove the nut and then pull the rod out of the boat. Note that the chainplate rod's threaded ends have the threads knocked down so cutting into the nut didn't damage them!
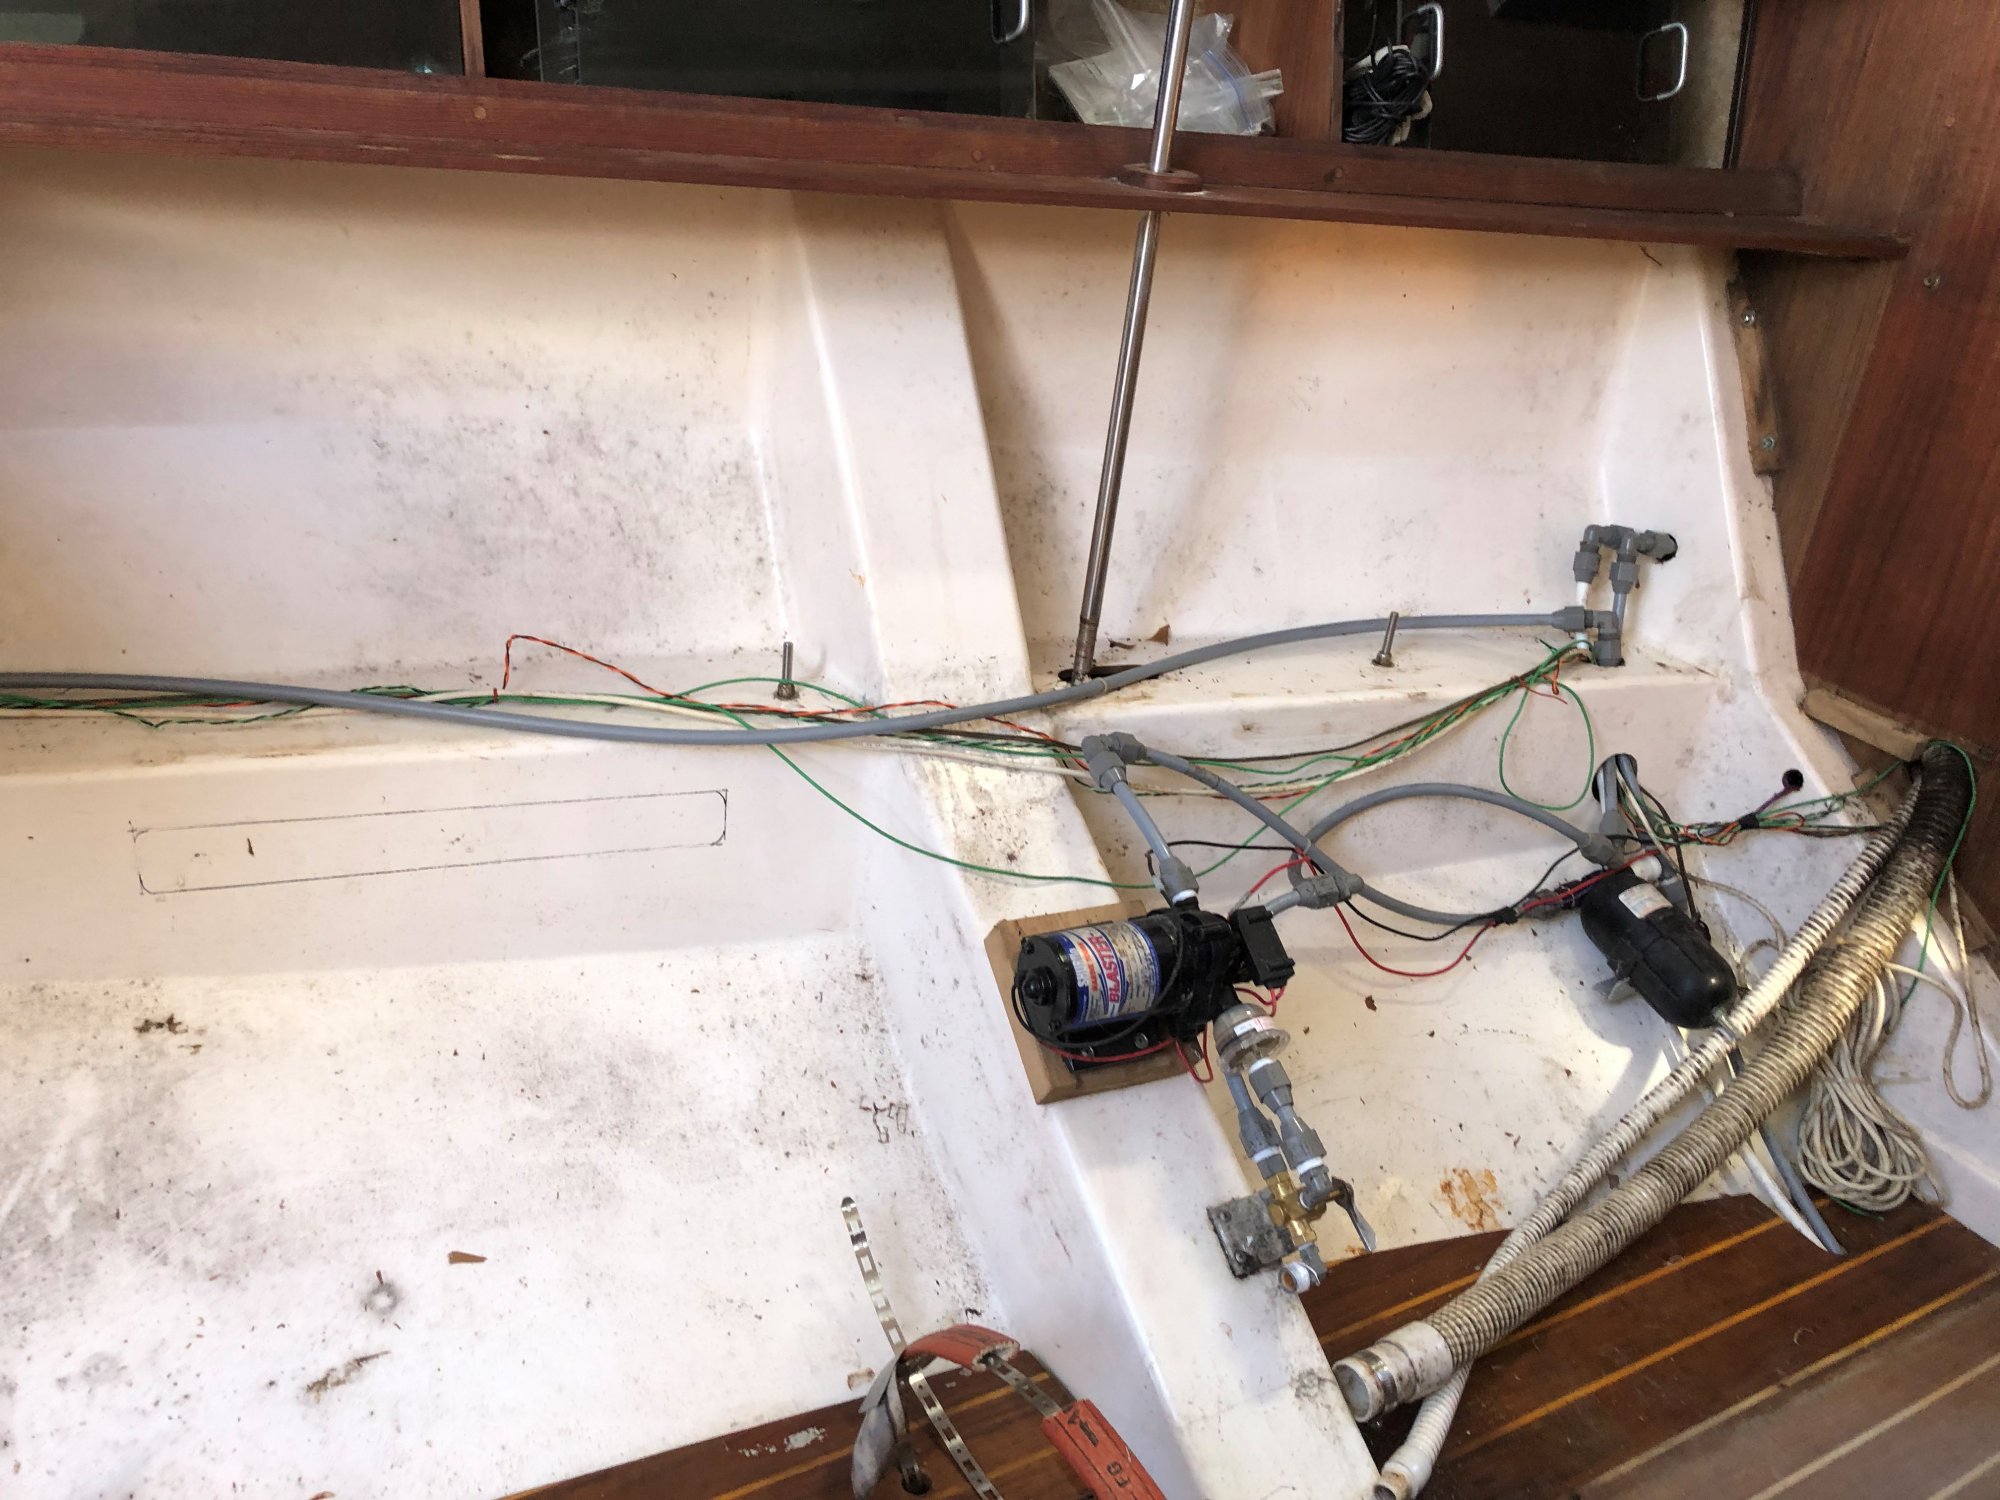
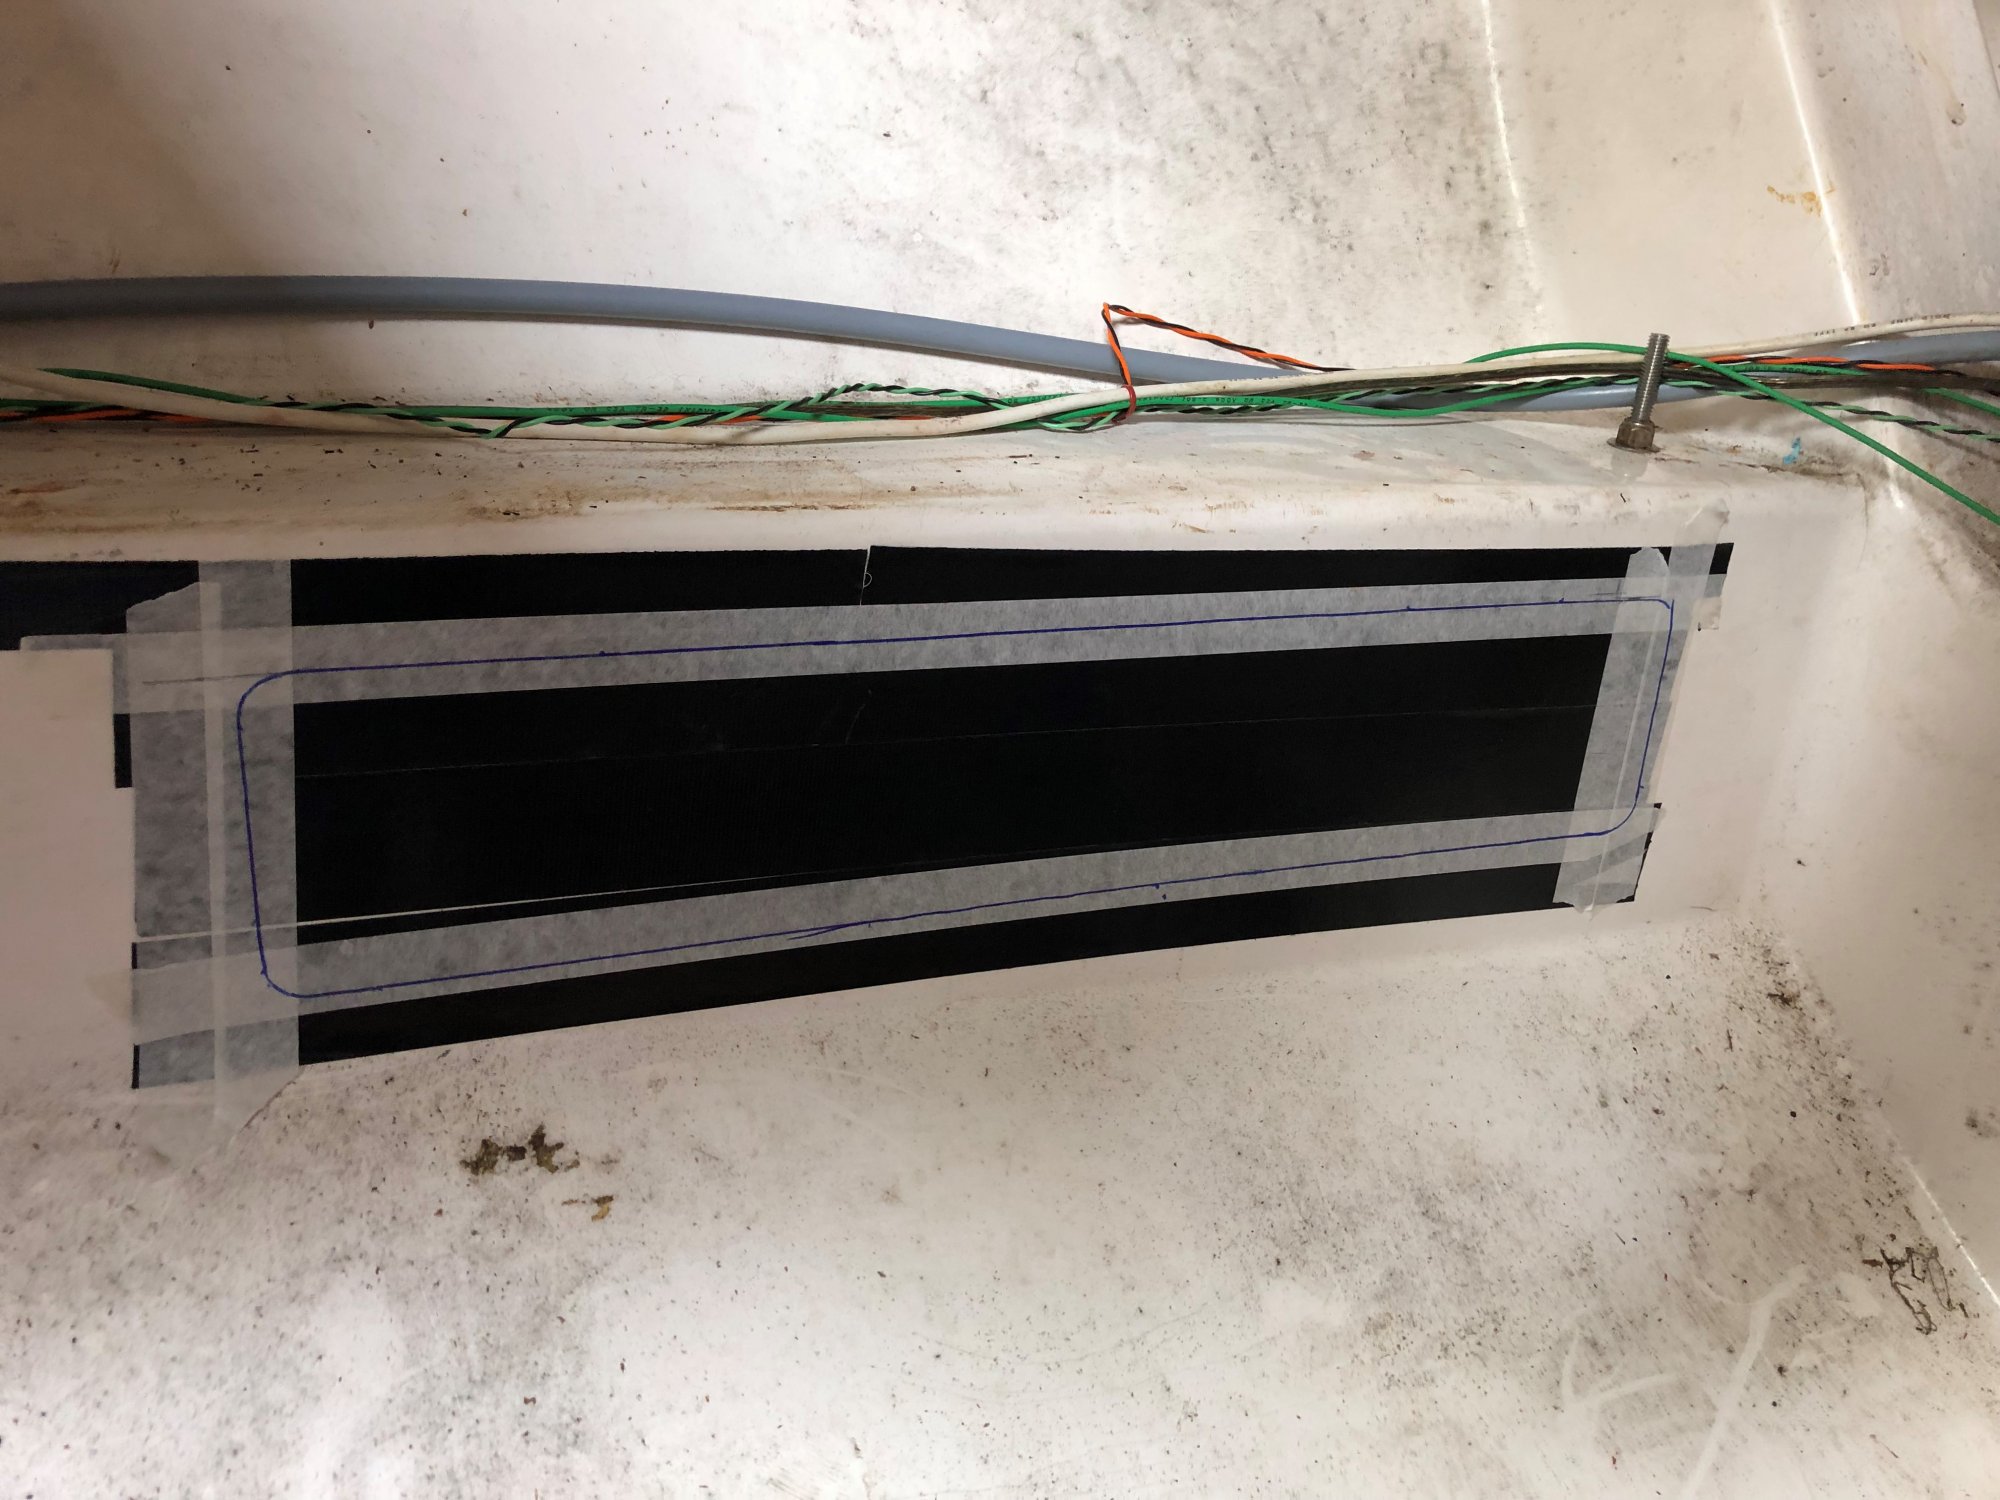
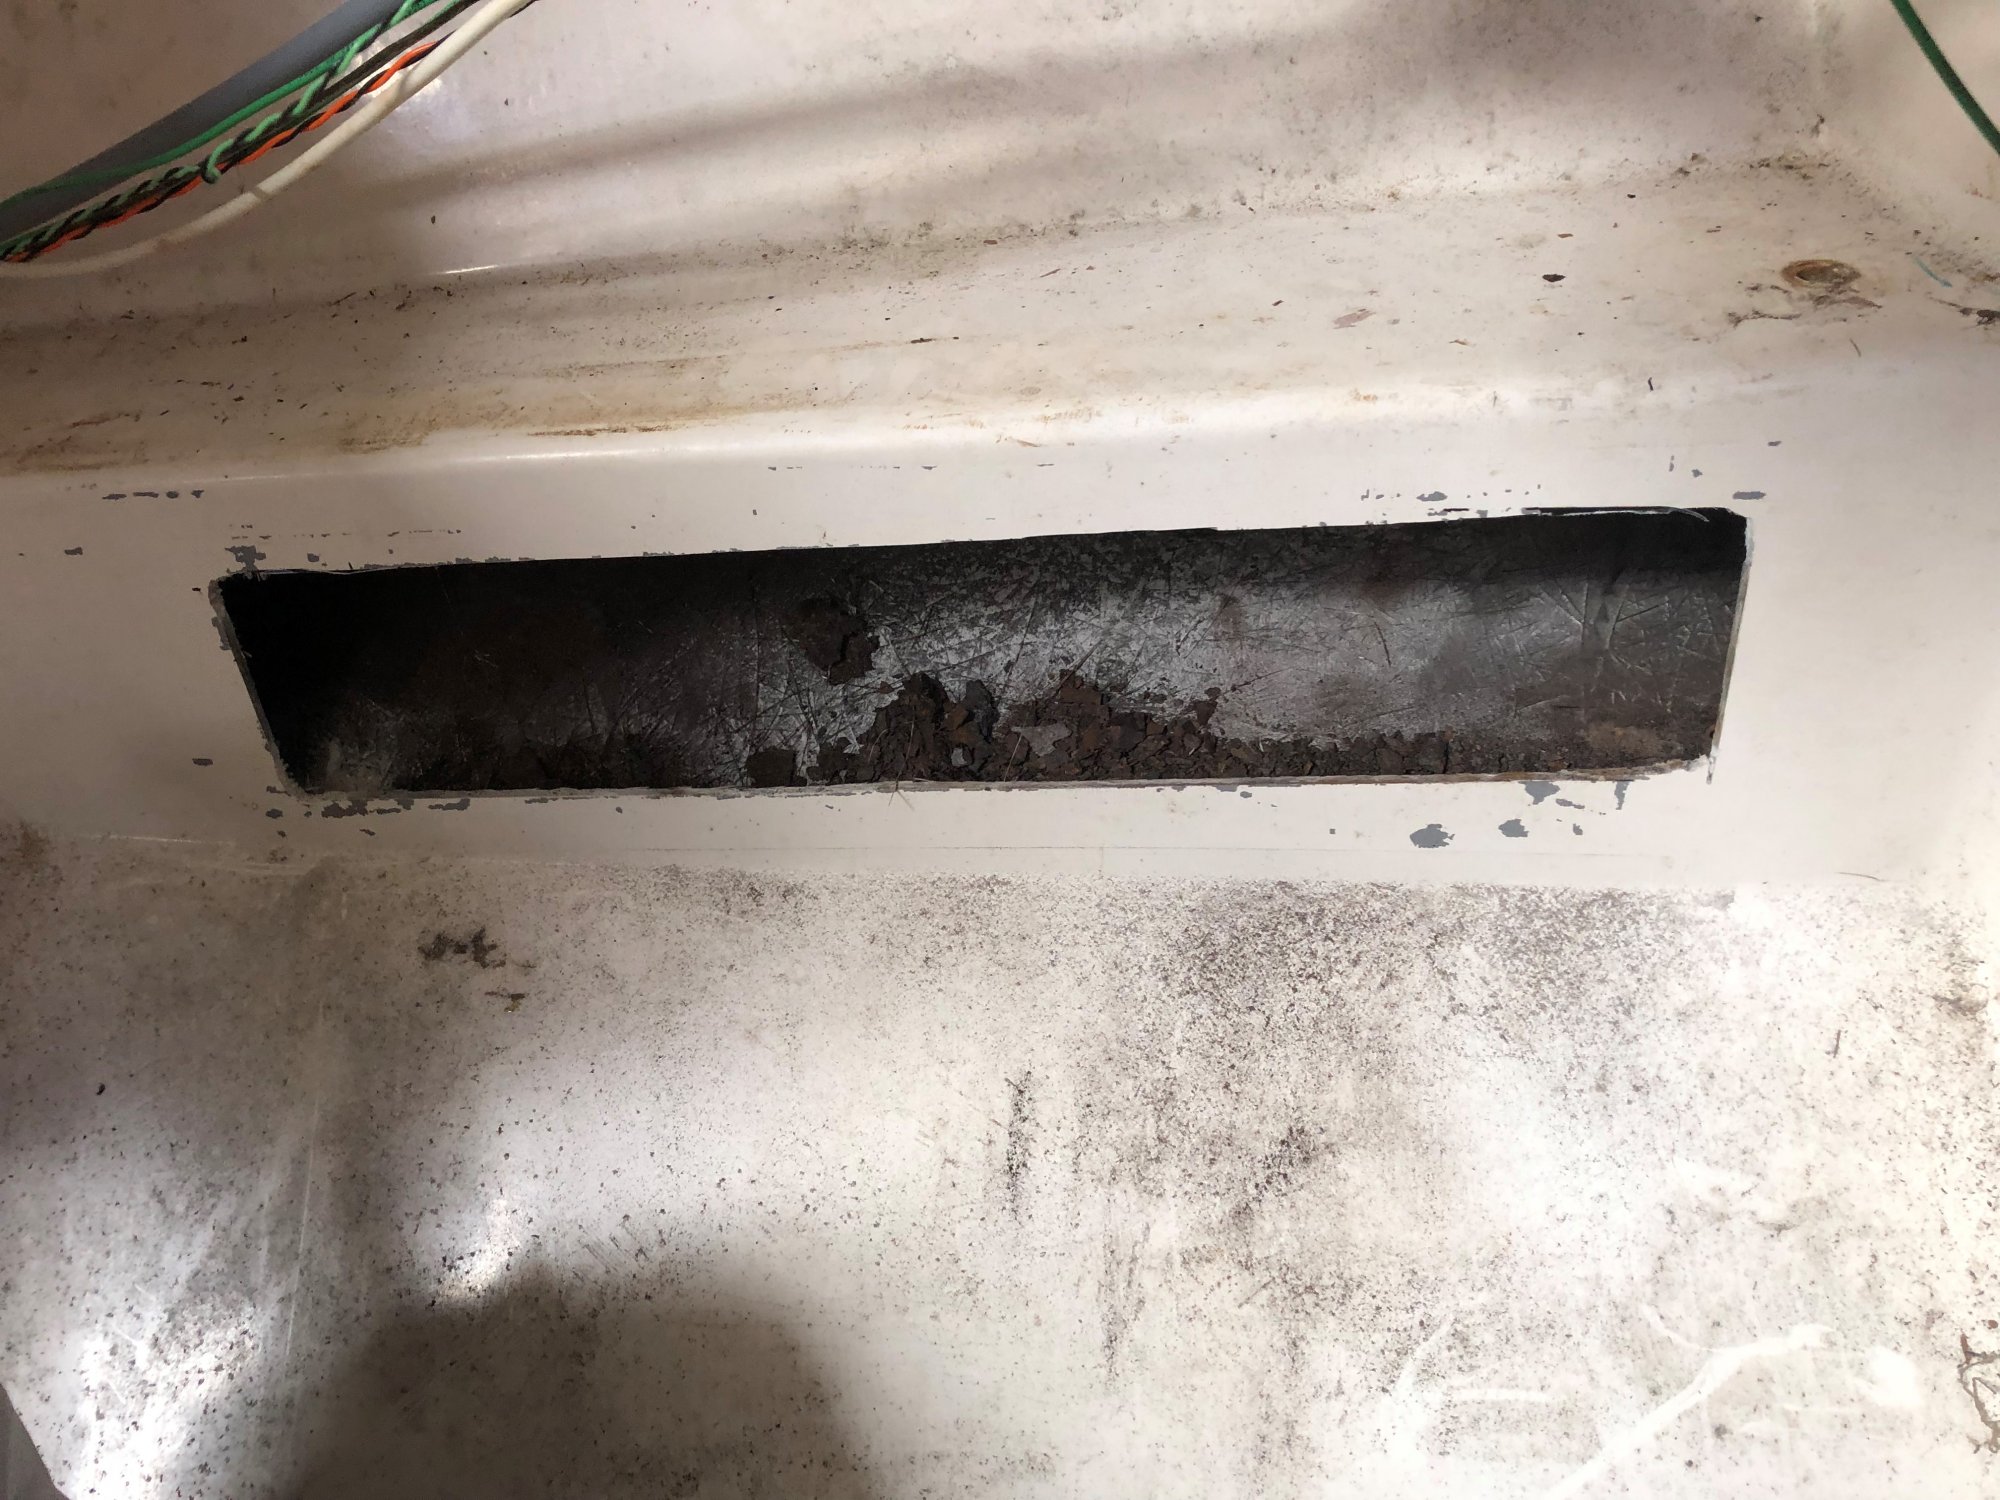
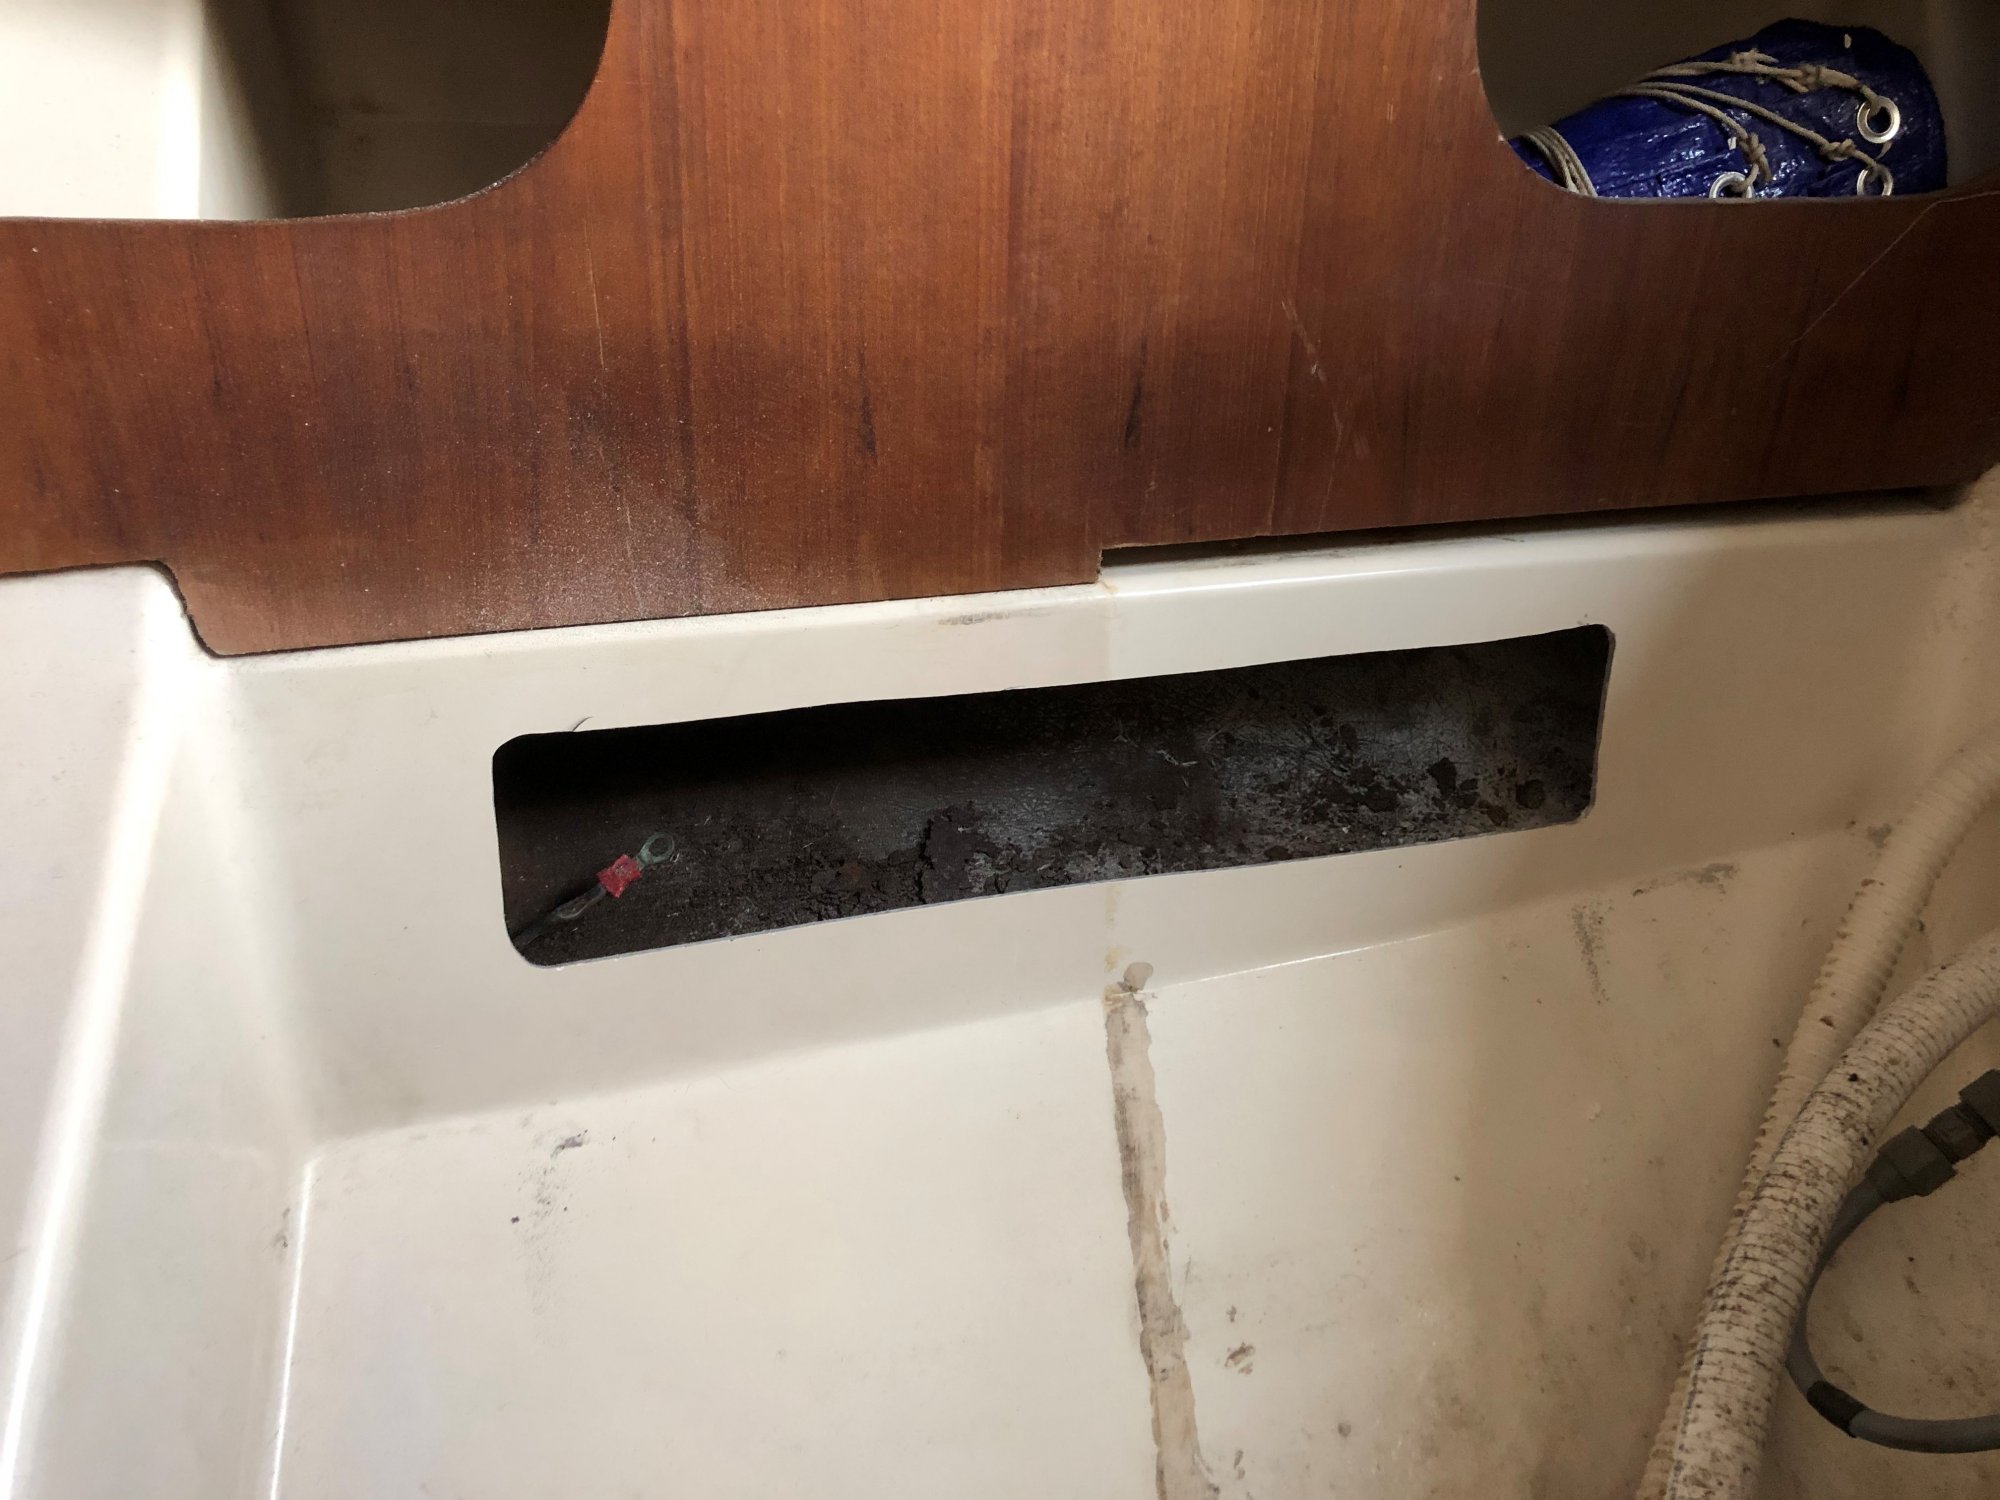
For the chainplate removal I figured I'd need to make a 24 x 4.125 access hole to pull the chainplate out. I placed the holes in the stringer chamber aft of the where the chainplate is located (See china marker outline in photo 1). I made a 24 x 4.125 template with 1/2 inch radius corners. I'd use 1" radius if I had to do this again. I protected the fiberglass with a layer of heavy duty tape, and a layer of masking tape for the template marks (See photo 2). The template was placed 1.75 inches below the fiberglass stringer, and 4 inches aft of the fiberglass rib. I used an angle grinder with a 1/8 inch thick steel cutting blade for the tops and sides and a dremel 561 cutting bit for the corners (Photo 3 and 4). After that it was just a matter of loosening and removing the two carriage bolts that hold the chainplate in place. I did this by loosening the bolt closest to the new hole, and then retightening it somewhat. Loosen the bolt farthest away dropping it into the abyss. Finally remove the bolt closest to the hole and pull the chainplate out. (Photo5). Easy peasy...
One odd item was that the lighting protection wire(s) didn't appear to have ever been connected to the chainplate! I couldn't find a connection point on either chainplate. They were just flopping around in the stringer.
After removing the chainplates, I used a 2" sanding wheel on a drill and a small sanding wheel on a dremel to sand the edges of the access hole rounding the corners. I don't plan on patching the holes and may install a short 24 inch long 4" U channel in that location. I'll be using the 4" U channel to replace the chainplate. I'm still working on that!

Luckily, I was able to unscrew the starboard rod out after applying penetrating lubricate several times over a few months. The port chainplate rod was completely detached and flopping around in the fiberglass stringer with the 2" coupling nut still attached. I used an angle grinder to cut the weld points from each side of the nut so I could lift the chain plate rod out of the fiberglass stringer's elongated hole, without damaging the fiberglass. I then used the angle grinder to make a few full-length slits in the coupling nut to the point I could just see the threads appearing. I sprayed the new slits with penetrating fluid. With one person on each end of the rod we were able to remove the nut and then pull the rod out of the boat. Note that the chainplate rod's threaded ends have the threads knocked down so cutting into the nut didn't damage them!
For the chainplate removal I figured I'd need to make a 24 x 4.125 access hole to pull the chainplate out. I placed the holes in the stringer chamber aft of the where the chainplate is located (See china marker outline in photo 1). I made a 24 x 4.125 template with 1/2 inch radius corners. I'd use 1" radius if I had to do this again. I protected the fiberglass with a layer of heavy duty tape, and a layer of masking tape for the template marks (See photo 2). The template was placed 1.75 inches below the fiberglass stringer, and 4 inches aft of the fiberglass rib. I used an angle grinder with a 1/8 inch thick steel cutting blade for the tops and sides and a dremel 561 cutting bit for the corners (Photo 3 and 4). After that it was just a matter of loosening and removing the two carriage bolts that hold the chainplate in place. I did this by loosening the bolt closest to the new hole, and then retightening it somewhat. Loosen the bolt farthest away dropping it into the abyss. Finally remove the bolt closest to the hole and pull the chainplate out. (Photo5). Easy peasy...
One odd item was that the lighting protection wire(s) didn't appear to have ever been connected to the chainplate! I couldn't find a connection point on either chainplate. They were just flopping around in the stringer.
After removing the chainplates, I used a 2" sanding wheel on a drill and a small sanding wheel on a dremel to sand the edges of the access hole rounding the corners. I don't plan on patching the holes and may install a short 24 inch long 4" U channel in that location. I'll be using the 4" U channel to replace the chainplate. I'm still working on that!
