So maybe this technique has been suggested before now, but it might be an original idea. (or not!) I needed to replace a line that ran under my deck and through a couple of line organizers. Being the lazy, no-good sailor that I am, I didn't want to take off the cover over these organizers. So my option was to connect the old line to the new one securely enough that they don't come apart in the process.
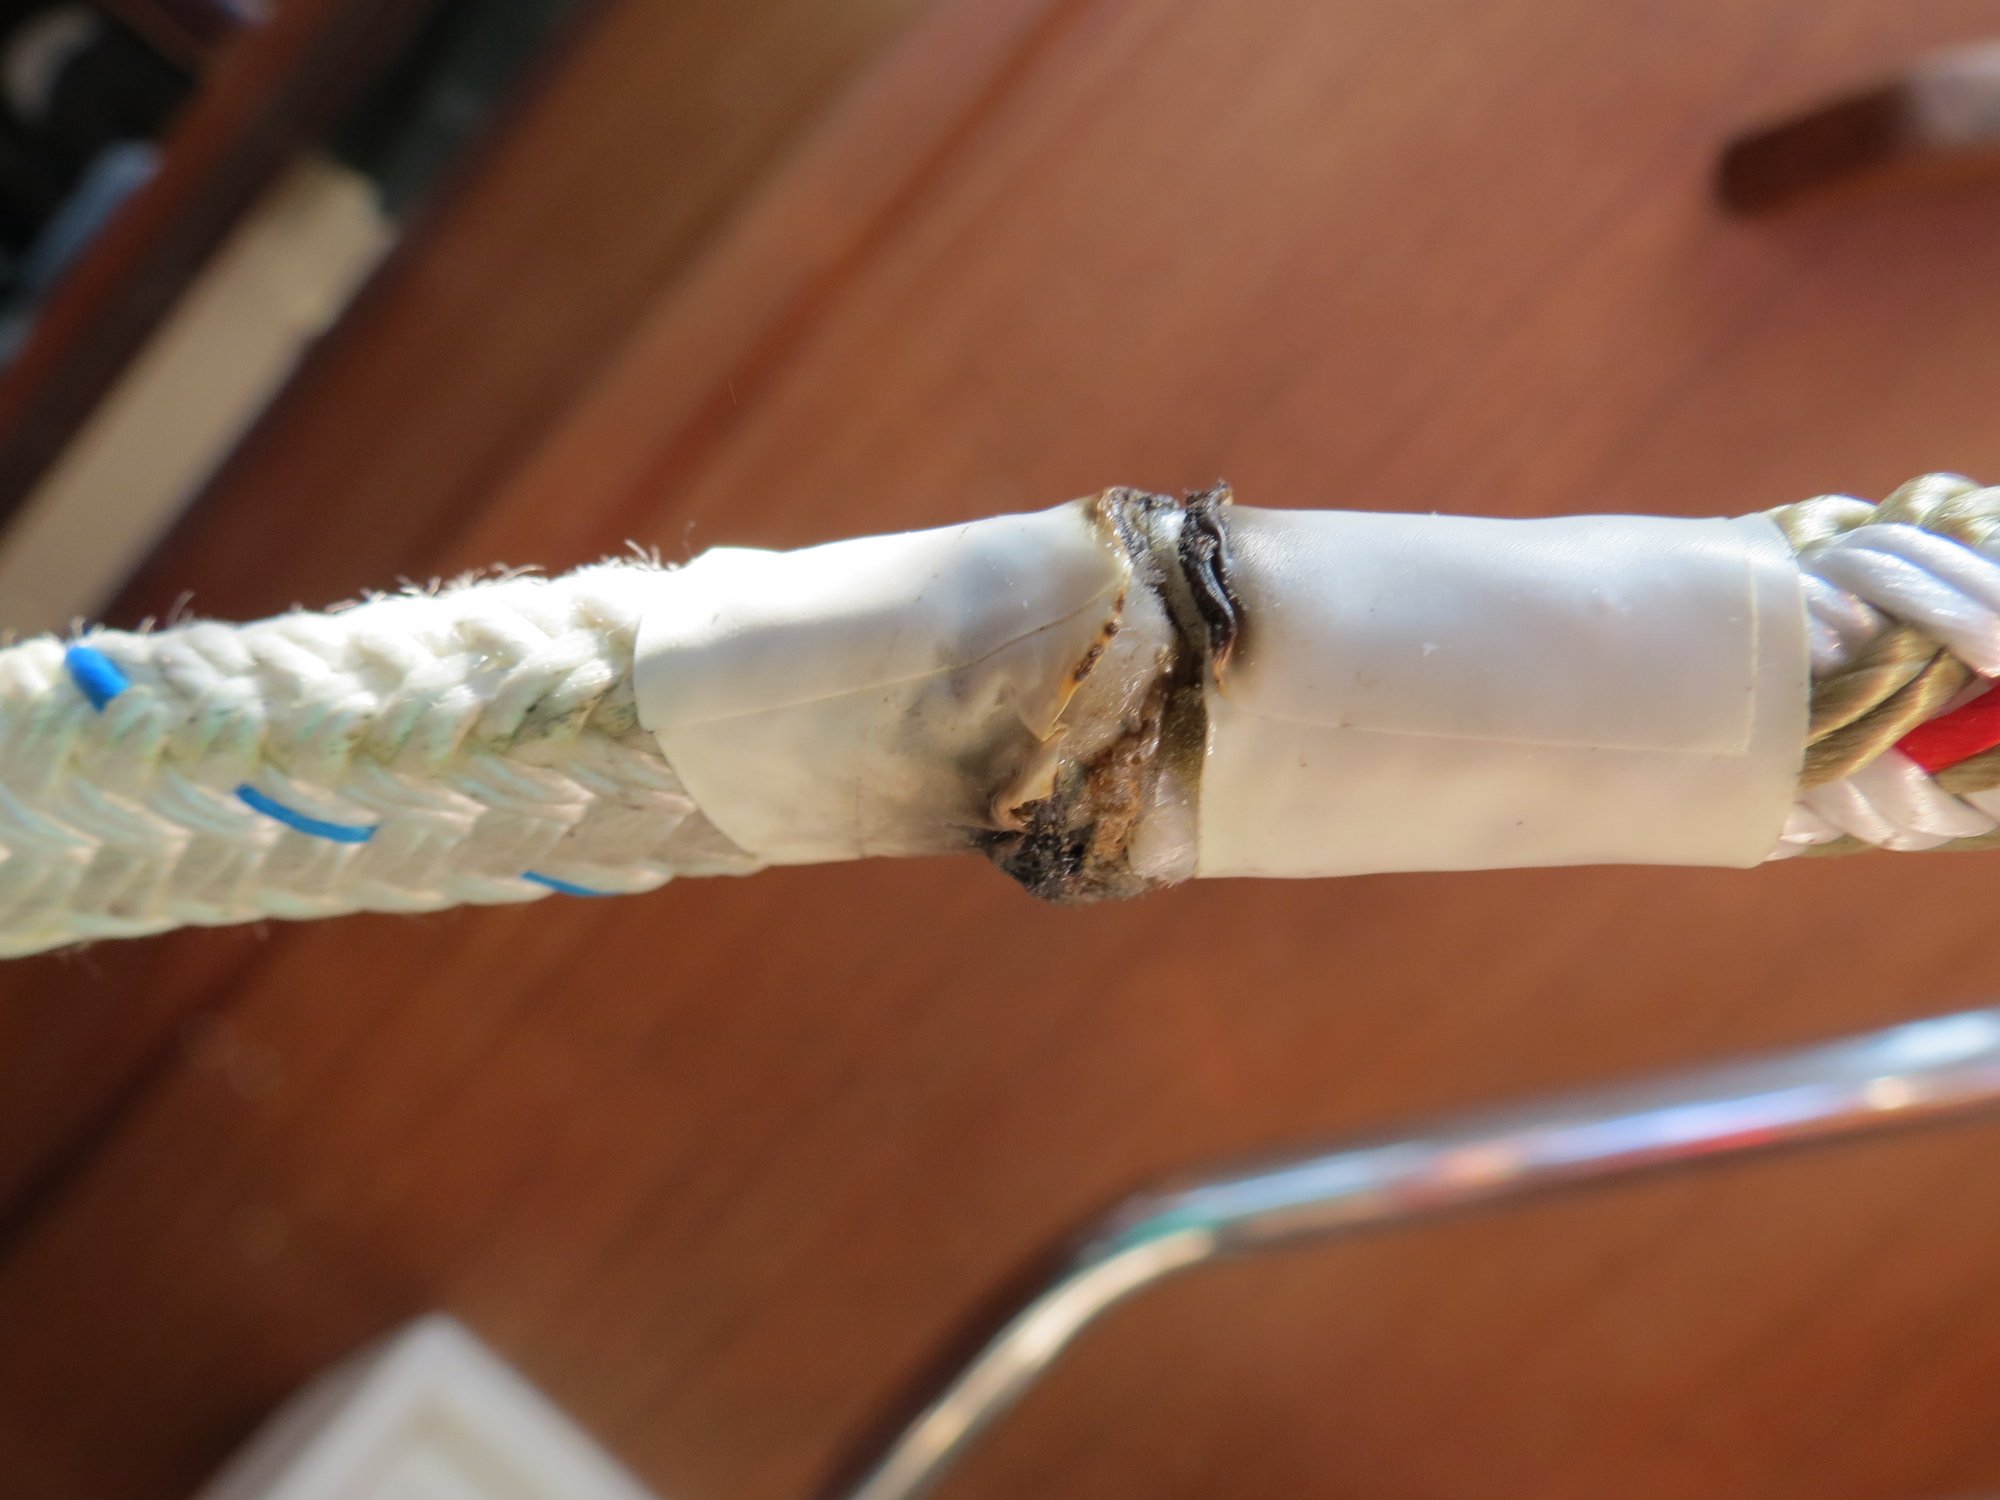
So what I did: I cut both lines off squarely and wrapped each end tightly with tape. Then I heated both ends in the flame of my stove at the same time. Before they had a chance to cool, I pushed the ends together so that they would fuse. I squeezed the splice to make it as small as possible, then I wrapped a single layer of tape tightly around the heated splice.
Testing the splice, I pulled on the lines as hard as I could and they held perfectly.
Finally I just pulled the new line through with the old line and I was done!
This was easier and faster than sewing the ends together, and much more secure than just taping the ends.
Here is a picture of the splice ready to go thru the sheaves.
Last edited: