Finally going to do it, replace the 1/2" thru-hull and ball-valve with a 3/4" seacock on the head intake. I did this years ago on the engine cooling intake. My problem is that the bilge is very shallow up forward. And not very wide. I have the ball-valve on an elbow and a filter attached to that.
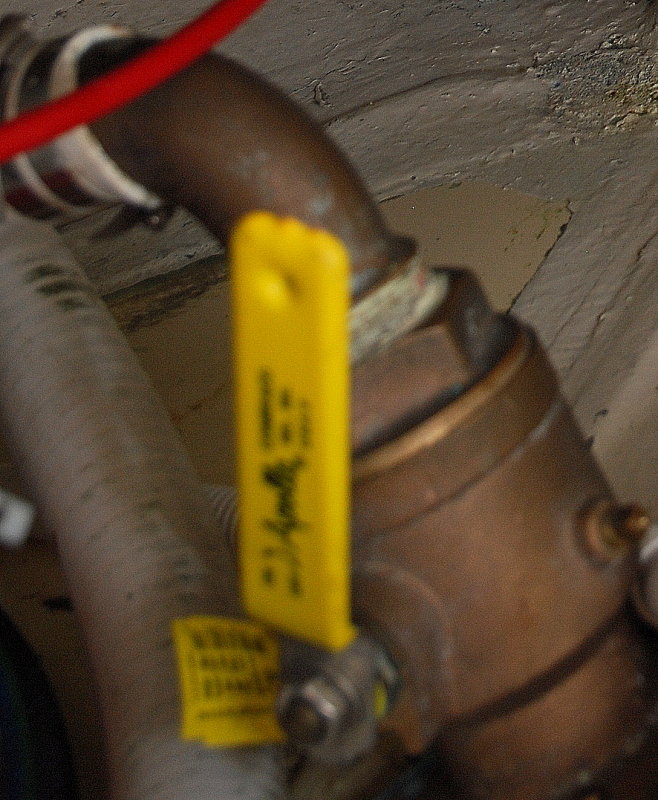
In the picture the thru-hull is bottomed out in the seacock. The gap is 1 and 9/16" inches. Our H37C hulls are very thick up there, maybe even an inch. But even with a 1/4" plywood spacer I will run out of threads.
I could use a 1/2" spacer but now I risk being too high for the elbow and the filter. So my plan is to cut the thru-hull shorter after I have fitted it to the boat. I can't see any drawbacks in shortening but thought I would ask.
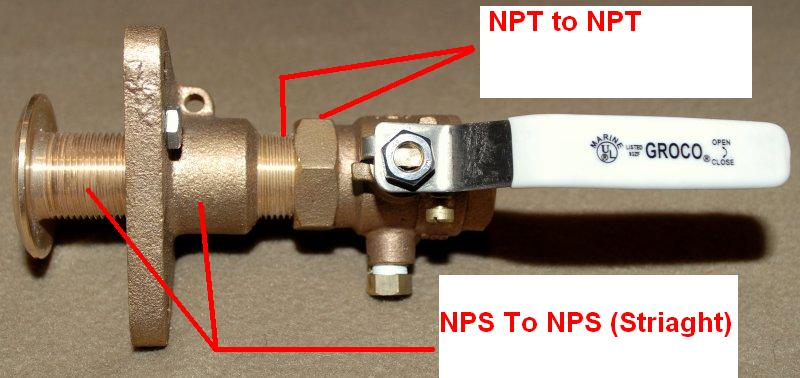
By the way, if you Google "installing a seacock" the top hit is Don Casey on BoatUS. The second hit is much better and guess who? Yep, Maine Sail. And currently I have his "picture on the right", the "non-preferred" method. But he does not mention shortening the thru-hull.
In the picture the thru-hull is bottomed out in the seacock. The gap is 1 and 9/16" inches. Our H37C hulls are very thick up there, maybe even an inch. But even with a 1/4" plywood spacer I will run out of threads.
I could use a 1/2" spacer but now I risk being too high for the elbow and the filter. So my plan is to cut the thru-hull shorter after I have fitted it to the boat. I can't see any drawbacks in shortening but thought I would ask.
By the way, if you Google "installing a seacock" the top hit is Don Casey on BoatUS. The second hit is much better and guess who? Yep, Maine Sail. And currently I have his "picture on the right", the "non-preferred" method. But he does not mention shortening the thru-hull.
Attachments
-
 26.3 KB Views: 717


 . Instead of being a 30 minute job, max, with no destruction of the thru-hulls it will be more like a full day job.


