
Hey Fellas, new guy here just up and bought a C-22 and I have a few questions. It’s supposedly a ‘72 and the mast looks like this:

Is this correct??
and I’m not sure about the rudder either

The only damage or areas of major concern is the Keel. The lock bolt mechanism is and there is evidence that someone left it tight and raised/lowered the keel. The keel is out of center in the trunk as well.
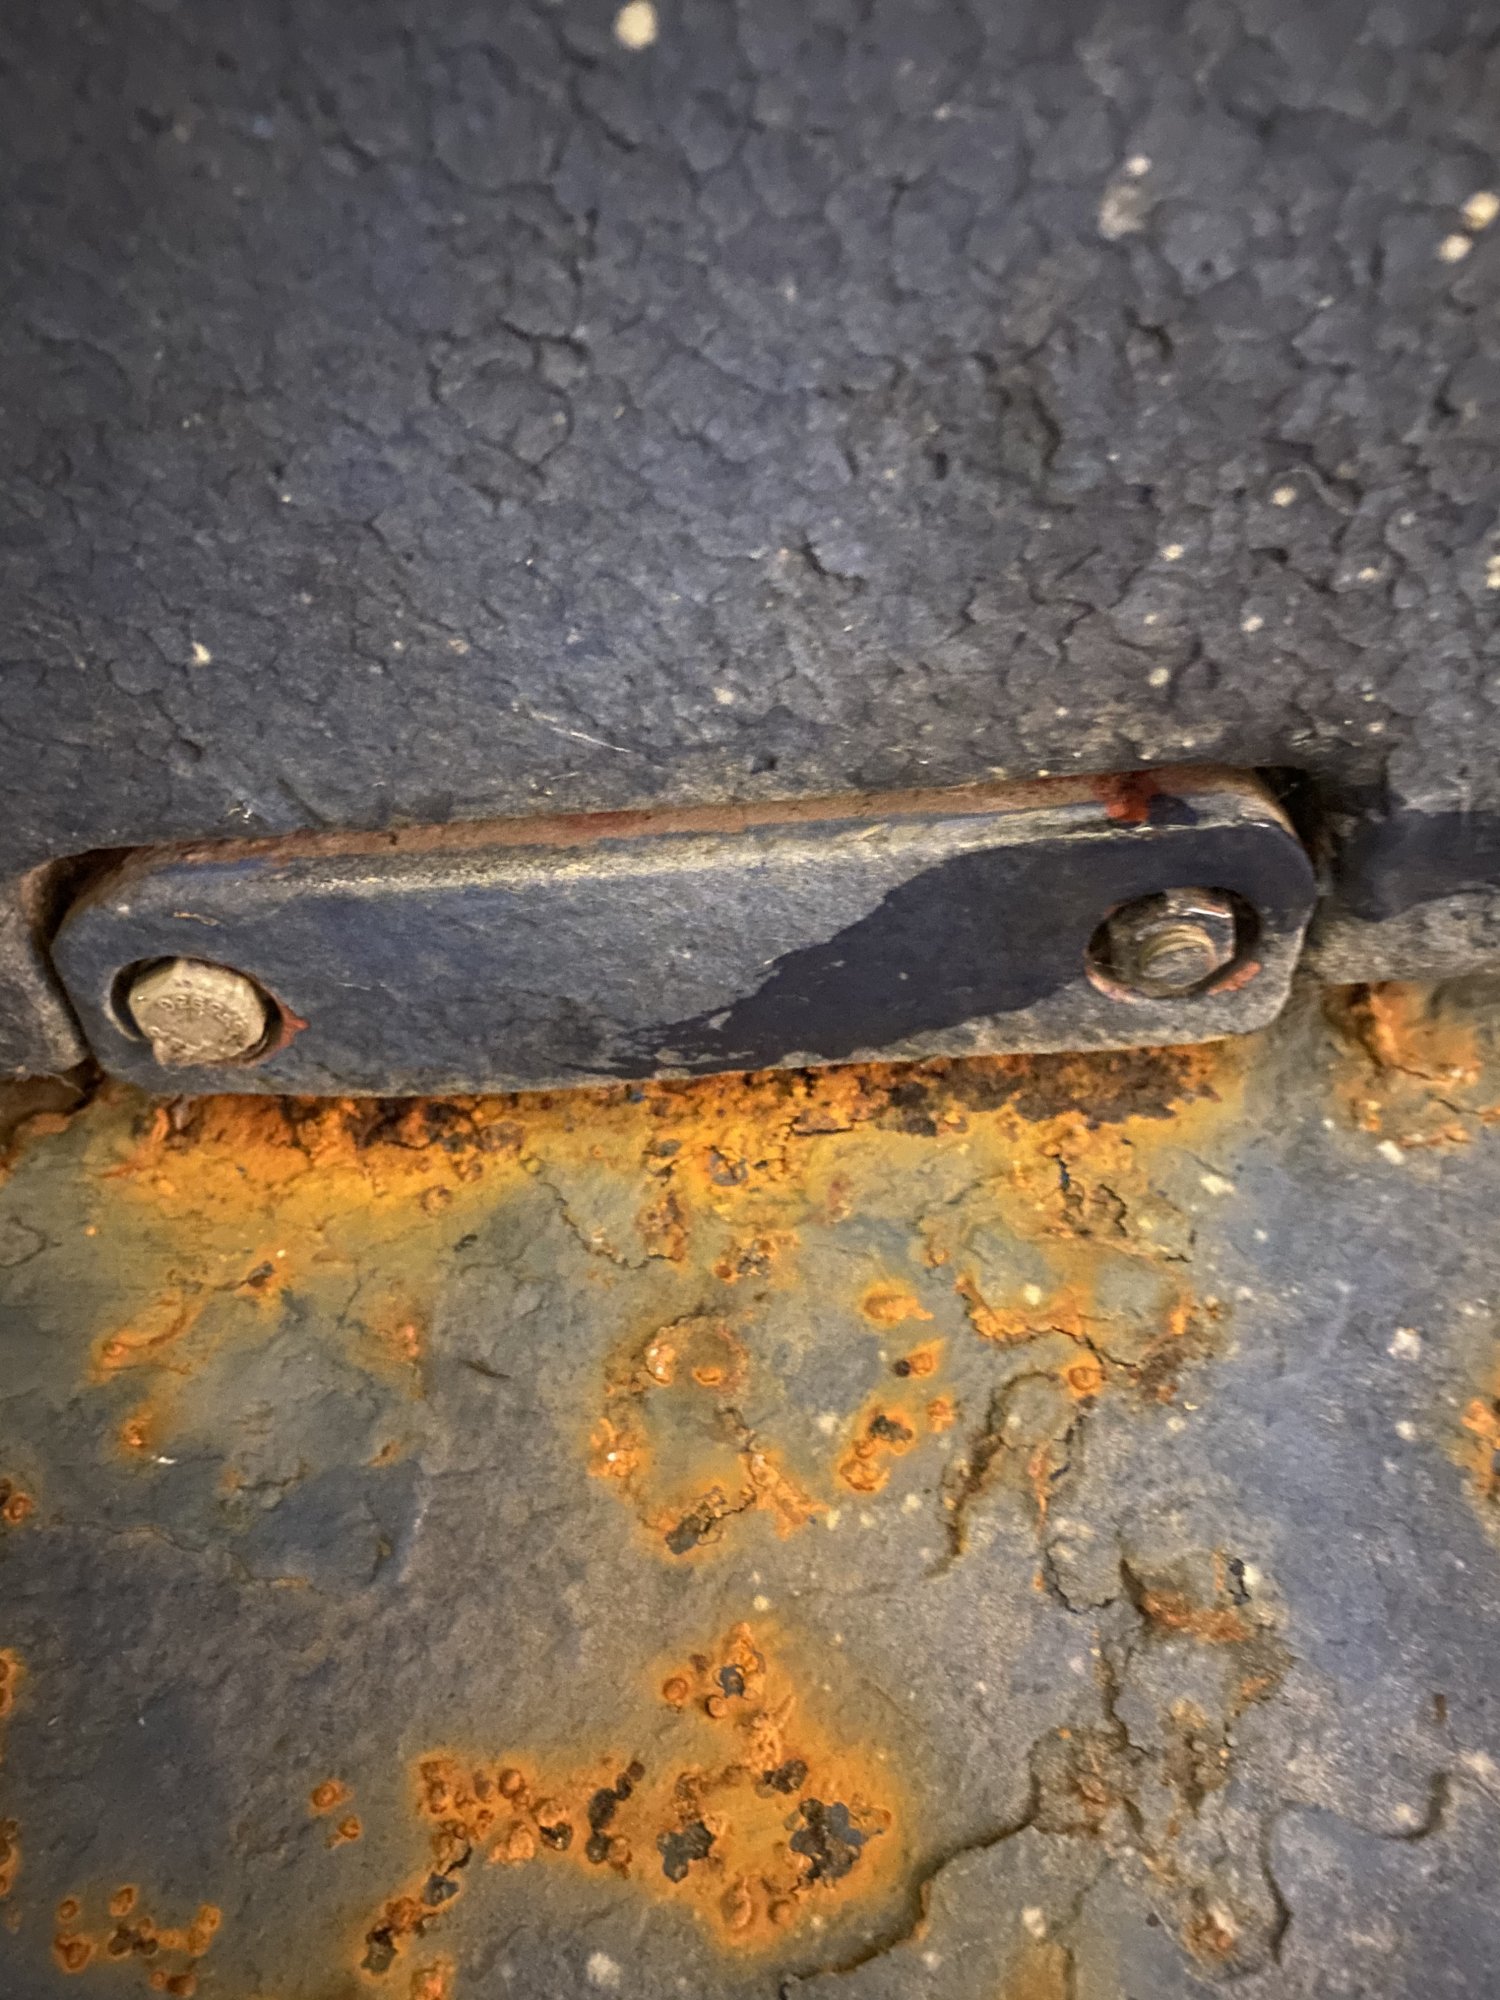
The threaded rod and nut concern me quite a bit. Also, the keel appears to be too long for the trunk or something is super FUBAR
Any help you all could give would be greatly appreciated.
Thank you
Is this correct??
and I’m not sure about the rudder either
The only damage or areas of major concern is the Keel. The lock bolt mechanism is and there is evidence that someone left it tight and raised/lowered the keel. The keel is out of center in the trunk as well.
The threaded rod and nut concern me quite a bit. Also, the keel appears to be too long for the trunk or something is super FUBAR
Any help you all could give would be greatly appreciated.
Thank you

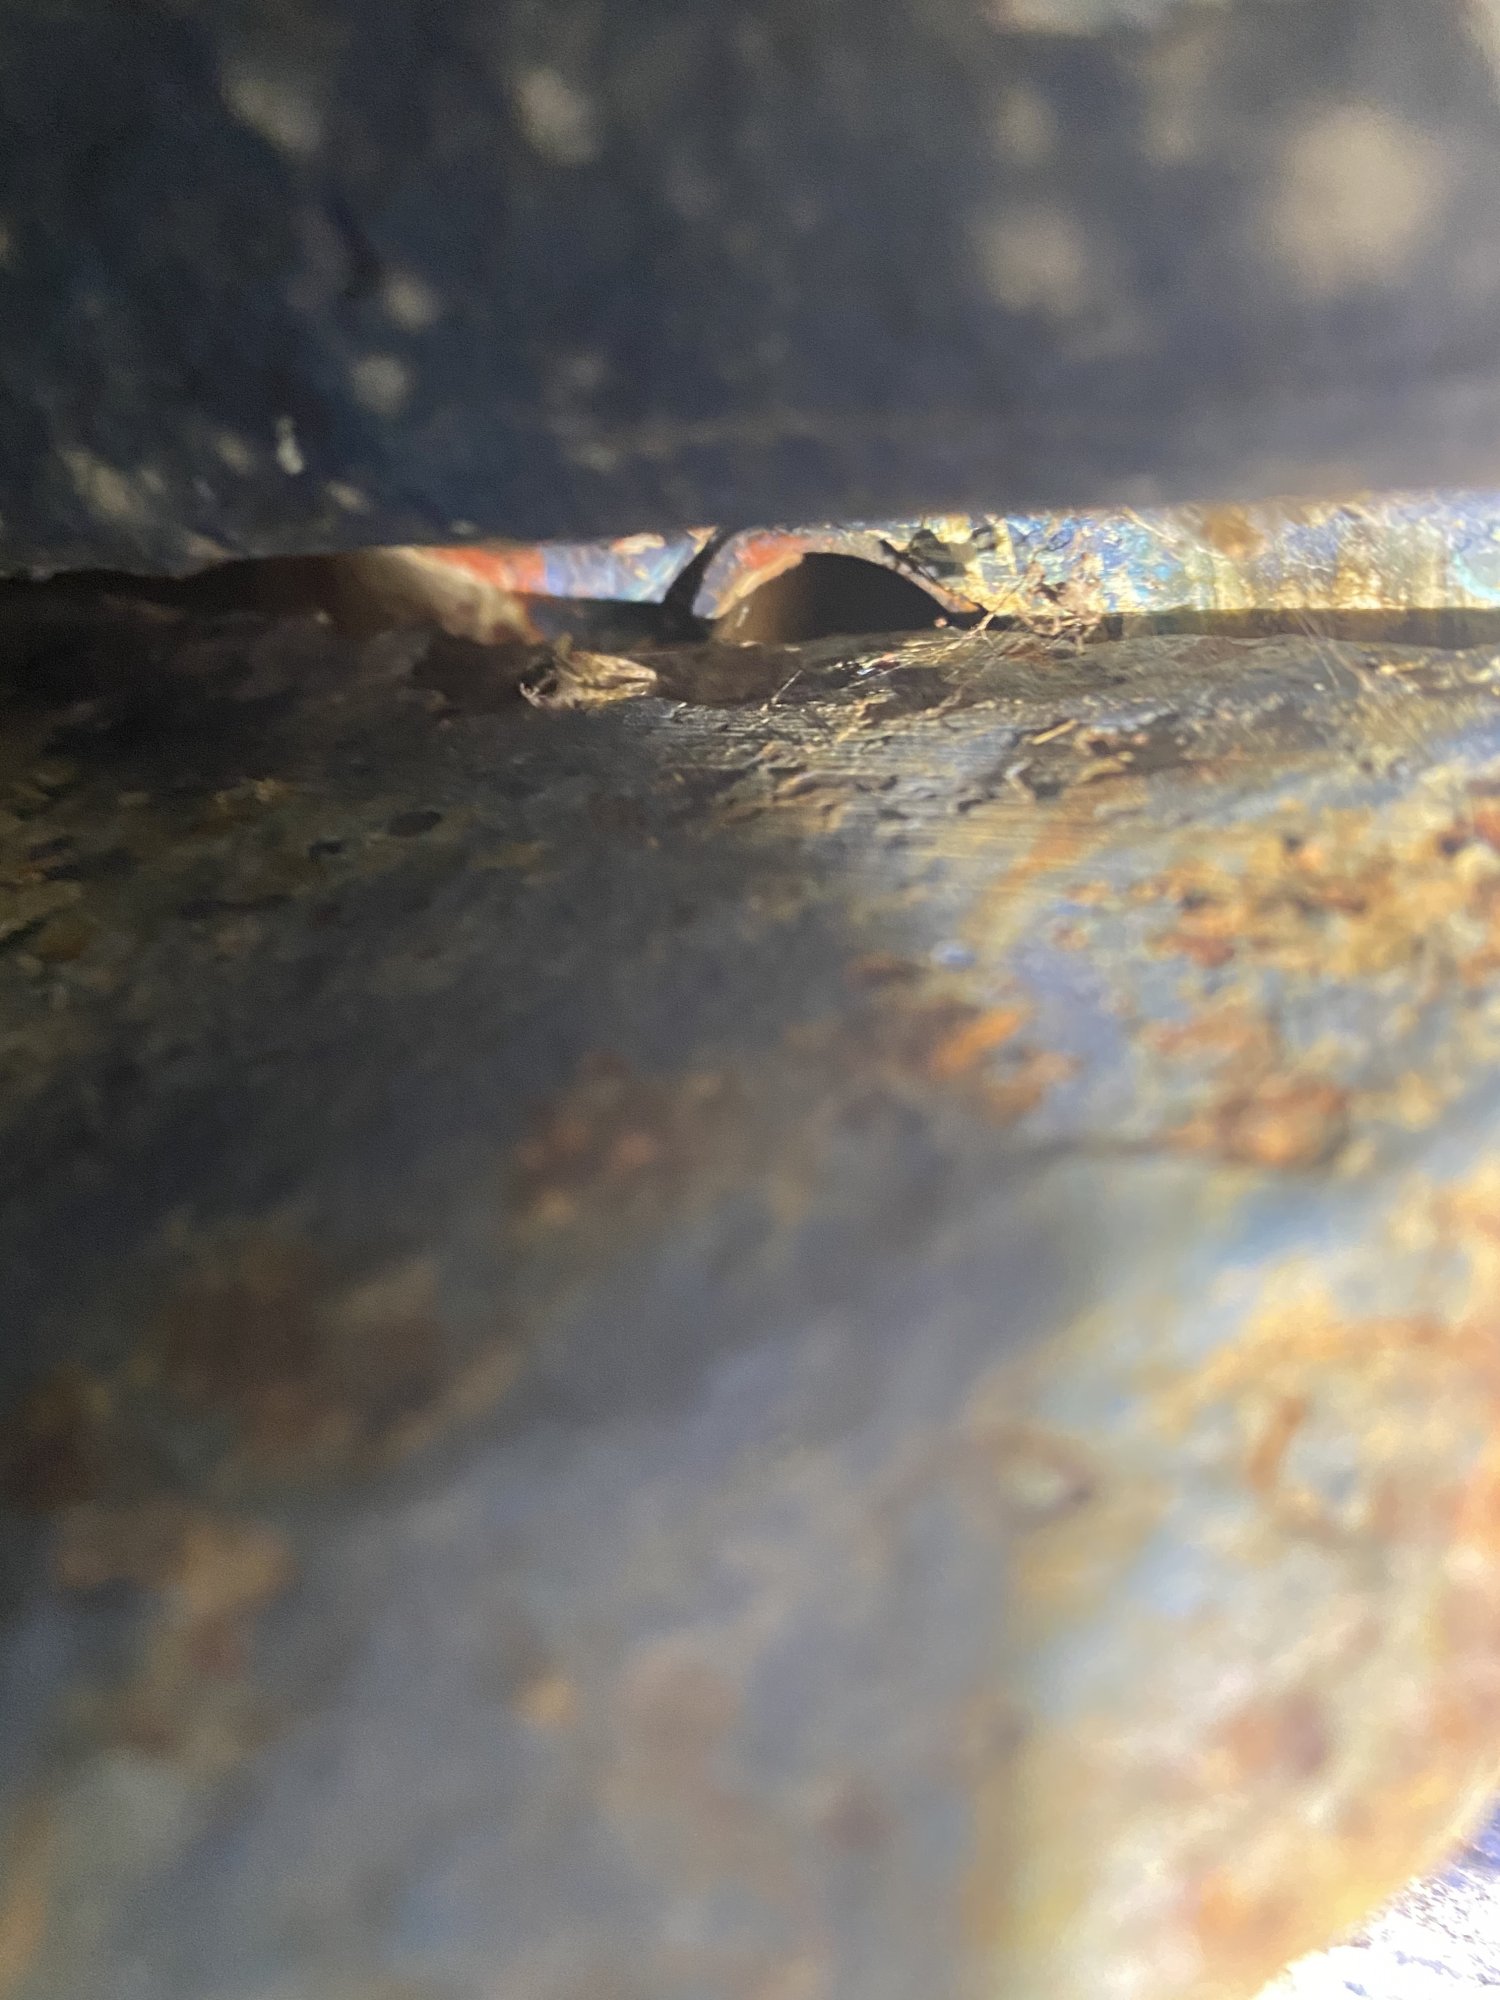
 Also, it looks like Picasso did the same business on the cockpit drain thru hull, so that’s due as well. I’m considering doing the double thru hull with crisscrossing drain lines. Any thoughts about that??


