when something little turns in to something more

Apr 1, 2010
398
Cal 33 and Sea Pearl 21 . Crystal River, FL
todays lesson: fast, cheap or easy. pick two!!

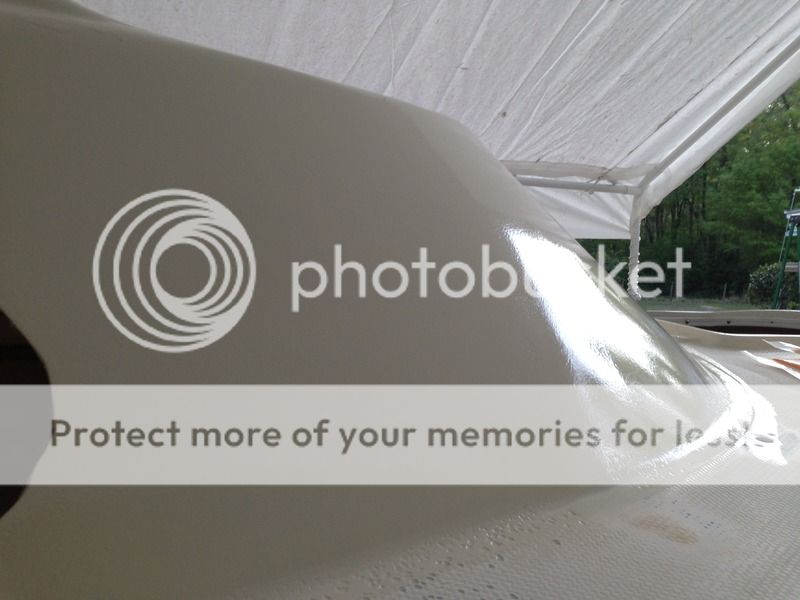
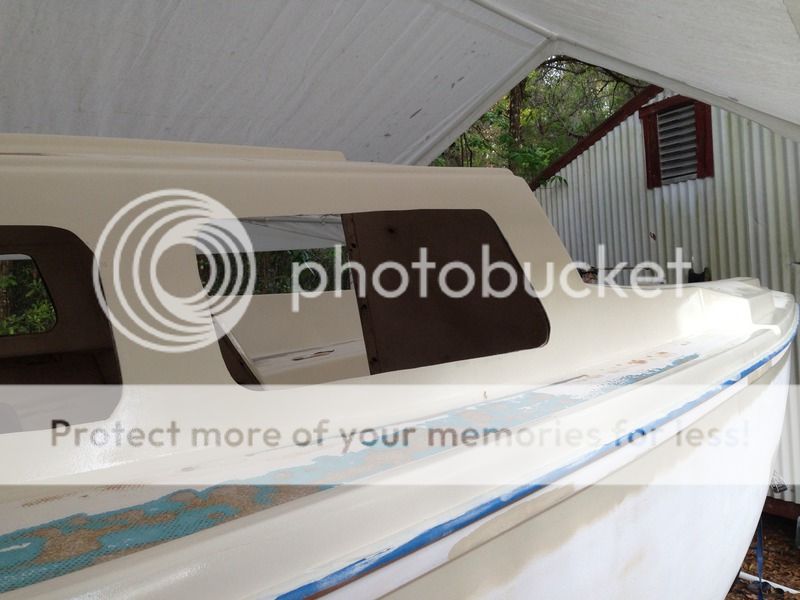
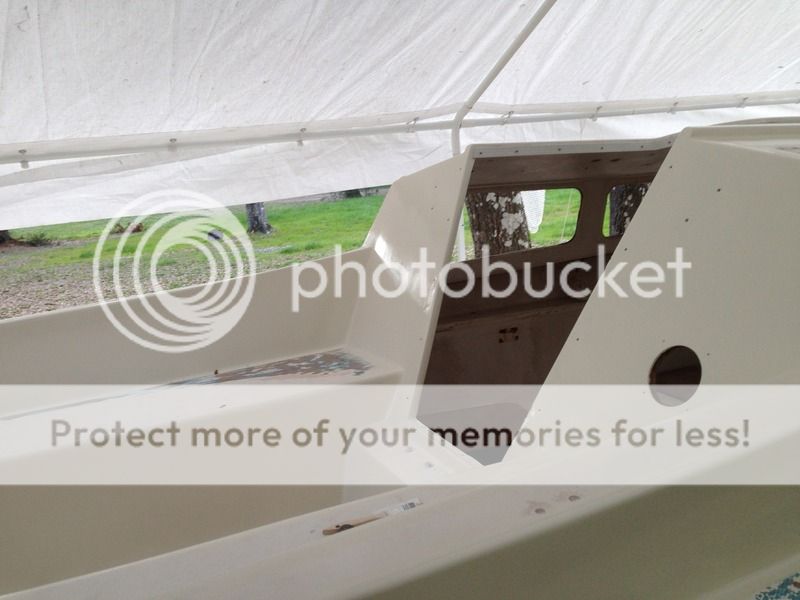
I have always used quality paints on my projects in the past (PPG for auto or Awlgrip/awlcraft for boats)... I decided to cheap out on this one since this was supposed to be a budget resto. I am using rustoleum marine topsides paint and rolling it. research indicates that just rolling results in a better finish than rolling and tipping with this particular paint. well... I am not happy. you have to wait 24 hrs before the next coat, sand with 220 then re-coat. I just finished the 3rd coat and feel like I need at least one more. and its got a decent amount of orange peel!! I am wishing now I would have used a better paint (even automotive) and sprayed it... live and learn right?


Jul 23, 2013
487
1981 Catalina 22 #10330 Bayview, ID
I used to cut corners a lot more than I do nowadays but I've regretted it so many times that I avoid it now except for things where hardly matters.

My rule of thumb has changed to: anything worth doing once is worth doing right so I don't regret it or have to do it twice.
 
Apr 1, 2010
398
Cal 33 and Sea Pearl 21 . Crystal River, FL
regret may be a strong word in this instance. I am still accomplishing my goal of getting the most durable finish I can for the cheapest price I can. its just taking a long time and a lot of work!!

the problem I am facing with the entire rebuild is that, in general, I feel the same way as you about doing things right. The problem is that I had just started a rebuild on my Kevlar speedboat when the keelbolt broke on this boat, thus, thrusting me into a resto. the speedboat is where the $$ and time is SUPPOSED to be going so I have to try to keep that in check throughout this process. while this paint is definitely not awlgrip, it will look 10X better than what was on there before!!

btw, your keel pic in the other thread... that's just not right! you need to get another keel to put on the boat and just hang that one on the wall for display, it looks amazing!!
 
Jul 23, 2013
487
1981 Catalina 22 #10330 Bayview, ID
I hear ya. Choices and compromises. It's not a bad situation to be in, right? Conflicted over our luxury toys? I have to remind myself occasionally to keep things in perspective.

My keel did turn out pretty well, I must say, but it had better for all the time and expense I put into it. Wound up about $500 worth, which is more than I expected, of course. But it's bomber tough now, for sure.
 
Apr 1, 2010
398
Cal 33 and Sea Pearl 21 . Crystal River, FL
spent yesterday masking and kiwigripping. This is the step where it finally hit home that it is coming together!! Thanks to Gene for helping me get it all down (its VERY easy to apply but it is REALLY nice to have someone spreading and someone rolling behind).

roll roll roll your grip...


gene caught me not working... I was admiring the cabin top!!
 
Sep 30, 2013
3,541
1988 Catalina 22 North Florida
That really was fun, watching the boat come alive a little more with every passing hour. Too bad every day's work doesn't provide that level of gratification!!
 
Apr 1, 2010
398
Cal 33 and Sea Pearl 21 . Crystal River, FL
well today may, arguably, be the happiest day in the resto so far!! the main cause of this entire rebuild was solved... after 2 months of alternating my home brew of penetrating oil and pb blaster I tried the stbd broken keel bolt again. I thought I was hallucinating when the vise grips moved!!!


of course I still have the port one to deal with but it doesn't require any cosmetic glass work. this just sped up the interior work considerably!!!!
 
Sep 8, 2014
2,551
Catalina 22 Swing Keel San Diego
I'm glad you got that thing out... Broken bolts and stripped threads can drive anyone Bat Sh!t Crazy.
 
Apr 1, 2010
398
Cal 33 and Sea Pearl 21 . Crystal River, FL
well over the past couple of a days a decent amount has been done. I drilled and tapped the keel the covered all bare metal with thickened epoxy. now all I have to do is finish shaping it and it will be ready for paint


then I painted the hull. today was the second coat.

 
Apr 1, 2010
398
Cal 33 and Sea Pearl 21 . Crystal River, FL
finished painting the exterior this weekend. then I fiberglassed over some of the holes in the cabin that I will not be using anymore and scrubbed all of the teak down thoroughly. today I sanded the teak and put the first coat of cetol natural teak on. tomorrow I will be putting on the second coat and probably start fairing the problem areas in the cabin....


jmczzz

.
Mar 31, 2013
515
O'Day 26 CB New Orleans
Hawk,
What a great job you're doing on this boat.
What is the NACA fairing template you used on shaping the keel and where do I get one?
Thanks for this very informative thread. Keep it up.
Regards, James
 
Apr 1, 2010
398
Cal 33 and Sea Pearl 21 . Crystal River, FL
I forget where I found it, it was on another thread on here. I blew it up and work and printed it, then cut it out and traced it onto plywood, cut that out and used it to spread the fairing compound, made shaping really easy.
 

jmczzz

.
Mar 31, 2013
515
O'Day 26 CB New Orleans
Hawk
Ok I found your earlier discussion of keel shape. I'll try to figure out what you did and more or less try to copy
jmc
 
Jul 23, 2013
487
1981 Catalina 22 #10330 Bayview, ID
Hey, guys
Before you grab a particular NACA foil template and fair your keel with it, be sure you understand what it's going to do for you related to what you want to achieve. I'll be posting an article on my blog in a couple weeks that's the result of weeks of research into this subject to prove and document that the so-called NACA 13% template that comes with the DVD sold (but not produced) by Catalina Direct is WRONG. In fact, I just spent almost two hours going over the math with a retired GM engineer who verified my work.

Yes, you want to shoot for a NACA 13% (or less if top speed is more important to you) shape at the water length of its chord with the keel swept back at 30 degrees. That's the problem with the DVD template, it assumes a 45 degree angle. Hence the template produces a 17% foil in your keel, not 13%. To wind up with a 13% keel, you want to use a 15% template due to the rotation of the keel.

All the nitty gritty explanation and math will be in the article. If you just want to cruise and you don't care if your keel is actually slowing you down a little at higher speeds and reducing your pointing ability, then fair away. But if you want the best performance out of your keel and especially for all the hard work and money that it takes to refinish a keel right or if you ever aspire to race or sell your boat to a racer, then you owe it to yourself to read my blog first and decide for yourself. And if you subscribe to the blog, you'll receive a PDF file of a NACA 15% template that you can print on your home printer as my thanks.

I don't want to hijack Hawk232's great thread here, so if you have any questions, please PM me or hold them until after the blog post is published and add them to my thread Refinish your swing keel for best performance.
 
Apr 1, 2010
398
Cal 33 and Sea Pearl 21 . Crystal River, FL
well what an interesting day... a typical "day in the life of david" kind of day...

all started well with exposing the weldment


I try to drive it through from the bottom with a hammer punch with no luck, move on to an air chisel, still no luck. finally get to working from the inside and get the weldment out. problem is, the weldment isn't all that I got out


which resulted in this


I don't know if it is clear in the pics but I believe that what I removed was a repair that was done previously. there were glass strands mixed in to make a thickend type resin but there were not ANY layers of glass along the bottom, which would be the hull of the boat.

for the repair, I have already ground/tapered the area. I am going to line the back of the old hangers with wax paper then start layering in biax starting just larger than the hole and gradually working up to about a 6x6 patch. I am planning on roughly 10 layers and hoping for a thickness between 1/4 and 3/8" of solid glass to hold the new weldment in position.

it ALWAYS something!! one step forward, two steps back!!!