
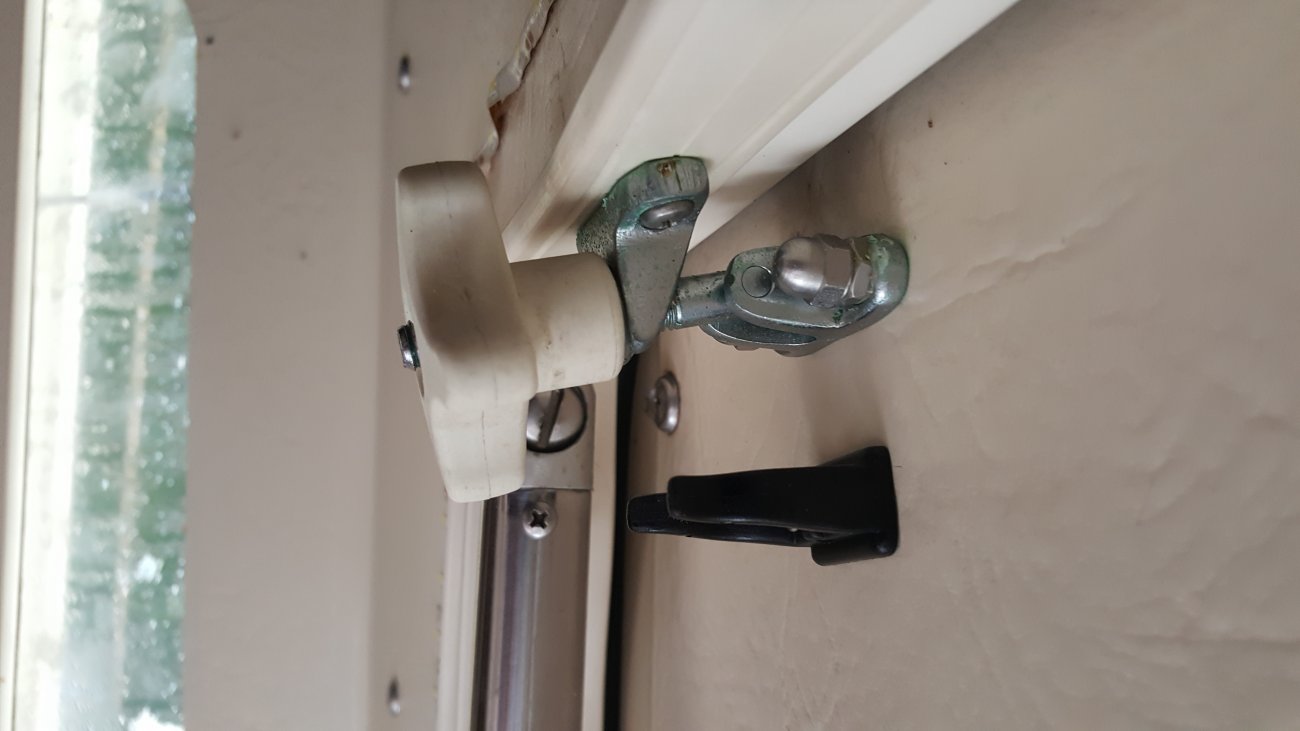
I'm having an issue where the bottom clasp of the forward starboard hatch dog on my 1987 is flexing significantly upward under load, when the pop-top is dogged down. This would be the "U" shaped bronze fitting that the plastic knob tightens against. The photo below does not show it under tension, but it flexes upward when tightened. (I apologize about the rotation, the photo keeps flipping when I add it to the post)
I've backed the screws out, and they are only about 1/4" deep, after they clear the fitting itself. Does anyone happen to know what the construction layup is, just inside of the vertical vinyl trim that lines the pop-top circumference? If there is a plywood core just inside the vinyl trim, I'd assume mine is likely rotted in that area. The other 3 hatch dogs are solid, and trying to judge from the top of the cabin deck, looking down, it's not obvious that any plywood coring would actually butt up against the inside to the vinyl trim, but I really have no idea.
Already having a project list a mile long, I'm trying to avoid removing and re-attaching all the vinyl trim, support poles and fittings right now to explore fully. As a quick fix, I was considering injecting some epoxy through the screw holes of the bottom hatch-dog fitting, and seeing if that has any effect, along with some longer screws.
Has anyone ever removed the vertical vinyl trim, surrounding the pop-top cut-out, to see what the construction layup is just inside of the vinyl trim itself? Thanks for any tips-
Attachments
-
 71.9 KB Views: 182
 -
 71.9 KB Views: 146
Last edited:
