Pressure washer damage to teak?

Jan 25, 2011
2,399
S2 11.0A Anacortes, WA
My concern with fillers would be the expansion/contraction differences between the two. If you make the decision to get to virgin wood, and the piece is flat, you might try a planar if one is available. Saves a lot of sanding..
 
Last edited:
Jul 12, 2011
1,165
Leopard 40 Jupiter, Florida
@kbgunn -- thank you so much for giving us updates on your project! Refinishing teak is a fairly common, and nasty, task. Your before and after photos are going to be invaluable, not only for the few people following this thread now, but for the person that tries to do a similar task 10-years from now and can search for this.
 

kbgunn

.
Sep 19, 2017
211
2005 Hunter 33 Lake Lewisville, TX
A quick update....I applied 8-10 thin coats of teak oil "finish" with a disposable brush over several days. Teak oil finish, as I understand it now, is a mixture of linseed or tung oil, varnish and mineral spirits. So it builds up similar to using varnish alone.


I'm planning to start on the companionway boards next. I found this approach using epoxy and varnish while google-ing.

These videos make the process look no more difficult than applying coats of teak oil. It should make a good comparison with the two finishes being next to each other exposed to the same elements.
 
Nov 14, 2013
238
Catalina 30 MkI 1983 TRBS Westbrook, CT
I see I'm late to the party but.....when we purchased Trinity 5 years ago the teak looked very similar. I wire brushed as much finished as I could off, cleaned with a commercial teak cleaner and then applied 10 coats of Epifanes Rapid Clear. Wasn't perfect but it's held up fairly well. This is the first year I've had to do some sanding and touch up.
 

T_Cat

.
Aug 8, 2014
333
Catalina 22 1987 New Design. 14133 "LadyHawke" Modesto CA
Congratz on the +8 feet.
She looks awesome, I'm envious, wish I could take that step with a new boat.
Till them I love my 22
 
Oct 22, 2014
21,084
CAL 35 Cruiser #21 moored EVERETT WA
I see that he epoxy and varnishes 5 sides, leaving the bottom of the board uncovered. Is this a common practice? Do you varnish the bottom of seats in your boat?
 

kbgunn

.
Sep 19, 2017
211
2005 Hunter 33 Lake Lewisville, TX
Is this a common practice? Do you varnish the bottom of seats in your boat?
Good question...This is my first rodeo with exterior teak. I was planning to refinish the exposed side leaving the hidden side against the fiberglass unfinished. I would expect that to be a good approach. I don't have teak seats with exposed undersides on my boat, but if I did I would finish them to protect from the elements.
 
Oct 22, 2014
21,084
CAL 35 Cruiser #21 moored EVERETT WA
to protect from the elements
The questions persists.
  1. The bottom of the seat is not exposed to direct sunlight. It would be exposed to reflective light. Do UV rays (the damage causing rays) bounce of the deck and cause sun damage to the underside of a teak seat?
  2. Does leaving the teak open to the elements allow it to breath?
  3. Since water runs down hill do to gravity will water get to the underside of the teak seat to cause damage?
 
Sep 20, 2014
1,320
Rob Legg RL24 Chain O'Lakes
If one side is wet, and the other side is dry, the wood will warp. Wet wood expands. Even humidity will do that.
 

kbgunn

.
Sep 19, 2017
211
2005 Hunter 33 Lake Lewisville, TX
I removed the companionway boards and put temporary 1/4" plywood in it's place. The top piece overlaps the bottom piece by 2" for water shedding if it rains.


I started sanding the boards with the belt sander and 80 grit to get down to good wood. I had to remove between an 1/8" - 3/16" of material on the weathered exterior side. Yikes! The interior side just needed light sanding to remove the old finish. Here is a side by side comparison of sanded and un-sanded.


A couple of challenges here:
- The boards have a routed lip on bottom to mate with the board below it. The lip cracked on the left board. I Gorilla Glued it for strength.

-The teak looks to be a veneer and has chipped in a few places. You can see the board on the left has two spots. I'm thinking teak dust with glue or epoxy as a filler. Leaning towards epoxy since I'm planning to coat these with epoxy before varnish.

-The board on the right was joined with silicone caulk by a PO (to keep it from leaking????) and held together structurally be a wooden brace brad nailed on the back side. The caulk failed. I'm planning to epoxy these board together as a more permanent solution. Then epoxy then entire board before varnish.

I read that normal two-part epoxy can yellow and blush so I've order a special clear, non-blush hardener for this application. I'm open to any and all suggestions on this approach up until the first application of epoxy ;-)

KBG
 
Oct 22, 2014
21,084
CAL 35 Cruiser #21 moored EVERETT WA
KBG and 1/8":yikes:. Maybe it is time for new boards.
A great best friend, @LeslieTroyer, surprised me with new boards. Made of Iron Wood they are a sound replacement for my chipped plexiglass boards.
Boards.JPG
Sometimes things on a boat just need to be replaced.
 
Jun 21, 2004
2,533
Beneteau 343 Slidell, LA
KB,
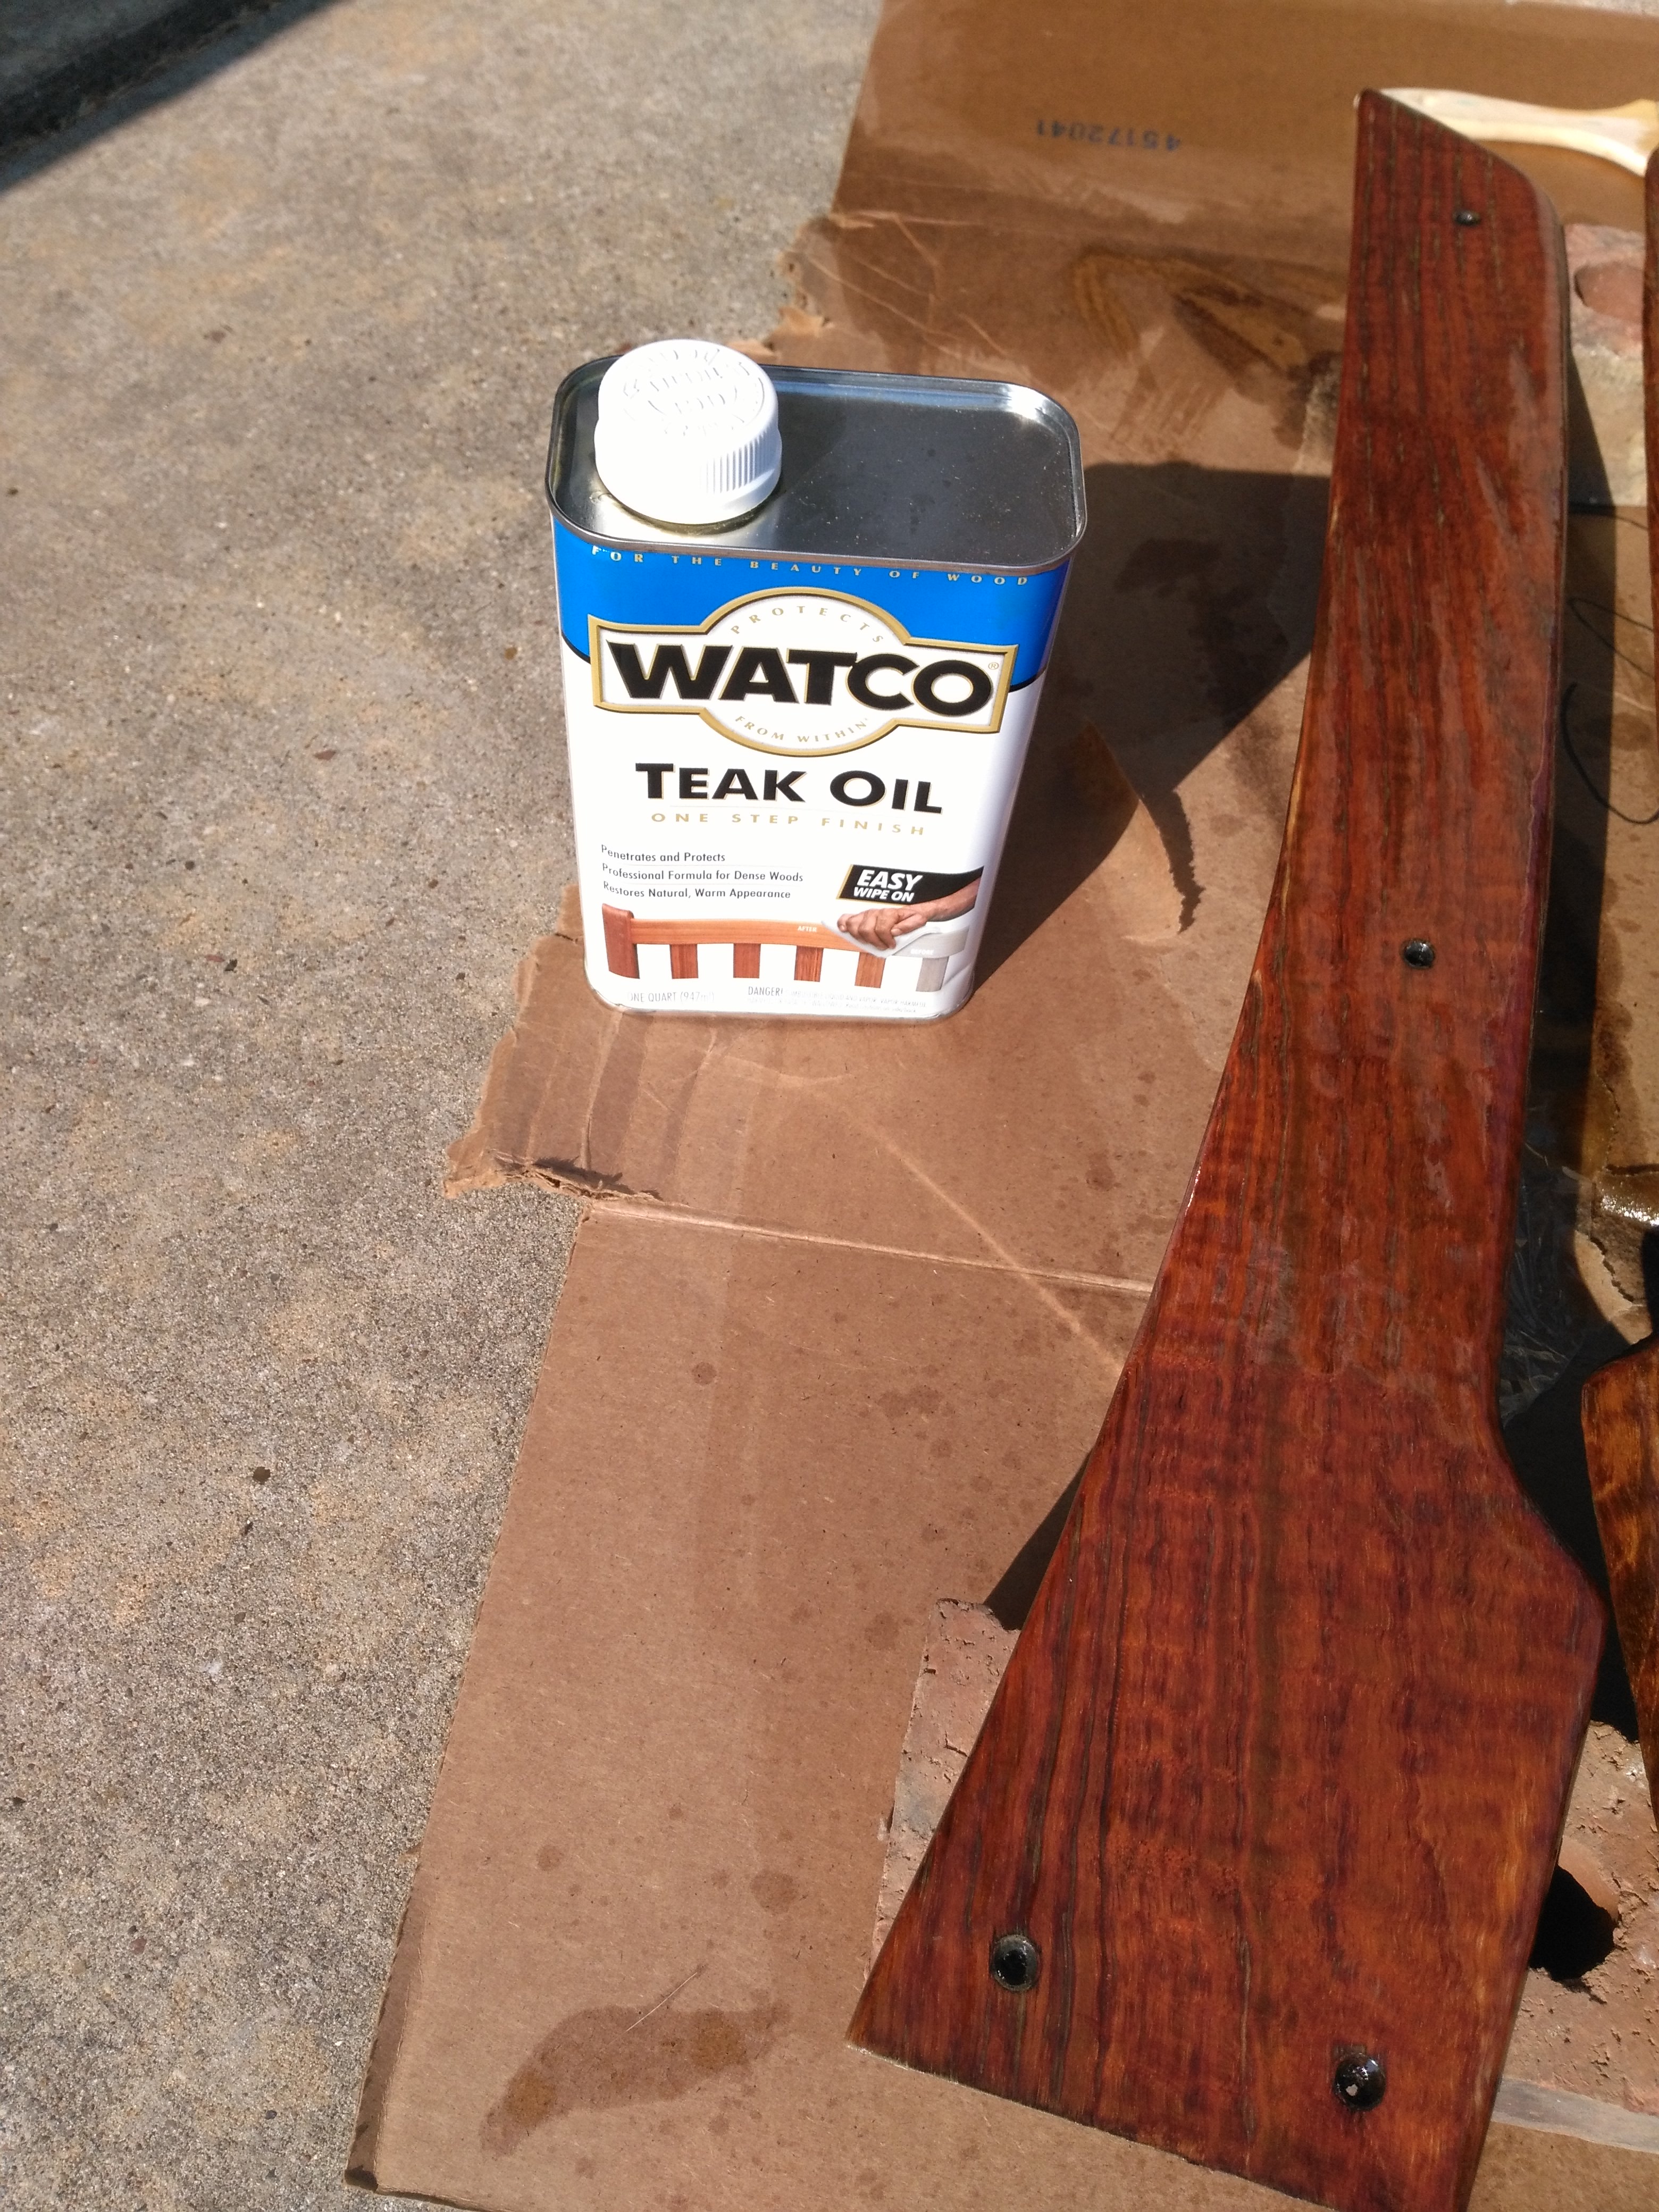
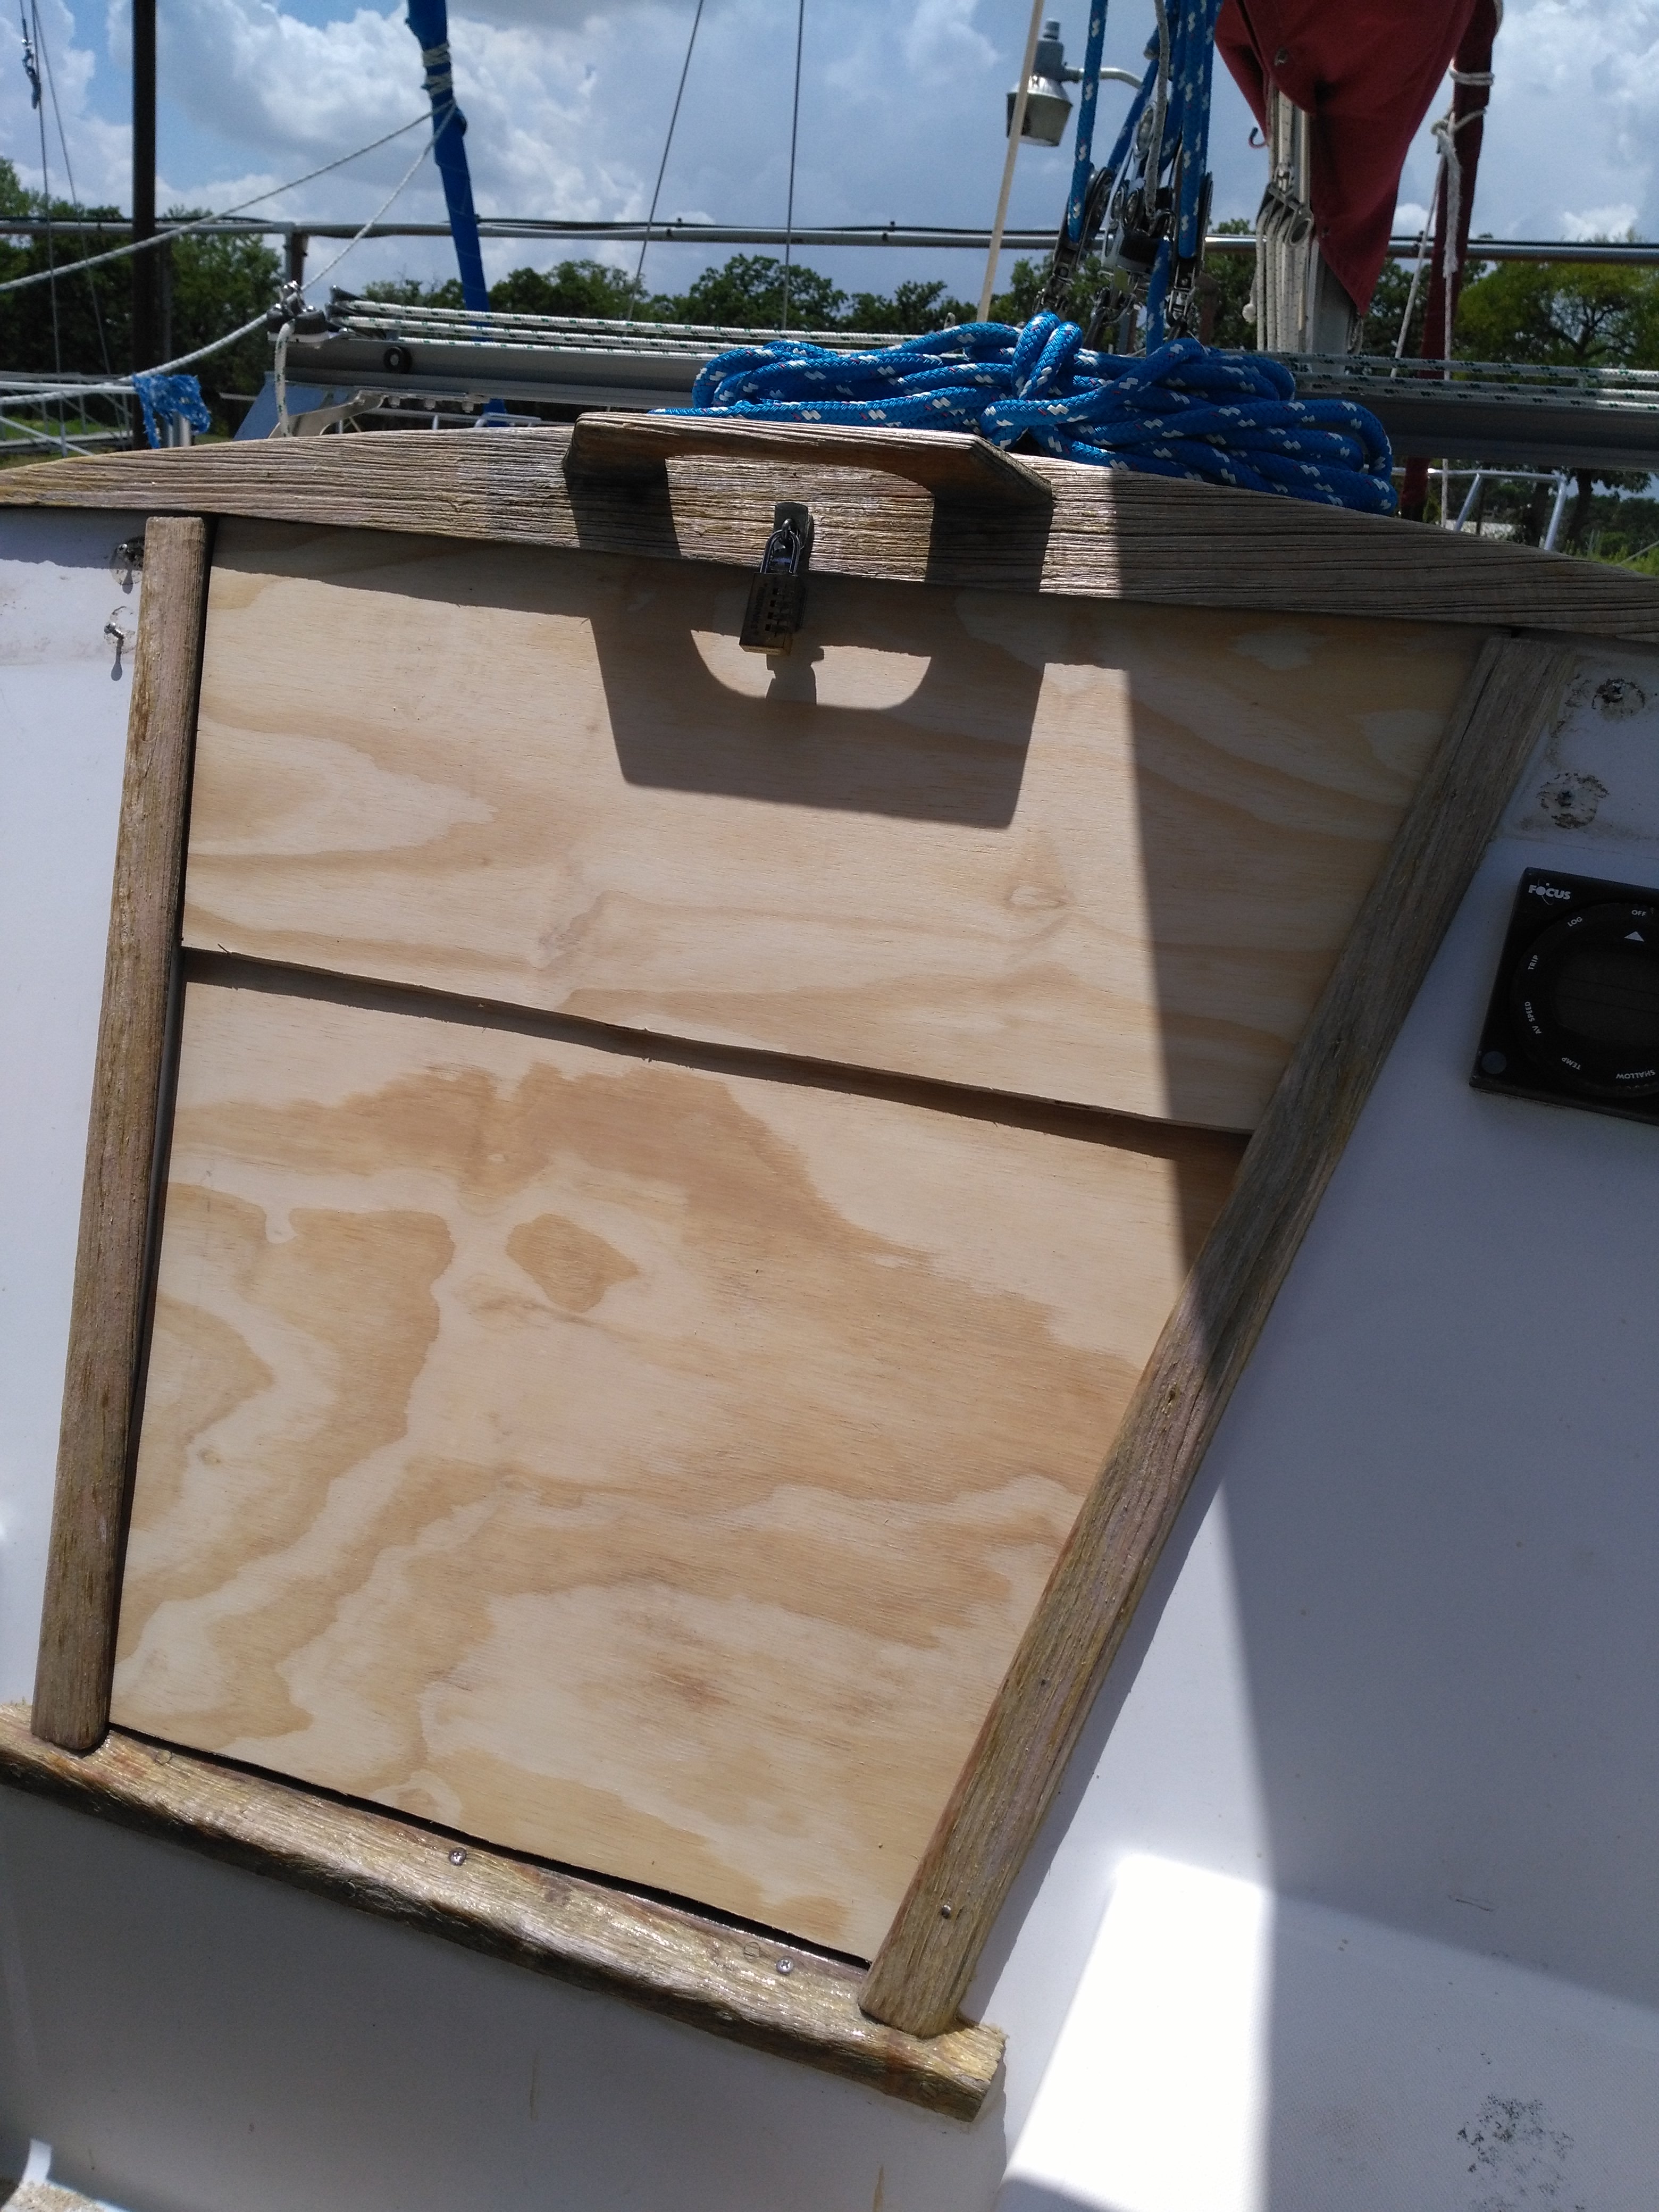
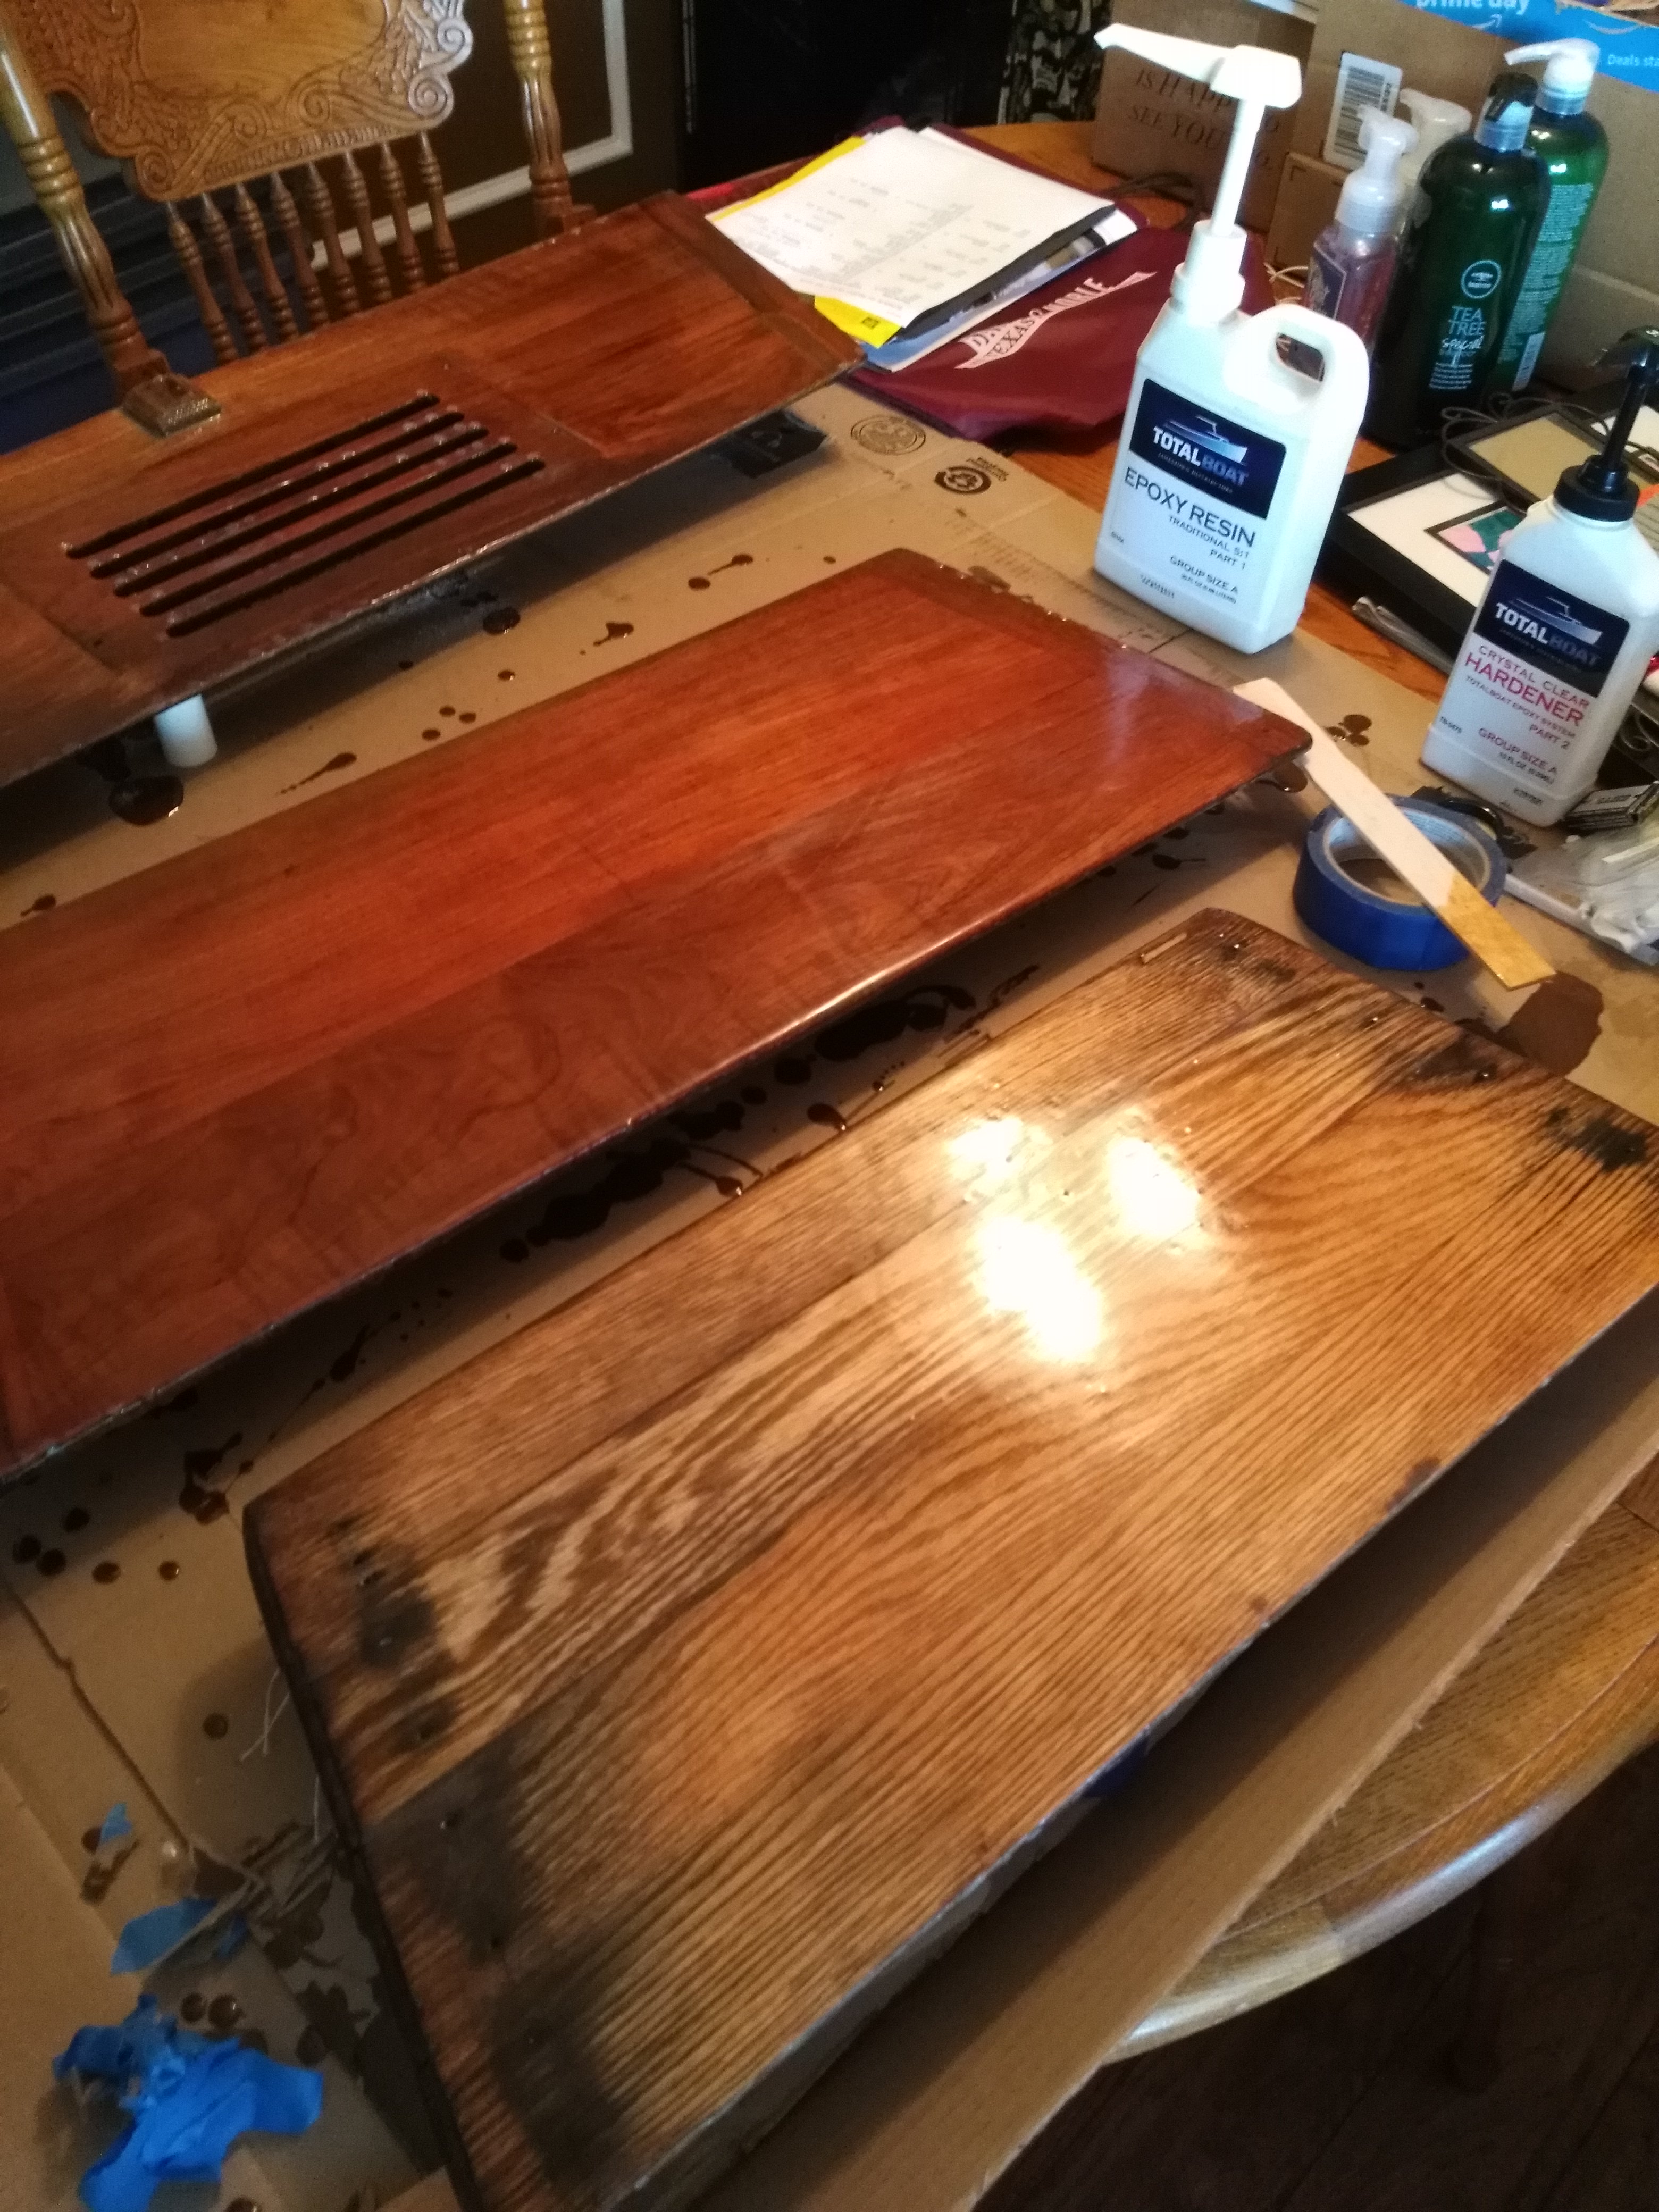
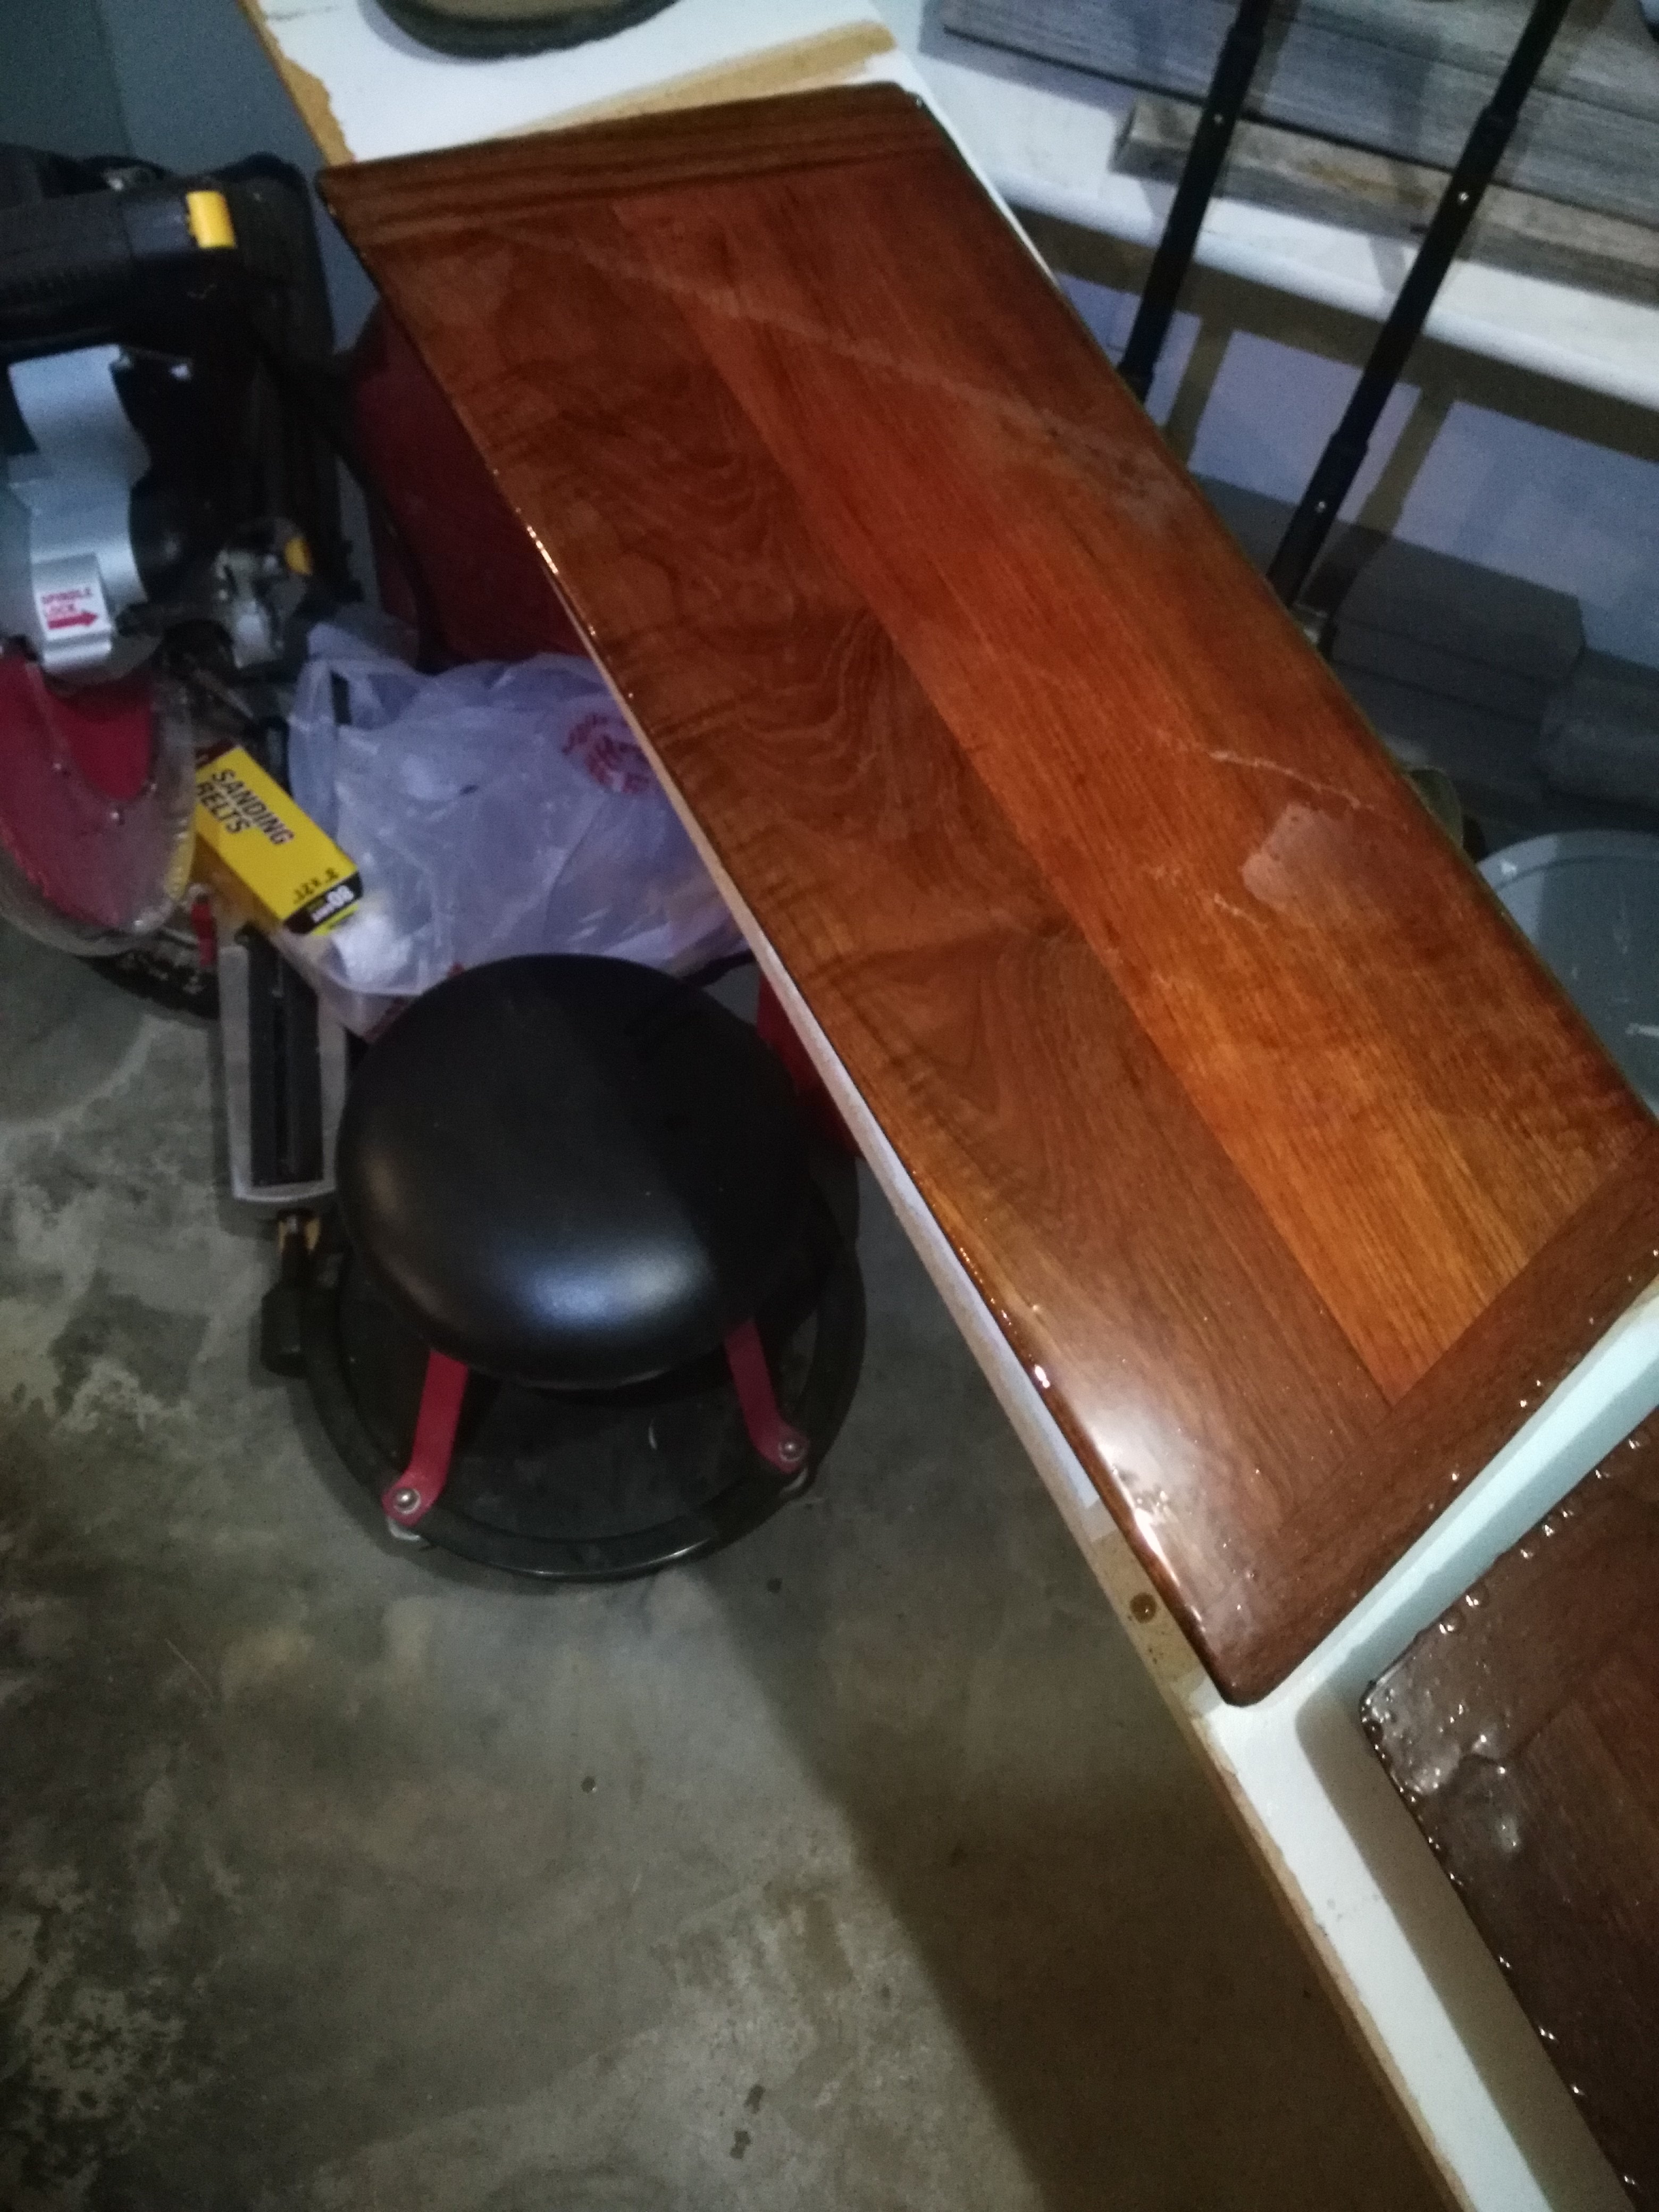
Think you would get a better result following the method on the videos that you posted. This is kind of what I was referring to back when you started this discussion, when I recommended buildups with resin. You've got some very weathered teak that looks fairly decent after aggressively sanding. Just as the narrator in the video explained, with a couple coats of epoxy you're going to get a quick build that will fill and "level" the remaining irregularities in the weathered teak. Then coat 3 coats of your favorite varnish, cetol, etc. I think using the epoxy buildup method, especially on weathered teak, you're going to get a better result thats going to have better UV and moisture protection, and have a final finish that's going to have more depth and a much smoother surface. Also, with the epoxy base coats, you're going to prevent further loss of wood fibers. Even with the 8 coats of teak oil that you applied, there is still quite a bit of irregularity in the surfaces that you coated. Definitely looks better than what you started with; however, with the epoxy coatings, the irregularity in the surface would be eliminated. Teak oil would be applicable if the teak wasn't as weathered.
 
Last edited:
May 7, 2011
281
C - 30 # 3573 Lake NormanNC formerly Bflo NY
Hey KB,

Belated congratulations on the move up. If you haven't already, c'mon over and check out the International Catalina 30 Association forum.
https://groups.io/g/catalina30

You'll find lots of helpful owners over there also. And join the IC30A if you are not already a member.
 
Last edited:

kbgunn

.
Sep 19, 2017
211
2005 Hunter 33 Lake Lewisville, TX
I have the companionway boards almost completed. In researching, I learned that some epoxy hardeners can turn yellow and "blush" as they cure. So a special hardener is necessary for a clear finish. I used TotalBoat resin for the project.

If you try this technique you need to have a plan. The resin is thick and kicks off rather quickly with only 6-8 mins to apply. Applying an even coat is a challenge. Drip management is key and I didn't have a good plan so I ended up with beads of resin at drip spots. Particularly the vents in the top board were difficult to manage. If you are particular with the finished product, you will want to sand the beads flush taking care not to dig in to the surrounding resin.

The resin doesn't have much UV protection so I am applying varnish on top. I chose Epifanes because I had some on hand. This stuf is as thick as the resin when it comes out of the can. So I thinned the first coats 50% and the final coats by 10% with mineral spirits.

I don't have a great work area so it's not a furniture grade job, but it's good enough for this purpose.

As you can see, I didn't sand the resin beads. Those sit in the channel and are hidden anyway.
I'll post pics when I have the trim back on the boat and companionway boards in place.

KBG
 
  • Like
Likes: jviss
May 7, 2011
281
C - 30 # 3573 Lake NormanNC formerly Bflo NY
The boards need to be somewhat close to the original thickness so they fit close in the channel(s) to attain the best weather protection. Then drops along those channels will wear first. If it’s under canvas that’s less of a concern, but you’ll still be wearing varnish off those “bearings”
 

kbgunn

.
Sep 19, 2017
211
2005 Hunter 33 Lake Lewisville, TX
Finished the companionway trim and board.


After trying teak oil method and the epoxy + varnish method I have the following observations:
  • The teak oil is much easier. Flood it on thick. Leave it pooling in the surface imperfections. Multiple applications can fill in the surface and leave a smooth finish.
  • Epoxy + varnish has a much warmer tone, but the technique requires lots of skill. You can see in the last pic the wavy surface texture. That combined with the drip challenge makes me lean towards teak oil.
  • Teak oil works on interior wood too! I tried several spots on interior wood and will be working on all of the interior wood over time. Simply clean it with a mild soap and water. Then wipe the teak oil on with a cotton rag dipped in the finish.
  • Teak oil may not hold up as well as the epoxy +varnish. Time will tell. But I expect a light sanding of the teak oil finish and a quick wipe of a rag soaked in teak oil is all that will be needed to renew the finish.
  • I'm done with brightwork for now. I'm going to get some late summer sailing on the lake and attack the sliding hatch rails and grab rails in the Fall.
Cheers!
KBG
 
Oct 22, 2014
21,084
CAL 35 Cruiser #21 moored EVERETT WA
I’m playing with the same type of project.
D45BD187-E40E-40F9-BBF9-B205D2B75759.jpeg

Here is a bench seat. One of two. This is with 2 coats of epoxy.

I experimenting with the varnish on the other seat.

It is a satin gloss. Wen I get a couple of coats I’ll post some images.

The epoxy is clear, but there was a bit of off gassing and numerous tiny pin holes.

Epoxy to improve water protection. Varnish to provide a UV shield to the project.
 

kbgunn

.
Sep 19, 2017
211
2005 Hunter 33 Lake Lewisville, TX
It is a satin gloss. Wen I get a couple of coats I’ll post some images.

The epoxy is clear, but there was a bit of off gassing and numerous tiny pin holes.

Epoxy to improve water protection. Varnish to provide a UV shield to the project.
Looks fantastic! What's the wood? Plywood with hardwood veneer? Cat toys optional, I presume. :)
 
Oct 22, 2014
21,084
CAL 35 Cruiser #21 moored EVERETT WA
I used a piece of Stair tread. Wood is laminated pine. Cost $10 at Lowes. They have oak for a bit more. I stained the wood with a mahogany MinWax Stain Sealer. Both seats are getting a satin finish varnish over the epoxy.
They are just about done. I'll send pictures when I get them up to the boat and installed.